Unfortunately, I don’t have any of my grandmother’s baking recipes. My grandfather was a baker, so I’m sure he had lots of good recipes, but none were saved or shared. There are a lot of recipes for main dishes, as my grandmother had eight children and had to prepare food every day to feed all of them. Of course, as the older sisters grew and learned from my grandmother, they took on the cooking and most of them became great cooks in the process.
Traditionally, a grandmother figure is an excellent cook. I suspect that many of you watched your grandmothers flying around the kitchen, whipping up wonderful creations that could feed an army of people. Some of us, try as we might, can’t seem to replicate the taste and smell of those special recipes.
Perhaps that’s because some of us never took a home economics class. I remember taking this required class when I was in high school, and though I never liked the class, I did learn basic cooking and sewing skills. Unfortunately, schools dropped this class from their curriculum years ago. These days, learning these basic skills is just a click away on the internet and you have to learn them by yourself. Of course, if you were lucky enough to have a Mom that did these things on a regular basis, you got in person lessons all the time.
Another reason that our moms and grandmothers were so good at these skills is because they often exchanged recipes and techniques with their friends, which is how their recipe boxes became full of wonderful recipes that some of us use today. Grandma also understood the importance of making things from scratch and never cutting corners. The great secret to their cooking was also to use full fat, something that has been eliminated from most of our diets today. She knew how to improvise if she didn’t have the correct ingredients on hand, and never skimped on salt or seasoning.
By the time we were eating our mother’s and grandmother’s recipes, she had been making these same dishes for decades. While we try to open our recipe box and duplicate them, we are missing the most important ingredient: experience. And as I have told you, you just have to get your hands dirty and try and try again, until you perfect them… and hand them down to your children in turn. If they’re lucky, they won’t have to use the internet to learn.
Here is one recipe that I think all of you will have success with. Made from basic ingredients, this cake is a stunner. The whole milk and buttermilk ensures that this cake comes out moist and fluffy and helps to fluff the rich crumb of the cake. The citrus gives a nice tang, and highlights the fruity flavor of the olive oil. The result is a sophisticated cake that is so simple to make and perfect for breakfast, a snack, dessert or anytime of the day pick-me-up. This is a “must try!”
This recipe is courtesy of Ovenly and will serve 12 people who want to keep this recipe for years to come.
Ingredients for Tangy Olive Oil Cake:
2 cups (260 grams) all-purpose flour
1 tablespoon baking powder
1/2 teaspoon salt
3 eggs, at room temperature
1 1/3 cups granulated sugar
3/4 cup mild-flavored extra-virgin olive oil
1/2 cup whole milk
1/2 cup buttermilk, carton shaken before measuring
1/4 cup freshly squeezed orange juice
Preheat the oven to 350 degrees F.
Grease two 8-by-2-inch round pans with olive oil or butter, line the bottom and sides of the pans with parchment paper, and grease the paper.
Place a sifter or a sieve in a large mixing bowl.
Add the flour, baking powder, and salt and sift.
Using an electric mixer with beaters or a paddle attachment, beat the eggs and sugar on medium speed until pale and aerated, about 3 minutes.
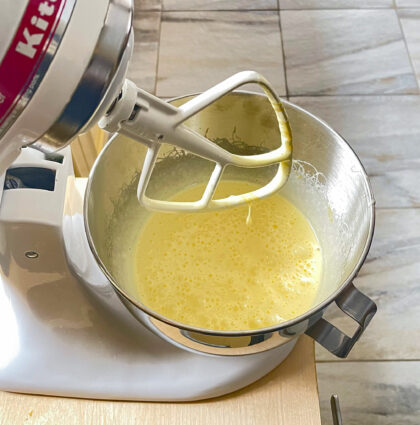
Scrape down the sides of the bowl with a spatula.
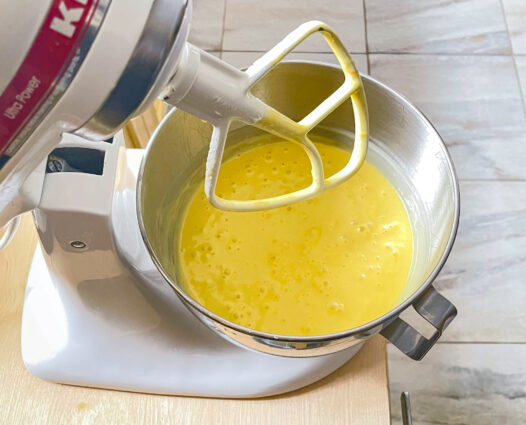
Add the oil, milk, buttermilk, juice, and zest.
Continue beating on low speed until combined and frothy like a milkshake, about 1 minute.
Gradually add the wet ingredients to the dry ingredients and whisk or beat until just combined and smooth.
Pour the batter into the prepared pans.
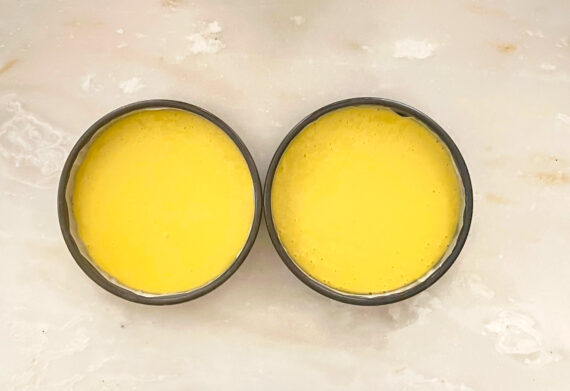
Bake in the center of the oven on the same rack for 30 to 33 minutes or until a wooden skewer inserted in the center comes out clean, and the cake bounces back when lightly pressed.
Remove the cakes from the oven and let them stand for 10 minutes.
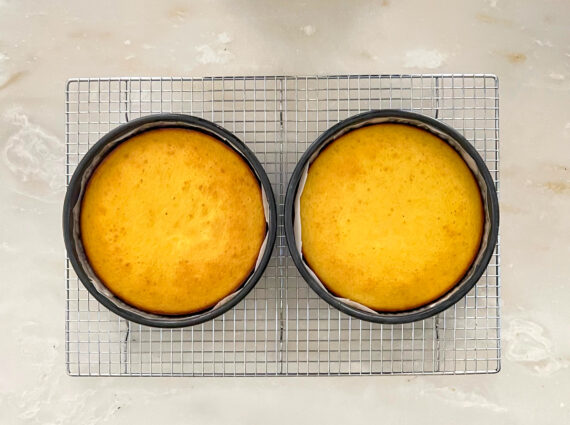
Run a butter knife around the cakes to gently release.
Peel off the parchment paper from the sides.
Invert the cakes, peel off the bottom piece of parchment paper, and cool on a wire rack.
While the cake is cooling, make a stencil from parchment paper.
Trace the bottom of the baking pan onto the parchment paper.
Using scissors, cut out the perimeter.
Fold the paper into four equal sections: half, then quarters, then eighths.
Cut out shapes from the paper, leaving the curved outer edge free from cuts.
Open out the folded paper.
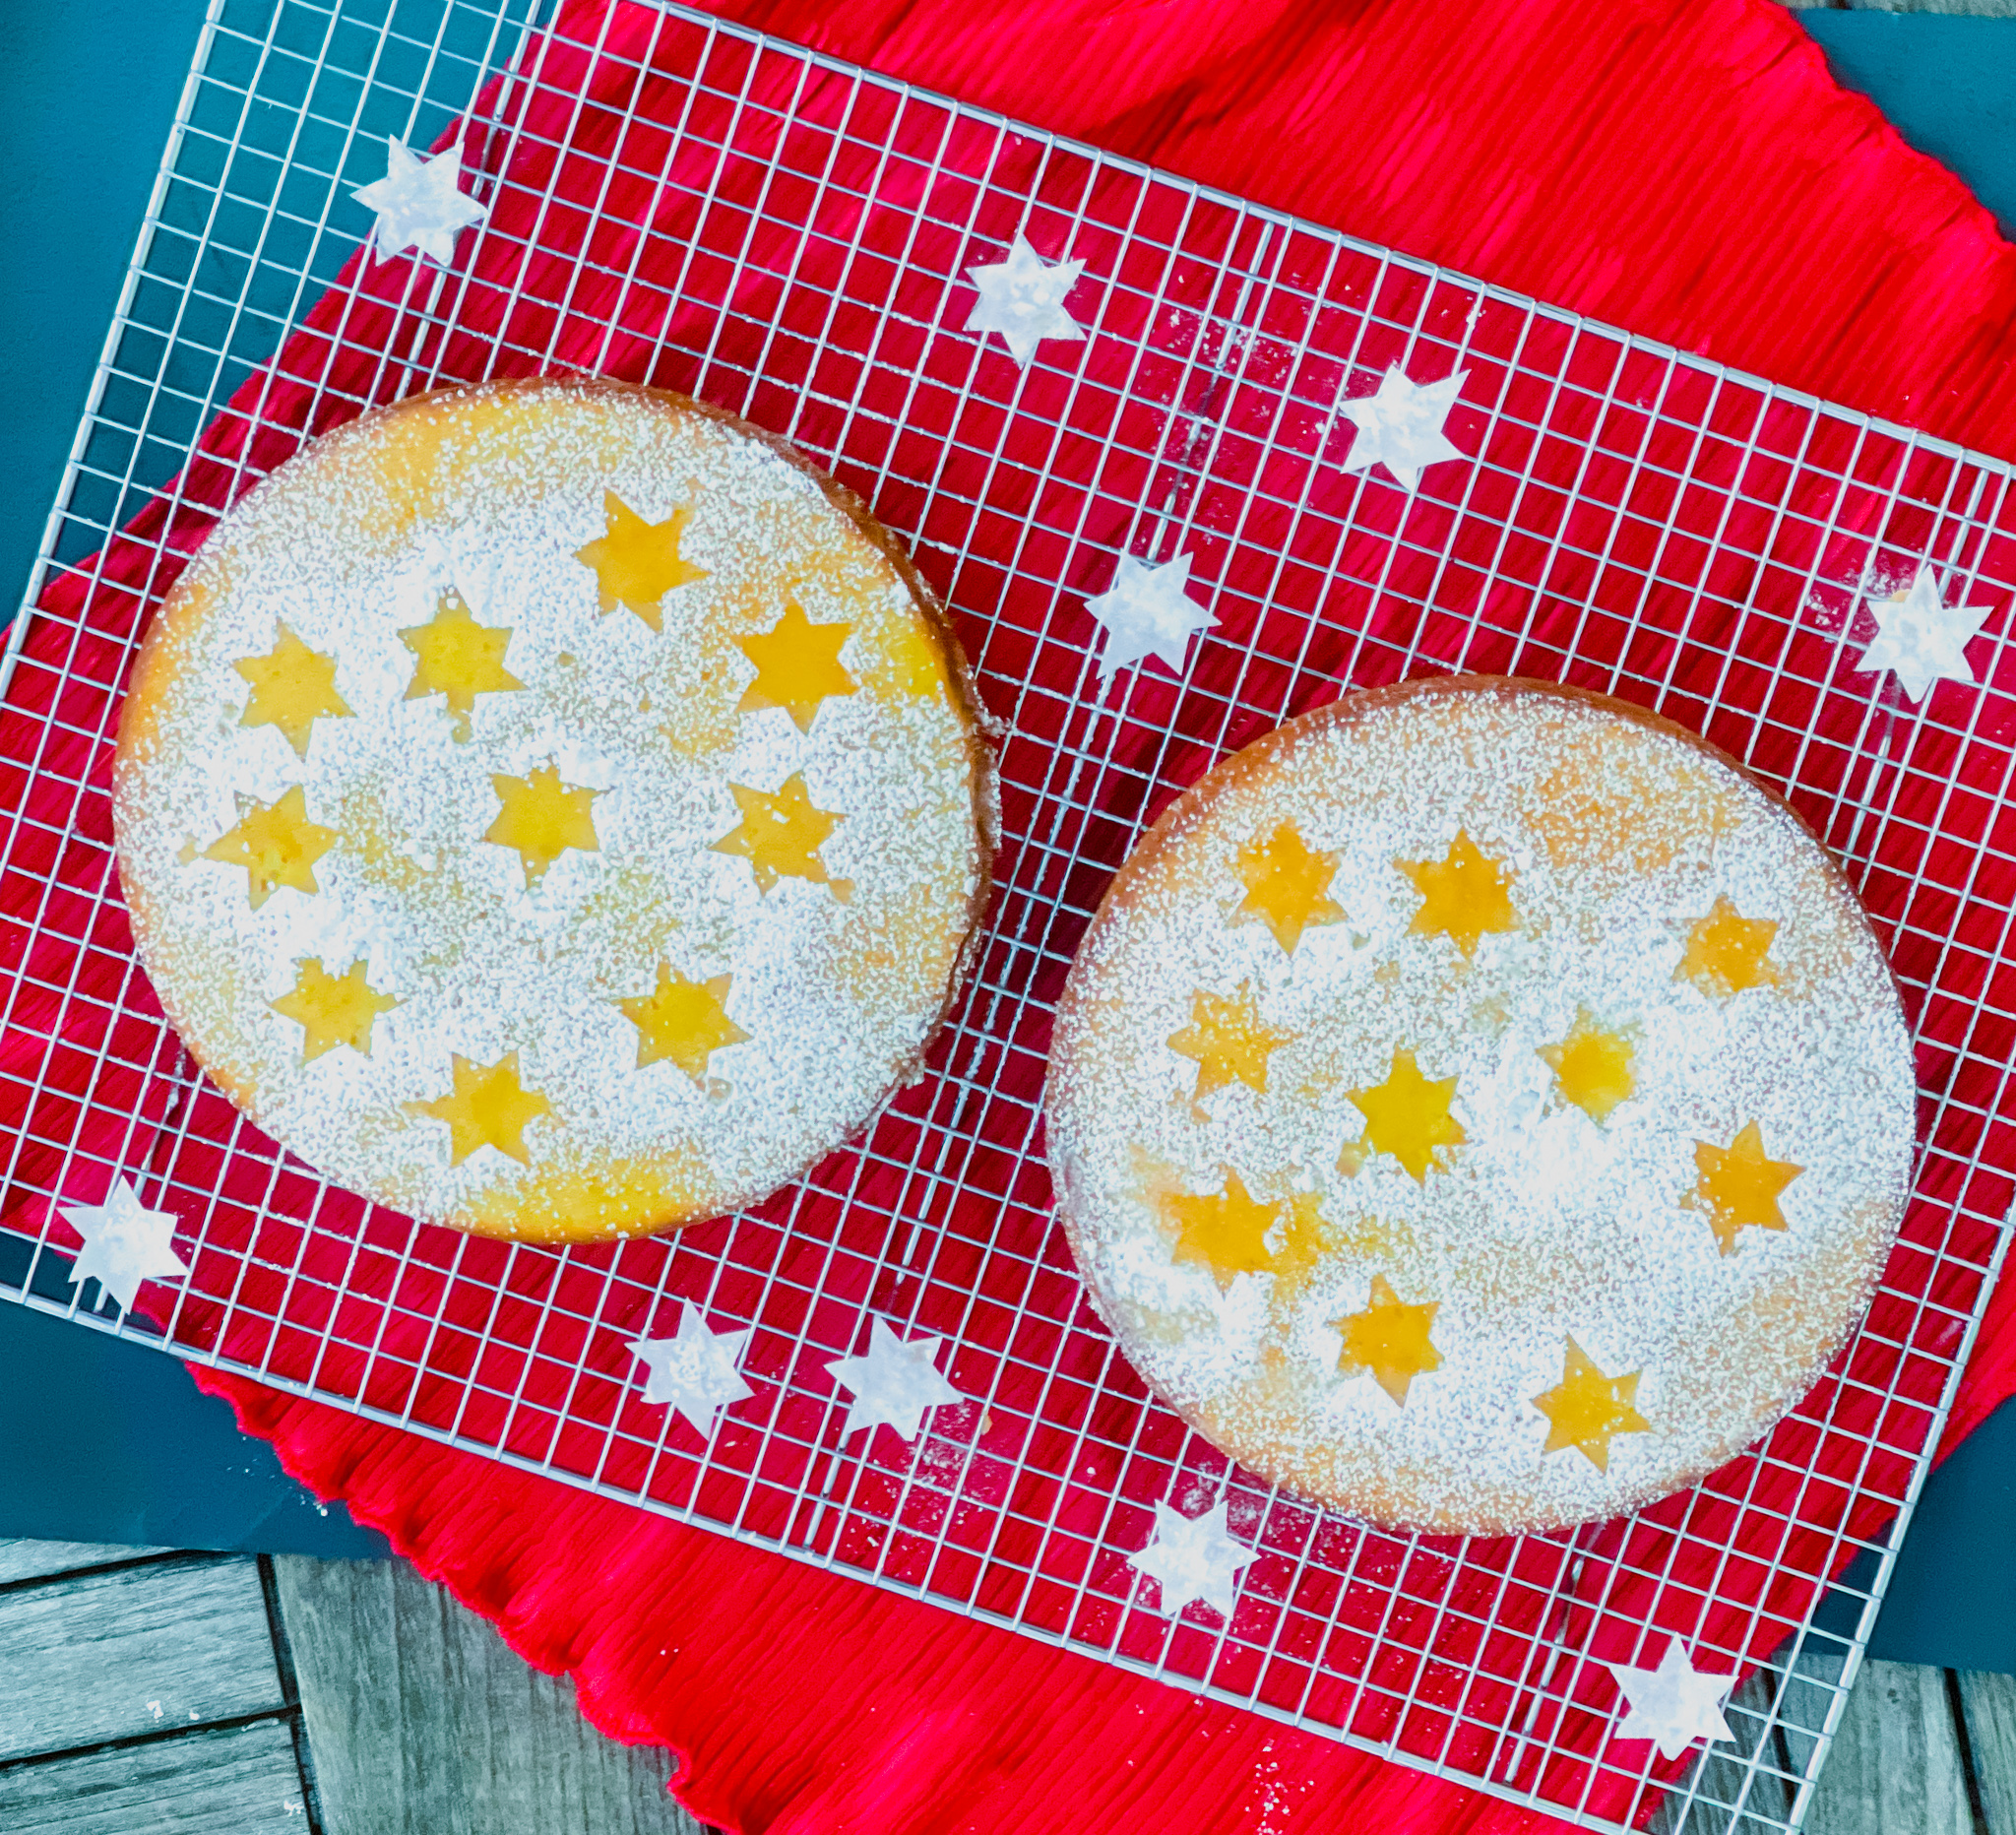
Hold the stencil securely down on the cooled cake and use a fine-mesh sieve to dust confectioners’ sugar over the stencil.
When you’ve finished, lift the stencil carefully off the cake.
I just made some stars out of parchment paper, and loved the results!
It’s that simple!

