This is a dish that I made for Thanksgiving. My family enjoyed it so much that they requested it on Christmas day as well.

This recipe is one I will continue to make because of its ease and simplicity. You can begin preparing it the day before you serve it, and complete it the the next morning. Just pop it into the oven an hour before serving! It does not take long to assemble and it tastes as if you have been working on it all day.

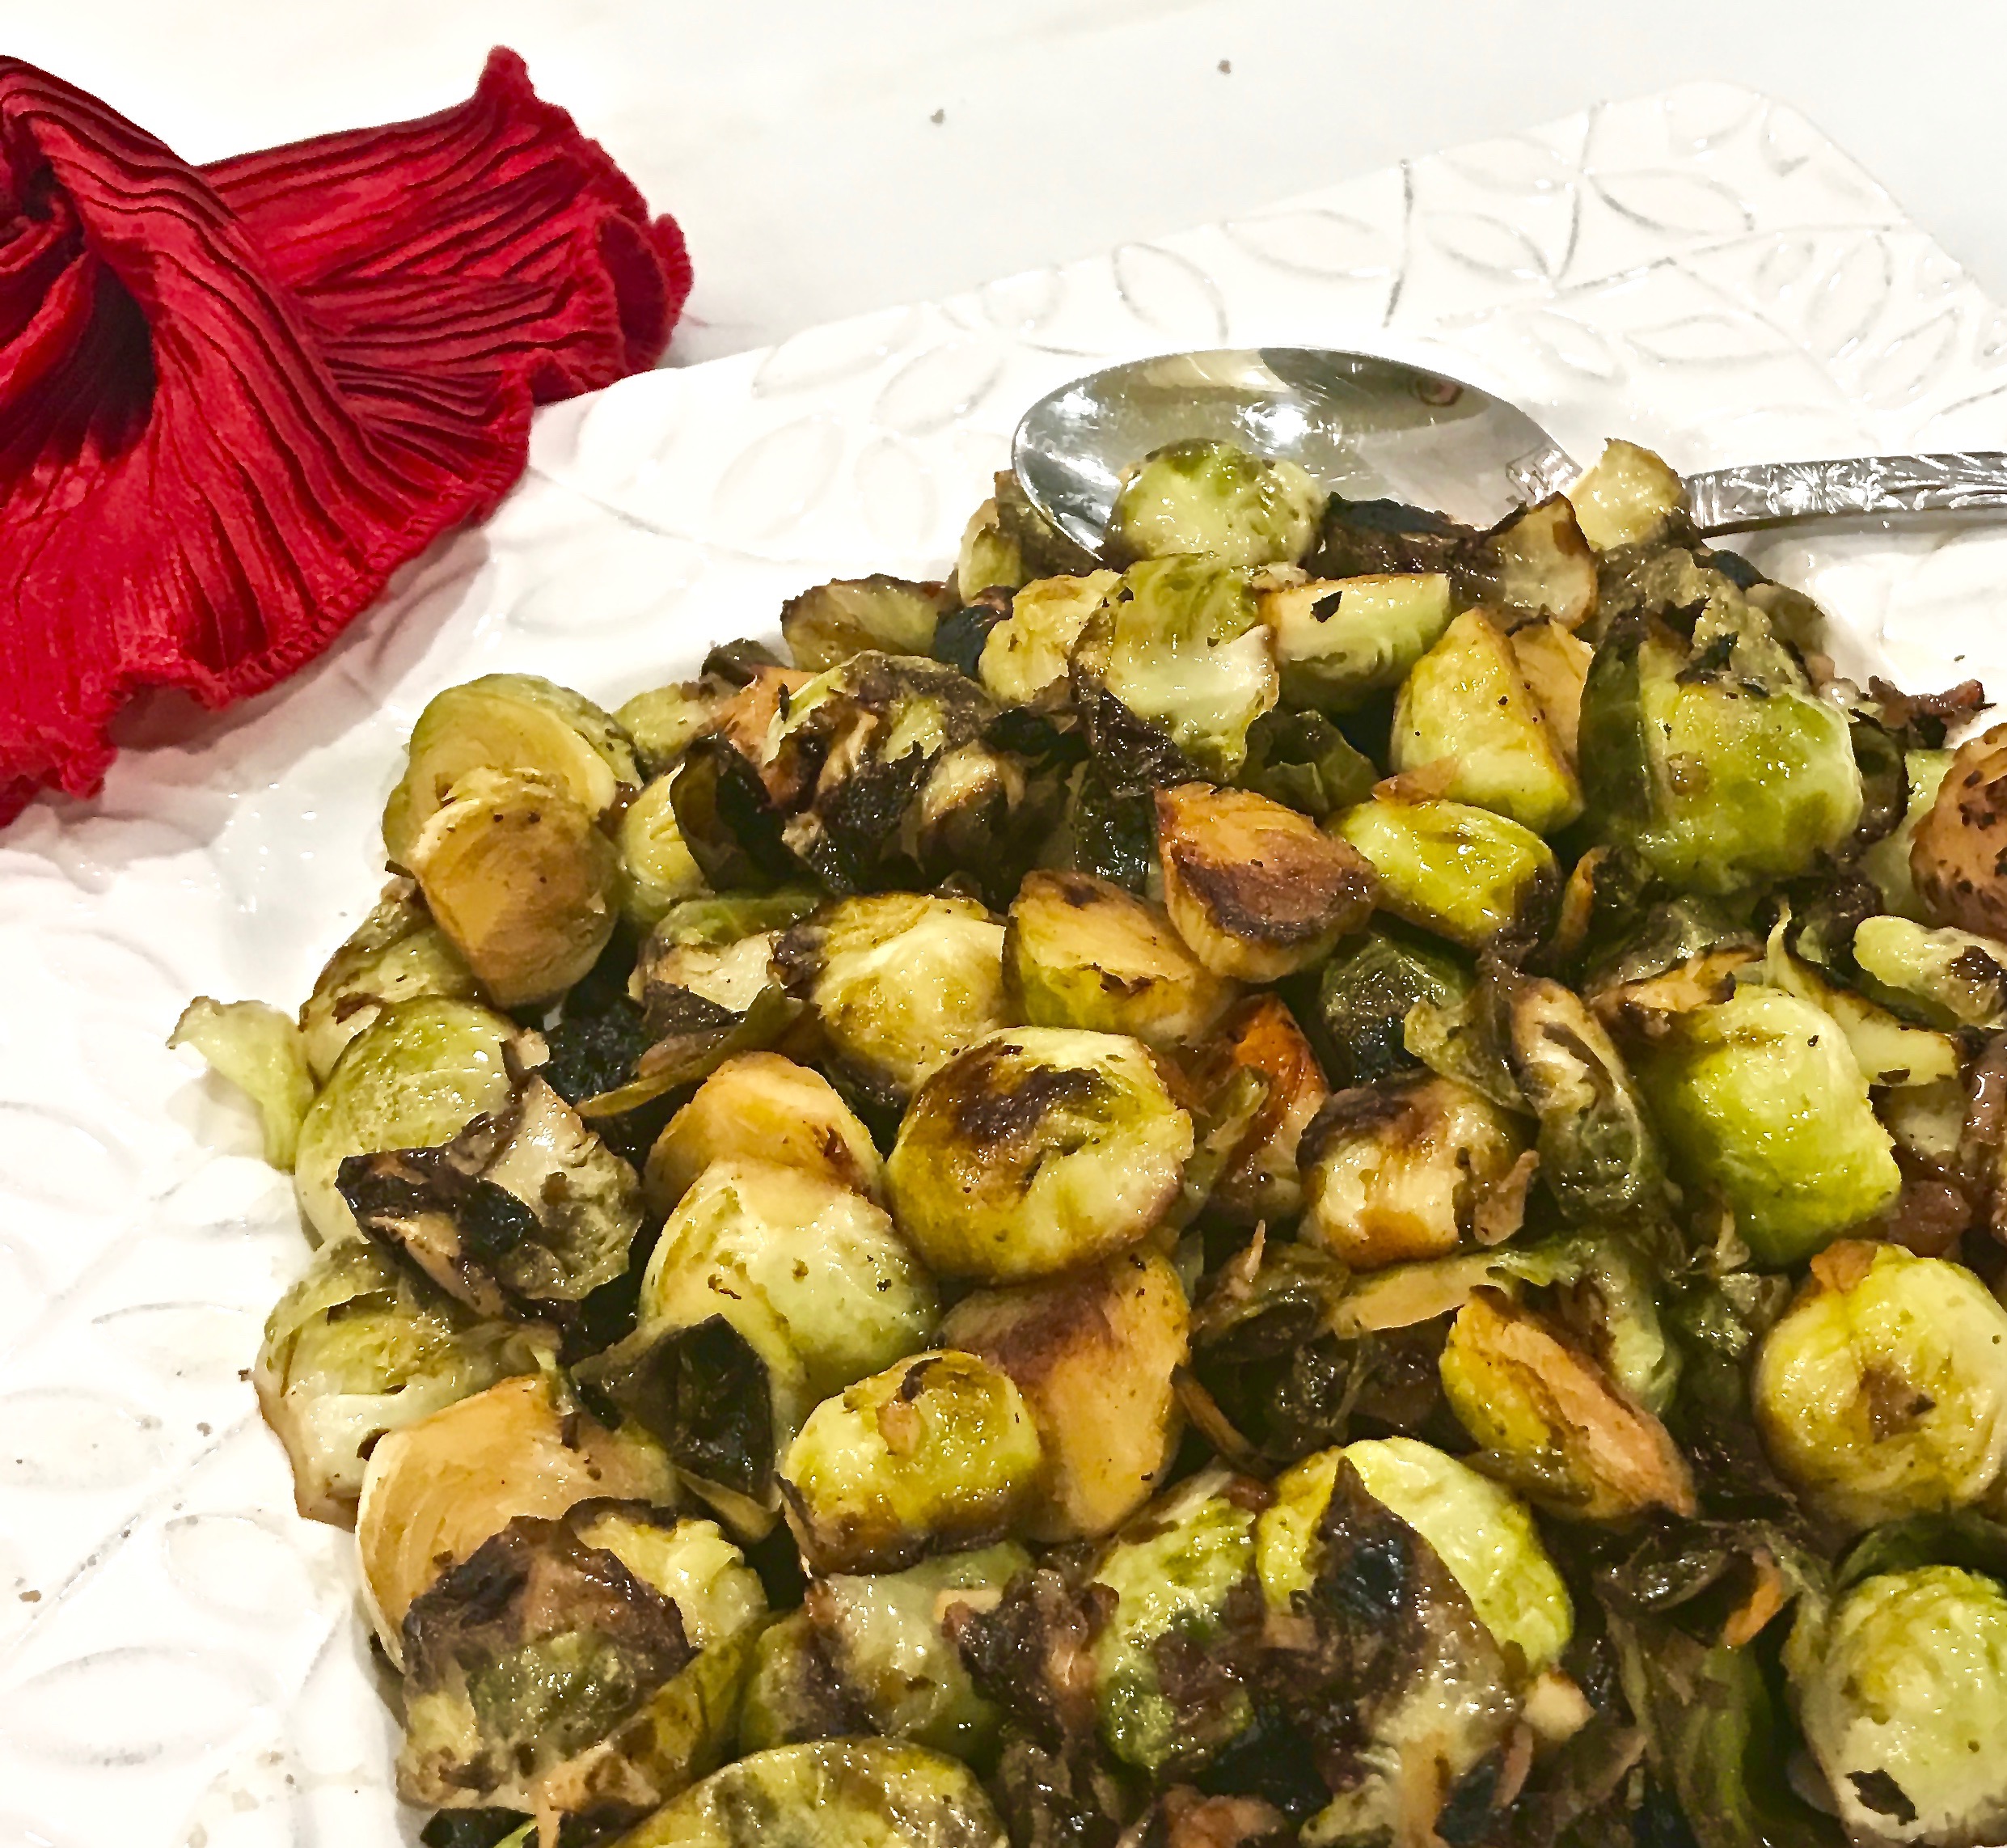
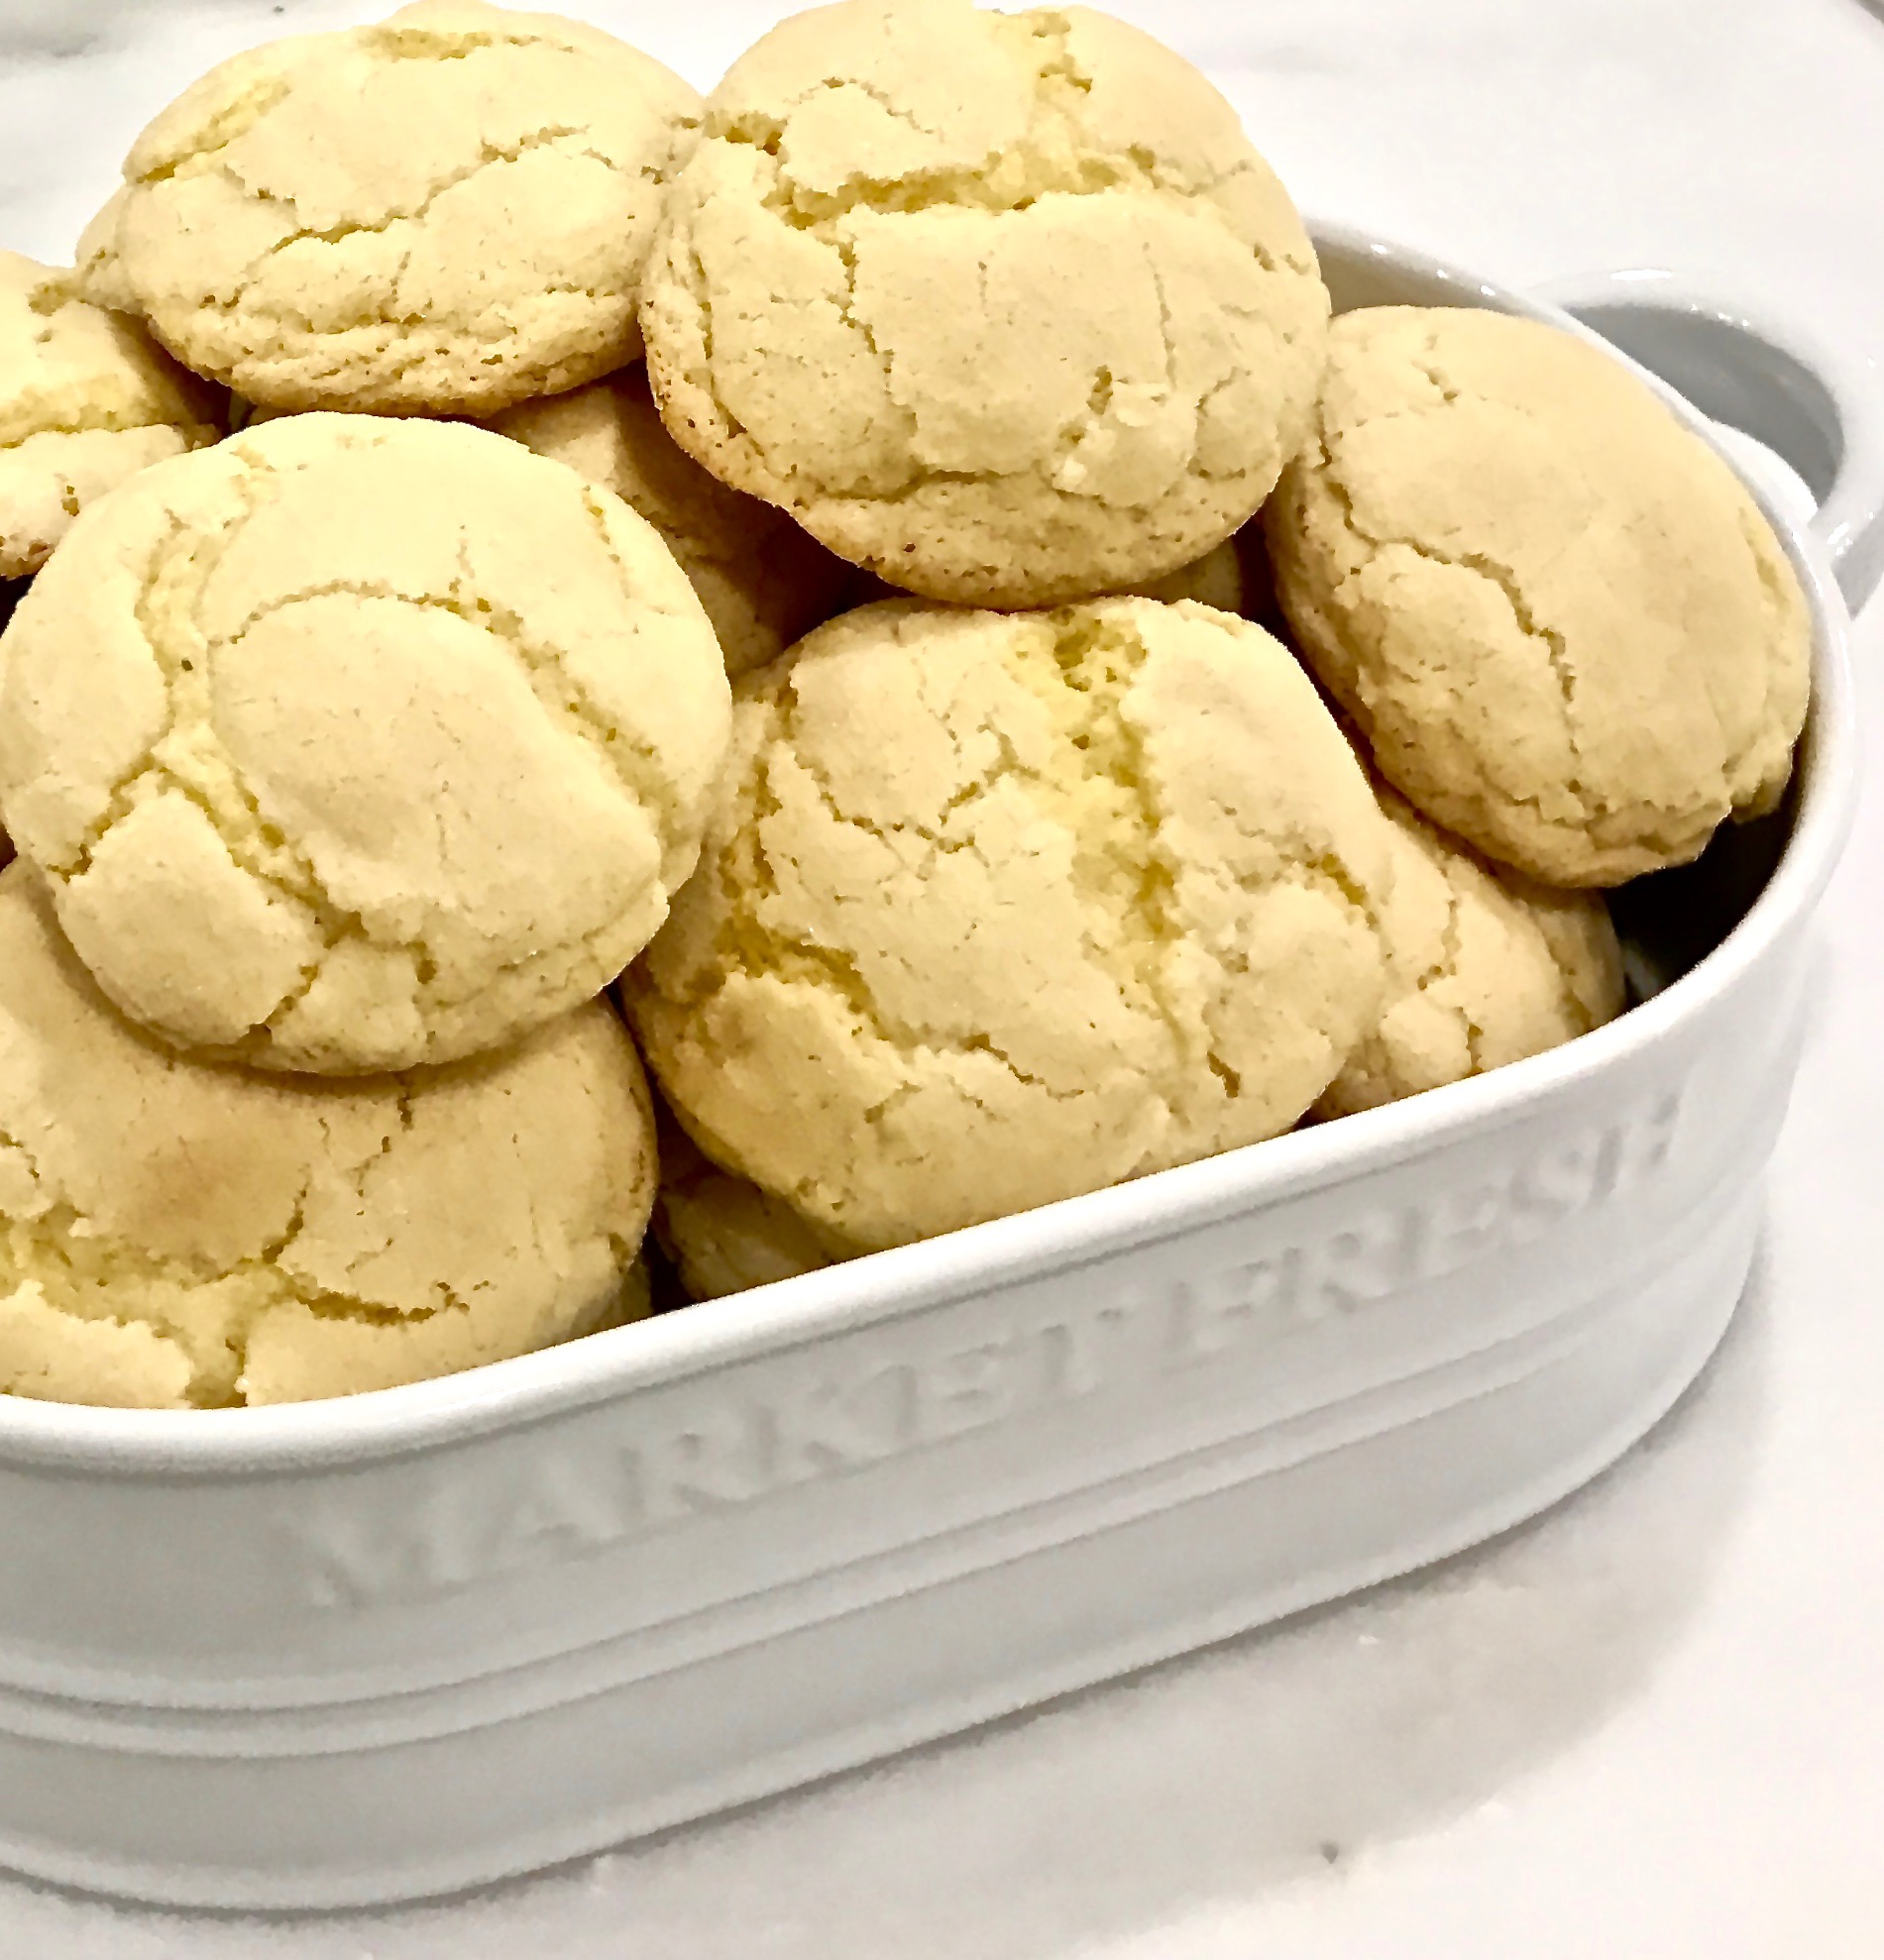
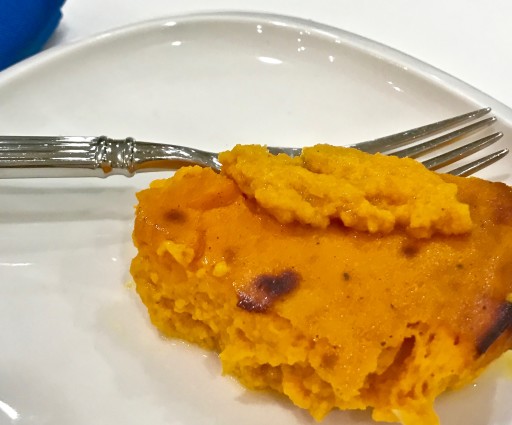
The combination of ingredients makes this a warm, wonderful dish that is so delicious and satisfying. And, wow, I love the smell when it is baking! It is perfect for any holiday or week night meal. It comes out elegantly browned, light and airy. This carrot pudding is delectable  in every way.

This recipe is courtesy of The Thanksgiving Table by Diane Morgan. Don’t just use it for the holidays; it is a “keeper” for any day. It will serve 8-10 overjoyed guests.

Ingredients for the Carrot Pudding

5 large carrots, peeled and cut into 1-inch chunks
2 tsp. fresh lemon juice
5 tbsp. unsalted butter, at room temperature
1/4 cup of sugar
1 tbsp. all-purpose flour
1 tsp. salt
1/4 tsp. freshly ground pepper
1/4 tsp. ground cinnamon
1/8 tsp. freshly grated nutmeg
2 tbsp. grated yellow onion
1 cup milk (or half and half-such as coffee-rich)
3 large eggs, lightly beaten

Place the carrots in a medium saucepan and add enough cold water to cover by 1-inch. Bring to a boil over high heat; then reduce to a simmer and cook the carrots until tender when pierced with a fork, about 20 minutes.

carrot pudding carrots cooking in pot

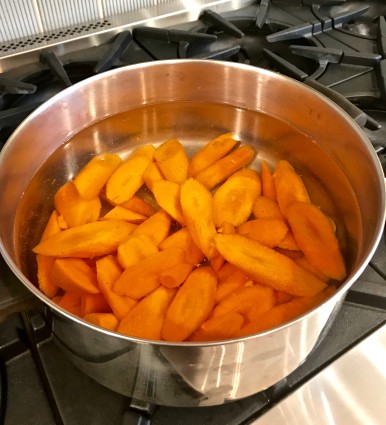
Drain and cool slightly.

*The carrots can be made up to 2 days in advance. Cover and refrigerate; then bring them to room temperature before making the pudding.

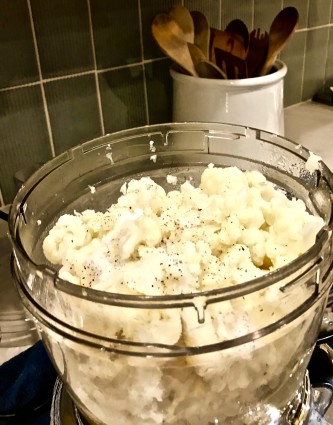
Puree the carrots in the bowl of a food processor fitted with a metal blade.

Add the lemon juice, process to combine, and then transfer to a small bowl.

Preheat the oven to 350. 

Coat a 2-quart soufflé dish with 1 tbsp.of the butter. Set aside.

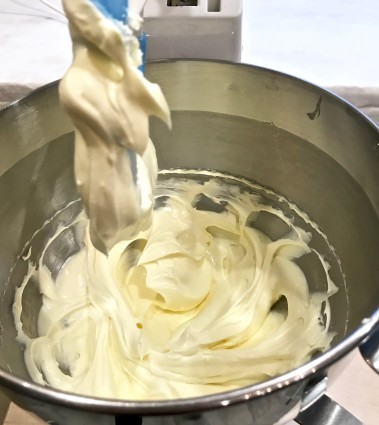
In a medium mixing bowl, combine the remaining 4 tbsp. of butter, the sugar, flour, salt, pepper, cinnamon and nutmeg.

Beat until smooth.

carrot pudding sugar salt flour cinnamon

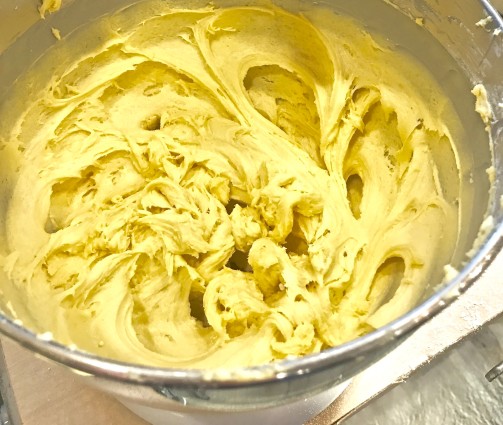
Add the onion and pureed carrots, and beat until well blended.

carrot pudding in blender

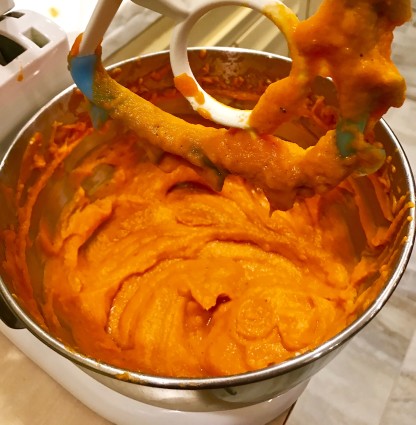
Pour in the milk and eggs, and mix until smooth. (Put your mixer on low speed, otherwise the mixture will splash!).

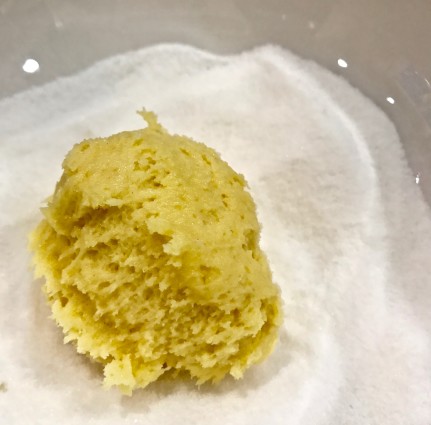
Spoon the mixture into the prepared baking dish.

Bake, uncovered, until the pudding is puffed and lightly browned and the center is firm to the touch, about 50 minutes to 1 hour. Serve immediately.

carrot pudding on plate

*The pudding can be made assembled several hours ahead. Cover and refrigerate; then remove from the refrigerator 1 hour before baking.

It’s that simple!

signature

[recaptcha]


I know there are many people who do not like brussels sprouts. I considered myself among that group until recently.

Why? Perhaps because in the past, their presentation and taste were unpleasant.

When we were younger, we all had overcooked vegetables that looked unappetizing. This is especially true for brussels sprouts, as they can smell really badly and turn to mush.

Well, the times are a-changing and there is a whole new world of brussels sprouts emerging. They are related  to broccoli, cauliflower and kale and, when cooked properly, they are divine and inviting.

Brussels sprouts, as with all vegetables have to be cooked correctly. On many of my past blogs I have reminded everyone to cook their vegetables until they are bright and beautiful and then quickly take them off the heat.

When they are cooked to perfection there is no need for fancy sauces. They really are delicious and I am hoping, whether or not you are a fan, you will give them a try.

In this recipe, the sweetness of the maple syrup, the tanginess of the vinegar and the kick of the red pepper flakes combine to make this dish enticing. Place the brussels sprouts cut-side down in the pan and do not move them.  SET YOUR TIMER! You want to brown them so they get that delightful caramelized exterior and and are still firm and juicy on the inside.

Once you add the liquid, do not forget to stop the cooking process when they turn bright green!

I know you will enjoy this recipe as much as I did. Who knows? It might even make you a fan!

This recipe will serve 4-6 people who, if they have never developed a taste for brussels sprouts, may just change their minds!

Today’s hint: When you are browning or sautéing and  find that you need a little more oil, add it along the edge of the pan so by the time the oil reaches the vegetable it will be hot.

Ingredients for Hot and Sour Brussels Sprouts

2 lbs. Brussels Sprouts, roots cut off and halved
2 shallots, finely chopped
2 tbsp. olive oil
1/2 tsp. crushed red pepper flakes
2 sprigs thyme, tied up with cooking string
2 tbsp. sherry vinegar
2 tbsp. maple syrup
2 garlic cloves, finely chopped
2/3 cup of water
1 tsp. kosher salt, plus more to season
1/2 tsp. pepper, plus more to season

Heat a heavy skillet or dutch oven over medium heat. Once it is hot, add the olive oil. When olive oil is hot, add the brussels sprouts and red pepper flakes.

Cook, without stirringuntil brussels sprouts begin to brown, about 3-4 minutes. Stir once and continue to cook, until brussels sprouts are nicely browned. You may have to keep cooking and stirring another few times.

hot and sweet brussels browning

Meanwhile, in a small bowl, mix together the vinegar, maple syrup, 1 tsp. salt and 1/2 tsp. pepper. Set aside.

hot and sweet brussels sauce

When brussels sprouts are browned, add garlic, shallots and thyme. Let cook for about 1 minute, then add water, cover and let them steam until they turn bright green, about 1-2 minutes.

hot and sweet brussels shallots garlic nd thyme

Uncover, add the vinegar mixture to the brussels sprouts and cook, stirring frequently, until the liquid reduces to a glaze, about 3-5 minutes.

Remove the thyme sprig and season with extra salt and pepper.

It’s that simple!

bulldag blog photo
signature

[recaptcha]


My cousin, Simone made these cookies for dessert. Showing no discipline, I tried one.

Just one, I thought. Well that did not happen. These cookies are so scrumptious that they are addicting!

This dessert is a little bit of cookie and a little bit of cake, all in one bite. How can it get any better than that? It just doesn’t!

This is what I call a “cheat dessert”. It tastes like it was made from scratch, but the “cheat” is the yellow cake mix. This helps you whip up a batch of these cookies in no time. They are so simple and quick to make. And oh so delicious! If you need to bring a dessert to a dinner, and you are short on time, this is definitely what you should bring. You will make everyone happy.

My cousin got this recipe during a visit to a Montana ranch almost 10 years ago. I only wish she had given me the recipe sooner! 

She could not remember the name of the chef that gave her this recipe. I would gladly mention his name, as he deserves the recognition for these cookies.

This is a “must try”. It’s that simple!

Ingredients for Cream Cheese Cookies

1/4 cup butter, softened
8 oz. cream cheese, softened
1 egg
1 tsp. almond extract
1 pkg. yellow cake mix
1/4 cup of granulated sugar

Preheat oven to 350.

Line two baking pans with parchment paper.

In a standing mixer fitted with the paddle attachment, cream butter and cream cheese on medium speed.

cream cheese cheese and butter

Beat in the egg and continue to mix.

Add in almond extract and cake mix.

Continue to beat until well incorporated.

cream cheese with cake mix

Roll dough into 2-inch balls, or use a large size cookie scooper.

Roll balls in sugar, making sure to coat each one well.

cream cheese roll in sugar

Place balls on baking pan, about 1-inch apart.


cream cheese cookie in balls 2

Bake about 15-20 minutes, or until you see the bottom of the cookies just starting to turn a light brown.

Cream cheese cookies baked in pan 2


It’s that simple!

 
signature

[recaptcha]


I always have room in my recipe book for new and creative ways to make vegetables. I found this recipe and amended it to make it my own.

It one took a couple of tries, but it was worth it! My family sampled them all and we agreed that this is a winner!

It is so simple to make (no, really it is!), that it can be incorporated into any week night dinner menu. It looks and tastes as smooth as mashed potatoes, but without the carbs and calories. 

The only thing that took some time was softening the cauliflower. It should be soft enough that you can easily pierce it with a fork. The great thing about this is that you do not have to worry about overcooking the cauliflower! This is the one time I will not remind you to take the vegetable out when it is bright and colorful. Don’t even worry about it; this cauliflower dish will be perfect every time.

Just remember not to overcook the onions. They have to be white and translucent to get that “mashed potato” look!

It’s easy, I promise!

This recipe will serve 4 people, who will have a delicious new way of enjoying cauliflower in place of mashed potatoes.

Ingredients for the Cauliflower Mash

1 medium cauliflower
3 tbsp. butter or margarine 
1-2 tbsp. olive oil
1/2 onion, chopped
3 garlic cloves, chopped
1 tsp. kosher salt
1/2 tsp. pepper
1 tbsp. parsley, chopped

Melt butter and olive oil in a medium size skillet.

Add onions and cook until they are transparent, about 3-4 minutes. Do not let them brown.

`RT15\cauliflower mash onions cooking

Toss in garlic and cook for about 1 minute. Set pan aside.

Using a medium-sized pot, fill with water and let it come to a boil.  When water is boiling, add cauliflower and let it cook until softened about 8-10 minutes.

cailiflower mash cauliflower in water

Drain cauliflower in a colander and place in a food processor along with onion and garlic mixture.

Add salt and pepper.

cauliflower mash in food processor

Process on high until cauliflower is well blended and smooth.

Place on serving dish and top with chopped parsley.

It’s that simple!

signature

[recaptcha]


My construction is finally over! It was a long 5 months, and I’m so glad to be back! My goal was to be back in business by Thanksgiving, and thankfully, all went fairly smoothly. Sure, there were a few glitches, but overall, I can’t complain.

A week before Thanksgiving, (a holiday at which I host 50 people), my house was still a construction site! It was challenging, but somehow we managed to get the house clean and ready for the holiday. Whew! Glad it is over! 

Enough of that, let’s talk about cooking. I missed writing my blog and I am so happy to be back!

I found this chicken recipe online, but made so many changes that I now consider it one of my own.

Many recipes do not call for browning or crisping the skin first. I think this is one of the most important steps in any chicken recipe. Nothing beats chicken with a crisp, caramelized skin. This will add only 10 minutes to the cooking time, yet yields  a wonderful texture and enticing flavor to any chicken dish. If you can, try to spend the extra time to brown it, it is so worth it.

Although this recipe is made with couscous, you can make the balsamic chicken with any grain such as barley or farro. I prefer to use chicken broth instead of water to prepare it. The chicken broth will add a nice dimension of flavor.

I love this recipe. The chicken thighs are so moist, accompanied by a delicious, uncomplicated sauce that makes this an easy go-to meal.

You can use this recipe with chicken breasts, but be sure to get bone-in breasts. They have much more flavor and will be tender and just as good.

This recipe will serve 4 people, but you want might to make a little extra. I am sure they will be asking for seconds!

Today’s Hint: For crispier skin on chicken, or for a better browning on meat, always pat them dry with a paper towel. If you leave any moisture on the chicken or meat, it will impede the browning process. Do not overcrowd the pan or your meat or poultry will steam and not brown! Remember, the brown part is always the best tasting part of the poultry or meat. It is also known as caramelizing, which ensures the best (and yummy) results.

Ingredients for Chicken

4 chicken thighs (or chicken bottoms (thigh and leg)
4 tbsp. olive oil
1/2 cup balsamic vinegar
1/2 cup chicken stock
1-2 tbsp. sugar (optional)
2 cloves garlic crushed

Ingredients for Couscous

1 1/2 cups couscous
2 1/4 cups chicken stock
3 tbsp. margarine or butter
4 cloves garlic, chopped
3 tbsp. fresh oregano, finely chopped

Pat the chicken bottoms dry with a paper towel. Sprinkle both sides with a good amount of salt and pepper.

balsamic chick cous with salt and pepper

Place skillet on stove, over medium heat. Add chicken, skin side down. Let cook, without moving it for 6-7 minutes. Turn the chicken over and repeat on the other side for about 4-5 minutes.

balsamic chic cous skin browned

*The pan becomes hotter as it cooks, so the browning time for the other side will be less.

Set pan aside.

Prepare the marinade. Combine the vinegar, chicken stock, sugar and garlic in a shallow bowl. 

balsamic chic cous sauce

Place chicken in marinade 10 minutes for each side.

Prepare the couscous.

Boil chicken stock and pour over couscous in a medium bowl. Cover the bowl tightly with a plate or aluminum foil  and let it sit for 5-7 minutes, until all the liquid is absorbed. If you have any remaining liquid, just pour it out. Set aside.

Cut butter into small pieces (this will help it melt faster) and place in skillet (different than the one you used for the chicken) over medium-low heat.

Add the garlic and oregano and cook for 1-2 minutes. Be careful, you do not want the garlic to turn brown or burn.

Add the couscous into the pan and stir it for about 3-4 minutes. Set aside.

balsmaic chic cous cous cous

Add the chicken and the marinade back into the original pan and let it cook on medium-low for 10-15 minutes. The marinade will thicken.

balsamic chic cous chicken in sauce

Place couscous on a serving platter and pour the chicken and sauce over it.

Dinner served!

thanksgiving full table

It’s that simple!

signature

[recaptcha]