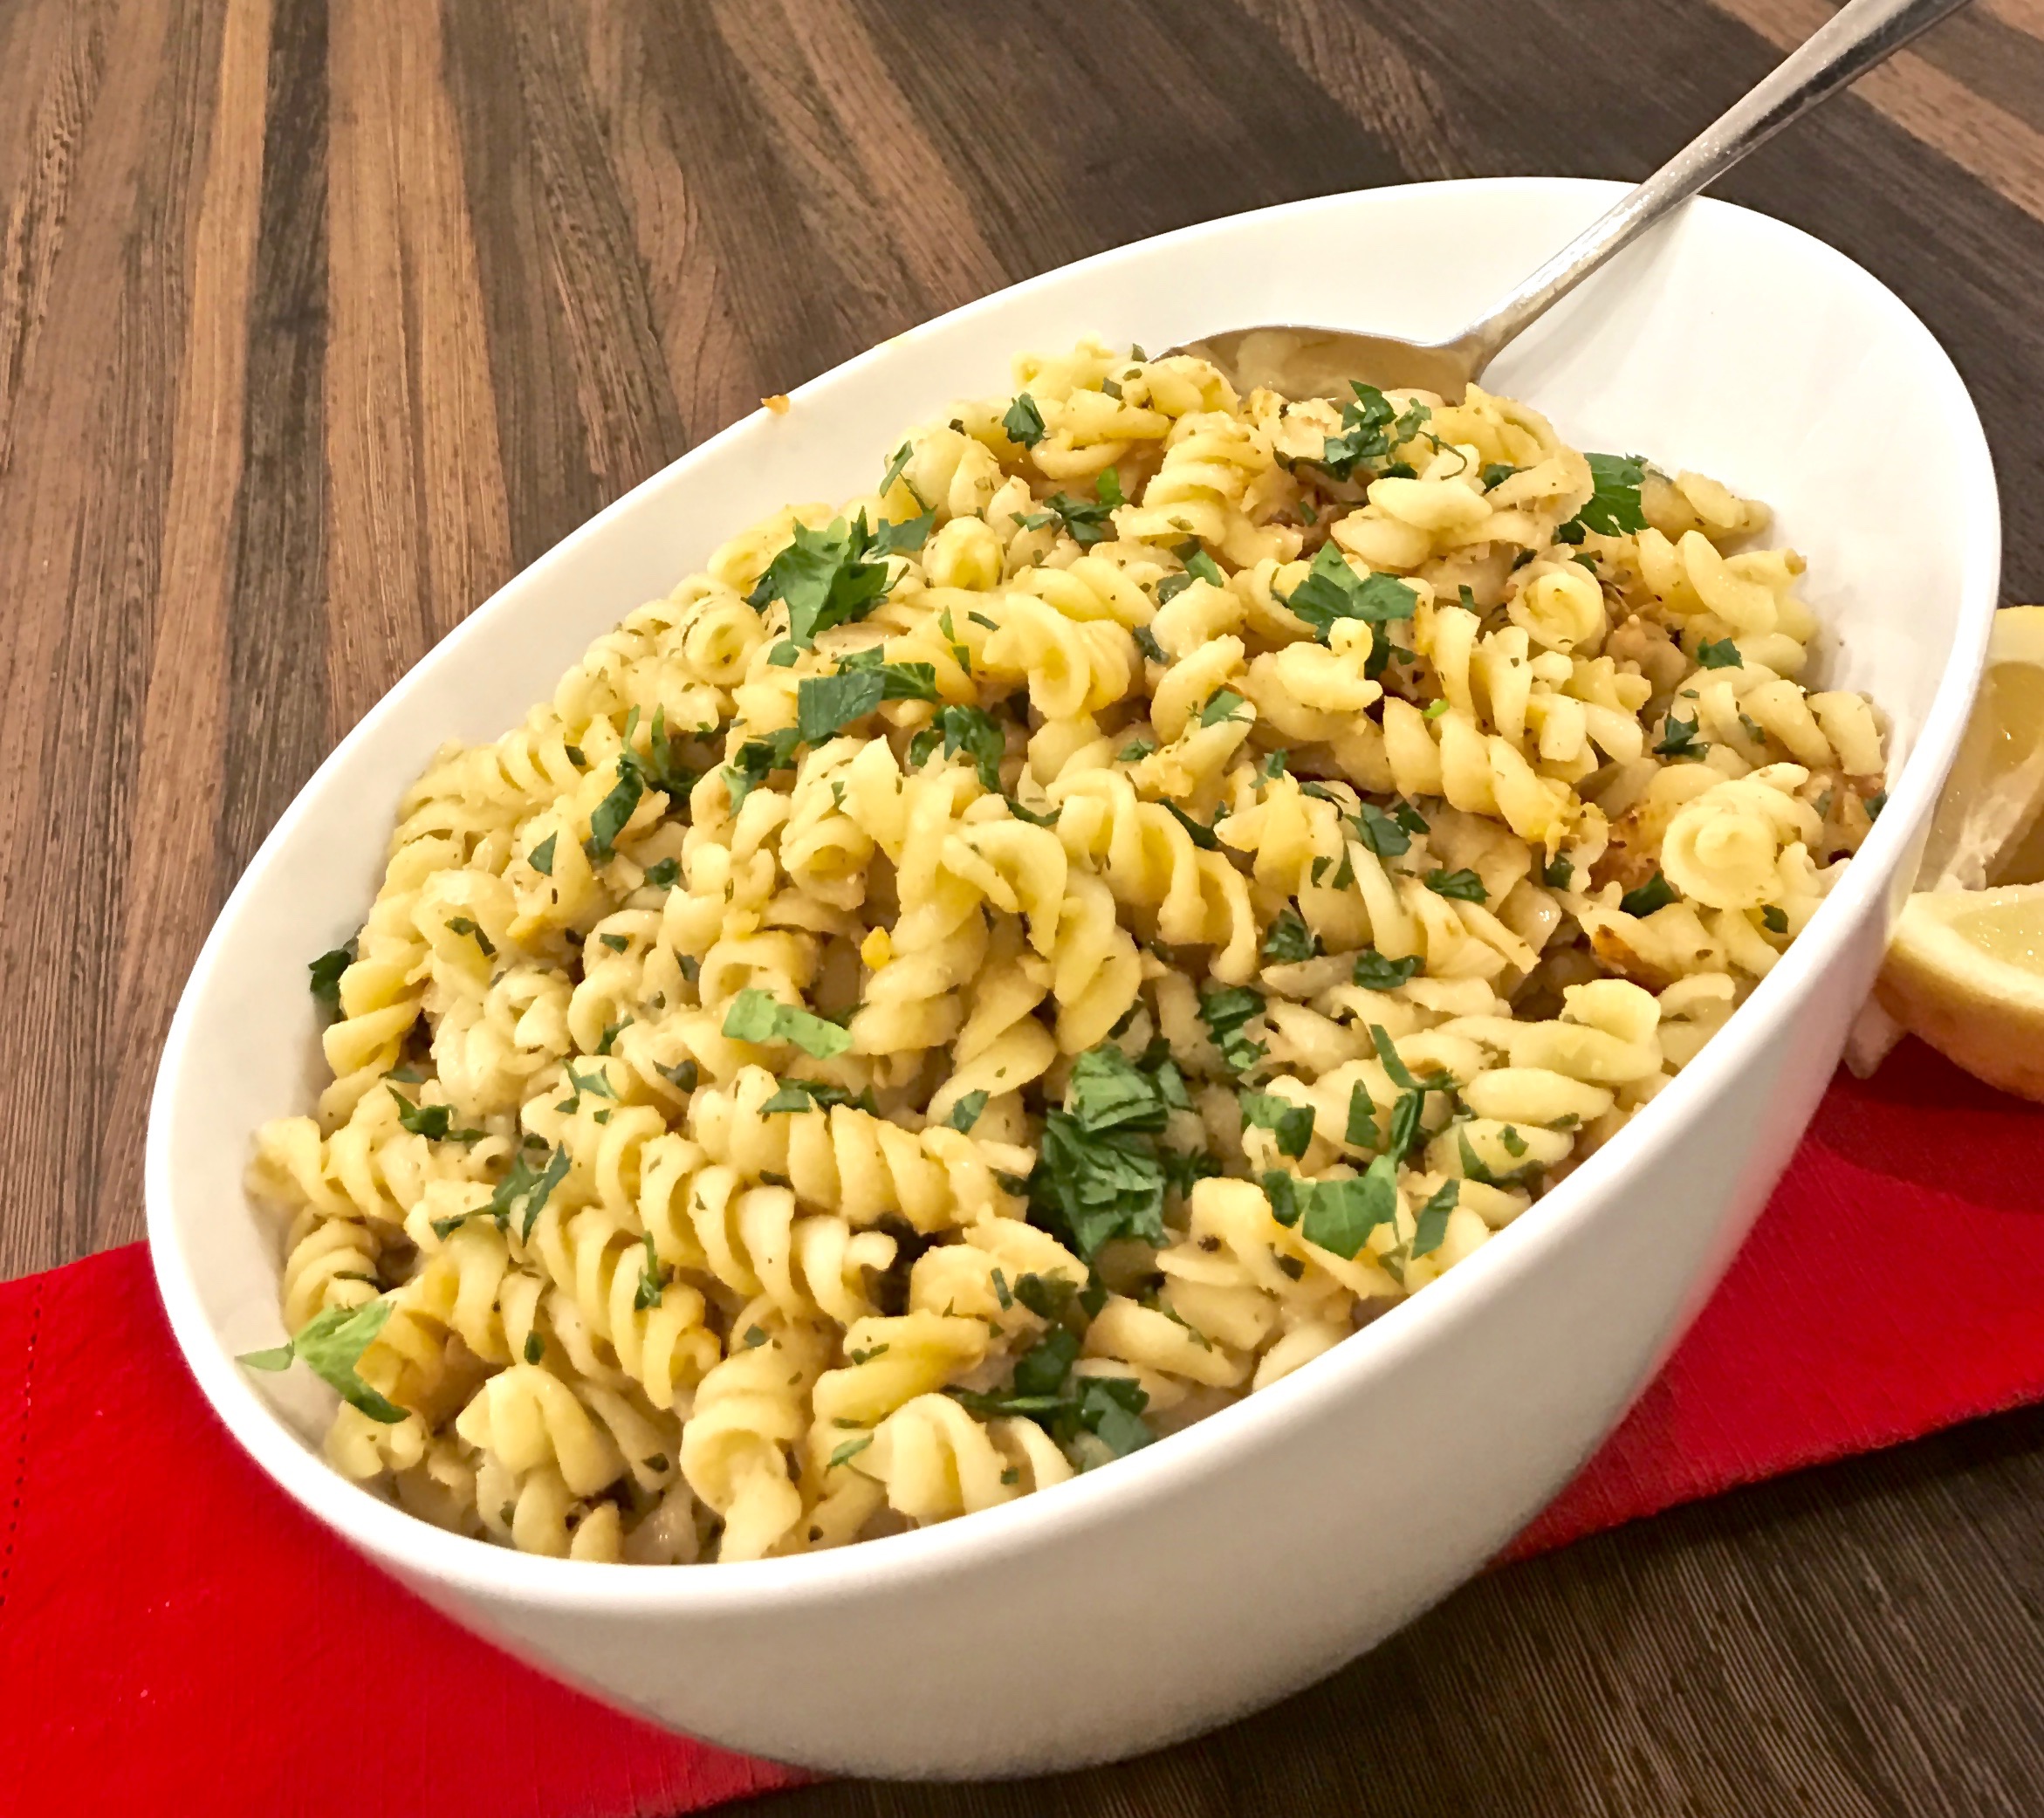
I am sure you know by now the reason this particular recipe caught my eye. Yes, the word lemon in the title gets me every time. 

As I read through the ingredients, I became intrigued with the use of mashed chickpeas in a pasta dish. Chickpeas, lemon and pasta -hmm-I definitely wanted to give it a try. I really wasn’t surprised how well these ingredients blended with each other. It was more than just good; it was wonderful!  The author gives you the option of starting out with dried chickpeas, soaking them and cooking them. I made it easy, for myself and used canned chickpeas. I am sure it was just as enjoyable.

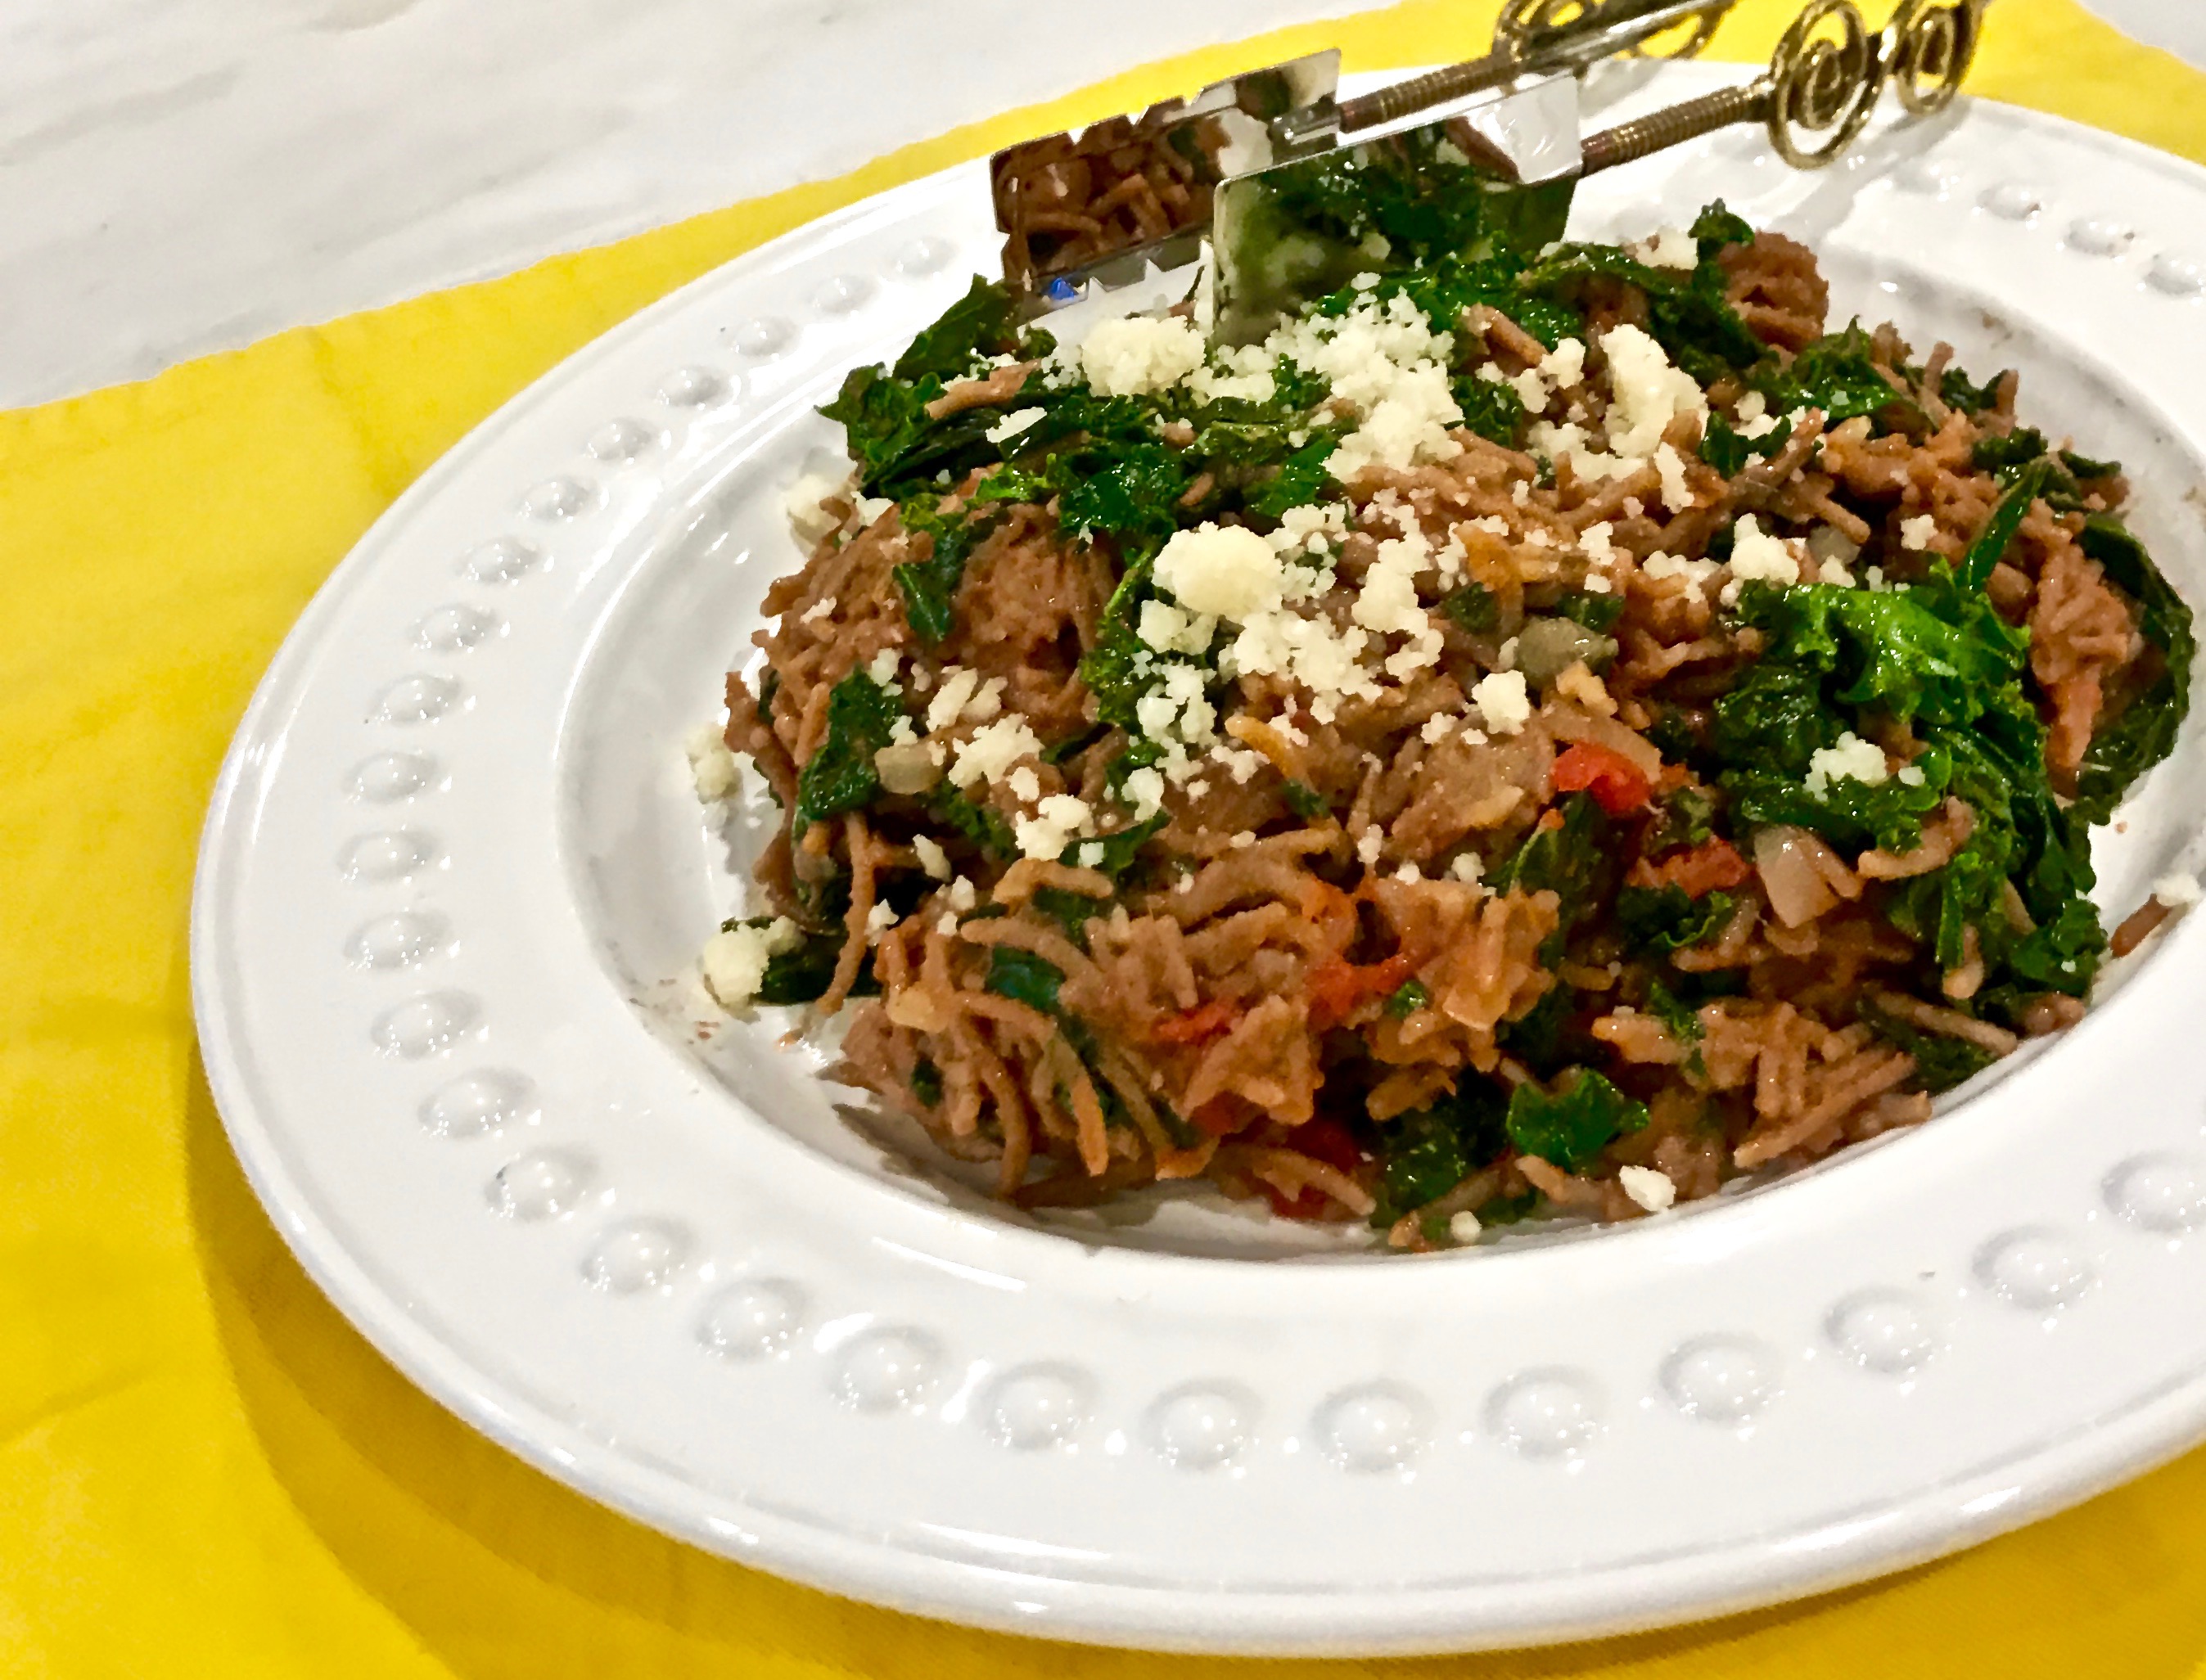
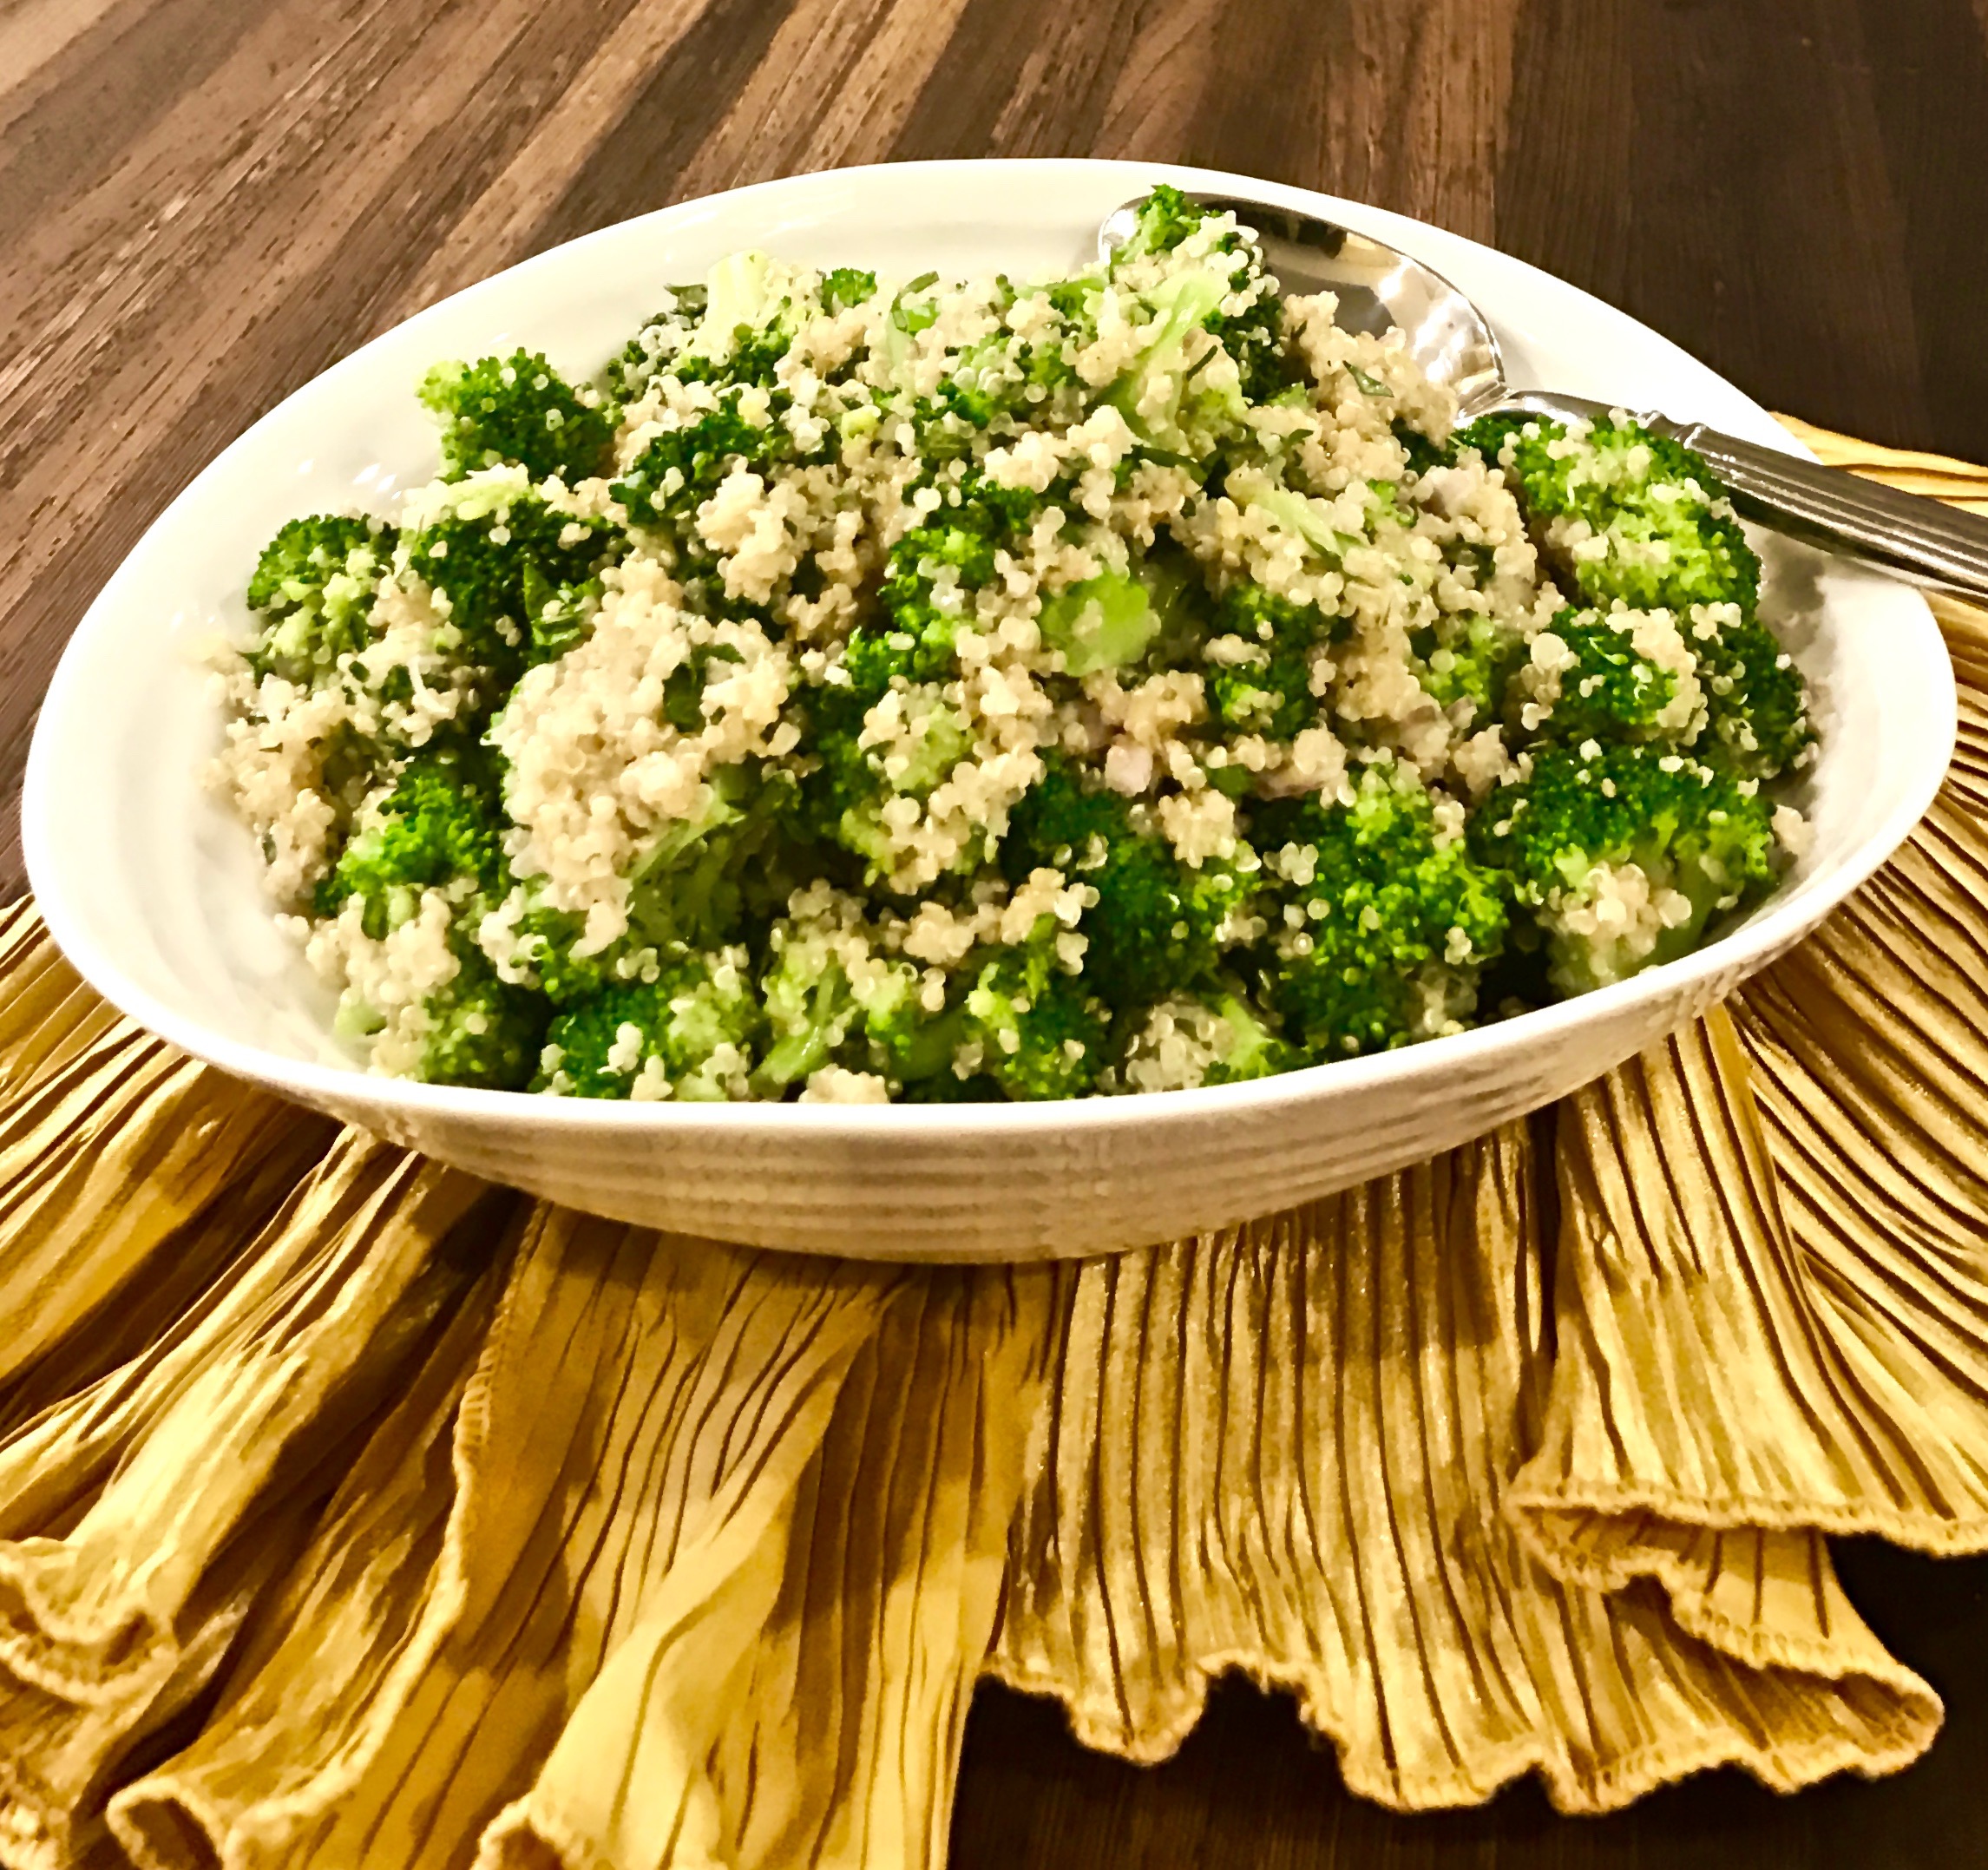
This delicious side dish is so easy to prepare. I know there are a lot of ingredients, but once you measure them out, it comes together quickly. It is not as lemony as you would think, and has the perfect blend of flavors.  The pasta, when combined with the butter, cheese and chickpeas, is perfection at its best. The result is a light, flavorful dish you will love. Make this recipe soon; you won’t regret it!

This recipe is courtesy of New York Times/Cooking. It says it will serve 2 people, but I think it will serve 3-4 people who will enjoy this wonderful combination of ingredients.

Ingredients for Lemony Pasta

Kosher salt, as needed
8 ounces regular or whole-wheat fusilli 
or other short sturdy pasta
2 cups cooked chickpeas, homemade or canned, rinsed and drained (save the liquid)
1/4 cup extra-virgin olive oil, plus more for drizzling
2 garlic cloves, smashed and peeled
1/2 onion, diced
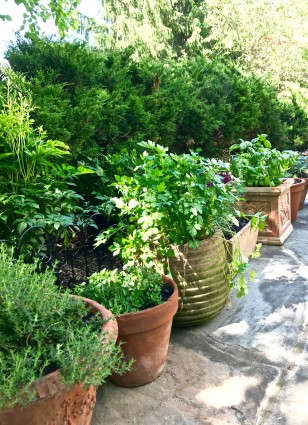
1 tbsp. finely chopped rosemary leaves
Pinch of chili flakes, plus more if needed
1 1/2 cups chickpea liquid or pasta water
3 cups fresh parsley leaves ( I used half)
2/3 cup grated Parmigiano-Reggiano cheese, plus more for serving
1 tbsp. unsalted butter
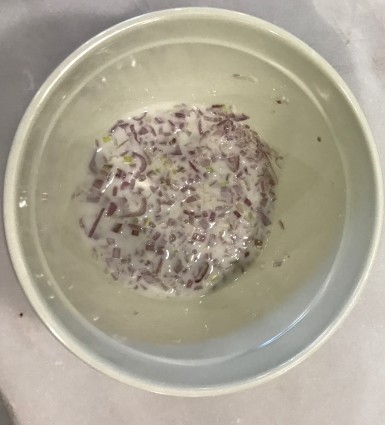
Finely grated zest of 1/2 lemon (I used the juice as well)
Freshly ground black pepper to taste

Bring a large pot of heavily salted water to a boil. Add the pasta and cook until it is just shy of al dente (it should be slightly underdone because it will finish cooking in the sauce).

Save 1 1/2 cups of pasta water. Drain the rest. 

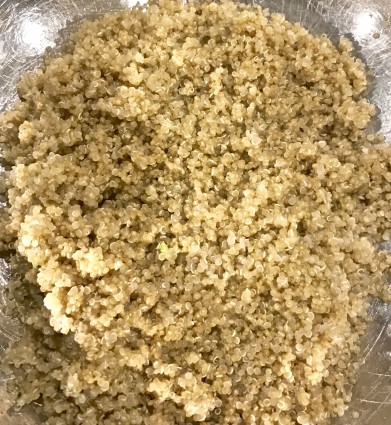
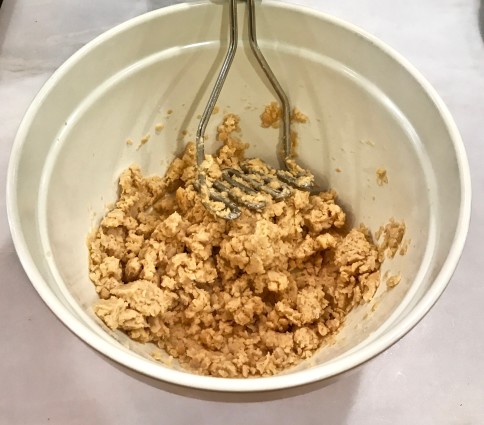
While pasta is cooking, prepare the chickpea sauce: Place the chickpeas in a large bowl and use a potato masher or a fork to lightly mash them; they should be about half crushed.

lemony pasta chickpeas mashed

Heat the oil in a 12-inch deep skillet over medium heat. (Use a deeper skillet than I did! It will be much easier!)

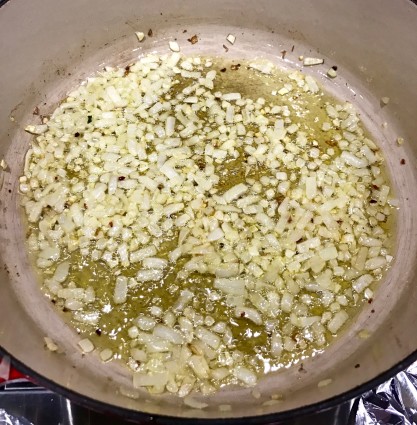
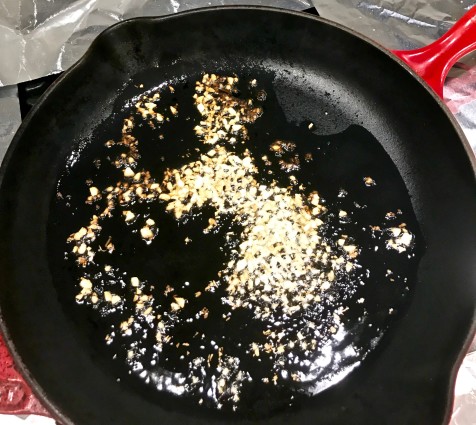
Add the garlic cloves and fry until they are golden brown (this happens very quickly so watch carefully), about 1- 2 minutes.

lemony pasta fried garlic

Stir in the onion, rosemary, chile flakes, and a pinch of salt.

Cook, stirring occasionally, until the onion is soft, about 10 minutes.

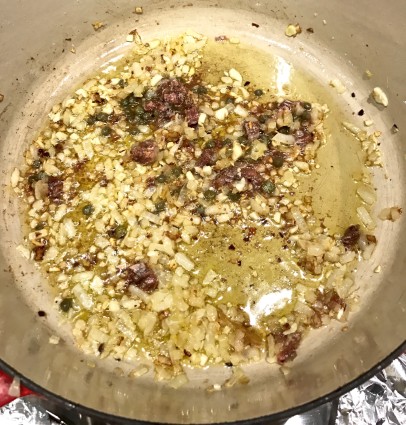
Stir in the chickpeas and the cooking liquid (you can use either the chickpea liquid or the pasta water).

lemony pasta chickpeas and liquid

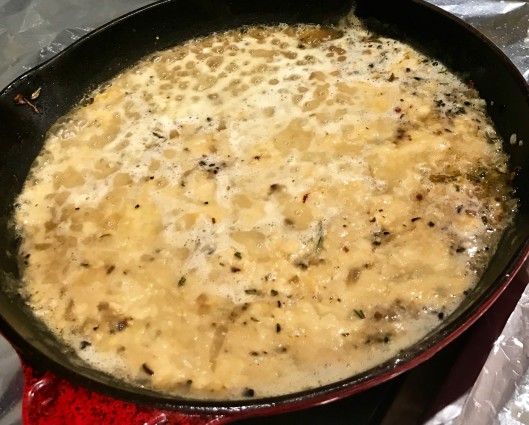
Bring to a simmer and cook gently until most of the liquid has evaporated, about 5 minutes.

Stir in the pasta and the parsley, and cook until the pasta has finished cooking and is coated in the sauce, 1 to 2 minutes.

Quickly toss in the cheese, butter, lemon zest, lemon juice (if using), black pepper to taste, and salt if needed.

lemony pasta cheese butter lemon zest

Drizzle with olive oil and shower with additional cheese before serving.

It’s that simple!

signature

[recaptcha]


Every cook, as we all know, makes mistakes. If you are a well-seasoned cook, you can probably creatively “fix” most kitchen errors. But if you are not, then I would like to take the time to post some common cooking blunders and their remedies.

Overcrowding the pan: If you are trying to brown the skin of a chicken, for example, you must not put to many pieces in the pan at the same time. Overcrowding will cause whatever you are cooking to steam and not brown. So try not to be in too much of a hurry.  Put a couple of pieces in the pan at a time, and you will get the brown, crispy skin you desire.

Overcooking vegetables: Do you remember eating vegetables as a child that were mushy and disgusting? That is probably because they were! When cooking vegetables, take them off the heat when they become bright and beautiful. They will continue to cook after you have removed them from the heat, so be sure to place them into a bowl filled with ice water to stop the cooking process.

Not reading the recipe before you start cooking: You should always read the entire recipe before you begin cooking. If you don’t, you may omit entire steps or ingredients. Read all the information given at the top of the recipe. And always get into the habit of gathering your “mise en place” (ingredients) before you begin to cook. Trust me, this will make the entire process go so much faster and smoother.

Not understanding the difference between a boil and a simmer: A simmer is when there are small bubbles that rise to the surface every few seconds. A boil is when the water is rapidly bubbling. The difference can ruin a dish. For example, meat that is going to cook a long time must be on a simmer. If you boil it to speed up the process, you will end up with meat that you will not be able to chew! It will be too dry and tough. Get started early and let the meat simmer. Your cooking skills will shine if you do.

Not waiting for the pan to heat: Heat your pan before you put in the oil, and let the oil heat before placing anything in it. A hot pan is essential to creating crusts on meat, fish or poultry. If you place any of these in the pan before it gets hot enough, it will result in food that has no sear and no sizzle. You will have sad, pale meats and seafood that is overcooked and dry.

Under-salting the water for pasta: This is so important. The salt flavors the pasta. If you do not salt the water, your pasta will taste bland, no matter what kind of sauce or how much sauce you dress it with. You should use about 2 tablespoons of salt for every pound of pasta.

Not tasting as you cook: I am sure all of us have a mother, grandmother or someone who has told us this! Tasting as you go makes a big difference in the outcome of your food. Recipes are not always perfect. Using your own judgment and taste can turn a mediocre meal into a delicious one.

Do any of you have your own cooking mistakes? If you do, I would love to hear from you. Please share!

I hope these help!

It’s that simple!

Garden friends
signature

[recaptcha]


We all have funny cooking mistake stories. I know I do, and plenty of them! In fact, you have to make mistakes in order to become a good cook. Whether they are embarrassing gaffes that happen while you have company, or while you are alone cooking dinner, the fact is that they do happen.

It doesn’t matter if you are a cooking novice or an expert chef, it is inevitable that missteps will occur. You find a recipe, buy all the ingredients, and start out with good intentions. It doesn’t always end up perfectly. Relax, you are in good company.

Just this past Mother’s Day, I was making Shelley’s noodle pudding. I must have made this recipe at least fifty times.  I have even posted it on my blog. I measured out all the ingredients and began preparing it. As I was making the filling, I realized that I had neglected to put in the proper amount of cream cheese.

What was I to do? Well, I put on a pair of gloves, unwrapped another package of cream cheese and tore it apart into little pieces. I put each piece into the noodle mixture and mixed it in by hand, squishing each piece as I combined it. Guess what? Yup. It came out just as perfectly as it would have had I done it correctly the first time.

So, whether you over-salt the soup, overcook the meat, forget an ingredient, or pour out the chicken soup as you are straining it, I promise it will, make you a better cook. You will learn from your mistakes (I have made all of the above). 

These cheese puffs below are the most delectable, delicious little bites. There are addicting! Really, you can’t eat just one. Just a note: when placing the batter into the pastry bag (if you are an inexperienced baker, like me), put in only up to a third of the bag at a time. You need to have room to twist the bag in order to get the batter out ( I learned this the messy and hard way!).  If you do not have a pastry bag, you can use a ziplock bag and cut off one of the points at either end of the bag. This would be a great appetizer for any party and you can probably make them in advance and freeze them. Whatever you do, these are a “must try”. Ina never disappoints.  \                                                 

This recipe is courtesy of Ina Garten and will make about 30-40 puffs that will leave your guests begging for more!

Ingredients for Cheese Puffs

1 cup milk
1/4 pound (1 stick) unsalted butter
1 tsp. kosher butter
1/8 tsp. freshly ground black pepper
Pinch of nutmeg
1 cup all-purpose flour
4 extra-large eggs
1/2 cup Grated Gruyere, plus extra for sprinkling
1/4 cup freshly grated Parmesan 
1 egg beaten with 1 tsp. water, for egg wash

Preheat oven to 425.

Line 2 baking sheets with parchment paper.

In a saucepan, heat the milk, salt, pepper, and nutmeg over medium heat, until scalded. (I waited for it to simmer).

cheese puffs milksalt pepper nutmeg

Add the flour all at once and beat vigorously with a wooden spoon until the mixture comes together. The flour will begin to coat the bottom of the pan (when this happens).

Dump the hot mixture into the bowl of a food processor fitted with the steel blade.

Immediately add the eggs, Gruyere, and Parmesan and pulse until the eggs are incorporated and the dough is smooth and thick.

chesse puffs eggs cheese in processor

Spoon the mixture into a pastry bag fitted with a large plain round tip.  (note: Spoon small amounts of the mixture into the pastry bag at a time. You need the space to be able to twist the bag in order for the mixture to come out)

Pipe in mounds 1 1/4 inches wide and 3/4-inch high onto the baking sheets. (You can also also use 2 spoons to scoop out the mixture and shape the puffs with damp fingers).

cheese puffs on baking sheet

With a wet finger, lightly press down the tips at the top of each puff.

Brush the top of each puff lightly with egg wash and sprinkle with a pinch of Gruyere.

cheese puffs egg brushed

Bake for 15 minutes, or until golden brown outside but still soft inside.

It’s that simple!

signature

[recaptcha]


Now that the weather is finally cooperating and there are warm and beautiful days ahead, we can start eating healthy again. Of course, bathing suit season is right around the corner, which provides an enticing incentive!

Eating healthy means carefully planning what you consume. Nutrient-packed foods, such as whole grains, lean protein and fruits and vegetables are essential components of a healthy diet. You should alternate your vegetables to make sure you are getting a balance of nutrients by eating a mixture of colors, like spinach and kale, green and yellow squash and red and yellow bell peppers. Variety is a good way of knowing you are getting all the nutrients you need. And, of course, drink lots of water (but I know you already know that).

This recipe is a good way to start eating healthy. The whole wheat pasta is a good choice, but be careful and read your ingredients. I discovered an even better choice. For this recipe I used Ezekiel Food for Life Sprouted Grain Pasta -Spaghetti. You can actually pronounce and understand each ingredient. It is an all natural pasta I heard about from researching nutrition and all natural ingredients. There are a lot of foods out there which contain bad food additives. Read the labels carefully!

Whichever pasta you choose, I am sure you will be making this recipe again and again. After all, who doesn’t like puttanesca sauce? Easy-peasy! 

This recipe is courtesy of allrecipes.com and will serve 4 people who will love this new way of eating kale!

Ingredients for the Kale Puttanesca

1/2 (16 ounce) package whole wheat angel hair pasta
2 tbsp. olive oil
1/2 large onion, sliced
2 cloves garlic, minced
1 tsp. red pepper flakes
1 tbsp. drained capers
1 (2 ounce) can anchovy fillets, drained and quartered
1 cup canned diced tomatoes, undrained
2 cups coarsely chopped kale
1 (4 ounce) can sliced black olives
1/2 cup grated Parmesan cheese, or to taste

Bring a large pot of lightly salted water to a boil. 

Add pasta and cook for 8 to 10 minutes or until al dente;drain.

Meanwhile, heat olive oil in a large skillet over medium-high heat. Add onions, garlic, and red pepper flakes.

Cook and stir until the onion has softened and begins to turn golden brown, about 5 minutes.

kale puttanesca onions cooking

Stir in capers, anchovy fillets.

kale puttanesca capers anchovies

Bring to a simmer.

Stir in diced tomatoes and kale, and simmer over medium-low heat until wilted and tender, about 5 to 6 minutes.

kale puttanesca tomatoes and kale

Once pasta has been cooked and drained, stir into the puttanesca along with the black olives.

Toss and sprinkle with grated Parmesan cheese before serving.

It’s that simple!

Herb 2017
signature

[recaptcha]


When I first got married, I did not know how to cook. I was working full time, and soon had a child. That’s enough to “squash” anyone’s desire to come home and first start cooking (as many of you working mom’s would agree). Five years after my husband and I were married, we moved to Florida, near my sister-in-law Shelley and my brother, Stan. Shelley told me she would make the Jewish holidays and I should make Thanksgiving. WHAT? I didn’t cook for myself, my husband and child; how could I possibly make a holiday that many people would attend?

That was not even the worst of it. Shelley and her mom Julia were the best cooks I knew! Ugh! Nervous did not come close to describing how I felt. I was working full time. I had a kid. Make a holiday? Panic set in quickly. 

I don’t remember how many people came, maybe around 10-12. I am sure I must have called my mom to ask for some recipes. I started preparing the night before, and woke up very early that day to begin cooking. It was a crazy day for me, but I got it all done.

Shelley and her mother were very gracious guests. They told me everything I made was wonderful. Maybe it was, or maybe it wasn’t. I still felt very accomplished and basked in the glow of their praise. I did it! And, as it turned out, I enjoyed cooking very much. 

Who knew that 27 years later, I would still be making Thanksgiving. My family, no matter where they live, travel to my home. I feel honored that they all come and try to make it special each year. 

So if you are new to cooking, don’t be afraid, you will learn as you go. You will make mistakes, and that will be okay. Each time you cook, you will get better.  It will get easier and your cooking skills will expand and flourish.

Now let’s get onto the recipe for today. This is a wonderful side dish that has an interesting combination of ingredients. Its pleasant texture and creamy dressing is a wonderful accompaniment to any main dish. The dressing can be made in advance, so it would be a great dish to make for company or a holiday.

This recipe is courtesy of Bon Appetit and will serve 4 people who will love this refreshing salad with the creamy, yummy dressing.

Ingredients For Broccoli-Quinoa Salad

Buttermilk Dressing

3/4 cup buttermilk
2 tbsp. olive oil
2 tbsp. vegetable oil (I omitted this)
1 tbsp. finely grated lemon zest
1 tbsp. fresh lemon juice
1 tsp. unseasoned rice vinegar
Pinch of freshly ground black pepper
1 tsp. fine sea salt (or more to preference)

Salad

1 shallot, finely chopped
2 small heads of broccoli, cut into bite-size florets
1 cup white, red, or black quinoa
1/2 cup coarsely chopped parsley ( I would use less, about 1/4 cup, this overpowered the salad)
1/4 cup coarsely chopped tarragon

For the buttermilk dressing:

Whisk buttermilk, olive oil, vegetable oil, lemon zest, lemon juice, rice vinegar, pepper and 1 tsp. salt in a medium bowl. Taste and season with more salt if needed.

Broccoli quinoa dressing

(Dressing can be made 5 days ahead. Cover and chill).

For the salad:

Stir together shallot and 2 tablespoons buttermilk dressing in a small bowl. Set aside.

broccoli quinoa shallots and dressing

Cook broccoli in a large pot of boiling salted water until crisp-tender, about 1 minute. Using a slotted spoon, transfer broccoli to a bowl of ice water; let cool.

broccoli quinoa broccoli cooking

Drain and place on a kitchen towel-lined baking sheet.

Meanwhile, return water in pot to a boil and cook quinoa until slightly al dente, about 12 minutes; drain.

Toss quinoa and 2 tablespoons buttermilk dressing in a large bowl to coat; season with salt. Let cool.

broccoli quinoa quinoa with dressing

Add dressed shallot, broccoli, parsley, tarragon, and 2 tablespoons buttermilk dressing to quinoa and toss to combine. Season with more salt if needed.

It’s that simple!

signature

[recaptcha]