Finally, warmer days are here! It has been such a cold winter, and we all have had our fair share of take-out. This pandemic has made us look at winter a little differently. In the winters before covid, we would hibernate and stay indoors doing our usual chores and working out at our gyms.

But it is different now. Many of us have been eating outdoors at restaurants to get a change of scenery, and to avoid the tedious chore of cooking for just one day. I see people sitting in the freezing cold outside restaurants, in their warmest clothes and blankets for their legs, trying to stay warm and have a nice dinner at the same time. Yurts, greenhouses, igloos, tents and all kinds of partly open outdoor structures have popped up at restaurants around the country. To serve customers on patios or sidewalks, restaurant owners are coming up with creative adaptations that can make dining possible in the frigid depths of winter.

In the interest of the not freezing part and not getting COVID-19, if you decide to visit a restaurant, you need to do some planning– find an outdoor setup that offers some shelter, plan an outfit to battle the elements, choose dishes that won’t get cold as soon as it hits the table (or plan to eat cold dishes). Getting a table used to be the main concern, but now you have to think about wind chill and the chance of snow.

Some eateries are attempting to extend outdoor dining into the colder winter months, setting up heated tents that might allow patrons to enjoy a meal without fear of contracting the novel coronavirus. Not all outdoor dining structures are created equally, says Richard Corsi, an air quality expert and dean of engineering and computer science at Portland State University in Oregon. “There’s a wide spectrum,” Corsi says. “The safest that we’re talking about is no walls — a roof. And then the worst is fully enclosed — which is essentially an indoor tent — especially if it doesn’t have really good ventilation and good physical distancing.”

We really longed to get out of the house, even if it was a little on the cold side just to get some relief from cabin fever. Even my husband, who is not an avid gym rat, has been taking walks, sometimes on very cold days because he needed the fresh air. Working all day in the office and having to be home on the weekends has transformed him into a walker willing to brave the cold just to be outside. I too, have found myself going out for a run in temperatures that would have had me bundled up in front of the fireplace. Getting outside has been essential to our health these days.

Hopefully, the warm weather may be here to stay, but don’t get too excited about it. I hear that we have more cold weather and some more snow (oh, no!) coming in the months ahead. I have noticed through the years that it usually snows sometime around Easter, so I am ready for it. But let’s face it, we could use a break and maybe the warm weather will return a little earlier this year. Remember, even our definition of cold has changed, and what we thought was freezing before may just be perfect for dining outside. Here ‘s hoping for a warm spring, we deserve it.

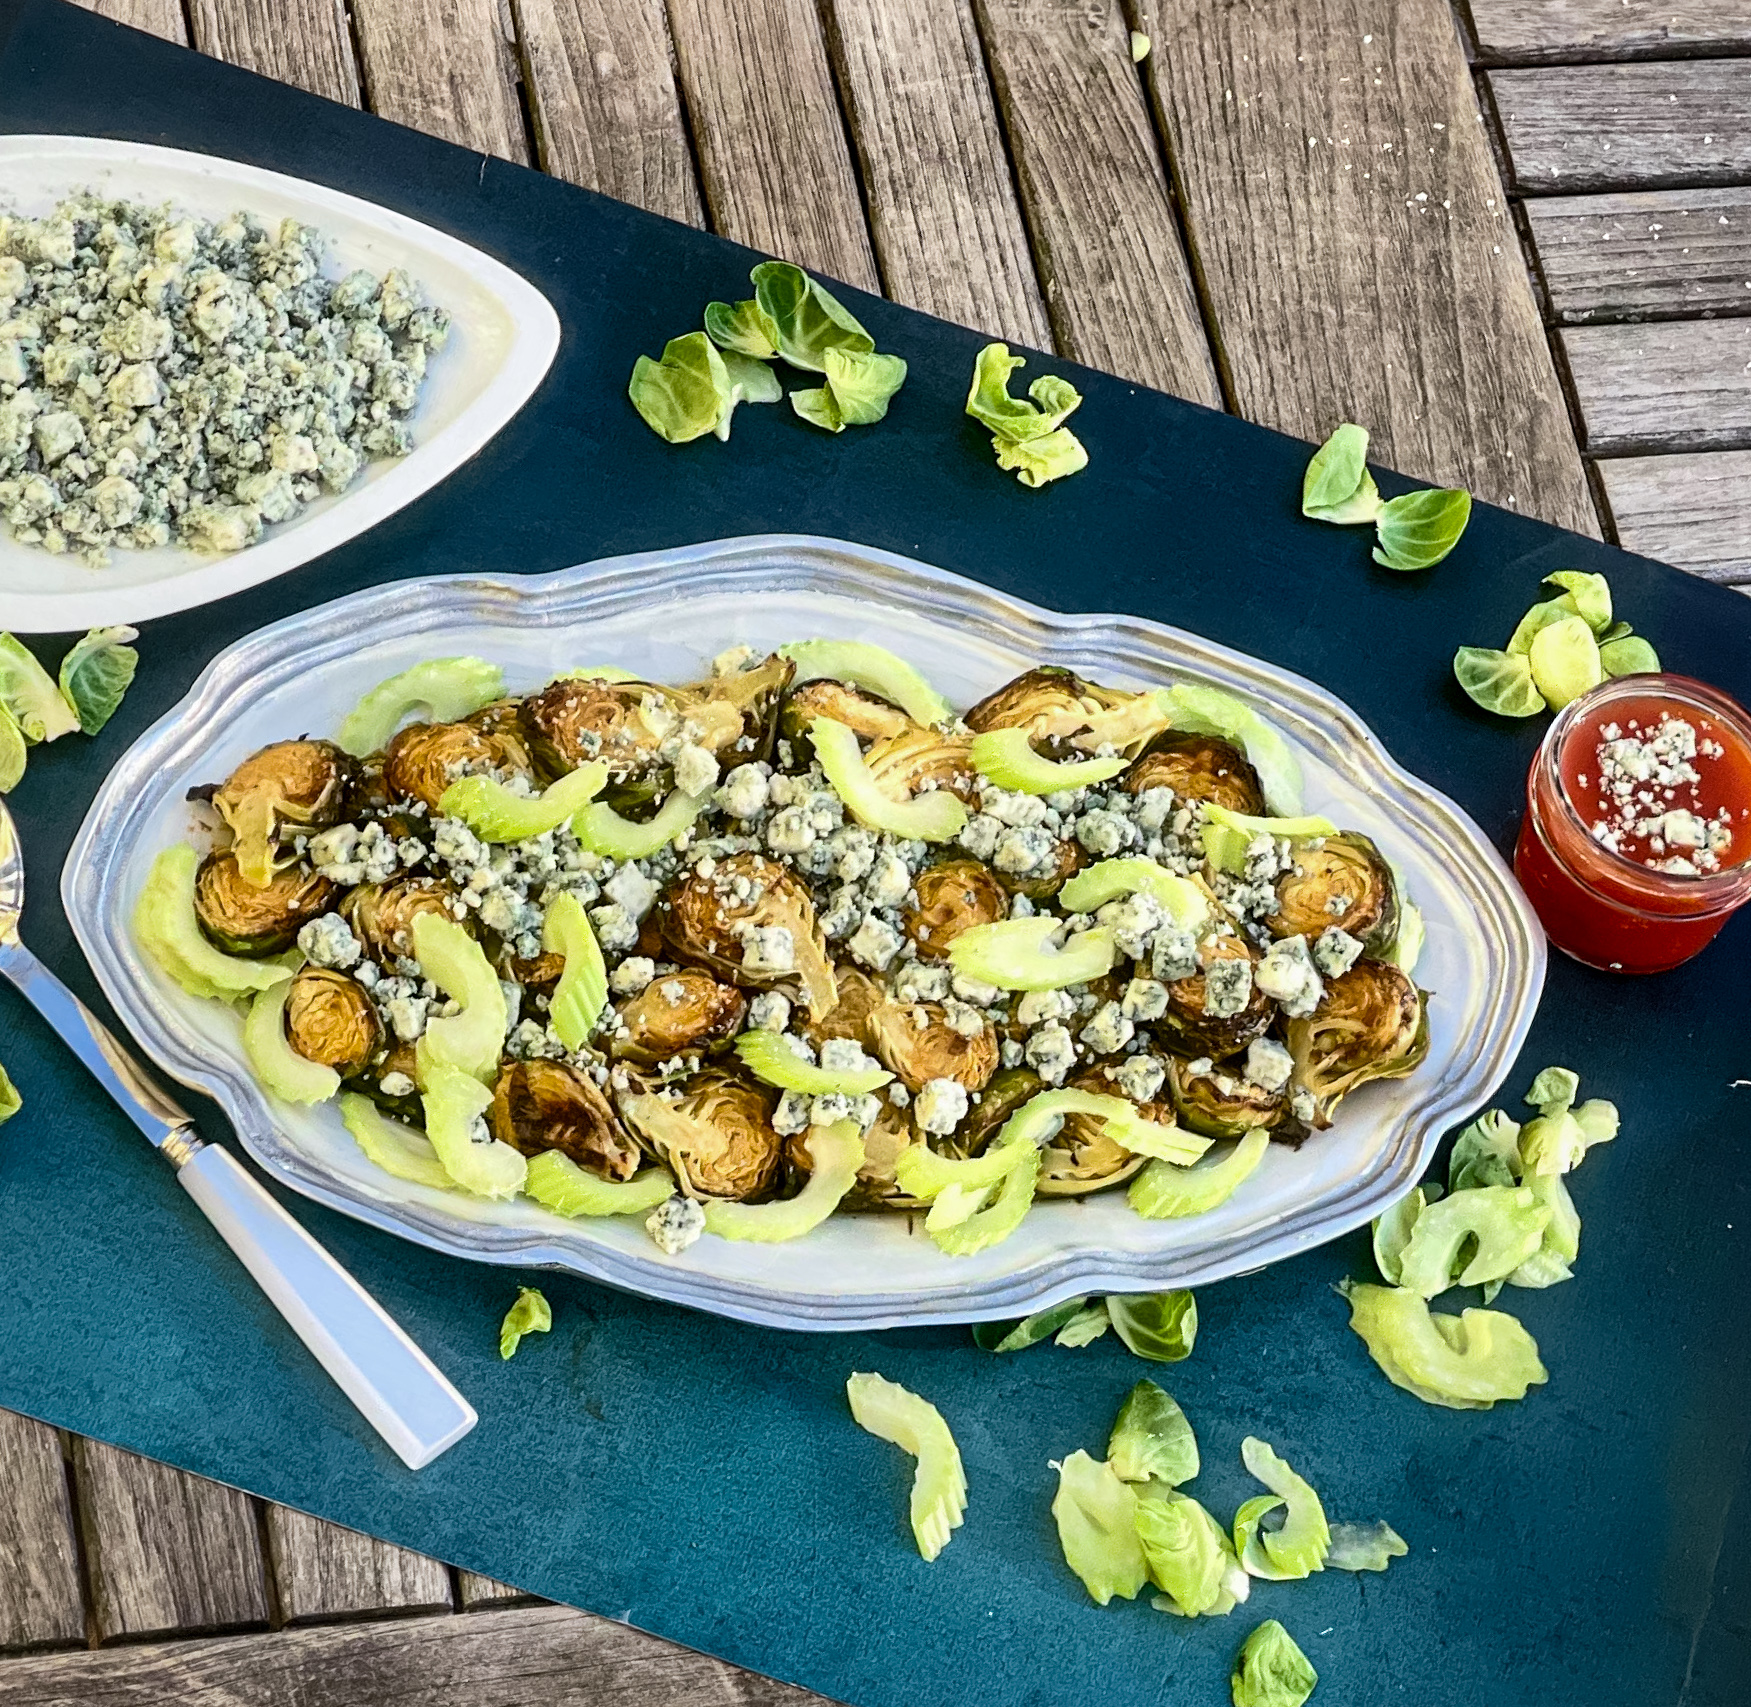
Now this is a recipe that is perfect for any cold, winter day, but you’re going to want to make it all year long. It takes Brussels sprouts to a whole new level– they are transformed into a wonderful, delicious side dish.  They are roasted to caramelized perfection in the oven, then coated in a combination of butter and hot sauce, making them appealing to even the worst Brussels sprout hater. The result is a side dish (or you could even use them as an appetizer) that even your kids will enjoy and so will you. I loved this dish because anything with hot sauce is a winner for me!

This dish is courtesy of Simply Julia, by Julia Tursten and will serve 4 people who can’t help going back for seconds.

Ingredients for Buffalo Brussels Sprouts:

1 1/2 pounds Brussels sprouts, tough outer leaves trimmed
3 tablespoons extra-virgin olive oil
1/2 teaspoon kosher salt, plus more if needed
3 tablespoons unsalted butter, melted
2 tablespoon hot sauce
1/3 cup crumbled Gorgonzola cheese
1 large celery stalk, thinly sliced on the diagonal, plus a few celery leaves for garnish

Preheat your oven to 450 degrees F.

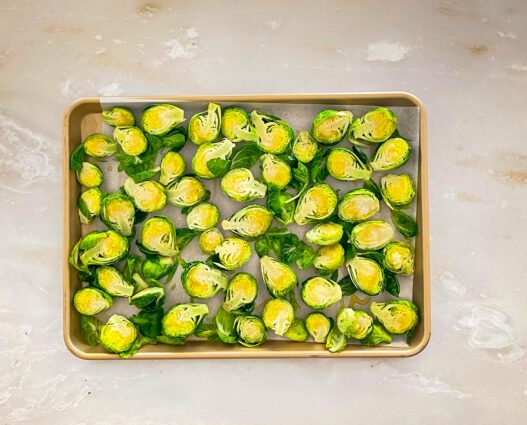
Place the Brussels sprouts on a sheet pan.

Drizzle with the olive oil, sprinkle with salt, and mix with your hands.
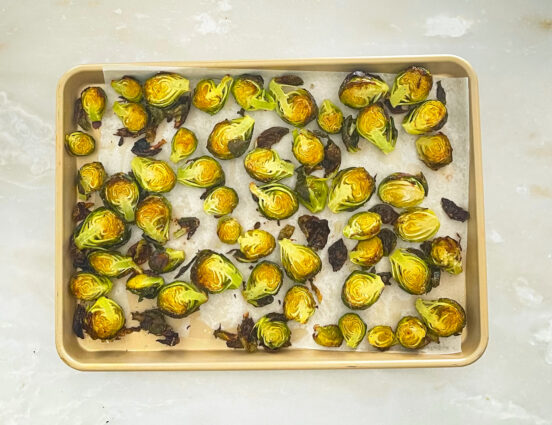
Roast the Brussels sprouts, stirring them once or twice while they cook, until they are softened (test with a paring knife) and also dark brown and crispy, about 20 minutes.
Meanwhile, place the melted butter and hot sauce in a large bowl and stir well to combine.
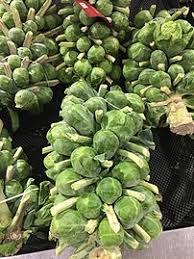
Transfer the hot Brussels sprouts to the butter mixture and toss well to combine. 

Season the sprouts to taste with additional salt if needed.

Transfer the sprouts to a serving platter.

Sprinkle evenly with cheese, celery, and celery leaves.

Serve hot.

It’s that simple! 
signature

[recaptcha]


In this past year, we’ve learned that kindness counts. I have been the recipient of so many acts of kindness this past year. In our busy lives, we face stressful situations every day, whether it is sitting in traffic, standing in a long line at the store, or giving special attention to kids that need homeschooling.  Though it might sound counterintuitive, focusing on doing nice things for others can give you a break from your own problems. Altruism enables us to cope better with stressful situations, and provides us with a better state of mind to tackle whatever comes next.

Do you watch TV and see the commercials to give to wounded war veterans, animal rescues, and sick children? These commercials break my heart, and I want to give to all those in need. Abused pets in particular pull at my heartstrings.  You do not have to make a huge donation, because whatever you choose to give will help the organization and make you feel happy that you helped.  Just be sure that you do your research and pick organizations that are going to use your money for the right reasons.

Being kind to others also affects your heart. It stimulates the production of oxytocin, which causes the release of nitric oxide in blood vessels, which in turn dilates the blood vessels. It is known as a cardioprotective (serving to protect the heart) hormone because it reduces blood pressure. It is said that caring people have really big hearts – this is so true as kindness strengthens your heart physically and emotionally!

Being nice to others can be one of the easiest, quickest, and most inexpensive ways to keep anxiety at bay. It calms the mood and takes the focus off yourself. There are several ways to reduce anxiety, such as prescription medications, homeopathic remedies, meditation, and exercise, but the most natural way is just to be kind. This small change leads to many good things such as improved self-esteem, happiness, better relationships with others, and better physical and mental health. During this crazy time, I cannot even count the random acts of kindness I have received and I am grateful for each and every one.  I always thank the person for their thoughtfulness, promise to pay it forward, and make sure I actually follow through. Even during your darkest mood, try to be kind, do something for others, and I promise it will make you feel better.

If you really want to make someone feel better, make this recipe and bring it to your office, to your friend’s house, or to an elderly person in need of company. Even the name of this recipe makes you feel good. The buttermilk and oil ensures a rich, moist interior that explodes with delicious peanut butter goodness. It is just the right amount of sweet, with subtle hints of vanilla in every bite. The icing is the star of this cake. It is creamy with a smooth texture that compliments this cake perfectly. Do not forget to put on the flaky salt, it makes this cake so satisfying and scrumptious, and looks so fancy. 

This snacking cake is courtesy of Yossy Arefi and will help you do an act of kindness for 8 to 12 people. 

Ingredients for Salty Caramel Peanut Butter Cake:

For the Cake:

¾ cup packed light brown sugar
2 large eggs
½ cup creamy peanut butter
½ cup buttermilk
½ cup canola oil
1 teaspoon vanilla extract
½ teaspoon kosher salt
1¼ cups all-purpose flour
½ teaspoons baking powder
¼ teaspoon baking soda

For the Fudgy Caramel Icing:

¼ cup unsalted butter
½ cup packed light brown sugar
¼ cup heavy cream
1 tablespoon water
Pinch of kosher salt
½ cup confectioners’ sugar
Flaky salt, to finish (optional)

Make the Cake:

Preheat oven to 350°F.

Grease a 9-inch round cake pan with cooking spray and dust with flour, set aside.

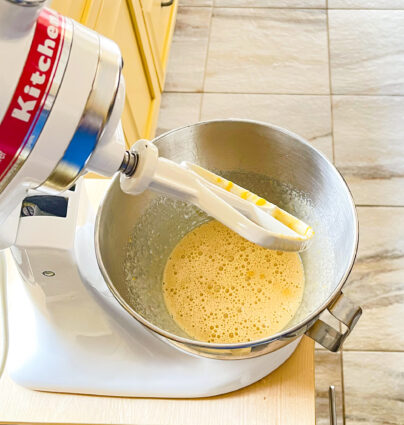
To make the cake, in a large bowl, whisk the brown sugar and eggs until pale and foamy, about 1 minute.

Stir in the peanut butter until smooth.

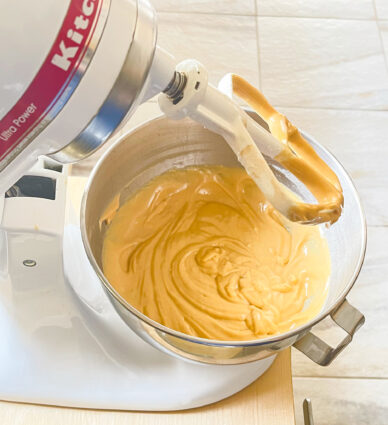
Add the buttermilk, oil, vanilla and salt.

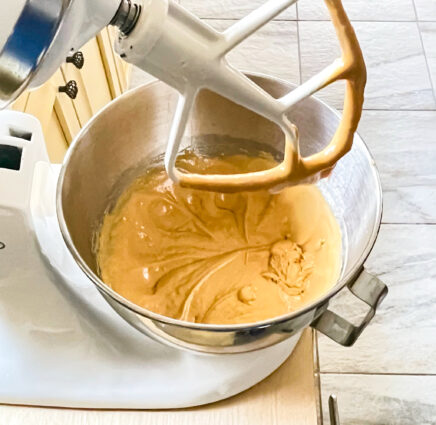
Whisk until smooth and fully emulsified.

Add the flour, baking powder and baking soda and whisk until well-combined and smooth.

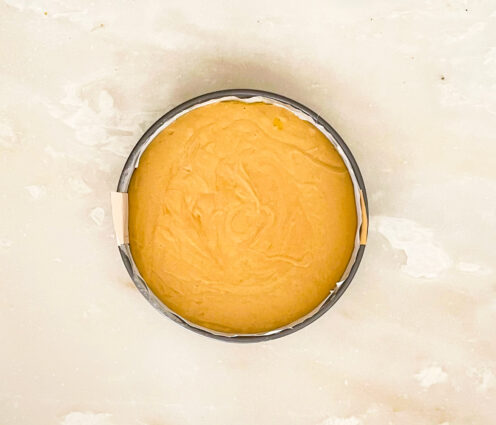
Pour the batter into the prepared pan, tap it gently on the counter to loosen any air bubbles, and smooth the top with an offset spatula.

Bake until puffed and golden, and a toothpick, inserted in the middle comes out clean, about 30 to 35 minutes.

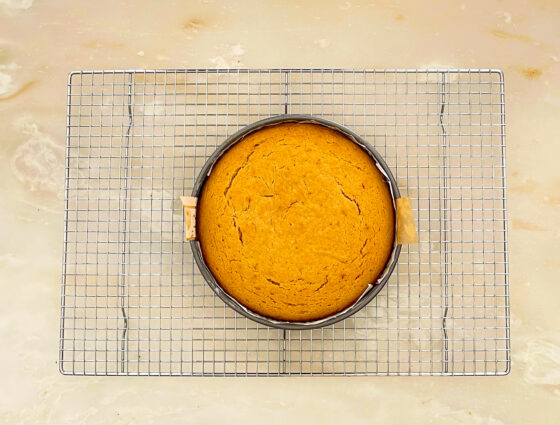
Remove from the oven and set on a wire rack to cool for 15 minutes.

Then invert and flip right side up onto a plate to cool completely.

Make the Icing:

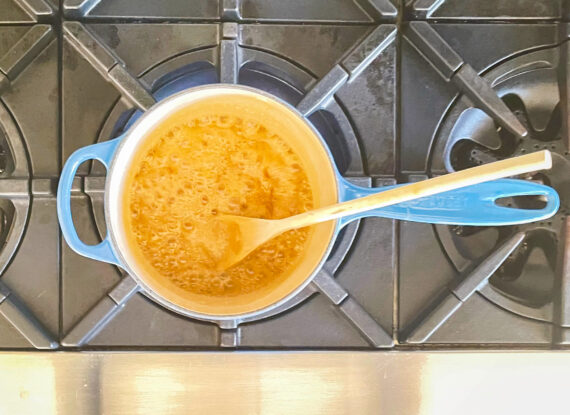
Melt the butter, brown sugar, cream and water together in a saucepan set over medium heat.

Bring the mixture to a full rolling boil and cook for 3 more minutes.

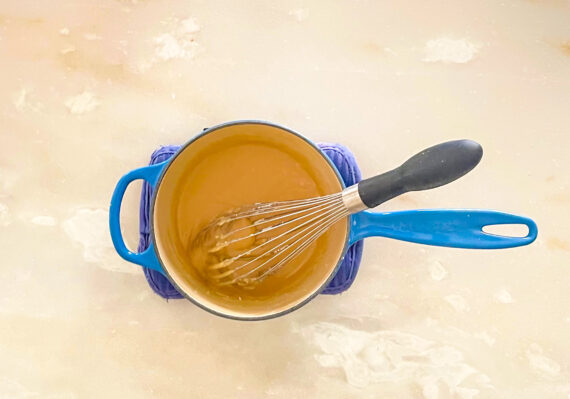
Turn off the heat and let the mixture cool for 3 minutes, stirring once or twice to cool it down slightly.

Whisk in the kosher salt and confectioners’ sugar until smooth.

Immediately pour and spread the icing over the cooled cake and sprinkle with flaky salt, if using.

Allow the icing to set for about 20 minutes before slicing and serving.

Store the cake, covered at room temperature for up to 3 days.

It’s that simple!
signature

[recaptcha]


Every day, it seems like there’s a new cooking tool.  So many things I didn’t even know I needed– garlic choppers!  Warming butter knife!  Potato press!  With all these devices for specific uses, it’s hard to remember that a kitchen really only needs a few basic tools. Here are a few that I know I cannot live without:

Wooden spoons: I hate the sound of a metal spoon scraping the pan. It drives me crazy. Not only that, but I worry about scratching the pan as well. I switched over to wooden spoons years ago, and never looked back. I only use the large metal spoons to move the food from the skillet to the plate because it is bigger than the wooden spoons. I also put my wooden spoons in the dishwasher (I find that it cleans them better). When they’re done in the dishwasher, I leave them on a towel overnight to make sure that they are dry before I put them away.

Large Dutch oven: They come in a range of sizes, but I recommend that you have at least a 7 to 8-quart size. They clean up so much easier than the stainless-steel pots (don’t forget the barkeepers friend!). They also conduct heat more evenly, so get a reliable result. The best thing about them is that you can cook a wide variety of recipes from vegetables to a small pot roast. They easily transfer to the oven, (okay, so they may be a little heavy) but they are so convenient when you have to put a meal on the table fast.

Rimmed baking sheets: These are incredibly useful for a variety of cooking, roasting, or baking. They can be a little tough to clean up, so I always line them with pre-cut parchment paper. It made my cooking time so much faster.

Microplane grater: Zest any kind of fruit to add a little extra to your dish. It really compliments any dish you are preparing and makes the flavor really pop. You can also use it for cheeses, garlic and whole spices like nutmeg or cinnamon. 

Mixing bowls: I have a ton of them and use so many when I cook. Buy the lightweight ones that you can easily move around the kitchen.  It can help to have a few with handles too!

Cutting boards: Many people recommend the wooden ones, but I find that they are heavy.  I need more than one at a time, so I have a combination of plastic and bamboo, which is lightweight and easy to clean.

Salt box: Whether you are using a pinch of salt or measuring out a specific amount, this is a great way to keep salt at hand. 

Spatula: I have accumulated so many throughout the years. I have all different sizes and use them for everything. Make sure the spatulas you buy are heat resistant, otherwise they can melt on your stovetop!

There you have it. At least some of the important ones. There are so many, I couldn’t possibly put them all in one blog. Stay tuned for more to come!

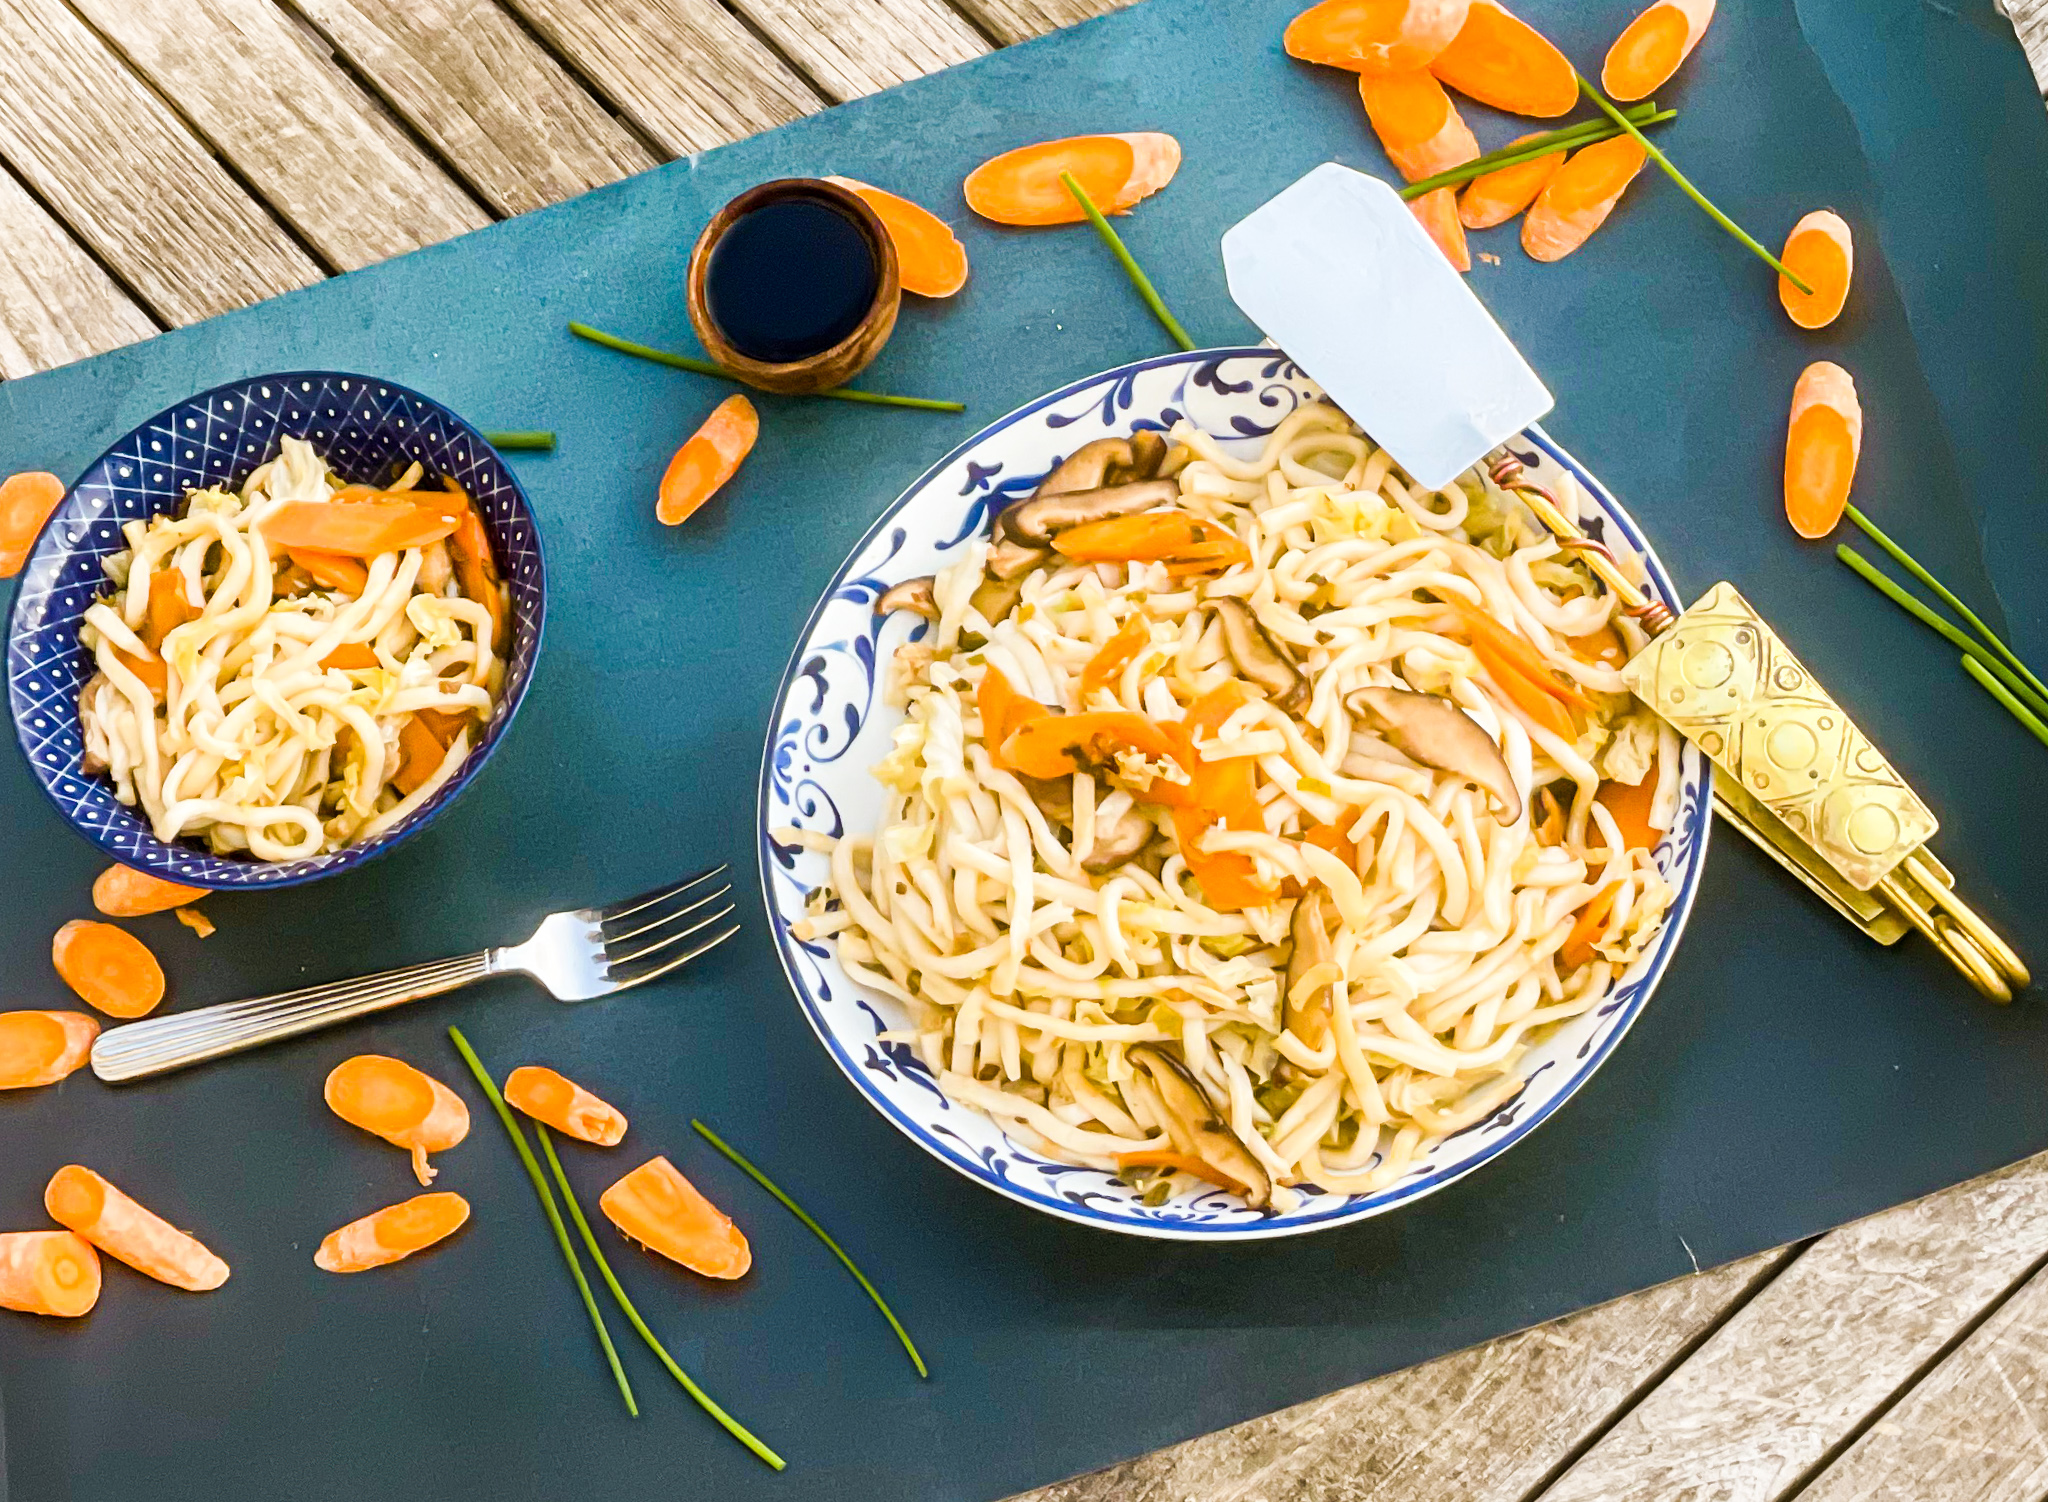
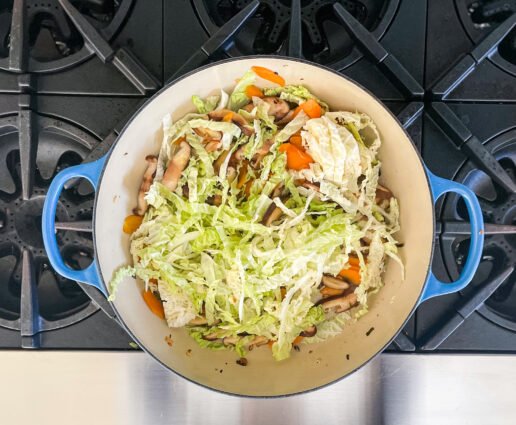
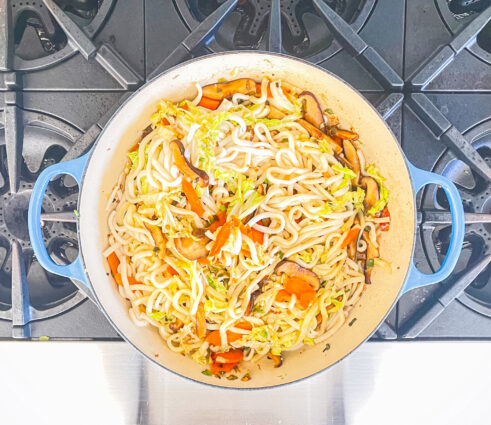
If you already have some of the items listed above, you can put them to use with this dish.  I’ve been favoring Asian-inspired dishes lately, since they are relatively easy to make and my picky family agrees that the flavors are delicious! This dish is jam packed with so much flavor. The two different oils blend perfectly together, while the scallions, garlic, and ginger make this a hearty, savory dish. The jalapeno adds just the right amount of heat for a cold evening. The cabbage and mushrooms add an additional depth of flavor and the peanuts are the perfect topping for these noodles. This versatile dish can be a side or main, depending on what you need. Do not miss making this one. 

This dish is courtesy of Anne Burrell, one of my favorite chefs, and will serve 4 people who will savor the gentle heat of this comforting dish.

Ingredients for Stir-Fry Noodles with Jalapenos and Peanuts:

1 pound fresh noodles
1 teaspoon sesame oil
1 teaspoon peanut oil
3 scallions, white and green parts separated and sliced on the bias 
2 cloves garlic, smashed and finely chopped
One 1-inch piece fresh ginger, peeled and finely grated 
1/2 jalapeno, seeded and cut into brunoise
2 medium carrots, julienned 
4 ounces shiitake mushrooms, stemmed and sliced
1 cup napa cabbage, chiffonade 
2 tablespoons soy sauce
2 tablespoons rice wine vinegar
1/4 cup peanuts, coarsely chopped

Bring a large pot of salted water to a boil.

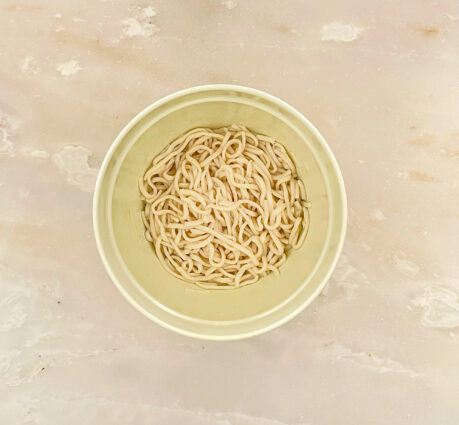
Toss in the noodles, swishing them around with a pair of tongs so they don’t stick together, and cook until soft, 5 to 6 minutes.

Strain and immediately rinse with cold water, and then transfer to a bowl and toss with the sesame oil.

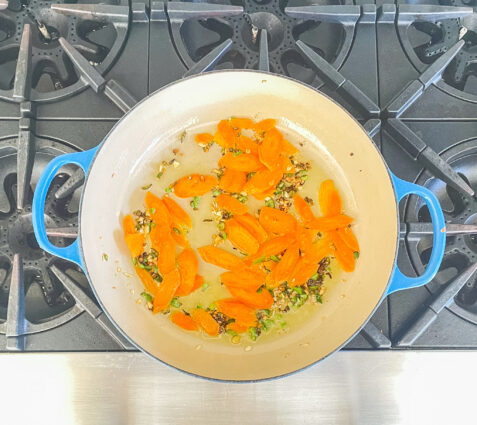
Coat a large straight-sided saute pan with the peanut oil and toss in the white scallions, the garlic, ginger and jalapenos.

Cook over medium heat, 1 to 2 minutes.

Toss in the carrots and cook until softened, about 2 minutes.

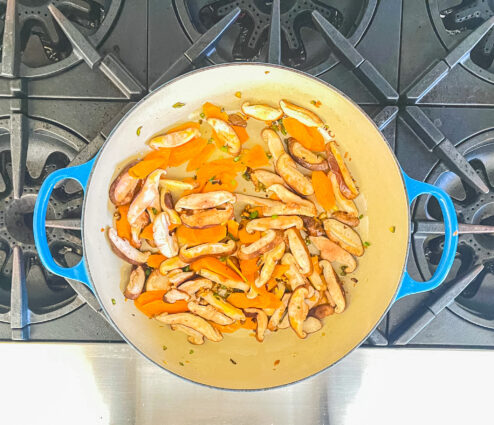
Toss in the mushrooms and cook until softened, 2 to 3 minutes.

Add cabbage and cook 1 minute longer.

Sprinkle in the green scallions.

Stir in the soy and rice wine vinegar.

Toss in the cooked noodles, stir to combine and cook until the noodles are hot and nicely coated.

Transfer to a serving dish and sprinkle with the peanuts.

It’s that simple!

signature

[recaptcha]


When you are planning a dinner for friends or family, it can be difficult to find appetizers that are easy, delicious, and not too messy. Before you decide what foods you want to prepare you must know how many guests will be joining you. If you are having ten guests, three appetizers will be sufficient. If you are having more, just increase the number of appetizers by two. So, for 10 to 15 guests, five to seven appetizers will be plenty.

Appetizers come in a wide variety of flavors. They can be sweet, salty, hot, cold, and everything in between. The appetizers should be chosen carefully, because you don’t want them to overwhelm the meal you are serving. People usually come hungry, and the appetizers are consumed with a vengeance, especially if you choose the right ones. You’ll want to pick a variety, so that all you guests have at least one choice to eat.

Before anything else, you should choose your main course. After that, you can pick appetizers that complement the main course. Keep it simple, and save your worry for the main course. Alternate heavy, concentrated dishes with simple, fresh ones. Find ones that contrast each other in color and taste. For maximum convenience, you can serve a beautiful array of vegetables with creamy dips or cheeses with a combination of fruits and meats.

Appetizers should be lively and varied. Plan them ahead, and choose ones that you can make and freeze, making it less stressful to get them on the table in time for your guests to arrive.  Take them out of the freezer in the morning, and they will be ready to pop in the oven just before your guests arrive. Couldn’t be any easier.

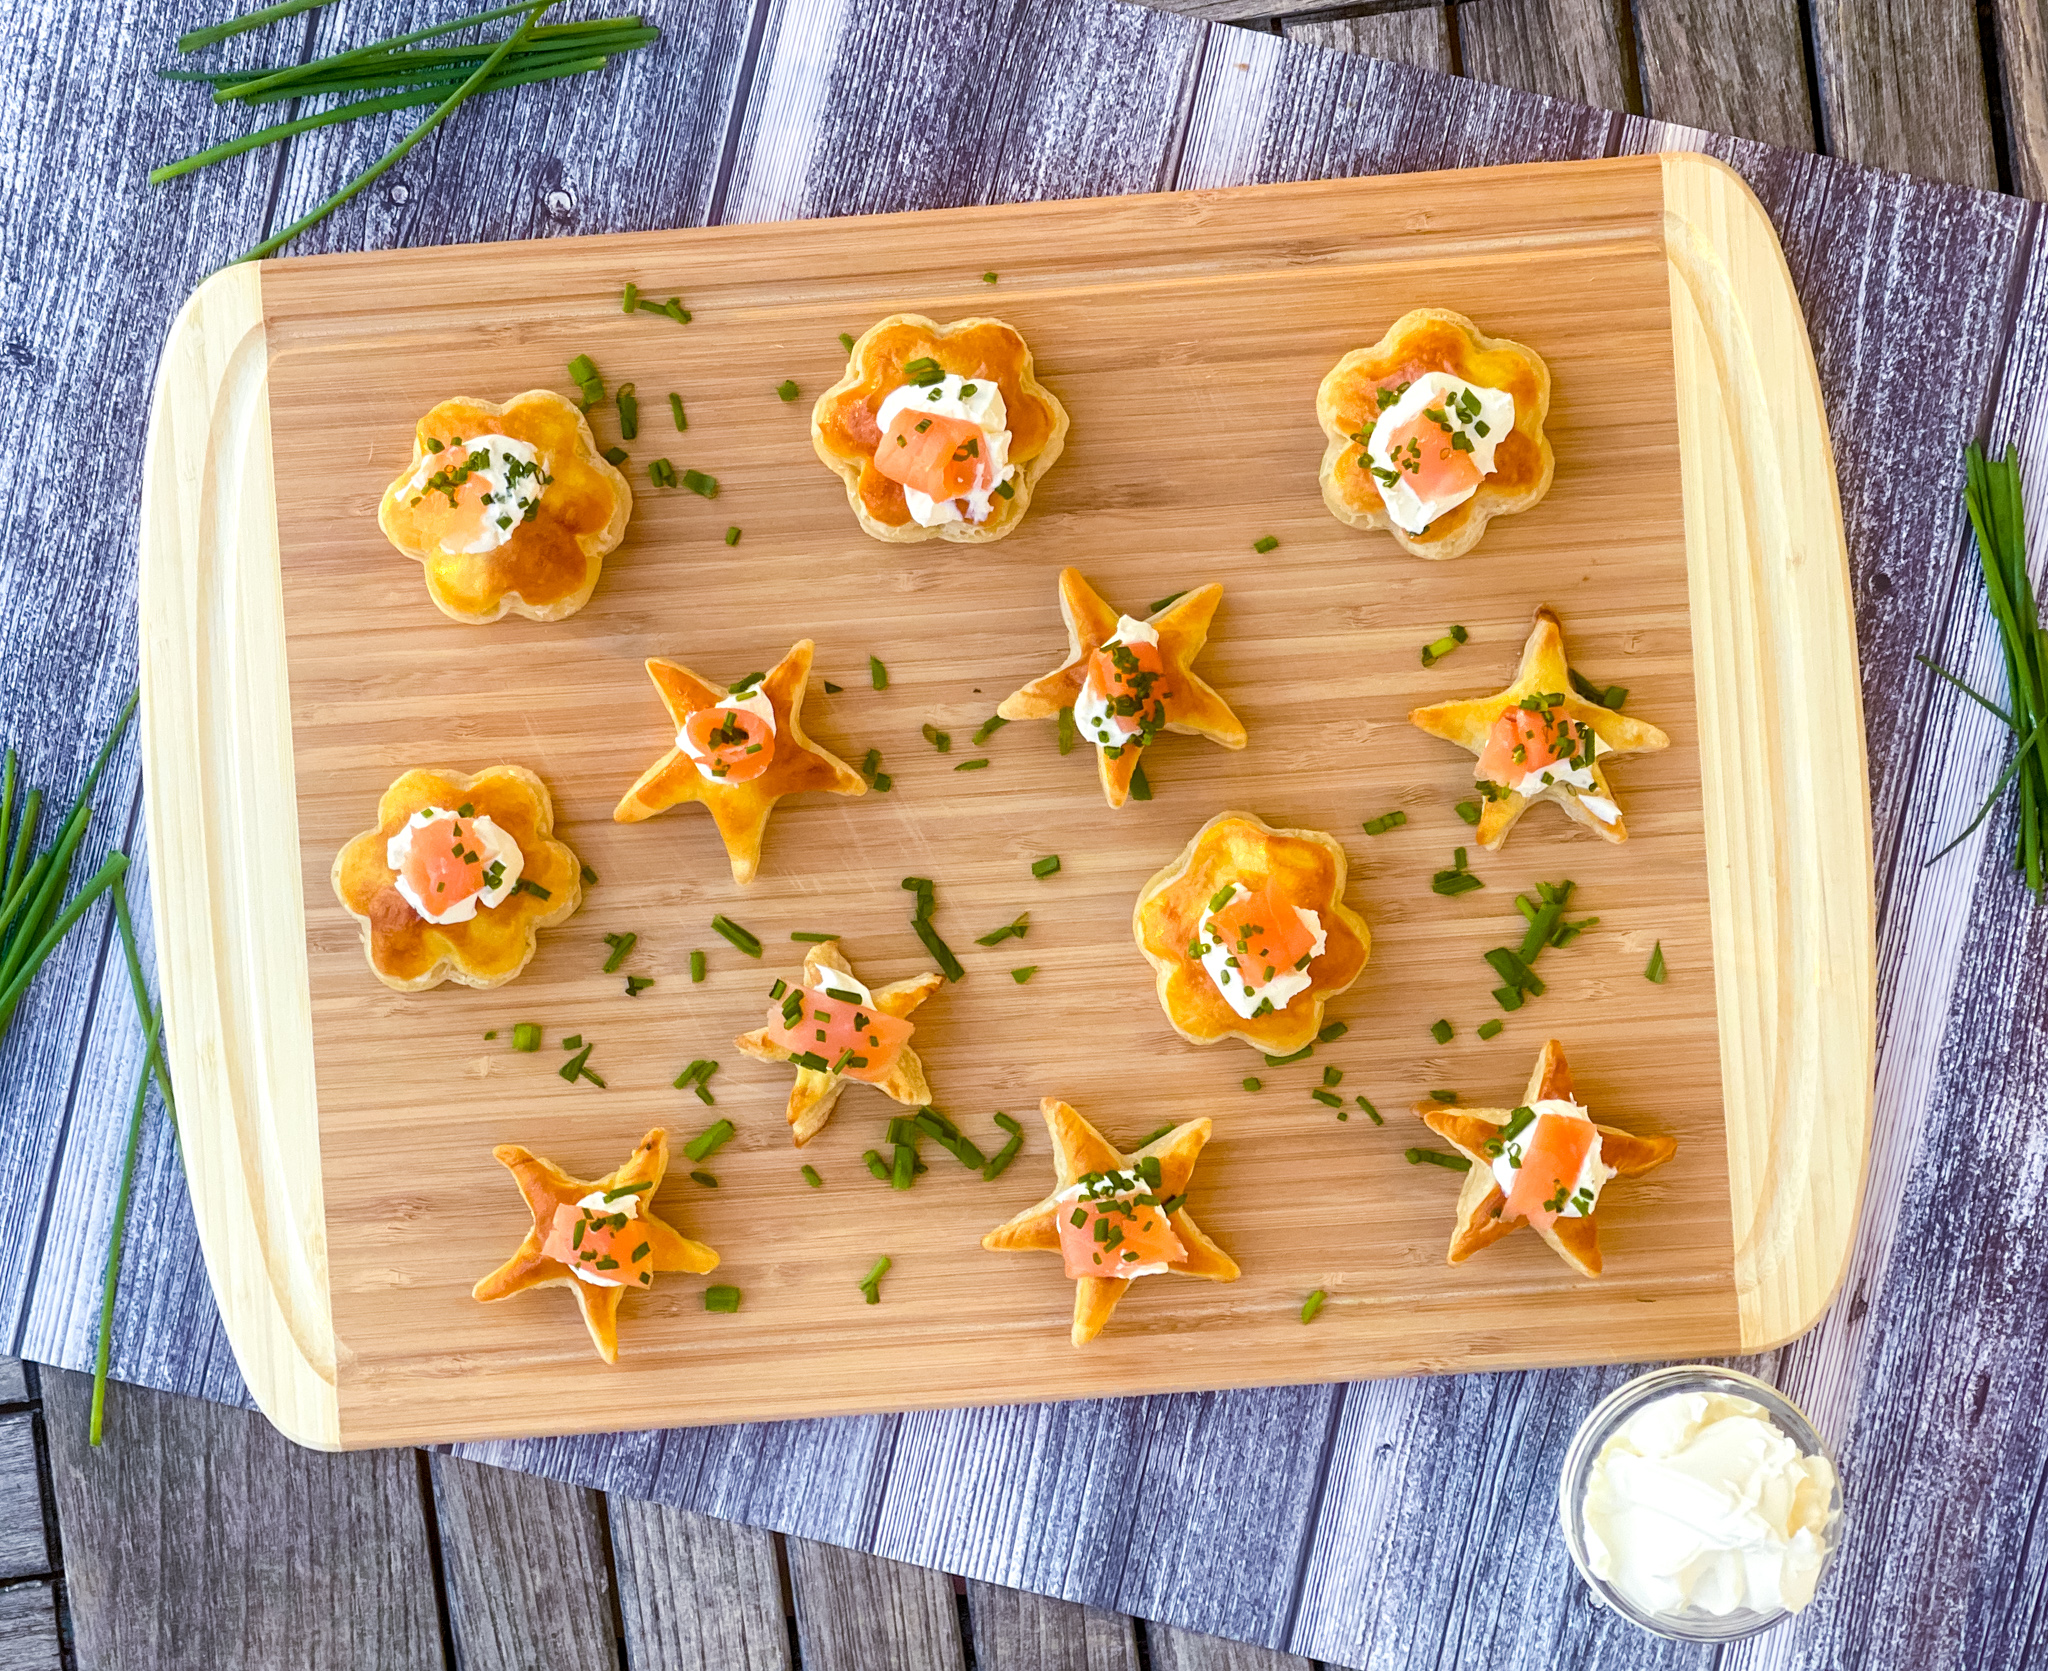
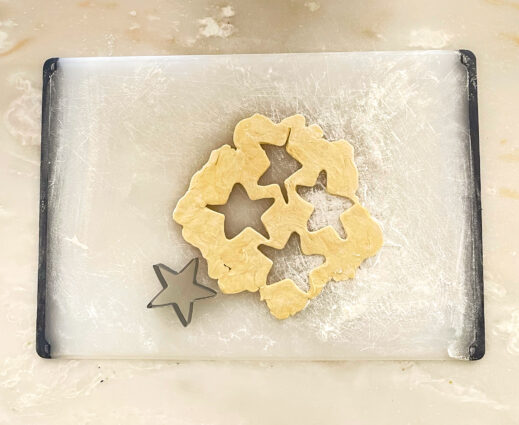
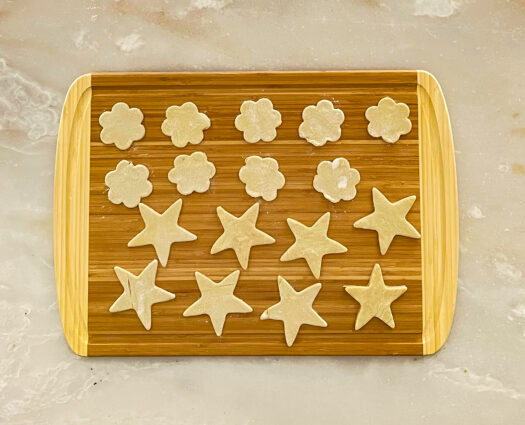
Now here is a recipe that Ina Garten uses in her chicken soup. I am changing that up, because I know they will be terrific for an appetizer, and they are so easy. These are a crowd pleaser for sure. The puff pastry bakes up to make these delicious little puffs of yummy bite-size treats– no soup needed! They are topped with a combination of eggs and cream, giving them a pretty shine and delightful flavor. You can add some chives, smoked salmon or scallions on top, or any topping of your choice to make them even more delectable, and perfect for any dinner party. Try cutting them out using different shapes for a beautiful presentation. Easy-peasy. These are a must try!

This recipe is loosely adapted from Ina Garten and will make 12 lovely pastries that all your guests are sure to eat up!

Ingredients for Puff Pastry Croutons:

½ (17.3-oz) pkg frozen puff pastry (such as Pepperidge Farm), thawed
Flour, for dusting
1 extra-large egg, beaten
1 Tbsp heavy cream
Kosher salt and freshly ground black pepper, to taste

Preheat oven to 400°F. Line a sheet pan with parchment paper.

Lightly dust a board and rolling pin with all-purpose flour.

Unfold puff pastry. Lightly dust with flour and lightly roll to smooth out folds.

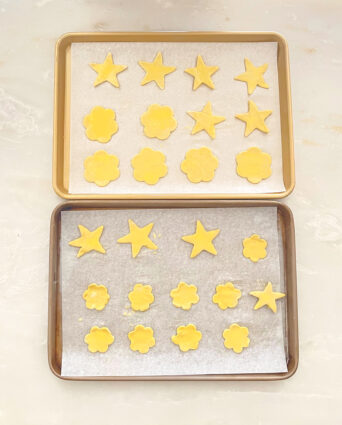
Use star-shaped or fluted round cookie cutters to cut out 12 stars or rounds.

Place on prepared pan.

Combine and cream; brush over tops of stars or rounds.

Sprinkle with salt and pepper.

Bake 8–10 minutes or until puffed and golden brown.

Notes: Defrost puff pastry overnight in the refrigerator. 

To make ahead, Prepare the pastry cutouts and refrigerate. Bake just before serving.

It’s that simple!
signature

[recaptcha]


Unfortunately, I don’t have any of my grandmother’s baking recipes. My grandfather was a baker, so I’m sure he had lots of good recipes, but none were saved or shared. There are a lot of recipes for main dishes, as my grandmother had eight children and had to prepare food every day to feed all of them. Of course, as the older sisters grew and learned from my grandmother, they took on the cooking and most of them became great cooks in the process. 

Traditionally, a grandmother figure is an excellent cook. I suspect that many of you watched your grandmothers flying around the kitchen, whipping up wonderful creations that could feed an army of people.  Some of us, try as we might, can’t seem to replicate the taste and smell of those special recipes. 

Perhaps that’s because some of us never took a home economics class. I remember taking this required class when I was in high school, and though I never liked the class, I did learn basic cooking and sewing skills.  Unfortunately, schools dropped this class from their curriculum years ago. These days, learning these basic skills is just a click away on the internet and you have to learn them by yourself. Of course, if you were lucky enough to have a Mom that did these things on a regular basis, you got in person lessons all the time.

Another reason that our moms and grandmothers were so good at these skills is because they often exchanged recipes and techniques with their friends, which is how their recipe boxes became full of wonderful recipes that some of us use today. Grandma also understood the importance of making things from scratch and never cutting corners. The great secret to their cooking was also to use full fat, something that has been eliminated from most of our diets today. She knew how to improvise if she didn’t have the correct ingredients on hand, and never skimped on salt or seasoning.

By the time we were eating our mother’s and grandmother’s recipes, she had been making these same dishes for decades. While we try to open our recipe box and duplicate them, we are missing the most important ingredient: experience. And as I have told you, you just have to get your hands dirty and try and try again, until you perfect them… and hand them down to your children in turn. If they’re lucky, they won’t have to use the internet to learn.

Here is one recipe that I think all of you will have success with. Made from basic ingredients, this cake is a stunner.  The whole milk and buttermilk ensures that this cake comes out moist and fluffy and helps to fluff the rich crumb of the cake. The citrus gives a nice tang, and highlights the fruity flavor of the olive oil. The result is a sophisticated cake that is so simple to make and perfect for breakfast, a snack, dessert or anytime of the day pick-me-up. This is a “must try!”

This recipe is courtesy of Ovenly and will serve 12 people who want to keep this recipe for years to come.

Ingredients for Tangy Olive Oil Cake:

2 cups (260 grams) all-purpose flour
1 tablespoon baking powder  
1/2 teaspoon salt  
3 eggs, at room temperature  
1 1/3 cups granulated sugar  
3/4 cup mild-flavored extra-virgin olive oil  
1/2 cup whole milk  
1/2 cup buttermilk, carton shaken before measuring  
1/4 cup freshly squeezed orange juice

Preheat the oven to 350 degrees F.

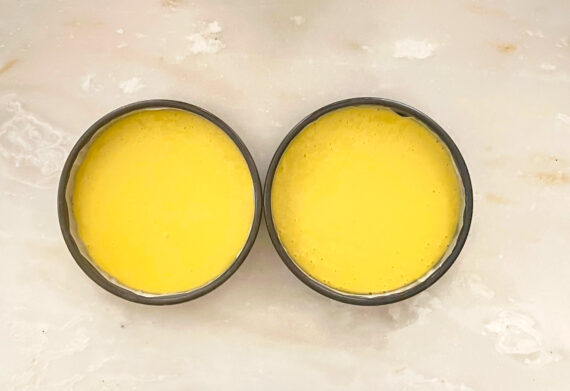
Grease two 8-by-2-inch round pans with olive oil or butter, line the bottom and sides of the pans with parchment paper, and grease the paper.

Place a sifter or a sieve in a large mixing bowl.

Add the flour, baking powder, and salt and sift.  

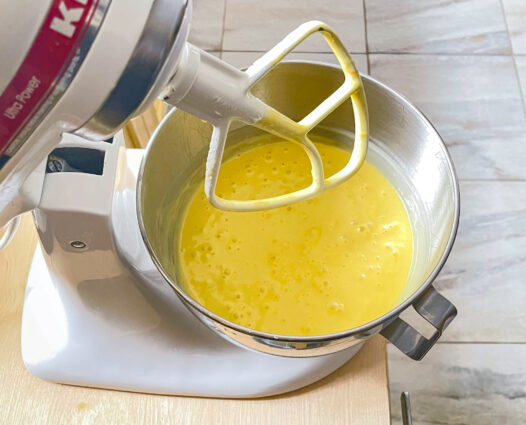
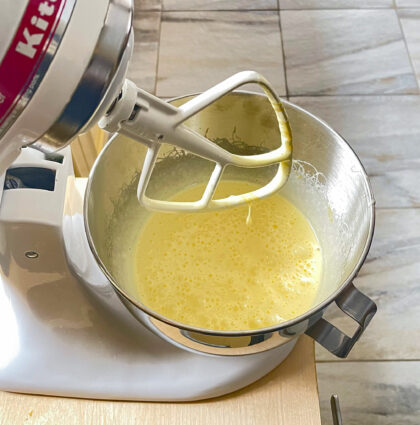
Using an electric mixer with beaters or a paddle attachment, beat the eggs and sugar on medium speed until pale and aerated, about 3 minutes.

Scrape down the sides of the bowl with a spatula.

Add the oil, milk, buttermilk, juice, and zest.

Continue beating on low speed until combined and frothy like a milkshake, about 1 minute.  

Gradually add the wet ingredients to the dry ingredients and whisk or beat until just combined and smooth.  

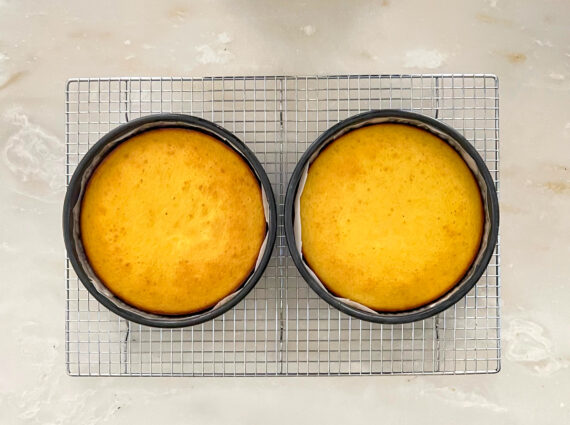
Pour the batter into the prepared pans.  

Bake in the center of the oven on the same rack for 30 to 33 minutes or until a wooden skewer inserted in the center comes out clean, and the cake bounces back when lightly pressed.  

Remove the cakes from the oven and let them stand for 10 minutes.

Run a butter knife around the cakes to gently release.

Peel off the parchment paper from the sides. 

Invert the cakes, peel off the bottom piece of parchment paper, and cool on a wire rack.

While the cake is cooling, make a stencil from parchment paper.

Trace the bottom of the baking pan onto the parchment paper.

Using scissors, cut out the perimeter.

Fold the paper into four equal sections: half, then quarters, then eighths.

Cut out shapes from the paper, leaving the curved outer edge free from cuts.

Open out the folded paper.

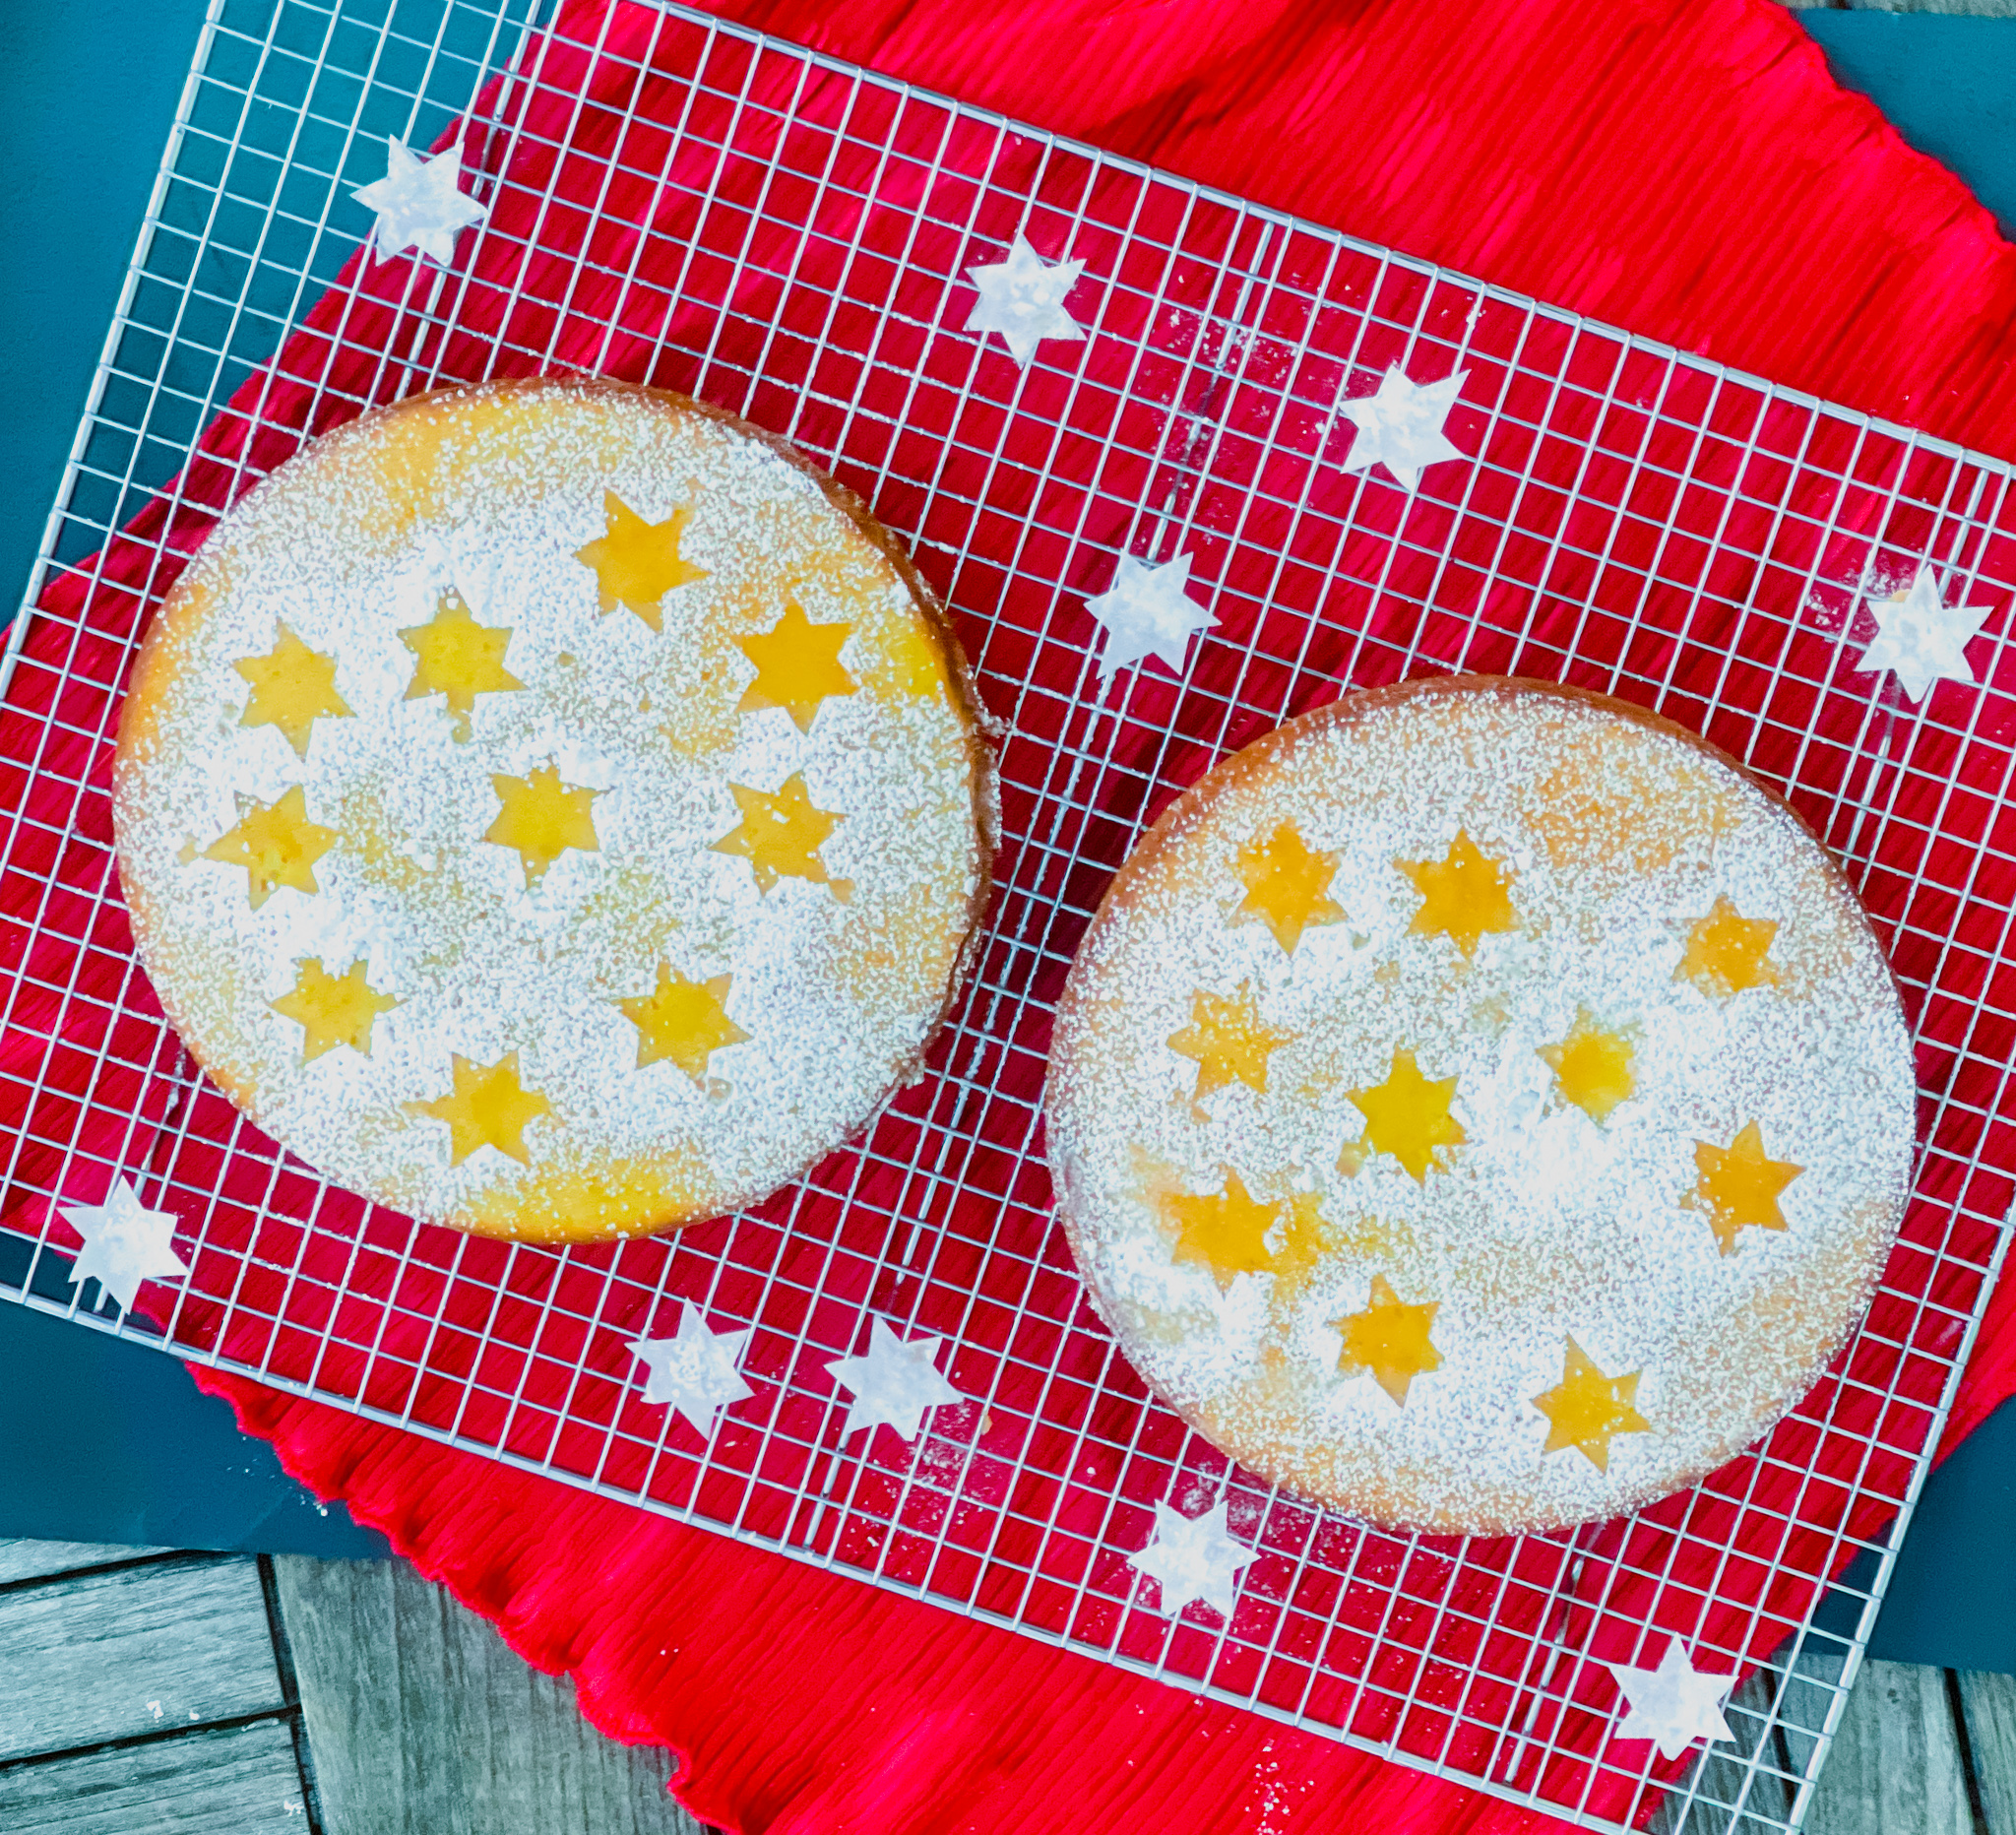
Hold the stencil securely down on the cooled cake and use a fine-mesh sieve to dust confectioners’ sugar over the stencil.

When you’ve finished, lift the stencil carefully off the cake. 

I just made some stars out of parchment paper, and loved the results!

It’s that simple! 
signature

[recaptcha]