I have just the recipe for all of you cheese lovers out there. And who doesn’t love pasta with their cheese? You are all going to love this one!

It’s a scrumptious Four Cheese Mac & Cheese. This savory recipe combines the flavors of gruyere, asiago, fontina and sharp cheddar cheese. These four kinds of cheeses blend beautifully to give this dish a distinctive richness and creaminess. 

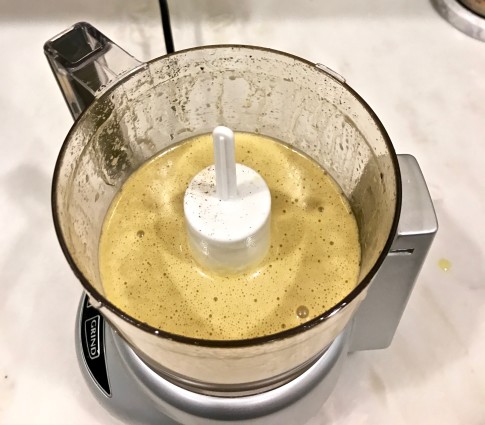
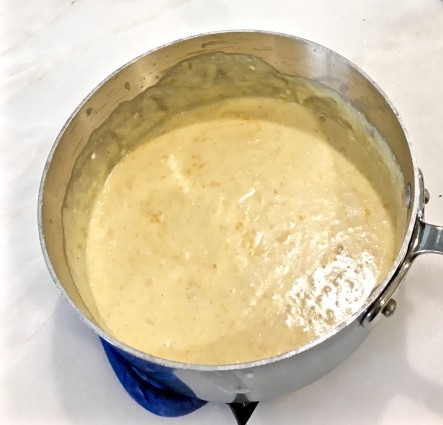
The flour and milk produce a wonderful golden “bechamel” sauce, also known as a white sauce. It is frequently used as a base for lasagne, scalloped potatoes, gratins and baked ziti among others. In this dish, they add onion powder, nutmeg and a bit of cayenne pepper to the bechamel, which give it a spicy “kick” that is just perfect. 

Since it is baked in the oven, it develops a crisp, delicious top of breadcrumbs that are browned to perfection. The recipe calls for rotelle pasta, but you can use any pasta of your choice. I would suggest a large pasta with ridges which will allow the sauce to permeate into the macaroni and explode with flavor.

This should be in everyone’s cooking repertoire. It is perfect as a main dish or as a side for any kind of meal. It is even better as a leftover. Make a batch and freeze it for a quick weeknight dinner. Take it for lunch. Whatever you do, make sure you do not miss this one. It is a “keeper” for sure! 

This recipe is courtesy of The_Swedish_Chef. It will serve about 8 people who will be dreaming about it forever!

Ingredients for Four-Cheese Macaroni and Cheese

1 lb. rotelle pasta (or any pasta of your choice)
3/4 lb. sharp cheddar cheese, shredded
1/2 lb. gruyere cheese, shredded
1/2 cup asiago cheese, shredded
1/2 cup Fontina cheese, shredded
3 tbsp. unsalted butter
3 tbsp. all-purpose flour
2 cups milk
1 tsp. onion powder
1/2 tsp. salt
1/4 tsp. dried mustard
1/4 tsp. ground nutmeg
1/4 tsp. ground cayenne pepper
1 cup panko breadcrumbs (Japanese Bread Crumbs)

Note: This is a baked macaroni and cheese; therefore, it will not have a lot of extra cheesy sauce as it is absorbed into the pasta while baking. If you require extra saucy mac & cheese, just reduce the amount of pasta you place in the dish or make more sauce so it is creamier.

Heat oven to 350.

Coat a 3-quart rectangular baking dish with non-stick spray. 

Bring a large pot of salted water to boiling.

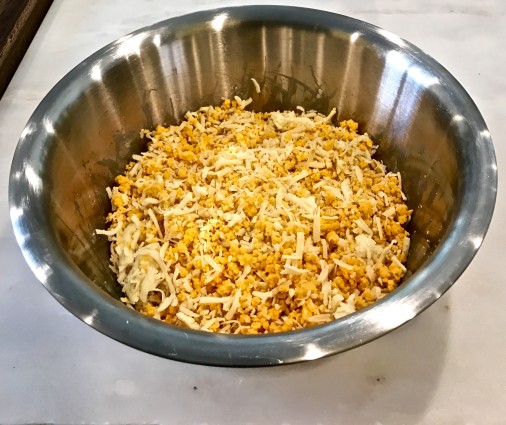
Toss all the shredded cheeses together in a large bowl. Set aside.

Macaroni 4cheeses

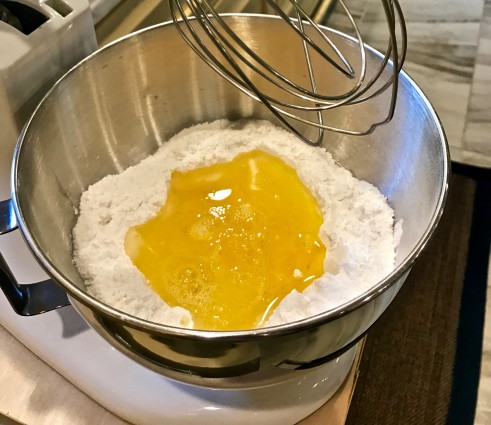
Melt butter in a medium-sized saucepan over medium heat.

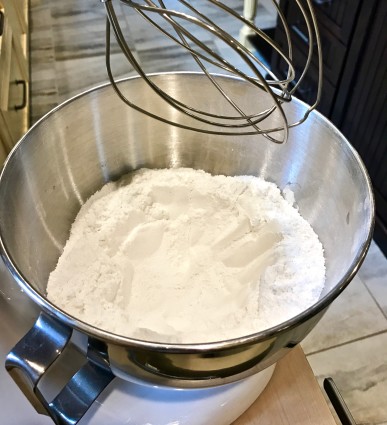
Whisk in the flour until smooth and slightly bubbly.

macaroni butter, flour


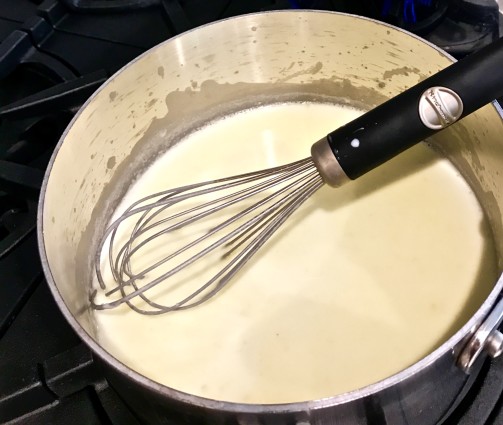
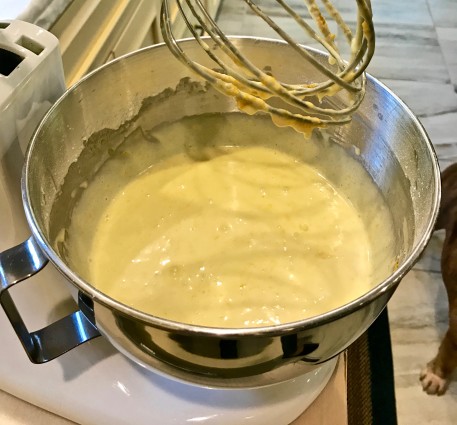
In a thin stream, whisk in the milk. 

Stir in the onion powder, salt, nutmeg, dried mustard, and cayenne.

macaroni milk

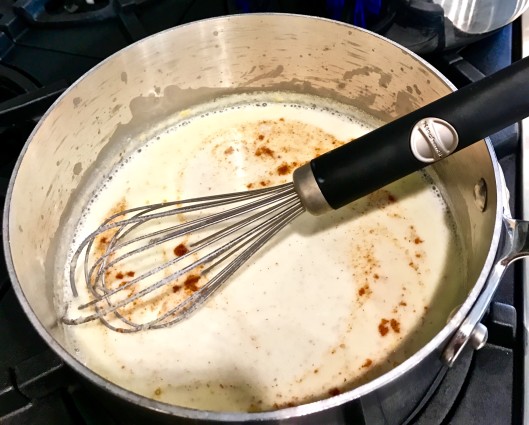
Bring to a boil over medium-high heat. Reduce heat and simmer 3 minutes. 

Remove from heat; whisk in 2 1/2 cups of the cheese mixture and stir until smooth. Cover to retain the heat.

Macaroni cheese melted

Once water boils, add pasta. Cook until your consistency, then drain. 

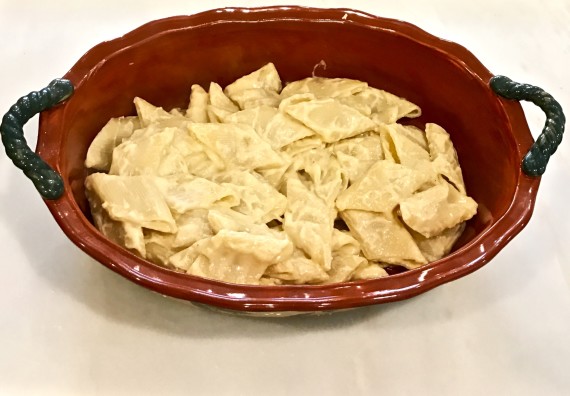
In the pasta container, stir together the cooked pasta and cheese sauce.

Pour half of the mixture into the prepared dish. 

macaroni first layer noodles

Sprinkle with a generous cup of the reserved cheese. 

macaroni 1st cheese layer

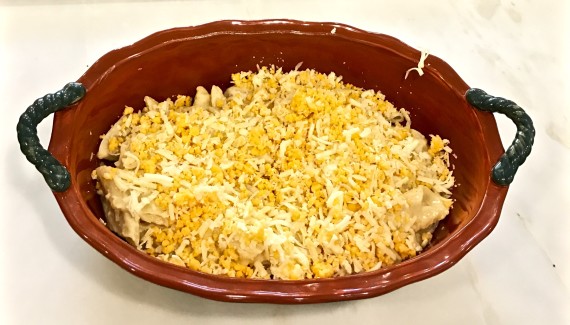
Spoon remaining cheese-covered pasta into the dish and top with the remaining cheese.

Add 1 cup of Japanese Panko Bread crumbs to the top of the mixture.

Bake at 350 degrees for 30 minutes or until the Panko crumbs are lightly browned and the cheese is bubbly.

Cool slightly before serving.

It’s that simple! (And oh so Yummy)!

Macy and Mitzie on bed
signature

[recaptcha]


My husband requested that I make this Lemon-Orange Chiffon cake after seeing a picture of it on the cover of one of my magazines. I took a look at the ingredients and directions and thought I would give it a try. After all, it did have lemon, orange juice and zest. It is definitely my kind of cake.

So, one rainy Saturday I attempted to make this wonderful cake. I know there seem to be a lot of instructions, but do not let that stop you. Once you have all the ingredients laid out (mise-in-place), the entire process proceeds quickly and easily.

Frosting the cake was the biggest challenge for me. I am just not very good at it. After I was finished, my husband took the frosting knife from my hands and skillfully iced up the cake! Who knew!

This cake is so light and fluffy, despite the heavy ingredients. The combination of the lemon and orange zest in the cake and frosting was delighful. Although I do not typically eat cake, I found myself licking my fork and definitely wanting more. I will be making this magnificent cake again and again. This is a “must-try” for sure.

This recipe is courtesy of myrecipes and will serve 12 people who will be asking for seconds. Maybe you should make two. LOL!

Ingredients for Lemon-Orange Chiffon Cake

2 1/2 cups sifted cake flour
1 1/3 cups sugar
1 tbsp. baking powder
1 tsp. salt
1/2 cup vegetable oil
5 large eggs, separated
3/4 cup freshly squeezed orange juice
3 tbsp. orange zest
1/2 tsp. cream of tartar

Ingredients for Lemon-Orange Buttercream Frosting

1 cup butter softened
3 tbsp. orange zest
1 tbsp. lemon zest
1 (32-oz.) package sugar (4 cups)
3 tbsp. fresh lemon juice
5 tbsp. fresh orange juice
1 tbsp. additional fresh orange juice 

Preheat oven to 350.

Grease and flour 3 (9-inch) round cake pans.

Combine first 4 ingredients in bowl of a heavy-duty electric stand mixer.

Chiffon cake d

Make a well in the center of the flour mixture; add oil, egg yolks, and orange juice.

chiffon cake

Beat at medium-high speed 3-4 minutes or until smooth.

chiffon cake flour egg yolks and orane juice

Stir in zest.

In another bowl, beat egg whites and cream of tartar at medium-high speed until stiff peaks form. (This took a while 5 or more minutes).

chiffon cake egg whites

Gently fold into flour mixture.

chiffon cake egg whites folded in

Spoon batter into 3 greased and floured 9-inch round cake pans.

chiffon cake in 3 pans

Bake at 350 for 17 to 20 minutes or until a wooden pick inserted in the center comes out clean.

Cool in pans on wire racks 10 minutes; remove from pans to wire racks and cool completely.

For the Buttercream Frosting:

Beat butter, orange zest, and lemon zest at medium speed with an electric mixer 1 to 2 minutes or until creamy.

Gradually add powdered sugar alternately with lemon juice and 5 tbsp fresh orange juice, beating at low speed until blended after each addition.

Add up to 1 tablespoon additional fresh orange juice, 1 tsp. at a time, or until desired consistency is reached.

Spread Lemon-Orange Buttercream Frosting between layers and on top of sides of cake. (Place parchment paper on the bottom of the cake to prevent it from getting on the plate).

Chiffon cake parchment paper

It’s that simple!

chiffon cake on plate
signature

[recaptcha]


The July Fourth holiday is behind us, and before you know it, the summer will fly by. I never understood why the time seems to go so much faster during those long, lazy days of summer. One minute you are basking in the warm glow of summer, then in the blink of an eye, autumn is here, the kids are back in school, and you are riding a roller coaster for the next 9 months. Oh well. Sorry, let’s not think about that just yet.

There are so many wonderful things about the summer. I love the fragrant flowers and the beautiful harvest of vegetables (and so many other things, but I won’t bore you). For the past couple of years, I have been growing some of my own vegetables. Although I am not a  great gardener, I do manage to pull off a couple of tasty veggies. I enjoy growing them, and achieve satisfaction when I use them in the meals I prepare. It is still early enough for you to try to grow your own. So give it a try…you never know!

This recipe caught my eye as I was searching for a barley dish. Quick-cooking barley is easy to prepare and is very versatile. I had all the ingredients in my pantry for this recipe, so I gave it a try.

I am so glad I did! It was sweet, along with a little tang and a little heat–a perfect combination. You can also use chicken broth to prepare it (I did). If you use regular chicken broth, you should eliminate the salt. It will be salty enough once it is cooked. I also could not find black-eyed peas, so I used regular black beans, and I am sure the result was similar ( you could also substitute chick peas). Remember, a recipe is just a guide. When you cook (as opposed to baking), there is plenty of room to change things up, and make it exactly as you like.

Whatever you do, put this recipe on your to-do list. It is fast, easy and just plain delicious.

This recipe is courtesy of Eatingwell Magazine and will serve 4-5 people who will repeatedly crave this flavorful dish.

Ingredients for Barley Hoppin John

1 small red pepper, chopped
2 stalks celery, chopped
2 cloves garlic, minced
1 14-ounce can vegetable broth
1 cup quick cooking barley (I used Manischewitz toasted barley)
1 tbsp. chopped fresh thyme (or 1 tsp. dried)
2 tsp. lemon juice
1/4 tsp. crushed red pepper
1/4 tsp. kosher salt
2 15-ounce cans black-eyed peas, rinsed

Heat oil in a large nonstick skillet over medium heat.

Add onion, bell pepper and celery.

john barley veggies in pan

Cook until vegetables soften, 3-4 minutes.

Add garlic and cook 1 minute.

Add broth, barley, thyme, lemon juice, crushed red pepper, and salt. Bring to a boil.

Baley john barley added

Reduce heat, cover and simmer until the barley is done, 15-20 minutes.

Remove from the heat and stir in black-eyed peas.

Cover and let stand for 5 minutes.

Serve hot.

It’s that simple!

Yellow cone flowers
signature

[recaptcha]


This is the second anniversary of my blog! Has it really been two years? Time goes by so fast!

I am really craving anything with oatmeal these days. Last week, I posted a recipe for pecan-raisin oatmeal cookies. Today, I’m loving blueberry oatmeal bars. This is a great recipe for your  4th of July  celebration.

Actually, I was searching for a recipe with blueberries. I had bought way too many for company, and I did not want them to go to waste. Since I seem to be so consistent with my taste these days, I ended up with a recipe that included oatmeal as well. I completely forgot that I had made the cookies last week!

Well, it all turned out for the best (as it always does) and these blueberry oatmeal bars were out of this world. They were simple to make. Using the parchment paper was so helpful that it will now be in my cooking tips repertoire. The bars lifted right out of the pan and were easy to cut. It is a perfect suggestion for a non-baker like me.

These bars blended the sweetness of the oatmeal with a little tang from the blueberries. The oatmeal added a wonderful texture and the icing topped it off impeccably. I was scooping up the parts left in the pan, trying to get every little splendid bit just to have “a little more”. I have a feeling you will enjoy them just as much as I did!

This recipe is courtesy of wellplated.com. It will make about 16 bars. Be sure not to take your eyes off them for a second or your family will gobble them all up!

Ingredients for the Blueberry Oatmeal Bars

1 cup old-fashioned rolled oats
3/4 cup white whole wheat flour
1/3 cup light brown sugar
1/2 tsp. ground cinnamon
1/4 tsp. kosher salt
6 tbsp. unsalted butter, melted
2 cups fresh blueberries (about 10 ounces)
1 tsp. cornstarch
1 tbsp. freshly squeezed lemon juice (about 1/2 lemon)
1 tbsp. granulated sugar

For the glaze:

1/2 cup powdered sugar, sifted
1/2 tsp. pure vanilla extract
1 tbsp. milk

Place a rack in the center of the oven.

Preheat oven to 375.

Line an 8 x 8-inch baking pan with parchment paper so that the paper overhangs the side like 2 handles.

blueberry bars parchment paper

In a medium bowl, combine the oats, white whole wheat flour, brown sugar, cinnamon and salt.

Pour in the melted butter and stir until it forms clumps and the dry ingredients are evenly moistened.

blueberry bars oats moistened

Set aside 1/2 cup of the crumble mixture, then press the rest into an even layer in the bottom of the prepared pan.

blueberry bars oats in pan first layer

Scatter half of the blueberries over the crust. 

blueberry bars blueberries on top of oats

Sprinkle the cornstarch evenly over the top, then sprinkle with the lemon juice and 1/2 tablespoon granulated sugar.

Scatter on the remaining berries, then the remaining 1/2 tablespoon sugar.

Sprinkle the reserved crumbs evenly over the top. You will have some fruit showing through.

blueberry bars blueberry then oatmeal

Bake the bars for 30-40 minutes, until the fruit is bubbling and the crumb topping smells toasty and looks golden.

Place pan on wire rack to cool completely ( you can speed this process along in the refrigerator).

For the glaze:

While the bars cool, prepare the glaze in a medium bowl; briskly whisk together powdered sugar, vanilla and milk until smooth.

Fell free to add more milk if a thinner consistency is desired. 

Using the parchment paper handles, lift the bars from the pan. 

Drizzle with the glaze, slice and serve.

It’s that simple! (And YUMMY)!

Happy 4th of July!

4th of July heart
signature

[recaptcha]


There are so many wonderful cooking tips out there that will help you become a better cook. Throughout the years, I have always looked for those words of wisdom that will help make the process a little easier. As a result, I have collected quite an array of culinary tidbits. I would like to share several with you and hope you find them useful.

1. When making a salad, you know you should always wash your vegetables. What is equally important, in my opinion, is to dry them. Yup. Dry them really well. No one likes a wet salad. 

2. Always dress a salad right before you serve it. Dressing it too early will make it soggy and unappetizing.

3. Many of you store your spices in a shelf near the stove. Don’t! Spices need to be stored in a cool, dark space. Light and heat will cause them to lose their flavor.

4. After boiling vegetables, always plunge them in an ice bath to stop the cooking process. This will ensure you get crisp, beautiful vegetables every time.

5. Never put oil in pasta water. The oil will prevent the pasta sauce from sticking. Also, pasta with ridges or curves is the best to use with sauces because the sauce will stay in the curves. 

6. Remove your meat from the refrigerator one hour before cooking. It needs to come to room temperature in order to cook evenly.

7. And one from Ina Garten: For best results when baking, leave butter and eggs at room temperature overnight (yes, she said overnight) . I have always said, refrigeration is over-rated. You don’t need to refrigerate as much as the cookbooks suggest. The authors say it for their own safety reasons, just as they tell you to cook meat to a certain temperature.

8. Always cook your meat 10-15 degrees less than what your cookbook indicates. The meat will continue cooking after you take it out of the oven. If you don’t, you will have unpalatable, overcooked meat.

I will include many more cooking tips in future posts. I hope they help!

Today’s recipe provides an outstanding way to cook rice. It is so light and refreshing. The lemon zest, along with the orange zest, give the rice a bright, fresh citrus flavor that will titillate your taste buds, making them dance with happiness!

This is a must-try. It offers a wonderful start to summer with its natural citrus flavors. It is perfect as an accompaniment to any main dish or just as a snack. I did not use as many onions as the recipe called for, but it came out beautifully.

This recipe is courtesy of Giada DeLaurentis and will serve 4-6 people who will love it so much it may become a family favorite!

Ingredients for Citrus Rice

Rice Salad:

1/2 cup sliced almonds
4 cups low sodium chicken stock
1/2 tsp. kosher salt
2 tbsp. extra-virgin olive oil
2 cups basmati rice, rinsed
3/4 cup chopped fresh felt leaf parsley
1 medium orange, zested
1 lemon, zested
1 cup thinly sliced green onions

Vinaigrette:

1/2 cup extra virgin olive oil
1/4 cup freshly squeezed orange juice (about 1/2 orange)
3 tbsp. freshly squeezed lemon juice (about 1 lemon)
2 tbsp. soy sauce
1 tbsp. honey
1 1/2 tsp. ground cumin
Kosher salt 
Freshly ground black pepper

Heat oven to 350.

Place oven rack in the center of the oven.

Arrange the almonds in a single layer on a baking sheet. Bake for 5-6 minutes until golden brown.

Cool completely, about 15 minutes.

In a medium saucepan, bring the chicken stock, salt and oil to a boil over medium-high heat.

Stir in the rice. Cover the sauce pan, reduce the  heat, and simmer until all the liquid has been absorbed and the rice is tender, about 40 minutes.

Citrus rice rice

Remove the pan from the heat and let sit for 5 minutes.

Using a fork, fluff the rice and place in a large serving bowl.

Add the parsley, orange zest, half the lemon zest, green onions, and 1/3 cup of the almonds

citrus rice rice parsley green onions lemon zest

Toss well.

In a blender, combine the olive oil, orange juice, lemon juice. soy sauce, honey and cumin.

Blend until smooth. Season with salt and pepper to taste.

citrus rice food processor

Pour the vinaigrette over the rice mixture and stir well.

Garnish with the remaining lemon zest and almonds.

It’s that simple!

banana plant flower
signature

[recaptcha]