Need something easy and quick to whip up for company? Stop searching; I have the perfect recipe with the most creative name.

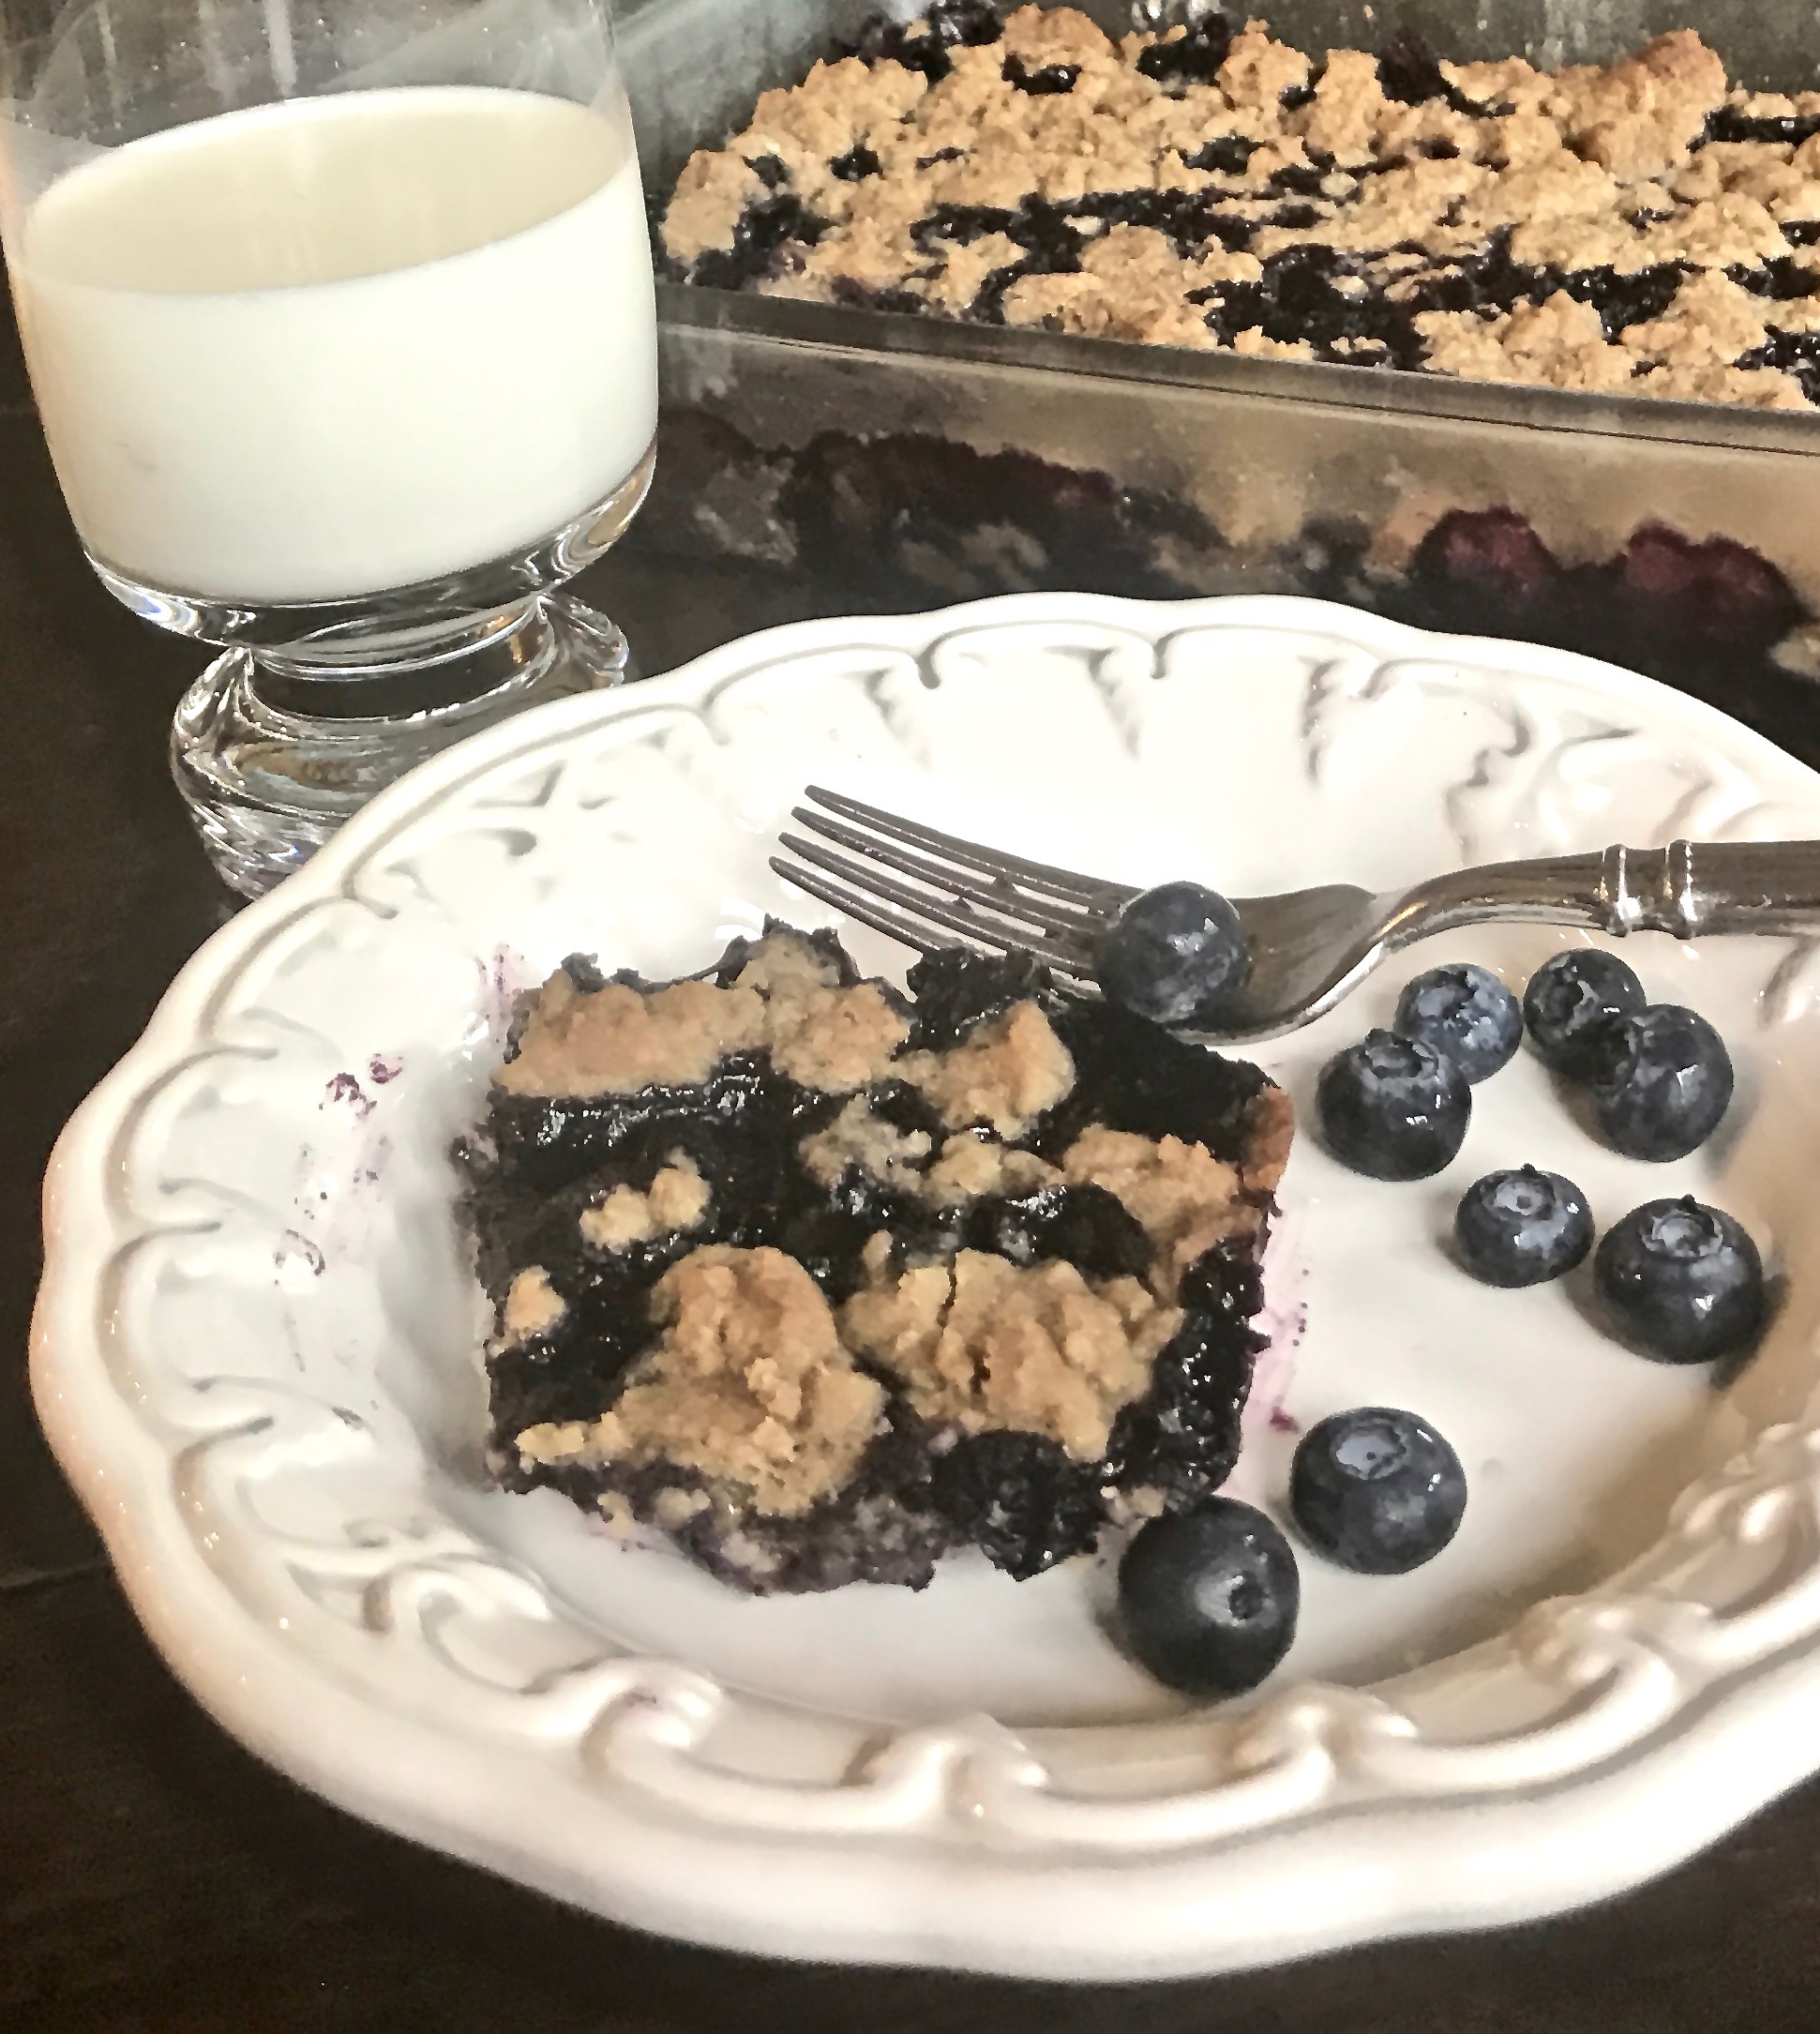
It was handed down by a distant cousin to a former food editor at Food 52. I wish they had mentioned how they came up with the name. It is a scrumptious blueberry delight, topped with a crust that tastes more like a cookie. It looks so beautiful when it comes out of the oven. It is a good thing they suggest you serve it hot because you will want to eat it right away! Every bite is sinfully mouthwatering. 

Food 52 recommends that you double the recipe and bake it in a 9 x 13-inch pan. That is how I made it. I had a feeling that my family and friends would want second helpings. And there are always those yummy leftovers to have the next day. 

It  also suggests that you can use other berries and stone fruits. I am definitely going to try that as well. You are going to have to break out the vanilla ice cream for this one!

This recipe is courtesy of Food 52-Baking and will serve 8-12 people who will be begging you for more.

Ingredients for Blueberry Schlumpf

1 cup plus 2 tbsp. all-purpose flour
2 tbsp. granulated sugar
4 cups fresh blueberries
1/2 cup brown sugar
1/2 cup salted butter, at room temperature but not yet soft, cut into pieces

Preheat oven to 375.

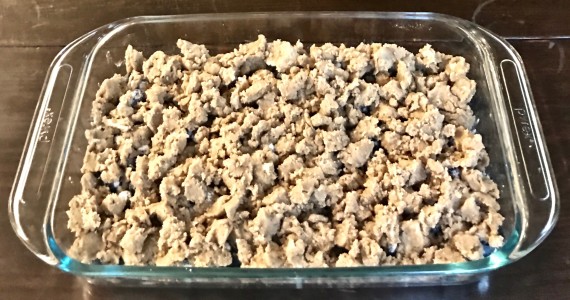
Sprinkle the 2 tablespoons of flour and the granulated sugar over the blueberries and stir gently until evenly coated.

Transfer to an 8 inch square baking pan.

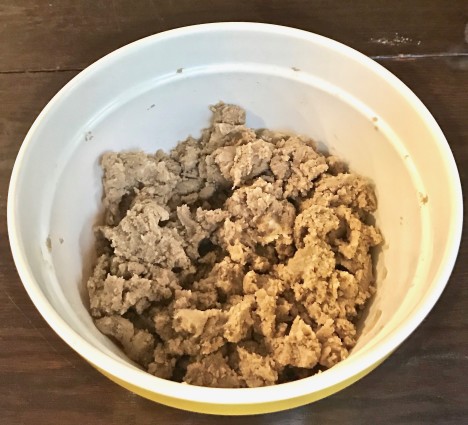
Put the brown sugar, butter, and remaining 1 cup of flour in a medium bowl and stir with a fork or mix with your fingers just until the ingredients come together and form lumps.

blueberry topping

Sprinkle evenly over blueberries.

blueberry crumble on top

Bake for 30 minutes, until the top is golden, caramel brown and beginning to sink and melt into the bubbling filling below.

blueberry finished on stove

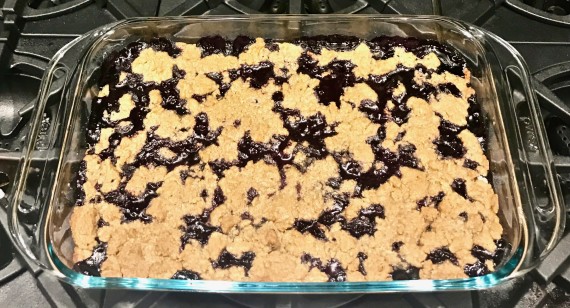
Serve hot and enjoy the leftovers either cold or gently reheated in the oven or microwave.

It’s that simple! Now, how easy was that?!!!

seagull on beach
signature

[recaptcha]


Now that we are in the middle of summer (can you believe it?!), I hope we find ourselves spending time outdoors barbecuing. Are you making hamburgers, ribs or steaks? Maybe you are trying to eat healthier and are making chicken or fish? Don’t stop there!

Summer is all about the delicious, fresh vegetables and herbs you can use to make salads. This carrot salad is the perfect side to complement any meal.  It is one way of getting your veggies and eating healthy at the same time. Each of these wonderful ingredients can be eaten with no guilt attached. When combined, they are heaven! I don’t even like walnuts and I went “nuts” for this salad. I could not stop taking forkful after forkful. Don’t forget to put in the fresh chives, as they add wonderful flavor and color.

You can be creative. Try adding some baby kale or lettuce. Whatever you decide, please make this recipe. It is a great dish to bring to a dinner, family gathering or barbecue. It is not only tasty, it is easy to make as well (and addicting).

This recipe is courtesy of fine cooking.com and will serve six people who will be so happy you did!

Ingredients for Carrot Salad

1 1/2 lb. carrots, peeled and grated on the medium holes of a box grater
1 cup walnuts, toasted and chopped
1/2 cup dried currants
1 orange, juiced (about 1/3 cup)
3 tbsp. apple-cider vinegar
1 tbsp. honey
3 tbsp. untoasted walnut oil
Kosher salt
Freshly ground black pepper
2 1/2 tbsp. chives, finely chopped

Combine the grated carrots, walnuts, and currants in a medium serving bowl.

Carrot salad carrots, walnuts and currants in bowl

Ina small bowl, whisk together the orange juice, cider vinegar, and honey.

Slowly whisk in the walnut oil.

carrot salad oj, vinegar and honey

Season with salt and pepper to taste.

Toss the carrot mixture with the vinaigrette and 2 tablespoons of the chives. 

carrot salad all ingredients

Adjust the seasoning to taste.

You can serve the salad immediately, but it will taste even better if you let it stand at room temperature for 15 to 20 minutes.

Sprinkle with remaining chives right before serving.

It’s that simple!

New purple flower
signature

[recaptcha]


My choice of cookware is enameled pots. I started using them many years ago. They can be pricey, but they are so worth it. You can now find them in stores like Home Goods at more reasonable prices. I started my collection slowly, buying one or two pots a year, and now I am hooked. I rarely use my stainless steel pots anymore for a number of reasons.

They burn easily and are very difficult to clean.

The enamel pots, on the other hand, clean easily, and rarely require overnight soaking.

In addition, enamel pots are made from a cast-iron or steel base and then coated with porcelain enamel to give the pan a smooth, non-stick surface. This coating is made from natural clay that has been baked and glazed to make it very hard and durable.

I have found that stainless steel pans are a poor conductor of heat, and, as a result, food tends to cook unevenly. They also contain some elements that may interfere with the taste of the food.

Enamel pots, however, combine the heat distribution benefits of iron with the non-stick properties of enamel. Foods cook more evenly and do not contain properties that interfere with the taste of the food.

Buy one for yourself. I know you will notice the tremendous differences between the stainless steel and the enameled pot. I think you are going to be hooked too!

This recipe has turned a beet-hater like me into someone who actually enjoys them. The sweetness of the dark brown sugar combined with the tartness of the orange juice makes the beets as wonderful as popping a piece of candy in your mouth. I used golden beets for this recipe, but you can use the red ones as well. 

I hate to peel beets (don’t forget to put on gloves), but I love this recipe enough that I would gladly peel them again. It is scrumptious and worth every minute. Peeling and steaming the beets take the majority of the time required  for this recipe. Once the beets are done, the process goes quickly. Take a look at this recipe; how is that for short and simple? 

This recipe is courtesy of eating well.com and will serve 6 people who will be popping them into their mouths like bonbons!

Ingredients for Brown Sugar-Glazed Beets

3 cups peeled, steamed cubed beets, 1/2 to 1-inch cubes
3 tbsp. dark brown sugar
2 tbsp. orange juice
1 tbsp. unsalted butter
1/4 tsp. kosher salt
1/4 tsp. freshly ground black pepper

Place beets in a steamer in a pot with 2 inches of water. Steam on high heat for 15-20 minutes. 

Brown Sugar Beets in pan steaming

Combine brown sugar, orange juice, butter, kosher salt and pepper in a large nonstick skillet.

Brown Sugar beets sugar and orange juice

Cook over medium heat until the sugar and butter are melted and starting to bubble.

Stir in the beets and cook until most of the liquid has evaporated and the beets are coated with glaze, about 6-8 minutes.

Brown Sugar Beets in pan with brwon suagr and orange juice

Serve warm.

It’s that simple!

Jenna eating corn
signature

[recaptcha]


Marinating is one of the easiest and quickest ways to flavor food. Poultry, fish, meats, and vegetables are like sponges, and they can easily absorb the marinade. Many marinades have tenderizing effects as well, which start the “cooking process”. You need to be very careful in determining the amount of time you marinate your food. For instance, the acid levels contained in fish often accelerate the cooking process. Therefore, you should only marinate fish for 1 our or less.

Ideally, a marinade helps to flavor, and not tenderize foods. Using anything acidic, like citrus or vinegar, softens the food, allowing it to absorb the flavors of the sauce. There are many different types of marinades: Mediterranean, spiced, herbed, citrus or any combination of ingredients you enjoy. There are no rules for making a marinade. You can use whatever ingredients you have in your pantry. Combine them, add the food, and let the flavors blend. 

This marinade was superb. The cumin, coriander, smoked paprika and cayenne pepper added a savory, yet delicate aroma to the salmon. Marinating is the easy part; cooking the salmon is a little more tricky.  When cooking it on the grill, I usually time it  for 2-3 minutes each side, check the consistency, then alter the cooking time as needed.

This recipe is courtesy of Fine Cooking. It will serve 4 people who will thoroughly enjoy this wonderful marinade. 

Ingredients for Cumin-Orange-Honey Marinade

4 (1/2 lb.) center cut pieces of salmon
3 large garlic cloves, finely chopped
1/3 cup fresh orange juice
1/3 cup sherry vinegar
1/4 cup honey
3 tbsp. olive oil
1 tbsp. cumin
1 tsp. smoked paprika
1/2 tsp. ground coriander
Pinch cayenne pepper

Today’s hint: When marinating fish, let it sit for 30 minutes to one hour. If it marinates any longer, the flesh may start to “cook” and go mushy. This is especially true when using any citrus in your marinade.

Place garlic in the bowl of a mortar and pestle. 

Sprinkle kosher salt (about 1/2 tsp.) over garlic.

Mash with a pestle until a paste forms.

Honey Salmon garlic paste

Note: if you do not have a mortar and pestle, use the flat part of a knife to mash it down to a paste.

Whisk the garlic paste with the rest of the ingredients.

Place salmon in marinade and let it marinate for 30 minutes to 1 hour at room temperature.

Honey Salmon marinade

Place salmon on grill for 2-3 minutes each side for medium-rare. Well-done fish requires one or two minutes more. 

*Cooking time will also vary according to the thickness of the salmon.

It’s that simple!

hybiscus flower
signature

[recaptcha]


I love the long, lazy days of summer which lend themselves to spending more time outdoors and less time in the kitchen. I don’t find myself cooking that much lately, and when I do, I look for quick, simple dishes. 

This is one of those recipes I find myself making over and over. It is a new and delicious way to enjoy mashed potatoes. The addition of the peas, chives, and dill make it really unique. I love taking a simple dish like mashed potatoes and doctoring it up until it becomes something special. It is like taking a winter recipe and turning it into a summer delight. What could be better than that?

The majority of time in this recipe is spent boiling the potatoes. You can save time by boiling them ahead. Just to note: these potatoes are intended to be slightly lumpy, which is why they are mashed by hand, along with the peas.

The combination of flavors in this recipe truly makes it special. And you already know what I think about the lemon zest! These potatoes make a beautiful presentation. They are elegant and so perfect for a weeknight summertime side dish. You are going to be overjoyed when you try this recipe!  (You can let me know what you think of it by dropping me an email; I would love to hear from you)!

This recipe is courtesy of Finecooking.com. It will serve 4 people who will love this new twist to mashed potatoes!

Ingredients for Smashed Potatoes

1 1/2 lb. of Yukon Gold potatoes
1 clove garlic, chopped
6 oz. (1 heaping cup) thawed, frozen peas
1/3 cup of olive oil
1/4 cup scallions, finely chopped
3 tbsp. dill, finely chopped
2 tbsp. chives, finely sliced
2 tsp. lemon zest
Kosher salt and Pepper to taste

Bring 1 1/2 peeled and quartered Yukon Gold potatoes and 1 clove garlic to a boil in water well seasoned with kosher salt. (I did not even peel the potatoes!)

Cook until tender, 15 to 20 minutes.

Just before draining add the peas and cook until heated through, about 1 minute.

Drain, return to the pot and coarsely mash. Stir in 1/3 cup of olive oil, scallions, dill, chives and lemon zest.

Smashed peas and potatoes in pot

Season to taste with salt and pepper.

It’s that simple! (It really is, isn’t it?)

large planter in yard
signature

[recaptcha]