There are no words that can accurately describe how amazing these cookies are!

Although everyone’s definition of the “perfect cookie” is different, I challenge anyone to disagree with my assessment. They are “that good!” And, for all you cookie enthusiasts, these cookies are a portable meal. After all, they are a “sandwich”. 

Most of us love a good sugar cookie.  This recipe takes the sugar cookie to a whole new level. With the addition of the almonds and raspberry preserves, another dimension of flavor and texture emerges, making them truly addicting. As the author notes, “it gives them a rich melt-in-the-mouth texture.” These cookies are easy to prepare and should definitely be on your “must try” list. They are perfect to make for the upcoming holidays. Just remember to leave some for everyone else.

This recipe is courtesy of The Perfect Cookie, by America’s Test Kitchen. It will make about 24 sandwich cookies that your family and friends will quickly devour.

Ingredients for Almond-Raspberry Sandwich Cookies

2 cups (10 ounces) all-purpose flour
1 1/4 cups slivered almonds
1/2 cup (3 1/2 ounces) granulated sugar, plus 1/2 cup for coating
16 tbsp. unsalted butter, cut into 1/2-inch pieces and chilled
1 tsp. vanilla extract
1/2 cup raspberry jam

Adjust oven racks to upper-middle and lower-middle positions.

Preheat oven to 350.

Line 2 baking sheets with parchment paper.

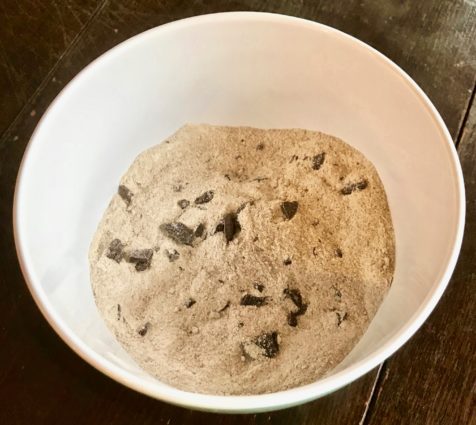
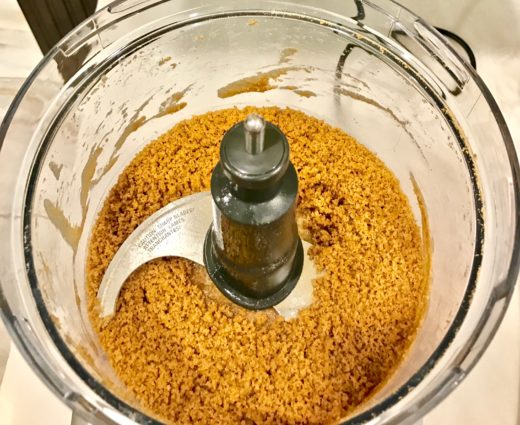
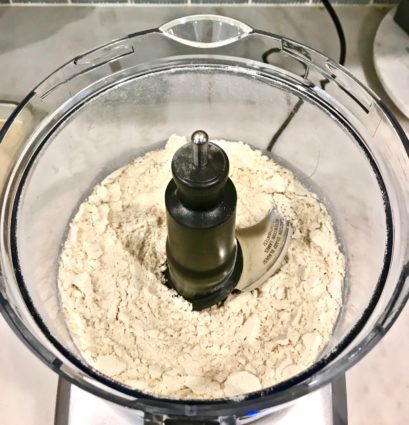
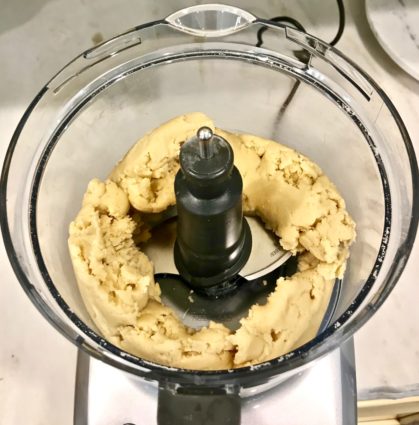
Process 1 cup of flour and almonds in a food processor until almonds are finely ground, about 1 minute.

Add 1/2 cup of sugar and remaining 1 cup of flour and process until combined.

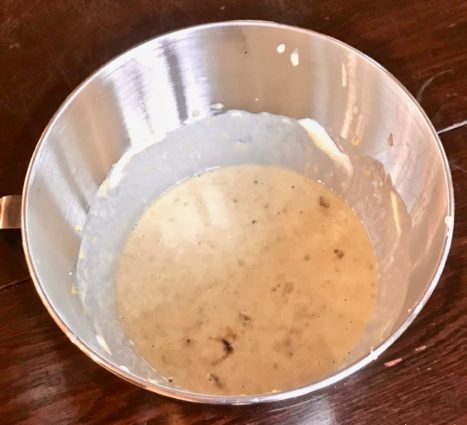
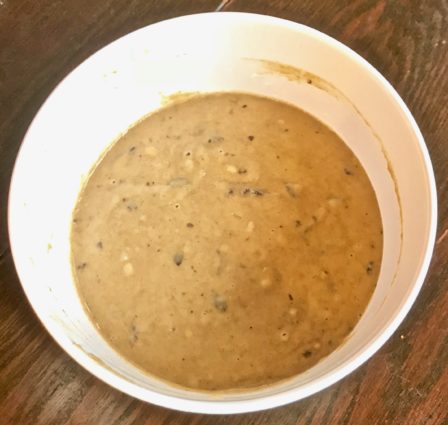
Add butter and vanilla and pulse until dough forms.

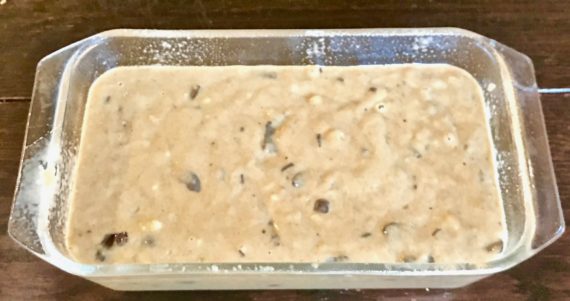
Transfer dough to lightly floured counter and roll into 1 inch thickness.

Using a 2-inch round cookie cutter, cut dough into circles; space circles 2 inches apart on prepared sheets.

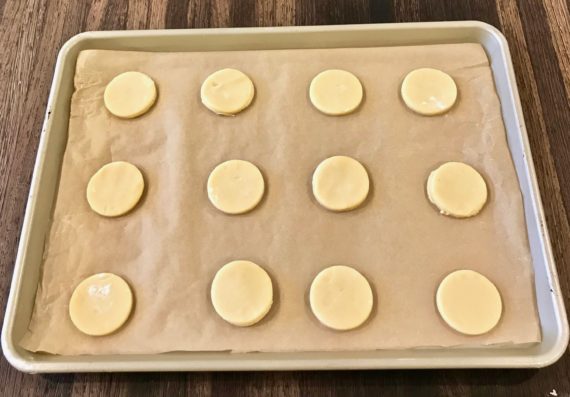
Gently preroll scraps, cut into circles, and transfer to prepared sheets.

Bake until edges are light brown, about 15 minutes, switching and rotating sheets halfway through baking.

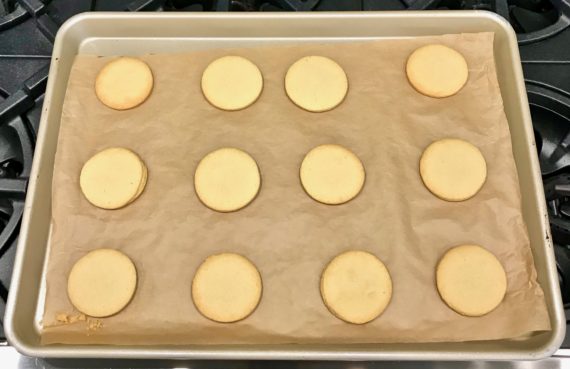
Let cookies cool on sheets for 5 minutes, then transfer to a wire rack.

Place remaining 1/2 cup of sugar in a bowl.

Working quickly, spread 1 teaspoon of jam over bottom half of warm cookies, then top with remaining cookies, pressing lightly to adhere.

Gently toss cookies in sugar to coat then transfer to a wire rack.

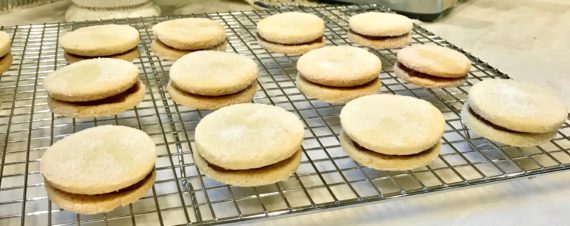
Let cookies cool completely before serving.

It’s that simple! 

signature

[recaptcha]


These mini frittatas are a wonderful dish to serve for a brunch or for a quick breakfast during the week. They are easy to prepare and also make a delightful presentation.

This recipe really is “that simple”. The batter assembles quickly and the baking time is only 8 to 10 minutes! The eggs, combined with the ham, cheese, and parsley are just delicious. They would be perfect with a cup of coffee or a glass of milk. I would even serve them as an appetizer for a holiday or family dinner. However you decide to serve them, they will be an instant hit.

There are some issues with this recipe worth mentioning, however. The recipe did not yield 40 frittatas as indicated. It made about 30, some of which crumbled or collapsed when they were removed from the pan. Although that was disappointing, it should not deter you from making these delicious treats.

This recipe is courtesy of Giada De Laurentis and will make about 30 to 40 mini frittatas that are so easy to pop in your mouth.

Ingredients for Mini Frittatas

Nonstick vegetable oil cooking spray
8 large eggs
1/2 cup whole milk
1/2 tsp. freshly ground black pepper
1/4 tsp. salt
4 ounces thinly sliced ham, chopped
1/3 cup freshly grated Parmesan
2 tbsp. chopped fresh parsley leaves

Preheat oven to 375.

Spray 2 mini muffin tins (each with 24 cups) with nonstick spray.

Whisk the eggs, milk, pepper, and salt in a large bowl to blend well.

Stir in the ham, cheese, and parsley.

Fill prepared muffin cups almost to the top with the egg mixture.

Bake until the egg mixture puffs and is just set in the center, about 8 to 10 minutes.

Using a rubber spatula, loosen the frittatas from the muffin cups and slide the frittatas onto a platter.

Serve immediately.

It’s that simple!

signature

[recaptcha]


This recipe is a perfect addition to a weeknight meal if you are short on time and need to get dinner on the table quickly.

I am always looking for new ways to prepare vegetables and I think I found it in this dish.

The brown butter in this recipe is what makes the beans so delicious. Both the butter and the mushrooms caramelize to a light brown color, which enhances the flavor of the dish. It tastes like you have been preparing it much longer than you really have. The shallots, garlic and crushed red pepper flakes give it nice “bite”, while the lemon gives it a bit of “tang”. All the flavors in this dish complement each other, making every bite an enticing, savory, mouthful of goodness.

This recipe is a “one-pot” dish that is wonderful and easy to throw together. It will serve 4 people who will enjoy eating these luscious, delightful vegetables.

Ingredients for Green Beans with Browned Butter and Mushrooms

1 pound fresh green beans
1/3 cup shallots, chopped
3/4 pounds assorted fresh mushrooms, sliced
2 cloves garlic, chopped
3 tbsp. butter
Juice of 1/2 lemon
1/4 -1/2 tsp. crushed red pepper flakes
1 tsp. kosher salt
1/2 tsp. freshly ground black pepper

Bring a large pot of water over high heat to a boil on stove.

Place green beans in boiling water, turn heat to medium-high, and let them cook for 3-4 minutes, until they turn bright green.

Prepare a bowl of ice water.

Drain the beans, and immediately place in ice water to stop the cooking process.

Melt the butter over medium-high heat in a sauce pan on the stove. 

Continue to cook butter until it begins to turn a light, caramel brown.

Add the shallots and cook, stirring occasionally until softened, about 3 minutes.

Toss in the garlic and cook for 1 more minute.

Add in the mushrooms and cook, stirring occasionally, until the water they release has evaporated, and they begin to brown, about 10 minutes.

Stir in the lemon juice, crushed red pepper flakes, salt and pepper.

Toss in the green beans and stir to combine until they rewarm.

It’s that simple!

signature

[recaptcha]


Although the title of this recipe may sound unappealing, the combination of bananas and chocolate chips make this bread truly delicious.

The author suggests that you let the bananas get so ripe that “you can smell them the minute you walk through the door”.  I did not wait quite that long, and the banana bread was still delicious.

This recipe was both quick and easy. After I set up my mis-in-place (and you should too) this bread whipped up in no time. If you love bananas, you will adore this recipe. The mixture of the bananas and the sour cream gave this bread a wonderful, smooth texture that made each bite divine. The very ripe bananas gave it a nice caramelized flavor and the bittersweet chocolate added the perfect amount of sweetness. Of course, the lemony glaze was the perfect topping for me. You can eat it for dessert, breakfast or just for a snack. It is delicious no matter when you eat it.

This recipe is courtesy of Cook This Now and will serve 8-10 people who will go “bananas” for this bread. 

Ingredients for Lemony Olive Oil Banana Bread with Chocolate Chips

1 cup all-purpose flour
1 cup whole wheat flour
3/4 cup dark brown sugar
3/4 tsp. baking soda
1/2 tsp. kosher salt
1 cup coarsely chopped bittersweet chocolate
1/3 cup extra-virgin olive oil
2 large eggs, lightly beaten
1 1 /2 cups mashed, VERY ripe bananas (3-4 bananas)
1/4 cup sour cream or plain whole milk yogurt
1 tsp. freshly grated lemon zest
1 tsp. vanilla extract

For the glaze:

1 cup confectioners sugar
4 tsp. freshly squeezed orange juice

Preheat oven to 350.

Grease a 9 x 13-inch loaf pan.

In a large bowl, whisk together the flours, brown sugar, baking soda, and salt.

Add the chocolate pieces and combine well.

In a separate bowl, mix together the olive oil, eggs, mashed bananas, sour cream or yogurt, lemon zest and vanilla.

Pour the banana mixture into the flour mixture and fold with a spatula until just combined.

Scrape the batter into the prepared pan.

Bake until dark golden brown and a tester inserted into the middle of the loaf comes out clean, about 50 minutes to 1 hour.

Transfer the pan to a wire rack over a rimmed baking sheet to cool in the pan for 10 minutes, then turn the loaf out of the pan completely.

While the cake is almost cool, prepare the glaze.

In a bowl, whisk together the confectioners sugar and lemon juice until smooth. 

Drizzle the glaze on top of the cake, spreading it with a spatula to cover.

It’s that simple!

signature

[recaptcha]


Like many people, I am a huge fan of cheesecake. When I saw this recipe for cheesecake bars with lemon, I hopped right on board. Everything about them sounded delicious and heavenly. 

Words can’t accurately describe this rich, luscious, decadent dessert. The graham cracker crust is the perfect match for the creamy, cheesecake filling. The filling has just the right ratio of cheese, sugar and eggs. And, of course with the addition of lemon juice, it is perfect! It’s like a mouthful of happy! These delightful little bars are a “must try”. Trust me, you are missing out on something wonderful if you don’t indulge.

This recipe is courtesy of The Perfect Cookie and will make about 16 bars. You had better whip up two batches, because these are going to disappear quickly!

(My email list was accidentally deleted. I tried to re-enlist as many as I could remember, however, there are still a few missing. Please subscribe to my list so I can send you my weekly updates!)

Ingredients for Cheesecake Bars

For the Crust:

7 whole graham crackers, broken into 1 inch pieces
6 tbsp. unsalted butter, melted and cooked
3 tbsp. packed light brown sugar
2 tbsp. all-purpose flour
1/8 tsp. salt

For the Filling:

1 pound of cream cheese, softened
2/3 cup granulated sugar
2 large eggs
1/4 cup sour cream
2 tsp. lemon juice
1 tsp. vanilla extract

Preheat oven to 325 and adjust oven rack to middle position.

Make foil sling for an 8 – inch square baking pan by folding 2 long sheets of aluminum foil so each is 8 inches wide. Lay sheets of foil in pan perpendicular to each other, with extra foil hanging over the edges of the pan. Push foil into corners of the pan , smoothing foil flush to pan. Grease foil.

For the crust:

Process graham crackers in food processor to fine, even crumbs, about 30 seconds.

Add melted butter, sugar, flour, and salt and pulse to combine, about 10 pulses.

Sprinkle mixture into prepared pan and press firmly into an even layer.

Bake until crust is fragrant and beginning to brown, 12 to 15 minutes, rotating the pan halfway through baking. 

Let crust cool completely in pan on wire rack.

For the filling:

Using a stand mixer with a paddle attachment, beat cream cheese on medium speed until smooth, 1 to 3 minutes, scraping down bowl as needed.

Gradually add the sugar and beat until incorporated, about 1 minute.

Add the eggs, one at a time, and beat until combined, about 30 seconds.

Add sour cream, lemon juice, and vanilla and mix until incorporated, about 10 seconds.

Pour filling over crust and spread into an even layer until edges are set but center still jiggles slightly.

Bake for 40 minutes, rotating pan halfway through the baking. 

Let cake cool completely in pan on wire rack, about 2 hours.

Refrigerate until completely chilled at least 3 hours or up to 24 hours. 

Using foil overhang, remove the cheesecake from pan.

Cut into 16 pieces before serving. 

– Uncut bars can be frozen for up to 1 month; let wrapped bars thaw at room temperature for 4 hours before serving.

It’s that simple. 

signature

[recaptcha]