Wondering what kuchen is? So was I. Kuchen is a German word for cake. Most kuchen have eggs and flour as the main ingredient, but some may also contain a sweetener or a fat. In other languages, it is used as a term for savory or sweet desserts, or pastries. It is common in Germany to have friends over to enjoy some coffee and kuchen.

Katherine Kallinis and Sophie Kallinis LaMontagne, authors of  The Cupcake Diaries explains that “this isn’t a traditional kuchen recipe because they did not use yeast.” They also noted that kuchen “commonly does not have a frosting, instead it has a cinnamon-sugar topping.” 

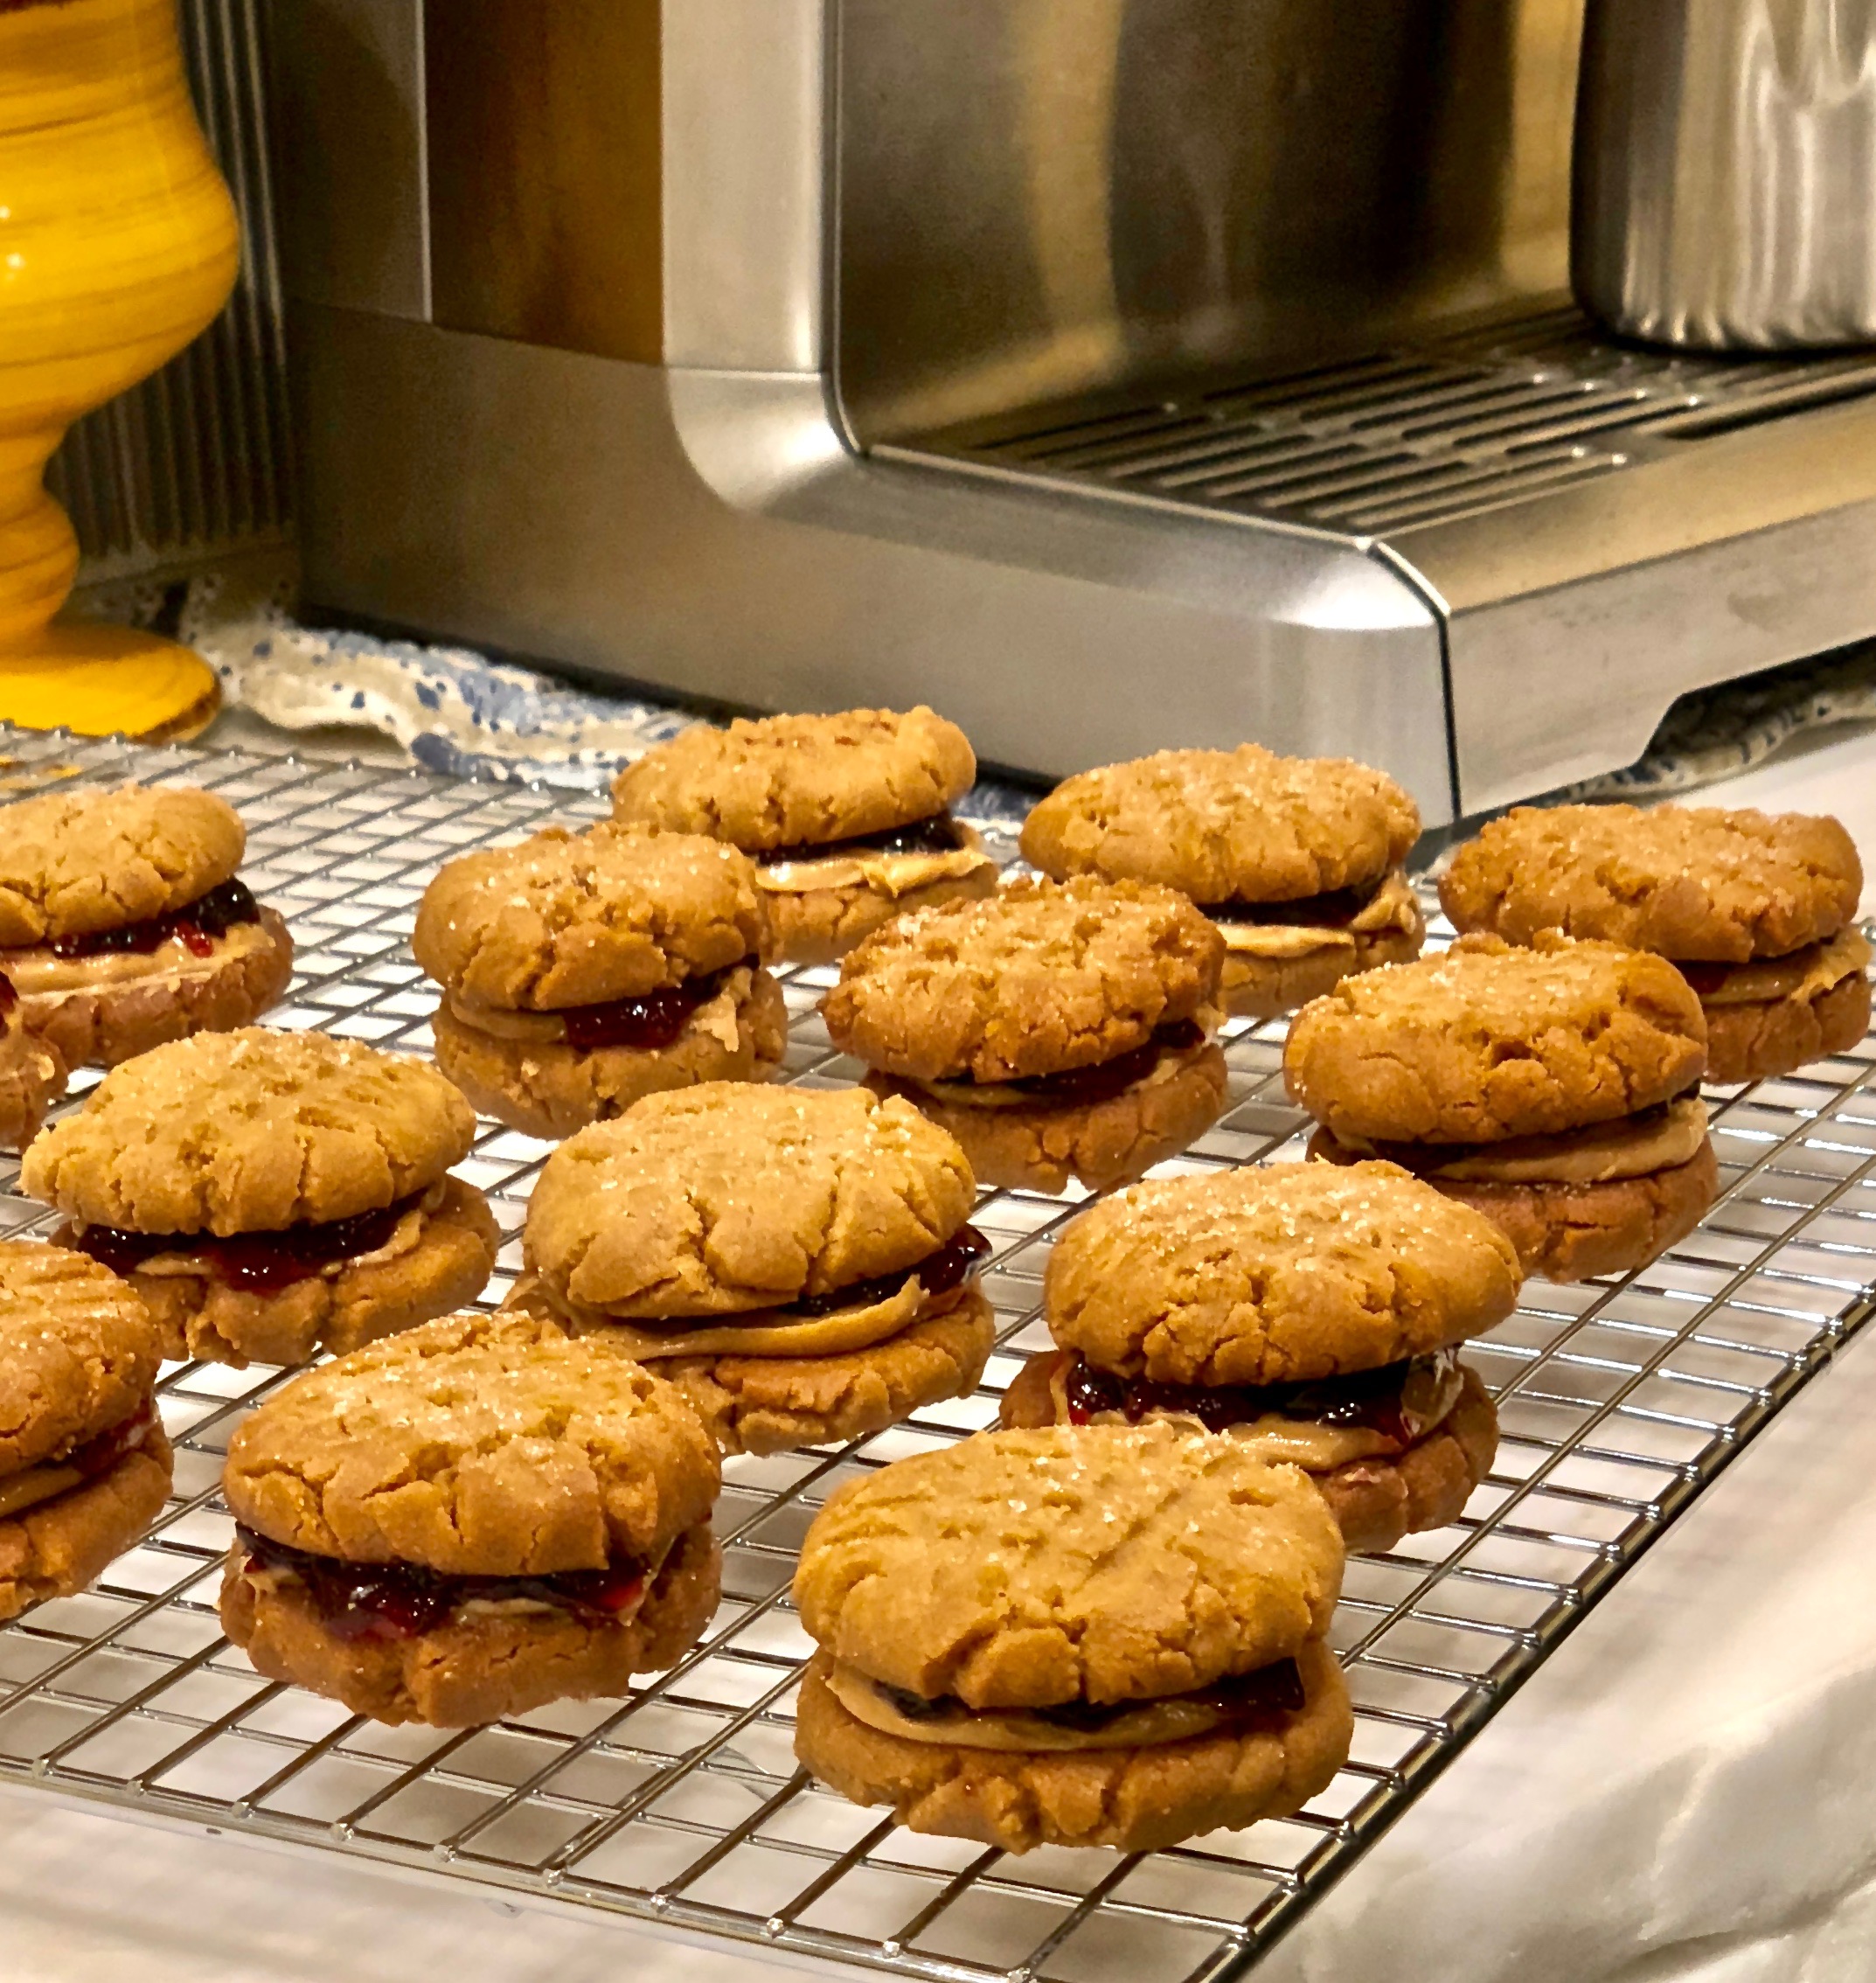
Whatever the origin of this cupcake, it is just plain delicious. The inside of the cupcake is beautiful fluffy goodness, topped with a divinely caramelized sugar topping. Each bite is more wonderful than the last.

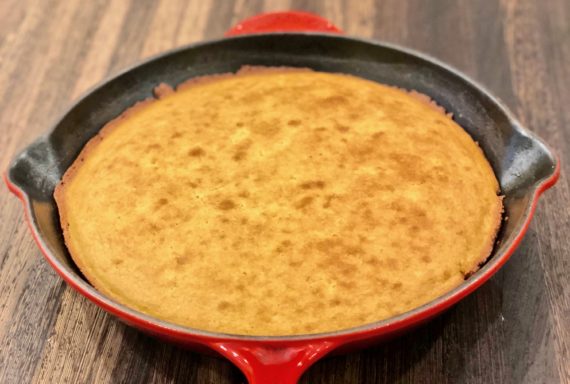
I chose to make this recipe because (as usual), I had all the ingredients in my pantry and it was a crummy day outside. Just a few notes; the batter took much longer than the 16 to 18 minutes they suggested. It took closer to 20 to 25 minutes. I made it twice, each time in two completely different ovens and the same thing occurred. So, don’t worry if it takes a little longer to bake. Also, you want the top of the cupcake to be a light, golden brown, so you know the caramelization took place.

Who doesn’t want to have a delicious cupcake in the morning with coffee, or as a snack or dessert? These muffins won’t disappoint. They are just that good.

This recipe is courtesy of The Cupcake Diaries and will make 12 buttery, luxurious cupcakes.

Ingredients for Butter Kuchen Cupcakes

2 1/2 cups all-purpose flour
2 1/2 tsp. baking powder
1/4 tsp. salt
2 tsp. ground cinnamon
8 tbsp. unsalted butter, at room temperature
1 3/4 cups sugar
2 large eggs, at room temperature
2 1/4 tsp. pure vanilla extract
1 1/4 cups whole milk, at room temperature

For the Cinnamon-Sugar Topping:

1/2 cup of ground cinnamon
1/3 cup sugar

Preheat the oven to 350° F.

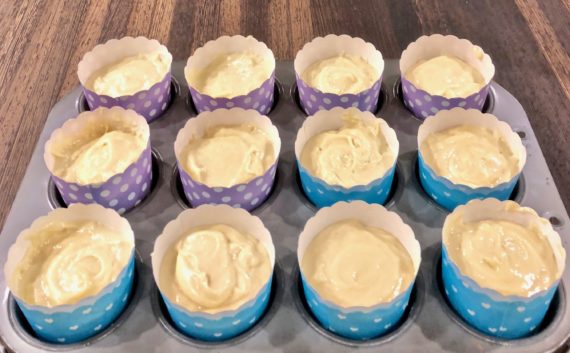
Line a standard cupcake pan with 12 paper baking cups, or grease the pan with butter if not using baking cups.

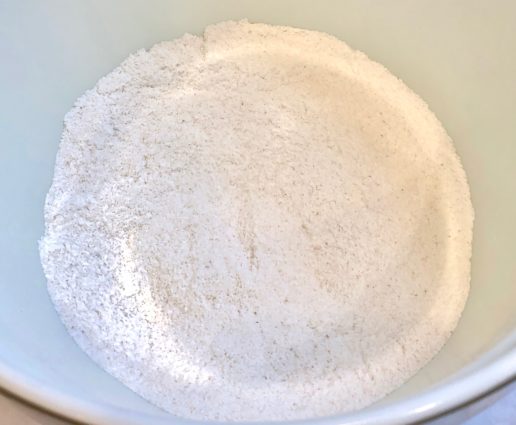
Sift together the flour, baking powder, salt, and cinnamon on a sheet of parchment paper or wax paper and set aside. (I sifted mine into a bowl)

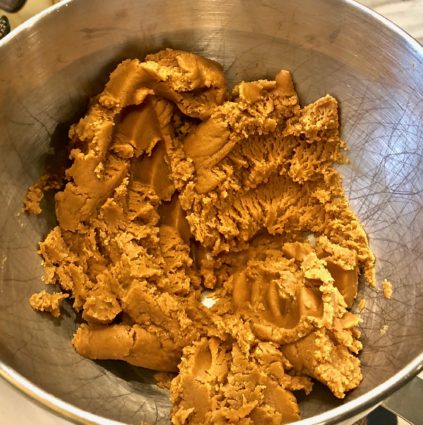
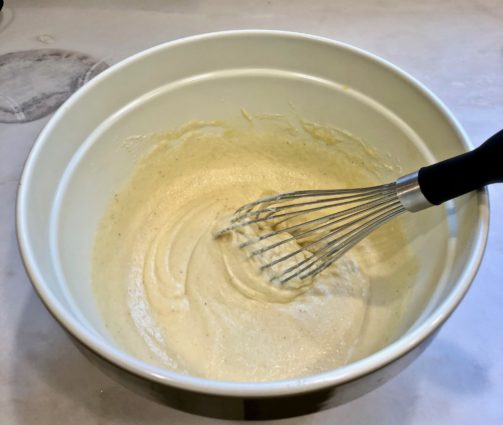
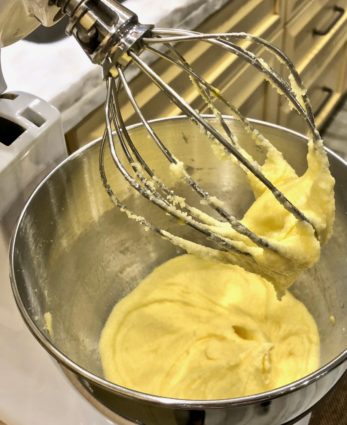
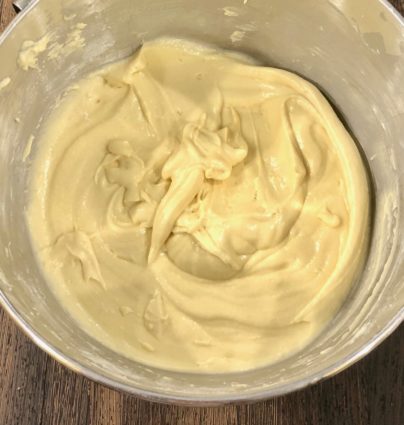
In the bowl of a stand mixer or in a bowl with a handheld electric mixer, cream together the butter and sugar for 3-5 minutes, or until light and fluffy.

Add the eggs one at a time, mixing slowly after each addition.

Add the vanilla to the milk in a large liquid measuring cup.

Add 1/3 of the dry ingredients followed by 1/3 of the milk, and mix thoroughly.

Repeat.

Stop to scrape down the bowl as needed.

Add the last third of the dry ingredients followed by the last third of milk.

Mix thoroughly.

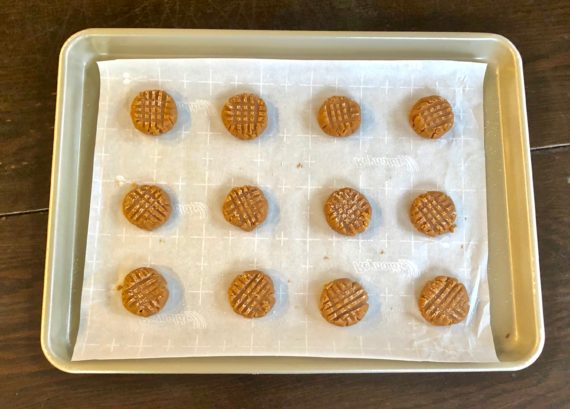
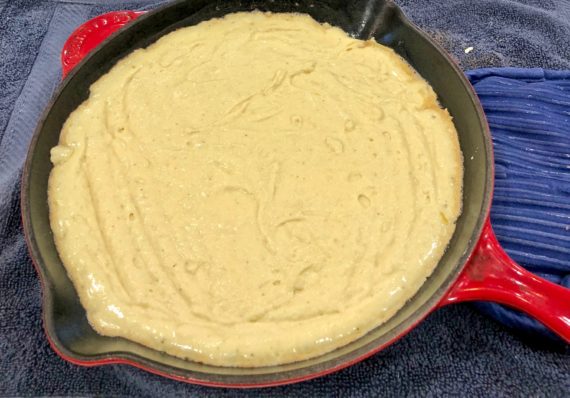
Scoop the batter into the cupcake pan using a standard-size ice-cream scoop until each cup is two-thirds full.
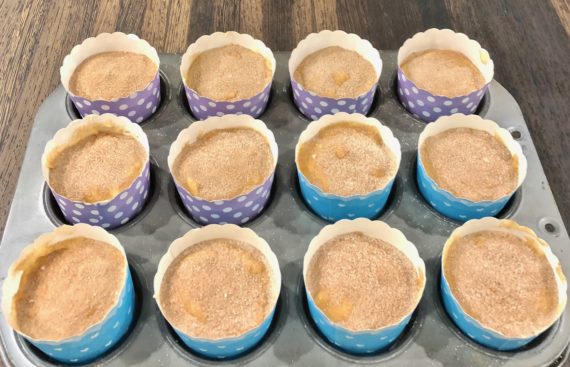
For the Topping:

Mix together the cinnamon and sugar and spoon it evenly on top of the batter in each cupcake well.

Bake for 16-18 minutes (start checking at 15 minutes), or until a toothpick comes out clean.

The cinnamon and sugar should have caramelized and be slightly crunchy to the touch.

Transfer to a wire rack to cool completely.

It’s that simple!

signature

[recaptcha]


It took a long time for me to learn to cook. My mother always wanted to teach me, but I was always either busy or uninterested. Does that sound like a lot of you? Don’t you wish your mom or grandmother had written down the recipe for the dish you remember and love so much? Oh, if I had that time back! 

Luckily, I did get some time to learn with my mother. I think she was surprised and happy when I finally showed an interest in cooking. I like to think of this blog as an homage to my mom, she would have enjoyed it very much. I know there was so much more that she could have taught me; I think I could have taught her a few things I have learned as well. Like roasting potatoes and vegetables. Her meals always took a long time to cook, so she would have enjoyed learning a few wonderful quick tricks.

Roasting anything is my favorite fast and easy way to get dinner on the table. It also brings out the full flavor, with a depth of caramelization which will delight your taste buds.

The potatoes in this recipe are coated with fresh oregano, infused with lemon zest and juice, and topped off with Parmesan cheese. Have I got your attention yet? I hope so, because they are just that wonderful. They are roasted to perfection and come out of the oven with a beautiful golden crispy outside and a tender, delicate inside.

This is definitely one of those recipes you will preparing again and again. It is full of fresh flavor and you may even find you will be eating more potatoes than you planned to! Put this on your “short on time” repertoire and thank me later.

This recipe will feed about 4-6 people who will be thrilled with it’s caramelized, cheesy goodness! Definitely A “must-try”.

Ingredients for Roasted Potatoes with Oregano and Parmesan

5 potatoes, peeled and cut into wedges or large cubes
1/3 cup olive oil
Zest of 1/2 lemon
Juice of 1 lemon
1 tbsp. salt
1/2 tbsp. pepper
1 tbsp. oregano, or 4 sprigs fresh oregano, chopped
1 cup Parmesan cheese

Preheat oven to 450° F.

Put potatoes in a large bowl. 

Add lemon zest, lemon juice, salt and pepper.

Drizzle in oil.

Place 1/3 cup of Parmesan cheese in and toss well  to combine all ingredients.

Spread potatoes in a single layer in a 2-inch deep pan or a large aluminum pan.

Roast potatoes in oven until they are golden brown, about 40-45 minutes. (You want to make sure they are well browned on top).

Take out potatoes and sprinkle the remaining amount of Parmesan cheese on top.

Place back in oven for about 15 minutes, or until cheese has melted.

It’s that simple!

signature

[recaptcha]


What a great idea—a peanut butter and jelly sandwich disguised as a cookie! The imagination of other people always astounds me! This recipe successfully turns the traditional peanut butter and jelly sandwich into a delicious dessert or snack for anytime of the day. They are insanely good.

The top and bottom of the cookie are made with five ingredients, yes just five, so there is no excuse for not making them. And I bet you have all the ingredients right there in your pantry. The middle of the cookie is filled with a delightful peanut butter and jelly mix, turning a basic dessert into a decadent, luscious treat. When you bite into this cookie, the happiness you will feel will be infectious. Don’t think for minute you can eat just one!

Are you drooling yet? You should be, because these cookies are beyond description. Fabulous, amazing and incredible are just a few words that come to mind. But don’t just take my word for it; try it yourself. They are quick and easy to prepare. Put your aprons on and make these cookies–you and your family will be so grateful that you did!

This recipe is courtesy of Food52, Baking and will make 12 to 14 cookies that will make any person’s day joyful. 

Ingredients for Peanut Butter and Jelly Sandwich Cookies

1 cup peanut butter, plus more for filling the cookies
1 cup brown sugar
1 egg
1 tsp. baking soda
1 tsp. vanilla extract
Granulated sugar for shaping cookies
About 1/4 cup jelly or jam, for filling the cookies

Preheat oven to 350°F.

Line two large baking sheets with parchment paper.

Combine the peanut butter, brown sugar, egg, baking soda, and vanilla in a large bowl and stir well. (I used my standing mixer for this)

Scoop out teaspoons full of the dough and put them on the lined baking sheets, spacing them 2 inches apart to allow for spreading.

Using a fork dipped in granulated sugar, gently press the cookies down.

Rotate the fork and press again to make the classic peanut butter crosshatch pattern.

The dough is quite sticky, so keep sugaring the fork to prevent sticking.

Bake for about 12 minutes, until the cookies are soft with light colored tops but the edges are set and beginning to brown.

Let cool for a couple of minutes, then transfer to a wire rack and let cool completely.

Turn half of the cookies over and spread the flat side of each with a thin layer of peanut butter, then a teaspoonful of jam, spreading it almost to the edges of the cookies.

Top with remaining cookies.

(For longer storage, keep the cookies in an airtight container for up to 3 to 4 days, then spread them with peanut butter and jelly right before serving.)

It’s that simple!

Happy Valentine’s Day!

signature

[recaptcha]


Through my research, I found that cornbread is made very differently in the North and South. Northerners tend to make their cornbread very sweet, with a high flour content. Southerners prepare their cornbread with cornmeal, very little sugar, and is made in a skillet and finished in the oven.

Interesting! Who knew?

So now, I know I made a “southern” cornbread. When my husband tasted it, he told me he loved it because it “wasn’t too sweet”. Who would have thought those words would have such a significant meaning? When it comes to sweet “northern” cornbread, I prefer it as a muffin. Southern cornbread is great to eat with your meal as southerners do, to soak up any gravy or sauce from your plate. It is also wonderful as a snack, or to take for breakfast. I would also definitely have some after dinner as a dessert, though I would not technically call it a “dessert”. Oh whatever, I would eat this bread anytime! It was so easy to make.

I do know that both kinds are equally delicious. It is pretty much a matter of personal taste. Which kind of cornbread do you enjoy? Please send me an email or write me on my Facebook page. I would love to know.

This recipe is courtesy of Alex Guarnaschelli and will serve 8 to 10 people who will enjoy it so much they won’t care if it is northern or southern!

Ingredients for Corn Bread

1 1/4 cups coarsely ground cornmeal
3/4 cup all-purpose flour
1/4 cup granulated sugar
1 tsp. kosher salt
2 tsp. baking powder
1/2 tsp. baking soda
1/3 cup of milk
1 cup buttermilk
2 eggs, lightly beaten
8 tbsp. unsalted butter, melted

Preheat the oven to 425°F.

Place a 9-inch cast iron skillet inside to heat while you make the batter.

In a large bowl, whisk together the cornmeal, flour, sugar, salt, baking powder, and baking soda.

Whisk in the milk, buttermilk, and eggs.

Whisk in almost all of the melted butter, reserving about 1 tablespoon for the skillet later on.

Carefully remove the hot skillet from the oven.

Reduce oven temperature to 375°F.

Coat the bottom and sides of the hot skillet with the remaining butter.

Pour the batter into the skillet and place it in the center of the oven.

Bake until the center is firm and a cake tester or toothpick inserted into the center comes out clean, 20 to 25 minutes.

Allow to cool for 10 to 15 minutes and serve.

It’s that simple!

signature

[recaptcha]


Everyone has their “go-to” recipes when dinner has to be on the table in a short amount of time.

I know I have mine! It is usually a main dish with a vegetable that is roasted simply with some oil, garlic and lemon. 

From the time my oldest son was a child until he was a teen, he would only eat pizza or pasta with butter and parmesan cheese. My younger son was more adventurous, and would happily try anything. When you are raising two different kids, you gotta do what you gotta do.

My kids, who are adults now, still enjoy my ‘go-to” recipes and ask me for them often. But now I do my best to change it up a bit and diversify their palettes. Of course, starting this blog helped a lot, and I am happy when I see them trying something new.

This recipe is perfect if you want to brave and introduce something special. The caramelization of the cauliflower after roasting gives this dish a wonderful depth of flavor. The raisins add lovely texture, and a sweet surprise. The capers compliment it with a salty jolt, and the breadcrumbs bring it all together to make this dish as wonderful as it is unique.

This recipe is courtesy of Epicurious, and will serve 8-10 people who will love this extraordinary combination of flavors.

Ingredients for Cauliflower with Capers, Raisins, and Breadcrumbs

1 large head of cauliflower (2 pounds), cut into 2″ florets
6 tbsp. olive oil, divided in half
Kosher Salt
Freshly ground black pepper
3 garlic cloves, thinly sliced
2 tbsp. salt-packed capers: soaked, rinsed and patted dry
3/4 cup breadcrumbs
1/2 cup low-salt chicken broth
1 tsp. anchovy paste (optional)
1/3 cup golden raisins
1 tbsp. white wine vinegar or champagne vinegar
2 tbsp. chopped flat leaf parsley

Preheat oven to 425F.

Toss cauliflower florets with 3 tablespoons olive oil in a large bowl; season mixture with salt and pepper.

Divide cauliflower mixture between 2 large rimmed baking sheets, spreading out in a single layer.

Roast, tossing occasionally, until cauliflower is golden and crispy, about 45 minutes.

*Do ahead: Cauliflower can be made 4 hours ahead. Let stand at room temperature. Reheat before using.

Meanwhile, heat remaining 3 tablespoons olive oil in a small saucepan over medium-low heat.

Add garlic and cook, stirring occasionally until they are just golden, about 4-5 minutes.

Add capers and cook until they start to pop, about 3 minutes.

Add breadcrumbs and toss to coat.

Cook, stirring often, until breadcrumbs are golden, 2-3 minutes; transfer breadcrumb mixture to a plate and set aside.

Add chicken broth and anchovy paste (if using) to same saucepan.

Bring to a boil.

Add golden raisins and white wine vinegar and cook until almost all the liquid is absorbed, about 5 minutes .

Remove from heat and set aside.

*Do ahead: Breadcrumb and raisin mixtures can be made 2 hours ahead. Rewarm raisin mixture before continuing.

Transfer warm cauliflower to a serving bowl. Scatter raisin mixture over, then toss to distribute evenly. 

Season to taste with salt and pepper.

Sprinkle cauliflower with breadcrumb mixture and parsley.

It’s that simple!

signature

[recaptcha]