Most people my age have taken up yoga. While I do love yoga, I took up boxing ten years ago instead. Think boxing is not a sport for women? Think again. I tried it during one of my training sessions and fell in love with it! I found a trainer who is a professional boxer. He put an ad in our local paper and I was there in a flash. I wanted to learn the sport from the very beginning and work my way up. Now I look at boxing very differently than I used to.

When looking at a fight, most women (my-former-self included), would just see two people hitting each other hard and fast. At first, I could not bear to watch it. It was way too brutal for me.

From the moment I slipped my hands into boxing gloves, however, I was hooked. As I learned the sport, step by step, I realized there is a dimension to it that is very empowering, especially for a woman. The skill and endurance it takes to become a boxer is astonishing. It is a sport, with difficult, fine-tuned techniques that can be learned with the right trainer.

It was very challenging to learn, but with each phase, I slowly advanced to a level I am now proud of. Each 3-minute round still takes my breath away, but I can endure it, and I feel a great sense of accomplishment in that. For me, boxing has gone from a ghastly punching match to an art that, like any other art, takes extreme skill, persistence and fortitude.

That being said, I do try to stay in shape and eat healthy. Boxing has taught me that the human body is like a machine, and food its fuel. Salads are not my preferred dinner of choice unless it has some good nutrients and protein in it. This salad has all the ingredients needed to have as a hearty main dish, but I served it as a side with a protein as the main dish.

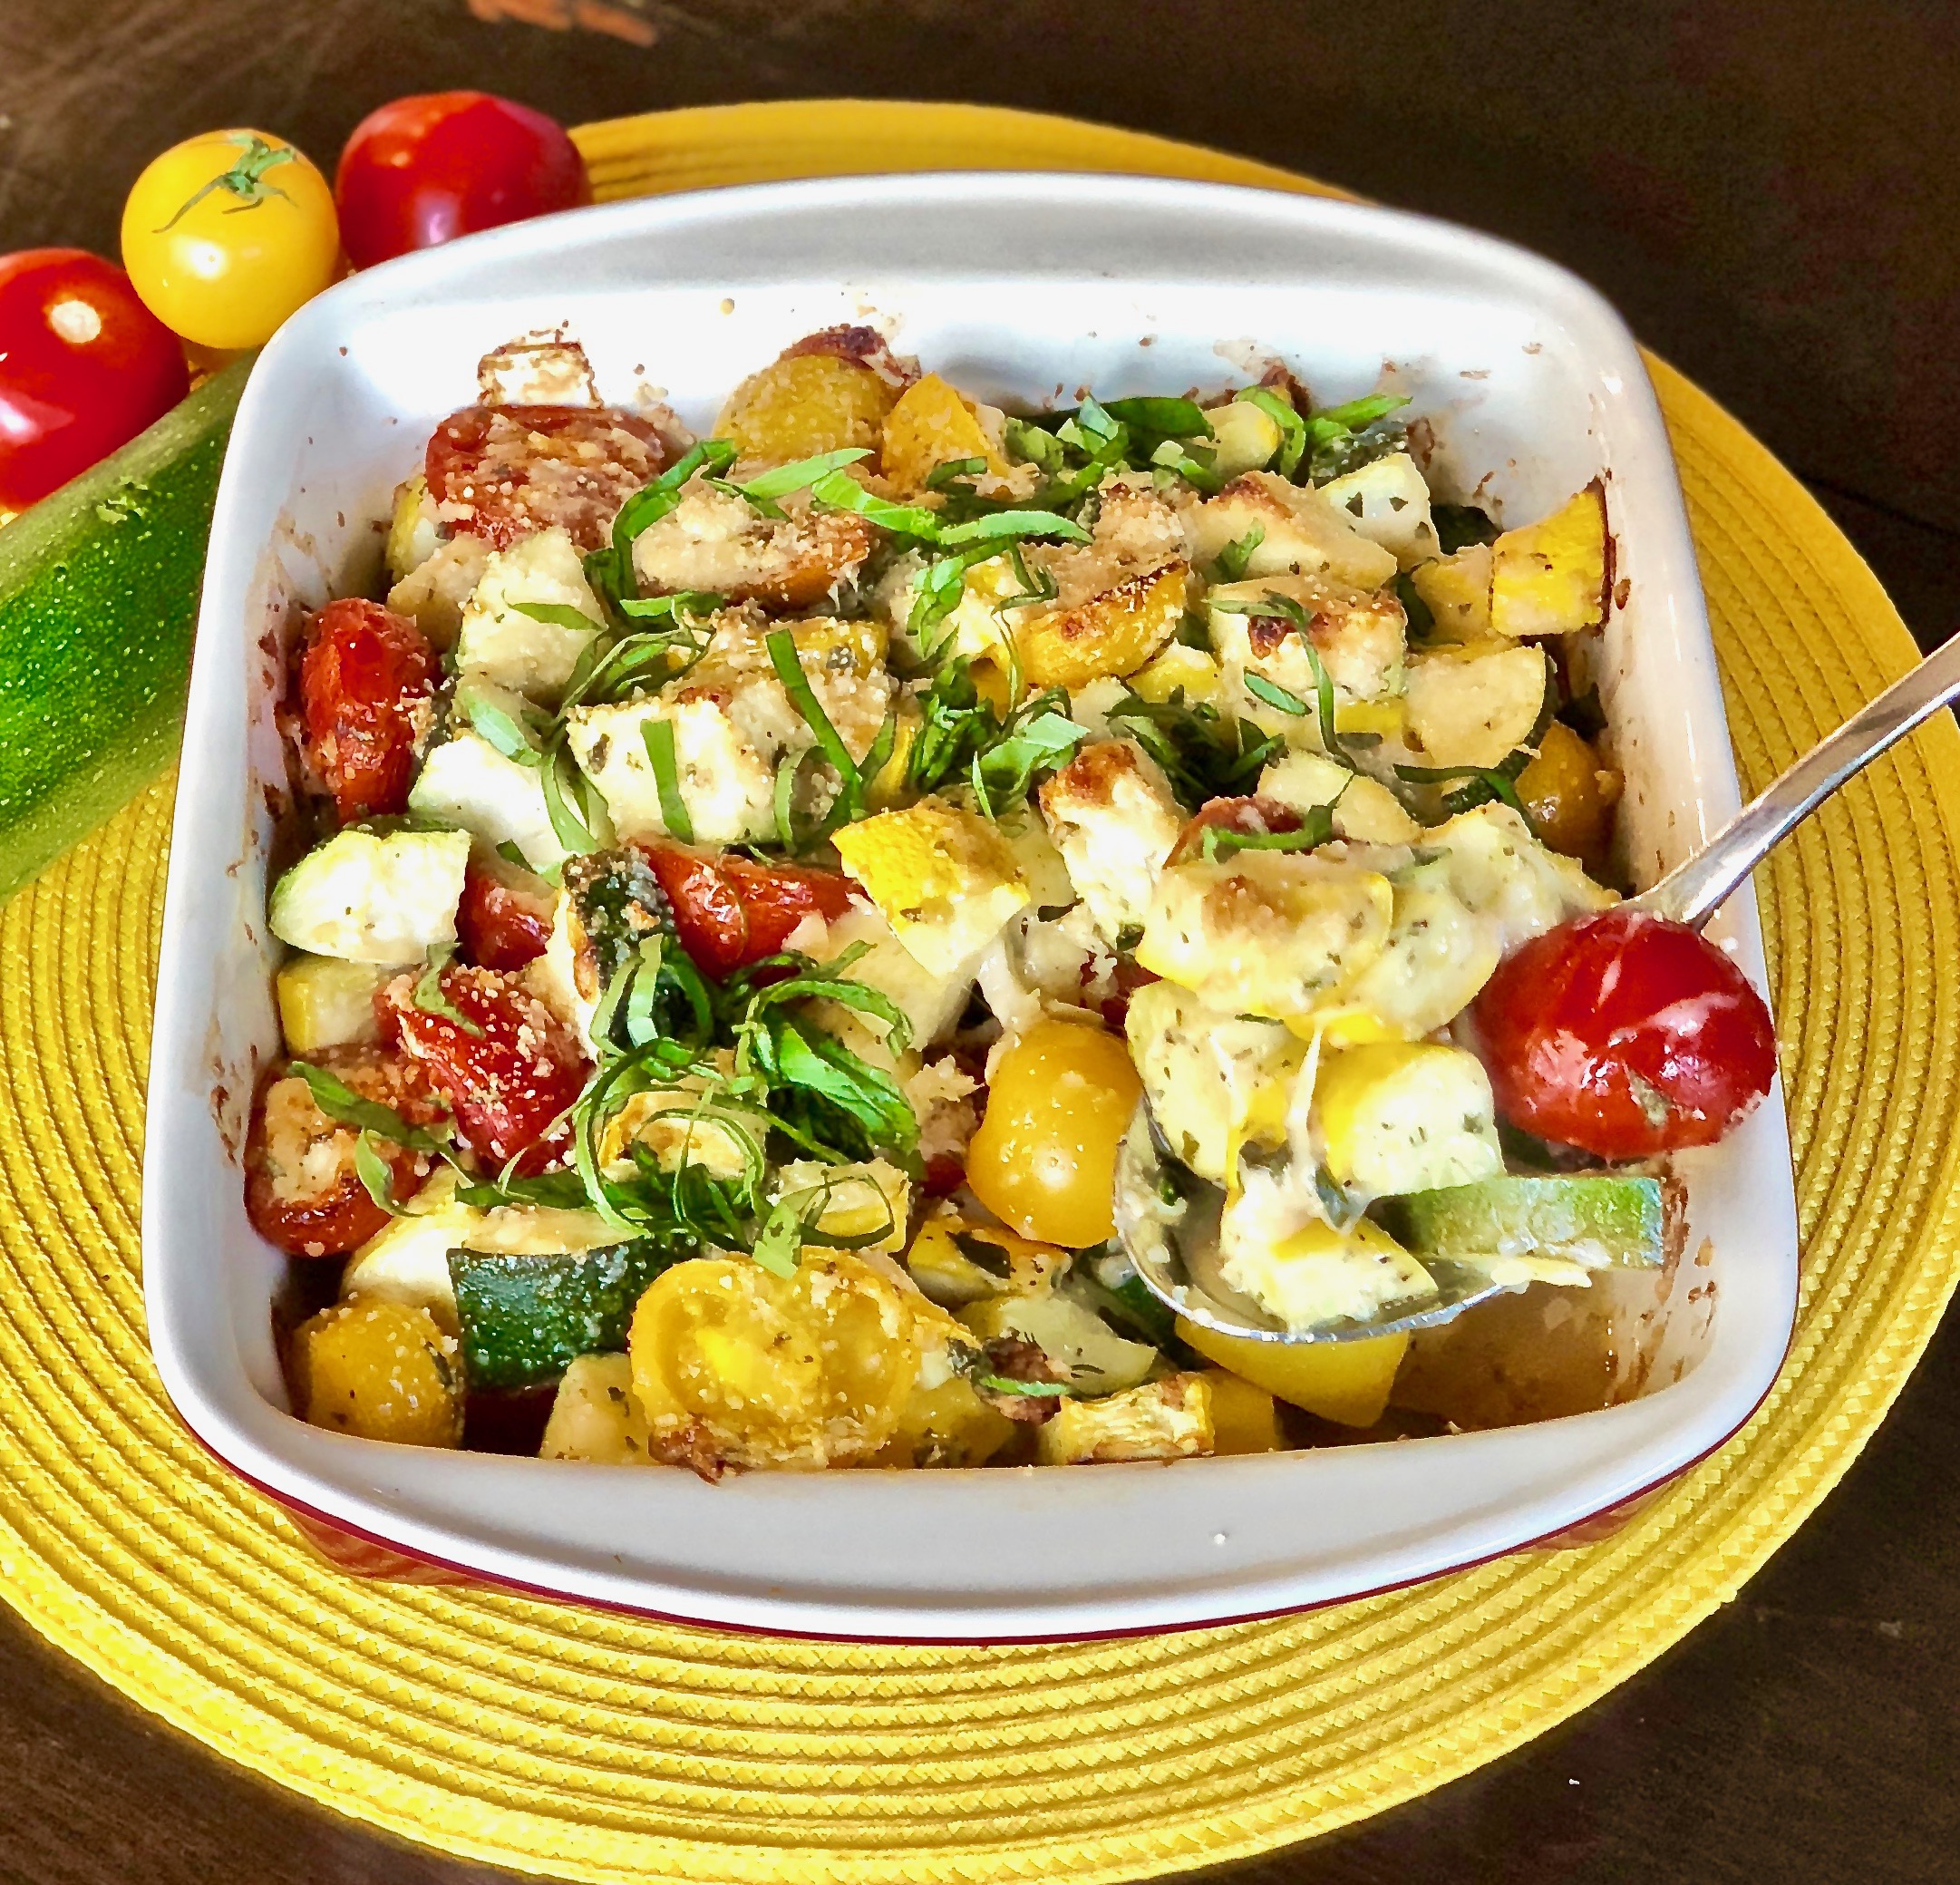
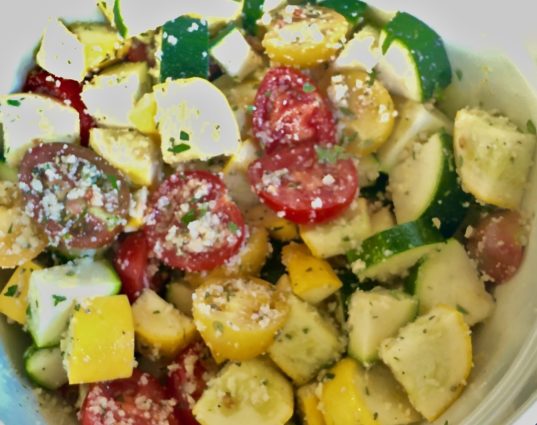
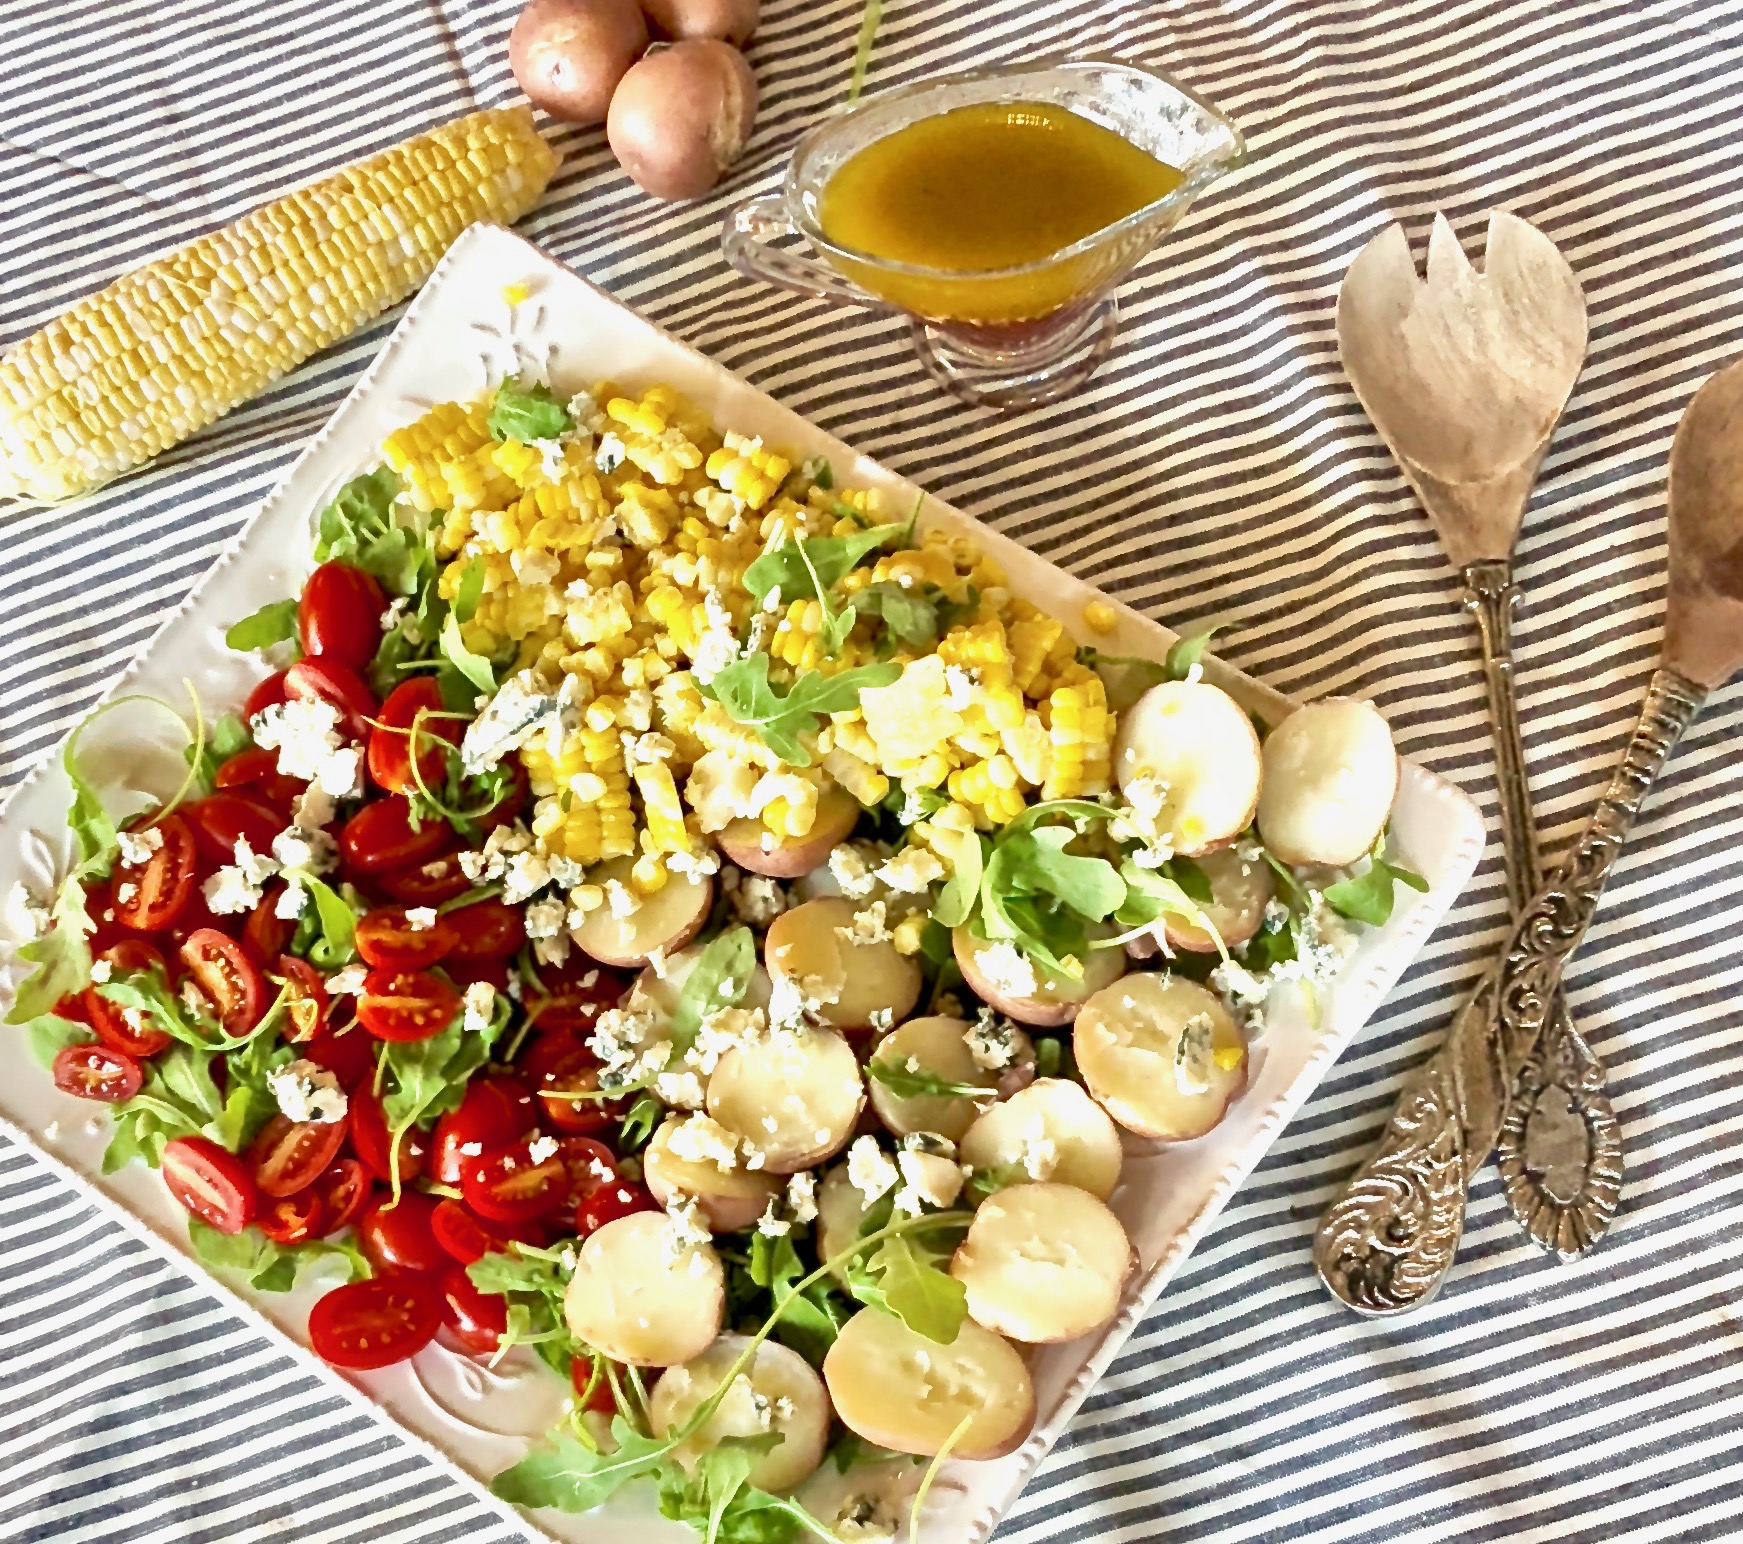
This salad is definitely blog-worthy, mainly because the ingredients blend so well together. The fresh corn and tomatoes add sweetness to it, while the potatoes make it hearty and satisfying. The wild baby arugula gives it a nice bitterness and fresh kick. The dressing is the perfect topping, it is light with a little bit of tang. My family loved it and I know you will too!

This recipe will serve 4-6 people who will change their perception of salad for dinner, just as I changed mine of boxing.

Ingredients for Lazy Day Corn Salad with Grape Tomatoes

1 1/2 cups fresh corn kernels, cooked (about 3 ears of corn)
1 1/2 cups grape tomatoes, halved
10 small red potatoes, cooked and halved
2 cups wild baby arugula
1/3 cup blue cheese, crumbled

For the vinaigrette:

1/4 cup red wine vinegar
Juice of 1/2 lemon
1 small garlic clove, minced
1 tsp. sugar
Salt and pepper to taste 
1/2 cup of good olive oil

Make the Salad:

Drop the corn into a large pot filled with boiling salted water.

Add 4 tsp. granulated sugar to water.

Cover the pot and let the water return to a boil again, then turn off the heat and keep the pot covered.

After about 3 minutes, remove and let cool.

Return water to a boil. 

Drop red potatoes into pot and turn heat to medium-high.

Cover and let cook for 20-25 minutes, or until you can easily pierce potato with a fork.

Remove from pot and let cool.

In the meantime, make the dressing.

Make the Vinaigrette: 

Place first five ingredients in a medium bowl.

Slowly drizzle in olive oil and whisk to mix well

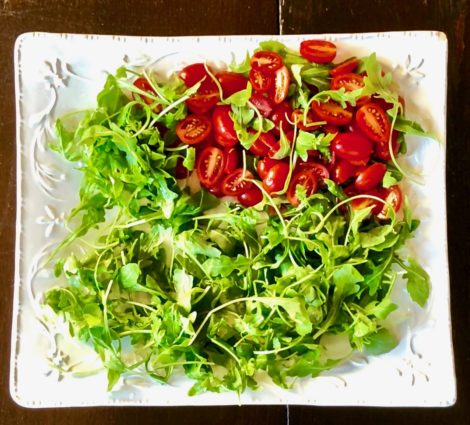
In a large bowl, toss arugula with 1/2 of the dressing.

Place arugula on a serving platter.

Put it all together:

Arrange tomatoes on top of arugula.

Cut the corn off the cob.

Cut the potatoes in half.

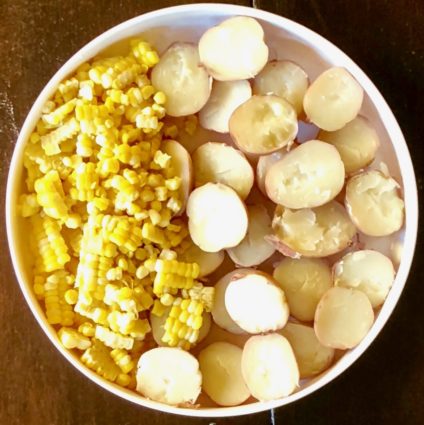
Arrange both on top of the arugula.

Sprinkle blue cheese over salad.

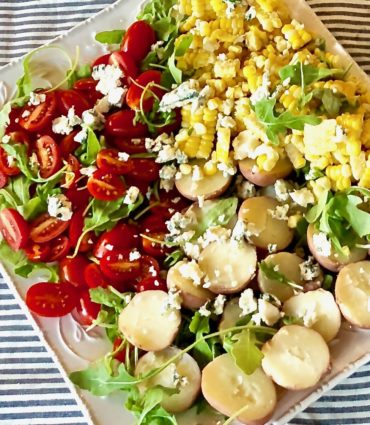
Pass the remaining dressing at the table.

It’s that simple!

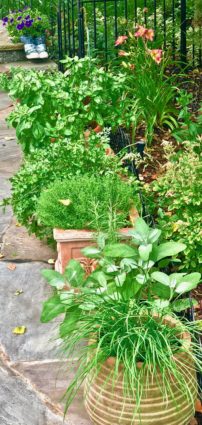
More beautiful flowers blooming in my garden!

signature

[recaptcha]


You have to admit when you saw the title of this recipe you were intrigued. These cookies were a first for me, I had never heard of a cookie made with potato chips. So I got right to it and made them, pronto. The author says that they have been around for a long time, published on the back of some potato chip bags. None of them were very good in their opinion, but felt they had potential. They tried to design a new potato chip cookie that met their high standards.

Apparently, when using regular potato chips, the taste of oil was too prominent and turned the edges too dark. I used regular organic kettle baked potato chips and they looked and tasted pretty damn perfect. But feel free to use the reduced fat kind if you choose to. The authors recommend Cape Cod 40% Reduced Fat Potato Chips. 

I love these cookies. The potato chip taste does not overrun the cookie, in fact, there is a perfect amount of salt and sweet that keeps you reaching for “just one more”. When they are done baking, you will have super thin cookies with an outstanding crunch. These taste-bud teasing cookies are perfect to bring to any summer party, but you’re going to want them all for yourself. I promise they will not disappoint!

This recipe has been created by Sarah Wilson and Chris Dudley, courtesy of Cook’s Illustrated Magazine, one of my favorites. They test recipes so carefully, you can always be assured of a perfectly scrumptious outcome. It will make 24 cookies that all potato chips devotees will be thrilled to indulge in when their sweet tooth acts up. 

Ingredients for Potato Chip Cookies

3/4 cup all-purpose flour
1 1/2 ounces reduced-fat potato-chips, crushed fine, 91/2 cup 
1/4 cup pecans, toasted and chopped fine
1/4 tsp. salt
8 tbsp. unsalted butter, cut into 8 pieces, softened but still cool
1/4 cup granulated sugar
1/4 cup confectioners’ sugar
1 large egg yolk
1/2 tsp. vanilla extract

Adjust oven rack to middle position and heat oven to 350°F.

Line 2 baking sheets with parchment paper.

Combine flour, potato chips, pecans and salt in bowl.

Using a stand mixer fitted with the paddle, beat butter, granulated sugar and confectioners’ sugar on medium-high speed until pale and fluffy, about 3 minutes.

Add egg yolk and vanilla and beat until combined.

Reduce speed to low and slowly add flour mixture in 3 additions.

Roll dough into 1-inch balls and space them 3 inches apart on prepared sheets.

Using a floured dry measuring cup, press each ball 1/4-inch thick.

Bake cookies, 1 sheet at a time, until just set and lightly browned on bottoms, 10 to 13 minutes, rotating sheet halfway through baking.

Let cookies cool completely on sheet, about 15 minutes, before serving.

Cookies can be stored in airtight container at room temperature for up to 2 days.

It’s that simple!

signature

[recaptcha]


New Jersey is also known as the Garden State, and for good reason! Certainly you have all heard of New Jersey tomatoes. Well, we are also known for our blueberries, corn, cranberries, and peaches.

Since we are not a very large state, there is limited land available for farming. For that reason, most of our farming is run by small family businesses. Luckily for us, these families turn out higher quality, more flavorful produce.

New Jersey farmers mostly sell their produce within the state or directly to their local farm stands or farmers markets. These foods are enjoyed by the residents here, and known for their outstanding quality and exceptional taste. 

Tomatoes that are grown locally are so delicious because they do not have to be picked when they are green to withstand the long periods of transport. The farmers are able to cultivate varieties of tomatoes that are protected from soil-borne diseases. They are picked when they are vine-ripened and are immediately sold to the local markets. 

The best time to buy these wonderful tomatoes is mid-July to the end of September. So, now when I visit my local farmer’s market, I buy a bunch!

I chose this recipe because it’s the perfect time to buy tomatoes and zucchini. It just does not get any better than this, it is topped off with a heavenly layer of cheese that is melt-in-your-mouth good. The basil compliments this dish to perfection. 

This recipe is courtesy of Delish.com and will serve 4-5 people who will have high praise for the scrumptious flavor of this delicious yet healthy dish.

Ingredients for Zucchini Tomato Bake

1 pound zucchini – about 3 medium, chopped
1-pint cherry tomatoes, preferably multi-colored, halved
2 cloves garlic
Extra-virgin olive oil, for drizzling
Kosher salt
Freshly ground black pepper
1/3 cup freshly grated Parmesan
2 tbsp. torn basil for garnish

Preheat oven to 350F.

In a large bowl, combine zucchini, tomatoes, garlic and a drizzle of olive oil.

Season with salt and pepper, toss to coat.

Transfer vegetables to a small baking dish, sprinkle with Parmesan.

Bake until golden, 33 to 35 minutes.

Garnish with basil and serve.

It’s that simple!

Butterfly kissed!

signature

[recaptcha]


Finally, into summer full blast! Everyday I wake up to warm, sunny weather and no humidity. It makes me just want to be outside all day. What a perfect week for people that have beach homes. 

Lately, I have spent the weekends tending to my garden and enjoying these beautiful days in my yard. The summer always seems to go by so quickly, so I cherish the long days of light and sun. Autumn will be here soon and although the sky is still bright all day, they seem to more hectic and shorter.

During the summer, I love the small red, orange and yellow peppers that become available. They are so colorful and charming. I usually stuff them with cheese and bake them in the oven for a nice appetizer when company comes. I am always looking for ways to incorporate them into my repertoire, and I have to admit, this is a good one.

The broccoli and sweet peppers are roasted to perfection, leaving them sweet, yet warm and savory. The browned butter adequately enhances the flavor of all the ingredients. The intensity of garlic and crushed red pepper flakes combat the tang of lemon juice and zest in the most exciting way. All the flavors in this dish complement each other, making every mouthful as enticing and wholesome as the last.

This recipe will serve 4-6 people who will be delighted with the sweet peppers in this divine, luscious sauce.

Ingredients for Browned Butter Pasta with Broccoli and Sweet Red Peppers

1 pound broccoli crowns
1 large red bell pepper, seeded and diced
2 tbsp. olive oil, plus 2 more set aside
1 package fusilli pasta (or any pasta of your choice)
Zest and juice of one lemon
2 large garlic cloves, chopped
4 tbsp. unsalted butter
1/4 tsp. crushed red pepper
1 tsp. kosher salt, plus 1/2 set aside
1/2 tbsp. freshly grated black pepper, plus 1/2 set aside
3/4 cup Parmesan-Reggiano cheese

Preheat oven to 450°F.

Cut broccoli into florets, cutting off as much of the stem of as possible.

Cut red pepper into very thin slices.

Toss together in a bowl with 2 tablespoons olive oil, lemon zest and juice, 1 teaspoon of the kosher salt and 1/2 teaspoon of pepper.

Arrange in a single layer on a baking pan lined with parchment paper. 

Make sure crowns of broccoli are facing up.

Bake for 15-20 minutes until crowns are browned and crisp.

Fill a pan with very salty water. Bring to a boil.

Add pasta and cook 2 minutes less than cooking directions on package.

RESERVE 1 CUP OF PASTA WATER.

Drain rest of pasta and set aside.

Melt butter in a dutch oven over medium-low heat. When melted, raise heat to medium-high and cook until browned and fragrant, about 2-3 minutes. You will know it is ready when you see it beautifully brown and very fragrant.

Add remaining 2 tablespoons olive oil, garlic, and red pepper flakes. Cook for one minute, stirring constantly.

Add in pasta. (It may stick together at first, just keep mixing it with butter and garlic mixture and it will come apart easily.)

Stir in remaining salt and pepper.

Gently add in roasted broccoli and red pepper.

Pour in 1/4 cup of pasta water, adding more in small amounts until you reach the consistency of sauce you prefer.

Transfer to a serving dish and top with cheese.

It’s that simple!

Pants pot!

signature

[recaptcha]


Now that my herbs are beautiful and bountiful, I get great pleasure in using them in all my recipes. I never got around to planting my full vegetable garden this year. Not happy about that. On the bright side, I planted more herbs than usual this year. For some reason, much to my excitement, they are bigger and lusher than they have ever been!

My vegetables and herbs are planted the same way every year, but turn out different each time. Some years they flourish superbly, and some years they do not. If any of you can tell me why I would so appreciate it. I just don’t get why. Nevertheless, this year I am a happy gal. I would love to pass on any good suggestions, but I am at a loss. 

I have posted similar recipes to this one in the past. Reading over several recipes for making a tomato mozzarella salad, there were many that caught my eye, especially the ones that marinated the cheese before serving. Many of you probably have been doing this for years. This was my first try, and the result was so outstanding I knew I had to share.

What makes this so special is the way mozzarella really soaks up the essence of the seasoning. The fresh basil leaves make a huge difference in how the marinade will taste. So do not skimp on the basil leaves! It may sound like a lot, but trust me, just go for it. The lemon zest and juice add a nice fresh flavor and the balsamic vinegar adds a perfect zing to it all. There is nothing better than marrying fresh tomatoes, mozzarella, basil and balsamic vinegar. 

This recipe will serve 6-8 people who will bask in the deliciousness of a new way of making this classic recipe.

Ingredients for Marinated Mozzarella and Tomatoes.

1 1/2 pounds bocconcini or pearl mozzarella cheese
1/2 pound cherry tomatoes, halved
1/4 cup fresh basil leaves, chopped, plus 6-8 whole leaves for garnish
3 tbsp. balsamic vinegar
Zest and juice of 1 lemon
3/4 cup of good olive oil
1 tsp. kosher salt
1/2 tsp black pepper.

In a medium bowl, combine olive oil, chopped basil, lemon juice and zest, balsamic vinegar salt, and pepper.

Add mozzarella balls to the mixture and pour into a 9x 13-inch pan.

Place saran wrap around the pan and place in refrigerator to marinate for at least 1 hour or more.

Remove from refrigerator and return mixture to a bowl.

Add the tomatoes; toss to coat.

Transfer to a serving dish and top with whole basil leaves. 

It’s that simple!

My herb garden

signature

[recaptcha]