Tabouli salad traditionally features ingredients such as parsley, fresh mint, tomatoes, scallions, lemon or lime juice and olive oil. It is most popular in the Middle East and originates from Lebanon. It is most frequently made with the whole grain bulgur.
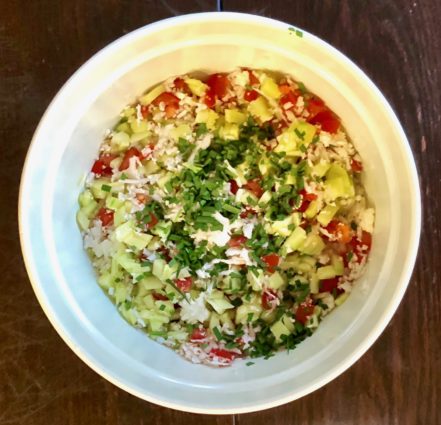
The star of tabouli salad is the parsley and the citrus. When combined, their unique flavors seem to compliment each other perfectly. There are many variations of this salad, and the room for improvisation makes it all the more fun! You can use red or green onion, fresh mint or parsley, and just about any vegetable of your choice. Although it is usually prepared with bulgur, there are many versions substituting it for other grains like quinoa or couscous, or as in my recipe, cauliflower.
Fresh off of a visit to my local farmer’s market, I wanted to use as much of my bounty as I could. This salad seemed like the perfect way to do it. I did my recipe research and can now call this one my very own. I am in love with the way it came out, but feel free to make any changes you see fit and you call it your own as well.
What a wonderful salad this is. It feels light, smells super-fresh and tastes delicious. The cauliflower is a great substitute for the bulgur wheat, which makes it truly a vegetarian dish. The dressing has a nice citrus taste and fragrance, and the tabouli is full of herby goodness. It is a perfect make-ahead recipe that will stay pristine in the refrigerator for several days.
This recipe will serve 4-6 people who will love this traditional Middle-Eastern dish and enjoy altering the recipe to their taste each time they make it!
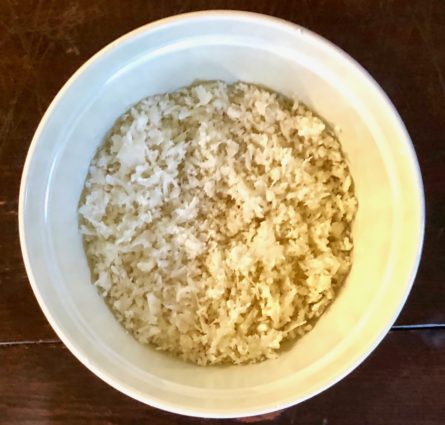
Ingredients for Cauliflower Rice
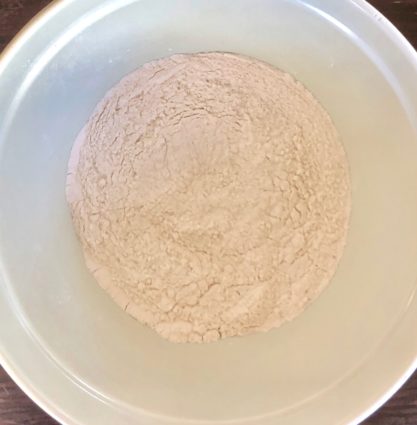
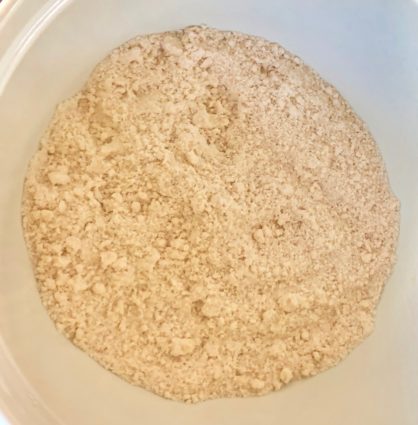
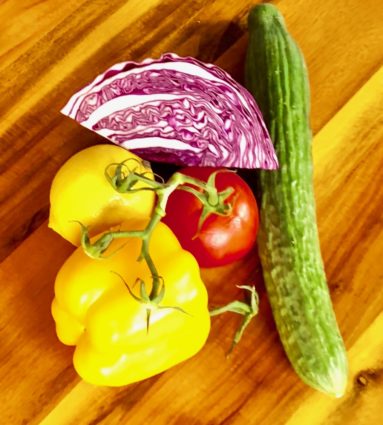
1/2 medium head cauliflower, grated
1 English cucumber, peeled, seeded and chopped
4 chives, sliced, plus extra for garnish
2 plum tomatoes, diced
1 bunch chopped parsley
For the dressing:
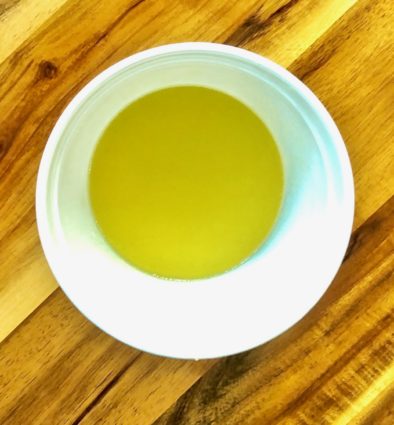
Zest of 1 lemon
Juice of 1 lemon (or 1/2 to taste)
2 tsp. tamari sauce
1 garlic clove, minced
1 tsp. kosher salt
1/2 tsp. freshly ground black pepper
3 tbsp. good olive oil
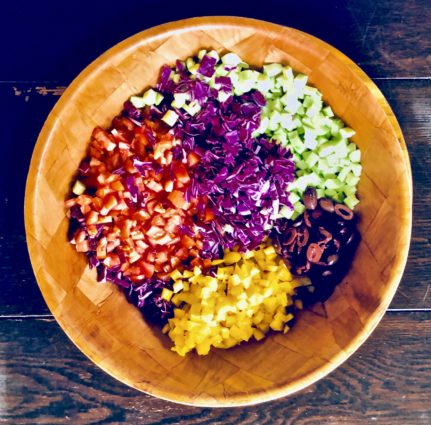
Grate 1 head of cauliflower into small pieces with a box grater or in the food processor.
Chop the tomatoes, mix with 1 tsp. of salt and transfer to a fine mesh strainer and allow to drain, 15 minutes.
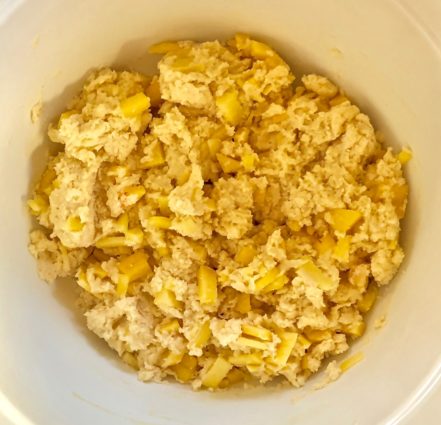
Toss together the cauliflower, tomatoes, cucumber, chives, and parsley.
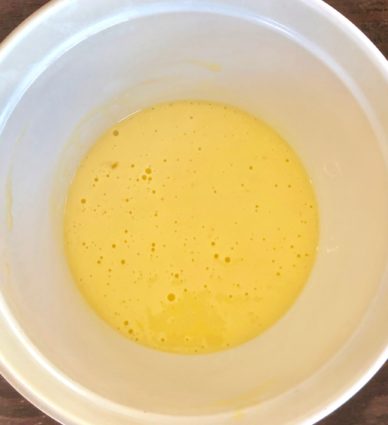
In a small bowl, mix the lemon juice and zest, tamari sauce, garlic, salt and pepper, and olive oil.
Carefully combine the cauliflower mixture, and the dressing, in small increments until you have it dressed to your liking.
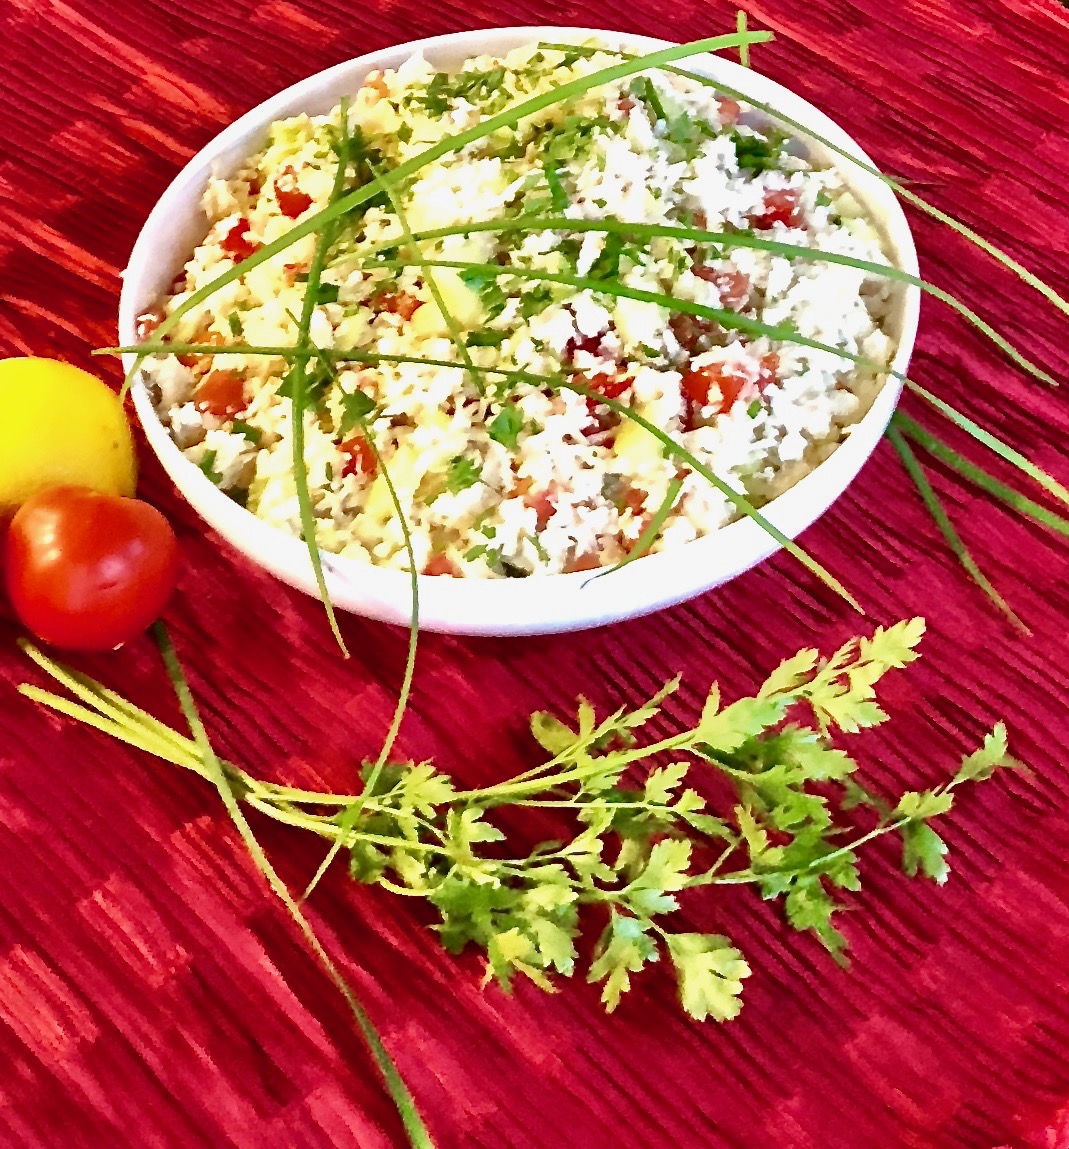
Garnish with chives.
Serve at room temperature.
It’s that simple!