When I had my new countertops put in my kitchen, the installer told me to clean them with Barkeeper’s Friend. I then learned that it could also be used to clean pots. I had some outdated farberware pots that my mother gave me when I got married. They are old, and they surely looked it. They had many black burn stains on them, and some of them had bright copper bottoms that had turned completely black. I never really used them anymore, but I kept them for their sentimental value. One day, I thought to try to clean them with Barkeeper’s friend. 

What amazing results! All of the black burns came off, and the copper bottoms were completely clean. I didn’t even have to scrub that hard. I was elated! I used it to clean some of my older cast iron pots that had black burn marks, and those disappeared as well. All of my pots looked like new again. Now I use Barkeeper’s friend to clean all my pots. This cleaner is truly remarkable. If you have a cast iron skillet, and are confused how to clean it, now you know. This cleaner takes all the mystery out of spotless pots and pans, and especially how best to clean a cast iron skillet. 

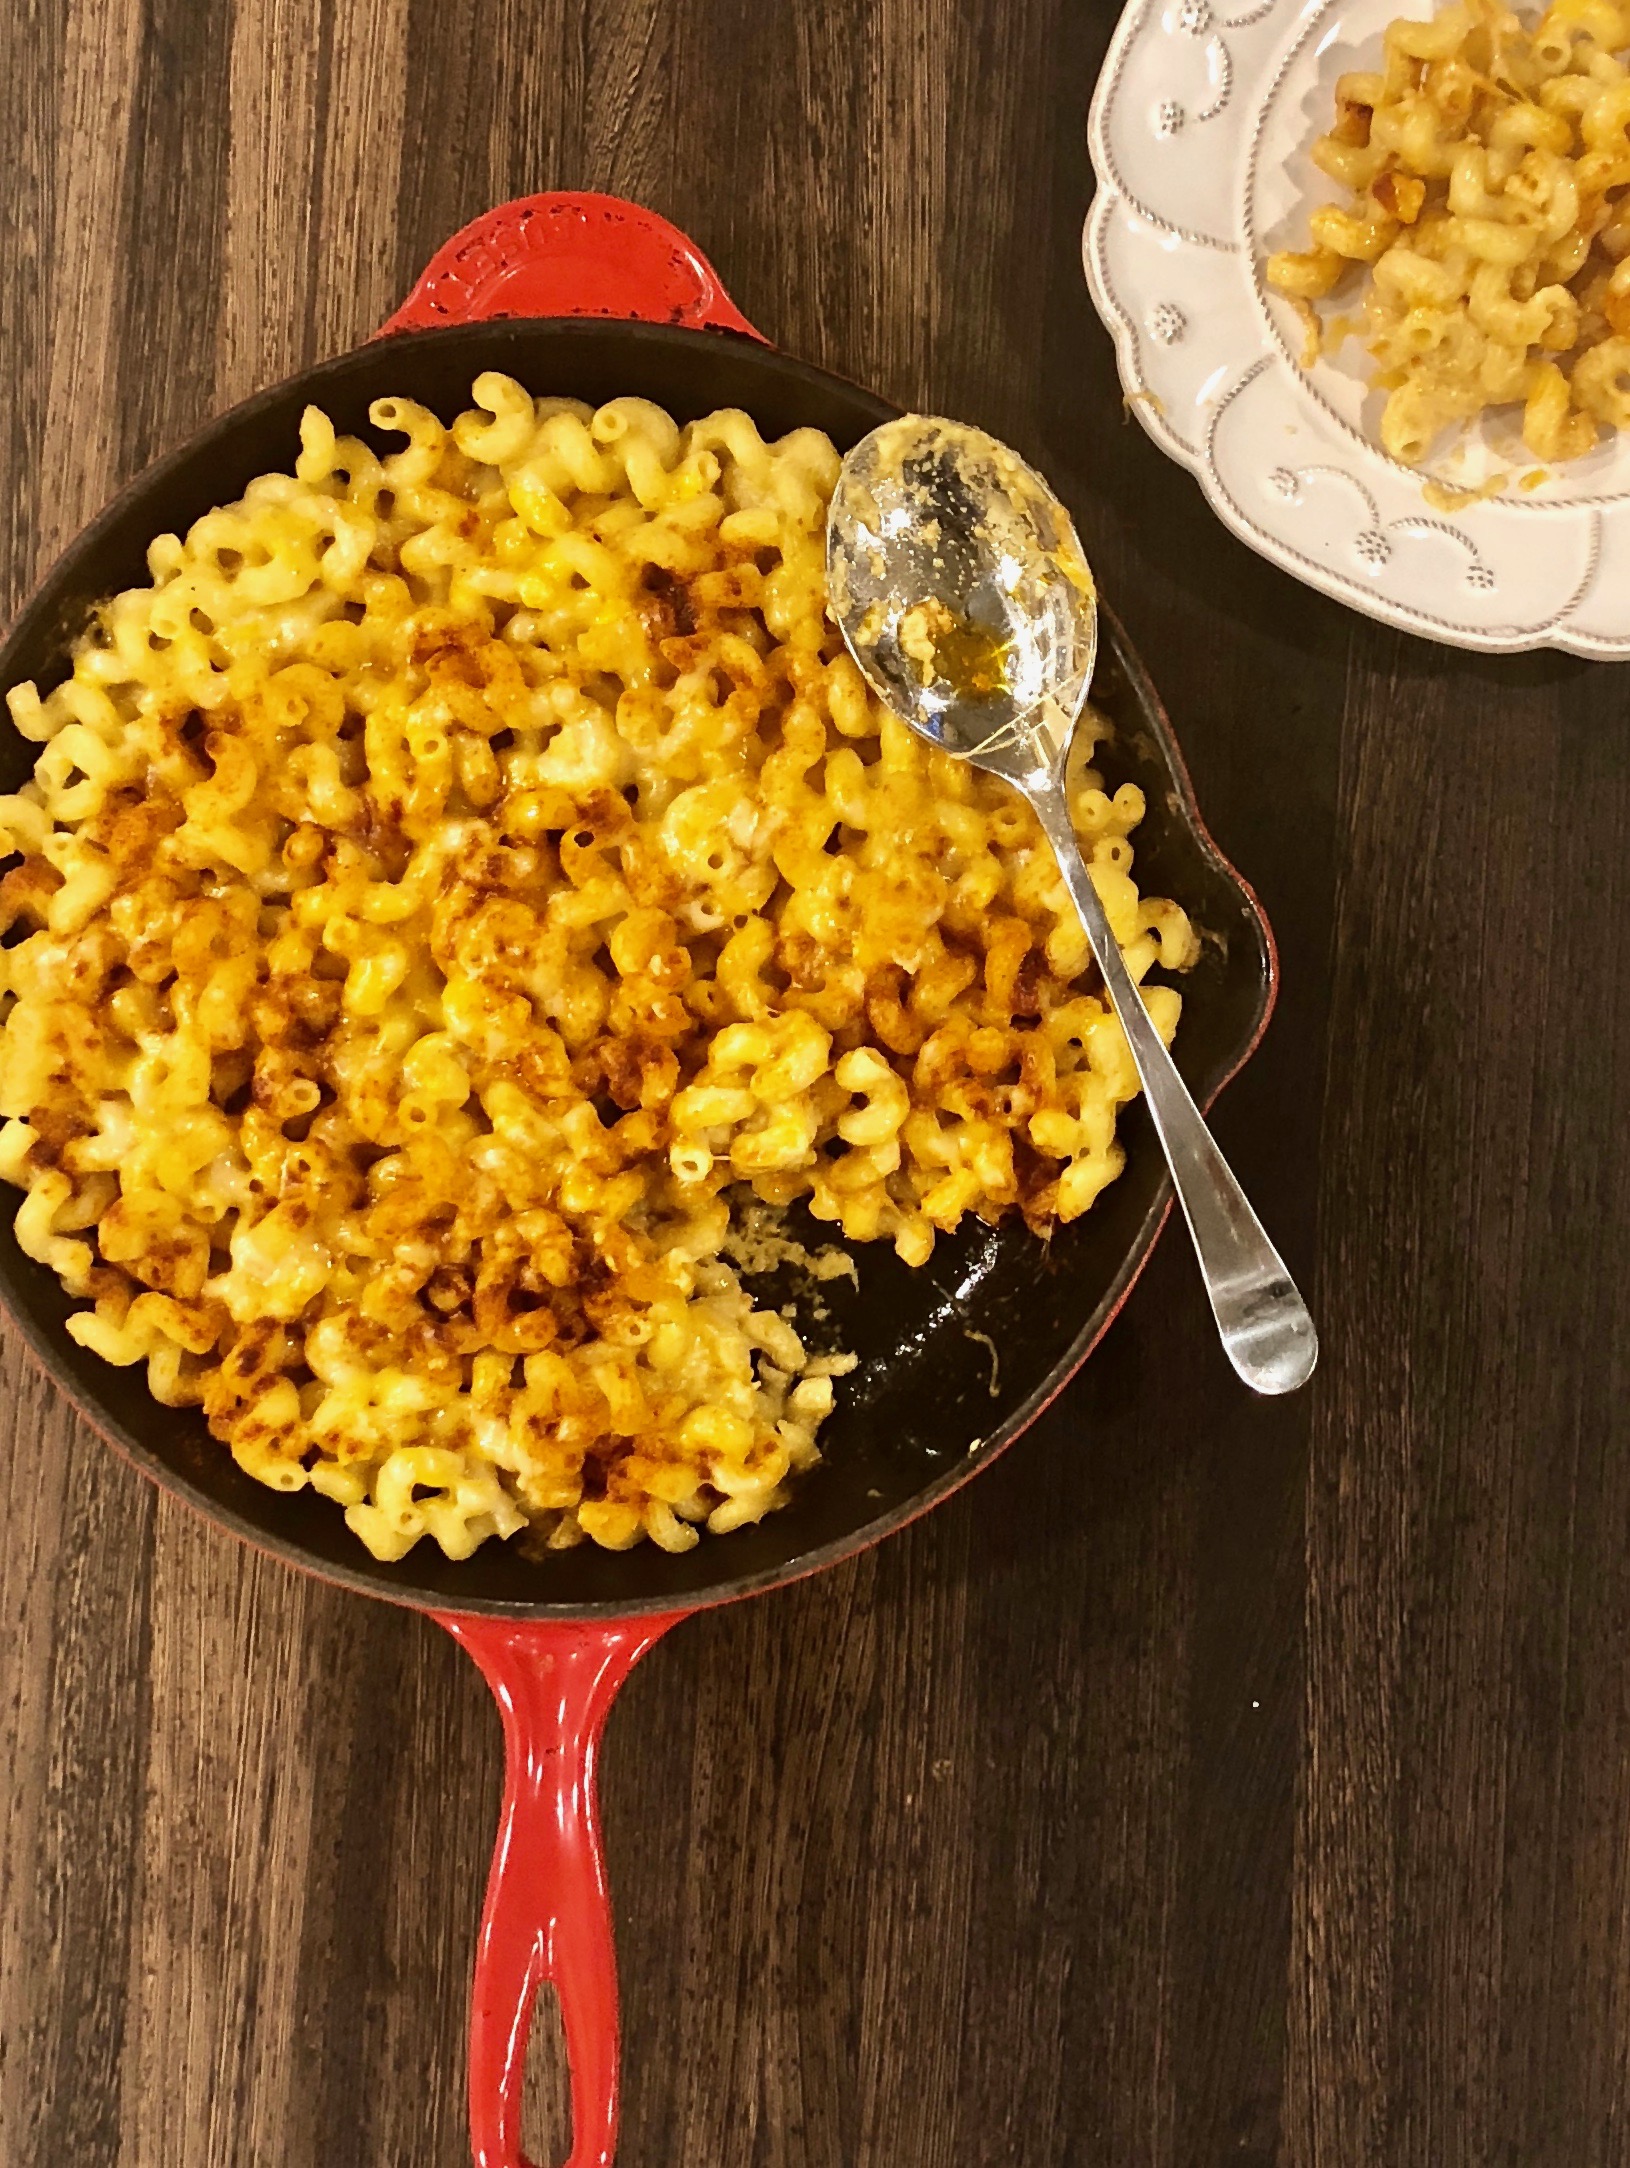
I love using my cast iron skillet to cook and bake. It distributes heat evenly and is now easy to clean. There are going to be a lot of future skillet recipes to come, and here is the first of many. 

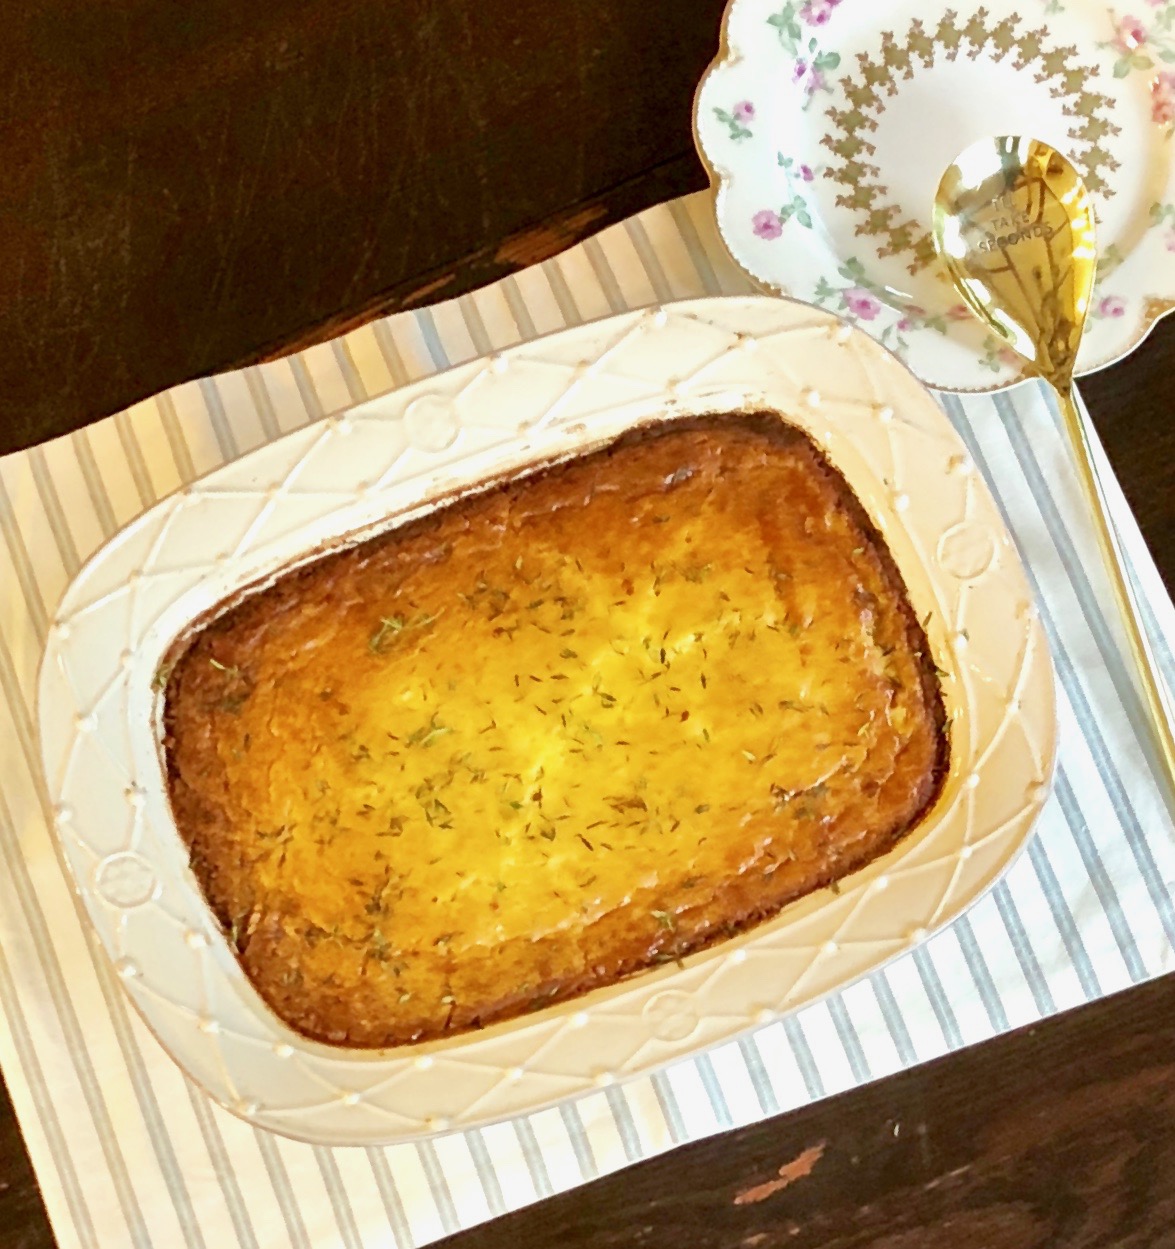
This mac and cheese is amazing. Just to note: I used 2 1/2 cups of sharp cheddar cheese and 2 1/2 cups of gruyere. I also heated the skillet before I used it, because that’s the way it should be done. Mac and cheese has always been everyone’s favorite comfort food, and this recipe will not disappoint. The sharpness of the cheddar cheese blends beautifully with the smoothness of the gruyere. The Worcestershire sauce adds a savory note, while the paprika gives it a beautiful color and a nice little kick. This recipe is a “must try”.

This recipe is loosely adapted from Tasteofhome.com and will serve 8 people whose tastebuds will be delightedly swimming in creamy, delectable cheese.

Ingredients for Homey Mac and Cheese:

2 1/2 cups uncooked elbow macaroni (I used small campanelle)
1/4 cup butter, cubed
1/4 cup all-purpose flour
1/2 tsp. kosher salt
1/4 tsp. freshly ground black pepper
3 cups 2% milk
5 cups shredded sharp cheddar cheese, divided (or 2 1/2 cups sharp cheddar and 2 1/2 cups gruyere)
2 tbsp. Worcestershire sauce
1/2 tsp. paprika
2 tbsp. olive oil

Preheat oven to 350°F.

Place 10-inch skillet in oven for 10 minutes to heat.

Cook macaroni 2 minutes less than package directions. 

Drain and set aside.

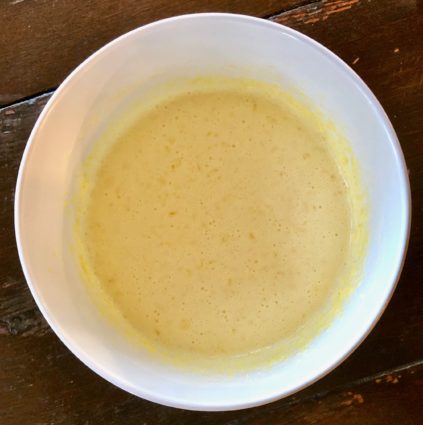
In a large saucepan, heat butter over medium heat. Stir in flour, salt and pepper until smooth.

Gradually whisk in milk.

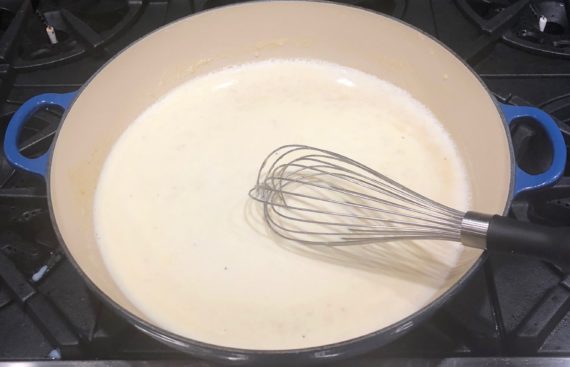
Bring to a boil, stirring constantly.

Cook and stir until thickened, 2-3 minutes.
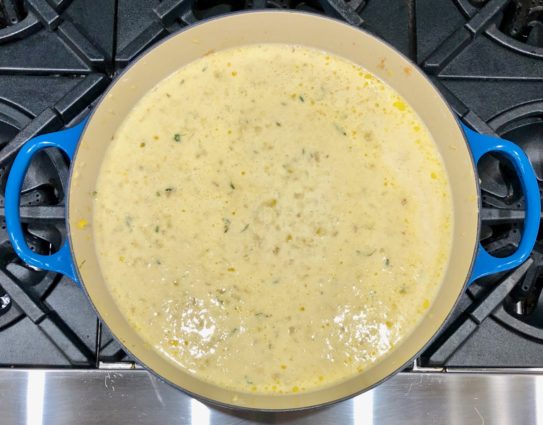
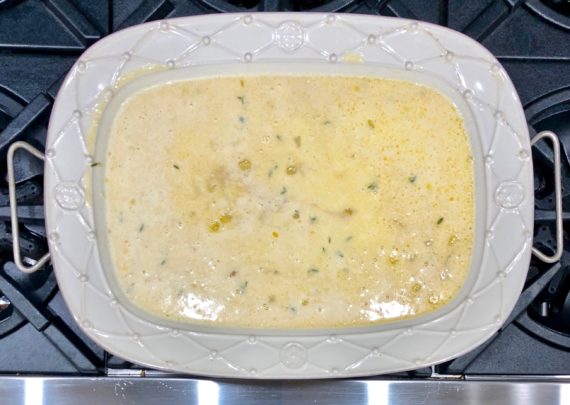
Reduce heat.

Stir in 3 cups cheese and Worcestershire sauce until cheese is melted.

Add macaroni to cheese mixture.

Place 2 tbsp. olive oil into skillet.

Roll the oil around the sides and bottom of the pan.

Transfer mac and cheese to skillet.

Bake uncovered, 20 minutes.

Remove from the oven, top with remaining cheese.

Sprinkle with paprika. (Okay, so I used more than 1/2 teaspoon, use as much as you want!)

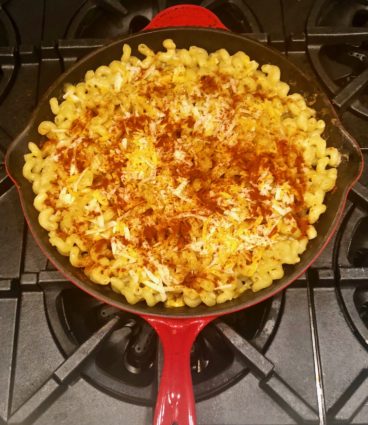
Bake until bubbly and cheese is melted, 5-10 minutes.

It’s that simple!

I wish they could bloom like this all year long!

signature

[recaptcha]


I am always looking for a good recipe to use my fresh, locally grown produce. This one met all of my requirements and exceeded all of my expectations.

Corn pudding, for those of you who do not know, is a traditional Southern side dish. I personally love southern cooking and have a whole bunch of cookbooks that I use regularly. I had so much corn I decided to try this recipe immediately, but in the South corn pudding is usually served at Thanksgiving.

The author of this recipe notes, “although corn pudding is considered to be a casserole, this one has a rich, soft texture that is almost dessert-like”. Truer words have never been written. I was licking the spoon to save calories, but I really wanted another piece! The author also instructs you to make sure the top is golden brown around the edges and jiggly in the center. That is exactly how mine came out. This corn pudding has a creamy, soft texture that makes it taste like a soufflé without all the work!

The reason why I loved this recipe is that it didn’t call for the usual cast of characters, such as cornmeal, nutmeg, creamed corn, or cheese. It is made with all fresh ingredients, including onions and thyme which make it wonderfully aromatic and savory in taste. You can even make it 2 days ahead and keep it chilled. To reheat, just cover with foil.

You may not be ready to start planning out your holiday meals yet, but I would make sure to keep this one in the back of your mind, I know I will. This delightful corn pudding was very light yet creamy, making it the perfect comfort food. Each bite will leave you wanting more. Why not give it a try now, just to see if you will want it to be included on your holiday menu?

Today’s Hint: To cut the kernels off of the cob, stand the corn on the middle part of a bundt pan. The hole in the middle will allow you to support the corn cob securely. Using a sharp knife, cut the kernels off from the top down. Cut all the way around the cob. The kernels will fall right into the pan. Easy cleanup!

This recipe is courtesy of SouthernLiving and will serve 12 people who will be licking their plates clean just as I did!

Ingredients for Savory Corn Pudding:

3 tbsp. all-purpose flour
2 tbsp. granulated sugar
2 tsp. baking powder
2 tsp. salt
6 large eggs
2 cups heavy cream
1/2 cup salted butter, melted and cooled
2 tbsp. canola oil
6 cups fresh corn kernels (about 8 ears)
1/2 cup chopped sweet onion (about 1 onion)
2 tbsp. fresh thyme, divided and chopped

Preheat oven to 350°F.

Cut kernels off of the corn. 

Stir together flour, sugar, baking powder, and salt in a small bowl until blended.

Whisk together eggs, cream, and melted butter in a medium bowl until blended.

Heat canola oil in a large skillet over medium-high heat.

Add the corn and onion, and cook, stirring often, until onion is softened, about 15 minutes.

Stir in 1 tablespoon thyme.

Remove from heat, and let cool slightly, about 5 minutes.

Stir flour mixture and egg mixture into corn mixture. 

Spoon into a 13-x 9-inch (3-quart) baking dish and bake in preheated oven until set and golden brown, about 40 minutes.

Let stand 5 minutes before serving.

Sprinkle with remaining 1 tablespoon thyme.

It’s that simple!

signature

[recaptcha]


Whoa! Summer has come and gone so fast! Just as you get used to having the warmth of the sun on your skin, it’s gone and it is September already. September and October are now usually rather warm months. Although many future brides still prefer May and June, I think September and October are perfect wedding months. When my boys were growing up, May and June were beautiful. Spring these past few years have been colder. You wait in excitement for the beginning of spring to bring warmth, but it seldom has. 

These past couple of years the return to school months have beautiful days and nights. Of course, we don’t get to enjoy them as much. I used to tell everyone that September through June is a roller coaster ride. Then you get off the roller coaster and absorb the beautiful days of summer, never wanting it to end. I remember my mother and aunts telling me time goes by so much faster as you age. How right they were. 

Fall and winter brings back school and holidays. Getting the kids up, shopping, entertaining, and cleaning up is a lot of work. I have some advice for the young mothers out there. Try to be in the moment. See the laughter and joy in every minute with your children. Before you know it, they are off to college. You will look back to their younger days and wish you could have it all back. Then, you make peace with it. But time races on, faster than it did before.

Speaking of the holiday season, I thought this recipe would be perfect for a main course. If you do your mise-en-place (prep) it doesn’t take that long to do. The chicken and sausages are browned and caramelized which lends a blissful sweetness to it. The cherry peppers pack the perfect amount of heat to contrast it without overpowering the other flavors. I love this recipe and will be making it for the holidays this year.

This recipe is loosely adapted from another recipe. I researched to find the author, but I couldn’t. If anyone recognizes this, please let me know. I would love to give them the credit they deserve. This lovely main dish will serve 10-12 people who will relish in its unique combination of flavors.

Ingredients for Chicken Scarpariello:

8 boneless, skinless chicken thighs, sliced
2 tsp. kosher salt, divided
1 tsp. freshly ground black pepper, divided
1 cup all-purpose flour
1/4 cup good extra-virgin olive oil, divided
4 garlic cloves, chopped
4 ounces (about 3) portabella mushrooms, roughly chopped
4 beef sausages, casing removed and sliced into 1-inch slices
1 red bell pepper, chopped
1 yellow bell pepper, chopped
1 red onion, chopped
3 hot cherry peppers from a jar, drained and chopped
8 fresh basil leaves, julienned or chopped, plus. 4 for garnish
3/4 cup good white wine
1 (28-ounce) can tomatoes
1 pound orzo, or couscous, cooked according to package directions

Preheat oven to 350F.

In a medium bowl, mix flour with 1 teaspoon of salt and 1/2 teaspoon pepper. Place chicken slices into the flour and toss to coat.

In a large skillet, heat half of the olive oil.

Place chicken slices in and cook over medium-high heat until just browned on both sides.

Take off heat and place in cast iron pot or extra-large baking dish.

Add remaining olive oil to the skillet and heat.

Add the mushrooms and cook until they have released their liquid and all the liquid has cooked out, about 5 minutes.

Stir in garlic.

Cook for 1 minute.

Place the sausage slices into the skillet and saute for 4-5 minutes, or until you see them just turning brown.

Season with remaining salt and pepper.

Toss in the red and yellow pepper, onion, cherry peppers.

Saute for 5 minutes until the vegetables start to wilt.

Stir in chopped basil.

Pour in the wine and let it cook down, about 5 minutes.

Stir in the canned tomato.

Take off heat and add mixture to the chicken.

Place in oven and let it bake, uncovered for 25 minutes.

Serve over couscous.

Garnish with basil leaves.

It’s that simple!

signature

[recaptcha]


I can not help but give you another wonderful salad recipe. I know there have been a lot of them, it is because I have an abundance of vegetables from my garden, especially tomatoes and cucumbers.

I am in love with the wonderful, ancient whole grain, farro. It has slowly but surely gained popularity here in the United States and you can find it on menus in many restaurants. Since so many people are beginning to eat healthy, this grain meets all their needs. It is fat-free and cholesterol-free! It is a great source of iron and is high in protein and fiber.

Not only is it good for you, I find it just plain delicious. I love the chewy texture and the way it absorbs anything you cook it with. Farro is easy to make, you can soak it overnight to reduce the amount of cooking time if you like, but it only takes 15 to 20 minutes to prepare if you don’t.

The farro and peas add a nice texture to this salad. The feta cheese gives the salad a creamy, salty smoothness. I added in basil because I love basil with just about anything. The dressing is rich with a tang. Do yourself a favor and make this salad. It is so worth it.

This recipe will serve 6 to 8 people who will fawn over farro.

Ingredients for Farro with Tomato Cucumbers and Peas

1 3/4 cups Farro
5 cups chicken stock
1 English cucumber, peeled, seeded and diced
1-pint cherry tomatoes, halved
1 small red onion, diced
1 cup frozen peas, thawed
1/2 cup fresh basil, chopped
1 cup feta cheese

For the dressing:

1/4 cup red wine vinegar
3 tsp. dijon mustard
1 tsp. honey
1/2 tsp. salt (or to taste)
1/4 tsp. fresh ground black pepper
1/4 cup good extra-virgin olive oil

Place farro into a medium saucepan and cover with the chicken stock.

Bring to a boil. (Uncovered)

Reduce the heat to a simmer, and cook until tender, about 15 to 20 minutes.

Drain the farro.

Put aside to cool.

Place the farro, cucumber, tomatoes, onion, and peas in a large bowl.

In a small bowl, whisk together the red wine vinegar, dijon mustard, honey, salt, and pepper.

Slowly whisk in the olive oil.

Slowly pour over the cucumber mixture, mixing to combine.

Add the feta cheese, lightly toss again.

Season with more salt and pepper to taste.

It’s that simple!

 Goodbye Summer!

signature

[recaptcha]


While I am out down the shore, I love walking through the towns nearby. They all have their own unique sense of charm. After enjoying the peace and simplicity of the beach, it is great to explore all of the things there are to do in these towns!

There are high-end clothing stores as well as beautiful vintage faire. You can find a five and dime store or a bookstore with comfy chairs for you to sit with your favorite book and a great cup of coffee. There are always movies to see and concerts to attend. You can try out one of the many food festivals, breweries, wineries or endless and beautiful vineyards. I love to rent a bike and ride to see the many historic homes, cottages and really drool-worthy beach homes! You can rent a boat, take a sunset sail and dine on the water. The possibilities are truly endless!

There are so many local farm stands down the shore, and I especially love the ones run by the owners of the farm. They are warm and friendly and offer so much good advice on cooking, produce longevity, how to store them and other friendly tidbits.

This year I got carried away and bought way to much corn. I gave some away to my friends and will cook and freeze the rest (so happy when I get to eat fresh wonderful corn in the winter). I also bought too many peaches, and I had to use them asap. That is why you are getting another peach recipe. I needed to find one that was super easy and quick to prepare.

This recipe whips up in no time. Originally, the recipe called for canned peaches, but I far prefer fresh. It used the juice from one of the cans in the recipe. Since I did not choose to do this, I used one of my peaches, mixed it with some water and sugar and cooked it until the water became syrupy. It was perfection! I loved this recipe. The baked peaches, along with the two sugars is amazing. It is topped with yummy cake mix and almonds that become beautifully browned during the baking process. 

This recipe was loosely adapted from Tasteofhome and will serve 15 people who will be smacking their lips after they indulge in this ultimate sweet treat.

Ingredients for Peach Cobbler Dump Cake

5 peaches, peeled and sliced, with 1 set aside (6 in total)
1 tbsp. granulated sugar, plus 1/3 cup more
1/2 cup brown sugar
1 package yellow cake mix
3/4 cup sliced almonds
1/2 cup cold butter

Preheat oven to 350º.

Place 1 peeled and sliced peach in a small saucepan with 1/2 cup of water and 1 tablespoon of granulated sugar, over medium heat.

Let cook about 15-20 minutes, or until the water in the pot gets thicker and syrupy. 

Take off heat and let it cool about 10 minutes.

In a medium-sized bowl, add the cooked peach, the juice, and the freshly sliced peaches.

Add 1/3 cup granulated sugar, the brown sugar and cinnamon.

Sprinkle with cake mix and almonds.

Cut butter into very thin slices.

Arrange over top, spacing evenly.

Bake until golden brown and fruit is bubbly, 35 – 40 minutes.

Serve warm.

It’s that simple!

signature

[recaptcha]