I have been baking a lot this fall. It probably has to do with the weather. When it is rainy and cold out, I love to cook and bake. Just the smell of delicious food makes me instantly feel better. Plus, staying active, whether I am organizing, cooking or cleaning keeps me sane. I just am not good at resting, unless it is to watch a great movie or TV show. 

Recently after minor surgery, my husband was turning down the covers on my bed. I asked him why he was doing it and he said it was for me to rest. This was very considerate and kind of him and I thanked him and told him I had no need to rest. I felt fine, and walked right into the kitchen to bake these cookies.

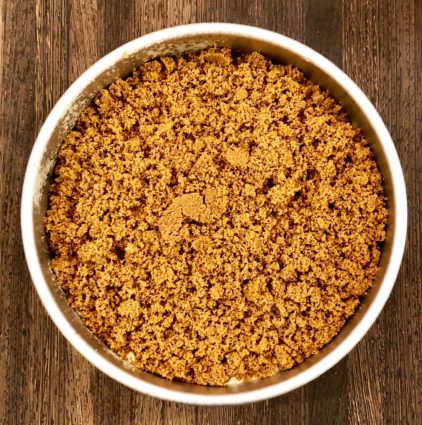
There are a lot of boring yet delicious peanut butter cookie recipes out there. Most of them have white sugar, brown sugar and flour in them. So does this one! But look carefully, there is something different about this recipe. They are made not with the usual salt, but with a coarse salt with generous bold flakes. Each bite of these amazing cookies surprises you with a nutty, sweet and tart flavor that is incredible. Dome shaped and best served warm, they are crispy outside and tender inside. I challenge you to eat just one. Put this one on your “absolutely must try” list and thank me later.

FYI – I just lightly dipped the bottoms of the cookie in Maldon salt flakes. This was suggested by the author of this recipe, and I didn’t want any of the salt to fall off if I had out them on top.

This recipe is courtesy of Julia Moskin and City Bakery, and will make 2-3 dozen cookies that will satisfy any sweet tooth. 

Ingredients for Peanut Butter Sandies:

1 cup unsalted butter, softened
2 cups sugar
2/3 cup packed light brown sugar
1 teaspoon kosher salt
2 cups peanut butter, creamy or chunky
2 large eggs
2 1/4 cups all-purpose flour
Flakey salt like Maldon for sprinkling

Heat the oven to 375°F with racks in the lower and upper thirds.

Line two large rimmed baking sheets with parchment paper or silicone baking mats.

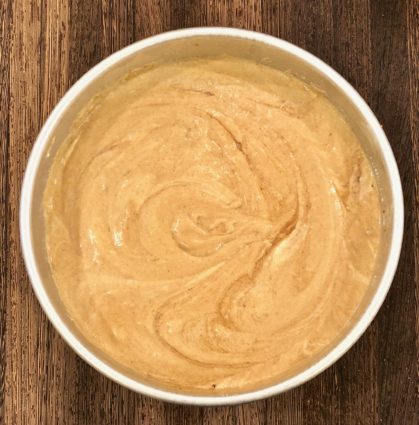
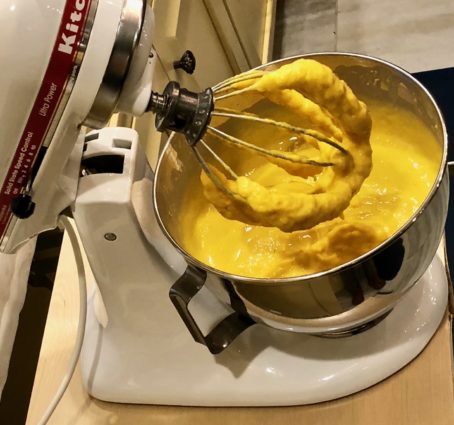
In the bowl of a standing mixer fitted with the paddle attachment, cream the butter, sugars, and salt on medium-high speed until light and fluffy, at least 3 minutes.

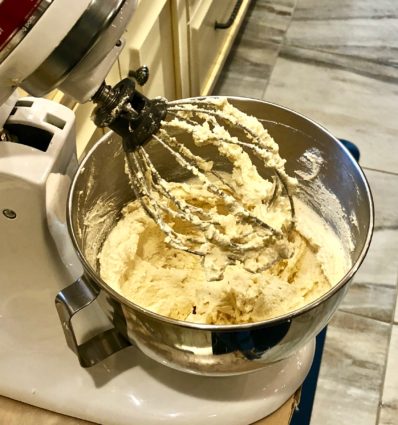
Scrape down the edges of the bowl, add the peanut butter and eggs, and mix on medium-high speed until well combined.

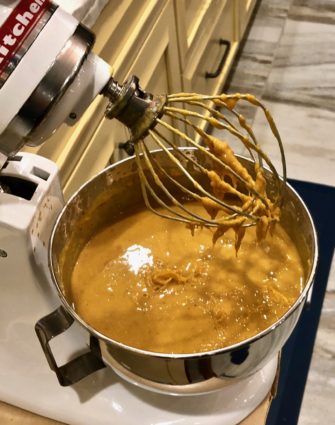
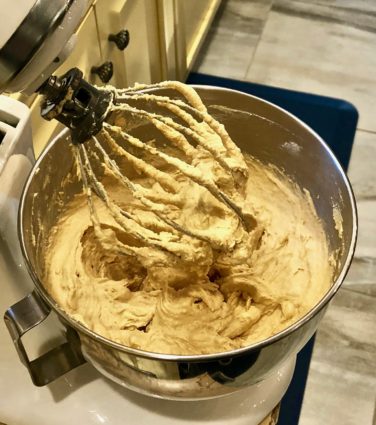
Add the flour and mix on low speed until no streaks of flour remain.

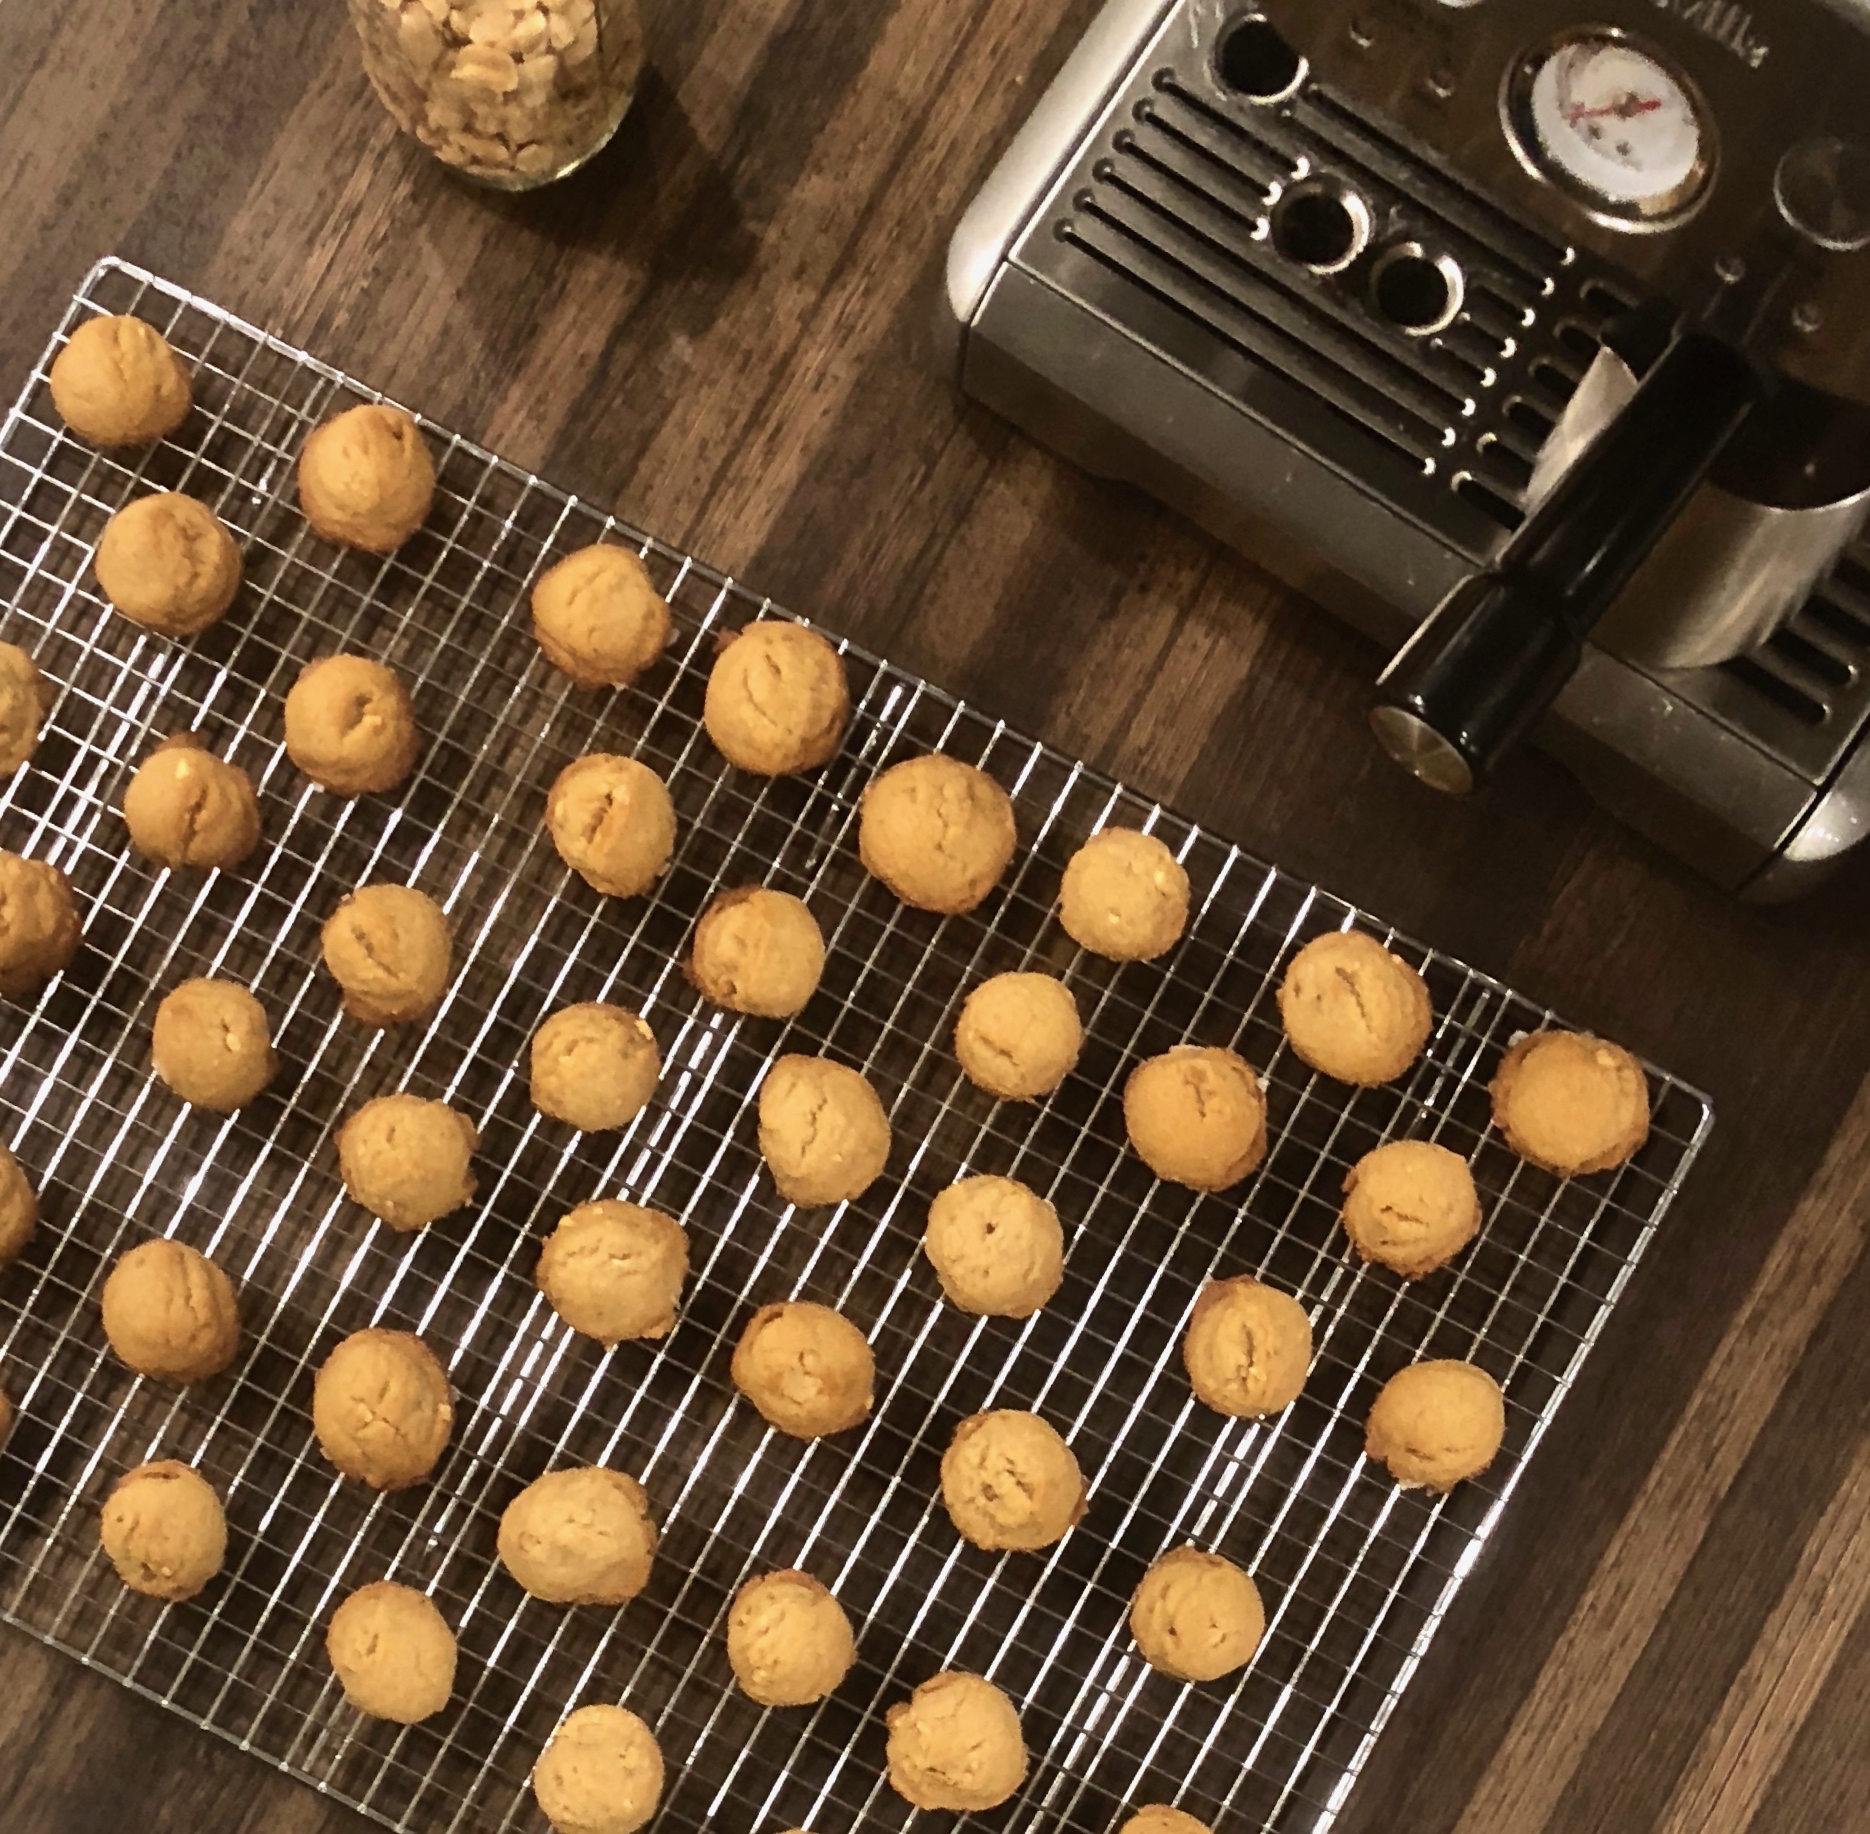
Using a 1-tablespoon cookie scoop or spoon, scoop the dough onto the baking sheets, spacing them 1 inch apart. (They won’t spread).

Sprinkle the top with flaky salt (or the bottoms).

Bake until golden about 10 to 11 minutes, rotating the baking sheets back to front and top to bottom halfway through the baking.

Transfer the cookies onto a rack to let cool.

Serve warm, or let cool completely and store in an airtight container at room temperature.

These are the best the day they are made, but after that they can be rewarmed at 350°F for about 5 minutes.

You can also freeze extra scooped cookies for later and bake them without defrosting – they will take 1 to 2 minutes longer to bake.

It’s that simple!

signature

[recaptcha]


Whenever my husband and I visit our favorite restaurant, he always tells me how much he loves their roasted potatoes. Even though I make roasted potatoes all the time, I wasn’t insulted. After all, I am just a cook, and surely the chef knows many secrets I do not. Still, I couldn’t help but wonder what made them so much better. Just like that, I was on a mission to make better roasted potatoes.

When I prepare potatoes, I mix them with olive oil, salt and pepper and place them on a baking sheet flesh side up to roast at a high heat in the oven. They usually take about 30 to 40 minutes to become crispy and brown. 

I did my homework well, because I discovered a method of cooking them that made them perfect. My husband loves the potatoes prepared this way and so do I. Now I get to share it with you.

The secret to perfectly roasted potatoes is to boil them first in water and baking soda. The author of this recipe explains, “the alkaline water breaks down the surface of the potato, creating tons of starchy slurry for added surface area and crunch”. While they are boiling, you infuse the oil (or fat) with garlic and herbs which give the potato crust extra flavor. You then place them in an oven set at a high heat to finish them off.

This method works beautifully! The potatoes emerge from the oven wonderfully caramelized on the outside, and delicately fluffy and creamy on the inside. The garlic and herb infused oil packs them with incredible flavor. The author is right, these are the best crispy potatoes recipe ever.

Just for you to know, I did not peel the potatoes. I despise peeling potatoes. I used baby red potatoes cut in half. I also used chicken fat, although it wasn’t a choice in their instructions, and it worked just as well. Don’t be afraid to vigorously shake the pan while you are preparing them, you will see the potato-like paste build up. It is definitely worth the extra few steps, I promise you.

This recipe is loosely adapted from Serious Eats and will serve 6-8 people who will have to force themselves to stop eating them.

 Ingredients for Crispy Potatoes:

1/2 teaspoon baking soda
2 pounds red baby potatoes, cut in half
5 tablespoons extra-virgin olive oil (or duck, chicken or beef fat)
5 sprigs fresh oregano, peeled and chopped or 2 teaspoons dried
3 garlic cloves, chopped
Kosher salt
Freshly ground black pepper
Small handful parsley leaves, chopped

Adjust oven rack to center position and preheat oven to 450°F.

Heat 2 quarts of water in a large pot over high heat until boiling.

Add 2 tablespoons kosher salt, baking soda, and potatoes and stir.

Return to boil reduce to a simmer, and cook until a knife meets little resistance when inserted into a potato chunk, about 10 minutes after returning to a boil.

Meanwhile, combine olive oil, and chicken fat with oregano, garlic, 1 teaspoon of kosher salt and 1/2 teaspoon of black pepper in a small saucepan and heat over medium heat.

Cook, stirring and shaking pan constantly, until garlic just begins to turn golden brown, about 3 minutes.

Immediately strain oil through a fine mesh strainer set over a large bowl.

Set garlic/oregano mixture aside and reserve separately.

When potatoes are cooked, drain carefully and let them rest in the pot for about 30 seconds to allow excess moisture to evaporate.

Transfer to bowl with infused oil, season to taste with a little more salt and pepper, toss to coat, shaking bowl roughly, until a thick layer of mashed potato-like paste has built up on the potato chunks.

Transfer potatoes to a large rimmed baking sheet and separate them, spreading them out evenly.

Transfer to oven and roast, without moving for 20 minutes.

Using a thin, flexible metal spatula to release any stuck potatoes, shake pan and turn potatoes.

Continue roasting until potatoes are deep brown and crisp all over, turning and shaking them a few times during cooking, 30 to 40 minutes longer.

Transfer potatoes to a large bowl and add garlic/oregano mixture and parsley.

Toss to coat and season with more salt and pepper to taste.

Serve immediately.

It’s that simple! 

signature

[recaptcha]


When I was growing up, my mother always had coffee cake in the house because she entertained regularly. There were even times when people would just show up after dinner unannounced, and she was always prepared. Impromptu company is not as common for me, but I can’t resist making a good coffee cake from time to time.

Coffee cake can be made many different ways. It is usually topped with things like cinnamon and sugar, glaze, nuts or raisins. It can come in different shapes such as round, rectangular or square. Some of the more intricate ones have a streusel swirl in them or are filled with fruit, nuts or chocolate.

When I was younger, I wondered why it is called coffee cake when it isn’t made with coffee.Turns out, it’s actually because it is usually eaten in the morning or after dinner with a good cup of coffee.They were thought to have originated in Germany. Now these little snack cakes are popular here because they are very easy to make and taste wonderful. These days everything seem to have its own celebration day, so FYI, National Coffee Cake Day is April 7th!

This coffee cake comes out so moist and delicious. Every single bite is luxurious and oh, so satisfying. There is scrumptious cinnamon every time you bite into it. The glaze is added sweet delishiness and tops the cake to give it a beautiful presentation. It is so easy to make and I am sure you have all the ingredients in your pantry. 

This recipe is courtesy of Dinner then Dessert and will serve 12 people who just might start popping over unexpectedly after dinner.

Ingredients for Cinnamon Roll Coffee Cake

3 cups flour
1/2 tsp. salt
1 cup sugar
4 tsp. baking powder
1 1/2 cup milk
2 eggs
4 tsp. vanilla
1 stick butter – melted
1 cup brown sugar
1 tbsp. cinnamon
3 cups powdered sugar
1 tsp. vanilla
1-2 tbsp. water

Preheat oven to 350°F.

Mix flour, salt, sugar, baking powder with a whisk. 

In a separate bowl, mix the milk, eggs and vanilla.

Mix the wet and dry together, then add in the melted butter.

Mix until well combined.

Use baking spray to spray a rectangular cake pan, 9 x 13-inch, then pour the batter evenly into the pan.

Mix brown sugar and cinnamon together and spread evenly on the cake. Use a knife or fork to swirl the sugar and cinnamon into the batter. 

Bake for 30 minutes, let cool completely.

Mix the powdered sugar, 1 teaspoon vanilla and water until it is a consistency like pancake syrup.

Pour over the cake and it will set into a harder glaze.

Enjoy with a fantastic cup of coffee.

It’s that simple!

signature

[recaptcha]


I have commenced my countdown to Thanksgiving. Readying a house for a 50 guest sit-down dinner is really like preparing for an event. Having done it for so many years, I have this process down to a science. I have to-do lists which include deadlines for each individual task (there are a lot)! I keep a large notebook for each year, documenting my progress, this way I can refer to last year’s book to make sure I am on pace.

I give out tee-shirts each year that are themed by the charity we are giving to. I am grateful I have a close friend who can help me create the design we email to the company that prints on the shirts. My guest list is always changing, usually up to the week of Thanksgiving, which makes it difficult to order the correct amount each year. 

Like the ever-changing guest list, table colors and flower arrangements change, so I begin thinking about the layouts very early. Believe it or not, the menu is the last thing I plan for Thanksgiving.Because the menu is most important, I save it for last. I need time to really think about what I am going to prepare, so I try to get the other things done first. Of course, my blog comes in handy for picking out recipes. I hope it helps all of you too.

This is a recipe I would love to prepare for Thanksgiving, but I just have way too many people, and I would have to make so much pasta! I don’t even think I own enough pots to make all of it. If you are expecting a reasonable amount of guests, I would definitely add this to your menu.

This pasta is accompanied with a heavenly sauce that is thickened with flour, creating a “roux” and a creamy texture. The herbs and Parmigiano-Reggiano cheese add a savory perfection. This is one lip-smacking good dish!

By the way, I obviously did not use penne pasta. It was some other shape, and I forgot to write down the name of it. If anyone recognizes this shape, please let me know. So, feel free to use whatever shape you would like, just make sure it has ridges that the delicious sauce can creep into.

This recipe is courtesy of Taste of Home and will serve 8 people who will want you to prepare it for Thanksgiving year after year.

Ingredients for Blushing Penne Pasta:

1 package (16 ounces) penne pasta
2 tbsp. butter
1 medium onion, halved or thinly sliced
2 tbsp. minced fresh thyme or 2 tsp. dried thyme
2 tbsp. minced fresh basil or 2 tsp. dried basil
1 tsp. salt
1 1/2 cups half-and-half cream, divided
1/2 cup white wine or reduced-sodium chicken broth
1 tbsp. tomato paste
2 tbsp. all-purpose flour
1/2 cup shredded Parmigiano-Reggiano cheese, divided

In a 6-qt. stockpot, cook the pasta according to the package directions.

Meanwhile, in a large nonstick skillet, heat butter over medium heat; sauté onion until lightly browned, 8-10 minutes.

Add herbs and salt; cook and stir 1 minute.

Add 1 cup cream, wine and tomato paste; cook and stir until blended.

Mix flour and remaining cream until smooth; gradually stir into onion mixture.

Bring to a boil; cook and stir until thickened, about 2 minutes.

Stir in 1/4 cup of cheese.

Add pasta.

Serve with remaining cheese.

It’s that simple!

Macy and Mitzie

signature

[recaptcha]


I was never a fan of dressing up for Halloween, even as a kid. I looked forward to seeing what everyone else dressed up as, but I never enjoyed it myself. 

When my kids were growing up and they had a Halloween day parade at their school, I used to marvel at some of the costumes the other kids would wear. Some mothers were so creative, I still remember them today. Children were dressed up as dice, m&m’s, old men or women, and lollipops, to name a few. These costumes were all made by hand and they amazed me! I would admire creative mothers because my kids were not so fortunate in that way. My boys got store-bought costumes, but I know they were just as happy.

My kids have not celebrated Halloween in a very long time, so I miss those days. It was fun to watch all the kids parade around so proudly in their costumes. I live on a short street, nestled between two larger ones, so some years we would get a lot of trick or treaters, other years not so much. Lately, I am sorry to say if I just get a handful if I am lucky. Despite this, I still have that bowl of candy ready just in case, and I always will.

Even when we grow older, we crave sweets around halloween time. Pumpkin pie is my husband’s absolute favorite sweet treat. I never made him one, because all the recipes I came across used canned pumpkin. I rarely use anything in a can unless I have to. Using canned pumpkin just wasn’t going to happen, so I told him he would never get pumpkin pie from me. I don’t know why it has taken me this long to figure out that you can roast a pumpkin like you would butternut squash. Now that I have come up with this recipe, he is ecstatic. When I finally made one, he had a slice for breakfast and dessert almost every day.

In keeping with Halloween tradition, I decided to make one with fresh pumpkin. I am really happy with the results. This pie has a beautiful consistency. It is creamy, with all those savory fall spices: nutmeg, cinnamon, and ginger. They complement the roasted pumpkin perfectly. The reason I roasted the pumpkin flesh side up was to give it a caramelized flavor that is rich in sweetness.

This recipe will serve 8 people who will want to treat themselves to this perfect pumpkin pie year-round!

FYI: I doubled the recipe to make 2 pies, that is why there is so much batter in the pictures!

Ingredients for Homemade Fresh Pumpkin Pie:

1 deep dish pie shell

2 cups mashed, cooked pumpkin
1 (12 fluid ounce) can evaporated milk
2 eggs, beaten
3/4 cup packed brown sugar
1/2 tsp. ground cinnamon
1 tsp. ground nutmeg
1/2 tsp. ground ginger
1/2 tsp. salt

Preheat oven to 400°F

Cut a medium sized pumpkin in half and scoop out the seeds.

Lay the pumpkin halves flesh side up on a baking sheet lined with parchment paper.

Cook pumpkin for 35-45 minutes.

Scoop out flesh, enough for 2 cups.

In a large bowl, beat the pumpkin, evaporated milk, and eggs.

Add the brown sugar, cinnamon, nutmeg, ginger and salt.

Pour into pie crust and bake for 40 minutes or until a knife inserted about 1 inch comes out clean.

It’s that simple!

Happy Halloween!

signature

[recaptcha]