How do you celebrate Valentine’s Day? It is celebrated in most countries, although each has its own way of celebrating it. In some countries, it is a celebration of love between family and friends, rather than romantic love. In those countries, traditions include leaving lollipops for children and expressing appreciation for friends.

In America, you are more likely to see couples exchanging cards and gifts. Flowers are sent, dinner reservations are made and couples want to spend special time together. My husband usually sends me flowers and plans a date at our favorite restaurant in the city. Some people like to prepare a special home-cooked meal. Others like to go away and spend time in a beautiful location. There are some people who choose to do nothing at all. Whatever your tradition, I am sending love your way for Valentine’s Day and I hope it is very special. Thank you for following me and for all your wonderful comments. I look so forward to seeing them and corresponding with all of you.

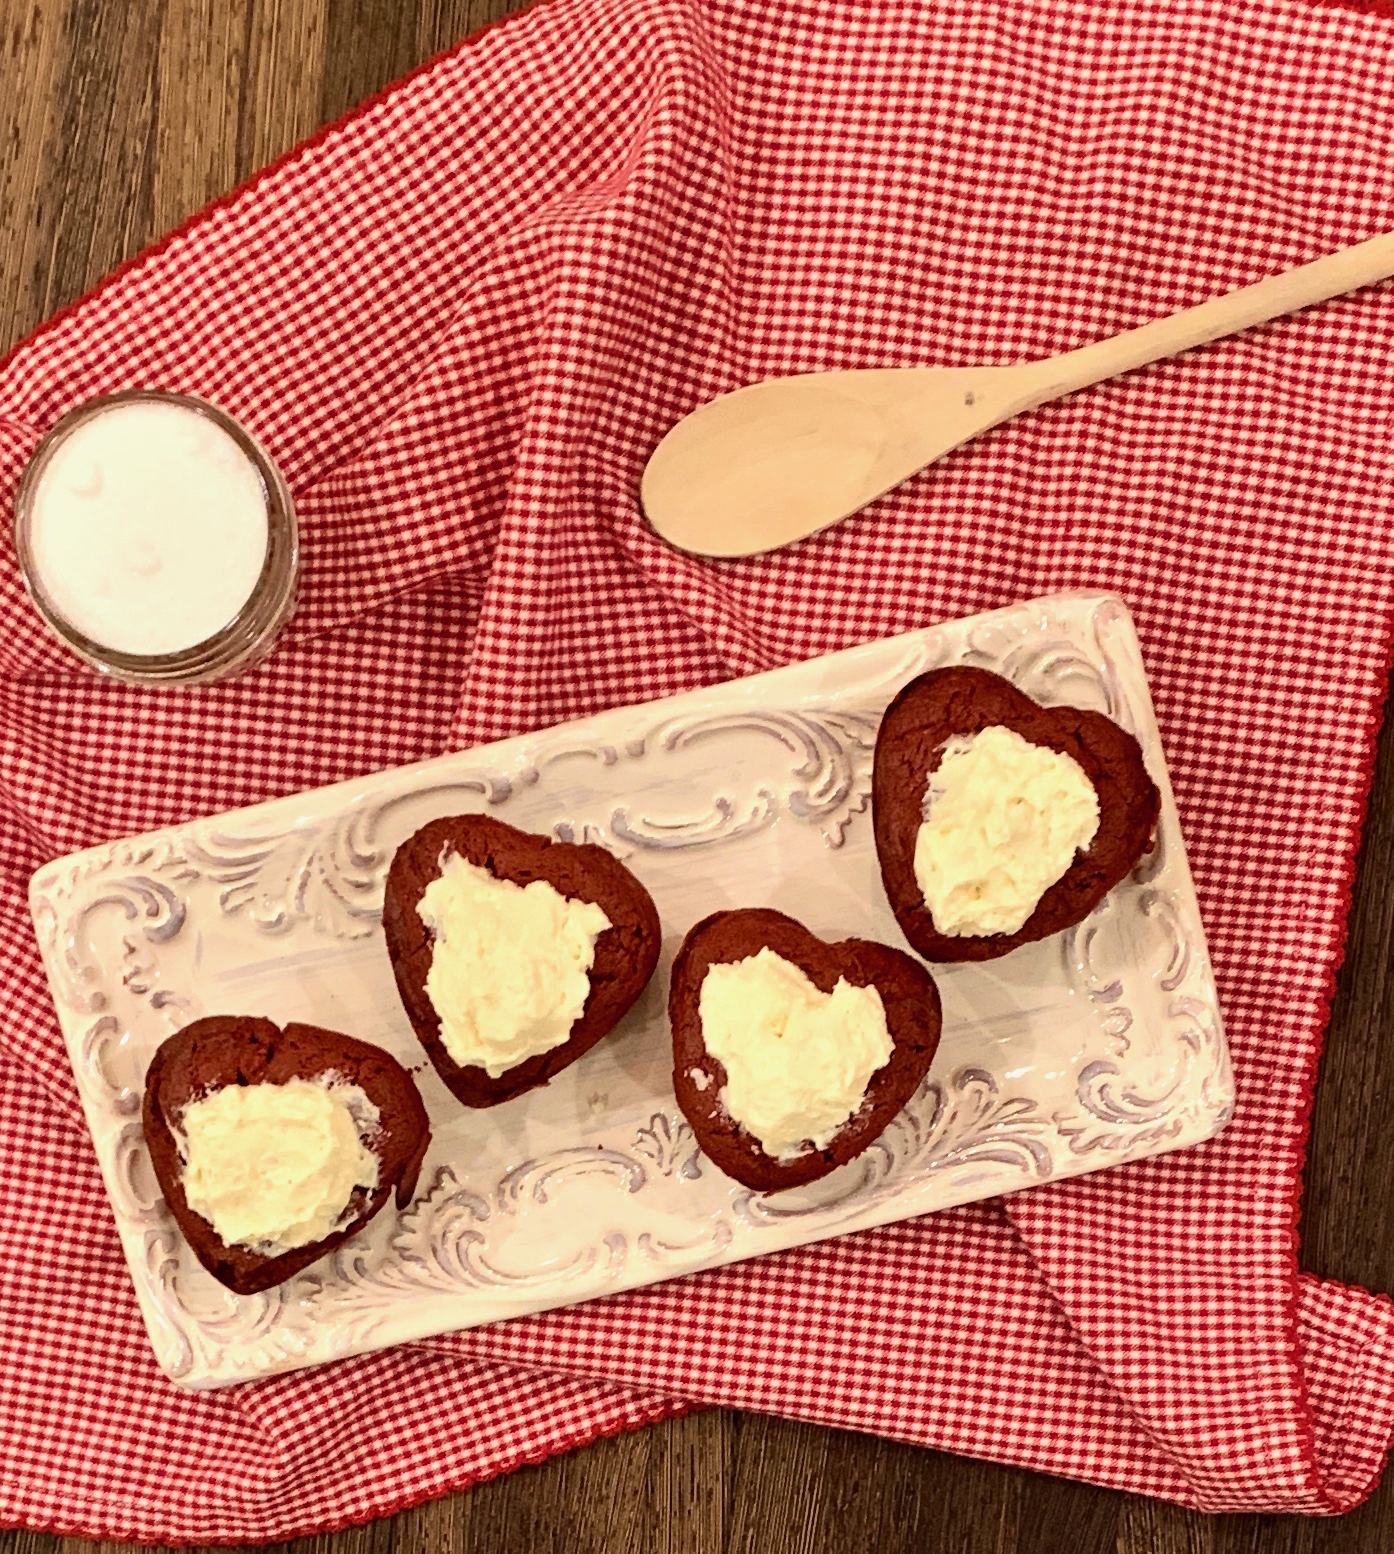
Now, this is a recipe that is perfect to make for Valentine’s Day. I chose to make half cookies and half cupcakes, because I had these perfect heart-shaped molds. These lovely red velvet cookies are the perfect treat. They are like eating a delectable red velvet cake with your hands. The cream cheese filling is the perfect complement to these special Valentine’s Day treats or any day treat!

This recipe is adapted from Allrecipes and will make 30 cookies that will surely make someone fall even more deeply in love with you!

Ingredients for Red Velvet Cookies:

For the cookies:

2 cups all-purpose flour
1/2 teaspoon baking soda
1/2 teaspoon salt
2 (1 ounce) squares unsweetened baking chocolate, broken into pieces
1/2 cup unsalted butter, softened
2/3 cup brown sugar, firmly packed
1/3 cup white sugar
1 large egg
1 tablespoon red food coloring
3/4 cup sour cream
1 cup semisweet chocolate chips (optional)

For the Cream Cheese Frosting:

1/4 cup unsalted butter, softened
4 ounces cream cheese, at room temperature
1/2 teaspoon vanilla extract
2 cups confectioners’ sugar, sifted

Preheat oven to 375°F with the rack in the middle position.

Grease baking sheets or line with parchment paper.

Sift together the flour, baking soda, and salt.

Break the chocolate squares into chunks, place them in a microwave-safe bowl and microwave on High until the chocolate melts, about 90 seconds.

Stir in the chocolate until smooth and set aside to cool.

In a large bowl, beat 1/2 cup butter, brown sugar, and white sugar until light and fluffy; pour in the egg and beat until smooth.
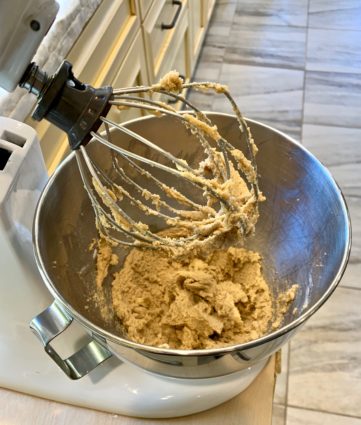
Mix the red food coloring and chocolate, scraping the bowl down regularly, until evenly blended, about 30 seconds.

Add half of the sifted dry ingredients, stirring until well incorporated.

Beat in the sour cream and mix in the remaining dry ingredients.
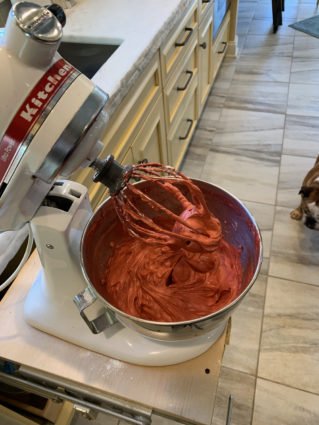
Fold in the chocolate chips.

Drop spoonfuls of the dough 2 inches apart onto prepared baking sheets.

Bake one sheet at a time in the preheated oven until they spring back when pressed, about 9 minutes.

Cool in the pans for 5 minutes before removing to cool completely on a wire rack.

To make the Cream Cheese Frosting:

Whip 1/4 cup butter, cream cheese, and vanilla until smooth.

Blend in the powdered sugar in half cup portions until the frosting reaches the desired consistency.

It’s that simple.

Happy Valentine’s Day!
 

signature

[recaptcha]


Everyone has their personal kitchen essentials! Although mine may be different from yours, I’d like to share!

My top essential is a really good chef’s knife. I know they can be very pricey, but it is a great investment. The difference between a good knife and a bad knife is your time and energy. You will be able to slice or dice in less than half the time, freeing you up to do other things. It will cut your tomatoes to perfection; who hasn’t had the experience of trying to cut a tomato with a dull knife? Definitely not pretty.

Next is a Dutch oven. You can make anything in a Dutch oven, from soups to stews to casseroles to bread! It is very proficient and can go straight from the stove to the oven. It also keeps your food warm for a longer period of time. What’s best is, you should be able to find a good brand at an affordable price.

Then, a wooden cutting board. For two good reasons; wood harbors fewer bacteria than other materials, and it is gentler on your knives.

Another piece I would struggle without is a 12-inch cast iron skillet. This is an extremely versatile cooking pan that can go from searing a steak to making a pizza, cornbread or a frittata.

Last but not least, (you may have already heard me rave about) Barkeeper’s Friend. It takes all the guesswork out of what is the best way to clean your pots, pans, skillets, cooktops, and countertops. It is an amazing product that is safe and easy to use.

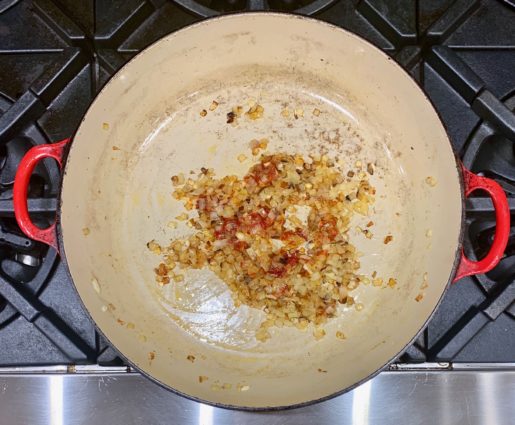
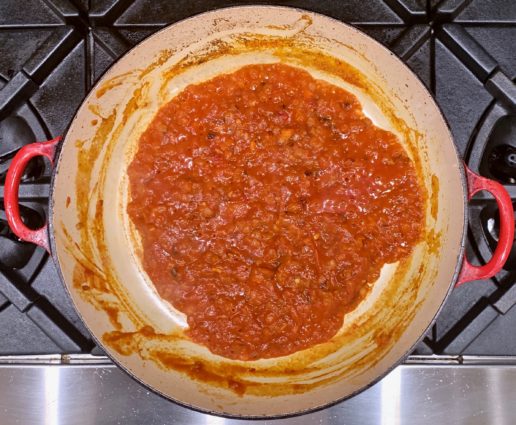
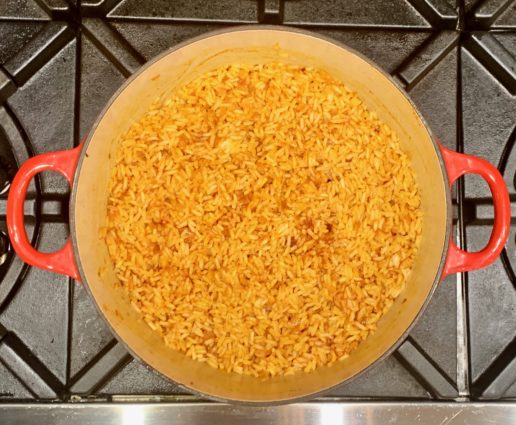
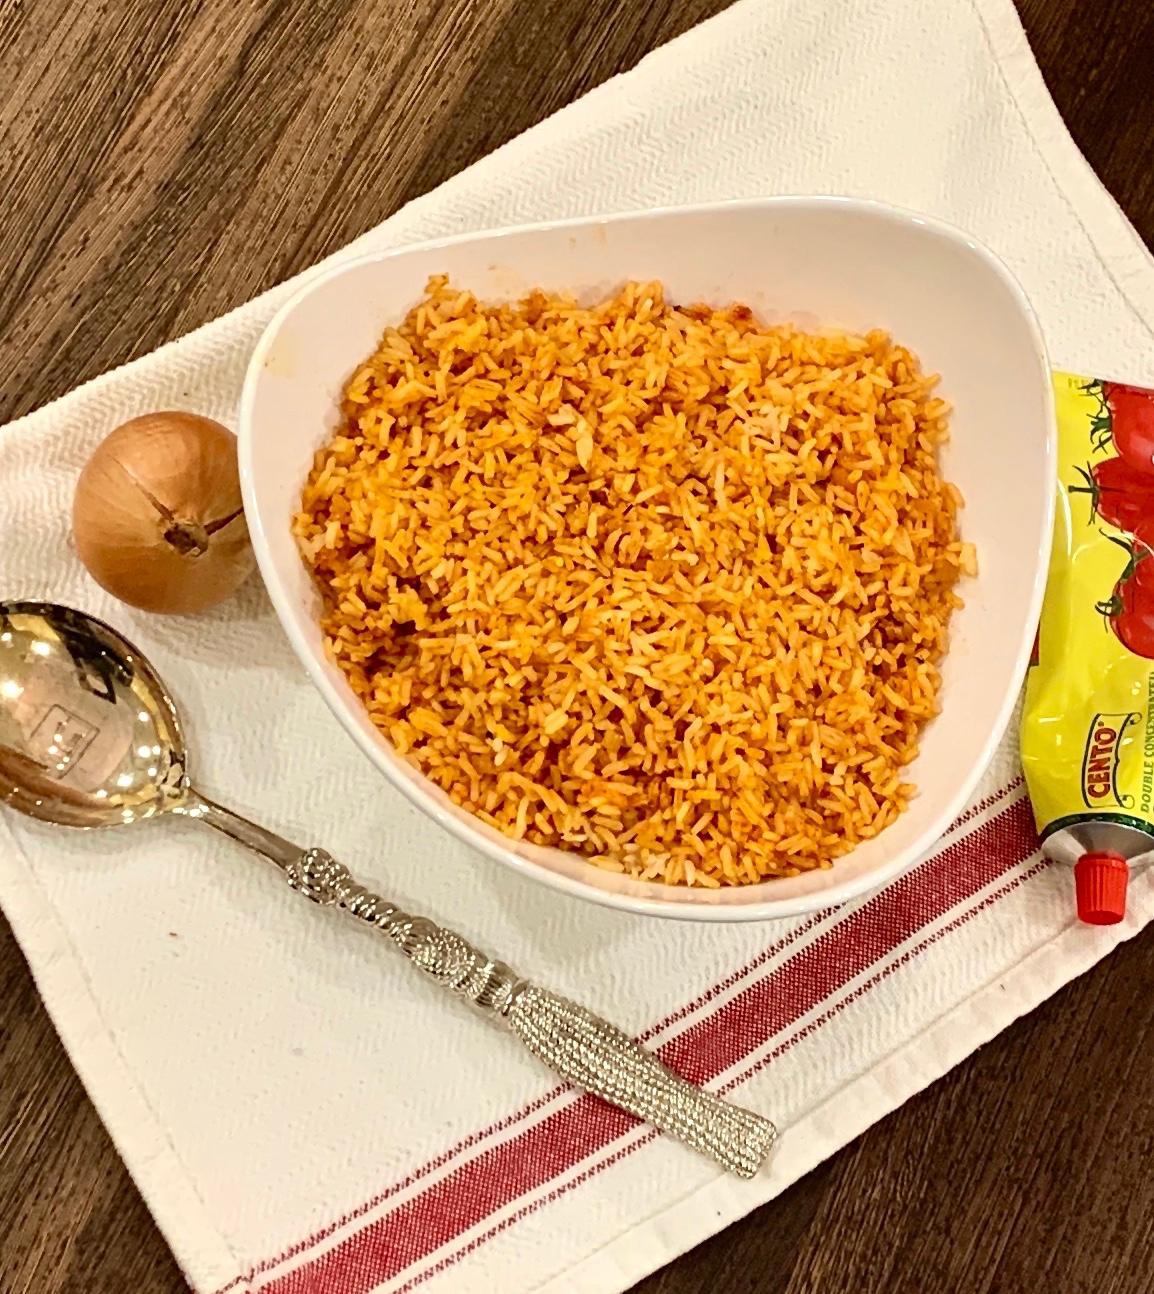
These are just a few of the things that I believe makes every cook’s life a lot easier! Now, to today’s wonderful dish. If you are bored with basic white rice, this is the recipe for you. Many versions of this call for you to toast the rice, but I think this is just as tasty. My rice recipe works perfectly every time. It comes out white and fluffy. The onions add an additional depth of flavor, as does the tomato paste and sauce. It is simple to make, yet has an elaborate tasting outcome.

This recipe will serve 4-6 people who will be awed by this delectable Spanish-like rice.

Ingredients for Spanish Rice:

2 cups long grain white rice, rinsed well
2 1/2 cups chicken broth
4 tablespoons olive oil, divided
1 1/2 teaspoon kosher salt
1 1/2 tablespoon tomato paste
1 (8-ounce) can tomato sauce
2 garlic cloves, minced
1/2 medium onion, chopped
Pinch of cayenne pepper

To make the rice:

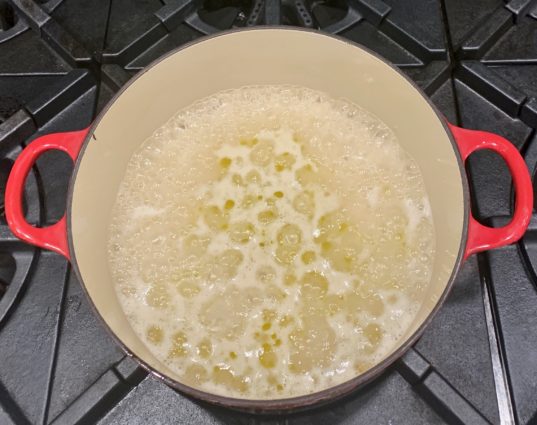
Bring the chicken broth and 2 tablespoons of the olive oil to a boil.

Add rice and salt.

Cook on medium heat until the water has cooked down.

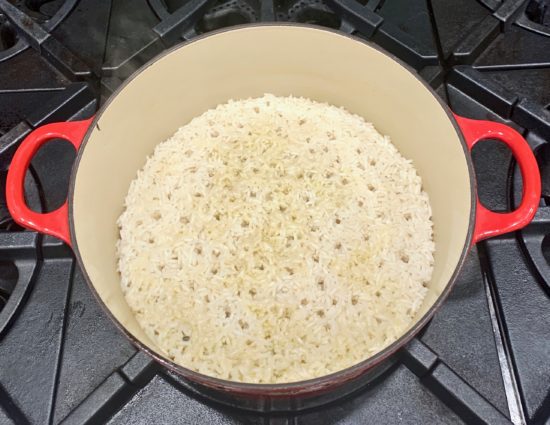
Turn the heat to medium-low or simmer and cover.

Cook for 15 minutes.

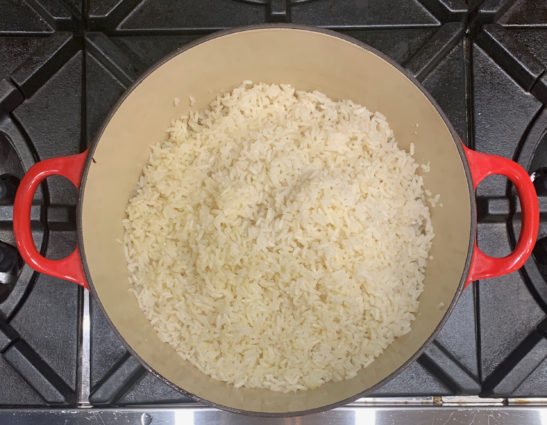
Fluff and cover for an additional 10 minutes.

In a medium-sized saucepan, heat oil over medium heat.

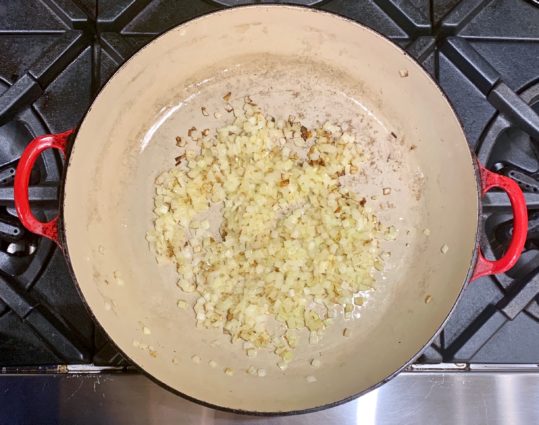
Add onion and cook until the onions just start to turn brown.

Add garlic and 1/2 teaspoon salt cook for 1 minute.

Stir in tomato paste and let brown cook stirring often, about 4-5 minutes.

Slowly add in tomato sauce and pinch of caynne pepper and let simmer for 8 to 10 minutes.

Pour sauce into the pan with the rice and mix to combine.

Serve immediately.

It’s that simple!

signature

[recaptcha]


These blistery, bitter cold days have been hard on all of us in the North East. It is torturous to be outside, even for a minute. The anticipation of leaving the house is even difficult. Schools have been closed and many people are choosing to work from home if they can.

Here’s the silver lining: when it’s this cold, it is the perfect opportunity to fine-tune your baking skills. Just think how good it will feel to cozy up on your favorite chair or couch with some hot chocolate and warm sweets. There are so many things you can bake with ingredients you have in your pantry, such as chocolate chip cookies, banana bread or sugar cookies. 

The smells emerging from your oven will be enough to make you feel nice and snug. 

I love these kinds of days, not because they are cold, of course, but because they give me an excuse to stay home and bake or cook, or better yet, both!

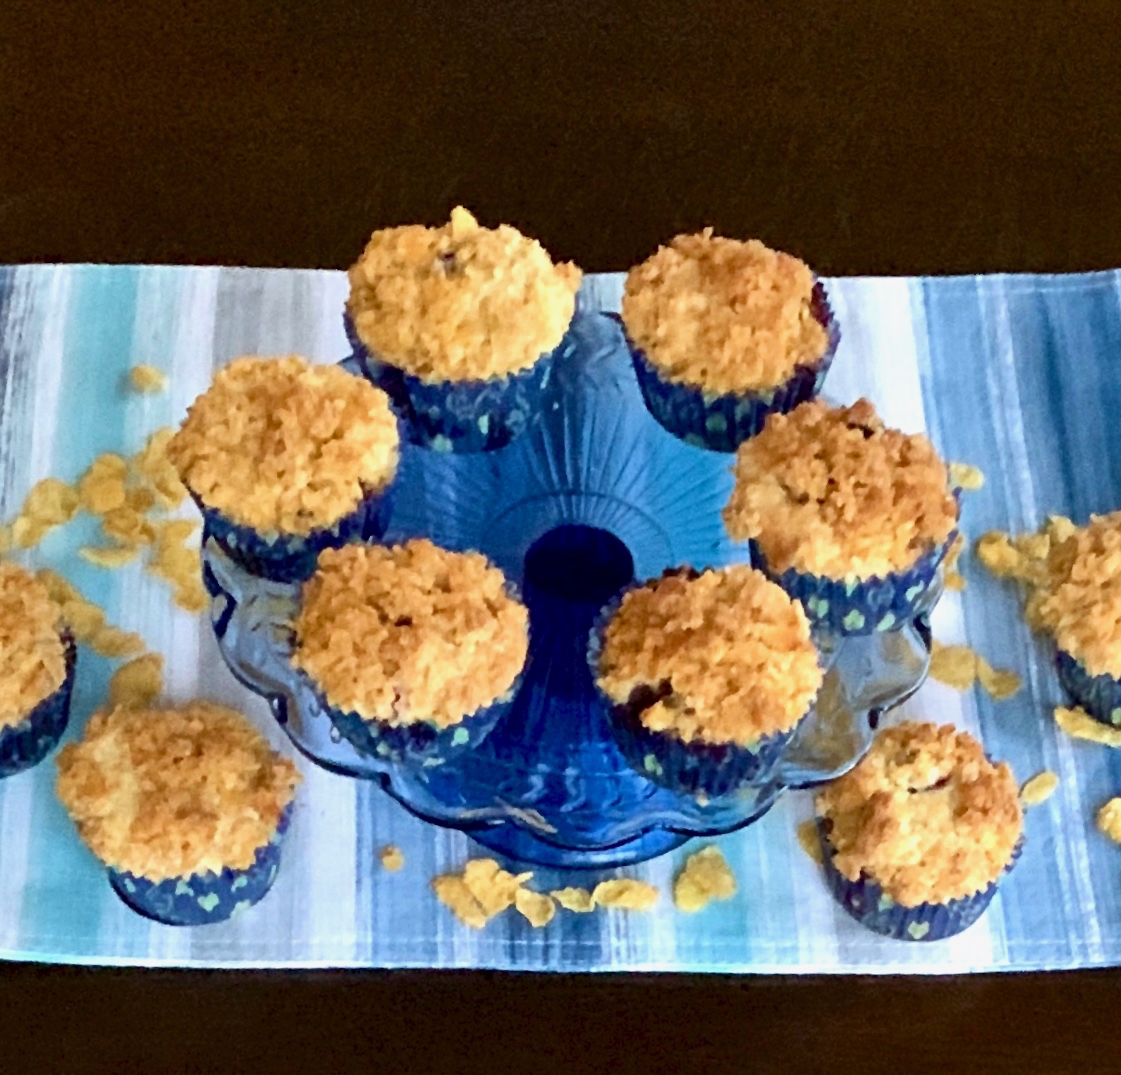
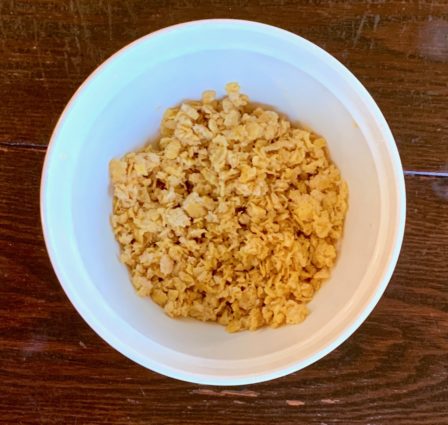
Today I made these darling muffins. This is a first for me, but as soon as I saw the cornflake topping, I was hooked. Light and fluffy on the inside, with bursts of sweet blueberry goodness in every bite. The cornflake topping is perfect for these blueberry delights, giving them enormous texture and crunch. I promise you, these muffins are worth every second you make them and more. 

This recipe is courtesy of Ovenly, which I fondly recommend, and will make 12 muffins that will help you forget how unpleasantly frigid it is outside.

Ingredients for Blueberry Cornflake muffins:

Softened unsalted butter or nonstick cooking spray or 12 baking cups, for greasing or lining the muffin tin
1 1/2 cups all-purpose flour
1/4 teaspoon baking powder
1/4 teaspoon baking soda
1/4 teaspoon salt
1 cup blueberries (fresh or frozen)
1/2 cup sugar
6 tablespoons (3 ounces) unsalted butter, at room temperature
3/4 cup sour cream (preferably full-fat)
1 large egg, at room temperature
1 teaspoon vanilla extract
Zest of 1 lemon

Ingredients for the Cornflake Topping:

1 cup corn flakes (organic or without high fructose corn syrup)
1/4 cup (4 tablespoons) unsalted butter at room temperature
1/4 cup turbinado sugar (I used regular sugar and it came out fine)

To make the muffins:

Preheat oven to 350°F.

Grease the wells of a 12-cup muffin tin with softened butter or nonstick cooking spray, or use baking cups.

In a medium bowl, whisk together the flour, baking powder, baking soda, and salt.

Reserve 1/4 cup of the flour mixture.

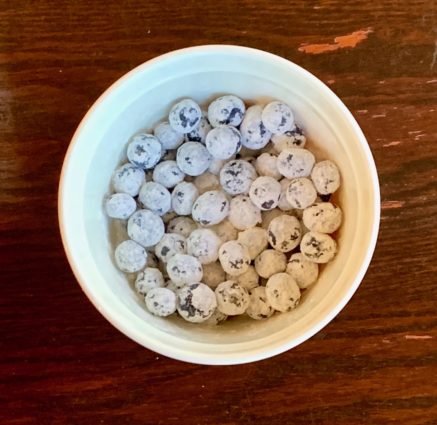
In a small bowl, coat the blueberries evenly with the reserved flour mixture.

Set aside.

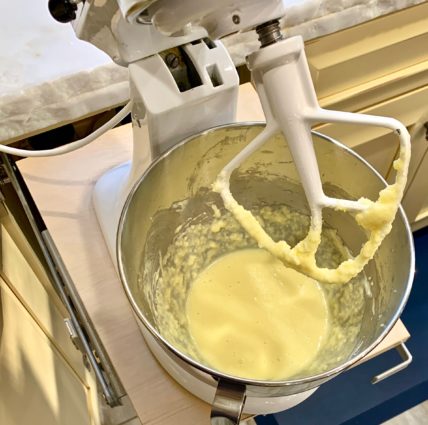
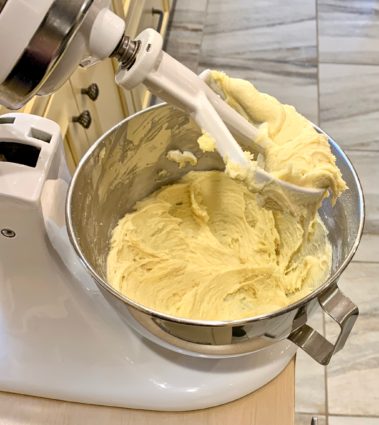
In the bowl of a stand mixer fitted with the paddle attachment (or using a hand mixer), cream the butter and sugar on medium-high speed until the mixture is smooth and light yellow, about 2 minutes.

Turn the mixer off and add the sour cream, egg, vanilla extract and lemon zest.

Beat on medium-low speed until smooth, about 30 seconds.

Scrape down the side and the bottom of the bowl, using a rubber spatula.

Mix again for an additional 5 seconds.

Add the flour mixture to the wet mixture and mix on low speed until just combined, about 15 seconds.

Remove the bowl from the stand mixer.

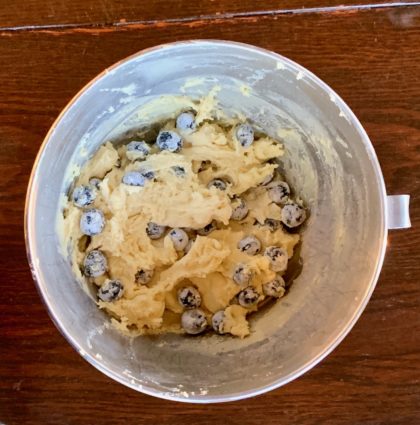
Using a spatula, gently fold the coated blueberries into the batter.

Portion out the batter into the wells of the prepared muffin tin, using a large spoon or a cookie scoop.

Fill each well about 2/3 full.

To make the cornflake topping:

Cut the butter into 1/4 to 1/2-inch cubes.

In a small bowl, combine all the ingredients.

Mix with your hands or a wooden spoon until the cornflakes, butter and sugar are well combined and there are no butter chunks. 

The cornflakes should be slightly crushed.

Top each muffin with 2 tablespoons Cornflake Topping.

Bake for 25 to 28 minutes, or until a toothpick inserted in the center of a few muffins comes out clean.

It’s that simple!

signature

[recaptcha]


Many of my friends prefer going out to eat or ordering in for dinner. I personally think it is easier to throw a chicken in the oven, rather than figure out the kind of food we all want to eat and where to go. Now that it is so cold, I just don’t want to be outside more than I need to be.

So, cooking is my choice, but let’s see if I can convince some of you why you should choose to cook. 

First, cooking saves you money. Eating simple homemade food is much cheaper than eating at a restaurant. Even purchasing processed food at the grocery store will cost you more and so will going out for pre-made food. You can do cost-effective planning, like making larger portions so you will have leftovers. Most families (mine included) love leftovers!

Second, you know exactly what is going into your food. I know when I go to a restaurant, I ask a million questions about the preparation of the dish and what ingredients they use. Cooking at home will ensure that you have control of what is in your food such as sugar, oils, and salt. 

Third, cooking keeps you healthy. Let’s face it, you probably will not be making french fries at home with all the work that goes into it. You will choose something easier, with simple ingredients that will help you maintain a healthy lifestyle!

Last, and most important, cooking at home brings the family together in a comfortable, healthy environment. It strengthens family bonds, gets everyone to talk and just be together (and you know I’m all about that).

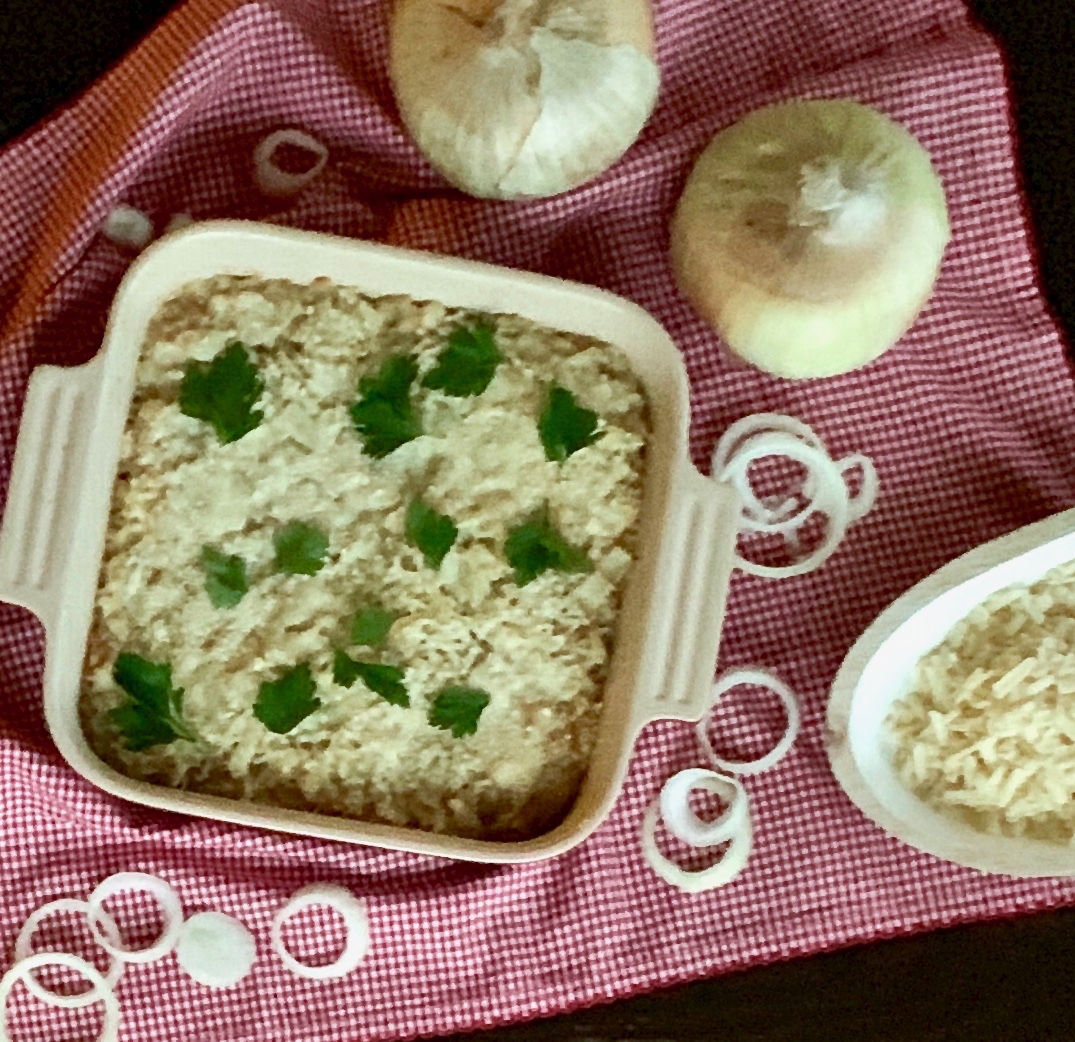
This is one great dish to bring your family together. It is packed with “wow”, “yum” and “please, give me some more”! The onions roast to achieve perfect sweetness. The two cheeses add that gooey deliciousness and the allspice gives it its savory goodness. This dish comes together fast and easy. I changed it up a bit (as per usual), by adding more of the two kinds of cheese the original recipe called for. I also let it brown more on top by keeping it in the oven just a bit longer.

This recipe is adapted from Myrecipes and will serve 6 people who will choose a gooey casserole over take-out from here on out!

Ingredients for Sweet Onion Casserole:

1 teaspoon olive oil
4 cups chopped sweet onion (about 1 3/4 pounds)
1/2 cup uncooked long grain rice
2/3 cup whole milk
1 cup shredded Gruyere cheese, divided
1/2 teaspoon salt
1/4 teaspoon freshly ground black pepper
1/8 teaspoon ground allspice
1/2 cup Parmesan cheese, divided
1 tablespoon parsley, chopped
Cooking spray

Preheat oven to 325°F.

Heat a large skillet over medium heat.

Add oil.

Swirl to coat.

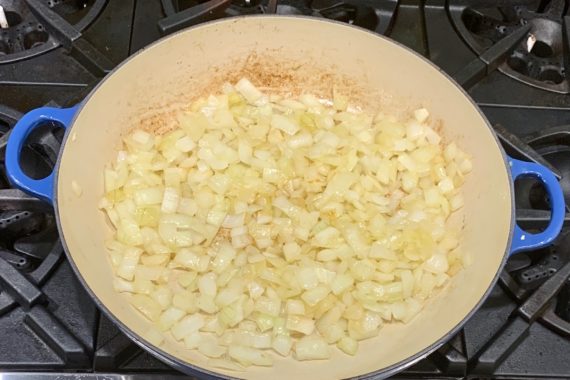
Add onion; sauté 5 minutes or until tender.

Place in a large bowl.

Bring a pot of water to a boil.

Place rice in.

Let cook 5 minutes.

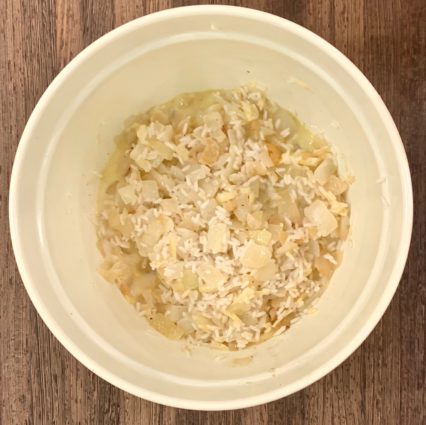
Stir rice, milk, 1/2 cup Gruyere cheese, salt, pepper, and allspice into onion mixture.

Spoon onion mixture into an 8-inch square baking dish coated with cooking spray. 

Sprinkle evenly with Parmesan Cheese and remaining Gruyere cheese.

Cover and bake for 40 minutes.

Uncover and bake an additional 5 minutes.

Top with parsley, if desired.

It’s that simple!

signature

[recaptcha]


I am a self-taught cook and I still make little mistakes from time to time. Sometimes I miss a step or two but the dish turns out okay. Other times, I do everything right, following each and every direction but the dish doesn’t turn out like the picture. I am okay admitting these things and if this resonates with you – you should be too!

Since we are being totally honest here, Grandma Julia’s cheesecake from my last post took 4 tries before I got it right. And even then, the top cracked. Why it took me four tries will always be a mystery to me because I am pretty sure I carefully followed the directions each time. The first two times, it didn’t cook through, and I kept returning it to the oven so many times, I finally gave up. The third time, the cake would not come out of the pan, it was a total mess. I carefully went over the instructions with Shelley, and she couldn’t figure out why either!

In addition to making mistakes that I am unaware of, sometimes I also deliberately change ingredients in a recipe. For example, while this recipe calls for Velveeta cheese which is a processed cheese, I just couldn’t bring myself to add it in. I changed it to a fresh cheese, Fontina.

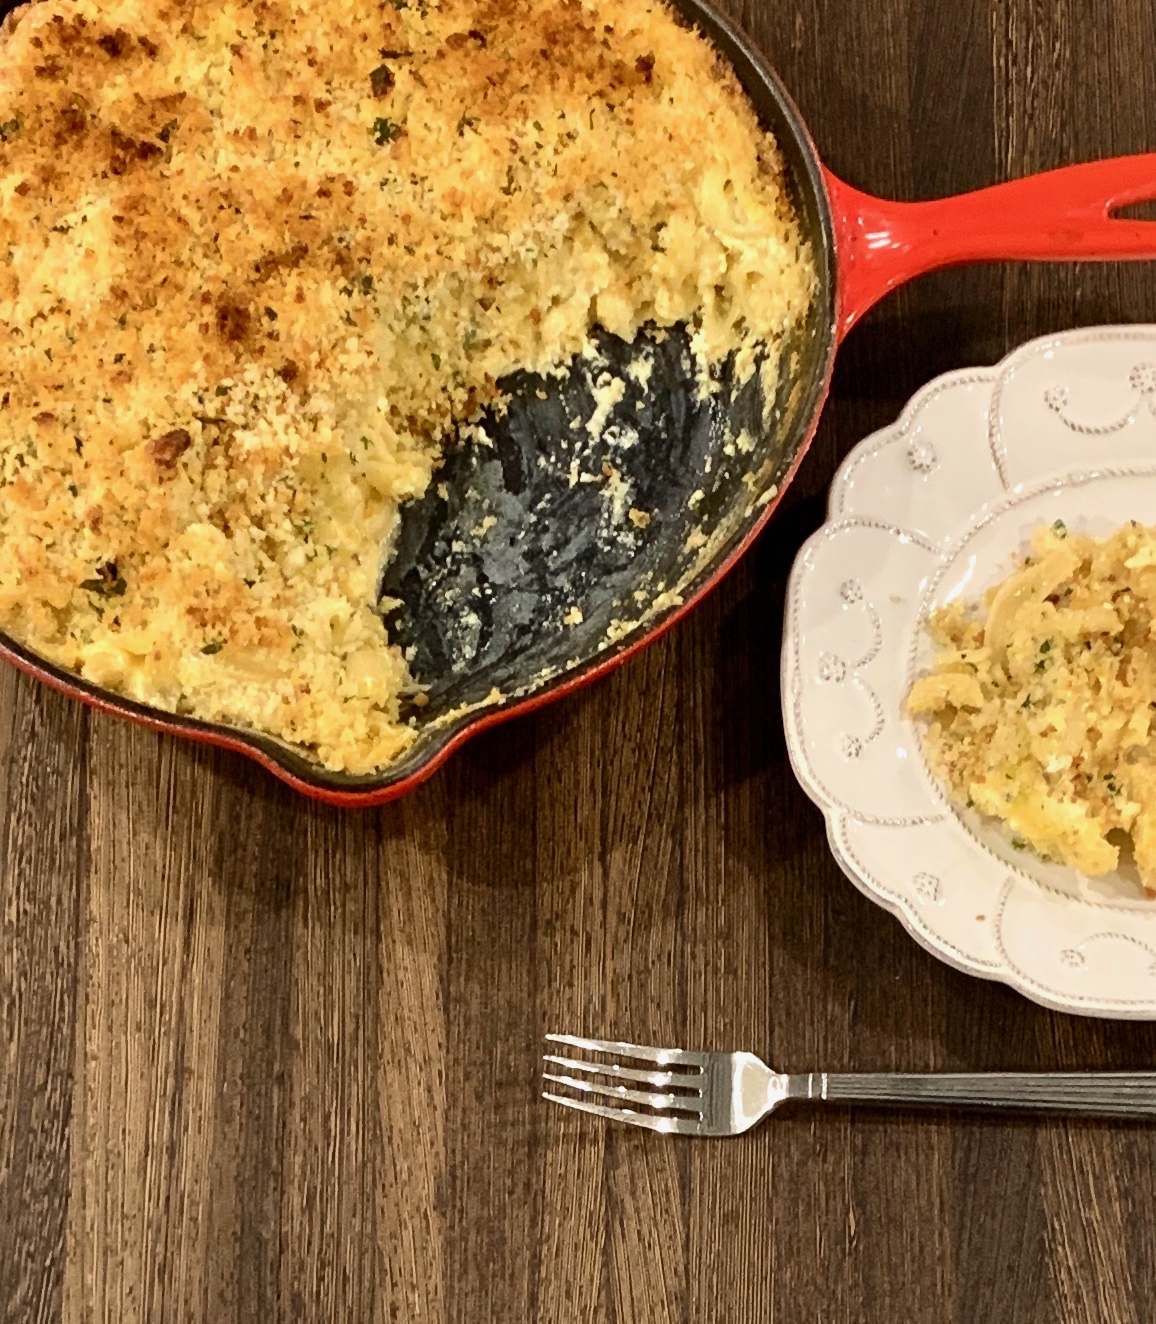
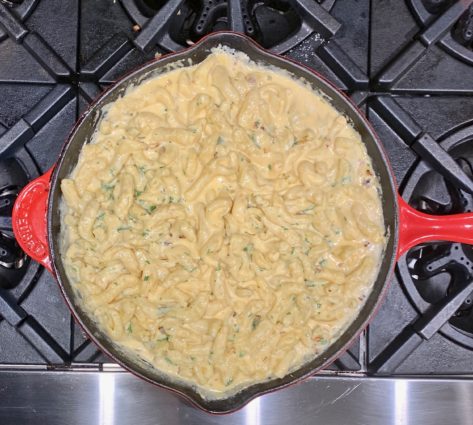
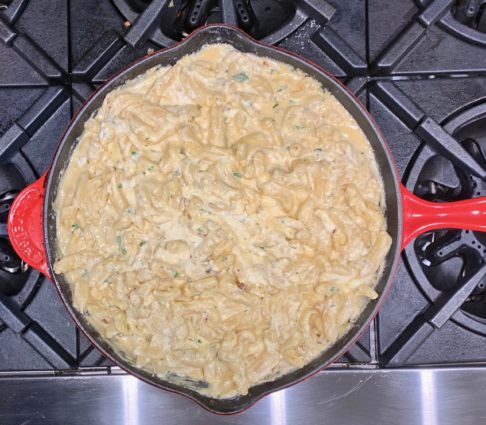
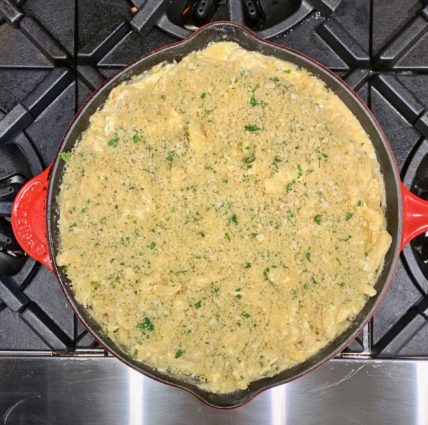
There is something so comforting about a warm bowl of creamy, cheesy pasta. This mac and cheese is by far the best I have had. It has a few surprising ingredients in it that makes it so delectable. This was the first recipe I have made that included mayonnaise and ricotta cheese. The béchamel sauce, combined with the 3 different kinds of cheese and mayonnaise make it creamy, sweet and flavorful. The cheese was gooey in the middle and crisp at the top. The panko is crisped to perfection, making this dish amazingly decadent.

This recipe is courtesy of Southern Living and will serve 6-8 people who will savour each warm gooey bite.

Ingredients for Mac and Cheese with Crispy Breadcrumbs:

12 ounces uncooked large elbow macaroni
1/4 cup salted butter
3/4 cup yellow onion, chopped
3 tablespoons all-purpose flour
1 tablespoon garlic, chopped (2 to 3 garlic cloves)
2 cups whole milk
8 ounces sharp Cheddar cheese, shredded
6 ounces Fontina cheese, shredded
1 cup mayonnaise (such as Dukes)
1/2 teaspoon kosher salt
6 tablespoons coarsely chopped fresh flat-leaf parsley, divided
3/4 cup whole milk ricotta cheese
1 large egg, beaten
1 1/2 cups panko
2 tablespoons butter, melted

Prepare pasta according to package directions; set aside.

Preheat oven to 350°F.

Melt 4 tablespoons butter in a 12-inch cast iron skillet over medium-high heat.

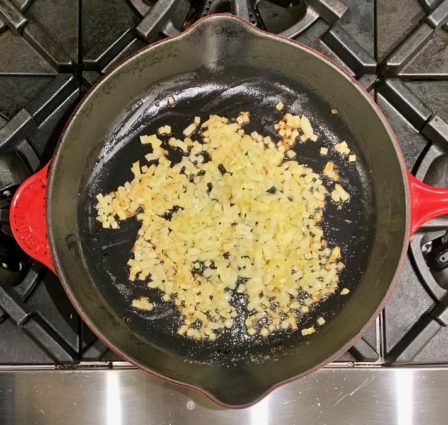
Add onion and cook, stirring until just beginning to turn brown, 4 to 5 minutes.

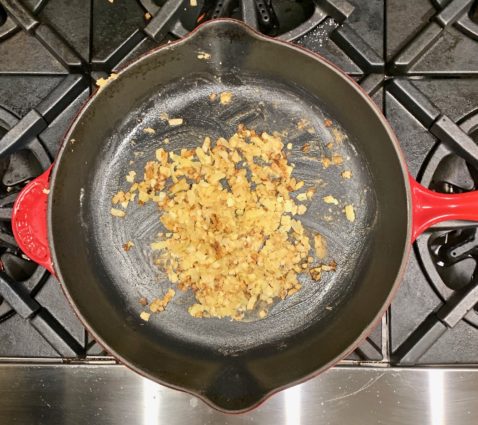
Add flour and garlic to skillet; cook, stirring until fragrant, 1 to 2 minutes.

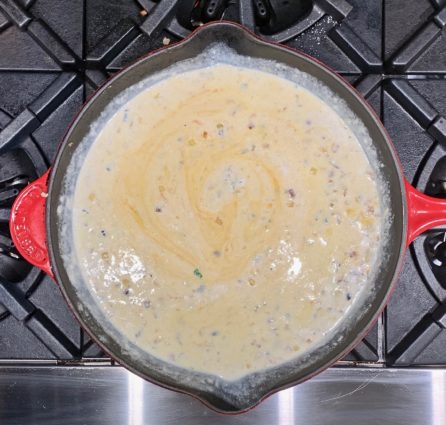
Add milk; bring to a boil.

Reduce heat to low.

Gradually add Cheddar and Fontina cheese, whisking until melted.

Remove from the heat.

Stir in cooked pasta, mayonnaise, salt and 1/2 of the parsley.

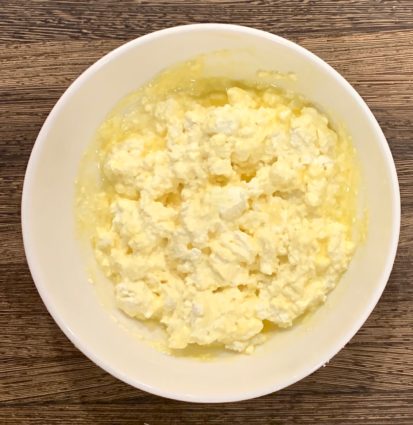
Ina small bowl, stir together the ricotta and egg.

Gently stir ricotta mixture into pasta mixture, leaving large swirls. 

Bake in preheated oven for 10 minutes.

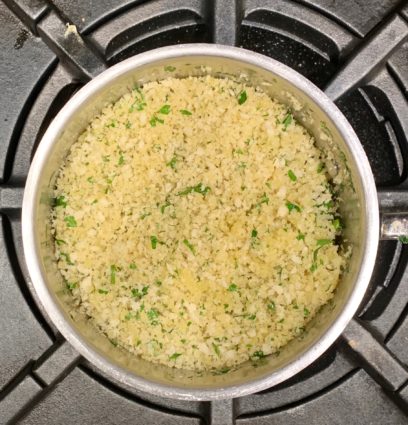
Meanwhile, stir together panko, melted butter, and remaining parsley until blended.

Top pasta with prepared panko mixture and bake until top is lightly browned, about 10 minutes.

It’s that simple! 

signature

[recaptcha]