Some people like to follow the rules exactly. As you know, I am not one of those people. That is why I prefer cooking to baking. When you bake, (unless you are a knowledgeable baker), you have to follow the exact measurements and baking time, or your dessert will fall apart before your eyes. Moreover, even if you think you follow the recipe perfectly, your baked product may not taste good or look that masterful. Remember, it took me four tries to make Grandma Julia’s cheesecake and I was pretty positive I had done everything correctly each time.

Since I began this blog, I have become a much better baker, but I have a long way to go to perfect my skills. Cooking, on the other hand, does not always have to be exact, and I can rejoice in that! I can be creative and add a little of this or that. When I looked up a risotto recipe, there were a million different people claiming that their way was the correct way to prepare it. As you mature as a cook, you will come to realize that the only one that is correct is the one that works for you. Say you don’t make risotto as good as Massimo Bottura? However you make it, as long as you and your family love it, it is just perfect. So, don’t be afraid to change things up, that is how we learn and grow. We make mistakes, we are each better cooks for those mistakes.

When writing up a recipe, I often change the directions to make it easier for all of you to follow. For this recipe, the author instructs you to cook the onions and garlic for the same amount of time. From my experience, I have found that garlic burns easily and would be burnt to a crisp if you cooked it while waiting for the onions to cook. There is no way to correct burnt garlic and you would be wasting food and time. 

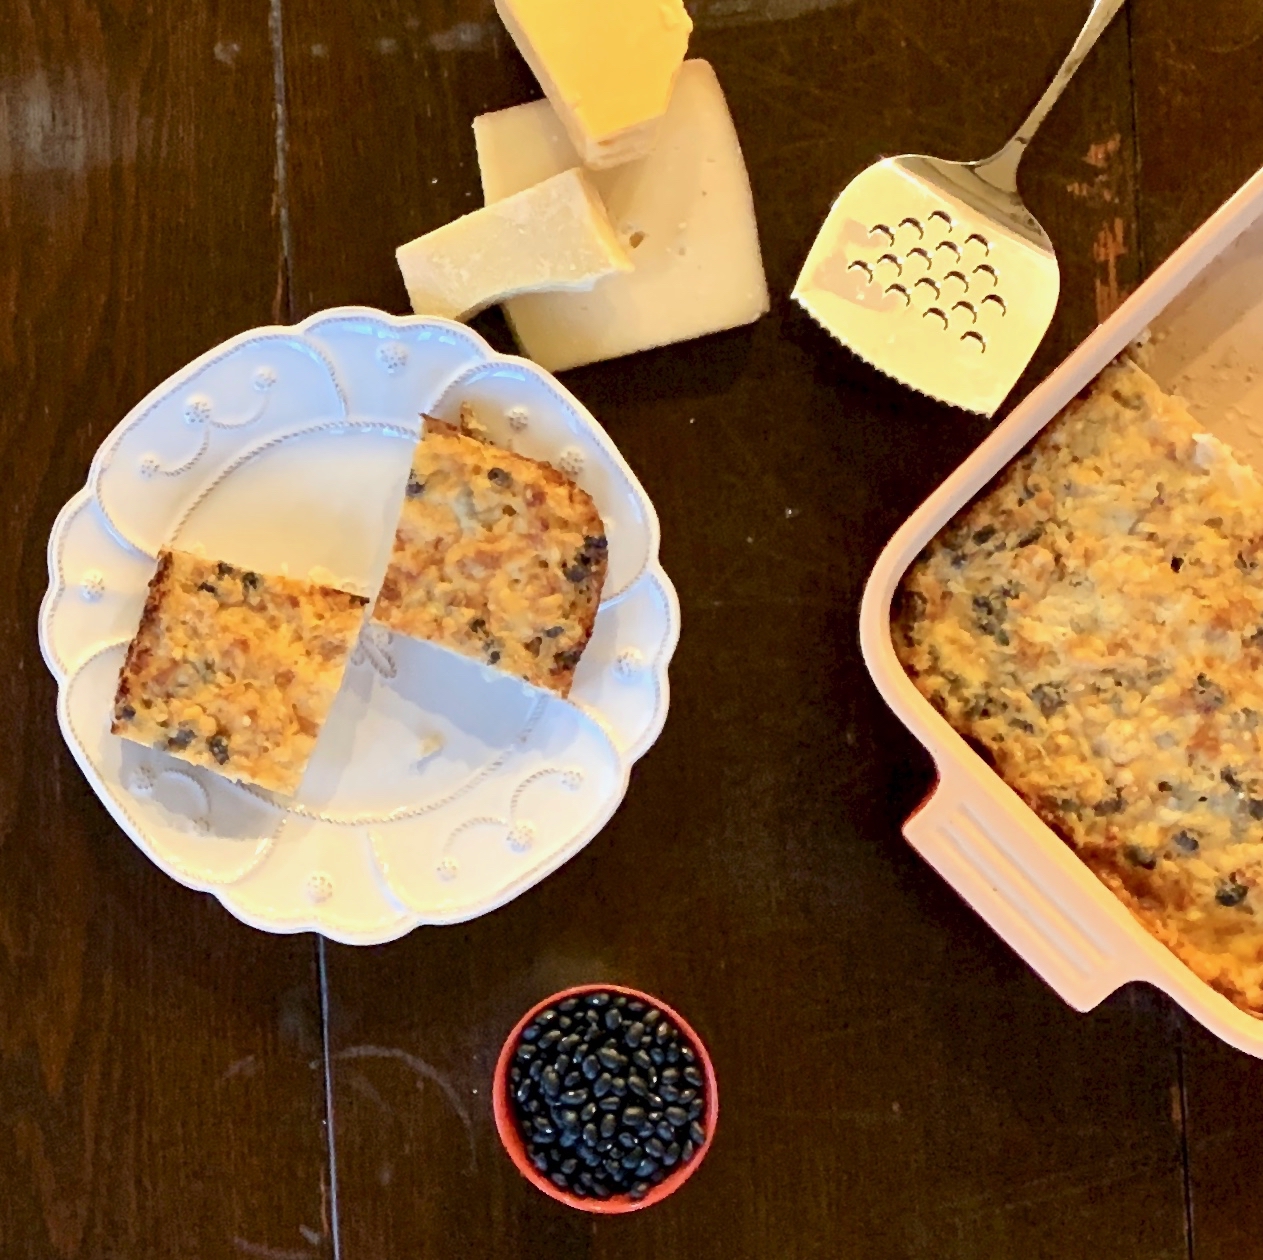
That said, with a little improvisation, this dish is the perfect side dish. I did not include the chicken, but if you do, it becomes an amazing main dish! It is definitely in the comfort food category because there is warm and smooth cheese in every bite. The rice and beans give it a pleasant texture. The mustard and nutmeg add the savory right in. 

This recipe is courtesy of Home Cooking, by Kate McDermott and will serve 8 people who will dive into each bite as if it were their last.

Ingredients for Easy Cheesy Rice and Beanies:

1 cup short grain brown rice
2 1/2 cups water or stock
2 tablespoons butter or olive oil, plus more for greasing the pan
2 onions, thinly sliced
2 garlic cloves, minced
2 large eggs
1 1/2 cups milk
2 teaspoons dry mustard
Small grating of nutmeg
1 teaspoon salt
1 cup grated extra-sharp cheddar cheese
1 cup grated Gruyere or Swiss cheese
1 cup grated Parmigiano-Reggiano cheese
1 (15-ounce) can black beans, rinsed and drained, or 2 cups already cooked black beans
1 cup chopped chicken meat (optional)

In a medium-size saucepan, add rice and water or stock, and bring to a boil.

Cover and reduce to a simmer.

Cook until the rice has absorbed the liquid, approximately 40 minutes.
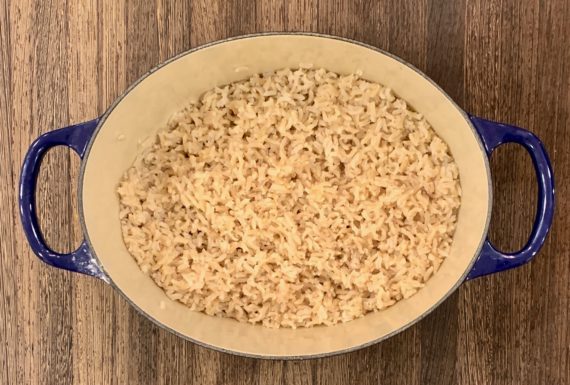
Once the rice is cooked, preheat oven to 375°.

Grease a 9-inch ovenproof baking dish with butter or olive oil.

In a large skillet, melt butter or heat olive oil.

Saute onions until onions are soft and their edges are starting to brown.
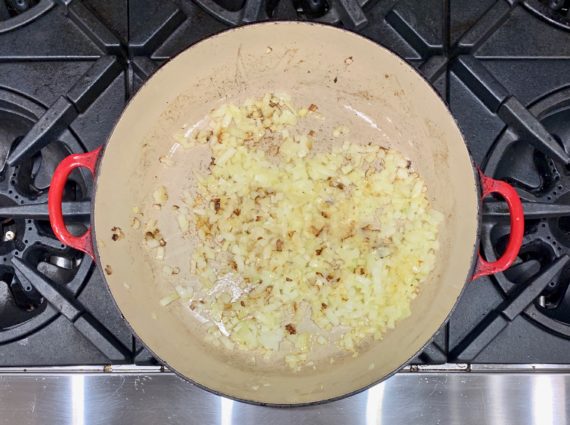
Add garlic and cook for 1 more minute.

Mix the cheeses together.

Set aside 1/2 cup to sprinkle on top of the casserole.

In a large bowl, fork beat the eggs.

Stir in milk, mustard, nutmeg, and salt, and mix again.

Add cheese.

Add onions, rice, beans, and optional chicken to the bowl, and mix.

Turn the cheesy-bean-egg mixture into greased baking dish.

Sprinkle 1/2 cup of cheese on top.
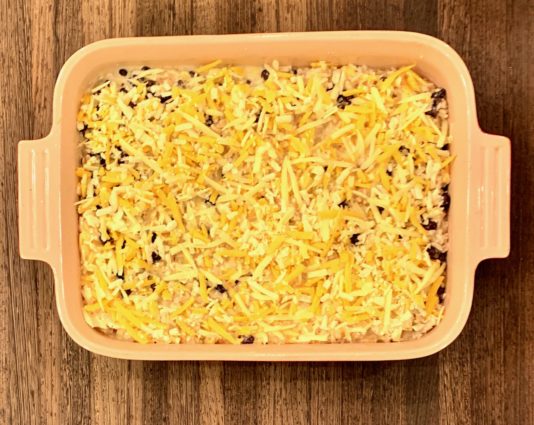
Bake in preheated oven for 40 minutes.

Let cool for about 10 minutes before serving.
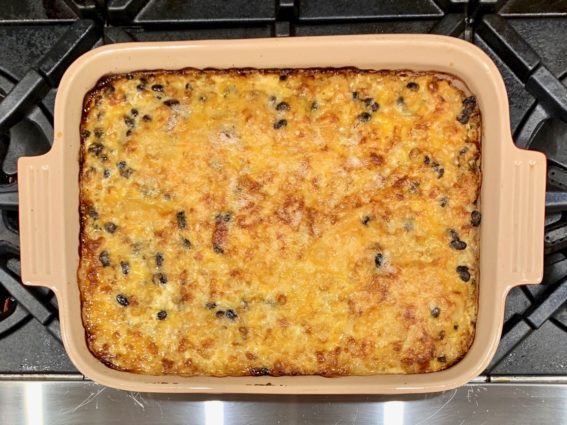
It’s that simple!

signature

[recaptcha]


I have never been a fan of driving in the snow. I remember one snowy day when I was in college, driving to work on the highway and sliding all over the place. I lived in the dorm at school, but my home was not far away, so when I heard it was going to snow I would sleep at home so my father would not have to shovel.

Those were the days when you shoveled the snow for your elderly neighbors, and I had two couples on each side so I would shovel for them as well. Not the greatest of memories.

When I got married, we moved to Miami and I thought it would be ideal to have no snow at all. The idea of warm weather and beautiful night breezes swaying the palm trees excited me. Much to my surprise, I did not like Miami, because the summers were sweltering hot and Christmas just didn’t feel like Christmas. I missed the smell of when spring was around the corner and yes, the snow. My husband was offered a job back up in the North East and I was happy to return. From that point on, I didn’t mind the snow, my kids loved playing in it and we all learned to ski.

All was fine, until I got caught in this year’s biggest storm for 4 hours, only 2 miles from my home. I still love the snow, but I will never come around to driving in it. We had snow on Wednesday. I canceled everything for the day to stay in and baked. It was a perfect snow day for me. 

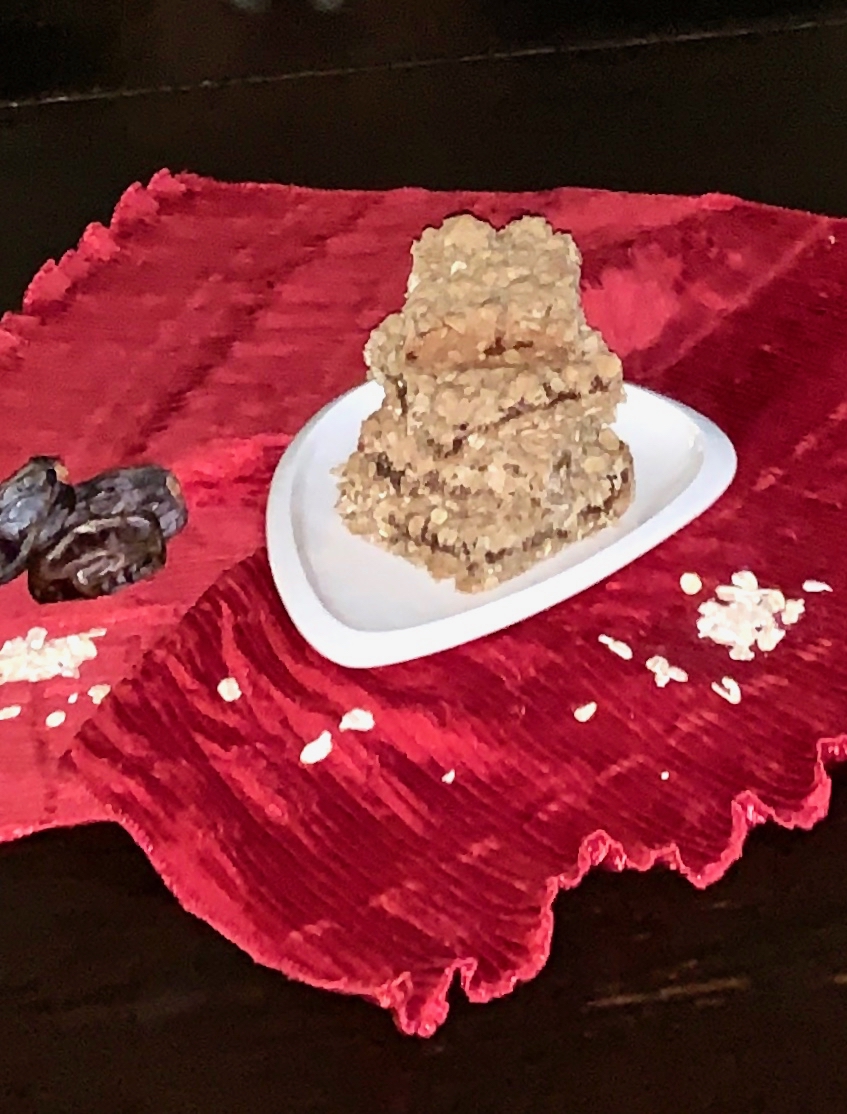
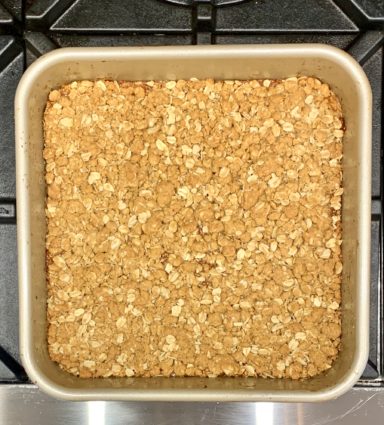
This is one of the recipes I baked that day. I am a serious fig and oat lover, so when I saw this recipe, I had to try it. It was a little tricky, but once you get the hang of spreading the fig filling, it isn’t too hard. These sweet and lovely fig bars would brighten anyone’s day. The heavenly fig filling fills your mouth with happiness and the oats give it a wonderful, hearty feel and crunchy texture. So versatile, too. They are perfect for breakfast, dessert or as a snack!

This recipe is courtesy of Alidaskitchen and will make 16 bars that will have you wondering where they have been all your life.

Ingredients for the Oatmeal Fig Bars:

1 cup chopped dry figs, stems removed (8 ounces)
1/2 cup water
1 tablespoon lemon juice
1 teaspoon lemon zest
1 1/2 cups rolled oats (you can use instant)
1 cup all-purpose flour
3/4 cup packed brown sugar
1/2 teaspoon baking soda
1/4 teaspoon salt
1/3 cup butter, melted
1 egg white
Cooking spray

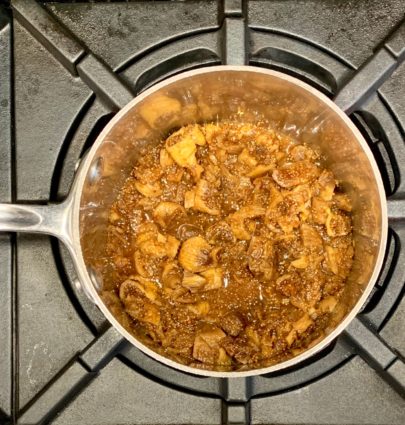
In a small saucepan, put figs water, lemon juice and zest, and bring to a boil.

Simmer until mixture starts to thicken (about 3 minutes).

Let cool for 5 minutes.

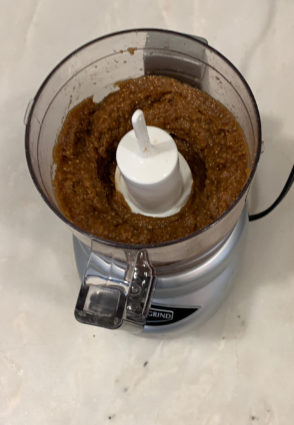
Put filling in food processor and process until smooth.

Set aside.

Preheat oven to 350°.

Spray an 8-inch baking pan with cooking spray and set aside.

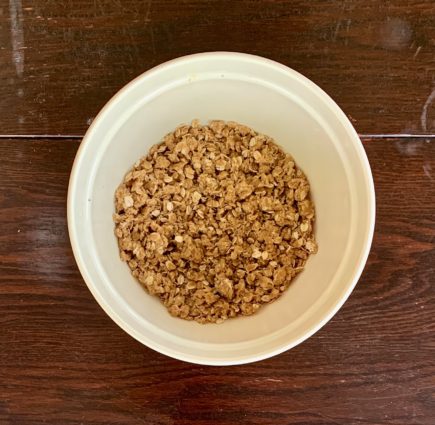
In a large bowl, whisk together the oats, flour, sugar, baking soda and salt.

Add butter and egg white to oat mixture and stir until combined.

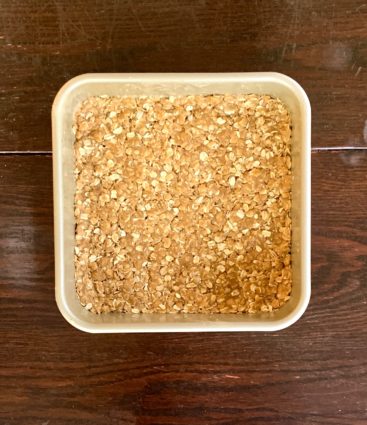
Press half of the oat mixture into the prepared baking pan. (The author noted that she used wax paper to press and spread the mixture into pan).

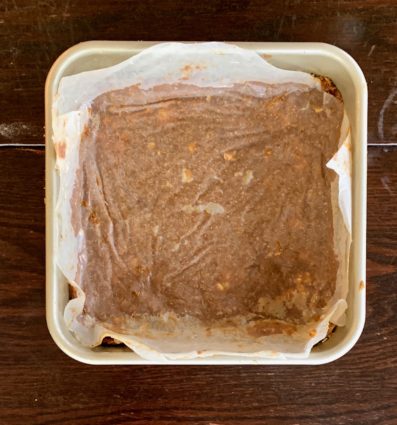
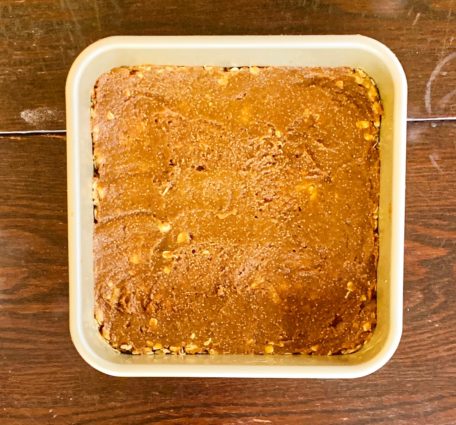
Next, carefully spread with fig mixture. (You can use wax paper.)

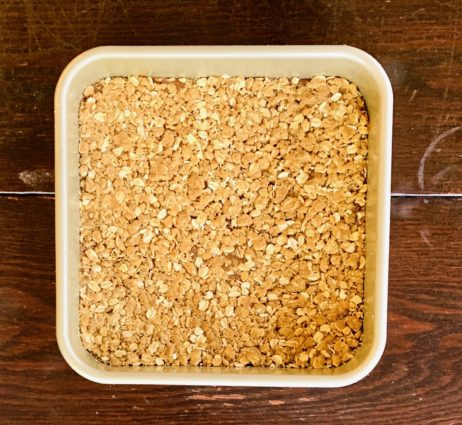
Last, drop pieces of remaining oat mixture over the fig mixture so it appears crumbly and then gently pat it down. (You can use wax paper.)

Bake for 20 to 25 minutes or until lightly browned.

Cool on wire rack.

It’s that simple!
signature

[recaptcha]


Today, we’re talking risotto. In earlier posts, I have explained the risotto method, which involves stirring small amounts of hot stock or broth into the rice in small amounts at a time, allowing the liquid to be absorbed before you add in more. This results in a rich, creamy dish, one in which each grain of rice is al dente. The main ingredients of this classic dish are butter, white wine, and (my favorite) Parmesan cheese.

Before cooking risotto there are a few things you want to keep in mind. You do not want to wash the rice before you make the risotto because you need the starch from the rice. Never underestimate the importance of attention. The frequent stirring when you are cooking it helps to release the starch from the rice which gives it its creamy texture. To get the best outcome you will need a shallow pan. You will definitely want to toast the rice before adding the broth. This adds a faint golden hue and a nutty aroma.

I was first intimidated, but once I learned the technique, I learned it is not too hard. All you need is patience.

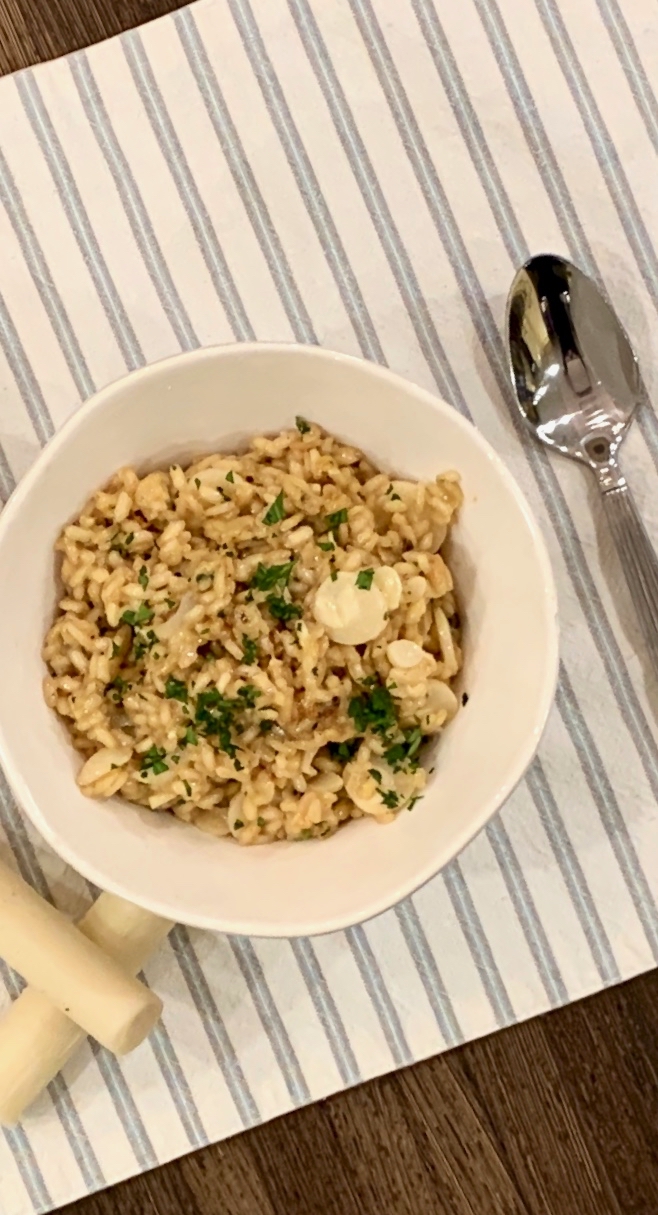
This recipe caught my eye because I just love hearts of palm. I can eat them prepared any which way. As an add on to a risotto dish? I am all in. This heart of palm risotto lived up to all my expectations. It is light and creamy with a buttery smoothness that makes each bite delectable. The hearts of palm add a luscious crunchy texture and the addition of the Parmesan makes the flavor deep with richness. 

If you haven’t already, please subscribe to my weekly newsletter and like and follow me on Facebook!

This recipe is courtesy of Allrecipes and will serve 4 people who will ooh and ah in between servings.

Ingredients for Hearts of Palm Risotto:

1 tablespoon butter
1 tablespoon olive oil
1/2 cup chopped onion
2/3 cup Arborio rice
1/4 cup dry white wine
3 cups boiling vegetable broth
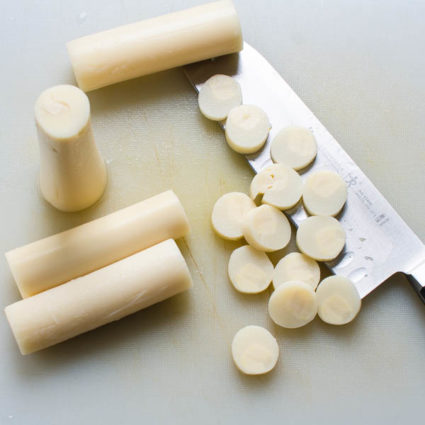
1/2 cup sliced hearts of palm
1/4 cup grated Parmesan cheese
salt and pepper to taste
1 tablespoon chopped fresh parsley
1 tablespoon butter

Heat 1 tablespoon of butter and olive oil in a large, heavy-bottomed saucepan over medium-high heat.

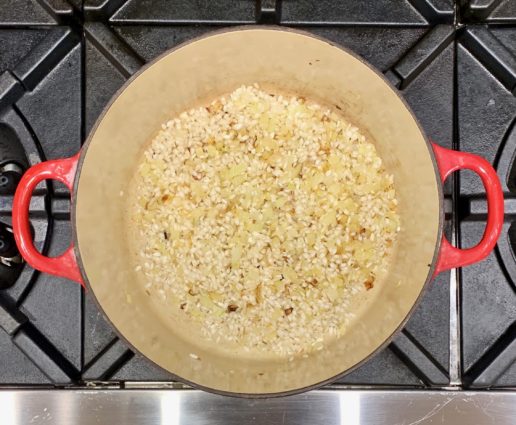
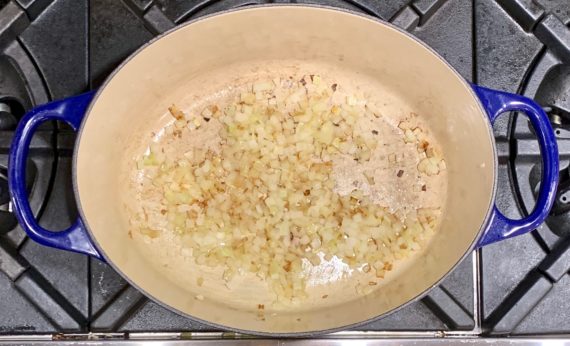
Add the onion; cook and stir until it begins to turn golden brown at the edges, about 2 minutes.

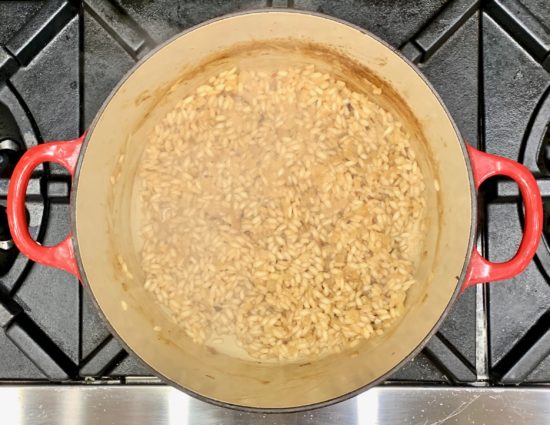
Pour in the rice, and stir until the rice is coated in oil and has started to toast, 2 to 3 minutes.

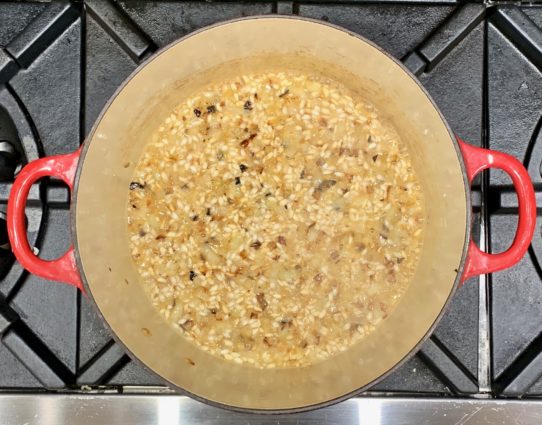
Reduce the heat to medium and stir in the white wine.

Let it cook until it has mostly evaporated, then stir in one-third of the boiling vegetable broth.

Continue stirring until incorporated.

Repeat this process twice more, stirring constantly.

Incorporating the broth should take 15 to 20 minutes in all.

When the rice is mostly tender, but still has a slight crunch, stir in the hearts of palm and Parmesan cheese; season with salt and pepper.

Cook for another minute to heat through and then stir in parsley and butter.

Serve immediately.

It’s that simple!

signature

[recaptcha]


This year is going to be a busy one for me. As I have mentioned, I have four weddings approaching, and my husband and I are both celebrating a big birthday milestone.

Weddings excite me more than any other occasion, so I have been going to my niece’s fittings with her in New York City. I also have been helping my friends look for gowns to wear to their daughter’s weddings. Each day seems busier than the last. This is not a complaint, I am so happy to be sharing all their wedding experiences, but it can be overwhelming at times.

When life is hectic, it is important to find time for yourself. In my downtime, I like to go for a run, or get in the kitchen and cook. Running makes me feel as if I have really accomplished something and cooking brings happiness to not only me, but also my family! This year is going to fly by in a minute, and I want to slow it down so I get enjoy every second. I think that is a concept we can all get behind.

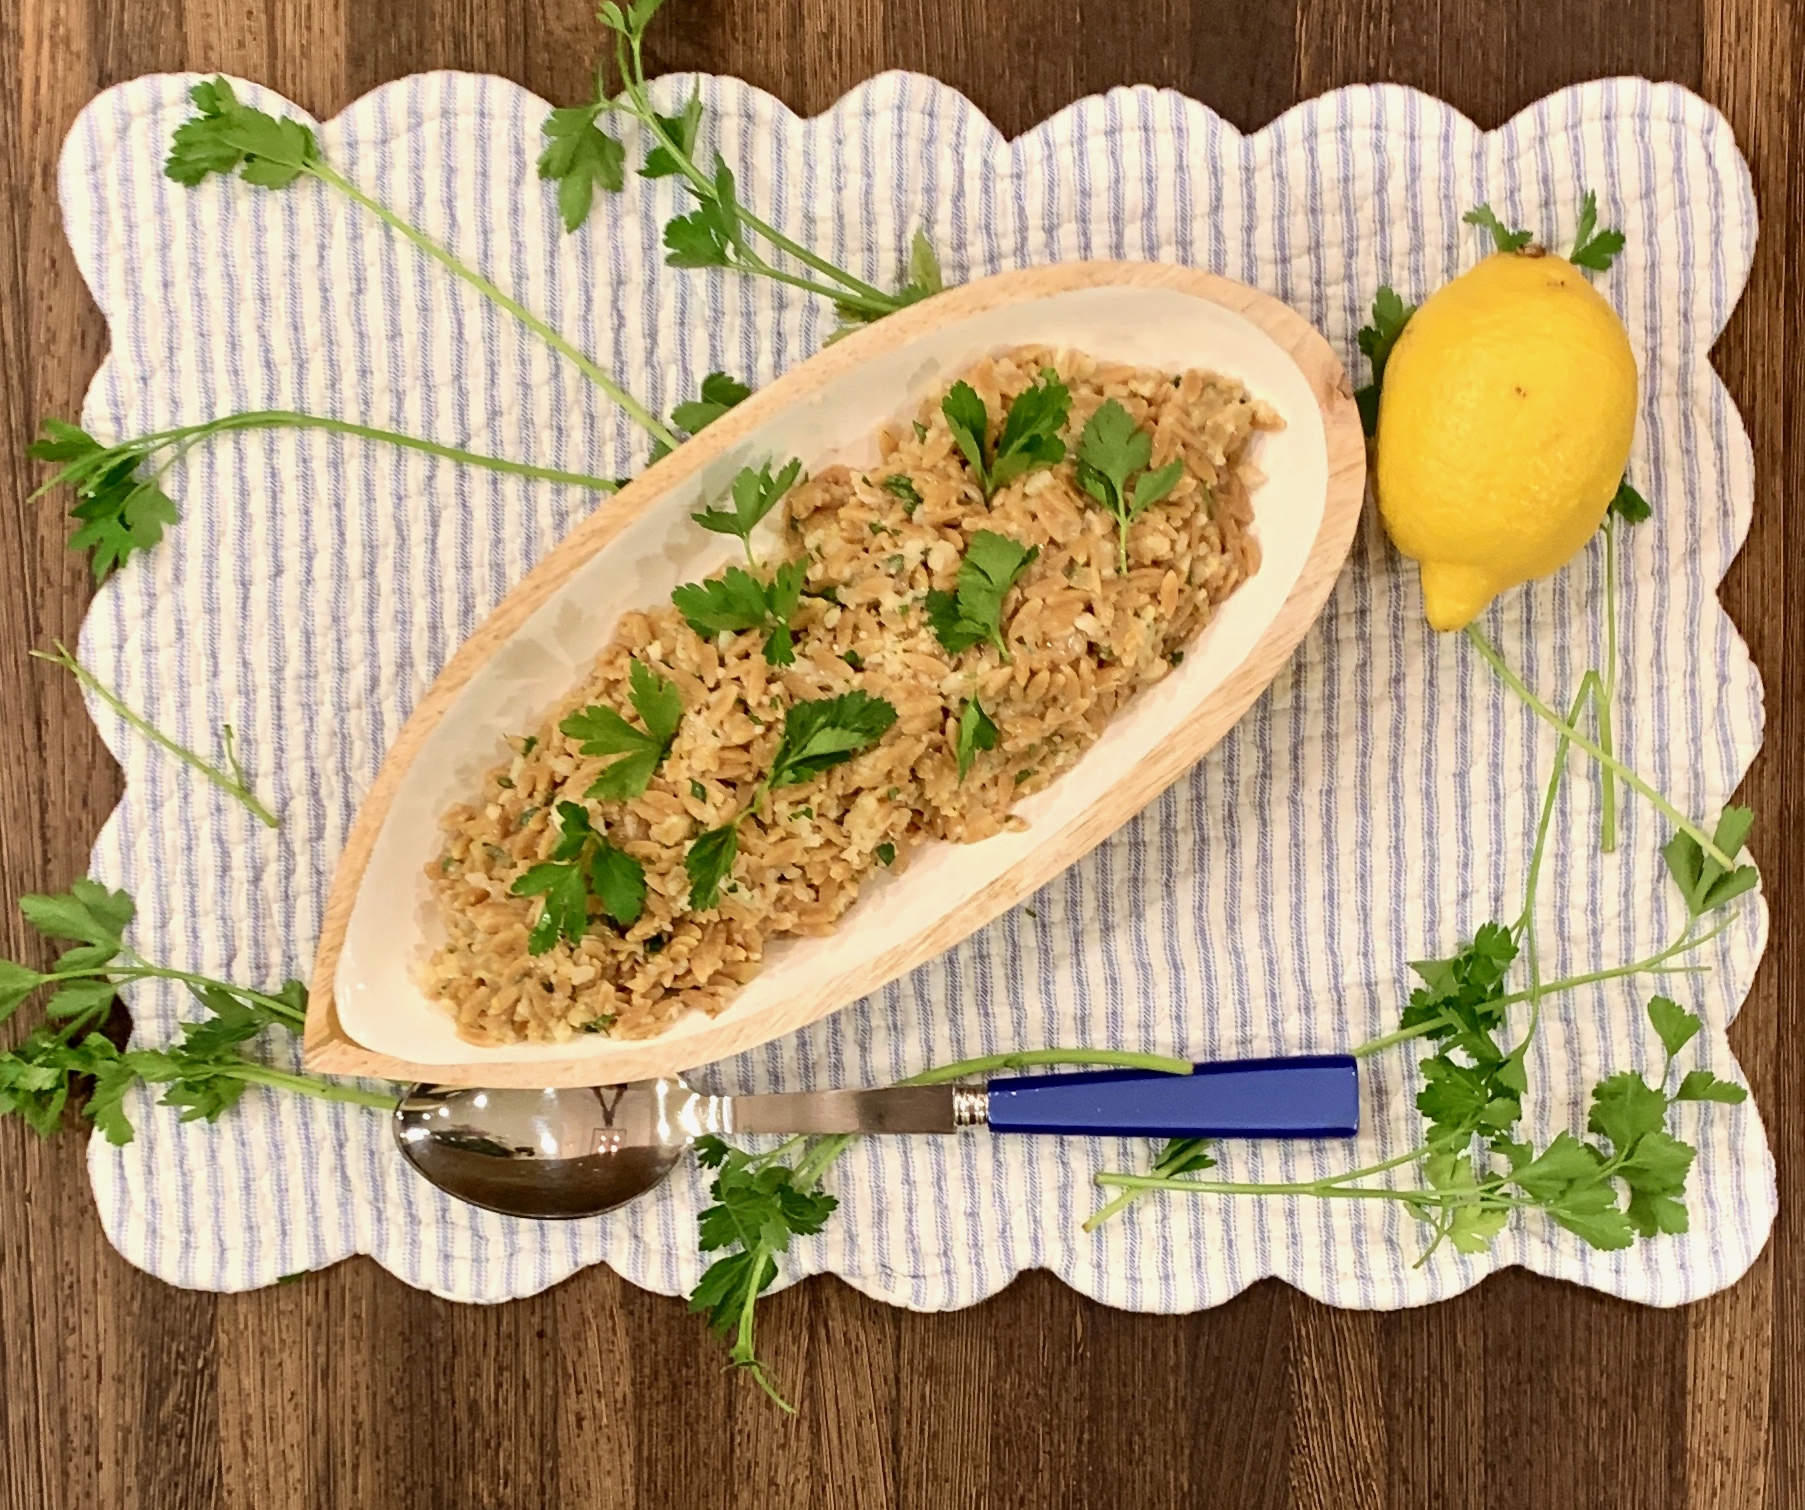
My cooking therapy this week included this delicious orzo recipe. I would put this one in my comfort food group. It is amazingly simple to make, and the outcome is this delicious, creamy orzo with lemon and cheesy goodness in each bite. The onions, garlic, and parsley give it a wonderful savory flavor. It is perfectly healthy and uncomplicated. 

This recipe is courtesy of Simple and will serve 4 people who will want to slow down time to savor every bite!

Ingredients for Orzo with Lemon and Parsley:

1/2 tablespoon olive oil
1/2 small onion, minced
1 garlic clove, minced
1 3/4 cups light chicken stock
8 ounces orzo (1 cup)
Finely grated zest of 1/2 lemon
3 tablespoons finely chopped parsley leaves
3/4 to 1 cup finely grated Parmesan cheese, to taste
Salt and Pepper

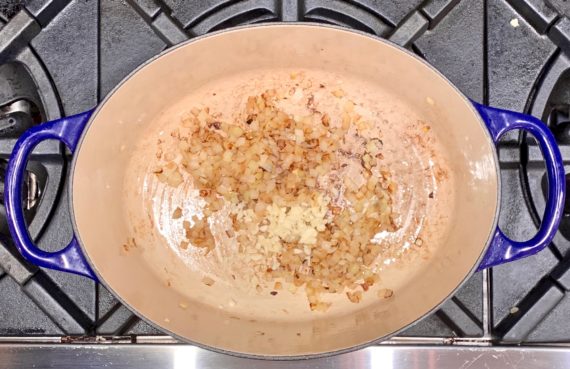
Heat the olive oil and gently saute the shallots until soft and pale gold.

Add the garlic and cook for a further couple of minutes.

Add the stock and bring to a boil, then add the orzo.
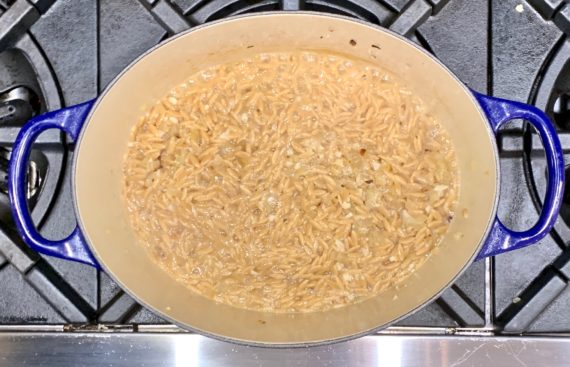
Increase the heat from medium and cook, uncovered for eight minutes. 

You can stir it a couple of times to stop the pasta from sticking, but try not to do so too much.

By the end the stock should have been absorbed and the pasta becomes soft, but still with a little firmness.

Stir in lemon zest, parsley, and Parmesan cheese.

Taste and season; you won’t need much salt, if any, because of the reduced stock and cheese.

Eat promptly; it gets sticky if it is kept waiting, although it does (amazingly) reheat well if you do gently with a little more stock.

It’s that simple!

signature

[recaptcha]


Any exercise enthusiasts out there? Back in the day I was an avid exerciser. I would come home from work, change, and go out for a run several days a week. When I first became a mother, as some of you know, your time is not your own, so I stopped running and would hope to find an hour a week to get to the gym. 

When my boys started school, I did find the time to go to the gym and began running again. Unfortunately, all those years I had spent running took a toll on one of my knees, and I ended up having surgery and stopped completely. Although I still went to the gym, it was sad to think I had to let a passion go. When I was in my forties, I found a professional boxer who was giving boxing lessons. I immediately called him. I had tried it before, and was excited to explore a sport I loved from the very beginning.

Wow, what an empowering feeling it is to know how to box. I worked hard and of course, I will never get in a ring, but I felt powerful every time I hit that bag correctly or lasted for 4 three-minute rounds. Intermittently, my trainer was working on my running posture, in hopes that I could run again. I tried running again this past summer, and I found that with the instructions my trainer taught me, I could do it! I was much slower than before, but I managed through. 

Imagine my surprise when fall rolled around and the weather became cooler. My age had not slowed me down, but the heat did! I can now run again at a decent pace and I am hoping to try a mini-marathon this spring. I encourage all of you to be patient and stick to anything that you wish to accomplish, no matter what it is. When it comes to perseverance, only good things can happen. 

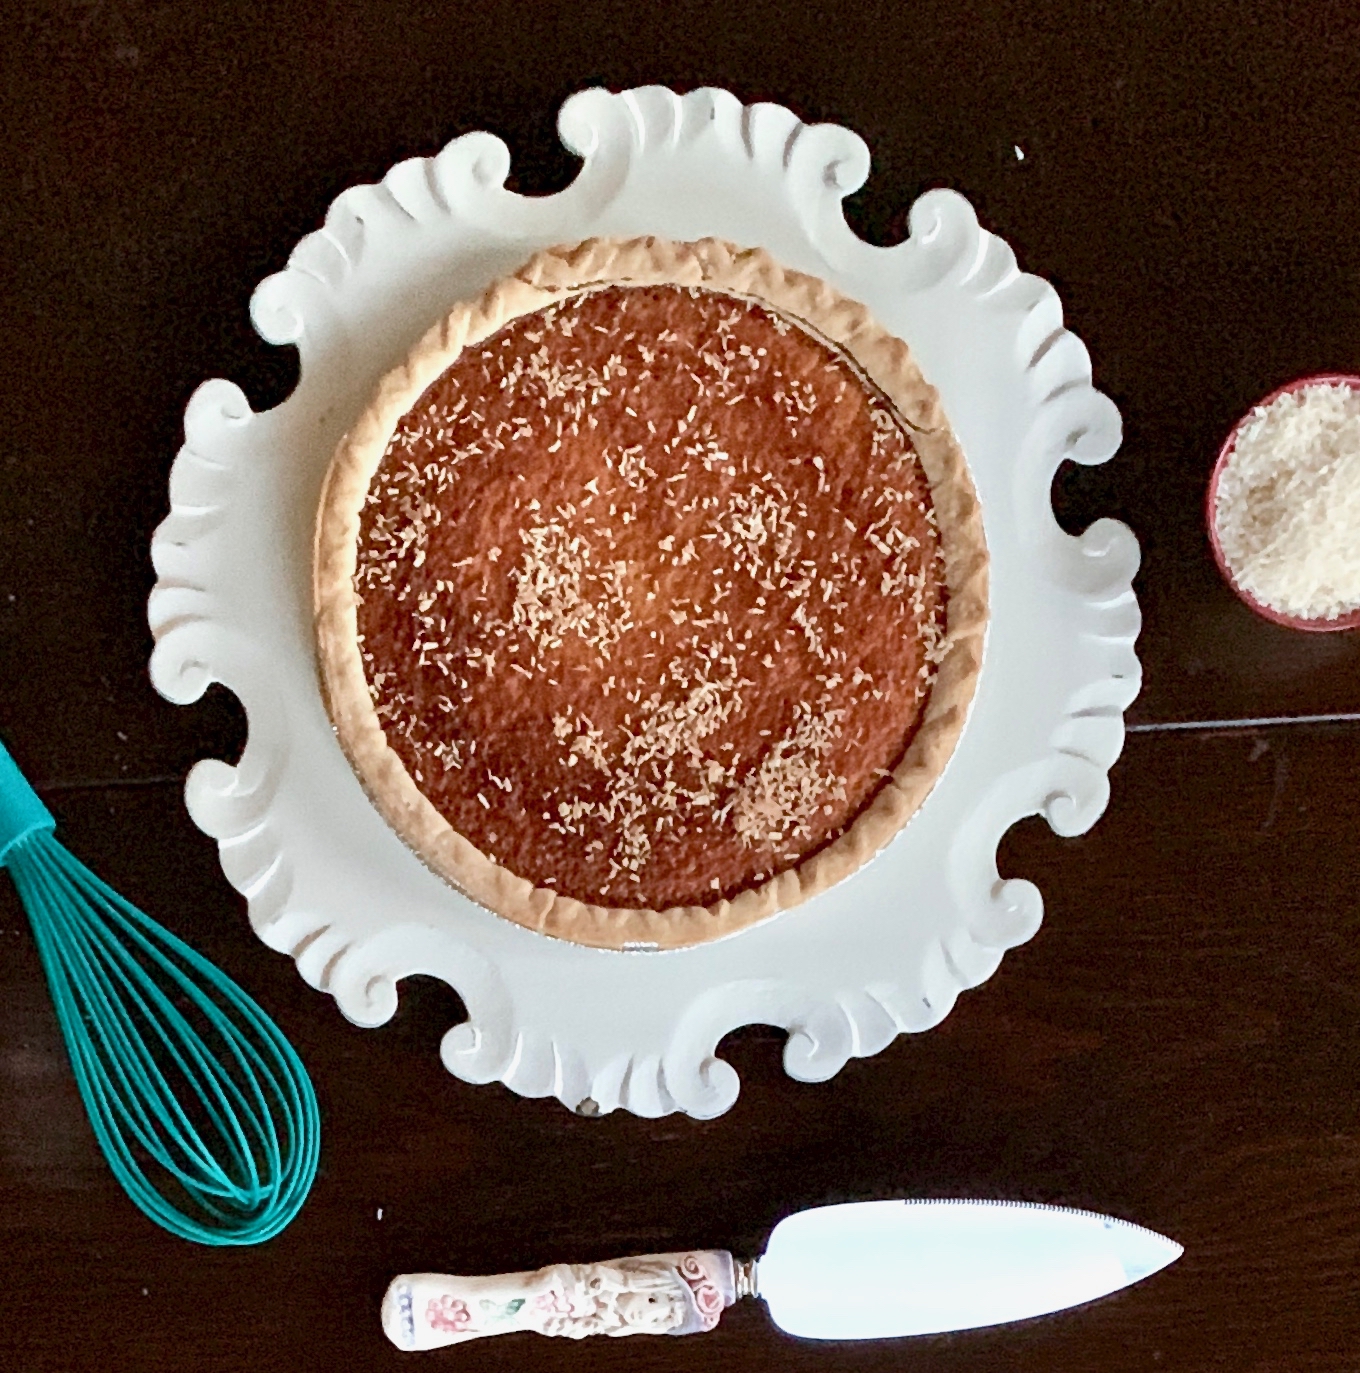
While some of us use exercise to improve our mood or maintain a goal-oriented lifestyle, others use it to stay fit enough to eat whatever they please. This is one recipe that might take a while to sweat out, but it is worth every calorie. The author of this recipe included instructions to make a homemade pie crust, but I just did not have the time, and a store-bought one worked perfectly. In fact, I have never made a pie crust, but maybe next time will be my first. This pie is so easy to prepare and I would bet you have a lot of the ingredients in your pantry. It is so rich and creamy, with a little hint of vanilla that makes it wonderfully sweet. There is a mouth full of coconut in every bite. I toasted up some extra coconut flakes to put on top. Of course, ice cream or whip cream would be even better. 

This recipe loosely adapted from Food and Wine and will serve 8 people who will be sure to over indulge.

Ingredients for Coconut Custard Pie:

1 frozen deep dish pie crust
1 cup sugar
4 tablespoons unsalted butter, melted
6 large eggs
1 cup buttermilk
2 teaspoons pure vanilla extract
Salt 
2 cups shredded sweetened coconut

Preheat the oven to 350°F.

Place pie crust in oven for 10 minutes to just lightly brown it, so the batter will not leak through.

Remove it and let it cool.

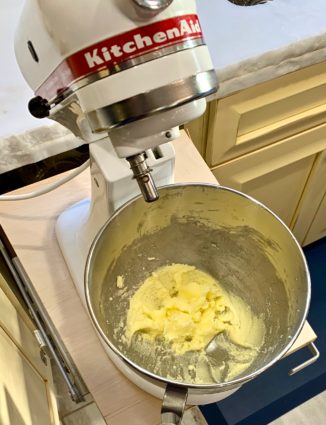
In a medium bowl, whisk the sugar with the butter, then whisk in the eggs.

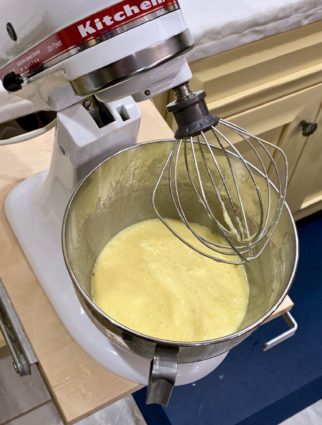
Add the buttermilk, vanilla, and a pinch of salt and whisk until incorporated.

Stir in the coconut.

Pour the filling into the pie crust and bake for 45 to 50 minutes, until the custard is set and golden brown on top.

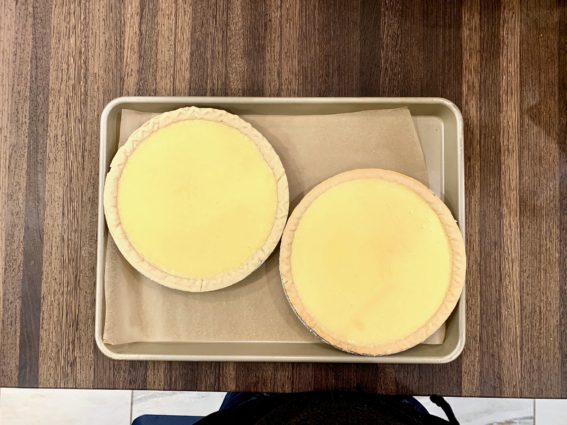
(I didn’t have a deep dish pie crust, so I used two regular ones!)

Let the pie cool completely.

It’s that simple!

signature

[recaptcha]