Fresh, in-season vegetables are always my first choice. During the Spring and Summer, there is such a variety of wonderfully fresh produce to choose from. Winter makes me think of potatoes, because who really wants to be baking or roasting them during the warmer months? Tomorrow is technically the first day of spring, but this one was too good not to share.

I mostly roast all of the veggies I make. Roasting almost any vegetable in a very hot oven gives it a beautifully caramelized exterior while keeping the inside flavorful and tender. The result is a delicious and clean side dish that takes little time and even less effort. By the way, you do not need a lot of olive oil when you are roasting veggies. One tablespoon goes a long way! Just use your hands to rub the oil all over the veggies, making sure they are all coated. 

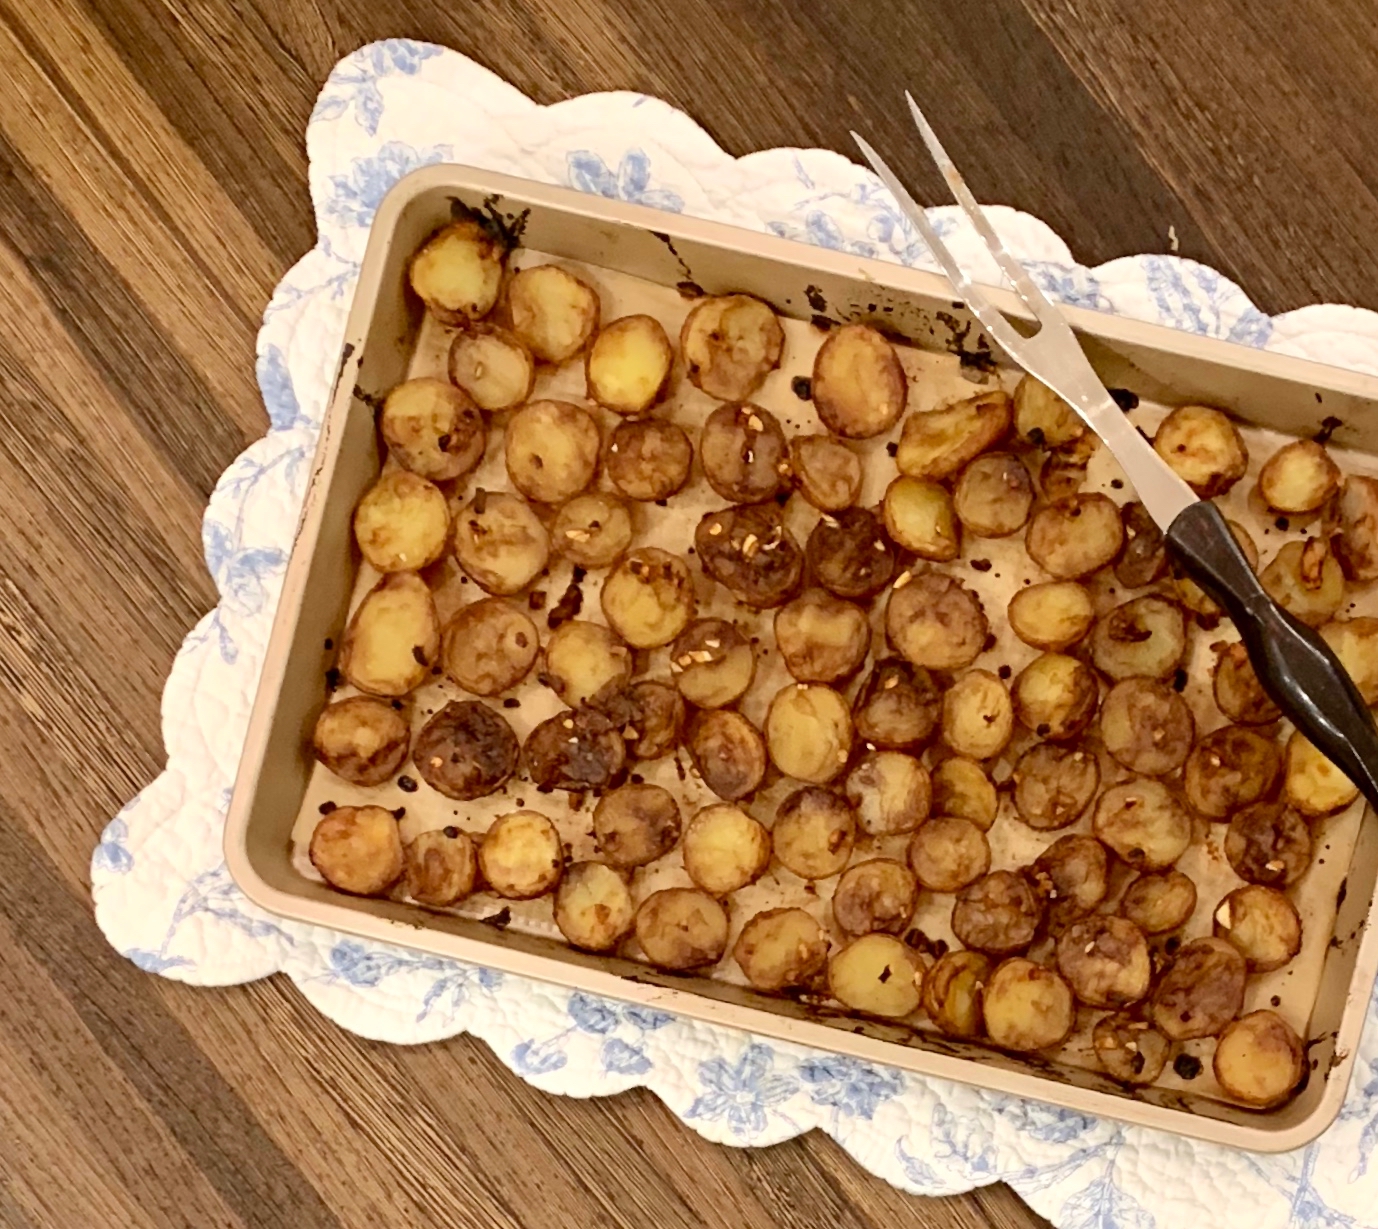
I had never roasted potatoes with balsamic vinegar. So I checked out a few recipes and came up with this one. I parboiled the potatoes first using water and baking soda to ensure that I would get a crispy outside. This dish was a winner. The potatoes come out beautifully browned on the outside and smooth and fluffy on the inside. The balsamic vinegar is not too overwhelming and blends beautifully with the dish. The honey adds a sweet touch to offset the vinegar. So easy to make and because you parboil them, they roast in no time.

This recipe will serve 4 to 6 people who will delightedly sink their teeth into these potatoes’ crispy exterior.

Ingredients for Roasted Balsamic Potatoes:

8 small red potatoes
2 tablespoons olive oil
2 cloves garlic, chopped
1/2 cup balsamic vinegar
2 tablespoons honey
1/2 teaspoon baking soda
1 teaspoon kosher salt
1/2 teaspoon fresh ground black pepper

Preheat oven to 450°.

Place cornstarch in boiling water.

Add the potatoes and boil for ten minutes, or until you can easily pierce it with a fork.

Pour the water out, and shake the pot with the potatoes in it until you easily see a buildup of starch on them.
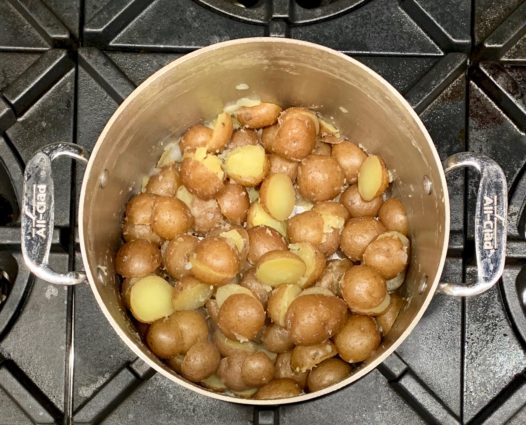
In a medium-sized bowl, combine the balsamic vinegar and honey.

Drizzle olive oil over potatoes.

Place potatoes in bowl with honey-vinegar mixture.
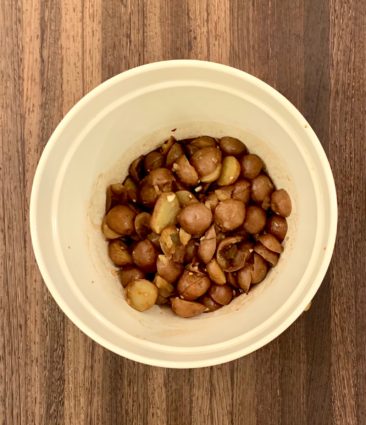
Mix with garlic, salt, and pepper.

Line a baking sheet with parchment paper and place the potatoes in a single-layer white side up.
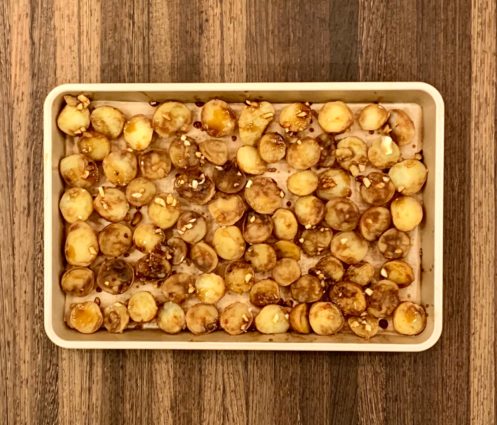
Place in oven to roast for 15 to 20 minutes, until the potatoes are nicely browned on top.

Serve warm.

It’s that simple!

signature

[recaptcha]


My long, exciting wait for my niece Lara’s wedding is coming to an end! Her wedding is this weekend in Miami, so it is kind of like a destination wedding. I still have all my packing to do, and I wonder how in the world I can get my clothes there without wrinkling. All these pre-destination worries aside, I know everything will be amazing.

As I mentioned, I have been going with Lara to all of her dress fittings because her Mom lives in Miami. I tear up with love every time I see her in her dress. Of course, I went over every single detail to ensure the dress was perfect. I was so proud to be with her in this very intimate process. And so excited to see all of her hard work come together at the beautiful ceremony.

All weddings are so special, full of love, happiness, laughter and unexpected moments. For my niece and her soon-to-be husband, this will be especially true. As you can see in my Thanksgiving pictures we have a very large family and that isn’t nearly half of them. My sister-in-law also has a very large family. I know people roll their eyes when they hear about these way-to-big weddings.  Often, they are not warm and affectionate. This one will be different. My sister-in-law made sure that Lara is very close to both sides of the family, cousins included. This means that just like at her older sister’s wedding, the love and intimacy of the event will be palpable. Everyone will be on the dance floor dancing the hora. My brother will have to have the band stay overtime because no one will want to leave. Especially me. My brother’s daughters are like my own and I cherish my relationship with them dearly.

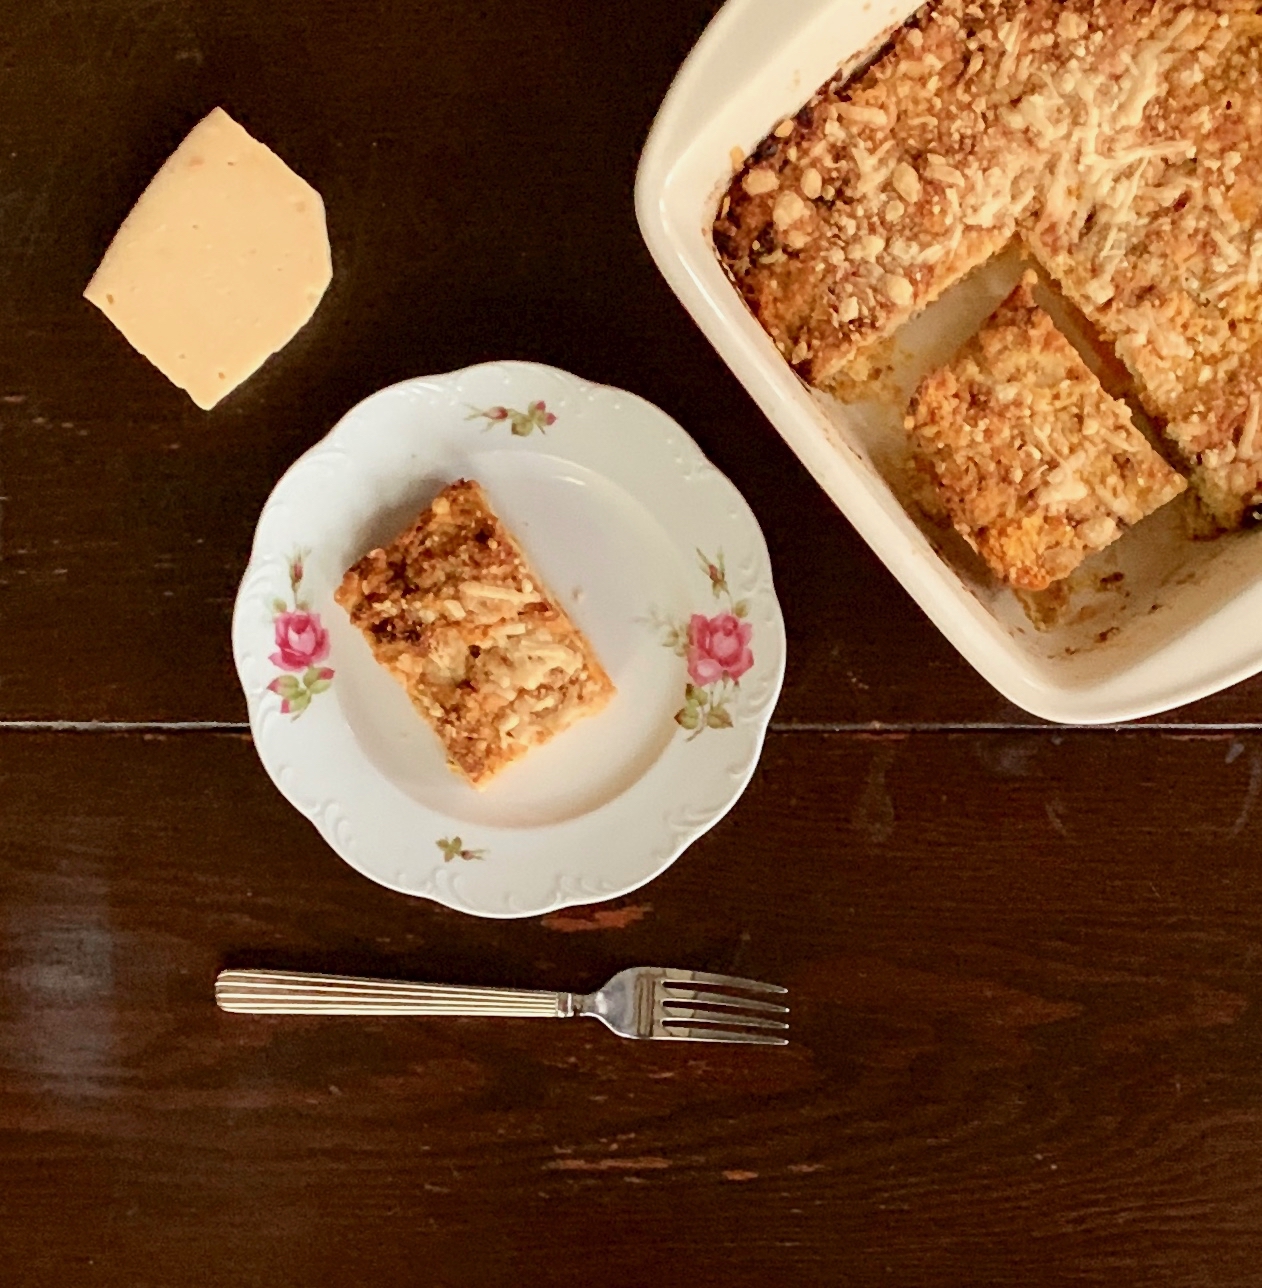
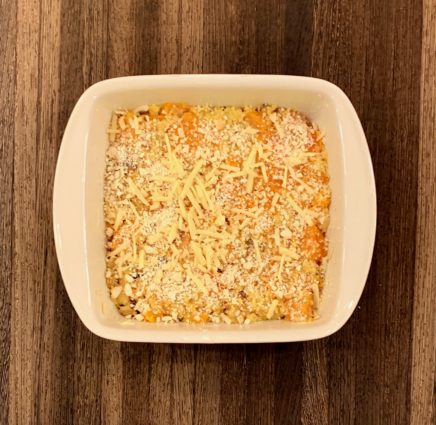
So, as I eagerly anticipate the wedding, I have been cooking up a storm before I go, so I can easily post while I am there. I had some butternut squash in the fridge that desperately needed to be used. I could easily have roasted it, but wanted to try something different. This gratin is surprisingly light because I used a good amount of eggs in it. The mayonnaise adds a little bit of tangy surprise and the panko gives it a nice texture. Of course, the cheeses make this dish rich with flavor and deliciousness. It makes a beautiful presentation and I think it would be a crowd pleaser.

This dish will serve 4 to 6 people and will squash their expectations of home-made dinners.

Ingredients for Butternut Squash Gratin:

3 cups butternut squash, cut into 3/4-inch chunks
1 1/2 cup sweet onion, finely chopped
2 cloves garlic, chopped
1 tablespoon olive oil
4 eggs
3-4 tablespoons good mayonnaise, such as Duke’s
1 teaspoon kosher salt
1/2 teaspoon freshly ground black pepper
1/2 cups gruyere, grated
3/4 cups Parmesan cheese, grated and divided
1 cup Panko crumbs

Preheat oven to 350°.

Butter an 8-inch baking dish.

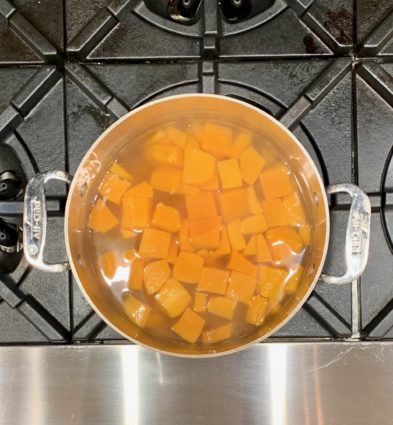
Place butternut squash on a medium-size pan and cover with water to boil.

Reduce heat to simmer and cook squash for 15 minutes or until tender.

Heat oil in a medium-sized saucepan over medium heat.

Add onion and cook until the onions are softened.

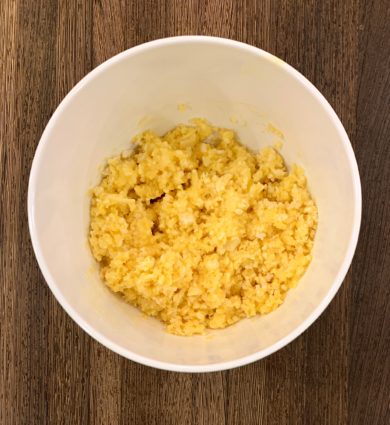
In a medium-sized bowl, beat eggs salt, pepper and mayonnaise together.

Add 1/2 cup Parmesan cheese, 1/4 cup gruyere, and panko crumbs.


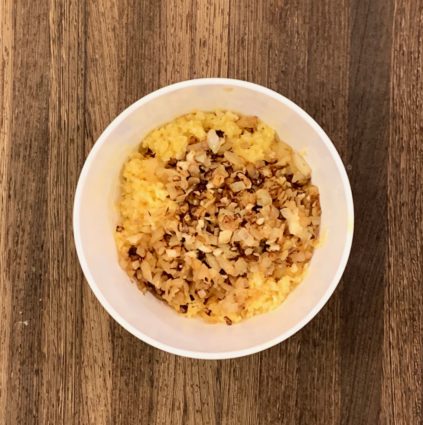
Add the onion, garlic, and squash.

Pour into baking pan.

Sprinkle with remaining Parmesan and Gruyere cheese.

Bake for 1 hour.

Cheese should be slightly browned.

Serve hot.

It’s that simple!

signature

[recaptcha]


Despite my experience and all my efforts, every once in a while a recipe will not turn out so aesthetically pleasing. This was one of those times. When you take a look at the ingredients and directions, it seems so simple. As hard as it is to admit, it wasn’t the recipe, it was me.

The first time I attempted to make this pie, I doubled the crust as I always do. When I made the filling, I realized I would not have enough to fill up the crust I had laid down.

It looked really bad, so I couldn’t photograph it, but it still tasted wonderful.

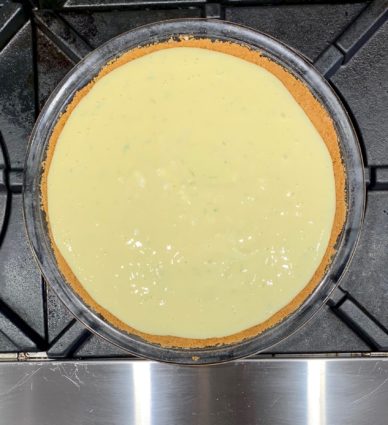
While we all know it’s what’s on the inside that counts, I always get a thrill out of pulling a masterpiece out of the oven. So, I made the pie a second time. I did not double the crust this time. Then I prepared the filling and once again, it did not fill up to where I thought it should be.  After it had cooled, I went to wrap the pie with saran wrap to put it in the fridge. Huge mistake. Do not do this. The saran wrap fell onto the cake and when I lifted it off, the top came off with the cake. Lesson learned: do not put saran wrap on it until it hardens in the fridge.

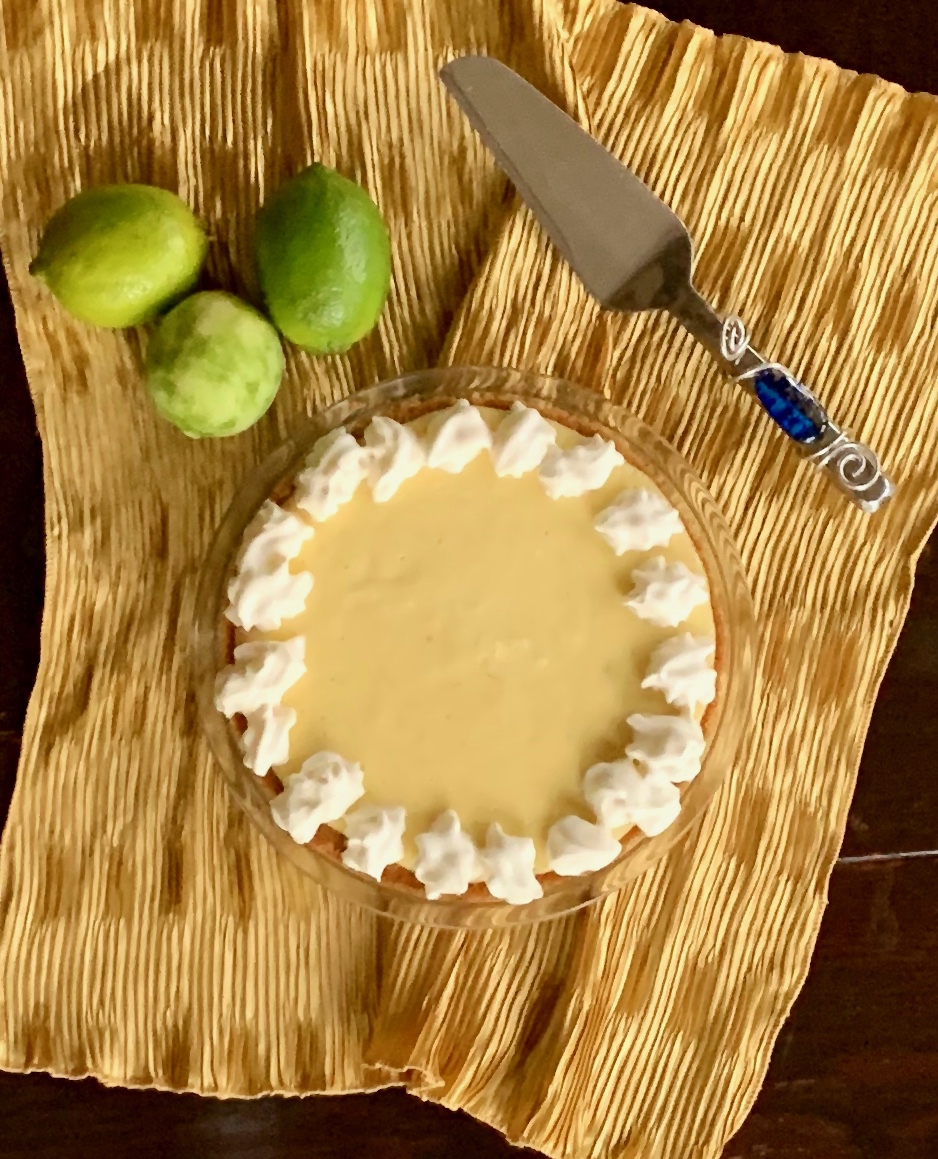
The third time was the charm. I had finally used the correct size pie plate. It was that simple a solution! This pie is simply delicious. It is tangy and not too sweet. The cream cheese gives the filling a hardy texture and makes it so smooth and creamy. The graham cracker crust is the perfect home for the delightful filling. Don’t let my mistakes prevent you from making it, if anything learn from them to make it successfully yourself!

This recipe is courtesy of Sally’s Baking Addiction and will serve 8 to 10 people who will adore this marvelous dessert.

Ingredients for Key Lime Pie:

For the Crust:

1 1/2 cups graham cracker crumbs
6 tablespoons butter, melted
1/3 cup granulated sugar

For the Filling:

4 oz. full-fat cream cheese, softened to room temperature
4 egg yolks
14-oz. can sweetened condensed milk
1/2 cup lime juice
zest of 1 lime

Adjust the oven rack to the lower third position and preheat the oven to 350°.

Spray a 9-inch pie dish with non-stick cooking spray.

Set aside.

Make the crust:

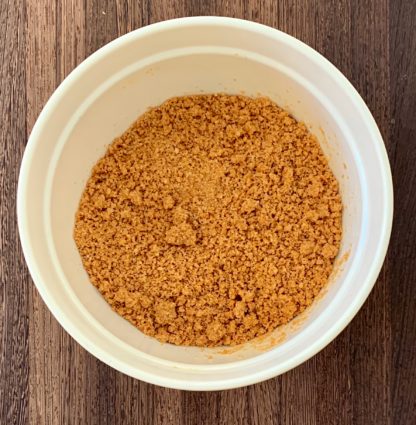
Mix the graham cracker crumbs, melted butter, and sugar together in a medium bowl until combined.

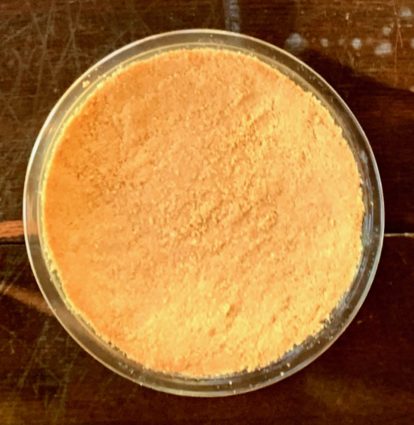
Press into the bottom of the prepared pan and only slightly up the sides.

The crust will be thick.

Bake the crust for 12 minutes as you prepare the pie filling.

Make the filling:

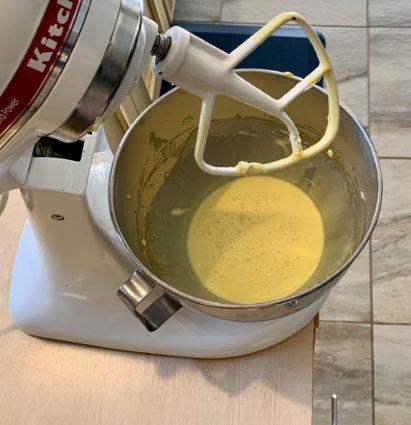
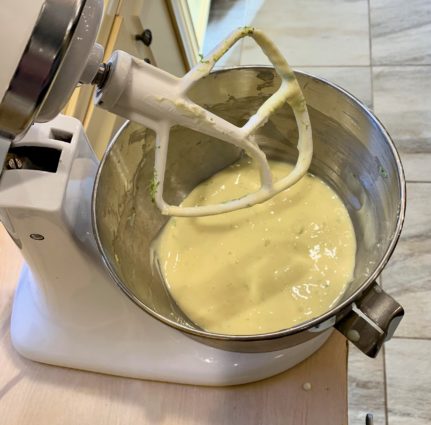
Using a hand-held mixer or a stand mixer fitted with the paddle attachment, beat the cream cheese on high speed until smooth, about 1 minute.

Beat in the egg yolks, scraping down the sides as needed.

Beat in the condensed milk, lime juice, and lime zest until combined.


Pour into the warm crust.

Bake for 16-18 minutes or until the sides are very lightly browned.

The center may slightly jiggle, which is okay.

Allow pie to cool set on a wire rack for 30 minutes. Transfer to the refrigerator and chill for at 4 hours before slicing.

Serve the pie chilled.

Cover the pie and store in the refrigerator for up to 3 days.

It’s that simple!

signature

[recaptcha]


Need some more tips to enhance your cooking skills? Here are a few I find very useful.

Always have a garbage pail or garbage bowl near you. This makes the prepping process go faster and your excess won’t be sitting on the counter taking up room. Just place the waste in the can or bowl and voila! More clean space to cook on.

Always clean as you go. It is more efficient and creates more of a stress-free environment.

Change your kitchen sponges often. I always have a new one close by so I can toss the old one when I need to.

Use parchment paper. It is so versatile! Roast your veggies on it or line your baking pans with it to help make for a faster and easier clean-up. You won’t have to worry about your baked goods sticking to the pan, and everyone has encountered that once or twice.

Find the largest mixing bowl you can. I have a huge one, and it makes mixing anything, from salads to meatloaf so much easier.

Place a damp kitchen towel or damp paper towel under your cutting board to prevent it from slipping.

Buy some hand towels on sale and use them as your kitchen towels. They are much more absorbent and makes drying dishes quick and easy.

And always, always do your mise en place before you start cooking. This is gathering and preparing all the ingredients your recipe calls for before you begin cooking.

Put these tips to use when you try this recipe! Prepare and measure all the ingredients before you begin to prepare the tart. You will be less intimidated by all of them if you do.

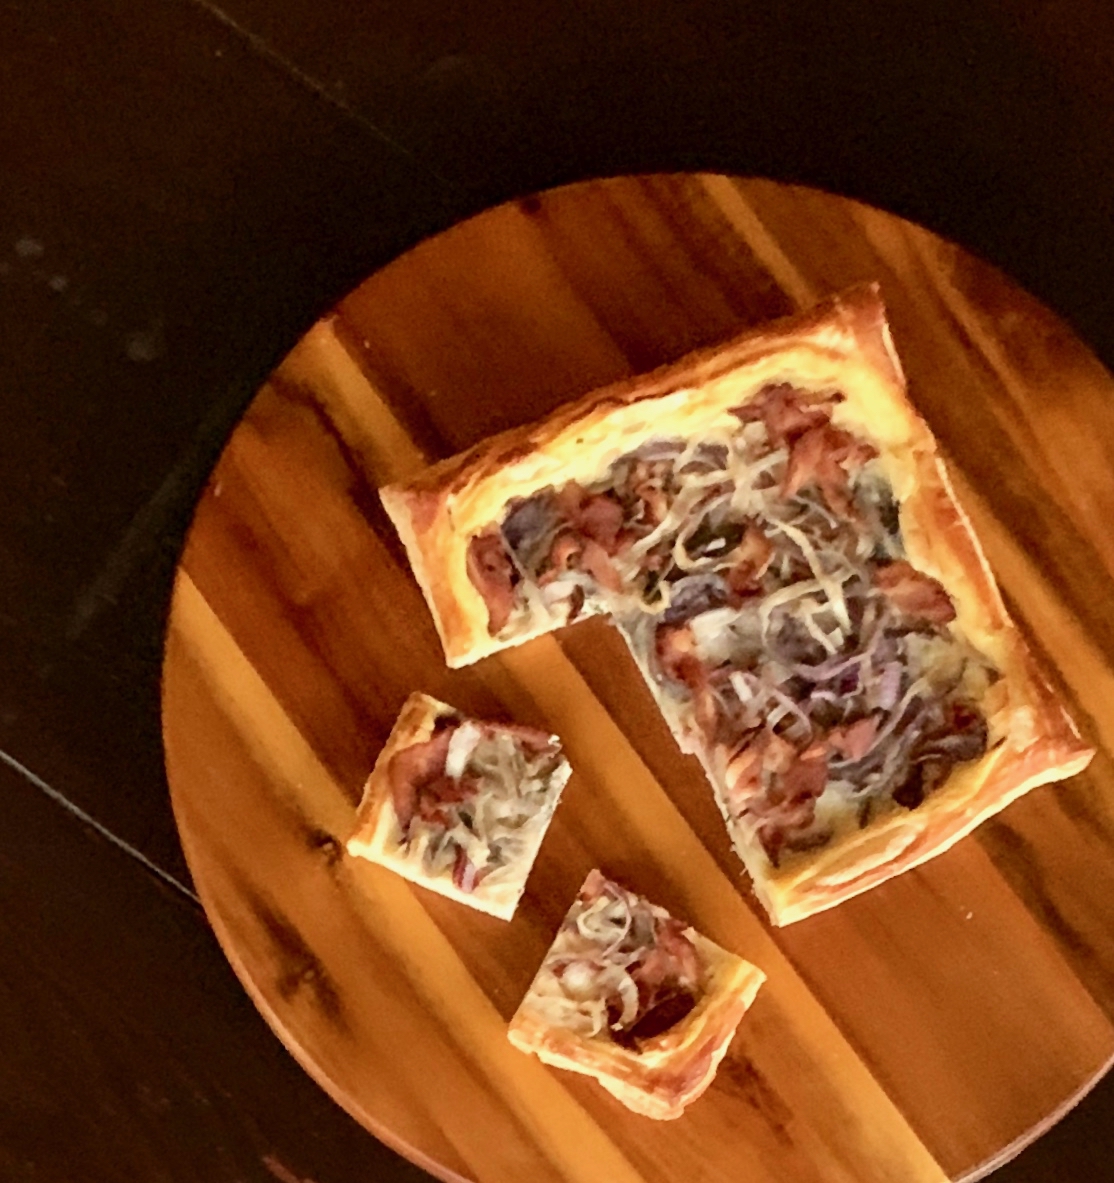
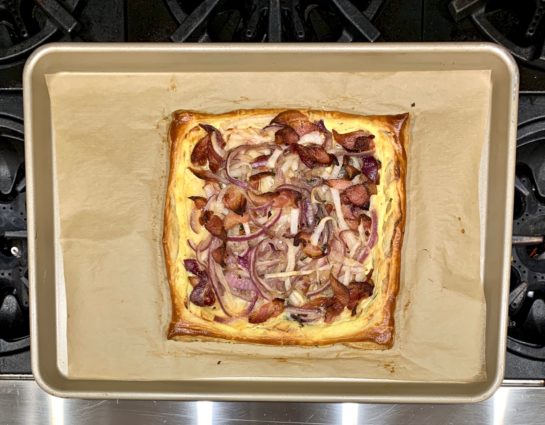
This outrageously good tart is simple enough for a Sunday brunch and elegant enough to make for a holiday dish! There is ooey-gooey cheese in every bite. The bacon takes the flavor up to a whole new level of delish. The onions and herbs combine beautifully to make this one of the best tarts you will ever have.

This recipe will serve 8 people who will be over the moon with the sensational flavor.

Ingredients for Onion Tart with Bacon and Ricotta:

1 sheet frozen puff pastry
2 extra-large egg yolks, seperated
3 tablespoons extra-virgin olive oil,
6 strips bacon, cut into small squares
1 1/4 cups white onion, thinly sliced
1 1/4 cups red onion, thinly sliced
1/2 cup whole milk ricotta
1/4 cup crème fraiche
1/4 pound Gruyere, thinly sliced
1 tablespoon fresh thyme
6 chives, cut into small pieces
2 tablespoons fresh parsley, chopped
Salt and pepper to taste

Preheat the oven to 400°.

Defrost the puff pastry by putting in the refrigerator for 1/2 an hour.

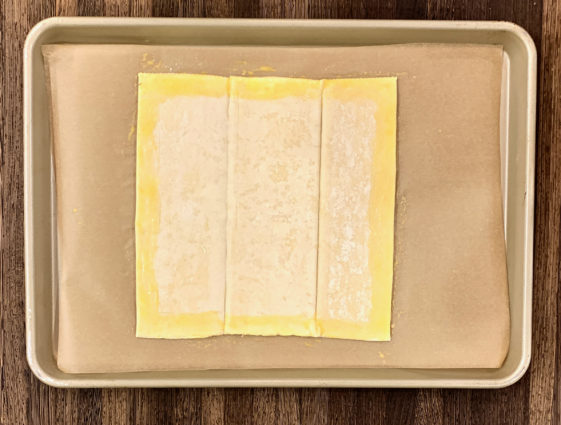
Unroll the puff pastry and using a knife, thinly score the outer edge of the pastry, about 1/4 inch from the edge.

Mix one of the egg yolks with 1 teaspoon of water.

Brush the outside of the border (between the knife score and the edge) with the egg wash.

Place the puff pastry in the freezer until you are ready to use it.

Slice the bacon into neat little squares.

Heat a heavy bottom pan or skillet with 2 tablespoons of olive oil over medium-high heat.

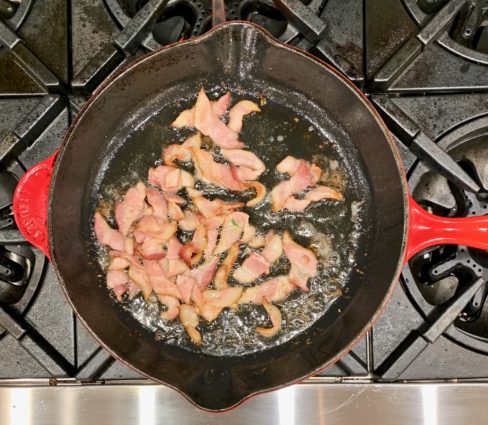
Add the bacon and sauté until bacon is lightly crisp but still tender on the inside.

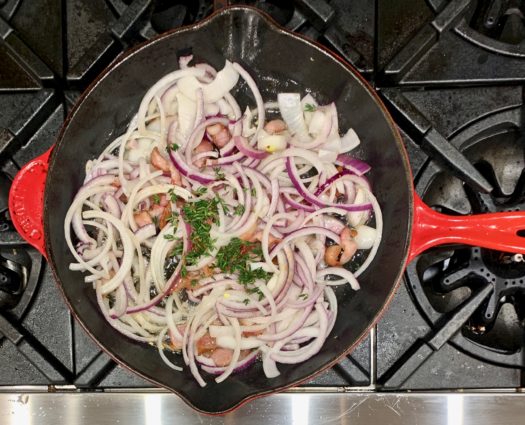
Place the onions, thyme, and parsley in the pan.

Season with salt and pepper.

Cook until the onions are slightly wilted, about 4 to 5 minutes. 

Remove them from the pan and let them cool.

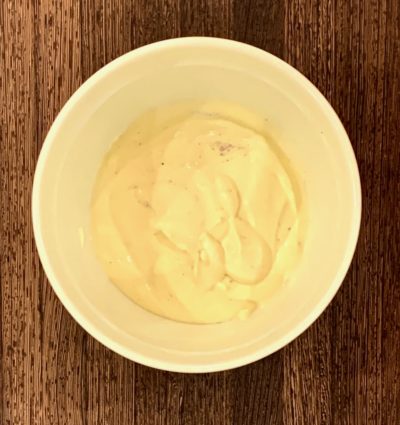
Using a small food processor, place the ricotta, remaining egg yolk and 1 tablespoon olive oil in.

Process until smooth and transfer to a medium-sized bowl.

Gently fold in the crème fraiche and season with salt and pepper.

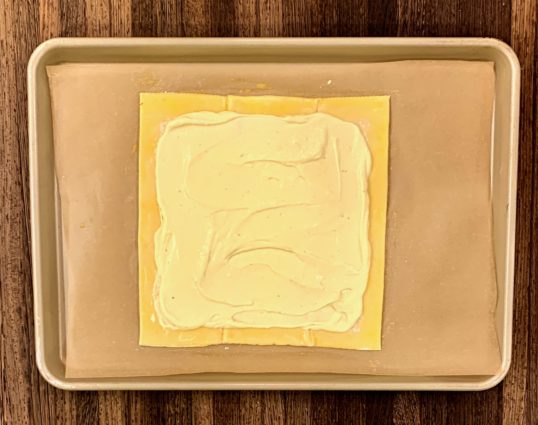
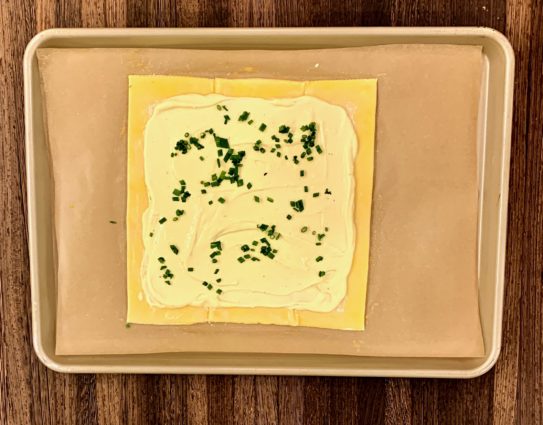
Take out the puff pastry and place it on a baking sheet lined with parchment paper.

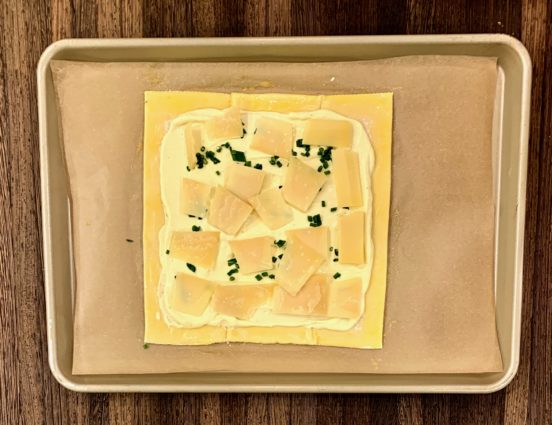
Spread the ricotta mixture in the center of the puff pastry, making sure to even it out to the scored lines.

Sprinkle the chives over the ricotta mixture.

Layer the Gruyere over the chives.

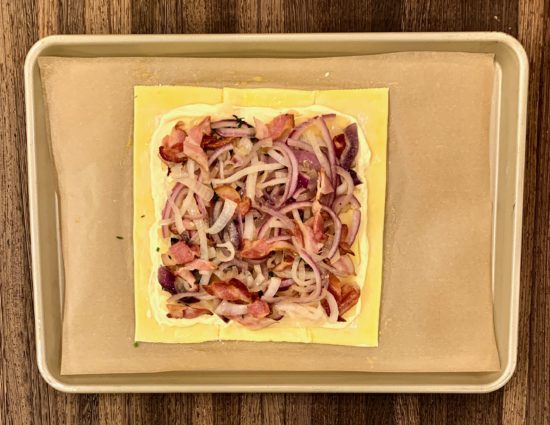
Arrange onion mixture over the top.

Bake the tart for 20 to 25 minutes, rotating the baking sheet once, until the cheese is bubbling and the crust is golden brown.

Make sure the bottom of the crust is cooked (otherwise it will be soggy).

Let the tart cool for a few minutes, then cut into wedges and serve warm.

It’s that simple!
signature

[recaptcha]


I really enjoy trying to find recipes that are different and unusual for my blog. Although the blog highlights simplicity in many recipes, the more intricate ones are always more fun. Sure, there are some that are not really that difficult, but I mostly post those for my readers that are still beginners.

My niece told me a long time ago (before youtube became so popular) that I should write a blog on how to properly cut an onion, because many of her friends did not know how. I honestly don’t remember learning how to cut an onion, I thought everyone just somehow knew. My friend was over when I was preparing dinner one evening and when she saw me peeling garlic, she was surprised to see how it was done. I was shocked myself when I realized it was not general knowledge.

Maybe someday I will start a series of “how to” posts. I have a few tricks up my sleeve that are unique to experienced cooks. In the meantime, I promise to keep doing my research and find recipes that I know you will enjoy.

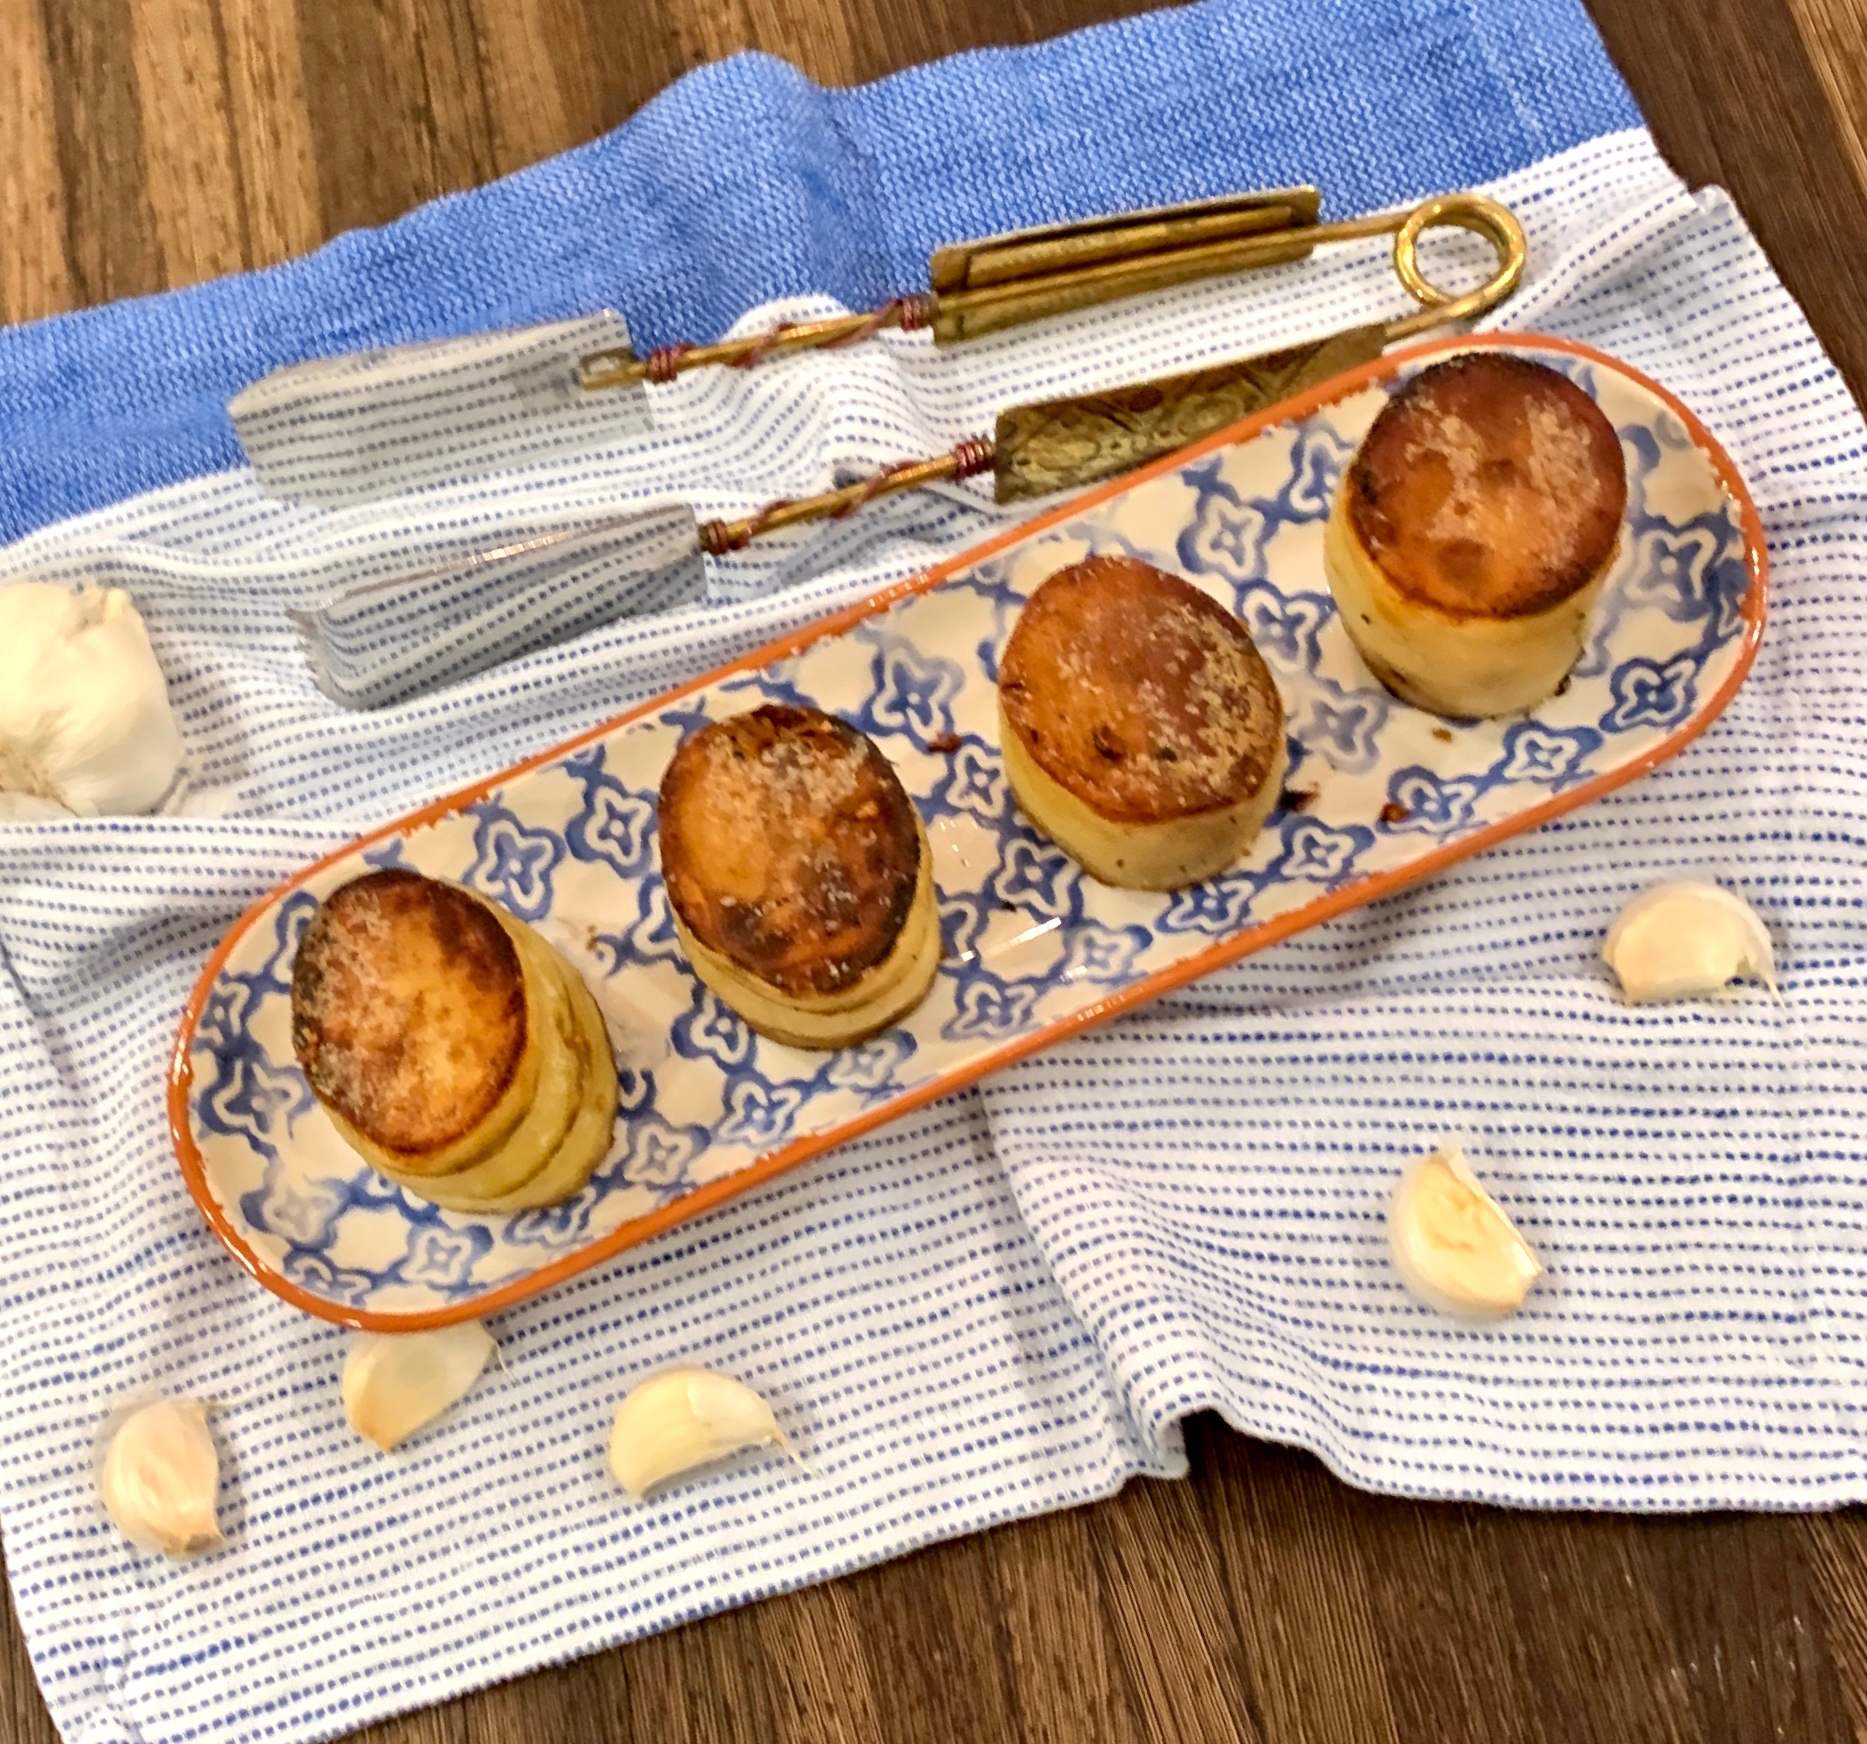
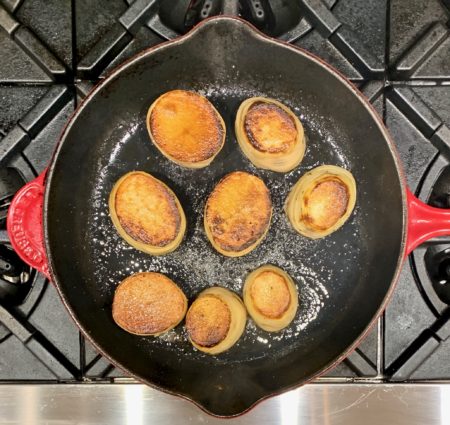
This dish was a first for me. I have never seen potatoes made like this and I was eager to take a shot at it. I was more than ecstatic with the results. The potatoes are browned and caramelized beautifully on both sides, bringing a sweet crispness to them. The garlic infused oil intensifies their flavor even more.  The chicken stock ensures that they are softened to perfection while baking them in the oven. My family just loved these extraordinary potatoes. These are perfect to serve for any holiday or family dinner.

This recipe is courtesy of Rockrecipes by Barry Parsons and will serve as many as you wish to impress!

Ingredients for Garlic Thyme Fondant Potatoes:

6-7 medium-sized russet potatoes
4 tablespoons butter
2 tablespoons olive oil
Salt and pepper to taste
3 garlic cloves, sliced
3 sprigs fresh thyme
1 1/2 cups low sodium chicken stock (boiling hot)
2 additional tablespoons butter

Choose a pan that will be the right size for the potatoes. You can use a 9×9 glass pan and peel and chop the perfect amount of potato to fit into it. 

Once you have determined what pan you will be using, remove the potatoes and heat the baking dish in a 400° oven while you brown the potatoes.

Peel the potatoes and cut them into about 2-inch thick cylinders.

Cut off the rounded ends and try to keep all the potatoes pieces the same size.

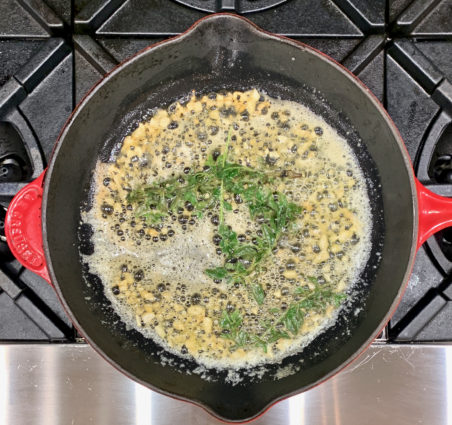
Heat the butter and olive oil over medium heat in a cast iron skillet or non-stick saute pan.

Add the sliced garlic and sprigs of thyme.

Cook for just a minute or so to soften the garlic, then remove it from the pan along with the thyme. 

Set aside.

Season the potatoes on both sides with salt and pepper and brown both ends of the potatoes until golden, about 3-4 minutes per side over medium to medium-high heat.

While you are doing this, heat the chicken stock to boiling.

Remove the heated pan from the oven.

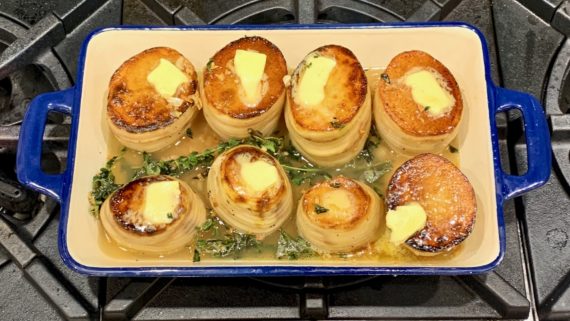
Place the potatoes from the cast iron pan and fit them into the heated baking dish from the oven.

Tuck the garlic slices and thyme sprigs used to flavor the oil and butter between the potatoes.

Pour in the hot chicken stock just until the potatoes are half submerged.

Dot the top of the potatoes with a little bit of butter, then return the pan to the oven for about a half hour or until the potatoes are fork tender.

Serve immediately.

It’s that simple!
 

signature

[recaptcha]