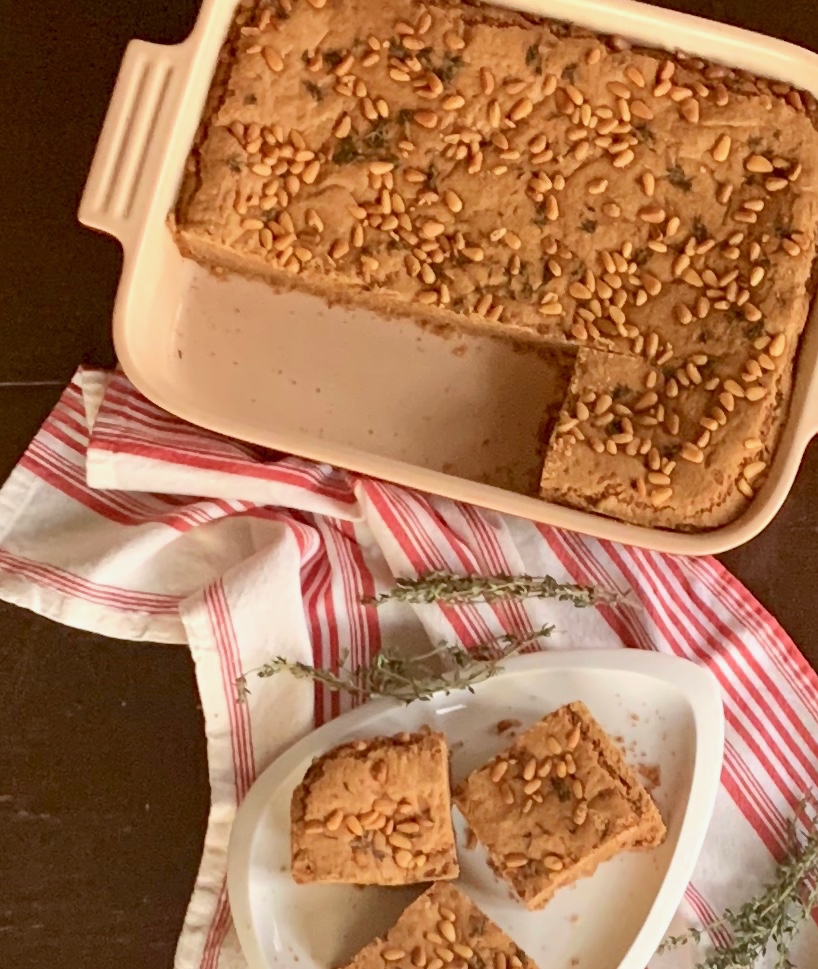
I honestly never heard of a brunette, have you? Of course, we haven’t, as the author of this recipe gave them the name herself. It is a version of a blondie, but the author and her assistant were brunettes, hence the name.

When I buy a cookbook, I read every recipe and carefully mark off the ones I would like to prepare. Since you know how many cookbooks I have, there are about a few hundred I have yet to make. This one intrigued me.  It came with a story about the author. Her name was Amy Pressman. She was all set to open up a bakery named “Short Cake” in LA when she tragically died a few months before it opened. Her assistants opened up the bakery and the bakery was well received and her “brunettes” were a hit. I felt I owed it to Amy to make them after reading that. How wonderful for her associates to still open the bakery.

Amy borrowed this recipe from Dorie Greenspan and added the pine nuts and thyme. 

These bars are made with dark muscovado sugar, a very dark, molasses-y brown sugar. If you can’t find it, use dark sugar. These are a darker version of a blondie, though not nearly as dark as a brownie. They bake up to a beautiful golden brown. This treat is thick, almost cake-like. But don’t let that fool you. They are beautifully crusted on the outside with a brownie-textured chewy inside. I am finding it hard to describe them, they are so incredible. You enjoy one and immediately crave the next. The toasted pine nuts and thyme add in the savory, making these Brunettes perfection! 

This recipe is courtesy of Mozz at Home, and will make 24 Brunettes that will make your friends and family want more than just one. Better make two batches!

Ingredients for Amy’s Brunettes:

3 1/2 sticks of butter, cut into small cubes, plus more for greasing the pan and parchment
3 tablespoons pine nuts
3 1/2 cups unbleached all-purpose flour
3/4 teaspoon baking powder
1/2 teaspoon baking soda
1 teaspoon kosher salt
2 cups plus 2 tablespoons packed dark brown sugar
3/4 cup plus 2 tablespoons granulated sugar
1/4 cup plus 1 tablespoon dark muscovado sugar (or dark sugar)
3 extra-large eggs
1 teaspoon pure vanilla extract
1 heaping tablespoon fresh thyme leaves

Adjust an oven rack to the middle position and preheat oven to 325F.

Butter a 9 x 13-inch baking dish. Line the bottom with parchment paper, butter the parchment and set aside. (I forgot to do this and they came out easily.)

Set up a cooling rack.

Spread the pine nuts on a baking sheet and toast them in the oven for 8 to 10 minutes, until they are fragrant and golden brown, shaking the baking sheet and rotating it from front to back halfway through the cooking time so the nuts brown evenly.

Remove the pine nuts from the oven and set them aside to cool to room temperature.

Stir the flour, baking powder, baking soda, and salt together in a mixing bowl.

Beat the butter in the bowl of a standing mixer fitted with the paddle attachment on medium speed until it’s smooth and creamy, about 2 minutes.
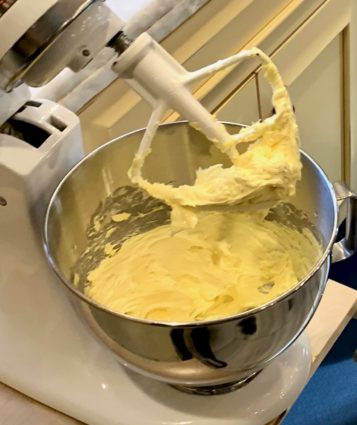
 

Turn off the machine.

Add the brown sugar, granulated sugar and muscovado sugar and mix on medium speed until the sugars are incorporated into the butter, about 3 minutes.

Add the eggs, one by one, mixing for about 1 minute to incorporate.

Add the vanilla and mix to combine.
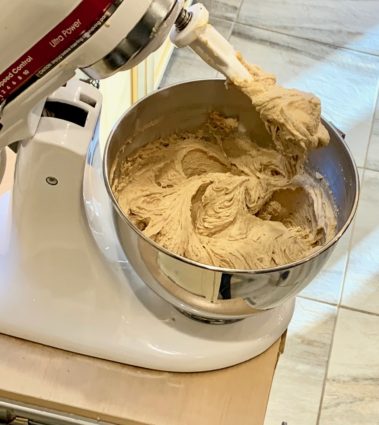
 

Reduce the mixer speed to low.

Add the dry ingredients, mixing on low speed until no flour is visible. (Add little portions of the dry ingredients at a time.)
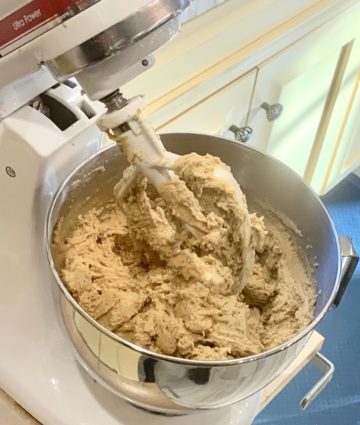


Transfer the batter to the prepared baking dish and use a rubber spatula to smooth the top. (The batter will be heavy and sticky, but will smooth out easily.)
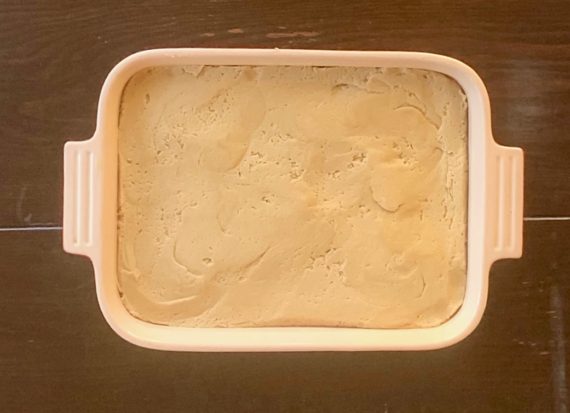
Sprinkle the pine nuts and thyme leaves over the surface.
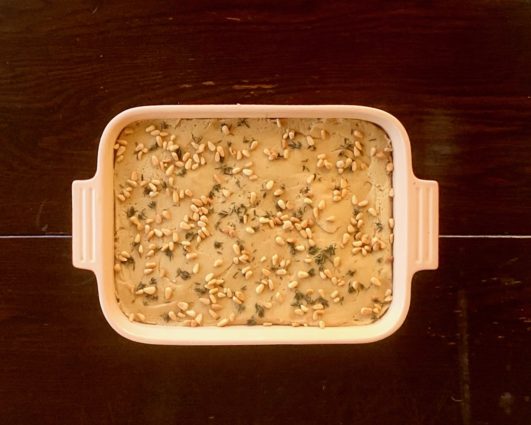
Bake the brunettes for 1 hour and 25 minutes to 1 hour 40 minutes, until golden brown on top and the brunettes have pulled away from the sides of the pan.

Remove the pan from oven and place it on a cooling rack to cool completely.

Run a knife or offset spatula around the edges of the pan to release the brunettes from the pan.

Put a baking sheet over the brunettes and swiftly flip the baking pan and baking sheet to invert them again onto the cutting board so the decorated side is facing up.

Cut the brunettes into 24 (3 x 1 1/4-inch) bars.

Artfully stack the bars no more than two high on a cake stand, taking care not to knock off the thyme and pine nuts on top, and serve. (I obviously skipped this step!)

It’s that simple!
signature

[recaptcha]


You can make a dish a dozen times, and each experience can be totally unique. In my opinion, it is half of the fun of cooking! When you are cooking, sometimes you have to be innovative. What if you do not have one of the specific ingredients, or better yet, you think of something that would make it even more delicious? Many are reluctant to stray from a recipe but you have to ask yourself, “what could be the harm in changing things up a bit?” Now that we have the internet, a substitution is just a click away.  Don’t have sour cream? You can use Greek yogurt or cottage cheese. Don’t have basil? You could use oregano or thyme. If you are cooking something, you can just leave it out if you don’t like the ingredient. If you are baking, it would be better to find a substitute.

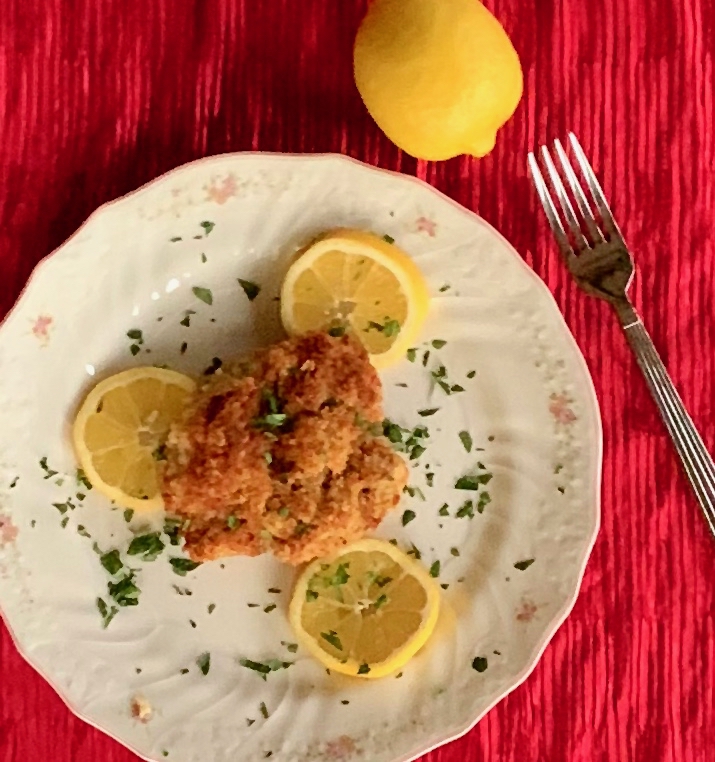
Traditionally, chicken piccata is made with boneless, skinless white-meat chicken breasts. I understand that it is typically made this way, however, I really do not like white meat chicken. Luckily, you do not need to use white meat if you don’t like it. Just substitute dark meat and it’s all good. That’s what I did, and I loved how this dish turned out. You could also use flavored breadcrumbs, which might make it a little easier. 

Cooking should be a fun and creative activity, not a chore! So, change it up, don’t be afraid to make mistakes, and follow your instincts. You never know, you just might make something you love and add it to your repertoire. Then, it will be an original recipe you can pass on to your family and friends. Most importantly it will be all your own.

This dish is so light and lemony. The breadcrumbs give it a wonderful texture and the sauce tops it off with a smooth, buttery and citrus deliciousness. It is definitely a crowd-pleaser.

This recipe will serve 4 people who will be dying to know your tips and tricks for your perfect Chicken Piccata.

Ingredients for Chicken Piccata:

4-6 skinless boneless, chicken thighs (depending on how many you are cooking for)
1 cup all-purpose flour
1 tablespoon garlic powder
1 tablespoon onion powder
1 tablespoon thyme
1/2 teaspoon paprika
1 teaspoon kosher salt
3 large eggs, beaten
1/2 teaspoon freshly ground black pepper
3/4 cup unseasoned bread crumbs
3 tablespoon olive oil
3 tablespoons unsalted butter, at room temperature, divided
Juice of 2 lemons
1/2 cup (or more) of good, dry white wine
Lemon slices of 1 lemon
Lemon slices, for serving
Chopped parsley for serving

Preheat oven to 400°F.

Line baking pan with parchment paper.

Place the chicken breast in a plastic bag and pound to 1/2-inch thick.

Season both sides with salt and pepper.

Mix the flour, garlic powder. onion powder and paprika in a shallow bowl.

Beat the eggs in a shallow bowl. 

Place the breadcrumbs on a plate.

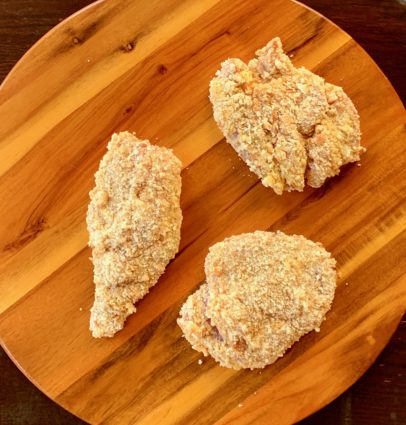
First, dip the chicken thigh in the flour.

Shake off the excess.

Dip the chicken thigh in the egg and then the breadcrumbs.

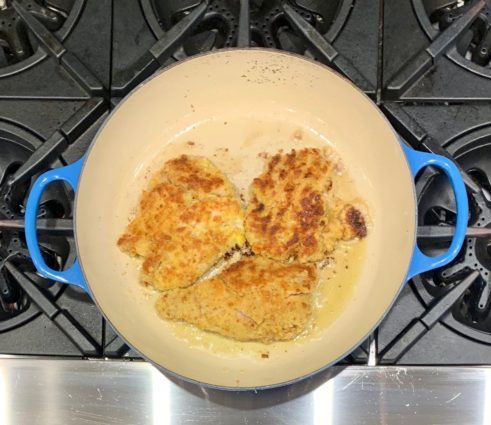
Heat 2 tablespoons of olive oil in a large saute pan over medium heat. Add the chicken thighs and cook for 2 to 3 minutes each side until golden brown.

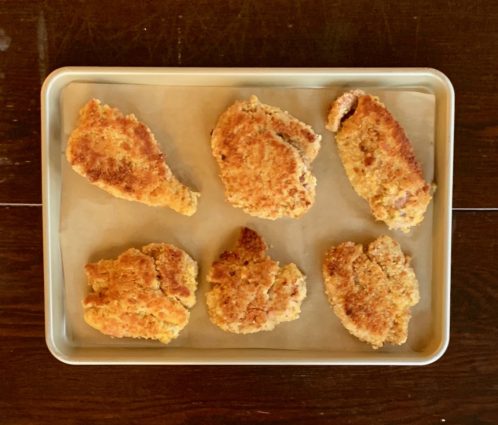
Place them on the baking pan and bake them for 10-15 minutes, depending on how thick they are.

Wipe out the saute pan with a paper towel, making sure to clear away all of the breadcrumbs. 

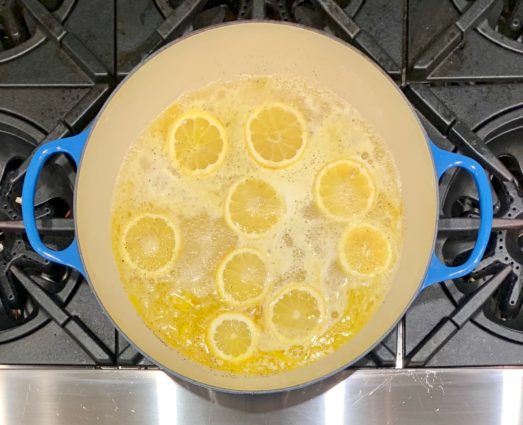
Over medium heat, melt 1 tablespoon of the butter, and add the lemon juice, wine, some of the lemon slices, salt, and pepper.  

Cook until boiling, let it reduce to half, about 2 minutes.

Add more wine if you do not have enough liquid.

Take pan off the heat and add 2 remaining tablespoons butter.

Spoon the sauce over the chicken thighs and serve with a slice of lemon and parsley, if desired.

It’s that simple!
signature

[recaptcha]


Bread pudding was not in my mother’s repertoire of recipes, so I never had it until after I was married. Even when we went out for dinner, we would only go to one of three restaurants, and there was no bread pudding on the menu at any of them. I grew up in a home that was centered on routine. Sunday we ate steak, Friday fried chicken, Thursday veal, and so on. Dessert was not a constant, although there were the occasional ice cream treats or fruit if you asked politely. Instead, dessert was served on holidays or at family gatherings. 

When I was in college, my friends and I never went out to dinner (who could afford to?). During the few times that we did treat ourselves, bread pudding was not on the menu! I am not exaggerating when I tell you, I honestly hadn’t even heard of bread pudding.

It wasn’t until dinner at our friend’s home that bread pudding had entered my life. Once I took my first taste, I instantly knew what I’d been missing. I went crazy for the dessert, and because I knew nothing about preparing one, I thought my friend was the greatest dessert maker in the world (little did I know how easy it was to prepare). I cherished every bite that I took.

Now, if you couldn’t tell, I am obsessed with bread pudding. We are lucky to have a restaurant near us whose chef was a contestant on the show Top Chef. She too, is a huge fan of bread pudding and a new one is featured there every night. When I asked her husband about her passion for bread pudding, he said it was born out of a way to use up their leftover bread. Genius! Her bread puddings are so elaborate and delectable. I have to try it every time I go.

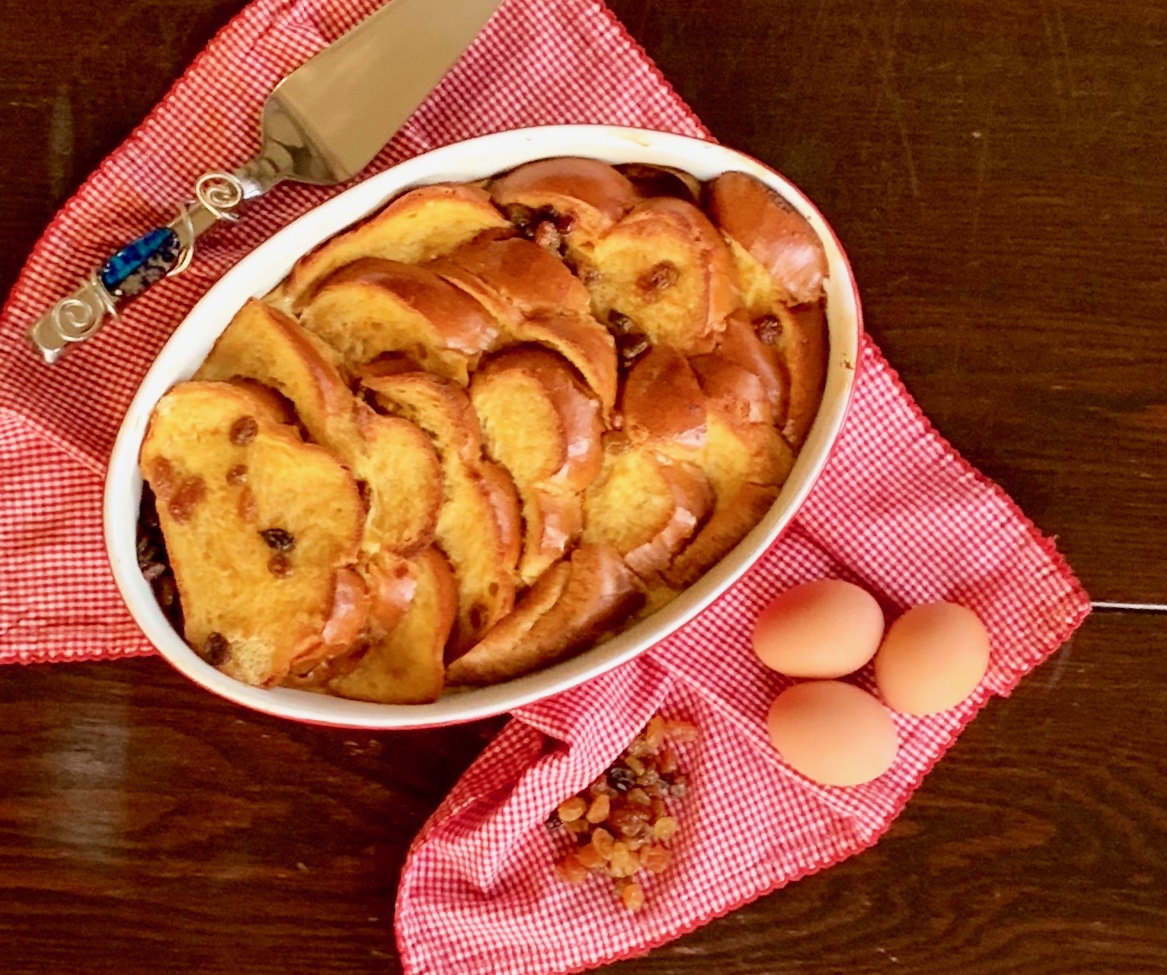
This is an easy one to make, so it is perfect if this is your first try. Ina called for brioche bread, but I only had challah bread and I am sure it tastes just as delicious. Challah is always a good choice to make bread pudding with because of its thickness. Personally, I think challah was the perfect home for the delectable sauce in this dessert. The rich vanilla flavor makes this bread pudding irresistible. The honey and raisins give it an unavoidable sweetness, which is further complemented by the citrus in the orange zest. I did not think it needed the maple syrup that is recommended, though it would make it more breakfast-y indeed. 

This recipe is courtesy of Ina Garten, and will serve 8-10 people who will develop their own obsession with this unique dessert (or breakfast!).

Ingredients for Breakfast Bread Pudding:

5 extra-large whole eggs
2 extra-large egg yolks
2 1/2 cups half and half
1/3 cup honey
1 1/2 teaspoon pure vanilla extract
2 teaspoons orange zest (2 oranges)
1/2 teaspoon kosher salt
Brioche loaf (I used Challah)
1/2 cup golden raisins
Maple syrup, to serve

Preheat the oven to 350°F.

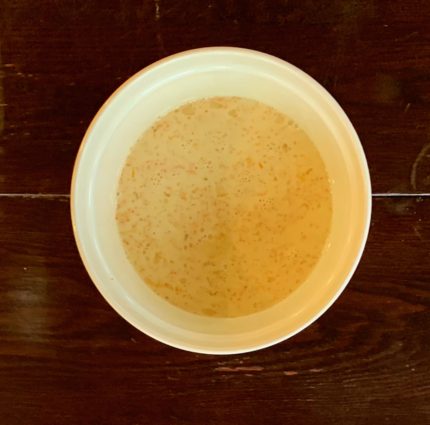
In a medium bowl, whisk together the whole eggs, egg yolks, half and half, honey, vanilla, orange zest and salt.

Set aside.

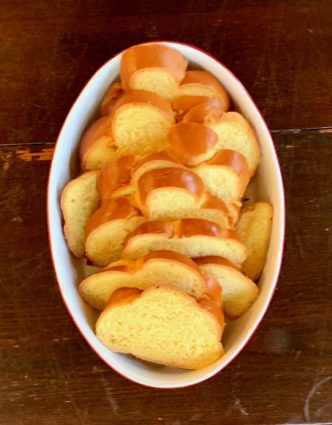
Slice the brioche (or any bread you choose to use) into 6 1-inch thick peices.

Lay half the bread slices flat in a 9 by 14 by 2-inch oval baking dish.

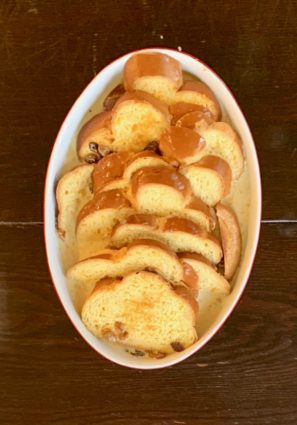
Make sure that the raisins are between the layers of bread or they will burn while baking.

Pour the egg mixture over the bread and allow to soak for 15 minutes, pressing down gently.

Bake for 55 to 60 minutes or until the pudding puffs up and the custard is set.

Remove from the oven and cool slightly before serving.

It’s that simple!
Macy, my beautiful old lady.

signature

[recaptcha]


Lara’s wedding has come and gone way too fast. All the preparation and attention to detail goes by in the blink of an eye. Despite that, the joy shared and memories made are worth it all.

Having all my family together in Miami for the wedding was so nice. We all got to spend the day at the pool together, the men in the hot tub, beers in hand, and the women by the pool just enjoying each other’s company. I thought to myself, these are the moments we do not get very often, though I wish we did.

The wedding was so stunning. The flowers were dazzling and the room looked so elegant. Everyone was on the dance floor all night, unless of course we were sitting down to eat. It was wonderful to see all the people Lara and her husband love celebrating this joyous occasion with them.

Lara looked exquisite. She, like many brides, was radiant. The most important thing was that she was very present, taking in every moment and all the love that was present in the ceremony and the ballroom. I love the memories these moments make.

This dish was not on the menu for the wedding, but it very well could have been. The white wine and whole grain mustard are combined to coat the Brussels Sprouts with a heavenly sauce. The lemon zest and juice give them a nice tang. Then they are roasted and caramelized to perfection in the oven. This is a great short on time side that rivals any wedding caterers best.

This recipe will serve 4 to 5 people who will definitely say “I do” to a second serving. 

Ingredients for Brussels Sprouts with Wine and Whole-Grain-Mustard:

1 pound Brussel Sprouts, cut in half lengthwise
3 tablespoons unsalted butter
1 tablespoon olive oil
1 teaspoon kosher salt
1/2 teaspoon freshly ground black pepper
1/2 cup dry white wine
1/2 onion, peeled and thinly sliced
2 tablespoons whole grain mustard
Juice of 1/2 lemon
Zest of 1/2 lemon

Preheat oven to 400°.

Trim and rinse Brussel Sprouts.

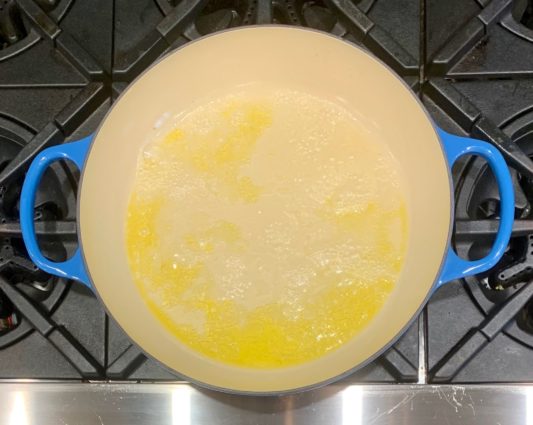
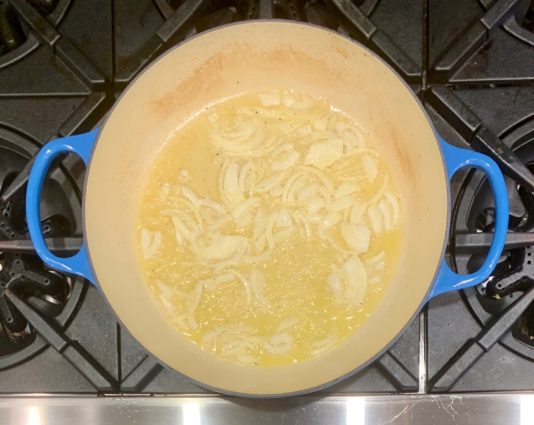
Over medium heat, melt 1 tablespoon of butter and 1 tablespoon of olive oil.

Add the lemon juice, zest, and wine.

Sprinkle in salt and pepper.

Boil over high heat until reduced in half, about 2 minutes.

Add the remaining 2 tablespoons butter and onions.

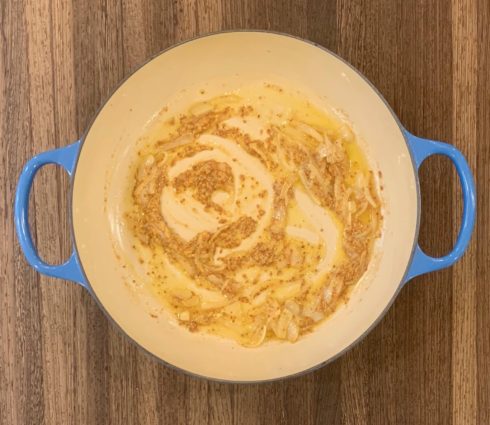
Cook onions until translucent, about 2 to 3 minutes.

Take pan off heat.

Stir in whole grain mustard.

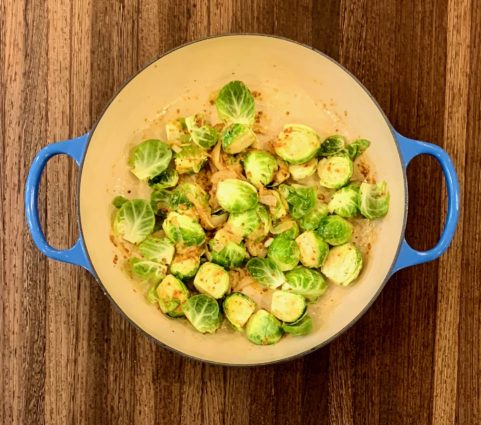
Add Brussel Sprouts and mix thoroughly to make sure they are well coated.

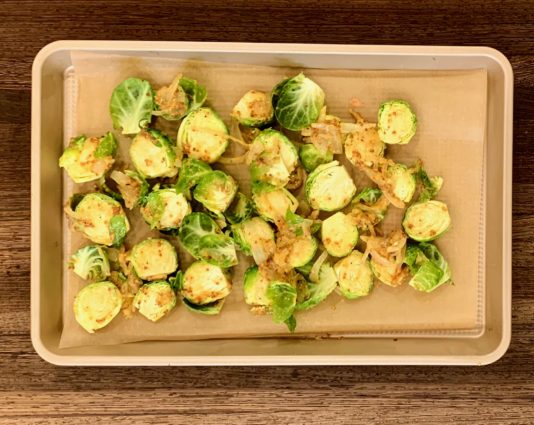
Line a baking sheet with parchment paper.

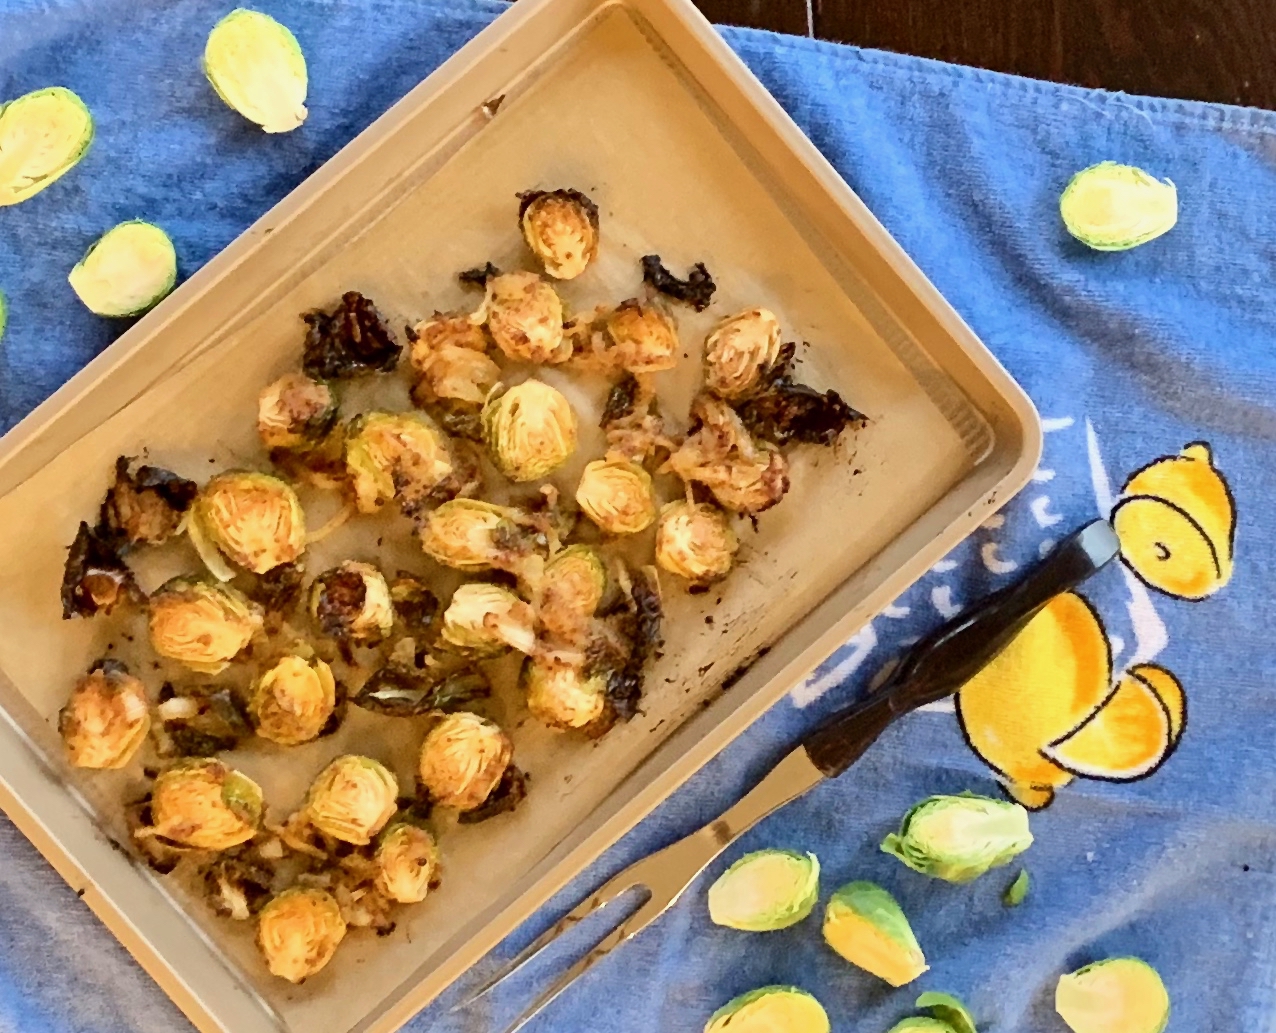
Place Brussel Sprouts, cut side up in baking pan.

Pour any liquid left in bowl over the Brussels Sprouts.

Place in oven.

Roast for 40 minutes, or until they are golden brown.

It’s that simple!
signature

[recaptcha]


I know from experience that some recipes are hard to follow. I also know that many are hard for some people, and not for other people. There is definitely a special language that recipes use. For example, most don’t use full sentences and often shorten them by saying “to oven”, and not “to the oven”. Most of us who read recipes understand them exactly the way they are written.

From time to time recipe instructions are written in a way that makes them impossible to follow. I prefer recipes that have the directions listed step-by-step, rather than in paragraph form. This way you are more likely to succeed and not miss a step! When I copy a recipe down for my blog, I always break the paragraphs into steps so it is easier for my you to follow.

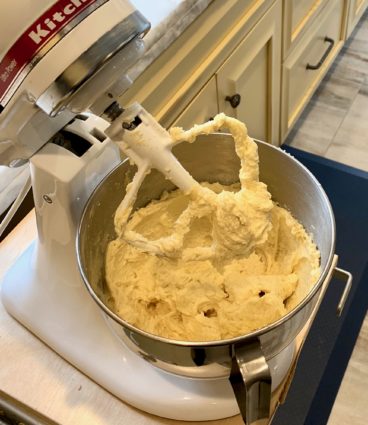
This particular recipe was written without the reader in mind, and boy did I have a hilarious time making this cake. The recipe originally tells you to use an electric mixer, which could mean a hand-held mixer. If you used one, the sugar and butter would get so caught up between the wires of the whisk beaters. I know this because since they did not advise you to use the paddle attachment, I started with the whisk attachment and that is exactly what happened to me.

There were so many frustrating details left out of the instructions. I will tell you the funniest one that happened. The author instructs you to place the first four ingredients of the frosting in the mixer and beat them. Easy enough, right? But when I turned on the mixer, even at a slow speed, there was powdered sugar everywhere! In my hair, on my face, on the floor, on my dogs, (who stand under the mixer so they can catch any tidbit that falls), on my walls, even inside some cabinets that were closed! I definitely should have caught that one. That was something that had never happened to me before and I know will never happen again.

That said, I carefully changed the directions so none of these things happen to you. So, you can feel free of worry when you make this outrageously delectable dessert.

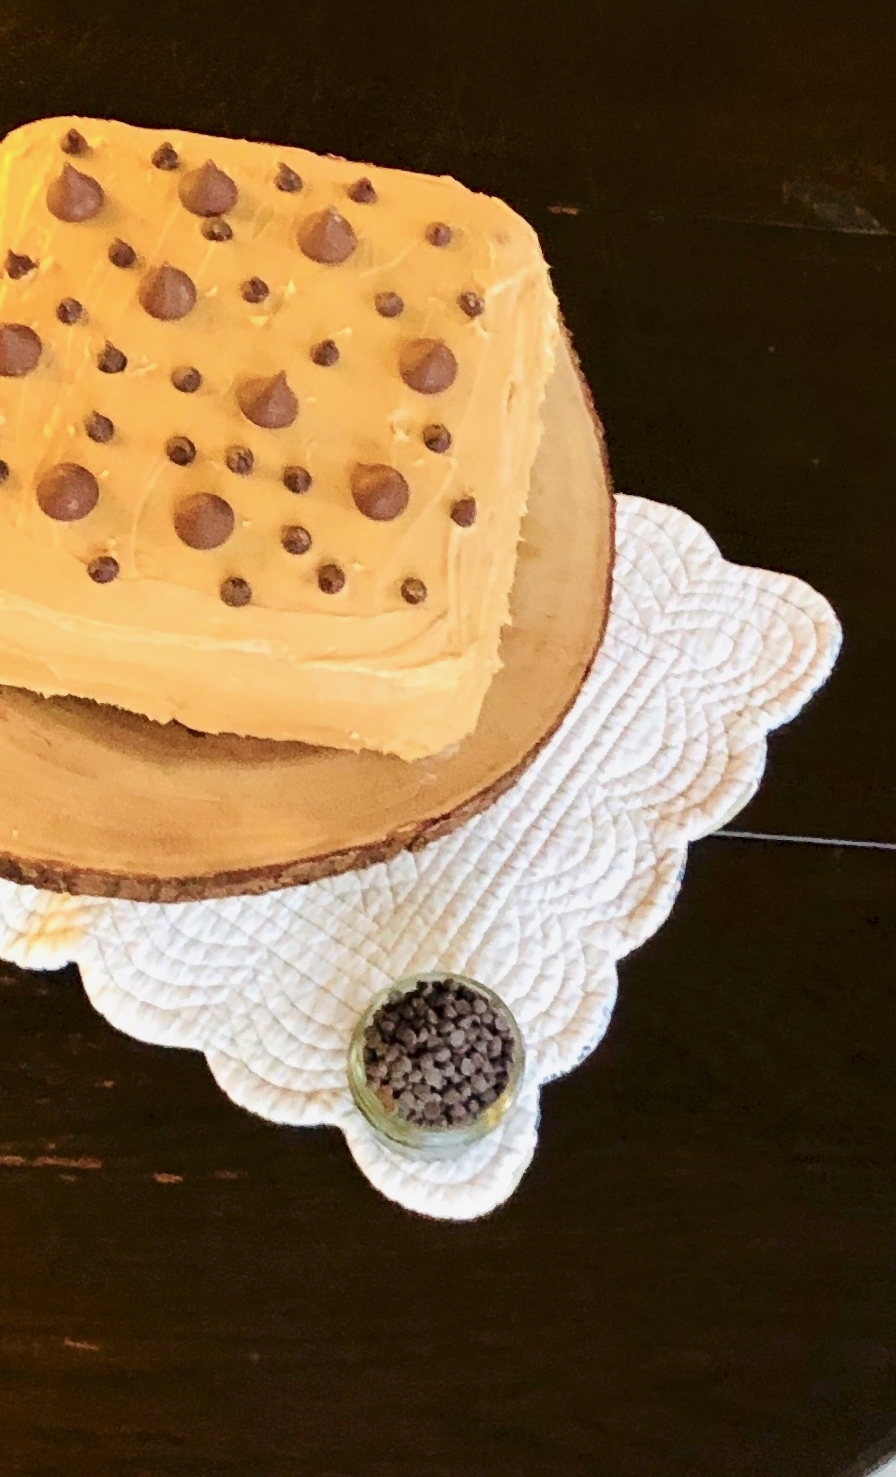
This cake is too good for words! The banana and chocolate are surrounded by this exquisitely fluffy peanut butter frosting. It is topped off with Hershey’s Kisses and more chocolate chips. It doesn’t get much better than this! Do not let the number of ingredients stop you. Do your mise en place and it is actually very easy to make. If you are intimidated about frosting it, no worries, your family will love this cake no matter what it looks like. Promise!

This recipe is courtesy of Bon Appetit, and will serve 16 people who will be grinning with delight between bites.

Ingredients for Banana-Chocolate Chip Cake with Peanut Butter Frosting:

For the cake:

Nonstick vegetable oil spray
3 cups all-purpose flour
2 teaspoons baking soda
2 teaspoon kosher salt
1 1/2 cups sugar
1 cup (2 sticks) unsalted butter, room temperature
1/2 cup light brown sugar
3 large eggs
1 1/2 teaspoons vanilla extract
2 cups mashed very ripe bananas ( about 5 bananas)
1 cup sour cream
1 (10-ounce bag) mini chocolate chips

For the frosting:

2 cups creamy peanut butter
1 1/2 cups powdered sugar
1 cup (2 sticks) unsalted butter, room temperature
2 1/2 teaspoons vanilla extract
Chocolate chips, mini chocolate chips, and chocolate kisses (for decorating cake)

Make the Cake:

Preheat oven to 350°.

Coat cake pans with nonstick spray.

Line the bottom of pans with parchment paper; coat paper.

Whisk flour, baking soda, and salt.

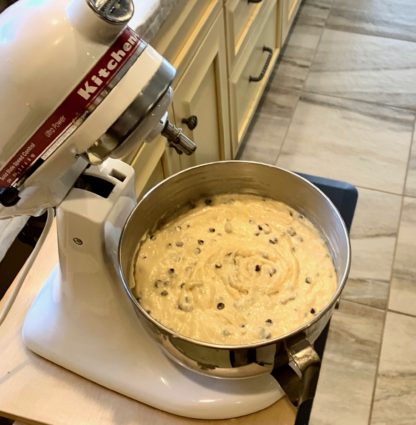
Using the paddle attachment of a standing mixer, beat sugar, butter, and brown sugar until light and fluffy, about 3 minutes.

Add eggs one at a time, beating to blend between each one and occasionally scraping up and down sides.

Beat in vanilla.

Add dry ingredients a little bit at a time; beat on low speed just to blend.

Add bananas, and sour cream, beat just to blend.

Fold in mini chips.

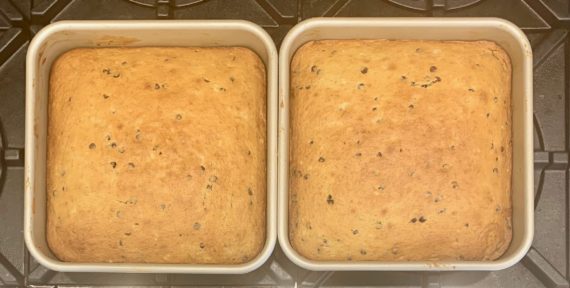
Divide batter evenly among pans; smooth tops.

Bake cakes about 35 minutes or until a tester inserted into the center comes out clean.

Transfer to wire racks; let cool in pans for 30 minutes.

Invert cakes onto flat surface. 

Let cool completely.

Make the frosting:

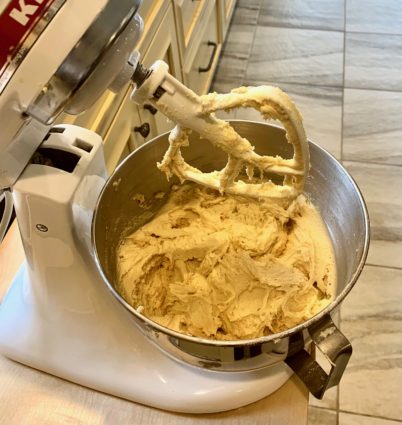
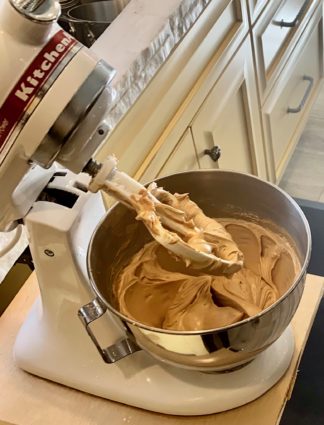
Using the whisk attachment of a standing mixer, beat peanut butter, butter and vanilla extract.

Turn mixer to low speed and slowly add in the powdered sugar, and mix until a light and fluffy frosting forms; 2 to 3 minutes.

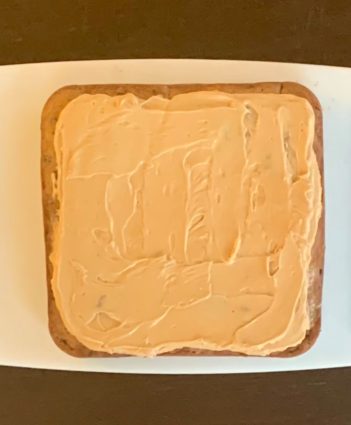
Spread 1 1/4 cups frosting over 1 cake.

Place remaining cake on top.

Cover tops and sides of cake with remaining frosting.

Garnish with chocolate chips and kisses.

It’s that simple! (It really is!)
signature

[recaptcha]