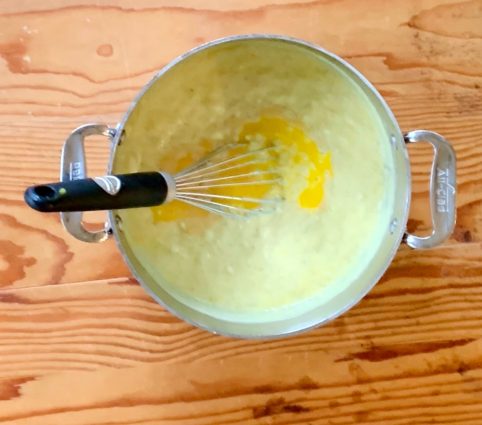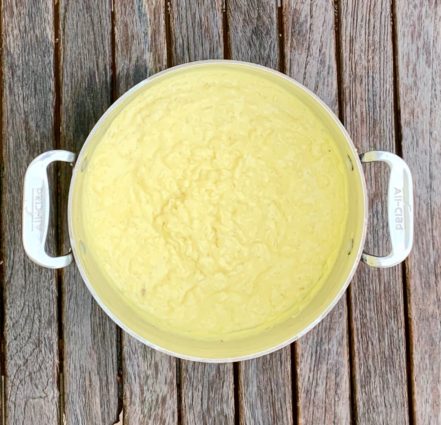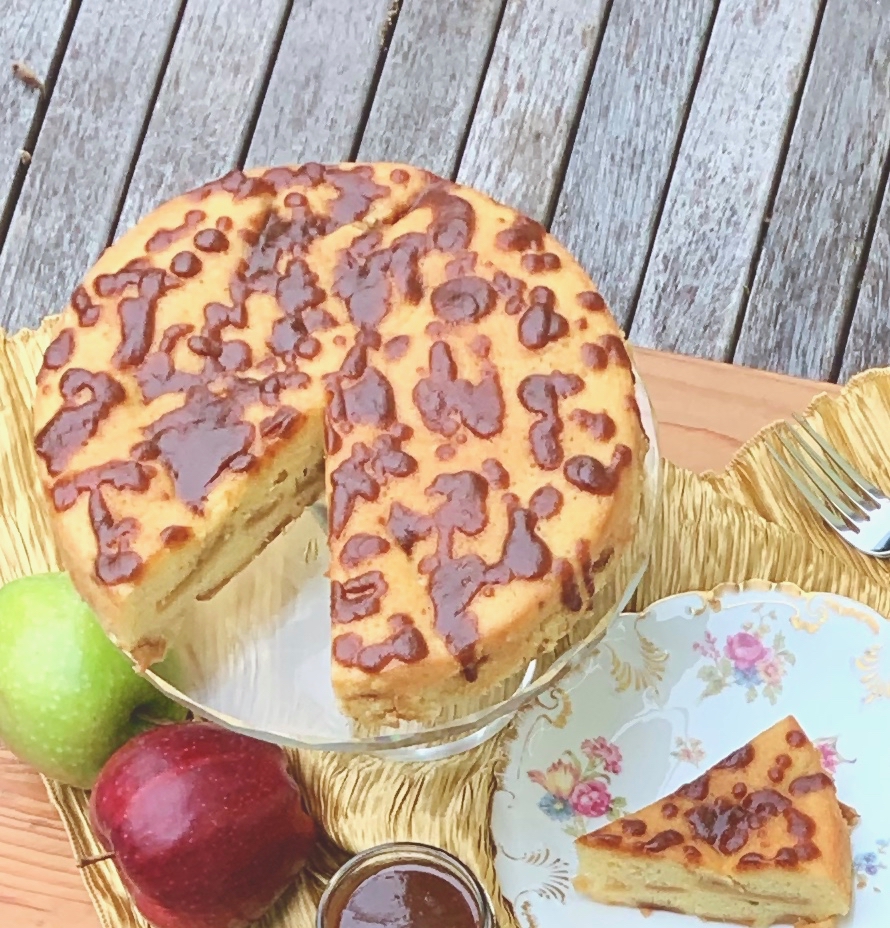
A fancy schmancy name for a cake, right? The remnants of my French lessons led me to think it had apples in it, and lo and behold, it is indeed “Breton Cake with Apples.”

A Breton cake is a bread-like round cake made with layers of butter and sugar folded into the dough.  The cake is then formed around apples. The unique texture is the hallmark of this cake. Some recipes go so far as to use pizza dough. However, this recipe has a fluffy cake batter that is not consistent with any Breton cake I’ve seen. I am a huge fan of any cake with apples, so I decided to try it as written. Given how unusual the cake is, I am pretty sure this is meant to be an easier version. If this is not too difficult, I promise I’ll try the original someday. Maybe. Making pastry dough scares me a little, but I may just give it a shot.

I can honestly say that this apple cake did not disappoint. In fact, it is mouth-watering delicious. I used Granny Smith apples because I just love the tartness they bring to the table. Cooked in the sugar, these flavors blended nicely together. The addition of the lemon zest brings a freshness, and the caramel absolutely completes the dish.  Each bite is even better than the last. This cake needs to be placed on your “must try” list. 

By the way, the caramel on the cake was a beautiful golden brown Not sure why it looked so dark in the pictures! 

This recipe is courtesy of Bonappetit and will serve 8 people who will come back to this different take on a Gâteau Breton Aux Pommes.

Ingredients for Gâteau Breton Aux Pommes:

For the Salted Caramel Sauce;

1/2 cup sugar
1/2 cup heavy cream
3 tablespoons unsalted butter
1/2 teaspoon kosher salt

For the cake:

12 tablespoons (1 1/2 sticks) unsalted butter, melted, slightly cooled, divided, into 10 tablespoons and 2, plus more, room temperature, for pan
1 1/4 cups all-purpose flour plus more for pan
4 firm, tart apples (such as Pink lady or Braeburn; about 2 pounds), peeled cored, sliced 1/2-inch thick (I used Granny-Smith)
2 tablespoons plus 1 cup sugar, divided
1 teaspoon baking powder
3/4 teaspoon kosher salt
1 teaspoon finely grated lemon zest
3 large eggs

Make the Caramel Sauce:

Bring sugar and 1/4 cup water to boil in a small saucepan over medium-high heat, stirring to dissolve sugar.

Boil, swirling pan occasionally and brushing down sides with a wet pastry brush, until the mixture turns a deep amber color, about 8 to 10 minutes.
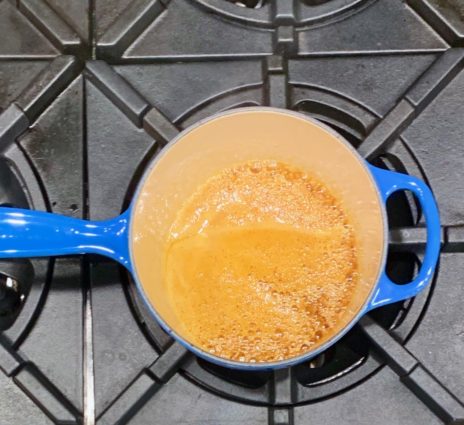
Remove from heat and slowly add the cream (mixture will bubble vigorously).

Return to medium heat and cook, stirring occasionally, until smooth, about 2 minutes.
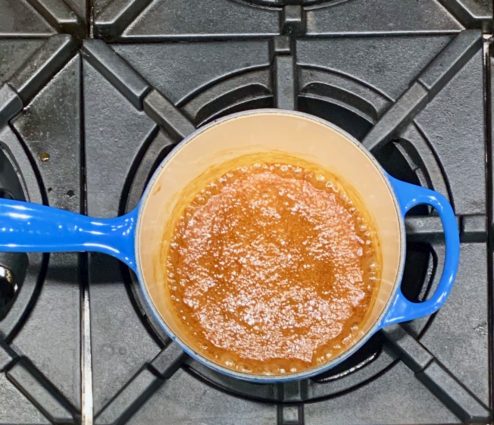
Remove from heat and mix in butter and salt.

Pour caramel sauce into a small heatproof jar or bowl; let cool.

Caramel sauce can be made 5 days ahead. Cover and chill.

Make the Cake:

Place rack in middle of oven and preheat to 350 degrees F.

Butter and flour cake pan; set aside.

Heat 2 tablespoons melted butter in a large skillet over medium heat.

Add apples, sprinkle with 2 tablespoons sugar and cook, tossing occasionally until the apples are golden brown, 10 to 12 minutes.
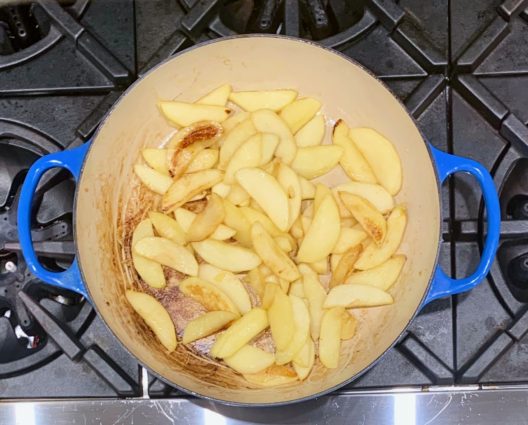
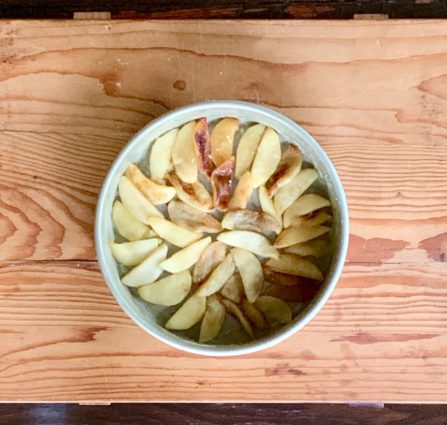
Arrange half of the apples in the bottom of prepared pan so most of it is covered (a few gaps is okay).
Whisk baking powder, salt, lemon zest, 1 1/4 cups flour, and remaining 1 cup sugar in a large bowl.

Whisk in eggs and remaining 10 tablespoons melted butter until smooth.
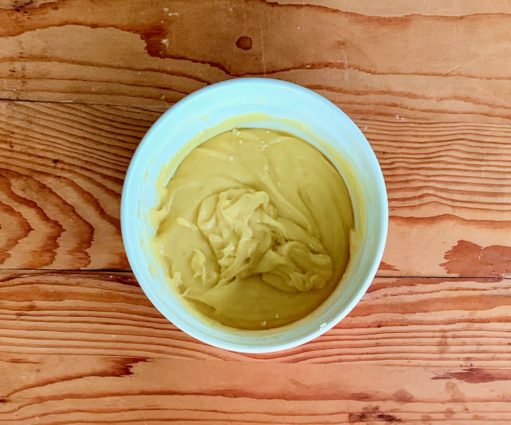
Pour half of batter over apples in cake pan, top with remaining apples. 
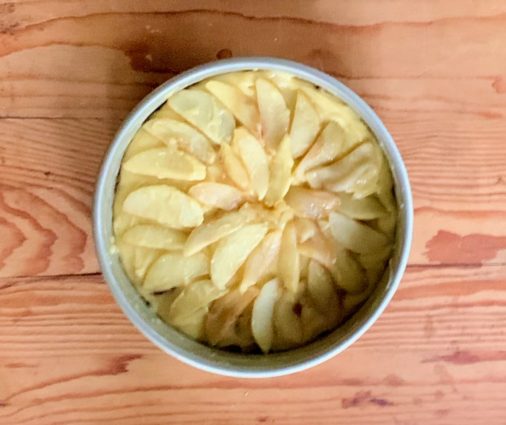
Pour remaining batter over.
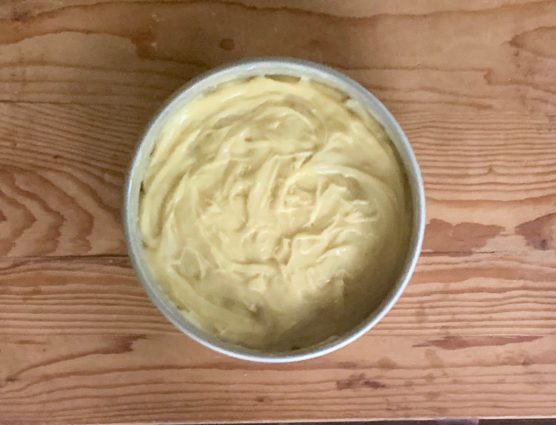
Bake cake until top is golden and a tester inserted into the center comes out clean, 40 to 50 minutes.
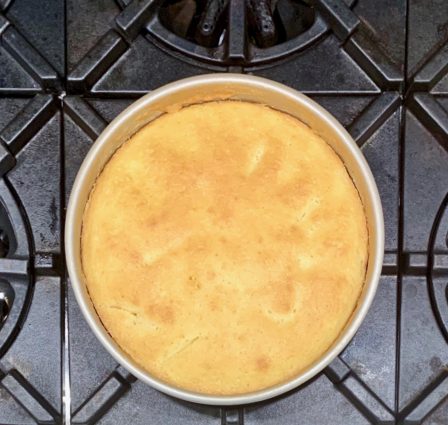
Transfer to a wire rack and let cool.

Serve cake with caramel sauce.

It’s that simple!
 

signature

[recaptcha]


Many moons ago, I hosted my younger son’s birthday party in our backyard. At that time, he was in love with oversized chocolate chip cookies like Mrs. Field’s used to make. There was a store in the mall near our home that made a similar cookie, so I decided to surprise him with one, and ordered the smaller of the two sizes they offered.

The morning of the party, I became unsure just how many the smaller cookie would serve, so I called back and ordered the larger one instead. They told me I could rest easy–they would have it for me later that day.

I had two errands to do before the festivities: pick up the balloons, and get the cookie. Since the party was outside, I delayed setting up until the morning of, just in case it rained overnight. Balloons all accounted for, I set out to get the cookie. Once I got there, they informed me that it was not ready, but it wouldn’t take long.  How wrong they were. I don’t even think the cookie was made when I arrived.

Cookie was finally done (they gave me the smaller cookie as well), I raced home to set up. On my way, I stopped short at a light, and the big cookie went flying onto the floor of the car, breaking into a million pieces. I called my friend Beth, hysterical. As she always does, she calmed me down and told me something I have never forgotten. “I know you’re upset right now, but someday you will be laughing aloud about this.” I laughed then and there.  The party was a huge success, and even though I served the smaller cookie, and there was more than enough for all. Lesson learned.

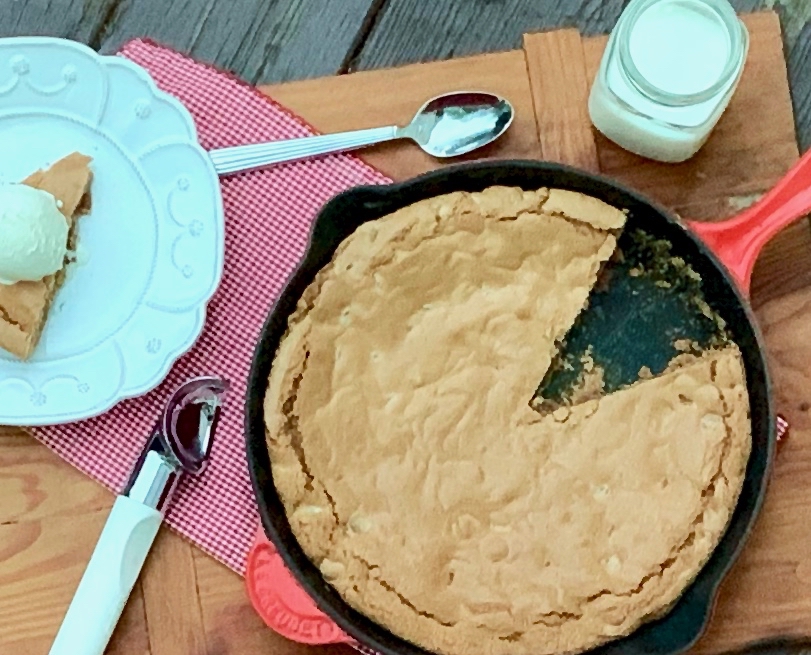
This cookie recipe exceeded my expectations. I could not find espresso powder, so I substituted cocoa powder and it worked perfectly. I also used milk chocolate chips and probably more than 8 ounces (hey, why not?). The cinnamon, cocoa powder, and milk chocolate are the stars here. It is crisp on the outside, and nice and chewy on the inside. Eat it with your favorite ice cream on top!

This recipe is courtesy of Epicurious and will serve 8 to 10 people who will never again waste time on a giant store-bought cookie.

Ingredients for Cinnamon-Chocolate Chunk Skillet Cookie:

1 1/2 cups all-purpose flour
2 teaspoons ground cinnamon
1 teaspoon baking powder
1 teaspoon espresso powder (I used cocoa powder)
1/2 teaspoon baking soda
1/2 teaspoon kosher salt
2 large eggs
1 teaspoon vanilla extract
10 tablespoons unsalted butter, room temperature
3/4 cup granulated sugar
3/4 cup (packed) light brown sugar
8 ounces high-quality milk chocolate, chopped (I used milk chocolate chips)

A heavy (preferably cast-iron) 12-inch skillet

Preheat oven to 375 degrees F.

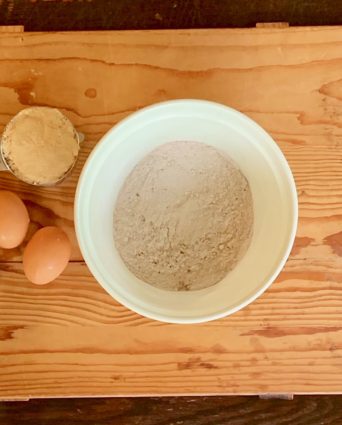
Whisk flour, cinnamon, baking powder, espresso/cocoa powder, baking soda, and salt in a medium bowl.

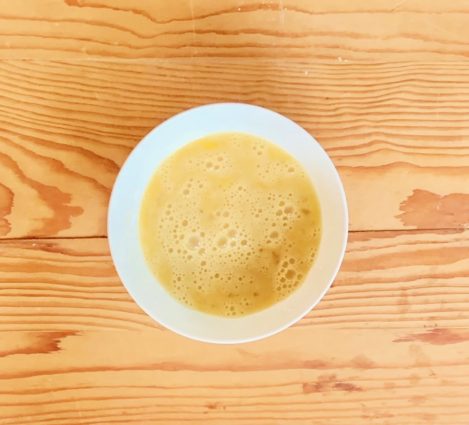
Lightly beat the eggs and vanilla in a small bowl.

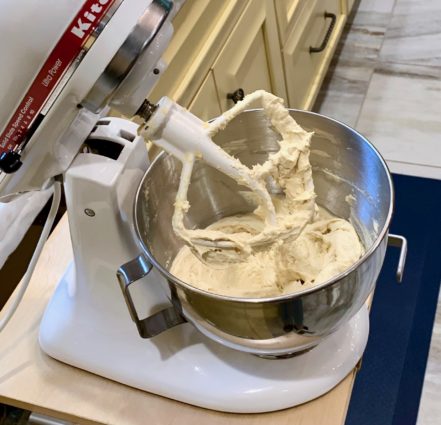
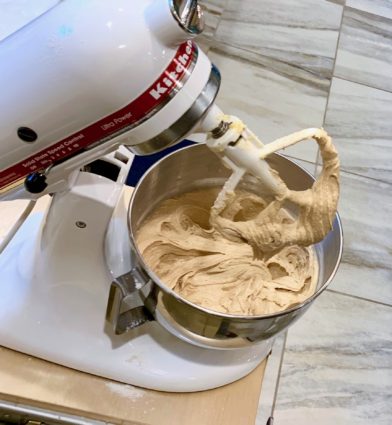
Using an electric mixer on medium speed, beat butter, granulated sugar, and brown sugar in a large bowl until light and fluffy, 3 to 4 minutes.

Add egg mixture and beat, occasionally scraping down the sides of the bowl, until mixture is pale and fluffy, 3 to 4 minutes.

Reduce mixer speed to low and gradually add dry ingredients, beating until just incorporated.

Fold in chocolate with a spatula.

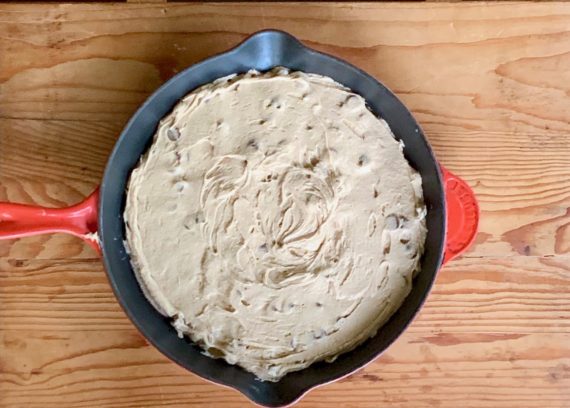
Press dough evenly into 12-inch skillet.

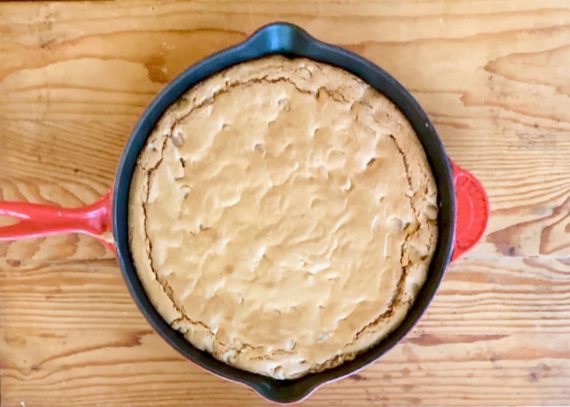
Bake cookie until golden brown around the edges and center is still soft, 20 to 25 minutes.

Let cookie cool before slicing.

Cookie can be made up to 3 days ahead; cover and store at room temperature.

It’s that simple!
signature

[recaptcha]


2019 is a big birthday year for me and my husband, though we’re unsure how (or if) we want to celebrate it. Our birthdays are both right around the end of summer. At that time, three of our closest friends’ children are getting married, as well as our niece. Just the thought of this fall and all the holidays and celebrations is exhausting.  

Even though we will be crazy busy, I always start planning for Thanksgiving in August. While many of my nieces and nephews have to switch locations every other year, this year is my year, and I think I will be the happiest person on earth. And yet there is the never-ending question of how to celebrate our birthdays. Going away on a nice vacation is too time-consuming. A party? Oh, I don’t know about that, since my close friends will be so busy planning weddings.  So I think we might pass on a big celebration, and that is fine with me. Maybe I will just stay home with my head under the covers and make believe I’m not having another birthday. Now that sounds like an idea.

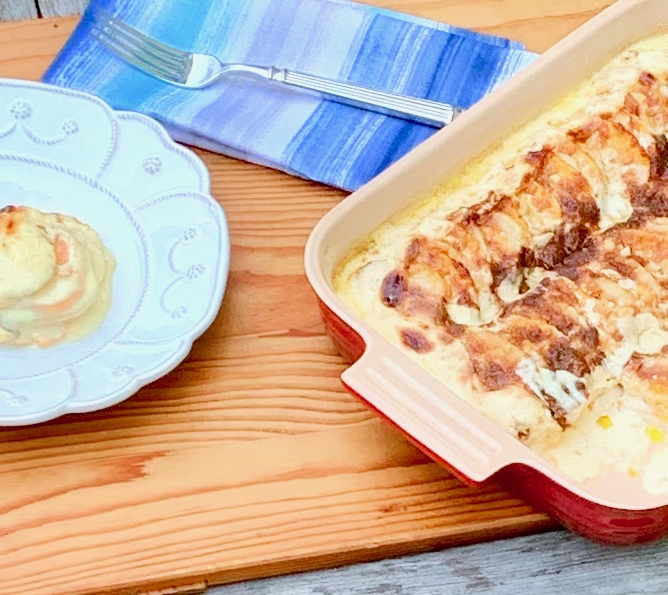
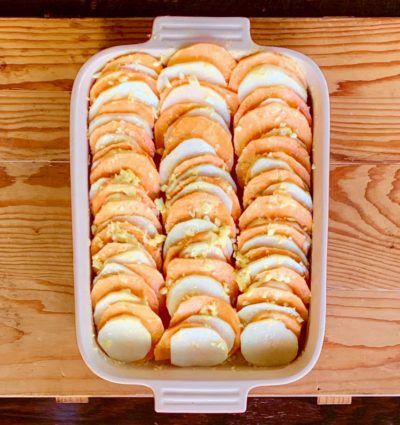
Speaking of the Fall, I know that bathing suit season is on its way, but I couldn’t resist sharing this savory recipe with you. This is a great recipe for a Mother’s Day brunch, and if you don’t use it now, have it on hand because this is a keeper.  The white and sweet potatoes together make a lovely presentation. They are beautifully arranged in the baking pan with aromatic bay leaf butter and lots of garlic, and all surrounded by cream. I thought there was just a little too much cream so I cut it back to 2 1/2 cups. The Parmesan cheese (I used at least 1 cup) was the perfect topping for this delectable dish. The white and sweet potatoes together make a lovely presentation. They are beautifully arranged in the baking pan with aromatic bay leaf butter and lots of garlic, and all surrounded by cream. Save it for the Fall if you wish, but you will be missing out on a surefire hit this Sunday.

This recipe is courtesy of Let’s Stay In and will serve 10 to 12 people who will be as passionate about this dish as they are about Mother’s Day!

Ingredients for Sweet and White Potato Gratin with Bay Butter:

1/2 cup unsalted butter
5 dried bay leaves
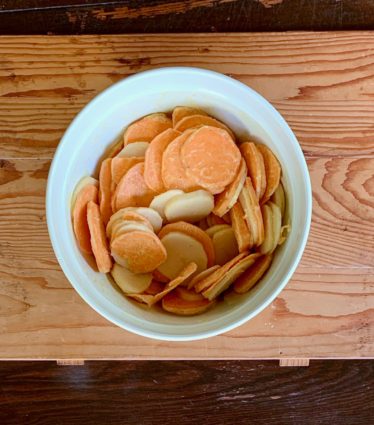
2 pounds sweet potatoes, thinly sliced
4 pounds russet potatoes, thinly sliced
3 1/2 teaspoons sea salt
1/2 teaspoon freshly ground black pepper
5 garlic cloves, roughly chopped
3 1/2 cups heavy whipping cream (I used less)
1/2 cup Parmesan cheese (I used more)

Preheat the oven to 400 degrees F.

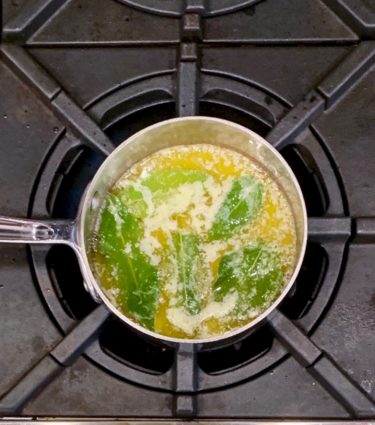
Place the butter and bay leaves in a small saucepan.

Melt the butter and simmer for 1 minute, then turn off the heat and allow the bay leaves to steep for 10 minutes.

Place the sweet and russet potatoes in a large bowl.

Pour the bay butter over the potatoes.

Take out the bay leaves and set aside.

Add the sea salt and pepper, toss to combine.

Stack the potatoes in tight rows in a 13 x 9 inch glass baking dish.

Tuck the garlic and bay leaves in between some of the potato slices.

Pour the cream over the potatoes.

Sprinkle the Parmesan cheese over the top.

Put the baking dish on a sheet pan and bake for 1 hour, or until the potatoes are tender.

Serve warm.

It’s that simple.

signature

[recaptcha]


I certainly can’t be the only one who has this problem (speak up if you do!): I come home from the grocery store with a few extra items that I had no intention of buying. I absolutely cannot go into a grocery store and leave with only the items I need. I come out with a full basket every time, no matter how simple my next recipe. I try to keep to what I need, I really do. But all of a sudden, when I am in the grocery store, I need so much more than I thought.

When my kids were younger, I would forget what I had at home and buy double or triple of items that I already had. Though I am much more organized nowadays, I find that instead of multiples, I purchase lots of different things. I’ll often buy too much produce, thinking I am going to use it at some point, but I usually end up giving it away. My biggest pet peeve is running out of any particular item, so I end up with a surplus of soap, toothpaste, and paper towels.

In preparing to make this recipe, I read the ingredient list over carefully and looked at what I needed to purchase.  The list wasn’t long, but somehow, I came home with three bags of groceries. Some things don’t ever change, do they?

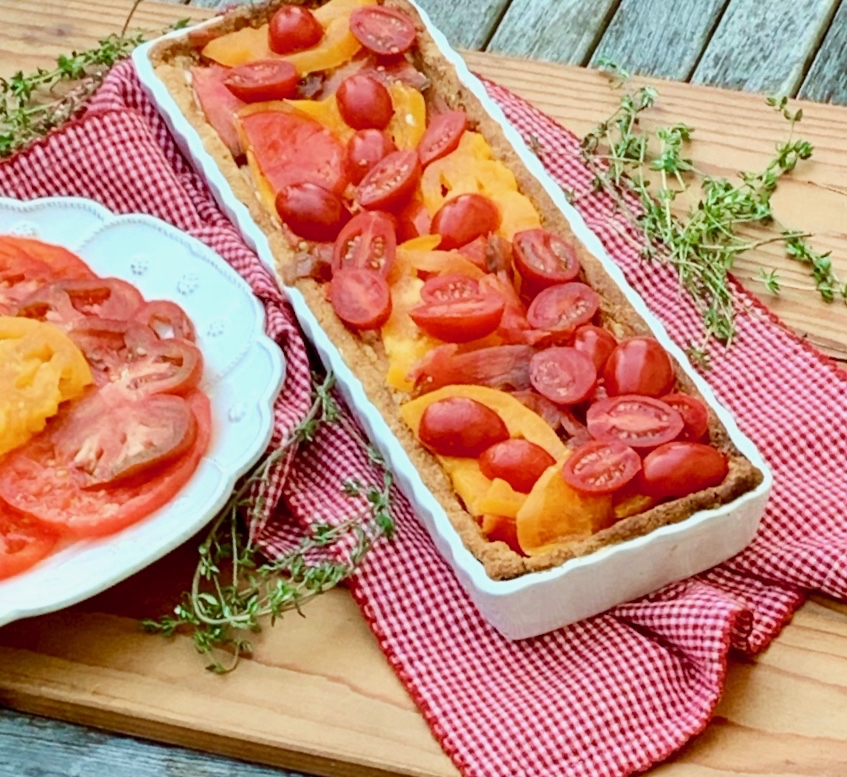
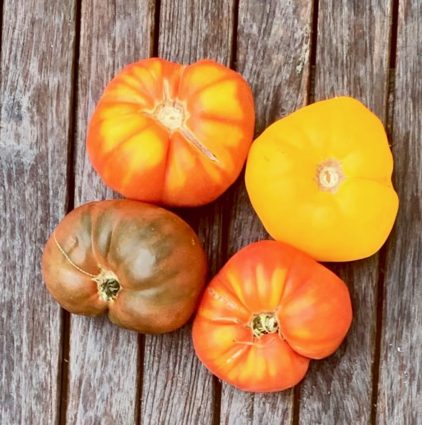
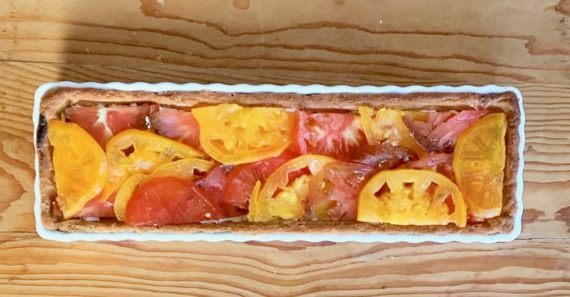
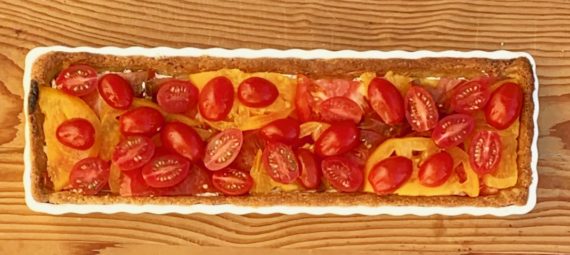
This recipe won the authors a blue ribbon at their local market and I can see why–this is one of the best tomato tarts I have had the pleasure of tasting. The tart shell is made with Parmesan cheese (yes you heard that correctly), that magically bakes into a beautiful golden crust. The combination of the goat cheese and the basil make it savory, while the heirloom tomatoes give it a very professional look.

This recipe is courtesy of Let’s Stay In and will serve 6 people who will come for the gorgeous presentation and stay for the savory flavor.

Ingredients for Blue Ribbon Tomato Tart:

For the Parmesan Crust:

1 cup all-purpose flour
1 teaspoon sea salt
1 cup finely grated Parmesan cheese
1/2 cup cold unsalted butter, cut into 1/2-inch pieces
4- 5 tablespoons ice water
2 cups granulated sugar

For the Creamy Basil Goat Cheese:

8 ounces goat cheese, at room temperature
1/3 cup heavy whipping cream
1/2 cup fresh basil leaves
Sea salt

To Assemble:

4 medium size heirloom tomatoes
1-pint cherry tomatoes
Vanilla salt

Preheat oven to 400 degrees F.

Make the Parmesan crust:

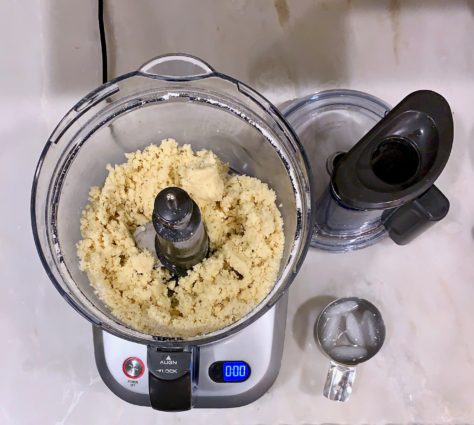
Place the flour, sea salt, and Parmesan in a food processor.

Pulse a few times to combine.

Add the butter to the processor and pulse until the mixture is mostly fine crumbs and scattered pea-sized pieces of butter remaining.

Add a few tablespoons of the ice water; then pulse again.

Continue to add more ice water until the dough just holds together when you squeeze.

Take care here not to add too much water; it shouldn’t be sticky or completely come together in the food processor.

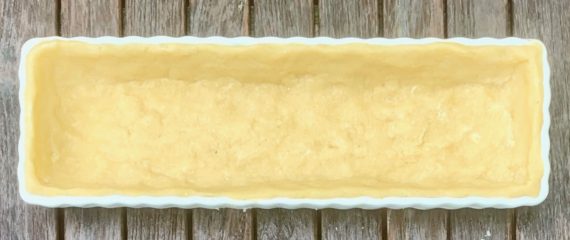
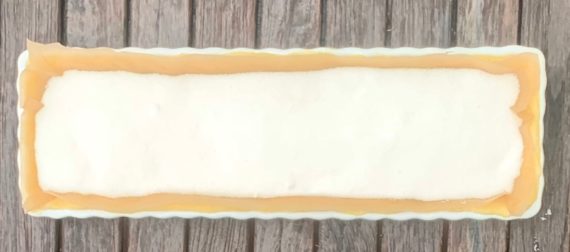
Place the dough in a 9 to 10-inch tart pan, then press it in firmly to cover the bottom and up the sides.

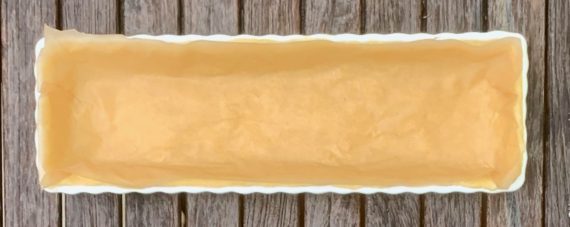
Lay a piece of parchment paper over the dough, and cover the sides.

Pour in the sugar.

Gently press the sugar into all the edges, then bake for 10 to 15 minutes, or until the edges start to shift in color.

Carefully remove the parchment paper with the sugar (save the deliciously toasted sugar!), then return the tart to the oven to bake until golden throughout, another 10 to 15 minutes.

Remove from the oven and let the tart shell cool completely.

Prepare the goat cheese filling while the tart cools.

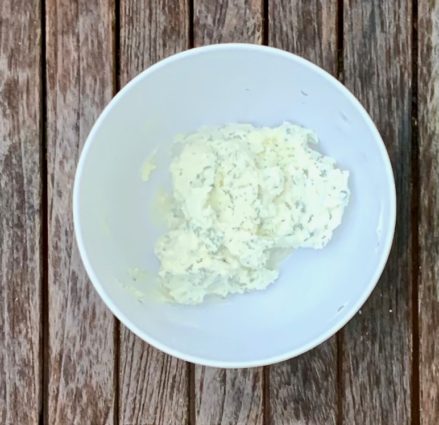
Place the goat cheese and cream in a large bowl and stir well to combine.

Mince the basil leaves finely, then stir in along with a pinch of salt.

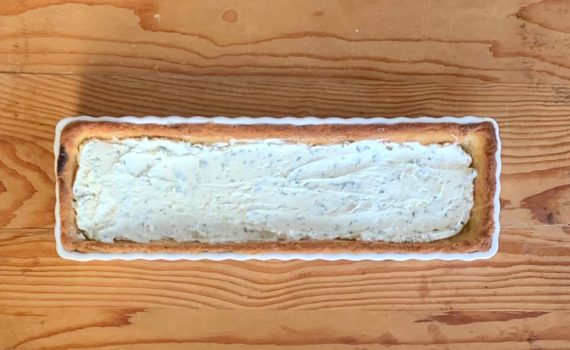
Add the goat cheese filling to the cooled tart shell.

Thinly slice the heirloom tomatoes and place them on the goat cheese.

Halve the cherry tomatoes and place them on the tomatoes.

It’s that simple!
signature

[recaptcha]


Every year on Thanksgiving, my sister invariably brings her rice pudding for dessert.  My husband is a huge fan of it; I am not. Even so, I wanted to try my hand at it. While I could have asked my sister for her recipe, the preparation of this one intrigued me. This particular recipe includes eggs (I love anything that is prepared with eggs), so I was ready to enjoy cooking and eating this rice pudding.

Making perfect rice is surprisingly difficult.  It requires exact measurements of liquids– the cream and milk, in this case.  As it turns out, my concerns were unnecessary because the rice turned out exquisitely. It was beautifully creamy, with a bold, rich vanilla flavor.  I used two vanilla beans instead of one to amp up the flavor.

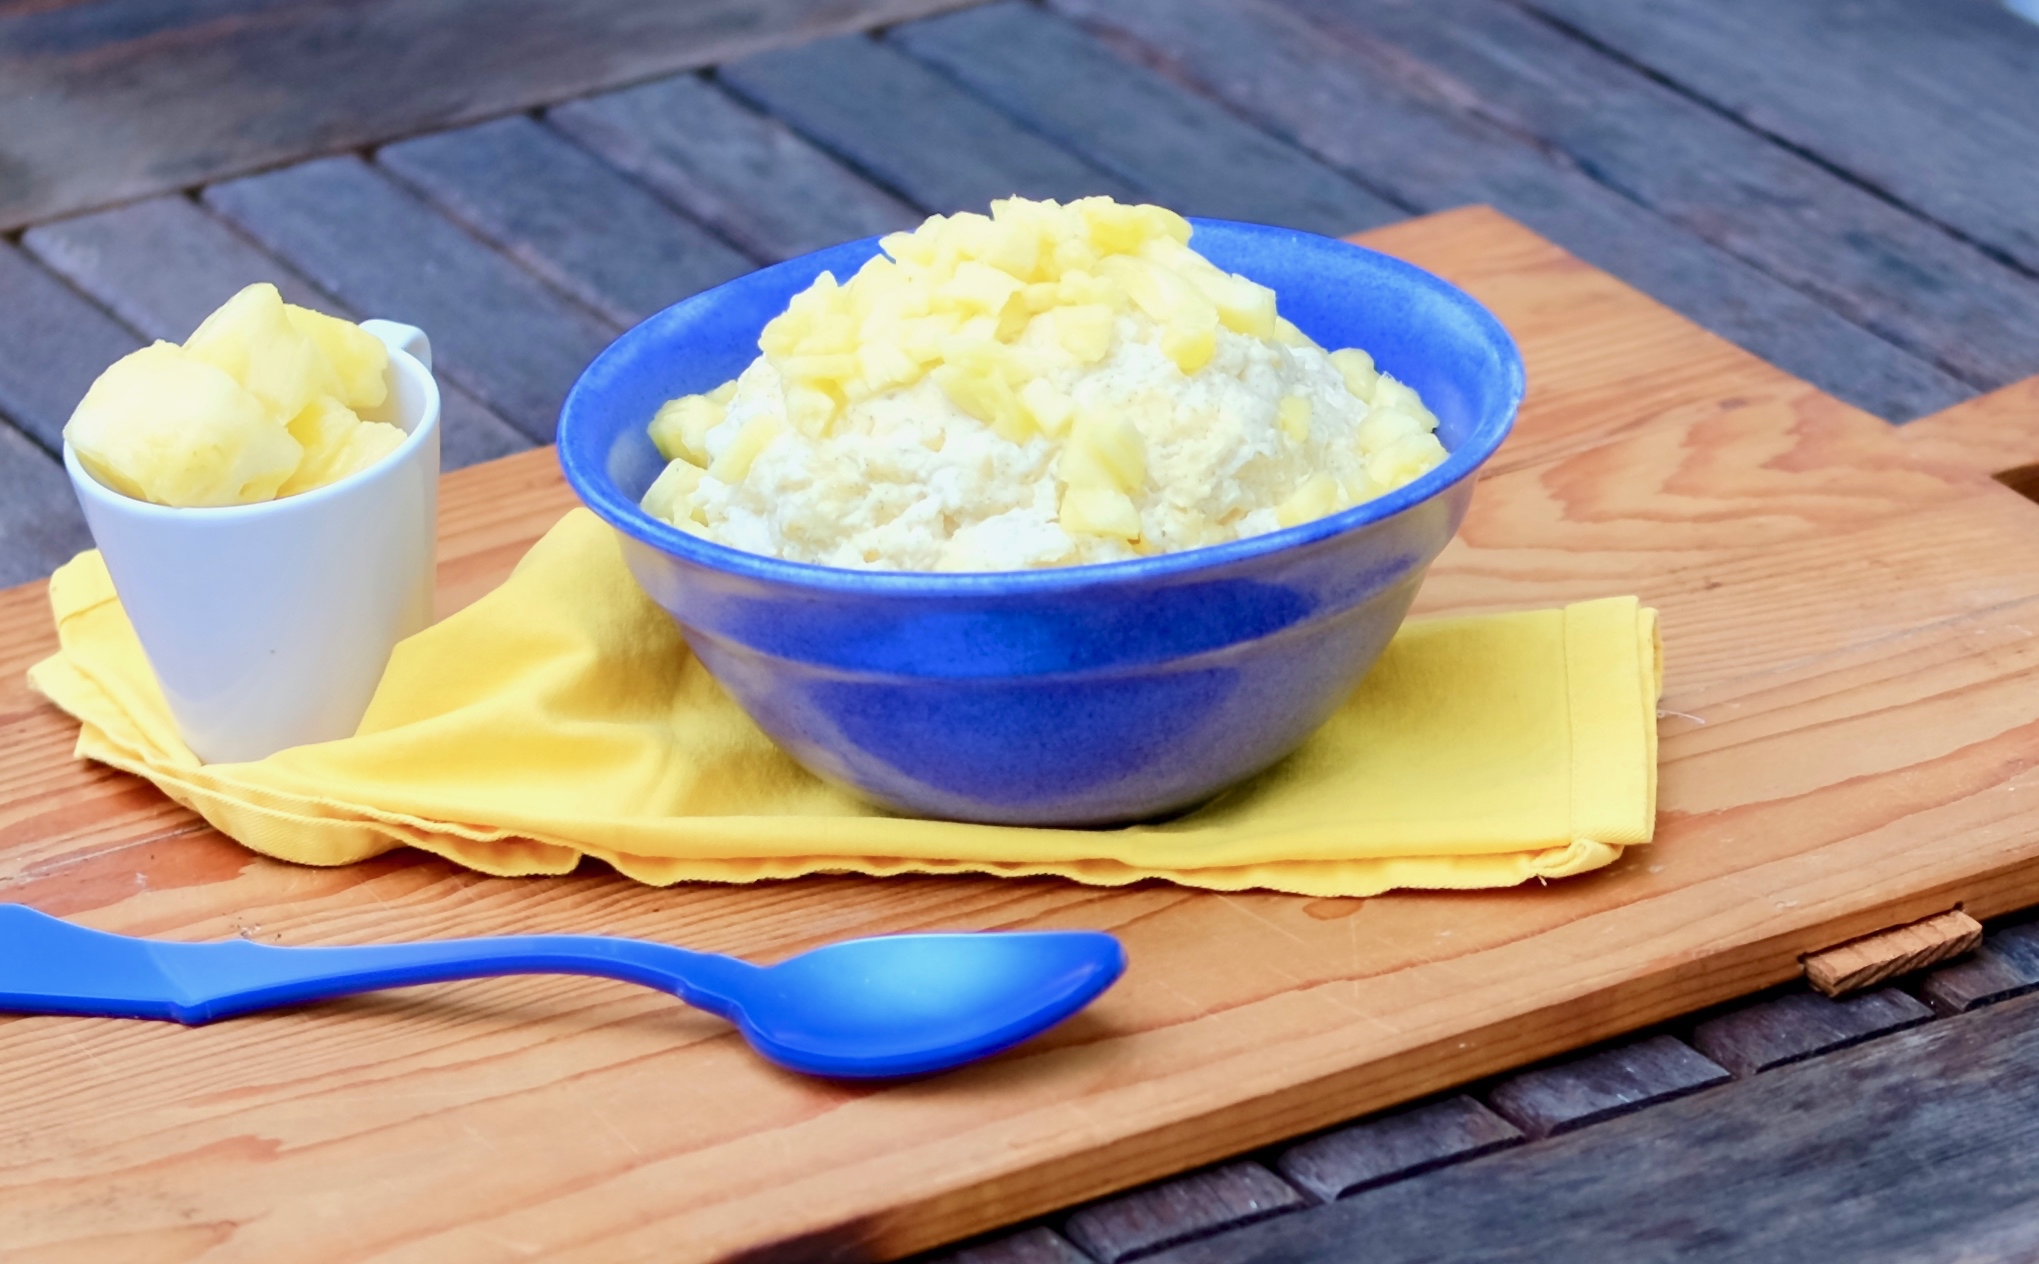
Although optional, the addition of egg yolks was the most essential part of this recipe. They add even more luxurious texture, taste, and turn the pudding a deep golden color that makes you want to dive right in. I used pineapple for an irresistible sweetness, but feel free to add a different fruit or several kinds for an even more complex taste. 

This recipe is courtesy of Tartine All Day and will serve 8 to 10 people who will be blown away by a new take on a classic favorite.

Ingredients for Rice Pudding:

3/4 cup Arborio Rice
2/3 cup plus 3 cups whole milk
1 vanilla bean
1/4 cup sugar
1/4 teaspoon sea salt
6 large egg yolks (optional)
1 1/2 cups mixed chopped fruit

Combine the rice, cream, and milk in a saucepan.

Cut the vanilla bean in half lengthwise and, using the dull edge of your knife, scrape all the tiny black seeds into the pot.

Add the scraped vanilla pod.

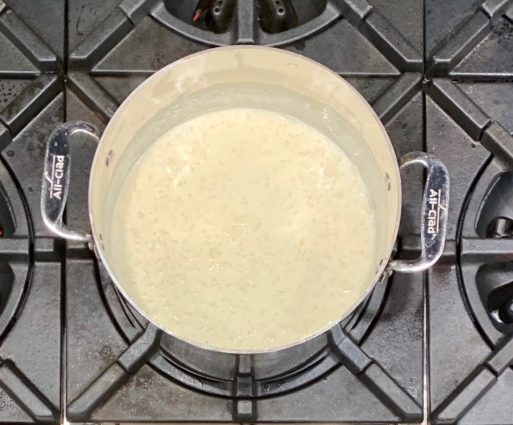
Bring to a simmer over medium heat and cook until the rice is very soft and looks like it is almost bursting, about 25 minutes.

Add the sugar and salt to the rice mixture; stir to incorporate.

Remove the pot from the heat.

Whisk the egg yolks in a small bowl.

Stirring continuously, add a small ladleful of yolks to the hot rice pudding.

Once combined, stir the rest of the yolks into the pudding, mixing well to incorporate.

Cook over medium heat for two minutes, stirring continuously to prevent the yolks from curdling.

Transfer the rice pudding to a serving bowl and let cool to room temperature.

Place in the refrigerator to chill until completely cold.

Serve chilled with a spoonful of fruit on top.

It’s that simple! 
signature

[recaptcha]