Onions are certainly a two-faced vegetable.  Raw onions have a “sting” when you bite into them, while sautéed onions are sweet and tender. Onions always make me cry when I am cutting them, however, this recipe makes me smile. When you allow raw, biting onions to cook over low heat for a while, they will do an about face and become savory, soft, and totally irresistible.

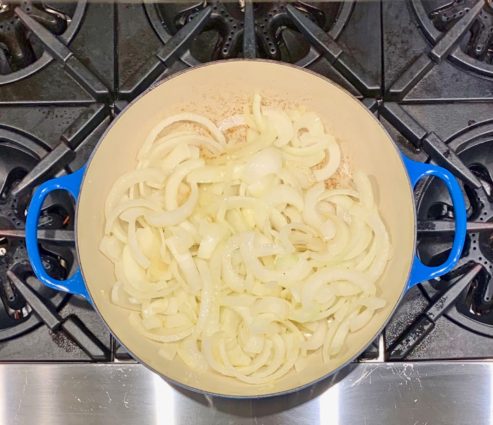
This recipe calls for sauteeing the onions that make them so delightfully sweet. They are cooked over medium heat until they are softened to a beautiful golden hue. Be patient here, as this may take some time, but once you have softened the onions, the rest of the dish comes together in no time at all. While it mimics French onion soup, this recipe is somewhat different. Though one may think of casseroles as heavy dishes, this casserole is much lighter than its soup counterpart, and fares as well on the hottest summer day as it does on the most frigid winter night.  It is much faster to prepare as well and can be a nice accompaniment to any meat or chicken entree. I don’t know about you, but I will certainly be making this dish for the upcoming holidays. 

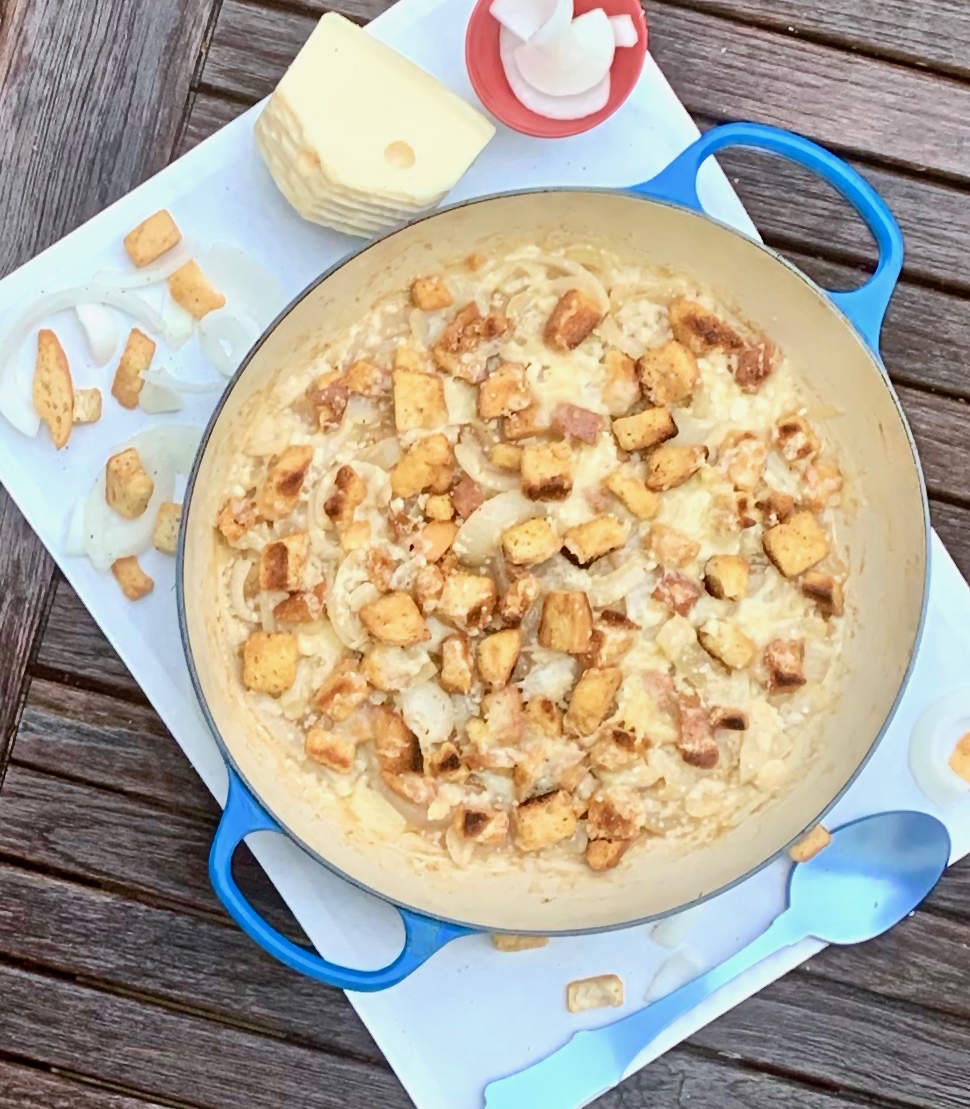
The onions in this dish are sautéed to an enticing golden hue, ensuring a rich, sweet flavor. The butter and flour make a sweet gravy. Two kinds of cheese add just a bit of sophistication and delicious flavor, and the croutons bring a delightful crunch to an otherwise soft dish. The result is pure, awesome, homemade comfort food.

This recipe is courtesy of Tasteofhome and will serve 8 people who will appreciate a savory (yet light) summer dish.

Ingredients for French Onion Casserole:

8 medium onions, sliced
5 tablespoons butter, divided
2 tablespoons all-purpose flour
Dash pepper
3/4 cup beef broth
1/4 cup sherry or additional beef broth
1 1/2 cups salad croutons
1/2 cup Swiss cheese
 3 tablespoons grated Parmesan cheese

In a large cast-iron skillet or another ovenproof skillet, saute the onions in 3 tablespoons butter until tender.
Stir in flour and pepper until blended; gradually add the beef broth and sherry.

Bring to a boil; cook and stir until mixture is thickened, about 2 minutes.
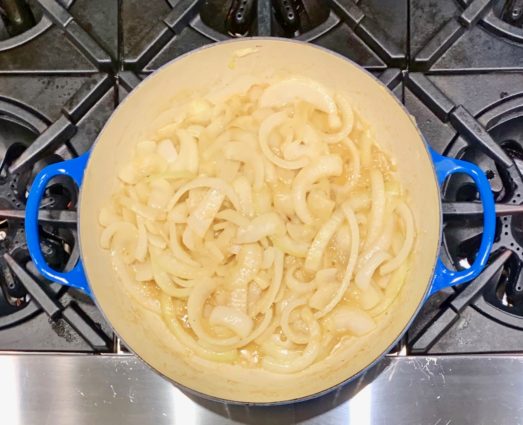
In a microwave, melt the remaining butter.

Add the croutons; toss to coat.

Spoon over the onion mixture. Sprinkle with the cheeses.
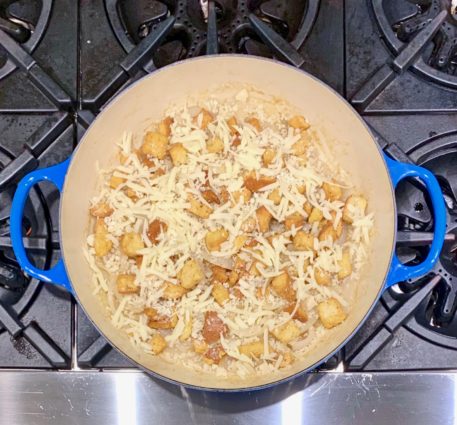
Broil 3-4 inches from the heat until the cheese is melted, 1-2 minutes.

It’s that simple.

signature

[recaptcha]


When my kids were young, I would make scrambled eggs for them; it was the one dish my whole family agreed on, and I enjoyed indulging them. If left to my own devices, I would eat just about an egg a day. Scrambled, hard boiled, fried, sunny-side up, poached, or fried.  It doesn’t matter– I love eggs.

Europeans have popularized the use of eggs as an add-on to their dishes. They poach them over vegetables, pasta, or meat. In America, we are finally catching up with the times, and we can find eggs incorporated in entrees in fine restaurants. I delight in ordering those dishes when I see them available.

Nowadays, scrambled eggs have been replaced by hard-boiled eggs. I always have them on hand in my refrigerator. My husband grabs one each morning before his commute to work, and my kids and I have them for snacks. Correct preparation is deceptively difficult. The yolk should be a bright, beautiful yellow when cooked correctly.  Any green means they are overcooked.

Even with my years of egg-sperience (ha!), I still haven’t cracked (sorry!) the secret to peeling an egg. I have done exhaustive research and thus far, nothing seems to work. However, I have a friend who peels her eggs when they are still warm and they peel beautifully. I always throw my eggs into an ice bath to stop the cooking. I have yet to try her way, and when I do, if it works, I will be the first to let you know.

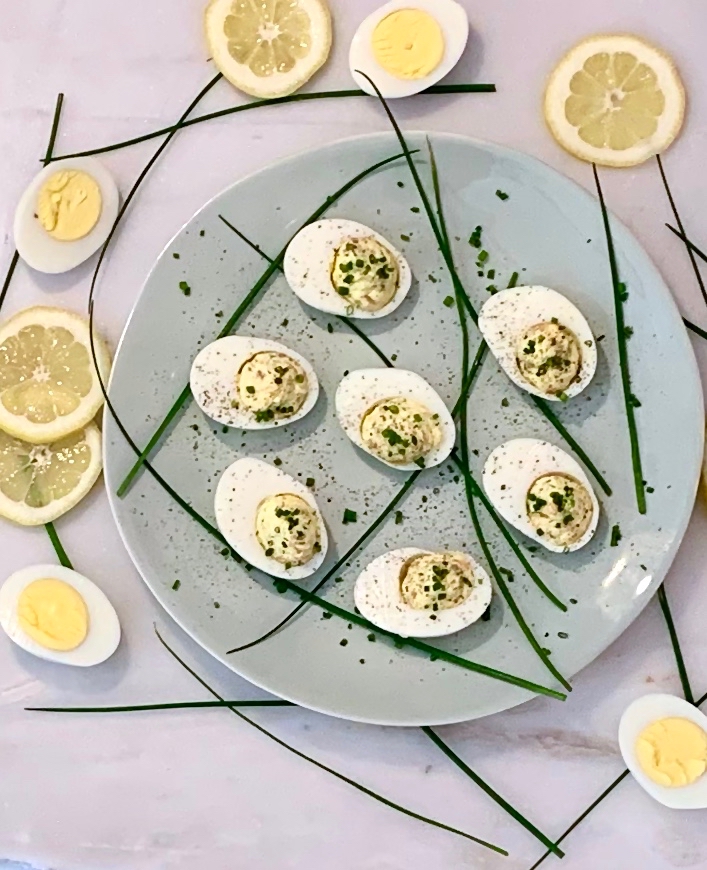
Deviled eggs are one of my favorite way to eat eggs. Everything about this appetizer is delicious. This intriguing preparation using smoked salmon caught my eye. Preparing the eggs this way made them much more sophisticated than the usual way. The salmon, combined with the mayonnaise and dill is so luscious. The lemon juice gives it a citrusy delight, and the cream cheese makes it so smooth. This is a perfect beginning to any meal.

This recipe is adapted from Cooking Light and will serve 8 people who will appreciate an egg-cellent new take on a classic appetizer.

Ingredients for Smoked Salmon Deviled Eggs:

8 large eggs
3 tablespoons canola mayonnaise
2 tablespoons chopped fresh dill
2 teaspoons lemon juice
1 teaspoon Dijon mustard
2 ounces chopped cold smoked salmon
1-ounce cream cheese, softened
1 tablespoon chopped fresh chives
1/2 teaspoon black pepper

Arrange eggs in a saucepan; cover with water.

Bring to a boil.

Cover; remove from heat.

Let stand 10 minutes; drain.

Chill eggs in a bowl filled with ice; drain and peel.

Halve eggs lengthwise; scoop yolks into a bowl.

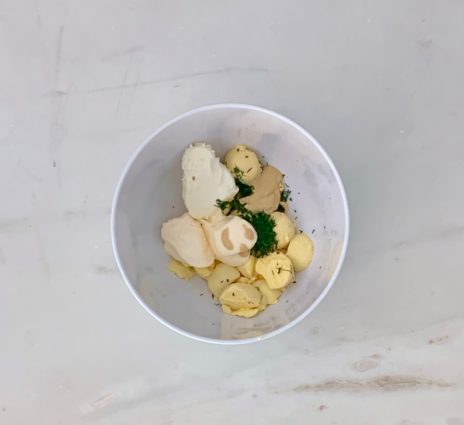
Add the canola mayonnaise, dill, lemon juice, Dijon mustard, and cream cheese; stir until well combined.

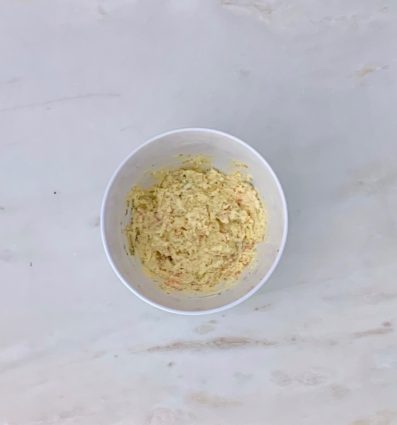
Mix in smoked salmon.

Mix ingredients until well combined. (I used a potato masher for this.)

Spoon yolk mixture evenly into centers of whites. 

Sprinkle eggs evenly with chives and black pepper.

It’s that simple!

signature

[recaptcha]


As you may know, I love to research new recipes. I have a very large collection of cookbooks, and I try to read each and every one. As I go, I use stickies to mark the recipes I would like to prepare… eventually.  Most of the books have so many stickies, I know it will be impossible to make every recipe I marked.

Even as recipe websites become more common, I will never stop buying cookbooks. I enjoy holding a book in my hands, seeing the creative covers and admiring the beautiful pictures that accompany the recipes. I used to cook with the recipe open on the table, but now I make a copy of the recipe that I am using so there is no damage. Still, the pages of some of my favorites are worn and dirty, since I was not always this clever.  Now the books stay crisp and fresh, ready to hand down to my nieces.

Sometimes, when I find a recipe I would like to use, I research similar recipes, write down the ingredients from each, and combine them to make it my own. It takes time and effort, but I feel very accomplished when it becomes, as they say in my home, “blog-worthy.” Not all are winners, but the process is enjoyable and rewarding nonetheless.

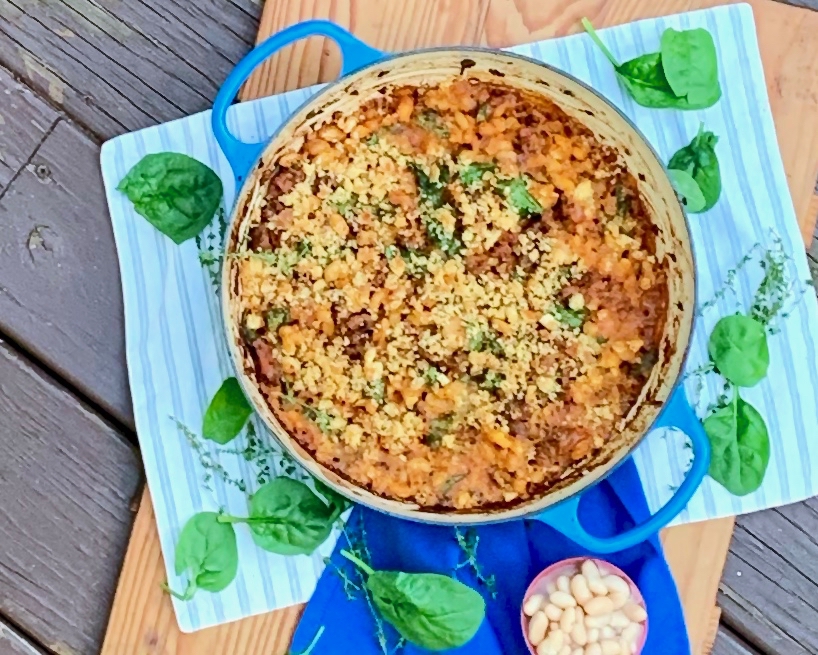
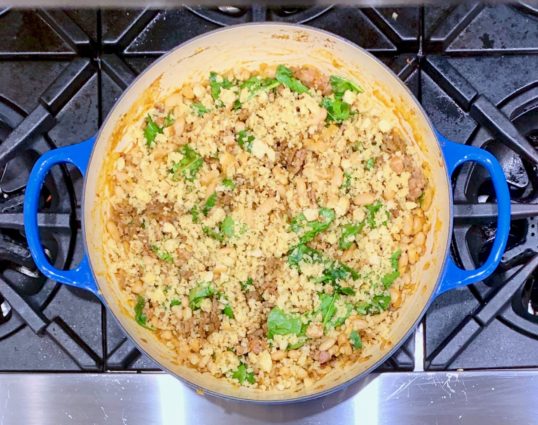
This healthy dish is not my own, but it is certainly blog-worthy. The beans add a nice texture and taste, and the sausage provides a delicious sweetness. Thyme, onion, and tomato paste give it a homey, savory flavor. Each bite has a delightful crunch of breadcrumbs. Put this one on your “must try” list– it is a crowd pleaser for sure.

This recipe is courtesy of Keepers and will serve 6 people who will want this hearty, healthy dish for their own collection.

Ingredients for Sausage and White Bean Gratin:

2/3 cup panko or regular dried breadcrumbs
2 tablespoons unsalted butter, melted
Salt
2 tablespoons olive oil
1 pound sweet Italian sausages, casings removed
1 small yellow onion, chopped
4 garlic cloves, minced
1 heaping tablespoon tomato paste
1 scant tablespoon fresh thyme leaves or 1 scant teaspoon dried
1/2 cup dry white wine
1 1/2 cups low-sodium chicken broth
Two 15.5-ounce cans white beans, such as cannellini or Great Northern, drained and rinsed
Pepper
4 large handfuls of baby spinach (optional)

Preheat oven to 425 degrees F.

Place rack in middle position.

In a small bowl, combine the panko and butter, season with salt, and set aside.

In a large skillet, heat the olive oil over high heat until it shimmers.

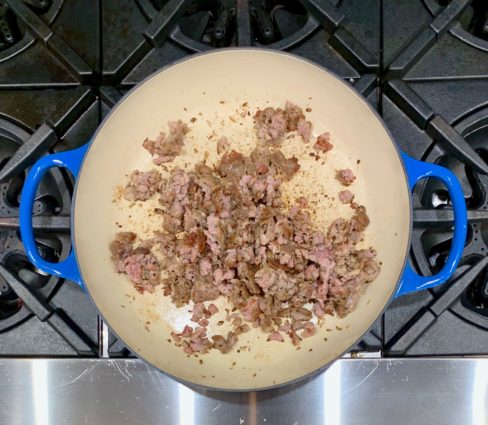
Add the sausages and cook, stirring often and breaking up the meat, until browned, about 4 minutes.

Leaving as much oil in the pan as possible, transfer the sausage to a medium bowl and set aside.

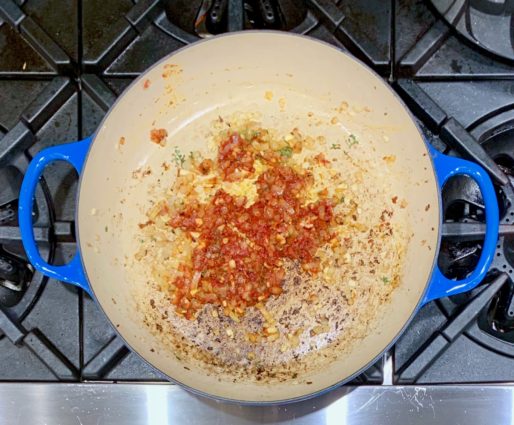
Reduce the heat to medium-low, add the onions and garlic and cook, stirring occasionally, until the onions are softened, about 8 minutes.

Add the tomato paste and thyme, and stir for about 30 seconds.

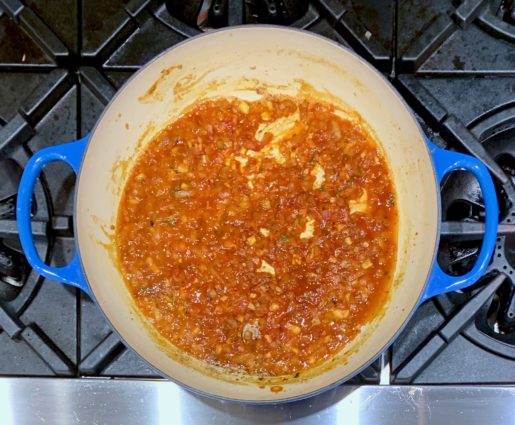
Add the wine and briskly simmer, scraping up any caramelized bits from the bottom of the pan, until almost evaporated, about 2 minutes.

Add the broth and bring to a simmer.

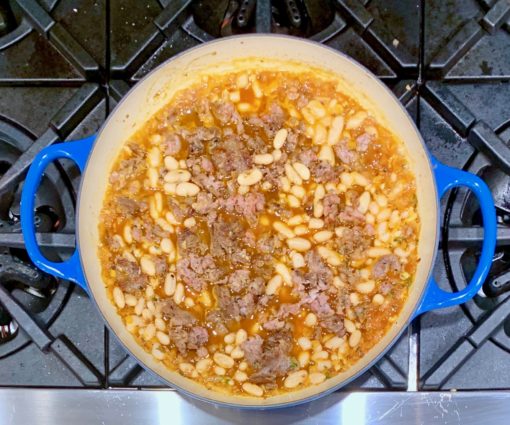
Then add the beans, cooked sausage, and any juices.

Season with salt and pepper and simmer, stirring occasionally, until heated through and some of the liquid is absorbed, about 5 minutes.

The mixture should be wet, but not drowning in liquid.

Off the heat, stir in the spinach (if using).

Check the seasonings, then transfer the mixture to a 3-quart baking or gratin dish.

Top evenly with panko mixture and bake until bubbling and the top is golden brown, about 15 minutes.

Let rest for 5 to 10 minutes before serving.

It’s that simple!

signature

[recaptcha]


My husband and I moved into our home almost 25 years ago. He insisted on putting on a pool, but I disagreed. I was worried about the safety of our young children. Hubby got his way and soon our yard became a construction site, then a beautiful new pool.

The pool was a great decision, and the kids loved every minute of swimming and playing games. Best part is that we didn’t have to worry about the kids… it was the dogs who were the problem “children.”  We have always had three dogs, most of which had a healthy instinct for self preservation. Our English Bulldog, Mazel, was not one of them. When we first got her, my husband had this premonition about her safety, so when we opened the pool, we both stayed outside to watch her.

She went running around the pool, and just as my husband said “don’t jump!”, she leaped headlong into the disgustingly dirty water. And down she went–swimming was no option for this large-headed dog. My husband jumped into the murky water, fully clothed, along with his watch, wallet, and glasses. Mazel was successfully rescued, as well as his wallet, but his glasses and watch were in there until a week or so later when the water cleared. Mazel never went near the pool again.

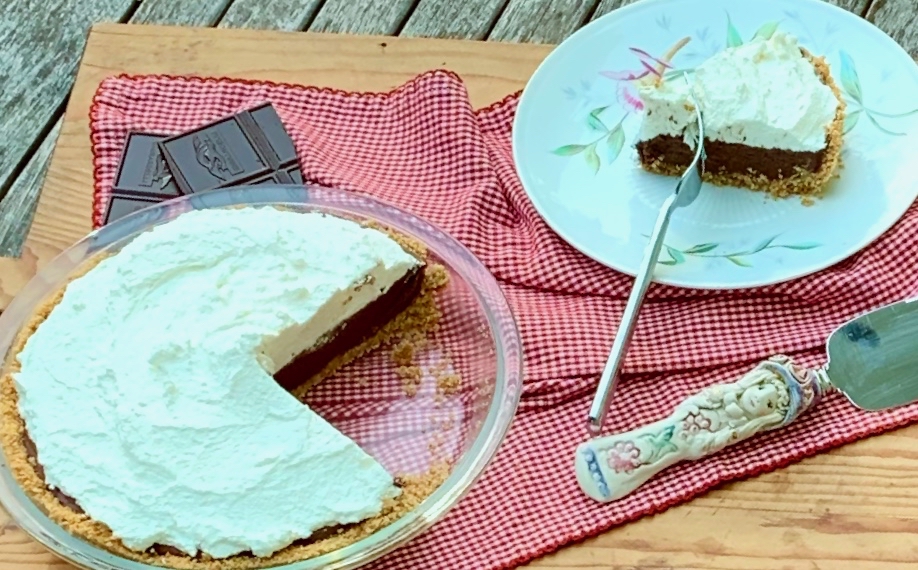
Even still, I have never regretted putting in the pool. It makes a great hangout spot for gatherings of friends and family, and I think this would make a wonderful dessert to bring to a poolside party. The graham crackers are the perfect crust for this decadent, chocolate wonder. It has the consistency of a pudding with a deep, rich chocolately flavor. It is then topped off with delicious home-made whipped cream. Every bite is more delightful than the last. You may have to make two of them because everyone is going to want a second helping.

This recipe is courtesy of the Fearless Baker and will serve eight people who will jump with joy right into the pool!

Ingredients for Chocolate Cream Pie:

For the Crust:

9 Graham Crackers
4 tablespoons (1/2 stick) unsalted butter, melted

For the Chocolate Cream:

4 large egg yolks
1/3 cup granulated sugar
3 tablespoons cornstarch
2 cups whole milk
6 ounces dark chocolate (58 to 62 percent cacao), chopped or broken into 1-inch pieces
2 tablespoons unsalted butter, softened

For the Whipped Cream:

1 1/2 cups heavy cream
3 tablespoons granulated sugar
1/2 teaspoon pure vanilla extract

Make the Crust:

Preheat oven to 350 degrees F.

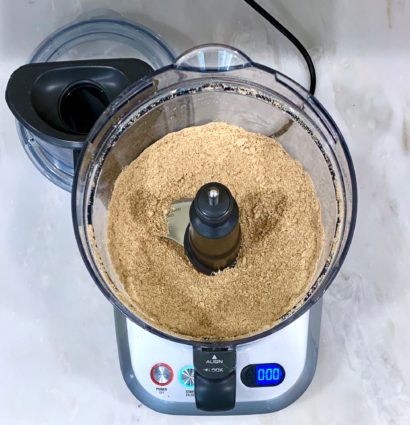
Pulse the graham crackers in the food processor until finely ground.

Transfer to a bowl and stir in the melted butter.

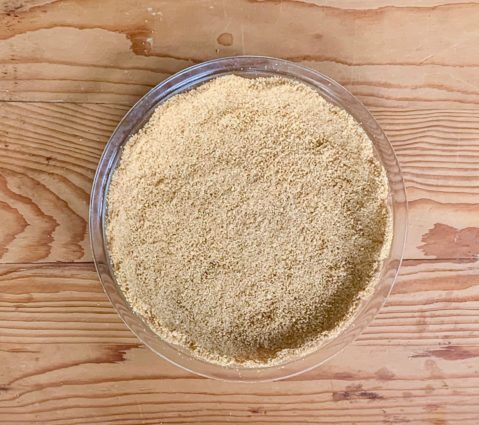
With your fingers, spread the crumbs evenly onto the bottom and up the sides of the pie pan.

You can use the bottom of a glass to firmly and evenly press the crumbs onto the bottom.

Or use a spoon to press the crumbs onto the side of the pan.

Bake the crust for 10 minutes.

Let cool to room temperature.

Make the Chocolate Cream:

In a medium bowl, whisk the egg yolks with the sugar until smooth.

Whisk in the cornstarch.

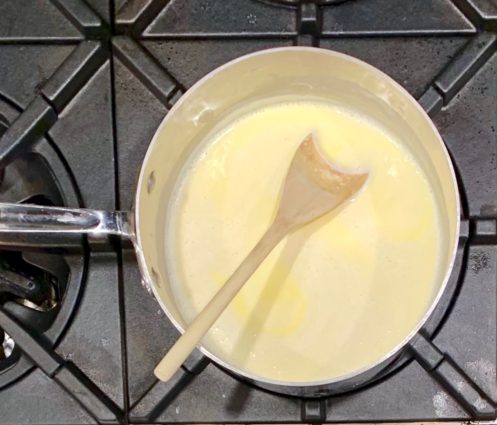
Warm the milk in a medium saucepan over medium heat until hot but not boiling.

Gradually whisk the hot milk into the egg yolk mixture.

Pour the liquid back into the saucepan.

Over medium-low heat, stirring constantly with a wooden spoon or rubber spatula, and scraping the bottom of the so it doesn’t stick.

Cook until the custard has a mayo-like consistency, about 5 minutes.

You’ll know the custard is done when it has thickened, it bubbles once or twice, and as you stir you can see the bottom of the pan.

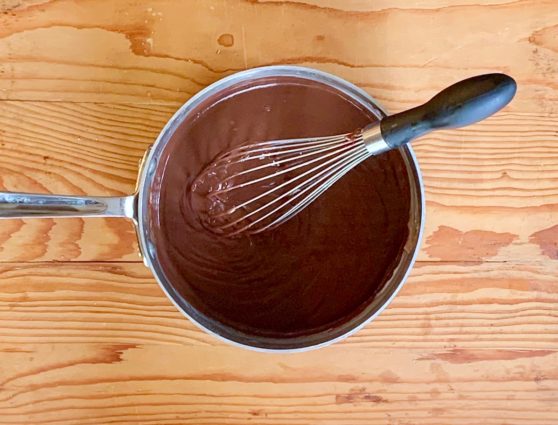
Remove from the heat and whisk in the chocolate and softened butter until smooth.

If you find that there are some lumps from the eggs, strain the custard through a medium-fine sieve.

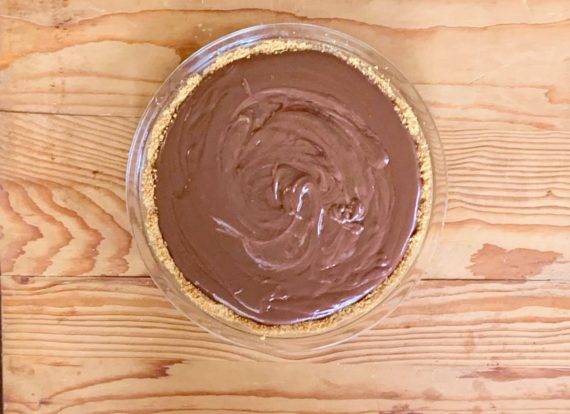
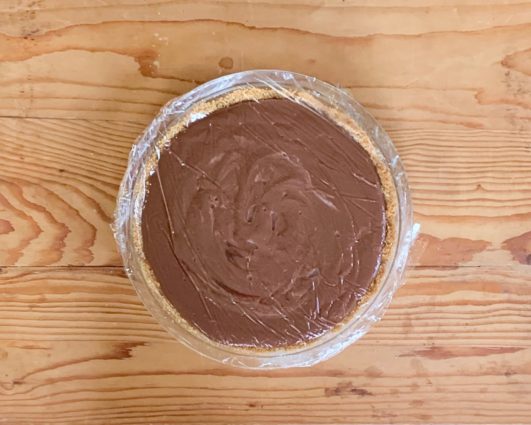
With a rubber spatula, spread the chocolate cream into the crust.

Place saran wrap directly on the top of the cream so it doesn’t form a skin.

Refrigerate until cold, about 3 hours (overnight is fine too).

Make the Whipped Cream:

Using a whisk or handheld mixer, whip the cream, sugar, and vanilla until it forms soft peaks.

Spread over the top of the chocolate cream, leaving the crust exposed.

Refrigerate until ready to serve. You can make the pie a day ahead, just put the whipped cream on the same day as you are going to serve it.

It’s that simple!


Mitzie

signature

[recaptcha]


Isn’t it amazing how children from the same families can have such different personalities? Raised in the same household, yet they can be as different as night and day. 

I was always be surprised at the differences between my little ones. One of them loved sports, the other hated them. My older son was quieter, more serious, and the younger was hysterically funny, always the center of attention. They basically had nothing in common, not even in looks.

Their eating habits too were the exact opposite. My firstborn grew up on a diet of pasta, pizza, French fries, and chicken nuggets with lots of ketchup, of course. I never really worried about it because I knew, someday, he would not be an adult who only ate those four things. I knew there would be far more serious battles ahead in his teenage years, so I let that one slide.

My younger son was an adventurous eater. No chicken nuggets or pizza for him. He preferred seafood and more “adult” foods. When he got his tonsils out at age four, my husband offered to get him ice cream. “No,” he replied. “I want shwimp.”

Now, they are both better eaters, and the one thing they agree on? They both hate coconut! Who knew? When I made this dish, they were very disappointed.

At least they agree on something.

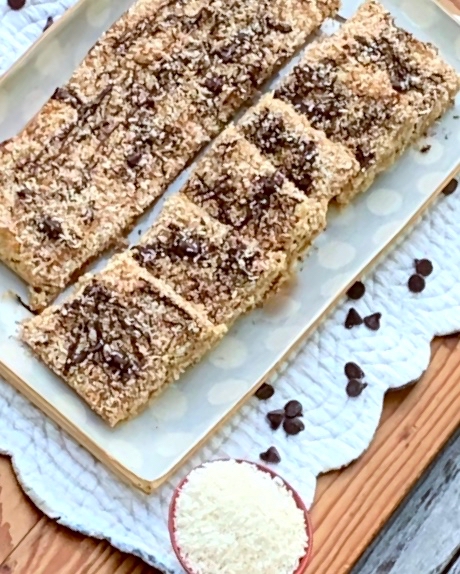
It is truly their loss. This dessert is crazy good. As the author says, “it isn’t too gooey or sweet.” The shortbread bottom is the perfect canvas for the decadent mix of coconut, vanilla, nuts, and just the right amount of sugar. I toasted some extra coconut and melted some chocolate to add on top. Because why not? Baked in a parchment sling, it comes out beautifully and it so easy to remove from the pan. You must make this. I think you’re going to relish every bite.

This recipe is courtesy of Food 52 and will make 12-16 bars that will satisfy the itch for some decadent dessert.

Ingredients for Coconut Dream Bars:

For the Shortbread layer:

1 cup all-purpose flour
1/2 cup unsalted butter, at room temperature
1/2 cup firmly packed light brown sugar

For the Coconut Layer:

2 eggs
1/2 cup firmly packed light brown sugar
1/4 cup all-purpose flour
1/2 teaspoon baking powder
1/4 teaspoon salt
1 1/2 cups unsweetened coconut flakes
1 cup chopped walnuts
1 teaspoon pure vanilla extract

Preheat oven to 350 degrees F.

Butter a 9 1/2 by 12 1/2-inch rectangular baking pan.

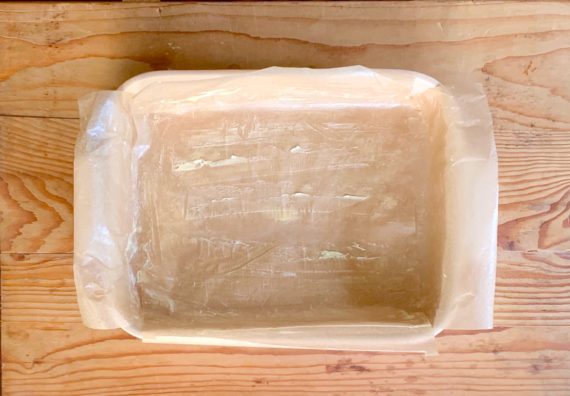
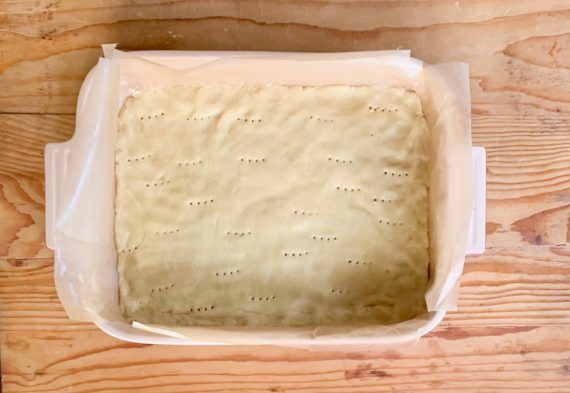
Line the pan with a parchment paper sling and liberally butter the parchment.

(A parchment paper sling stretches across the base and up the opposites sides of the pan, leaving an inch or two excess on both sides so you can use the ends to lift the bars out of the pan) 

Make the Shortbread:

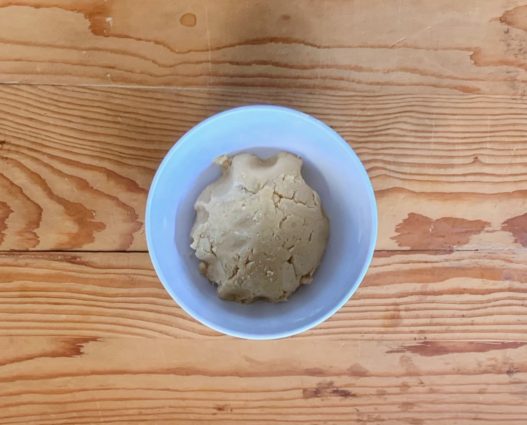
Mash together by hand the flour, butter, and brown sugar in a bowl.

Press the dough evenly into the base of the pan.

Prick the dough in several places with a fork.

Bake until the shortbread is cooked through and golden, about 15 minutes.

Make the Coconut Layer:

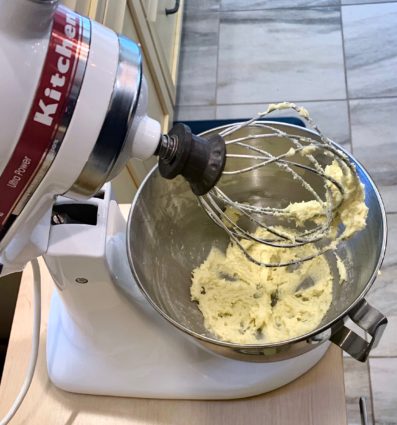
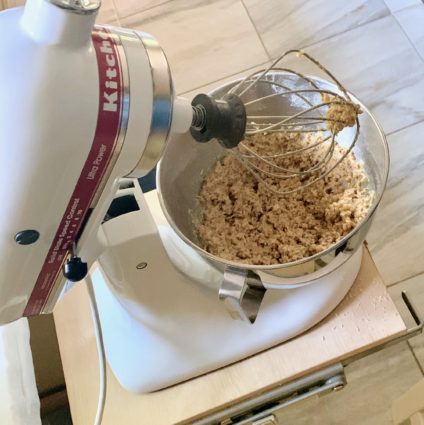
Place the eggs in the bowl of a stand mixer fitted with a whisk attachment and beat on high speed until very pale and fluffy, about 5 minutes.

Add the brown sugar and beat until light and thick, several minutes more.

In a separate bowl, whisk together the flour, baking powder and salt.

Add the dry ingredients to the eggs.

Add the coconut, walnuts, and vanilla.

Stir until thoroughly blended.

Pour the coconut mixture over the shortbread crust.

Bake until lightly golden brown around the edges, about 20 minutes.

Let cool, then remove the bars from the pan using the parchment sling, and cut into squares.

Melt some chocolate and sprinkle over bars (optional)

Store in an airtight container.

It’s that simple!


signature

[recaptcha]