There are a few things I truly cherish about the summer. One of them is spending days on the beach. My hubby and I try to go at least once a week, as well as take a longer vacation on the beach. I love the smell of the ocean air. I love to marvel at the beauty of the coastline as it recedes into the distance. Feeling the warmth of the sun on my skin is comforting and calming. Walking on the beach to collect shells and sea rocks offers a chance to find beautiful little surprises. But truly, there is nothing better than listening to the waves breaking on the shore and feeling the cool sea breeze.

For all my love of the ocean, I must admit that I do not venture into any water (except the Carribean kind). I respect the power of the water on the East coast, and let’s face it, it’s just too cold. My feet barely make it into the water here, but I do love just being on the beach and looking out over the sea.

The other part of the summer that I love so much is my herb garden. I am so excited when I plant it in the spring and I nurture it carefully as it grows. I get so much gratification and enjoyment when I use the matured herbs in my recipes. In the past years, I have had to carefully tend to the basil which, for me was always the hardest to grow. 

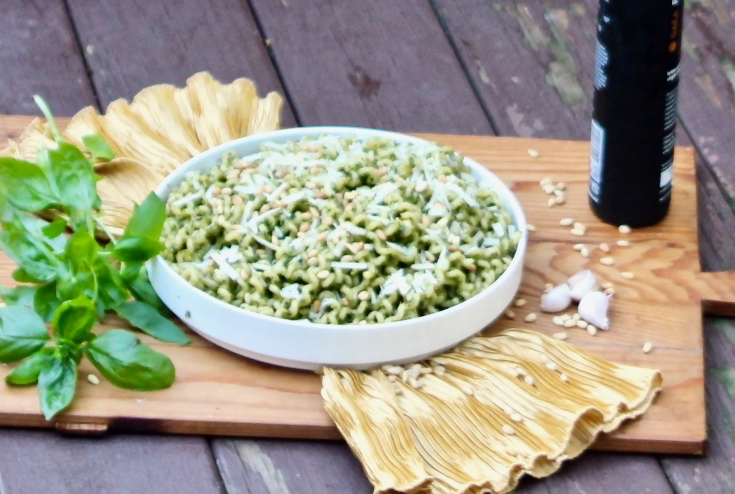
But this year was different. To my complete delight, my basil is big, exquisite and bountiful. It is growing like crazy and I am so thrilled! So what does one do with too much basil?  Well, pesto would be the easy answer. I wanted to change it up a bit, so my love of citrus kicked in and I tossed in some lime juice, and it came out great.
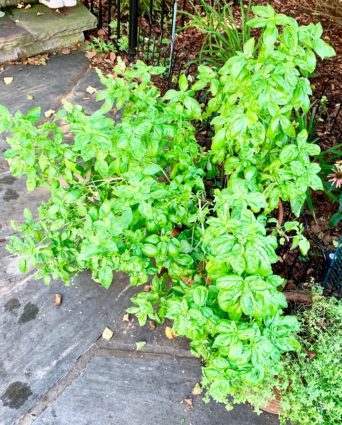
Is this crazy beautiful or what?

This dish really gives the pesto a new twist. The lime juice adds just a little bit of pucker and freshness. The pine nuts give it a crunchy texture and of course, the basil is the star of the show here. If you are growing your own herbs, make this recipe. If not go out and get yourself some freshly grown local basil and start cooking. This is such an easy recipe that has huge flavor and presents so elegantly.
This recipe will serve 4-6 people who will certainly want to plant their own herb gardens next year.

 Ingredients for Basil Pesto Pasta:

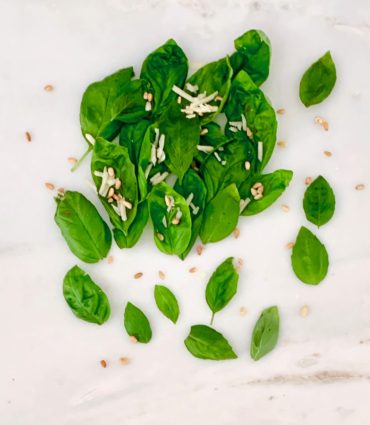
2 ½ cups fresh basil leaves, washed and dried thoroughly
2 Tablespoons grated Parmesan cheese
3 cloves garlic, roughly chopped
2 Tablespoons pine nuts, toasted and cooled
Juice of half a lime
½ teaspoon kosher salt
⅛ teaspoon black pepper
¼ cup very good extra virgin olive oil

Place the basil leaves, Parmesan cheese, toasted pine nuts, garlic, lime juice, salt, and pepper into a food processor.
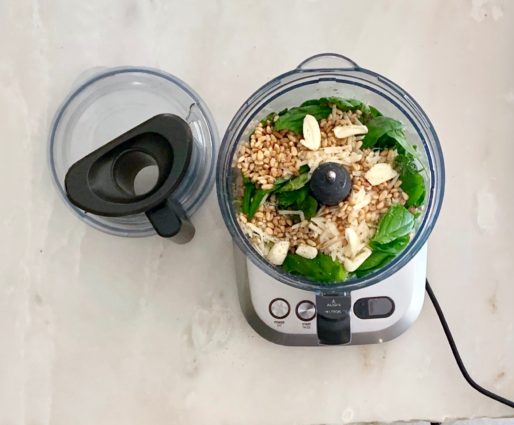
Pulse it about 10 times, until they are well blended.
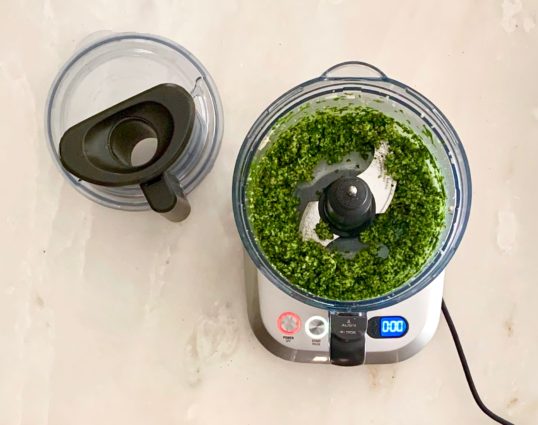
While the food processor is running, drizzle in the olive oil and continue to combine.
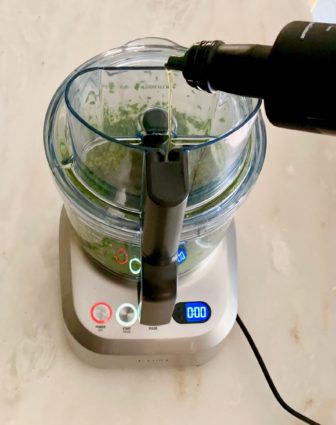
 You may need to stop and scrape down the sides a few times.
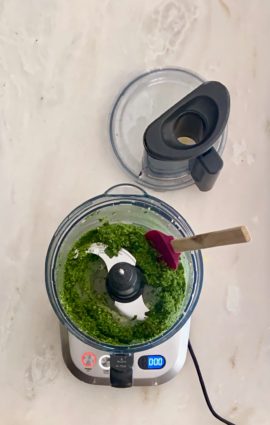
Keep running the processor until the pesto is pureed.

Taste it, make sure it is well seasoned and serve immediately or store it in an airtight container in the refrigerator until you are ready to serve it. 
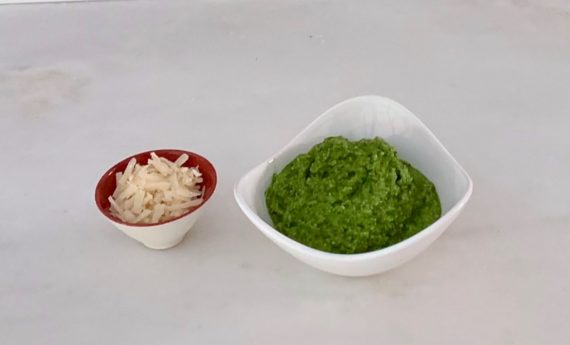
It’s that simple!
 

signature

[recaptcha]


I love to read cookbooks. When I receive a new cookbook, I read it cover to cover. I have accumulated quite the library through the years (and I mean it is a library). I love to see all the beautiful photography and admire the creativity of both the chefs and food photographers. I mark the recipes I would like to make (there must be hundreds by now!) and star the more important ones.

In addition to all the books I read, I also have subscriptions to the more popular food magazines. Most of my summer reading is getting through all those magazines. I tear out the recipes I want to make and keep those in a basket in my library so I can easily find my favorites. 

Though I have my favorite magazines and books, I am not a recipe snob. As any home cook does, I have my favorite chefs but I will try any recipe no matter its origin. As you all know, some of the best recipes have come from the back of a cereal box or from a box of pasta–the original Tollhouse cookie recipe is a true classic.

But those are also not the only way I find recipes. Sometimes even Real Simple or Better Homes and Gardens has a gem in there somewhere. Some of those recipes are sent in by their readers and who knows, maybe they just have the best omelets around. If a recipe looks good on paper, you can be sure I’ll give it a go. If I test it out and it is good, you can be sure that I will pass it on to you.  

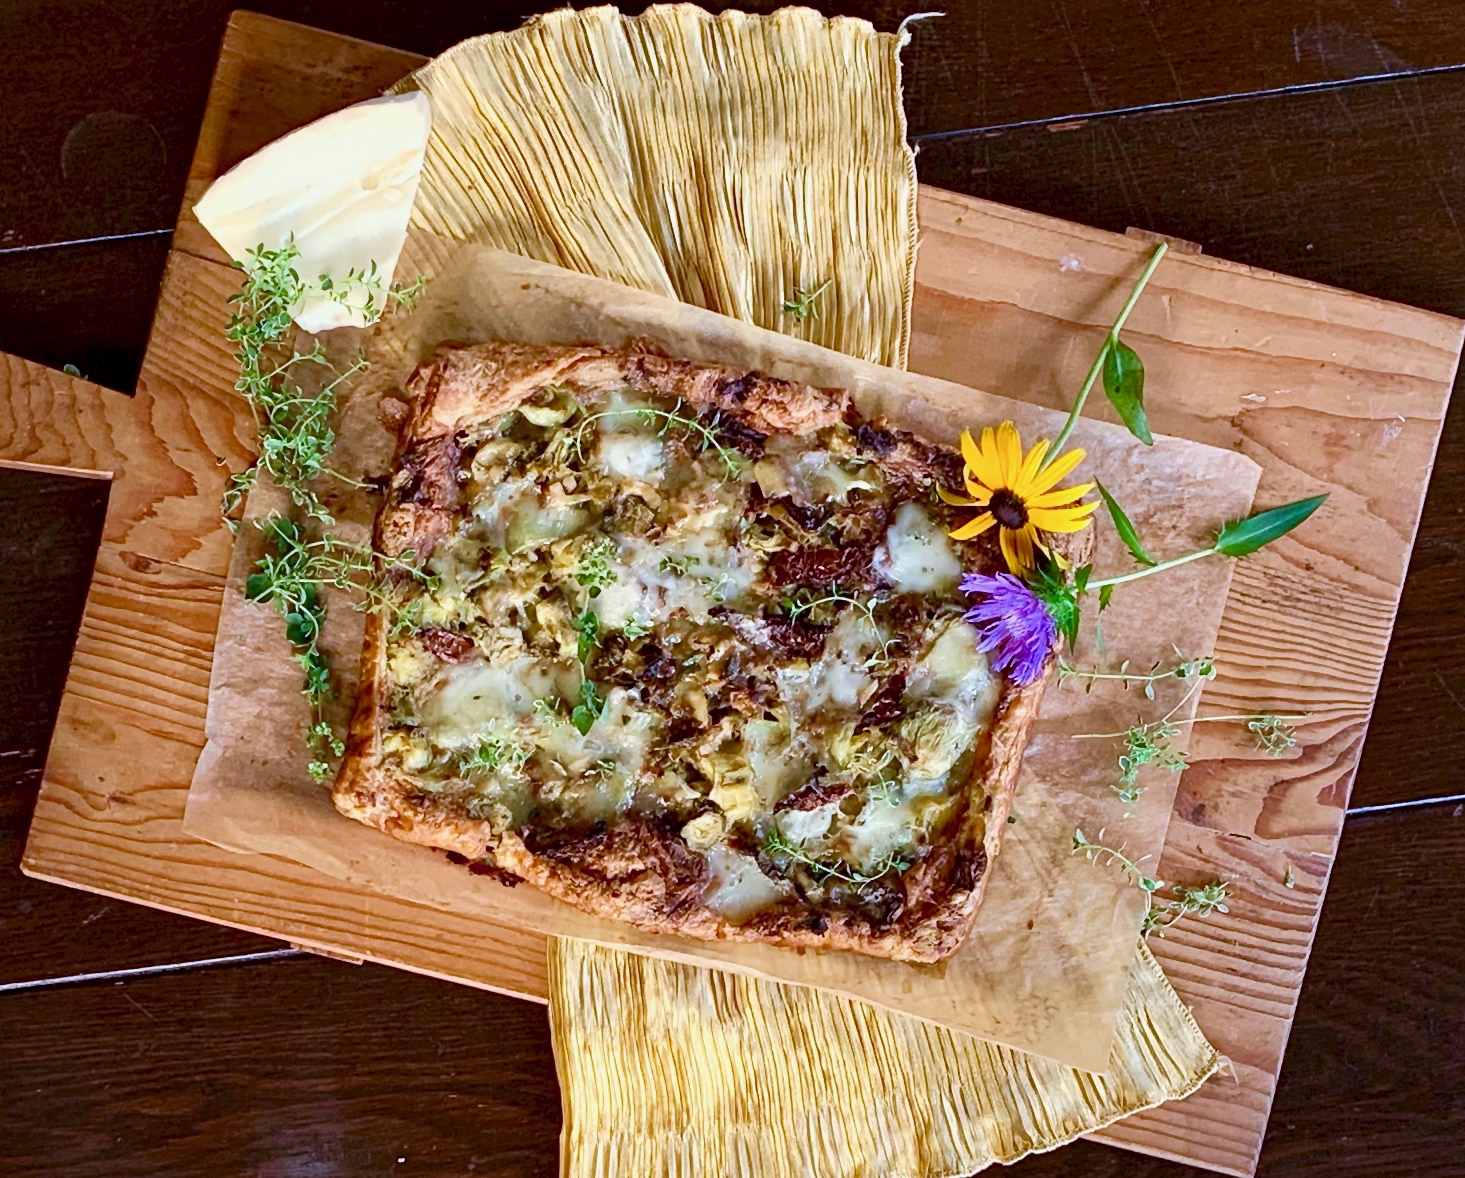
Although this galette does not come from such humble origins, it is definitely blog-worthy. I absolutely love artichokes, so I knew I had to try it. This side dish is packed with flavor. The artichokes, sun-dried tomatoes and cheese combine beautifully into this galette. The brie is the perfect pairing for the veggies, adding creamy gooeyness and savory depth. The bed of puff pastry is light, making each bite a little bit of heaven. Put this on your “must try this summer” list, it is that good.

This recipe is courtesy of Fine Cooking and will serve 4 people who will be happy for your discerning palette.

Ingredients for Herbed Artichoke Galette:

1 Tbs. olive oil
2 large leeks, trimmed and thinly sliced (about 2 cups)
3 large cloves garlic, very thinly sliced
1 14-oz. can quartered artichoke hearts, rinsed and well drained on paper towels
6 large sun-dried tomatoes, cut into thin strips
2 Tbs. chopped fresh flat-leaf parsley
1 Tbs. fresh thyme leaves
Kosher salt and freshly ground black pepper
All-purpose flour
1 sheet frozen puff pastry, preferably Dufour, thawed according to package directions
8 oz. Brie, rind removed

Position a rack in the center of the oven, and heat the oven to 400°f.

Heat the oil in a large nonstick skillet over medium-high heat.

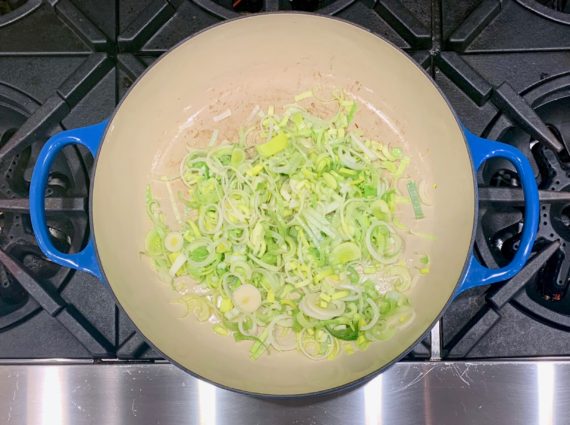
Add the leeks and cook, stirring occasionally, until soft and lightly browned, about 5 minutes.

Add the garlic and cook until aromatic, about 1 minute.

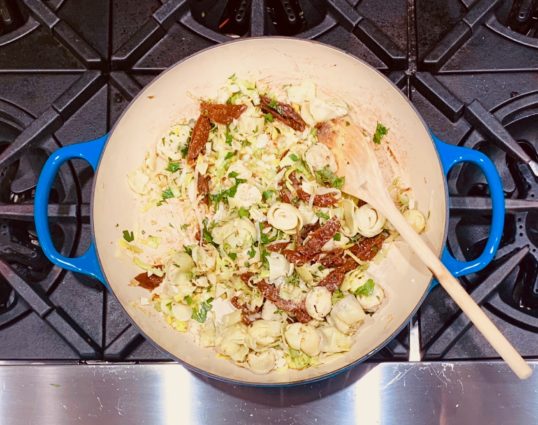
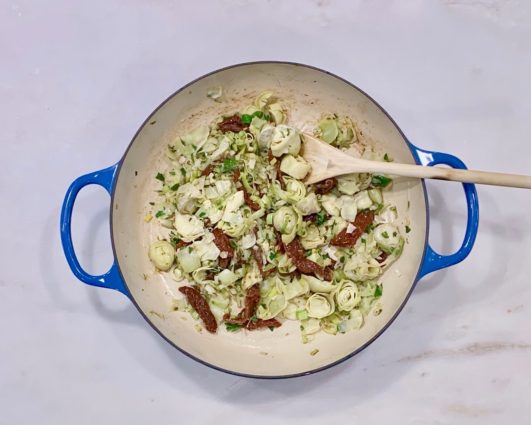
Stir in the artichokes, sun-dried tomatoes, parsley, thyme, 1/4 tsp. salt, and 1/4 tsp. pepper.

Remove from the heat.

Lightly flour a work surface.

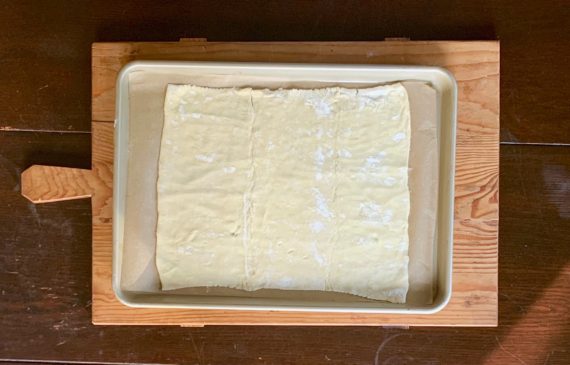
Roll the puff pastry on a sheet of lightly floured parchment and cut into a 12-inch square.

Slide the parchment onto a large rimmed baking sheet.

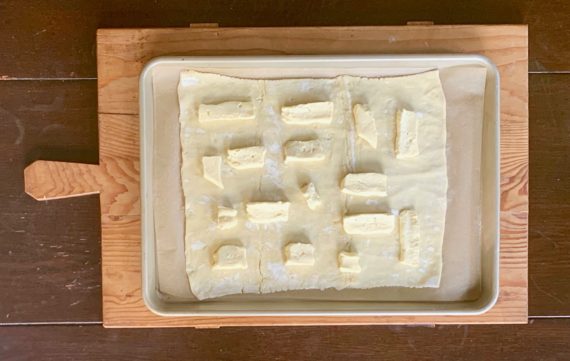
Cut the cheese crosswise into thin slices.

Leaving a 1/2-inch border, scatter three-fourths of the cheese over the pastry.

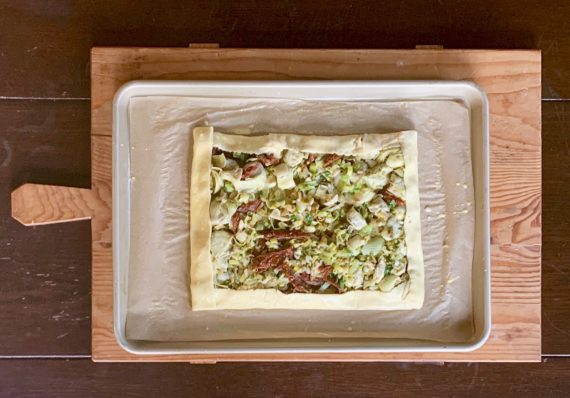
Spoon the leek mixture on top of the cheese.

Brush the pastry edges lightly with water and fold the edges over and onto the filling, pressing down lightly to seal.

Bake until golden brown, about 30 minutes.

Break the remaining cheese into small pieces and dot the top of the galette with the cheese.

Let stand until cheese melts, about 10 minutes.

Slice and serve.

It’s that simple!

signature

[recaptcha]


In cultures across the world, food is a way of bringing family and friends together. Dinner is not just a meal, but an important place for families to gather, talk, laugh and connect with each other over a shared (and delicious!) experience. 

Certain foods have become associated with love, comfort, stress reduction, and security. Think of your favorite “comfort food.”  I can almost taste my mother’s chicken soup. We turn to food for comfort, to help us cope with difficult experiences, and to satisfy our desires. How many of us grow up and fondly look back on grandma’s cooking and try to replicate it, wishing we had watched closer while we had the chance?  

Many of us associate certain foods with a holiday, specific memory, or even a certain person. It makes no difference whether it is served on fine china or your grandmother’s old dishes, but the taste of that special dish lingers in your mouth forever. Our relationship with food has become more than simply a way to nourish our bodies, it has now become an elevated experience. Our palates have become more sophisticated, and thanks to improved farming and shipping techniques, our exposure to new foods has increased dramatically.  Cultural foods from far away are now easily accessible and repeatable to people half a world away

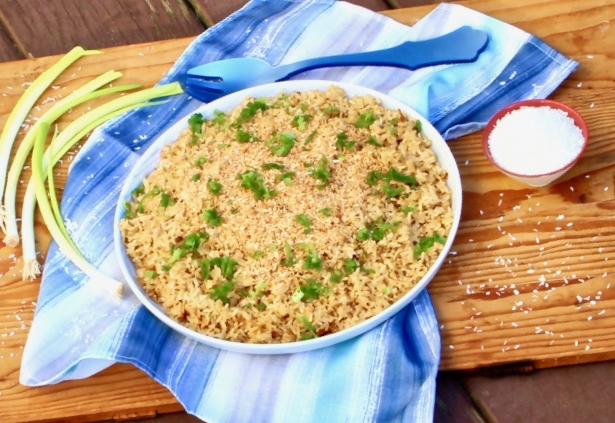
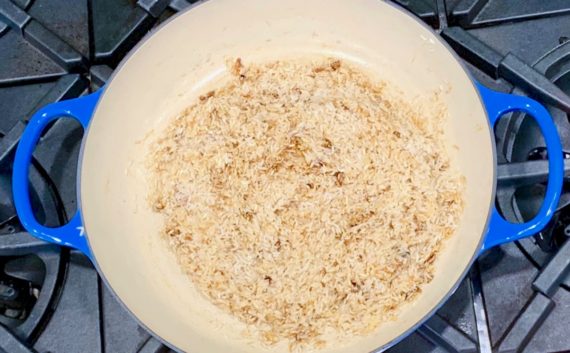
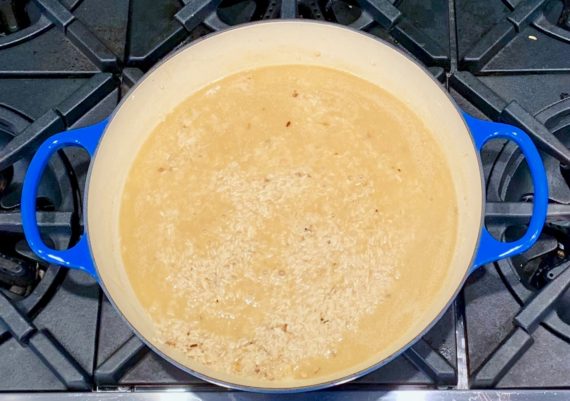
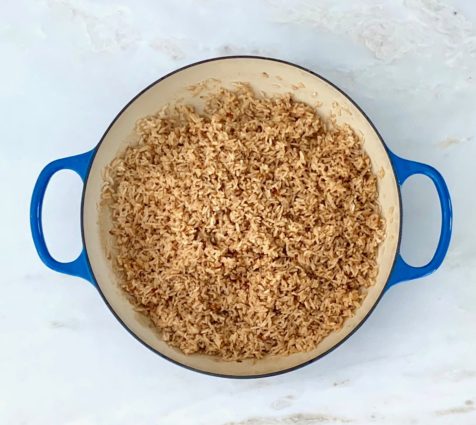
For folks here in the US, white rice has been a staple– it provides a quick and easy base for more complex flavors.  With the availability of many ingredients, it’s time to branch out. Throw your plain white rice to the side and try this toasted coconut dish immediately! The scallions and garlic lend savory goodness and the brown sugar adds the perfect amount of deep sweetness. The coconut and coconut milk give it a fresh new depth of flavor that is lip-smacking good and almost tropical.  Remember to toast the coconut before you add it to this dish because that takes it to an entirely new level of deliciousness.  It also makes the kitchen smell amazing!

This recipe is courtesy of Cuisine at Home and will serve 4 people who will most definitely want to come back for another shared meal.

Ingredients for Toasted Coconut Rice:

2 cups jasmine rice
1 tablespoon unsalted butter
1 tablespoon brown sugar
1 tablespoon chopped scallion whites
1 can coconut milk (5.46 oz.)
1/2 cup low sodium chicken broth
2 teaspoon kosher salt
1/4 cup chopped scallion greens
1/4 cup chopped, sweetened, shredded coconut, toasted

Preheat oven to 350 degrees F.

Place shredded coconut on a baking sheet and place in oven for 5 to 7 minutes.

The coconut should be a golden brown when you remove it.

Set it aside.

Rinse rice in sieve under cold water until water runs clear.

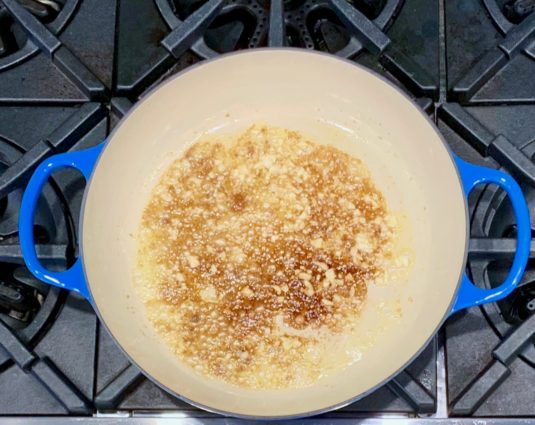
Melt butter in a saucepan over medium-high heat.

Add brown sugar, scallion whites and garlic; saute until sugar melts, about 3 minutes.

Stir in rice to coat.

Combine coconut milk, broth, and water to make 2 cups of liquid; add to rice.

Bring rice to a boil, reduce heat to low, and cook, covered, 15 minutes.

Remove rice from heat and with cover still on, let steam 5 minutes more.

Uncover and fluff with a fork.

Top rice with scallion greens and toasted coconut.

It’s that simple!
 

signature

[recaptcha]


I am a self-taught cook. My journey has been full of many learning experiences, both successful and disastrous. As with anything, my cooking is a work in progress and I strive to improve by reading, watching professional chefs, and working hard to develop my skills. I try to incorporate new skills and methods into my cooking every day. 

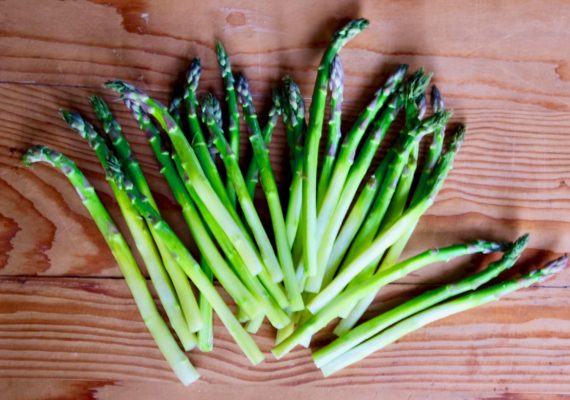
In a recent post, I talked about the importance of peeling asparagus. I am going to go over this again because while it is an agonizing chore, it truly changes the taste and appearance of your asparagus. 

This original recipe instructs you to snap off the ends of the asparagus, but I respectfully disagree. By doing this, you could end up with most of the stalk in the garbage– what a waste! Instead, cut off the ends about 1 to 1 1/2 inches from the bottom and save as much of the stalk as you can.

There are some chefs who think that peeling the asparagus depends on the thickness of the stalk.  My person philosophy? If you have a thick stalk, then it definitely should be peeled, but if you have a very thin stalk, lightly peel it just enough to get those bulky knobs off.

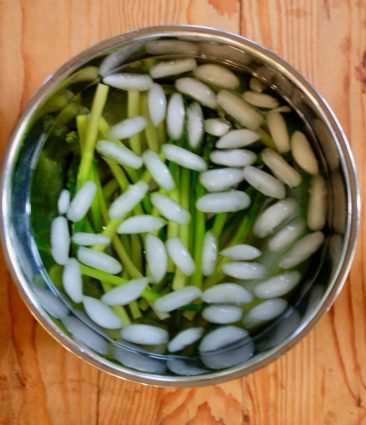
While I’m discussing boring (but useful!) chores, I promised to share with you the best method to peeling eggs. My new trick is to place them in a bowl of ice water for a minute, then take them out and peel them while they are still warm. If you find the shells are sticking, place the egg back into the water, take it out and continue to peel. When you are finished peeling, place it back into the ice bath to stop the cooking process and remove any stray pieces of shell.  In addition, if the egg yolks are even the slightest bit green, they are overcooked. Try to cut down your cooking time by a minute or two.

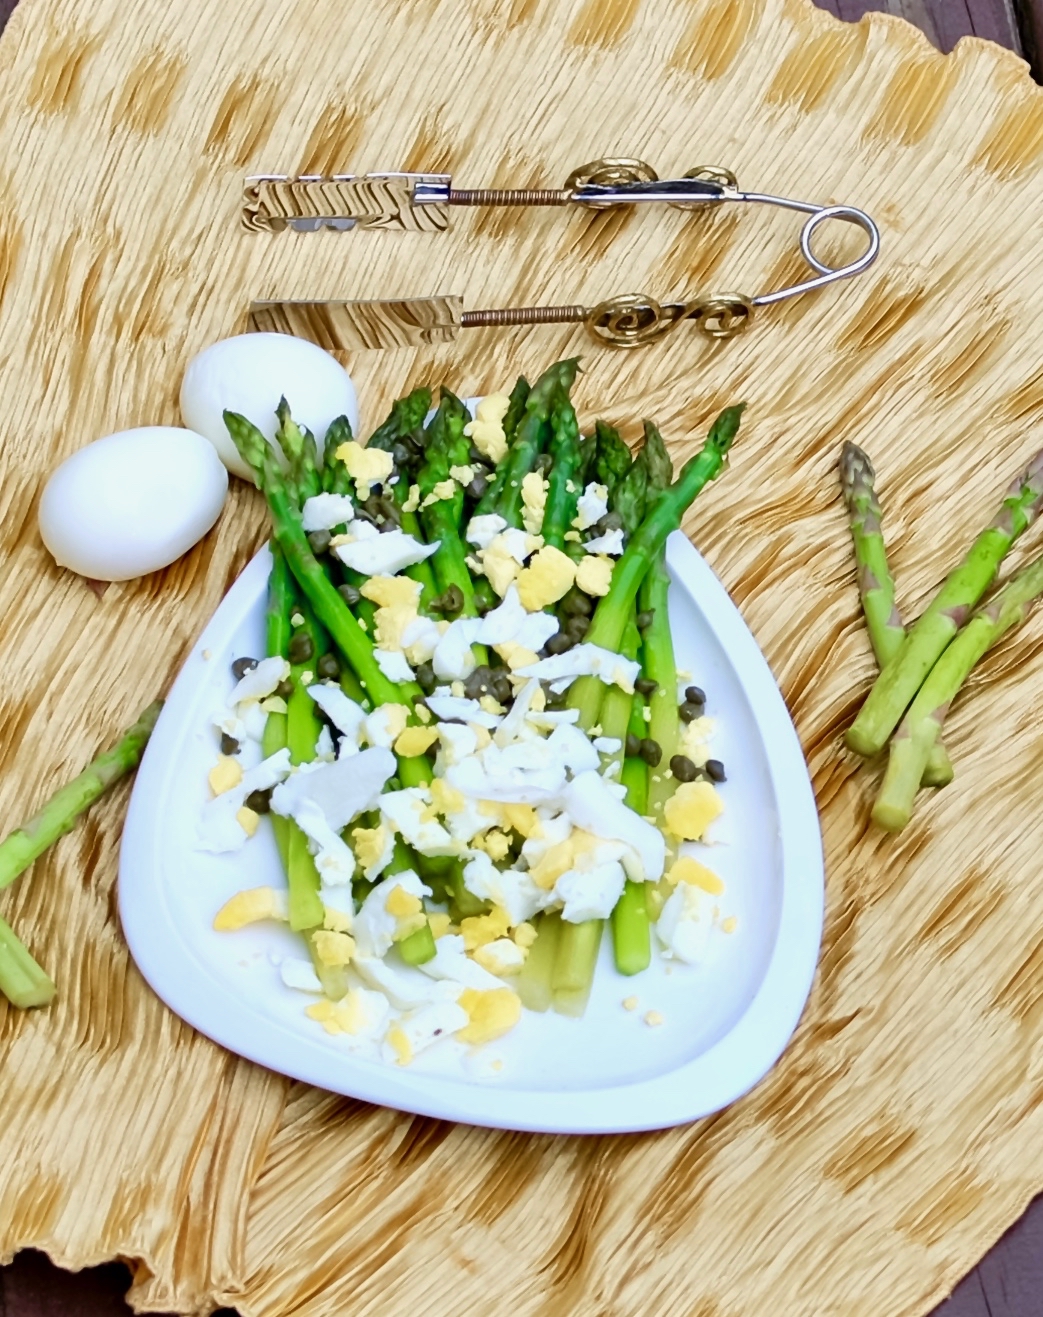
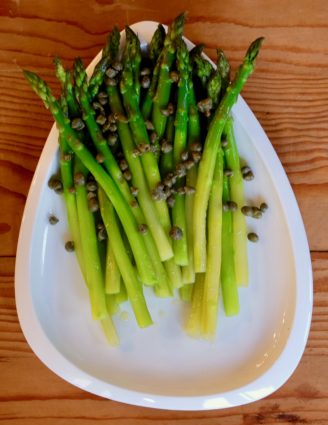
With these two tips, you are fully prepared to make this next dish, so called because the grated egg resembles mimosa flowers. A softer yolk works best, so reduce your cooking time by a minute or two. This elegant side dish is not only delicious, but beautiful too. The asparagus is cooked to perfection, each stalk doubly sweet since removing the harder outer layer. The capers add delicious salty goodness and tang. The eggs are the perfect topping, and they add another depth of flavor and smooth texture. Put this on your “short on time” list– it is a perfect side that will complement any main summer course.

This recipe is courtesy of Ottolenghi and will serve 4 people who will welcome the light, fresh taste of this gorgeous dish.

Ingredients for Asparagus Mimosa:

2 eggs
2 bunches of medium asparagus
2 tablespoons good quality olive oil
2 teaspoons small capers, drained
1 teaspoon Maldon sea salt
Black pepper

Gently place your eggs in a saucepan of boiling water and simmer for 9 minutes.

Remove the eggs from the pan and immerse them in a large bowl of cold water.

After a few minutes, take them out of the water and leave to cool down completely.

Peel the eggs and grate them on a coarse cheese grater.

Cut ends of 1 to 1 1/2 inches.

Gently peel the asaragus to cut off bulky knobs.

Place the spears in a large pot of boiling water and cook for 3 minutes, or until tender.

It may take slightly longer if they are thick.

Drain and place into ice water to sstop cooking.

Take asparagus out and let them come to room temperature.

Drizzle the oil over the asparagus and sprinkle with the capers, salt and some pepper.

Top with the grated egg, staying close to the center of the stalks so that the tips and bases remain visible.

It’s that simple!
 

signature

[recaptcha]


It is the 4 year anniversary of my blog!

Thanks to all of you who follow me! I always love hearing from you!

Ahh! Summer is finally here and so are delicious plums, peaches, nectarines, and all the yummy summer fruits. One of our favorite ways to enjoy non-citrus fruits is to eat them wrapped in a buttery envelope of warm dough. As you may have noticed, there are a number of names for a combination of fruit and baked pastry.  Cobblers, crumbles, and crostatas are all desserts baked with a crust or pastry and fruit. I couldn’t help thinking about what the difference is between these summer treats. Is there really a distinction between the three? 

There is, but it’s subtle. A cobbler is a baked fruit mixture with a biscuit-like top crust. A crumble is a baked fruit mixture with toasted cornmeal or oats-based topping. A crostata is an open-faced fruit tart where the fruit (plus a little sugar) is spooned into a buttery pastry dough. The edges of the dough are folded in about an inch or two to create a crust, and are usually finished with an egg wash and some coarse sugar. Crostatas are made free form and cooked on a flat sheet, so no two will look the same. This rustic look makes them so effortless and charming.

But wait!  There’s more!  There are galettes and tarts, which are most similar to a crostata. The only difference between the galette and the crostata is the name. Crostata is Italian and galette is French. The tart is a little different. The tart is baked in a pan that is known as, well, a tart pan. It can vary in size and shape, and the bottom is removable for a cleaner presentation. Tart crusts are more shortbread-like, as opposed to the flakey pastry dough used for crostatas and galettes. Whichever you decide to make, your tummy is not going to know the difference, and you will love them all.

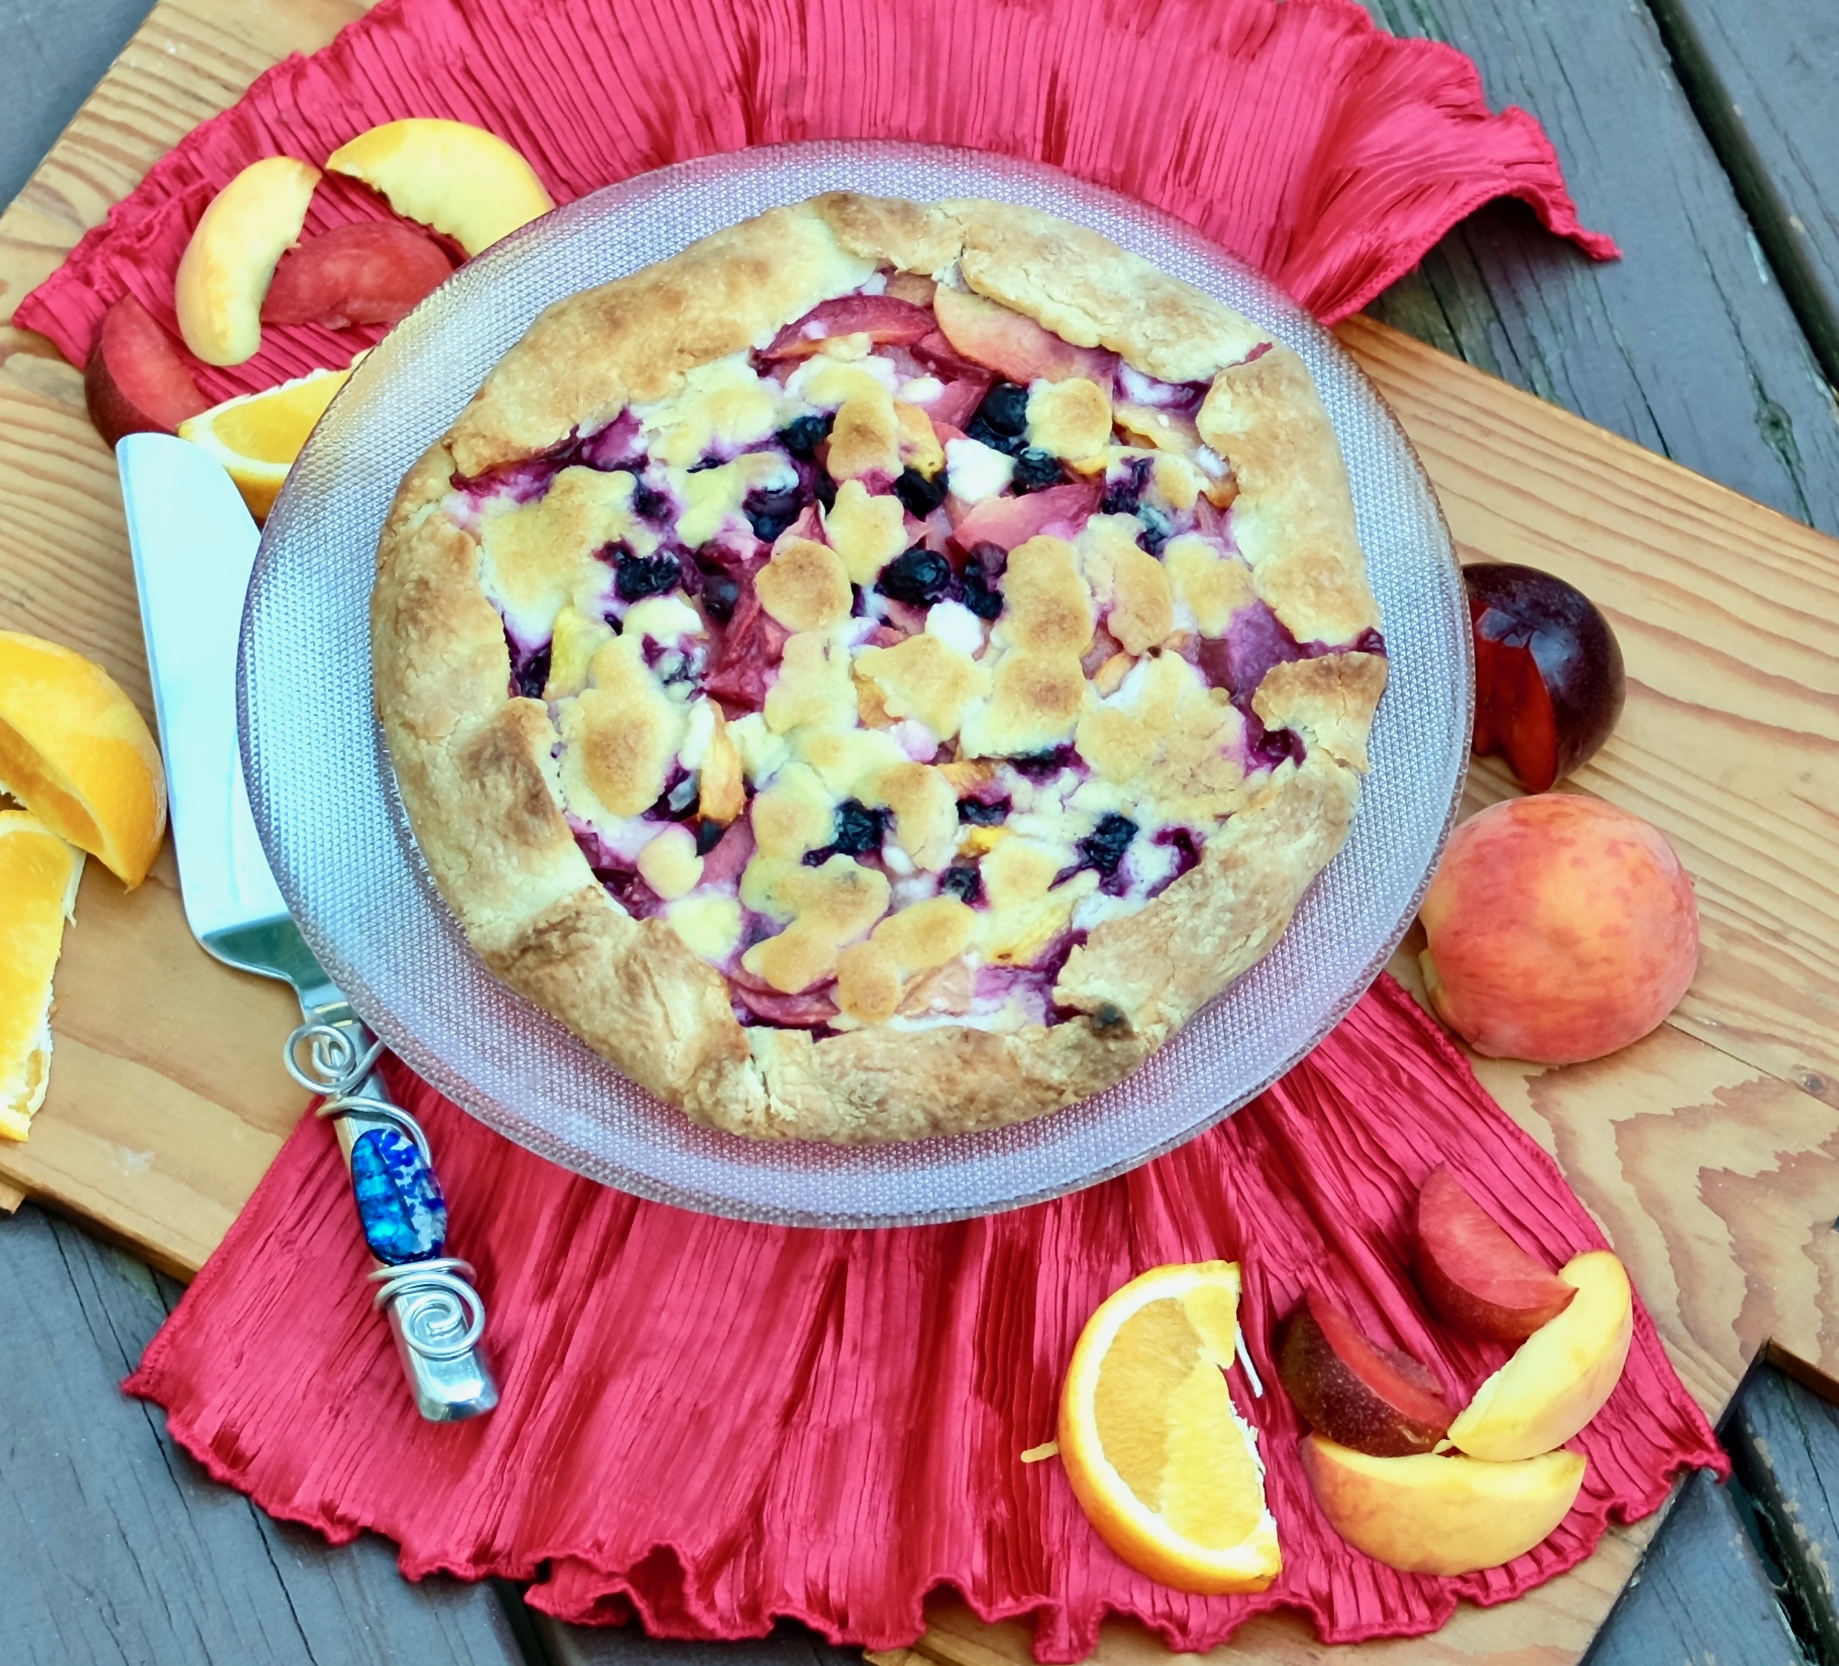
This crostata is perfection. The peach, plum, and blueberries combine to make a delicious filling for this treat. The hint of orange blends beautifully with them. The fruits are surrounded with a yummy, buttery pastry dough that gives dessert wonderful texture and flavor. This is a “keeper”. I will definitely be making it again this summer.

This recipe is courtesy of Ina Garten and will serve 6 people who will be deliriously happy when eating it.

Ingredients for Summer Fruit Crostata:

For the pastry:

2 cups all-purpose flour
1/4 cup granulated or superfine sugar
1/2 teaspoon kosher salt
½-pound (2 sticks) cold unsalted butter, diced
6 tablespoons (3 ounces) ice water

For the filling:

1 pound firm ripe peaches, peeled
½-pound firm ripe black plums, unpeeled
1/2 pint fresh blueberries
1 tablespoon plus 1/4 cup all-purpose flour, divided
1 tablespoon plus 1/4 cup granulated sugar, divided
1/4 teaspoon grated orange zest
2 tablespoons freshly squeezed orange juice
1/4 teaspoon kosher salt
4 tablespoons (1/2 stick) cold unsalted butter, diced

Make the Pastry:

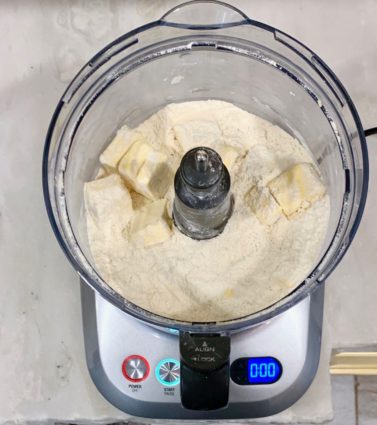
Place the flour, sugar, and salt in the bowl of a food processor fitted with a steel blade.

Pulse a few times to combine.

Add the butter and toss quickly (and carefully!) with your fingers to coat each cube of butter with the flour.

Pulse 12 to 15 times, or until the butter is the size of peas.

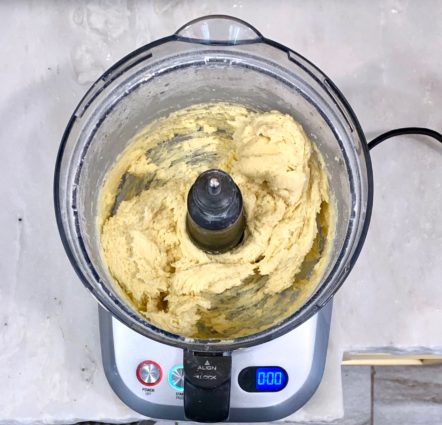
With the motor running, add the ice water all at once through the feed tube.

Keep hitting the pulse button to combine, but stop just before the dough comes together.

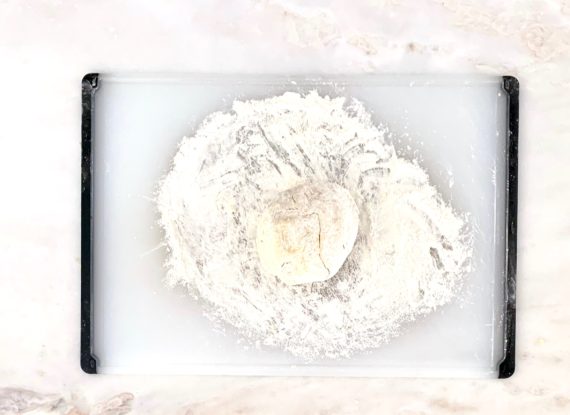
Turn the dough out onto a well-floured board, roll it into a ball.

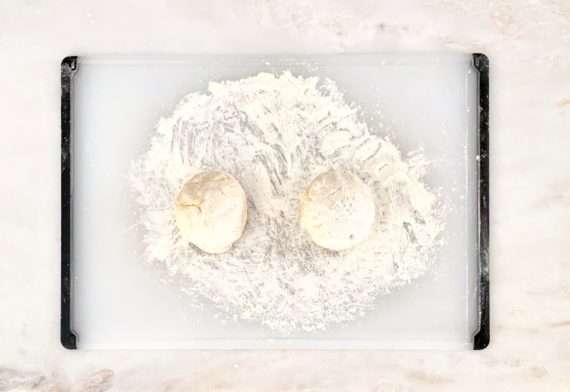
Cut in half, and form into 2 flat disks.Wrap the disks in plastic and refrigerate for at least 1 hour.

If you only need 1 disk of dough, the other can be frozen.

Preheat oven to 450 degrees F.

Line a baking sheet with parchment paper.

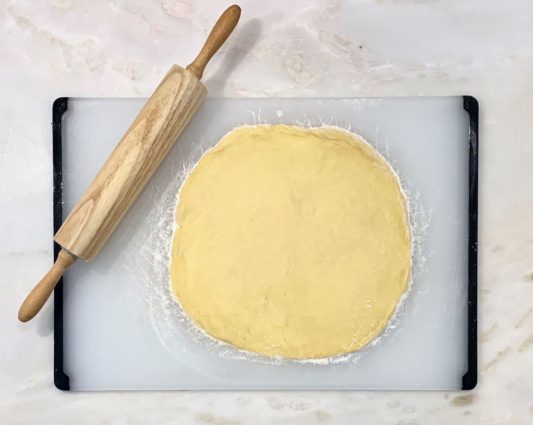
Roll the pastry into an 11-inch circle on a lightly floured surface.

Transfer it to the baking sheet.

Make the filling:

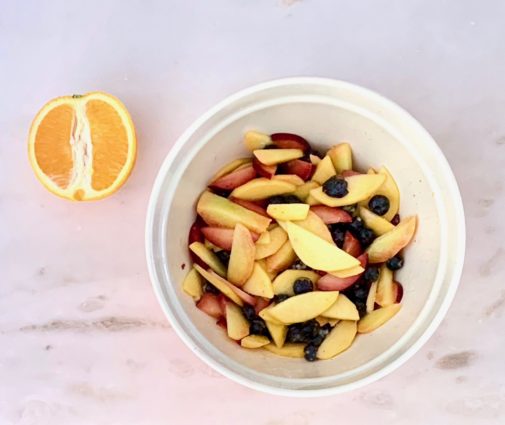
Cut the peaches and plums in wedges and place them in a bowl with the blueberries.

Toss them with 1 tablespoon of the flour, 1 tablespoon of the sugar, the orange zest, and the orange juice.


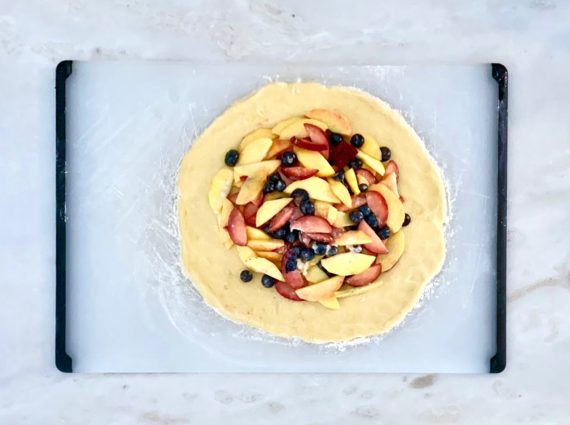
Place the mixed fruit on the dough circle, leaving a 1 1/2-inch border.

Combine the 1/4 cup flour, the 1/4 cup sugar, and the salt in the bowl of a food processor fitted with a steel blade.

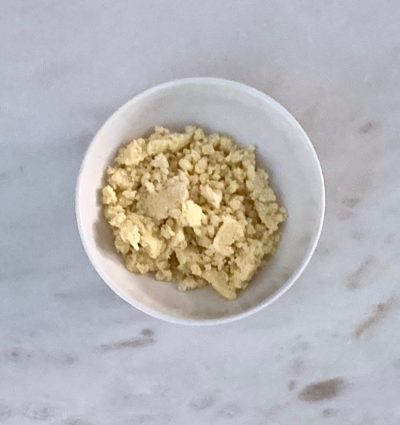
Add the butter and pulse until the mixture is crumbly.

Pour into a bowl and rub it with your fingers until it starts to hold together.

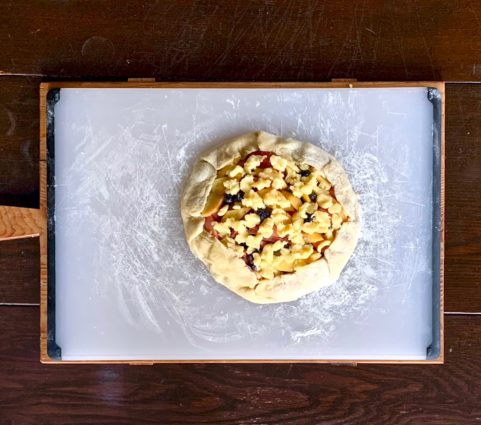
Sprinkle evenly over the fruit.

Gently fold the border of the pastry over the fruit, pleating it to make an edge.

Bake the crostata for 20 to 25 minutes, until the crust is golden and the fruit is tender.

Let the crostata cool for 5 minutes, then use 2 large spatulas to transfer it to a wire rack.

Serve warm or at room temperature.

It’s that simple!


signature

[recaptcha]