As you know, this blog started as a way to keep recipes that I liked.  As it grew, I also started chronicling my personal life in between the recipes.  Through the blog, you’ve come to know my home, my garden, my farmer’s market, my vacation spots, and my family.  Sometimes my life and the recipes line up well– for example, if I will be hosting a dinner party, the recipe might be a shareable main course.  I wish I could say that this is one of those days, but my task for this week has no relation to the recipe. I was just so excited to tell you of the good news that I couldn’t help myself. My niece, Tala is getting married!

In my family, the Aunts are in charge of the bridal shower. I created one this past March for my other niece, Lara. I really love to plan and decorate for them, but it is a lot of work for me. But practice makes perfect, so let my practice lead to your perfect.

First, you need to figure out how many guests you will have. Once you have compiled the list, you need to find a venue, maybe a restaurant or even your home. Some people don’t use a theme, but if you have one in mind (make sure the bride is okay with it!), you can build the shower around that.

My niece is a wonderful baker and has her own business, so picking the theme was an easy one. I am going to do a baking theme using “love is sweet” as our logo. I will pick out a few containers for the flowers that have to do with cooking. I will use a colander, a wooden spoon holder, a kitchen aid mixer, and a blender for the flower vases. I will use small glass jars filled with candy for personalized seat assignments and favors. There will be a cupcake carousel and jars filled with candy with her favorite colors, blue and yellow. Votive candles will round out the table setting.

The menu will be carefully selected hors d’oeuvres, since it is a cocktail bridal shower. I will make sure there is something everyone can eat according to many dietary conditions, so I will have kosher, gluten-free, and vegan choices. 

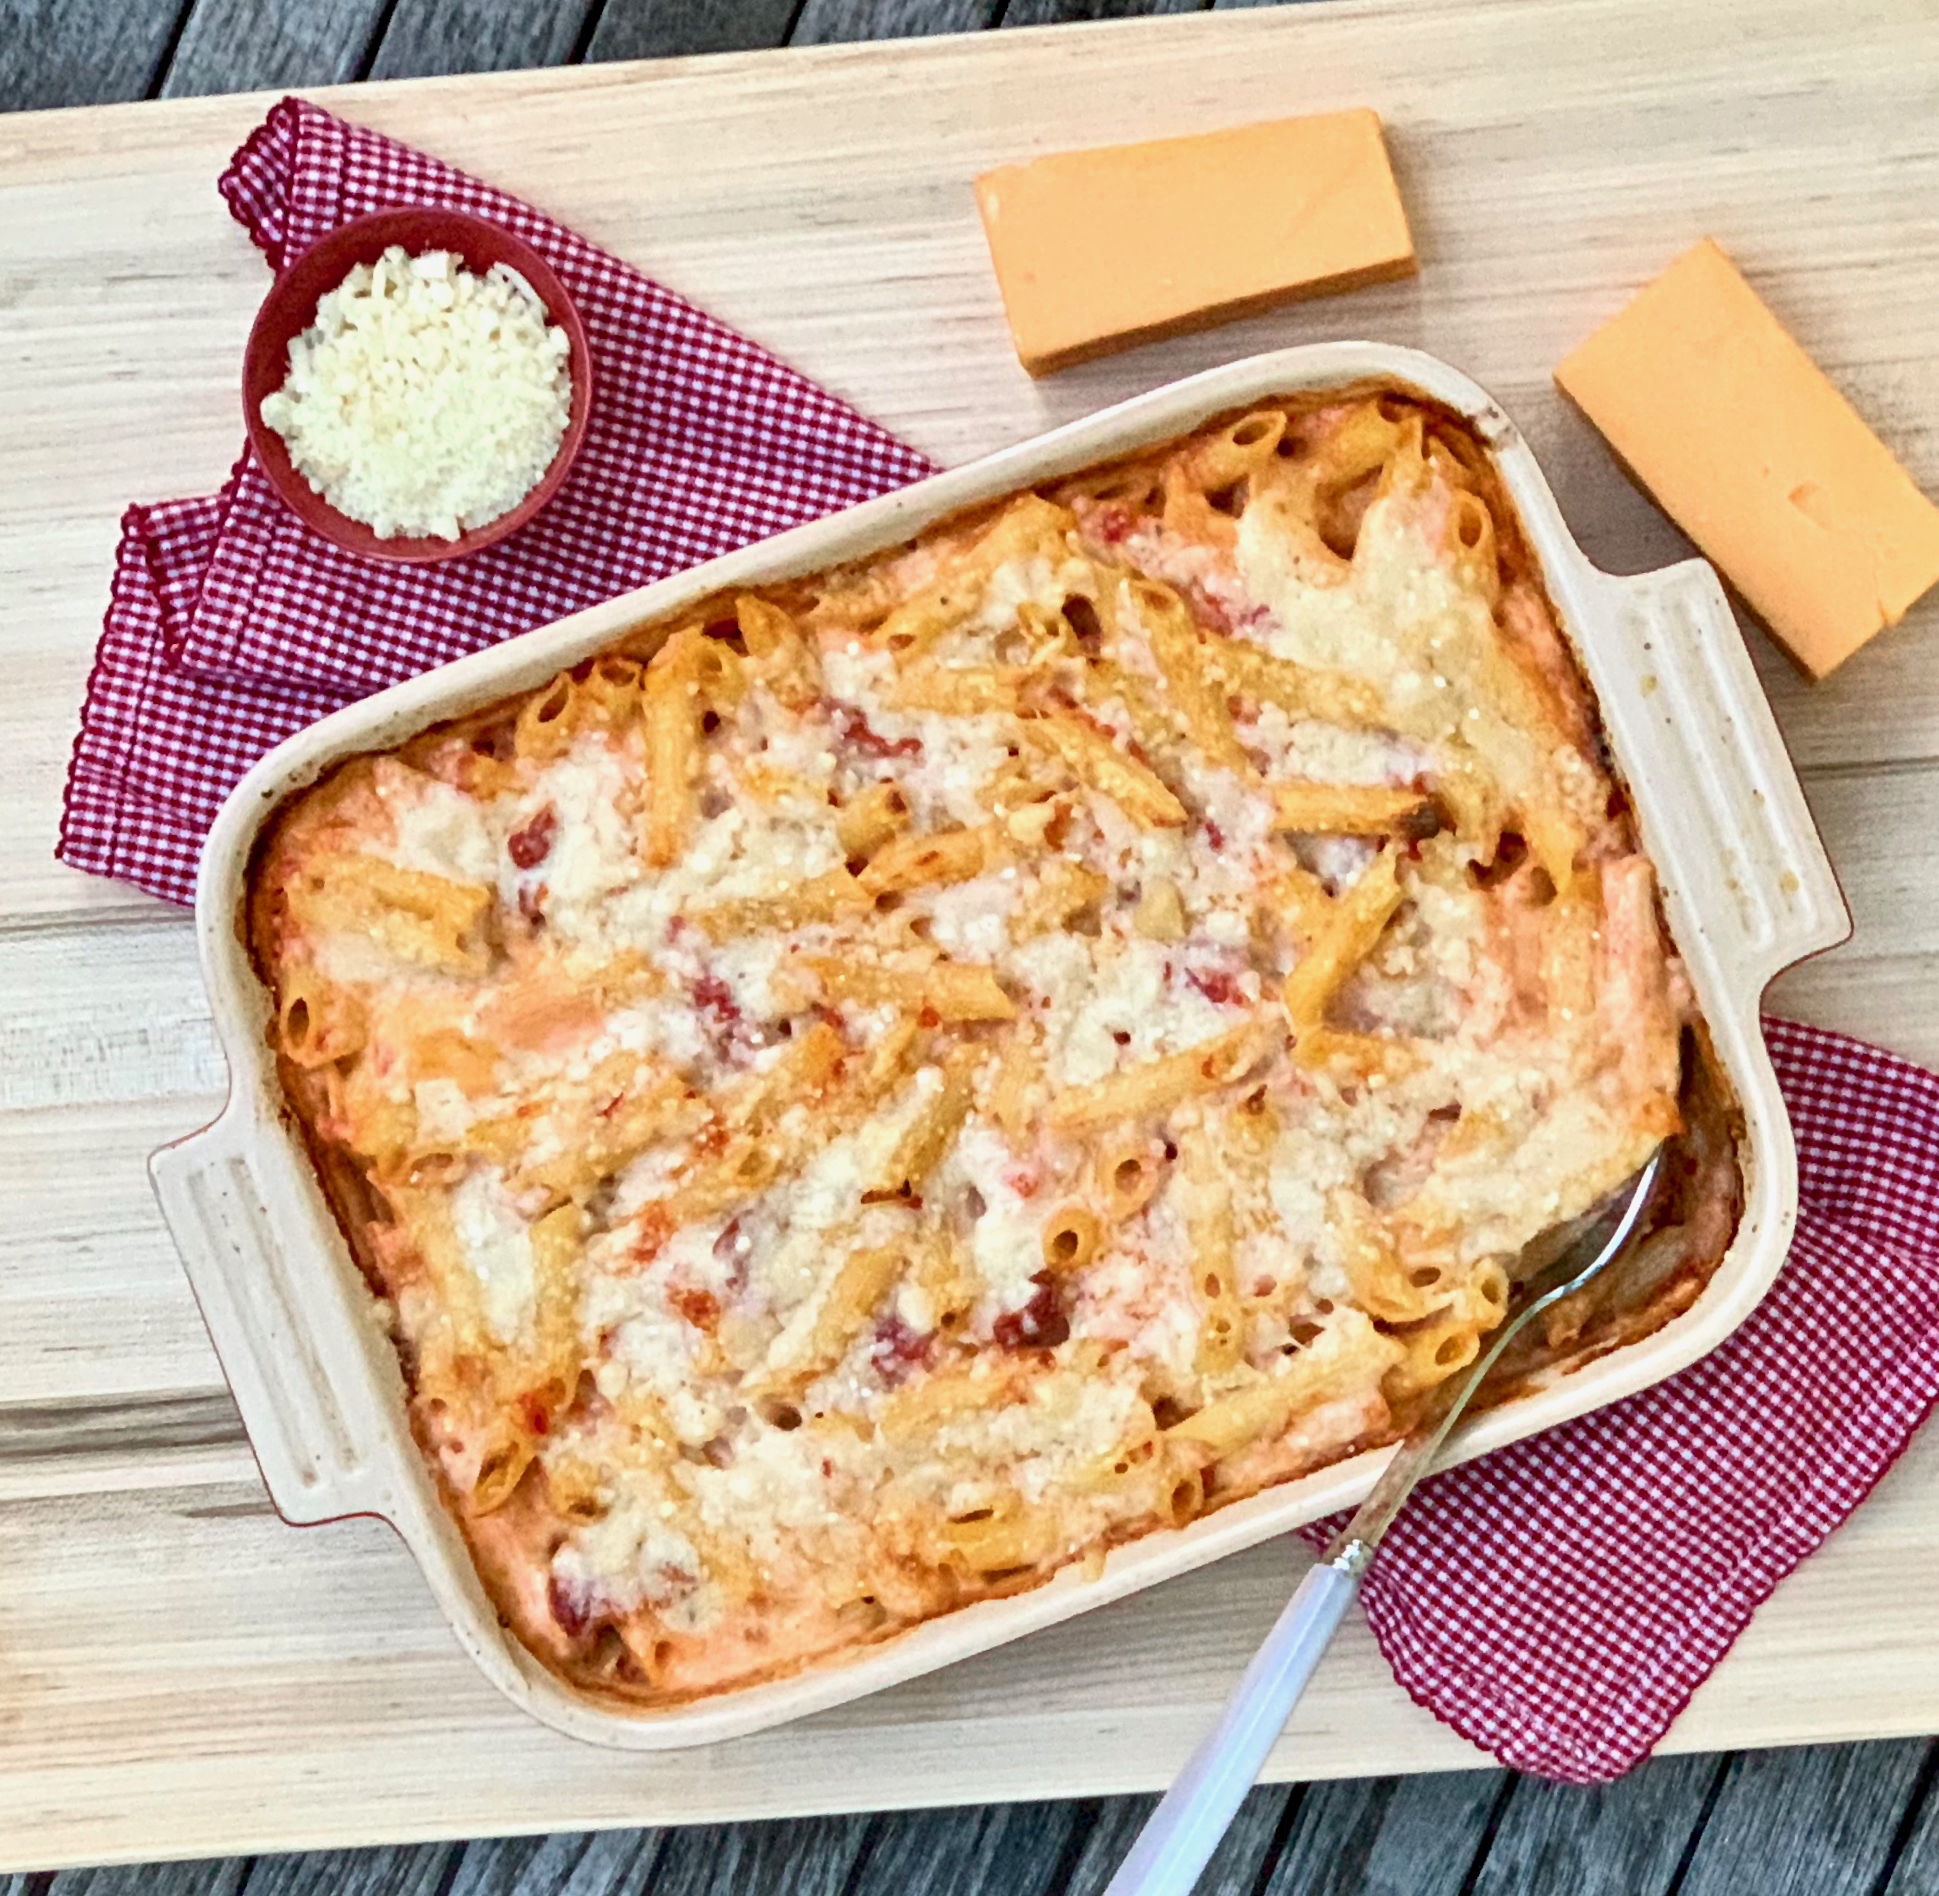
On to the recipe. As I mentioned, this has no place in a bridal shower, but it doesn’t stop it from being a lovely preparation. The combination of milk, heavy cream, and cheese give this dish a creamy, luscious texture. The Dijon mustard and green chilies bring just the right amount of heat and zest, and the Parmesan is the perfect topping. Oh boy, this is a good one. Put it on your “must try” list right now.

This recipe is courtesy of Epicurious and will serve 6 to 8 people who will be sure to enjoy this dish at your next party.

Ingredients for Baked Penne with Green Chiles:

2 cups (480 ml) whole milk
1 cup (240 ml) heavy cream
One 15-ounce (425-g) can crushed tomatoes
One 4-ounce (115-g) can diced green chiles, drained
2 cups (230 g) shredded sharp Cheddar or Mexican blend cheese
1 heaping tablespoon Dijon mustard
Salt and pepper
1 pound (455 g) penne or ziti
1 cup (100 g) freshly grated Pecorino or Parmesan cheese

Preheat the oven to 500°F (260°C), with a rack in the middle position.

Bring a large pot of water to a boil over high heat. Meanwhile, in a 13 by 9-inch (33 by 23-cm) baking dish, stir together the milk, cream, tomatoes, chiles, Cheddar, and mustard.
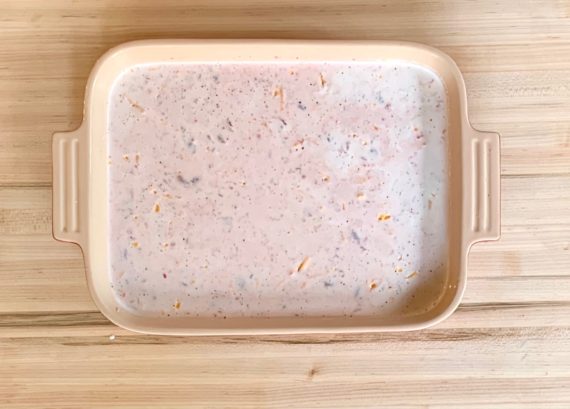
Season with 1 teaspoon salt and some pepper, then set the tomato mixture aside.

When the water boils, season it generously with salt; it should taste like seawater.

When it returns to a boil, add the pasta, quickly stir to separate the noodles, then cover the pot.

When the water returns to a boil again, uncover and boil the pasta until very al dente, stirring occasionally.

Drain the pasta thoroughly, then pour the noodles on top of the tomato mixture and toss to combine.
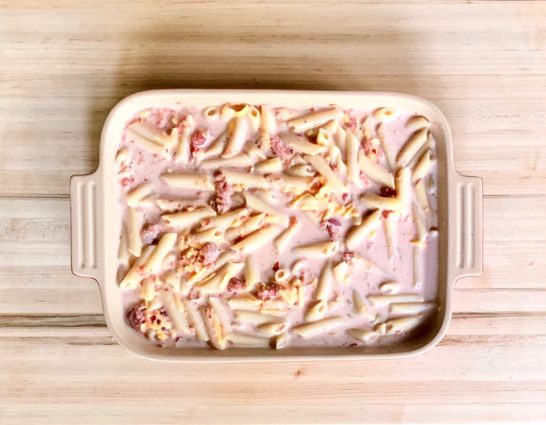
Gently “shake” the dish to distribute the ingredients, then top evenly with the Pecorino.*

Bake until bubbling and lightly browned, about 12 minutes.

Let rest for 5 to 10 minutes before serving.

Make Ahead

Prepare to * without preheating the oven, then keep, covered, in the refrigerator for up to 3 days or in the freezer for up to 1 month.

Bake, covered, at 350°F (175°C) until hot, about 30 to 60 minutes (if frozen), uncovering for the last 10 minutes or so.

Serve hot or warm.

It will keep, loosely covered, in a 200°F (90°C) oven for up to 2 hours.

It’s that simple!

signature

[recaptcha]


Everybody thinks they have the best dog in the world, and the truth is that nobody is wrong. All dogs are wonderful, loving, and loyal companions, who, when treated with kindness, give it back a thousand times more. There few things in our lives that bring us such joy. Dogs make us kinder, gentler, and happier people. 

As you may know, I now have three dogs. Before this wonderful trio, I had Maggie. She was a Boston terrier, and in typical Boston fashion, she had one eye that looked straight and the other looked off to the left. We did everything together. She was the most loving animal I have ever known. My soul mate. She made everyone love her. When my children were younger, Maggie would wait at the door for the car to pull into the driveway.  She would run full tilt out the door and jump in the car to see the children. They loved her and she loved them. I miss her with all my heart. 

Many of her qualities were because she was raised with love and care, but she was also bred specifically with certain characteristics in mind, as humans have been doing for thousands of years. Through genetic selection, early humans were able to domesticate dogs to work by our sides and be companions for life.  Dogs truly have some amazing qualities, and I’ve found some dog facts you might not know:

Dogs have wet noses because their noses secrete a thin layer of mucus that helps them absorb scent. They then lick their noses to sample the scent.

A dog’s smell is 10,000 to 100,000 times more accurate as that of a human.

Dogs eyes contain a membrane called the tapetum lucidum, which allows them to see in the dark.

Dogs ears are extremely expressive because they have more than a dozen muscles that control their movements.

As of 2017, there are over 600,000 dogs in New York City alone, and the number has surely grown from there.

Speaking of New York City, today’s recipe feels straight out of a New York deli. When I saw this salad recipe by Ina Garten, I knew it had to be wonderful. Turns out, I was right. The salmon is combined with capers and red onion, just like a proper New York shmear. The capers give it small bursts of salty goodness and the red onion add just the right amount of heat. The raspberry vinegar joins together the tart and sweet. The best part is that it is SO easy to make. This dish is wonderful for a Sunday morning brunch or lunch.

This recipe will serve 4 people who will be taken back to New York for a quick bite!

Ingredients for Salmon Salad:

2 pounds cooked salmon, chilled
1 cup small-diced celery (3 stalks)
1/2 cup small-diced red onion (1 small onion)
2 tablespoons minced fresh dill
2 tablespoons capers, drained
2 tablespoons raspberry vinegar
2 tablespoons good olive oil
1/2 teaspoon kosher salt
1/2 teaspoon freshly ground black pepper

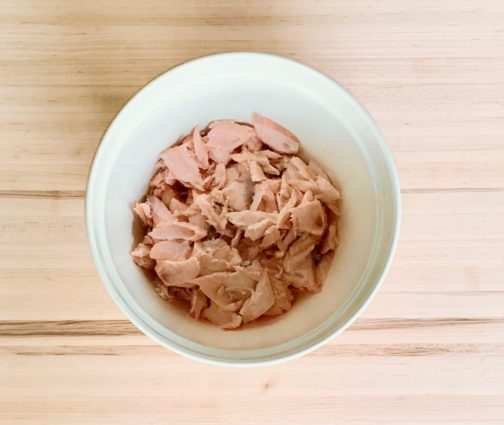
Break the salmon into very large flakes, removing any skin and bones, and place the salmon in a bowl.

Add the celery and red onion.

Add dill, capers, raspberry vinegar, olive oil, salt, and pepper.

Season, to taste.

Mix well and serve cold or at room temperature.

It’s that simple!

signature

[recaptcha]


Planning a party means working out everything from the table settings to the main menu.  Somewhere in there, you have to decide on your appetizers. When I was growing up, our dinner parties never included appetizers, only bowls of mixed nuts. Nowadays, the appetizers are given as much thought as the entree.  Are you going to go all the way and serve hors d’oeuvres, which are eaten with a knife and fork? How about canapes, that the guests can enjoy with their fingers? Easier still are crudités, which are usually raw fruits and veggies for dipping.

With all the variables, one thing we do know is that hors d’oeuvres must be on the menu. There are so many options that it should be easy to find a few seasonal dishes. Given the variety of diets, make sure you include a meat option, a vegetable option and if you need to, a gluten-free option. For fall or winter events, warm options like baked brie or pigs-in blankets are good choices. Make them easy to pass around, or if you are serving buffet-style, try artisan cheese platters or vegetable crudites.

For food that requires toothpicks, make sure you have a few receptacles around for disposal– nobody likes stepping on a used toothpick.  You also want to put lots of napkins out so guests can keep their hands clean. More enterprising guests will certainly try to hold everything at once.  To avoid spills, encourage those folks to place the napkin (or two, for larger apps) or plate on top of their glasses; they’ll find it much easier that way.

The best advice I have is that you should make your hors d’ouerves simple. You don’t want to slave away in the kitchen and not be able to enjoy your own gathering. Pick ones that you can make ahead of time and heat up just before your guests arrive so that you’re able to enjoy the party with them. 

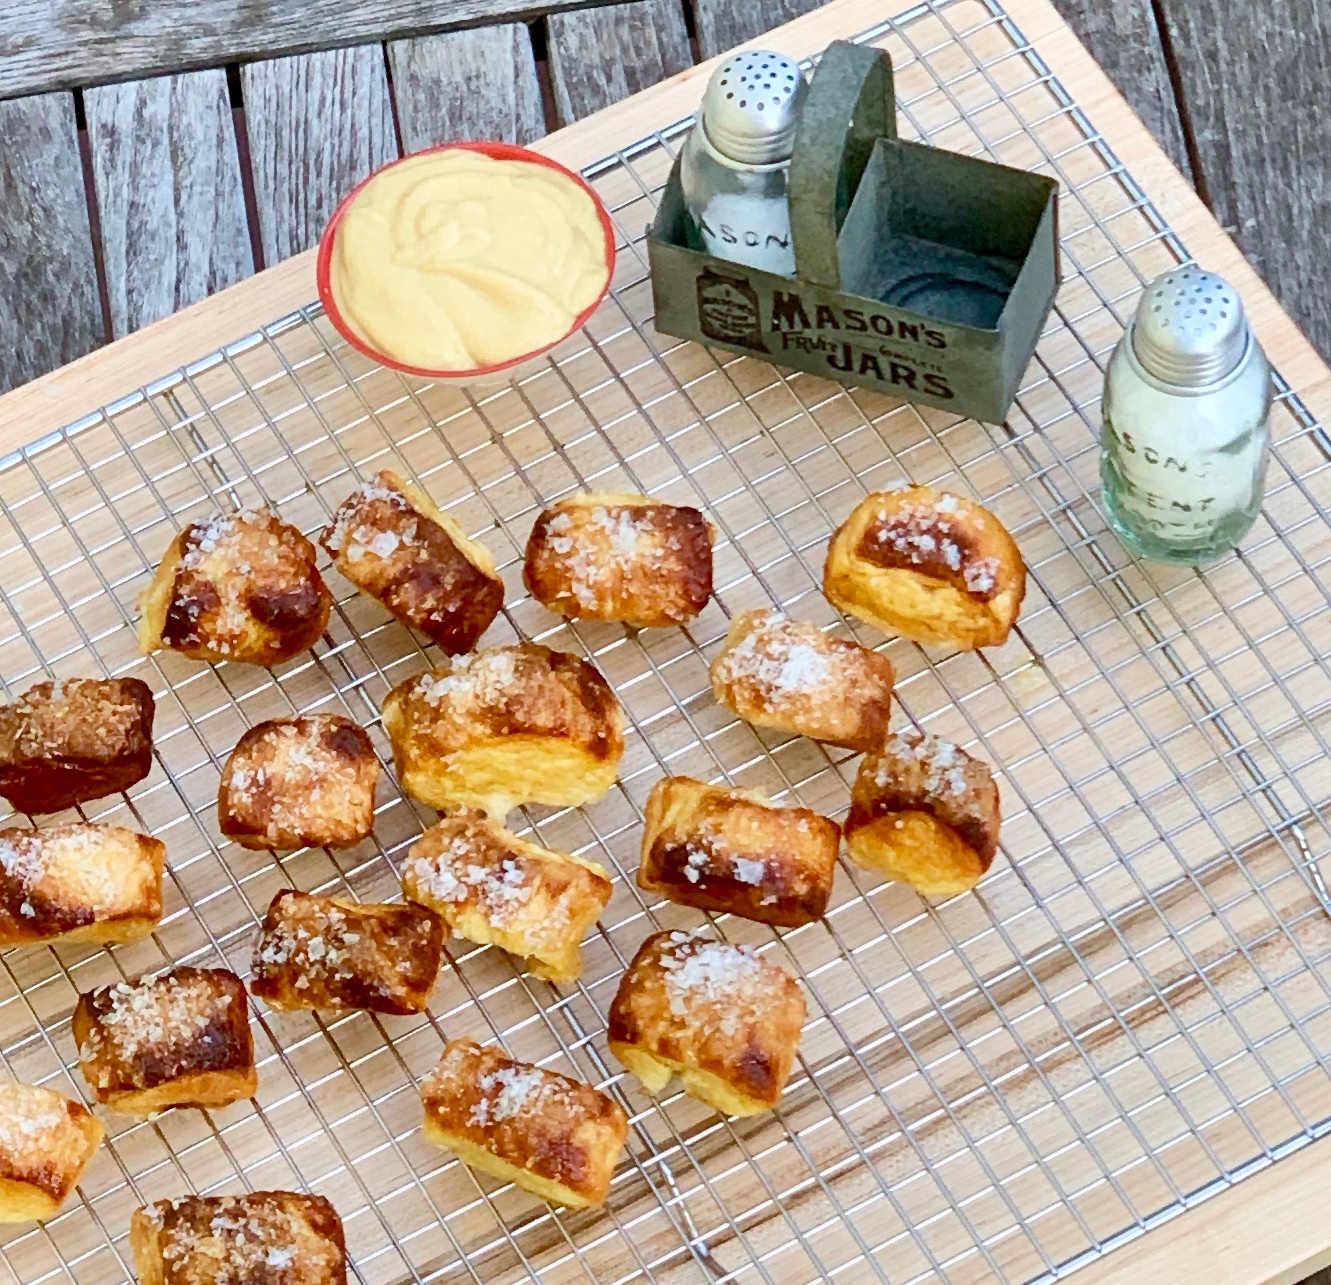
This recipe should do the trick. The author made these pretzel bites with enriched challah dough so the inside would be more flavorful. While you could shape them into mini pretzels, they work better for a party as bite sized pieces. This appetizer is truly special. The outside is beautifully browned and the inside is soft and fluffy. Pop each one into your mouth for a bite of pure joy and delight, on its own or with a dip.

This recipe is courtesy of Food 52 and will make a whole lot of pretzel bites that will delight even the pickiest guest.

Ingredients for Pretzel Bites:

3/4 cups warm water (around 105F)
3/4 tablespoons active dry yeast
3/4 teaspoons salt
2 eggs, beaten
1/4 cup honey
1/4 cup butter, melted
3 1/2 cups all-purpose flour (plus more for dusting surfaces, etc.)
8 cups water
2 tablespoons sugar
1/4 cup baking soda
1 egg white, for egg wash
fleur de sol

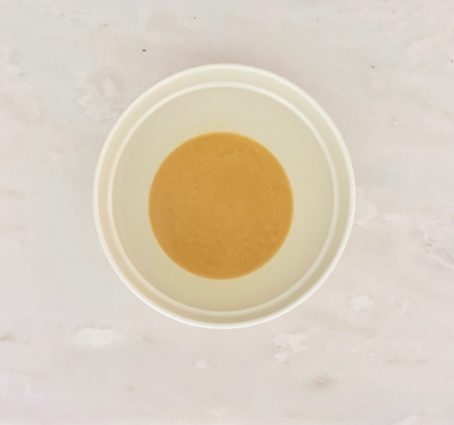
In a large bowl stir together the warm water and honey.

Sprinkle with yeast and let stand until the yeast is foamy (about 5 minutes).

Stir in the butter, salt, and eggs.

Stir in the flour until it is entirely incorporated and it comes together in a shaggy ball.

Turn out the dough onto a floured surface and knead it for several minutes, until smooth.

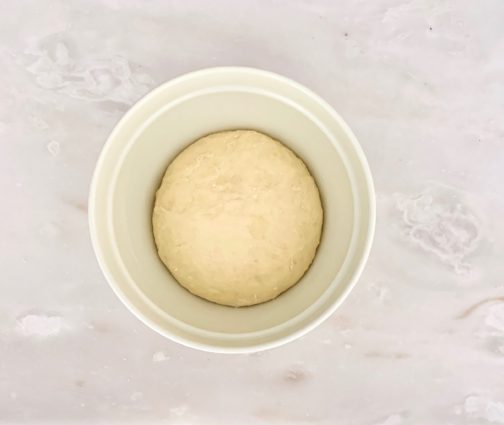
Put in a lightly oiled bowl, cover with a cloth and let rise in a warm place until it rises and collapses (90 minutes – 2 hours)


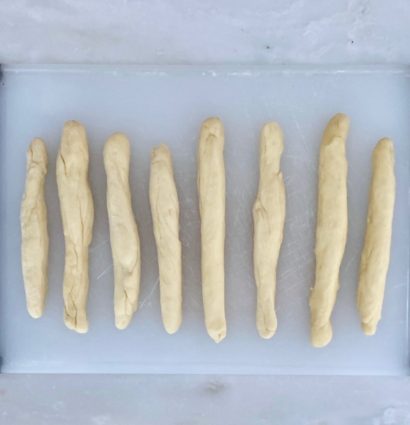
Punch the dough down, and on a floured surface roll it out into 8 ropes, each about 3/4 of an inch wide.

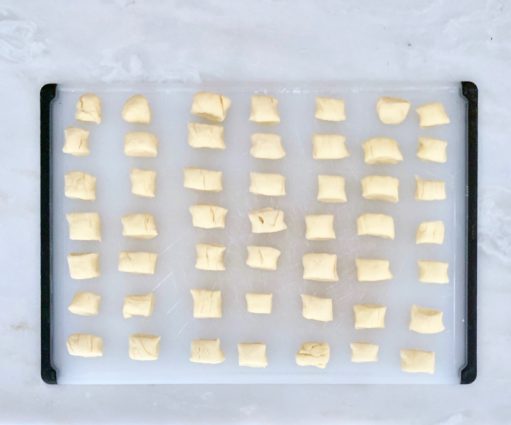
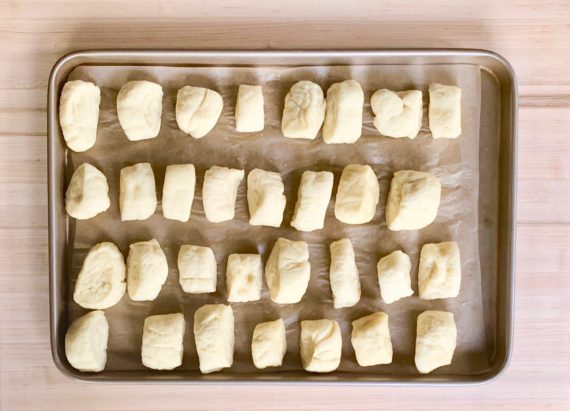
Cut the ropes into 1-inch pieces, separate them from each other placing them on a tray or baking sheet and cover with a towel.

Allow to rise for 30 minutes.

Preheat oven to 425F. Bring a large pot filled with 8 cups of water to a boil.

Once it is boiling, stir in 2 Tbs. sugar and 1/4 cup baking soda.

It will bubble up like crazy! But then it will subside.

Turn the heat down to a high simmer and add your little dough pieces, about ten at a time, making sure they’re not crowding each other.

Let them simmer for about a minute, giving them a couple little stirs during the process to make sure both sides cook.

Remove from water with a slotted spoon and put onto a parchment-lined baking sheet.

Repeat until all the little dough bites have been cooked in the water and have been placed onto baking sheets.

You can squeeze on quite a few per sheet, as long as they have a space between each of them.

Brush the bites with egg white and sprinkle with fleur de sel.

Bake in the oven for about 15 minutes, until they are a deep chestnut brown, make sure you don’t take them out when they’re too pale.

Remove onto cooling racks immediately to cool.

These pretzel bites are best eaten the day they are baked (very best fresh-baked, of course), so I guess you’ll have to do it the morning or afternoon of the party!

Serve with a little bowl of mustard, blue cheese dip (1 cup crumbled blue cheese whisked with 1/2 cup mascarpone), or chocolate fondue.

It’s that simple!

signature

[recaptcha]


Preparing for the holidays can be fun, but it also can be stressful if you don’t have a plan. Even the most seasoned hosts need one. The planning and organizing, shopping and buying, cleaning and preparing…  it really wears you down. Remind yourself, no matter how crazy the lead up, everyone will appreciate your effort and the finished product. I will offer more detailed tips closer to the holidays, but there are a couple things you can do now to make things easier for you down the line.

Start organizing your things. Have you ever spent hours looking for something you know you own, just don’t know where it is?  I know I have. Put an end to that by getting rid of all the clutter. Go through it and begin by throwing out what you do not use or need. Create a space for the things you want to keep. Buy nice baskets that match your decor, label them, and fill them with useful things. I recently redid my pantry this way, and now I can find what I need when I need it. 

Go through all of your dishes and serving ware and make sure they are in order. Maybe you don’t remember breaking a plate or losing a fork. Count them all and order more if you need to. This goes for glasses and bar items as well. I am sure you made a mental note to replace something or other, but time goes by so quickly, and you may not have actually done it. 

Go through your tablecloths. Make sure you have the right size for each table you are using, as well as matching patterns. Take a look at all your napkins. Do you have enough of the same? You may want to buy them in advance if you know approximately how many people you will be having.

Check your spices. Over time spices will lose their essence and will not flavor your food correctly. As a rule, whole spices will stay fresh for 4 years, ground spices for 2 to 3 years and dried herbs for 1 to 3 years. Basically, if you can’t remember when you purchased it, it is probably time for a new one. 

Doing these few things now can relieve stress, let you focus on your holiday and may even give you more time to relax as the big day comes closer and closer.

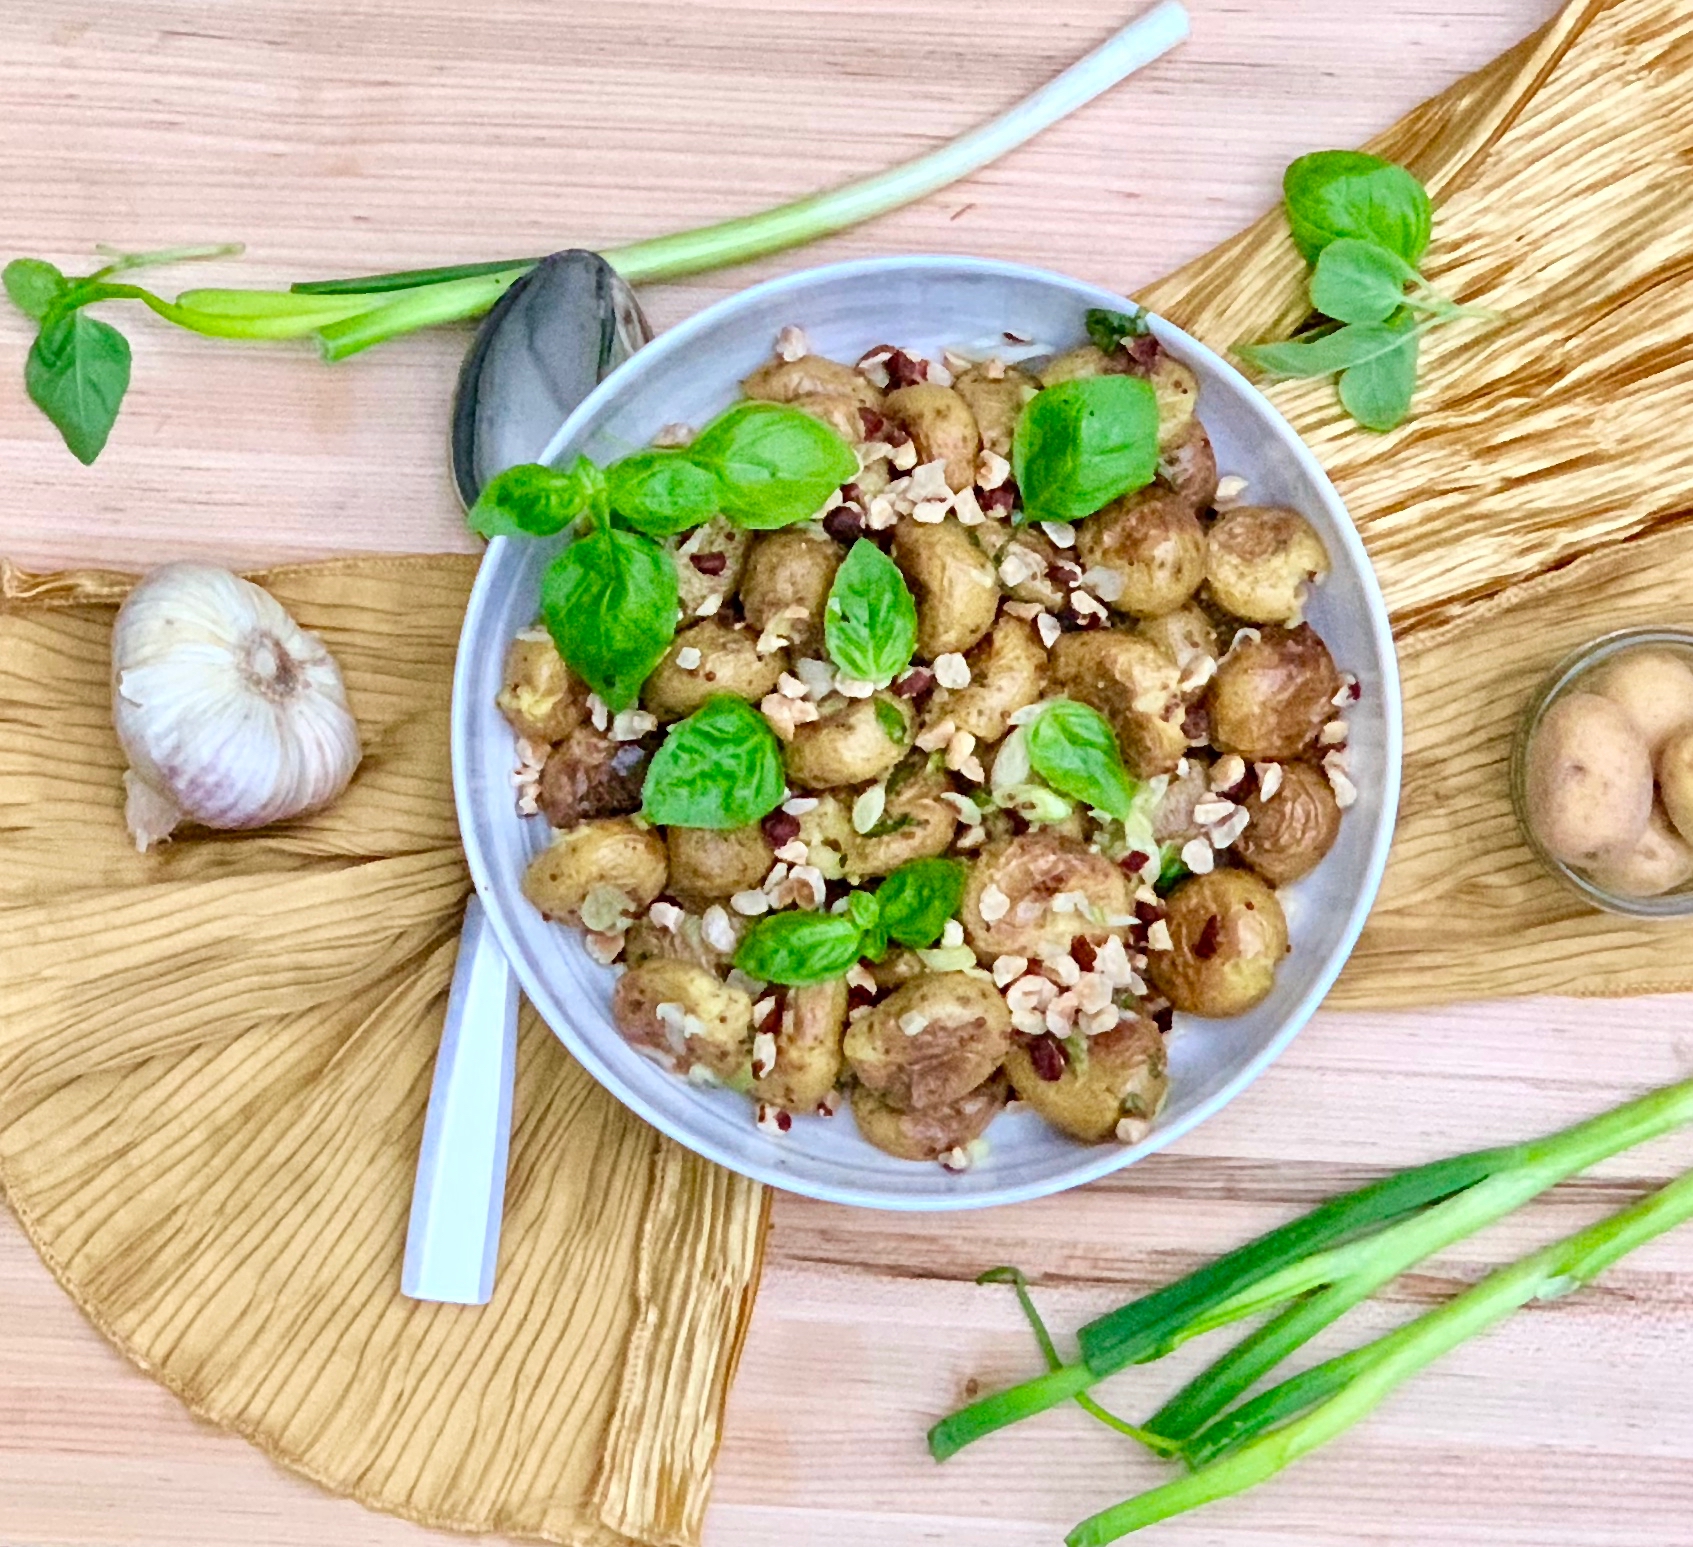
This dish is definitely one you can use for a holiday. The potatoes roast up beautifully. The walnuts add a nice crunch, and the basil and scallions give it savory flavor. The dressing is the star of this salad, as it lights up the potatoes with bursts of tart, tangy, and an aromatic flavor. Smashing the potatoes really lets the dressing get into all the little crevices so you get scrumptious flavor in every bite.

This recipe is courtesy of Food 52 and will serve 6 to 8 people who will be grateful for all the work you put in to making your gathering so special. 

Ingredients for Roasted Potato Salad with Mustard-Walnut Vinaigrette:

For the Salad:

4 pounds mixed marble potatoes, or other small potatoes
1 cup walnuts, toasted and roughly chopped
1 bunch basil, leaves torn into bite-sized pieces
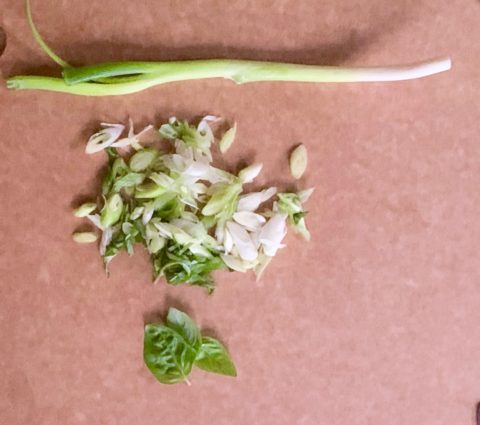
1 bunch scallions, white and green parts thinly sliced crosswise

For the Vinaigrette:

2 cloves garlic, peeled
1 tablespoon whole-grain mustard
1 tablespoon Dijon mustard
2 tablespoons lemon juice
1 tablespoon red wine vinegar
2 tablespoons roasted walnut oil
1/4cup extra-virgin olive oil
1 pinch sea salt and freshly ground black pepper, to taste

Preheat oven to 425° F and line two rimmed baking sheets with parchment paper.

Wash and dry potatoes, then spread evenly between baking sheets.

Drizzle with olive oil and toss to evenly coat potatoes.

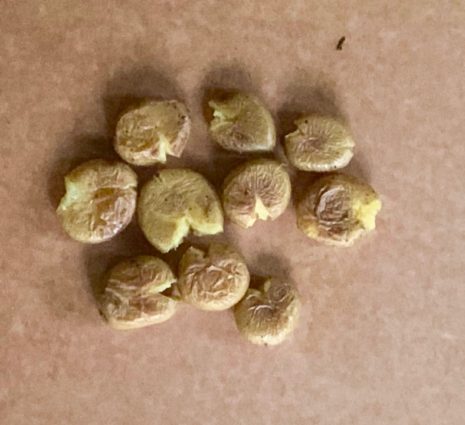
Sprinkle with freshly-ground black pepper and sea salt, then roast, shaking the pans occasionally, until potatoes are tender and browning (about 45 minutes, depending on the size of your potatoes).

Make the vinaigrette:

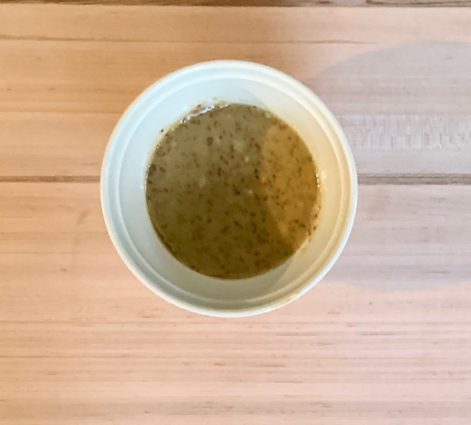
Place garlic cloves on a cutting board, sprinkle with a generous couple pinches of sea salt, and chop and mash with the side of your knife until the clove breaks down into a salty paste.

Add garlic paste to a small bowl along with mustards, lemon juice, and vinegar.

Whisk to emulsify. Add olive and walnut oils and whisk vigorously to combine.

Taste and adjust seasoning with additional sea salt and pepper.

When potatoes are done, transfer to a large bowl.

Add scallions, and dressing, and toss to coat.

Using the back of a mixing spoon or the end of a wooden spatula, roughly smash some of the potatoes to break the skins.

Allow dressed potatoes to sit at room temperature for about 45 minutes to one hour.

Just before serving, stir in walnuts and basil.

It’s that simple!

signature

[recaptcha]


There are so many reasons to be sad when the summer ends. It is nice not to have a schedule and be more leisurely. People miss the flexibility of doing whatever they want: day trips to the beach, long walks, BBQs, ice cream, and afternoons at the pool. No hectic schedules, no packing lunches, no waking up early, and no homework.

On the other hand, September is a landmark month. It is the month that every student dreads, and many moms anticipate the anxiety in their children. School is starting, the weather changes, the days become shorter, and the holiday season begins.  New schedules, new jobs, new school year, and new homework assignments. It can be a hard transition, so let’s look on the bright side.

Autumn weather is perfect. No humidity, and just a touch of cold to make your cheeks pink. It’s nice to break out light jackets, scarves, and boots. The leaves change color and create beautiful blankets of color against a crisp, blue sky. There are so many Fall activities too! Apple and pumpkin picking, football season, Halloween, and Thanksgiving. The Fall season is about making memories with friends and family, old and new. 

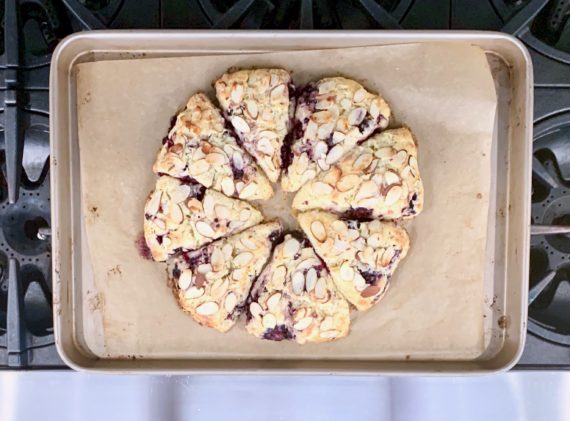
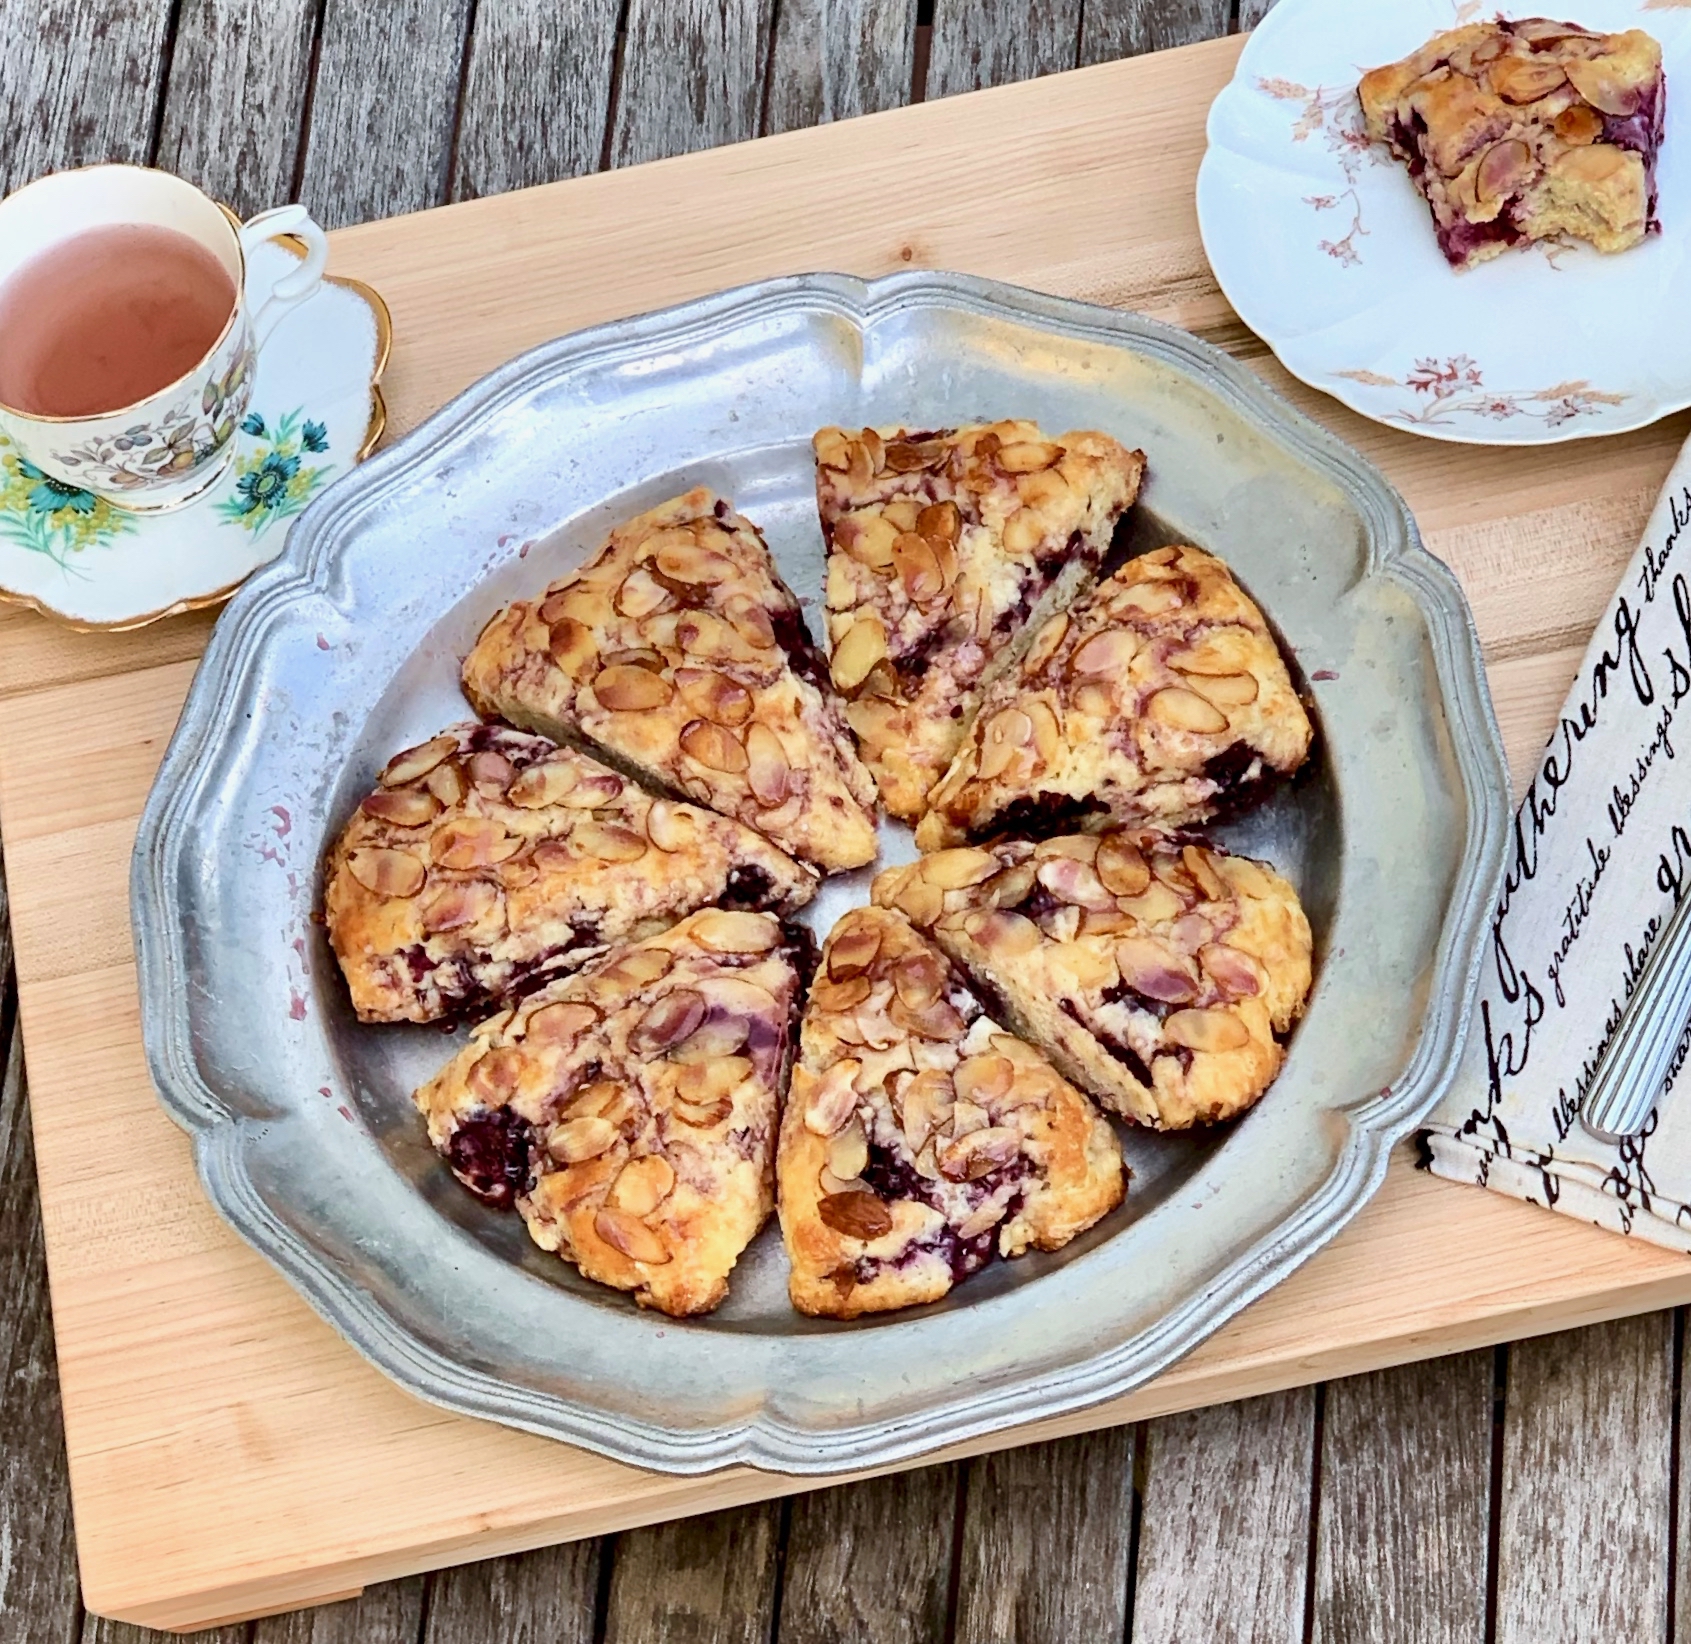
With that said, it’s been a wonderful summer, and it deserves a sweet sendoff featuring one last lovely berry: the humble raspberry. Sweet, tart, or in between, I love them all. This recipe pairs as well with your morning coffee as it does as an after-dinner treat. These scones are so moist and flaky, it feels like you are biting into sweet air. The buttermilk gives it some substance, and the combination of vanilla and almond extract add a savory taste. The raspberries, of course, are the stars of these luscious treats, adding tart and sweet flavors together.

This recipe is courtesy of My Baking Addiction, and will serve 8 people who will enjoy this treat to usher in a beautiful fall.

Ingredients for Raspberry Almond Buttermilk Scone:

2 cups all-purpose flour (spooned & leveled), plus more for hands and work surface
1/2 cup granulated sugar
2 and 1/2 teaspoons baking powder
½ teaspoon salt
1/2 cup unsalted butter, frozen
1/2 cup + 2 tablespoons buttermilk, divided
1 large egg
1 teaspoon pure vanilla extract
1/2 teaspoon almond extract
1 package (6 ounces, or 1 and 1/4 cups) raspberries
1/3 cup sliced almonds

For the Fresh Raspberry Icing:

1/2 package (3 ounces or about 1/2 cup) raspberries
2 teaspoons granulated sugar
1 and 1/2 cups confectioners’ sugar
1 tablespoon cream or milk

Whisk flour, sugar, baking powder, and salt together in a large bowl.

Grate the frozen butter using a box grater

Add it to the flour mixture and combine with a pastry cutter, two forks, or your fingers until the mixture comes together in pea-sized crumbs.

Place in the refrigerator or freezer as you mix the wet ingredients together.

Whisk 1/2 cup buttermilk, egg, vanilla extract, and almond extract together in a small bowl.

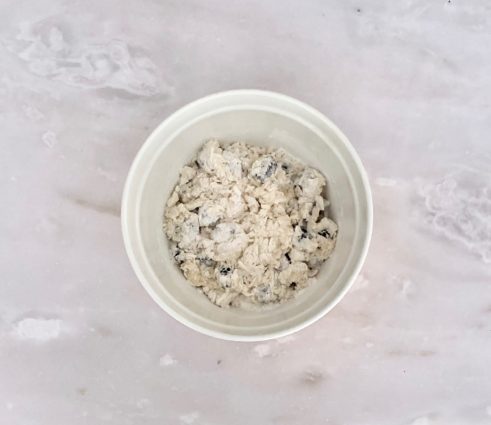
Drizzle over the flour mixture, add the raspberries, then mix together until everything appears moistened.

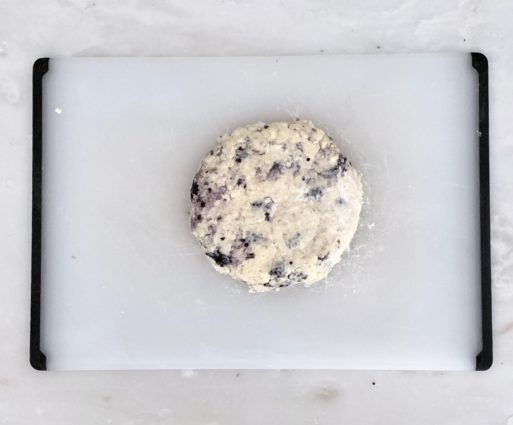
Pour onto the counter and, with floured hands, work dough into a ball as best you can.

Dough will be sticky. If it’s too sticky, add a little more flour.

Press into an 8-inch disc.

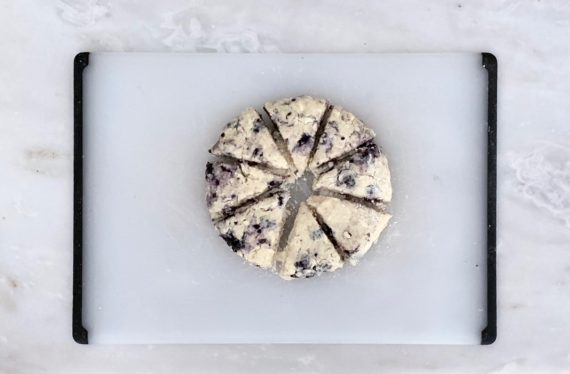
Using a sharp knife or bench scraper, cut into 8 wedges.

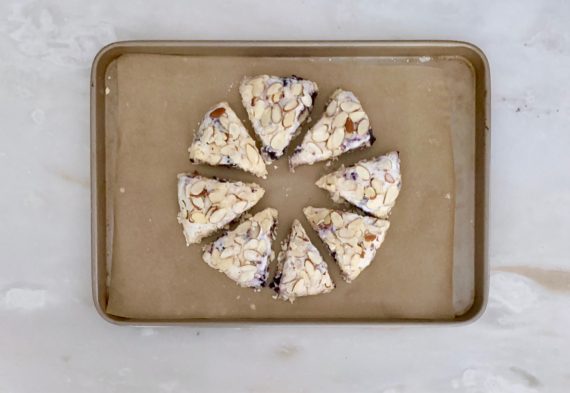
Brush scones with remaining buttermilk and top with sliced almonds. (You can do this before or after refrigerating in the next step.)

Place scones on a plate or lined baking sheet (if your fridge has space!) and refrigerate for at least 15 minutes.

Meanwhile, preheat oven to 400°F (204°C).

Line a large baking sheet with parchment paper or silicone baking mat. After refrigerating, arrange scones 2-3 inches apart on the prepared baking sheet(s).

Bake for 22-25 minutes or until golden brown around the edges and lightly browned on top. Remove from the oven and cool for a few minutes as you prepare the icing.

Make the icing:

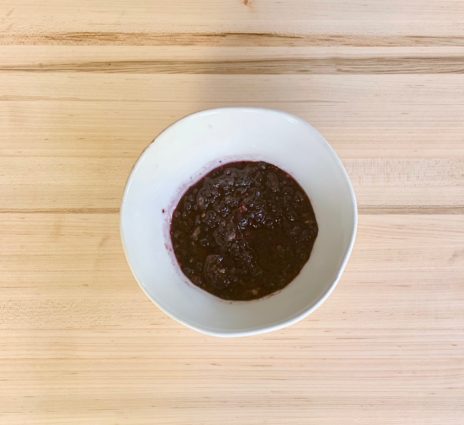
Toss the raspberries and granulated sugar together.

Vigorously stir to break up the raspberries.

Allow to sit for 5 minutes as the raspberries let out their juices.

Strain the raspberries through a fine mesh sieve over a medium bowl.

Use a spoon to press them through, extracting all the juices.

You’ll have about 3 Tablespoons of juice.

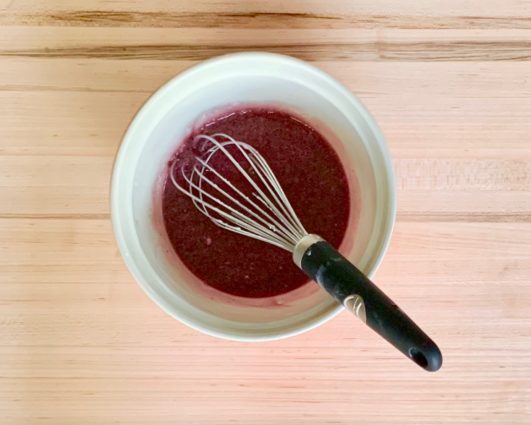
Whisk in the confectioners’ sugar and milk.

Add a little more confectioners’ sugar to thicken or more milk to thin, if desired. Drizzle over warm scones.

Leftover iced or un-iced scones keep well at room temperature for 2 days or in the refrigerator for 5 days.

It’s that simple!
signature

[recaptcha]