I would rather cook than go to a restaurant or order takeout. It is so frustrating for me to figure out what everyone wants to eat, and then pick a place that satisfies everybody’s needs and wants. I would rather throw a chicken in the oven, grill some steaks, or roast some veggies. Nice and easy.

Nowadays, it seems like the opposite is true– folks want to have people cook for them. Though it can be scary at first, there are ways in which you can become a more confident, competent cook. First, you have to prioritize. Maybe you can skip some reading, or watching television to find the time. Then try putting cooking on your list of this week’s to-dos for just one day of the week.

Learning proper technique will also be helpful. Having good knife skills will help through all your dishes. Some “taste tips” you will pick up along the way: use fresh lemon to brighten up any vegetable, always reserve some pasta water from the pot.  The water carries starch from the pasta, and that starch will make any sauce thicker and tastier. 

If you think you can’t cook because you never learned, buy some simple cookbooks and try a relatively easy recipe, like the one I have for you today. Don’t worry about making mistakes– you must slip up in order to move forward. This is how you become more proficient. One trick here is to watch the garlic carefully so it does not burn.

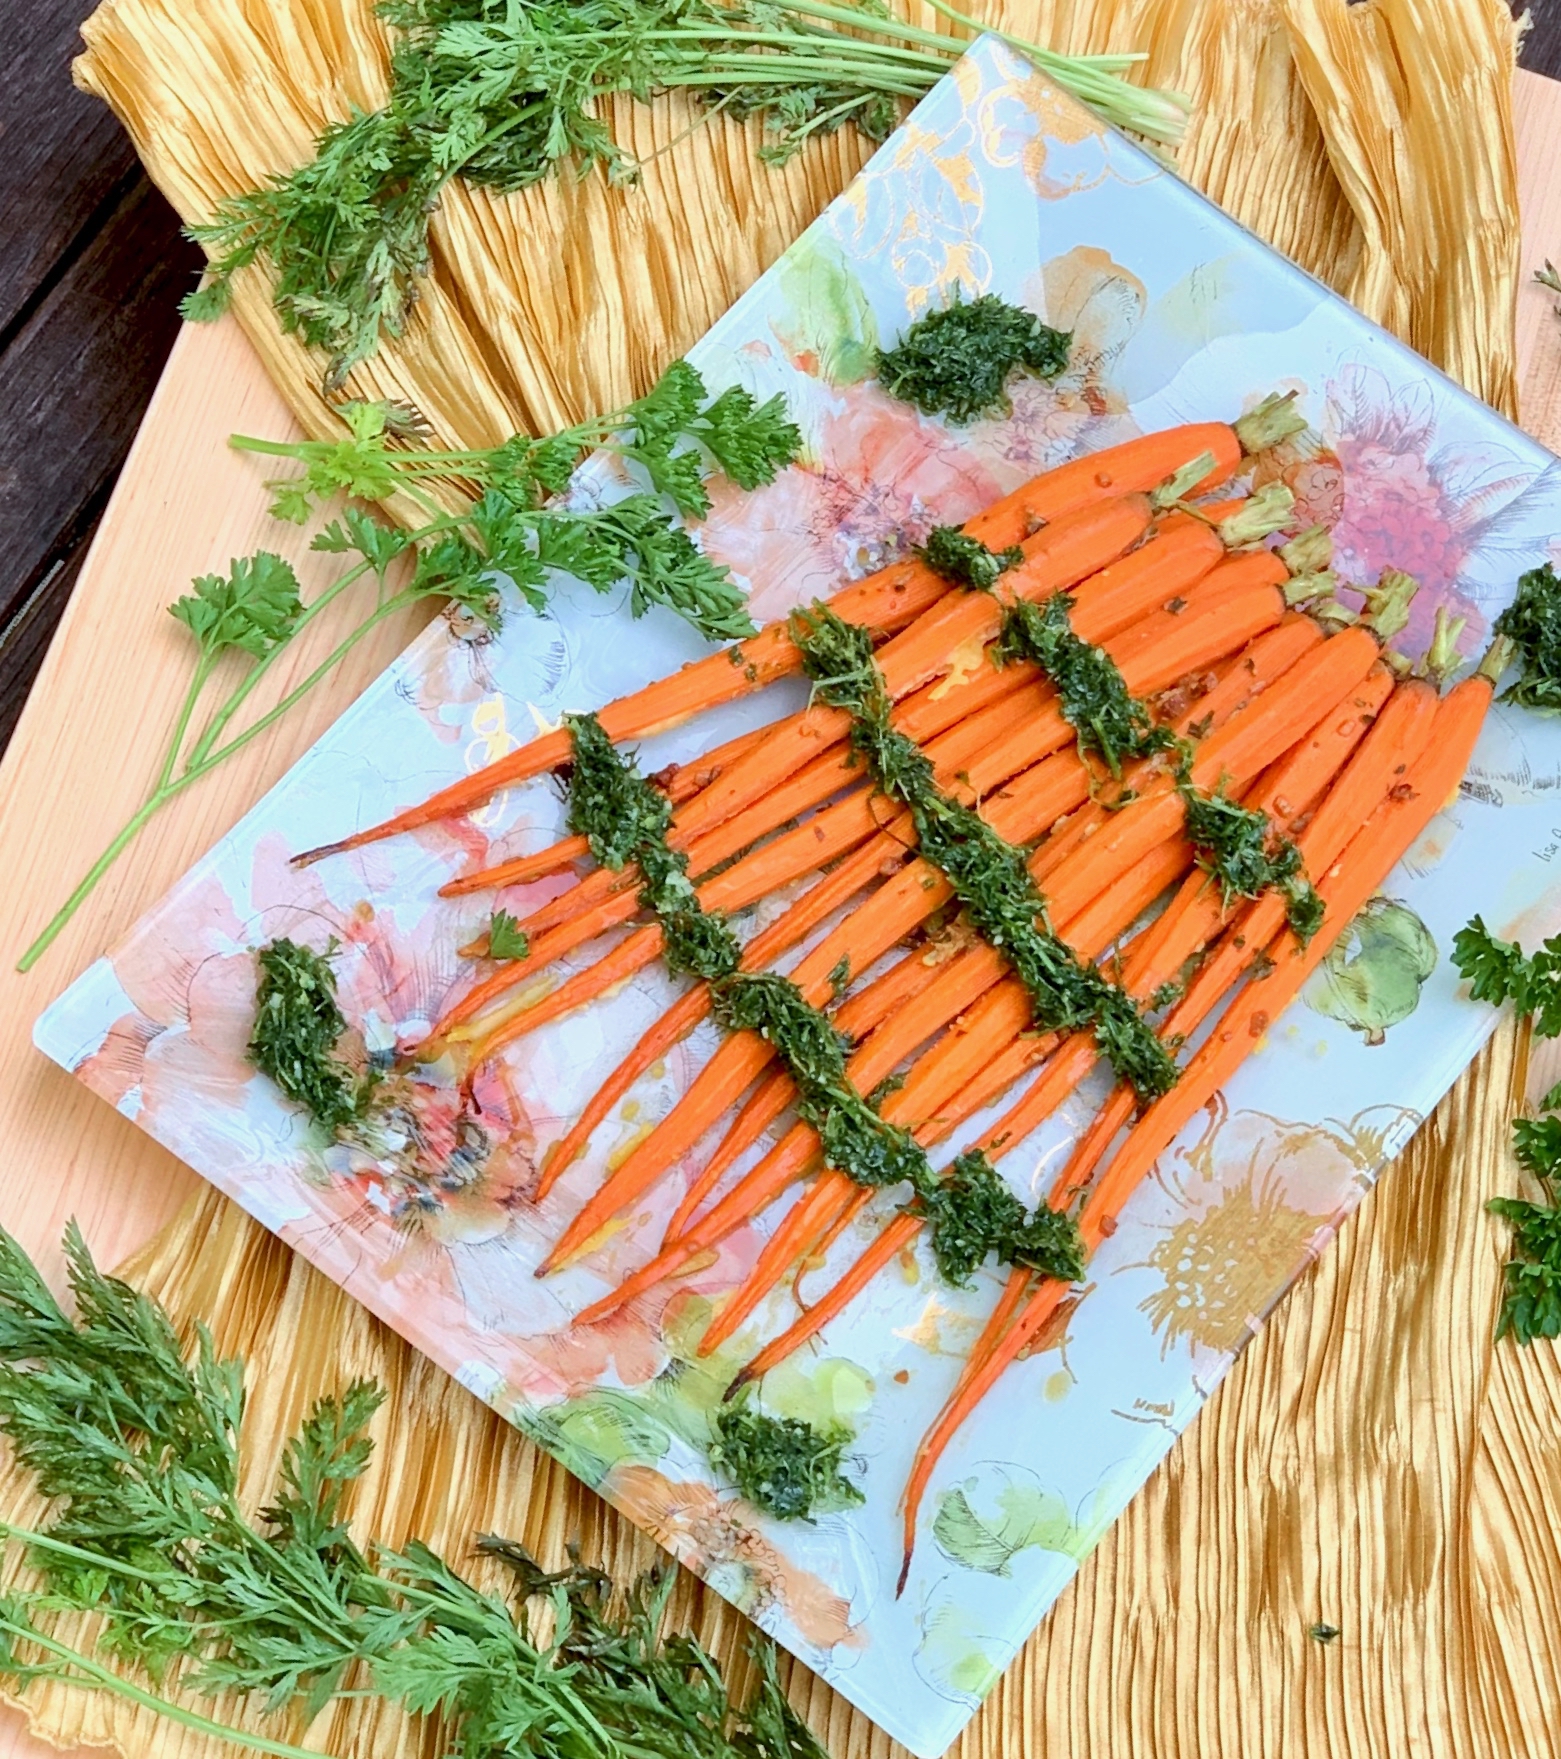
The carrots turn out beautifully roasted. The yummy ingredients of browned butter, honey, and soy complement the carrots, creating a wonderful sauce that is in perfect harmony with the carrots. Each delicate bite is a delightful mix of tangy and sweet. The gremolata adds savory goodness. Even if you think you can’t cook, I promise this will be a winner.  You can do it!

This recipe will serve 4 to 6 people who will be grateful you stepped outside your comfort zone for this elegant preparation.

Ingredients for Honey-Garlic Butter Roasted Carrots:

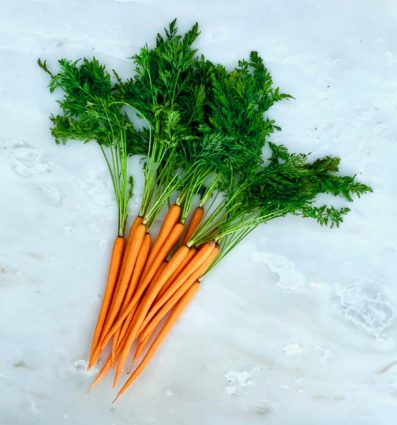
2 3/4-5 pounds small carrots with tops ( about 2 bunches), trimmed, peeled, tops reserved
4 tablespoons unsalted butter, (half a stick), melted
3 cloves garlic, minced
1/4 cup honey
1 1/2 tablespoons soy sauce
1 teaspoon kosher salt
1/4 teaspoon freshly ground black pepper
2 tablespoons coarsely chopped fresh oregano
Flaky sea salt like Malden (optional)

For the Gremolata:

1 bunch parsley
4/5  strands of carrot tops
2 cloves garlic
2 teaspoons fresh lemon juice
Zest of 1/2 lemon
1/2 teaspoon kosher salt
1/4 cup good olive oil

Make the carrots:
Arrange a rack in the middle of the oven and heat to 425°F.

Line a baking sheet with parchment paper.

Set aside.

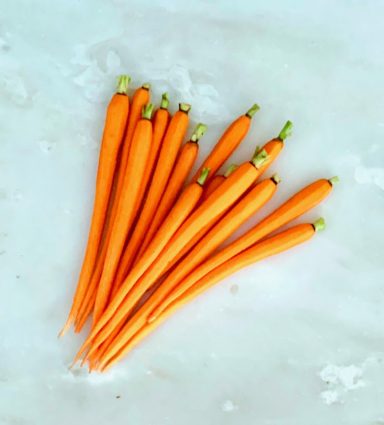
Peel and cut off the top of the carrots, leaving a little green stem on top.
Set aside.

Melt the butter in a small saucepan over medium heat.

Continue cooking, swirling the pan occasionally, until the butter is a light golden color and has a nutty aroma, about 3 minutes.

Watch it closely, don’t let it get too brown here, because after you add the garlic, it will brown quickly.

Add the garlic and oregano and continue to cook, stirring it occasionally, until the butter is toasty-brown, about 30 seconds more.

Watch carefully, so garlic and butter do not burn.
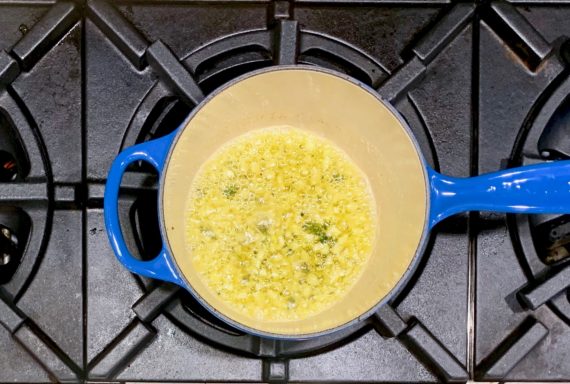
Remove from the heat, add the honey and soy, then whisk to combine.
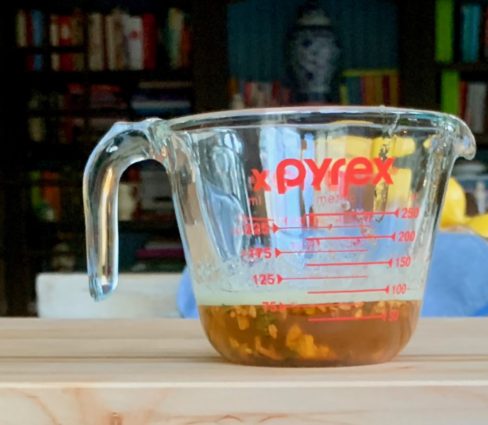
Drizzle half the brown butter sauce over the carrots and toss to coat.

Sprinkle with salt and pepper and toss to coat again.

Spread the carrots into an even layer on the parchment-lined baking sheet.
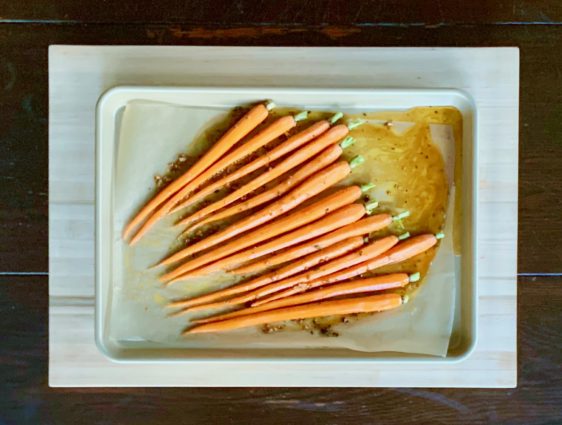
Roast 10 to 15 minutes.

Meanwhile, make the gremolata:

Place all ingredients, except for the olive oil, in a food processor.
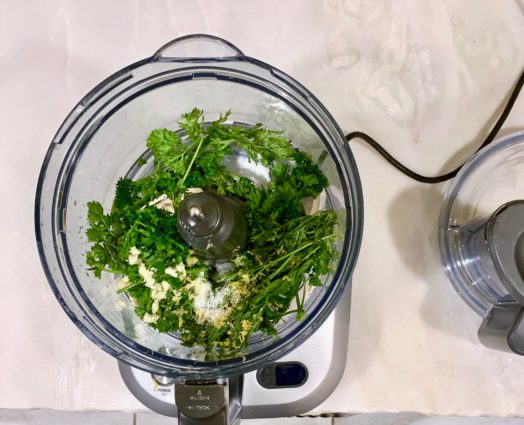
Turn on the processor and slowly drizzle in olive oil till combined.

Set aside. 

Turn over the carrots, then roast again until the carrots are tender and the edges are charred and crispy, about 15 minutes more.

Transfer to a serving bowl.

Drizzle the remaining half of the brown butter sauce over the carrots, add the oregano, and toss to combine.

Add the gremolata to the carrots.

Serve immediately.

It’s that simple!

Can I come in now?
signature

[recaptcha]


The summer always goes so fast. I think most of us would say that most of the things we would like to accomplish in the summer do not get done because it is over before we can blink an eye. Though we may be missing the lazy summer days, the fall brings us beautiful clear skies, and that crisp feeling in the air. 

One of my favorite Fall activities is antiquing. My husband also enjoys antiquing, and it is something we love to do together. Over the years, we collected antique china plates, each different from the next. It took a lot of labor, but it was done with love, and my husband and I are very proud of it.  My Thanksgiving tables of 50, give or take, looks beautiful and eclectic, thanks to our diligence. It has taken several years to collect 60 salad and dinner plates, and now I am on the hunt for antique wine glasses. This is not such an easy task, as most people do not sell single wine glasses, but rather sets of six or four. But I think they will complete my holiday table and make it look genuine. 

September moves very quickly, and soon the holidays will be among us. Planning menus take time, and I think appetizers are among the hardest to find. They need to be simple and easily prepared. I saw this one and knew I had to share it with you.

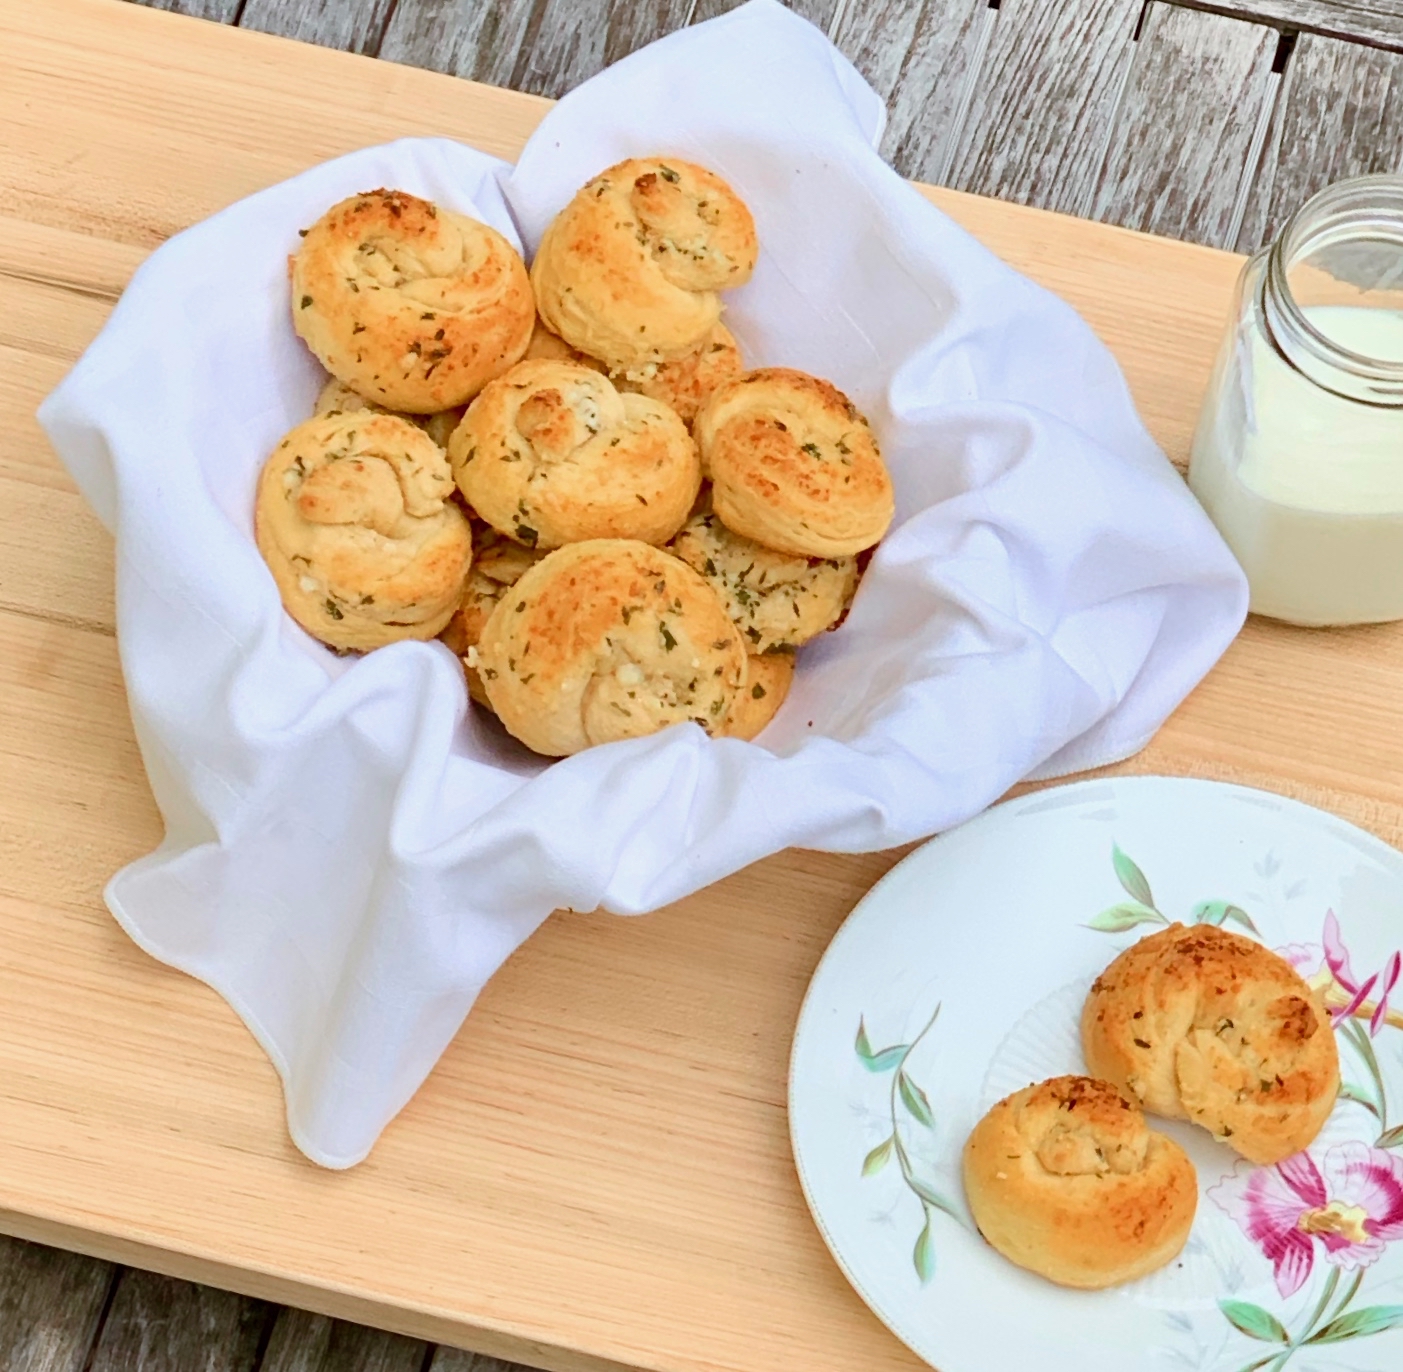
These rolls take little effort to prepare, and they are so delicious and make a beautiful presentation. The buttermilk biscuits are moist and delicate. The Parmesan, garlic, oregano, and parsley doctor them up and make them savory and scrumptious. Pop one into your mouth and it is simply heavenly. Here is a warning; you won’t be able to eat just one, so double the recipe for your guests to enjoy as many as they want.

This recipe is courtesy of Damn Delicious and will serve 16 people who will come back for seconds– and then ask for the recipe!

Ingredients for Easy Garlic Parmesan Knots:

1/4 cup unsalted butter, melted
2 tablespoons freshly grated Parmesan
3/4 teaspoon garlic powder
1/2 teaspoon dried oregano
1/2 teaspoon dried parsley flakes
1/4 teaspoon salt
1 (16-ounce) tube refrigerated buttermilk biscuits

Preheat oven to 400 degrees F.

Lightly oil a baking sheet or coat with nonstick spray.

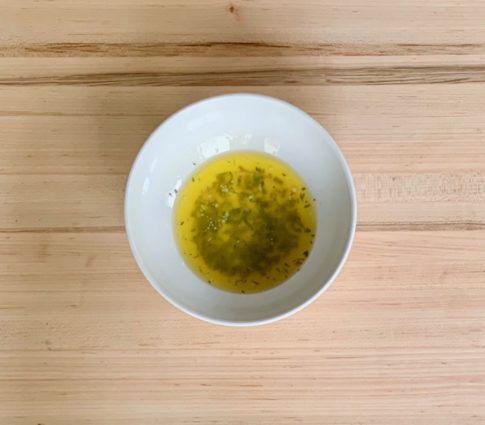
In a small bowl, whisk together butter, Parmesan, garlic powder, oregano, parsley and salt; set aside.

Halve each of the 8 biscuits, making 16 pieces.

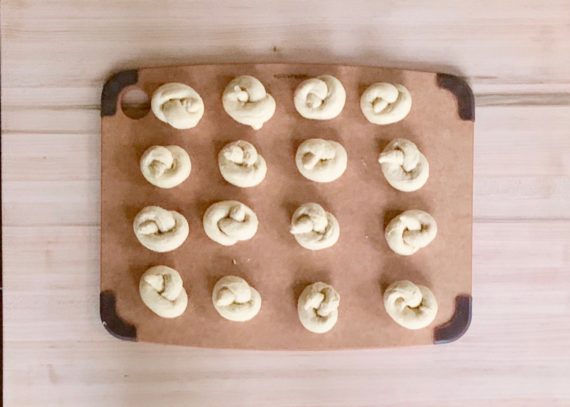
Roll each piece into a 5-inch rope, about 1/2-inch thick, and tie into a knot, tucking the ends.

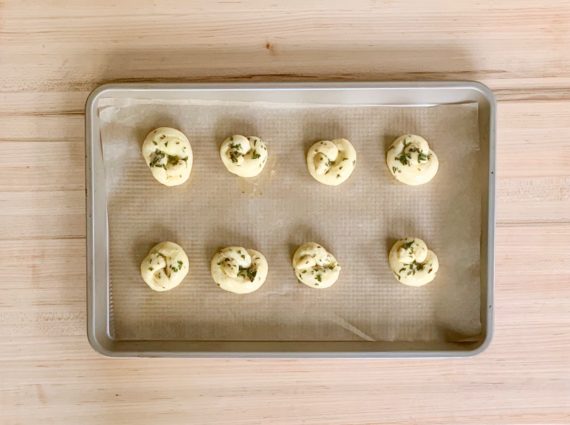
Place knots onto the prepared baking sheet and brush each knot with half of the butter mixture.

Place into oven and bake until golden brown, about 8-10 minutes.

Serve immediately, brushed with remaining butter mixture.

It’s that simple!

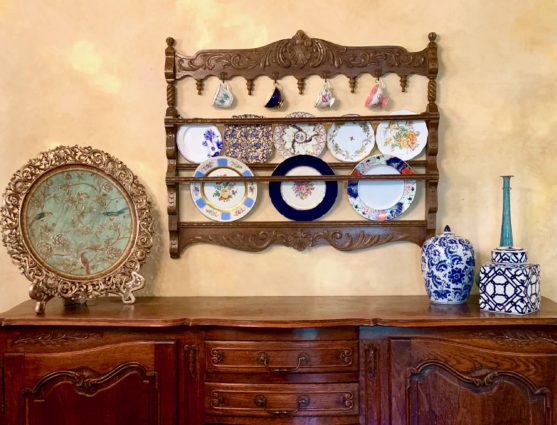
A friend of mine gave me an antique plate holder to diplay some of my antique plates and teacups. I found the perfect  place to hang it, and I just love how it looks!


signature

[recaptcha]


During the next two months, I have three destination weddings to attend and one bridal shower to organize. All of my weekends are taken with rehearsal dinners, receptions, and brunches. You might think it’s a lot, but I am looking forward to all the socializing–I am one lucky lady.

While I am excited to celebrate these wonderful occasions with my closest friends and family, I still have to arrange my own Thanksgiving dinner. As you might imagine, having 50 people at your home for a sit-down dinner takes a lot of time. How will I ever begin to plan? With all the weddings, I am nervous that I will forget something, so I consult a list I’ve kept of the things I need to do for Thanksgiving specifically, starting with the furthest tasks that can be done furthest away from the day.  With all the traveling, I need to be on my game, so I spent my September gathering the things I would normally get in October.

It may seem like a lot, but such careful planning is the only way I can see myself pulling off Thanksgiving dinner without just giving in and calling a caterer. In the midst of this, I also have been gathering the things I will need for my niece’s bridal shower. Even though I’ve had experience planning both of these events before, my head is spinning right now. I thrive under pressure, so I’m sure all will be well. 

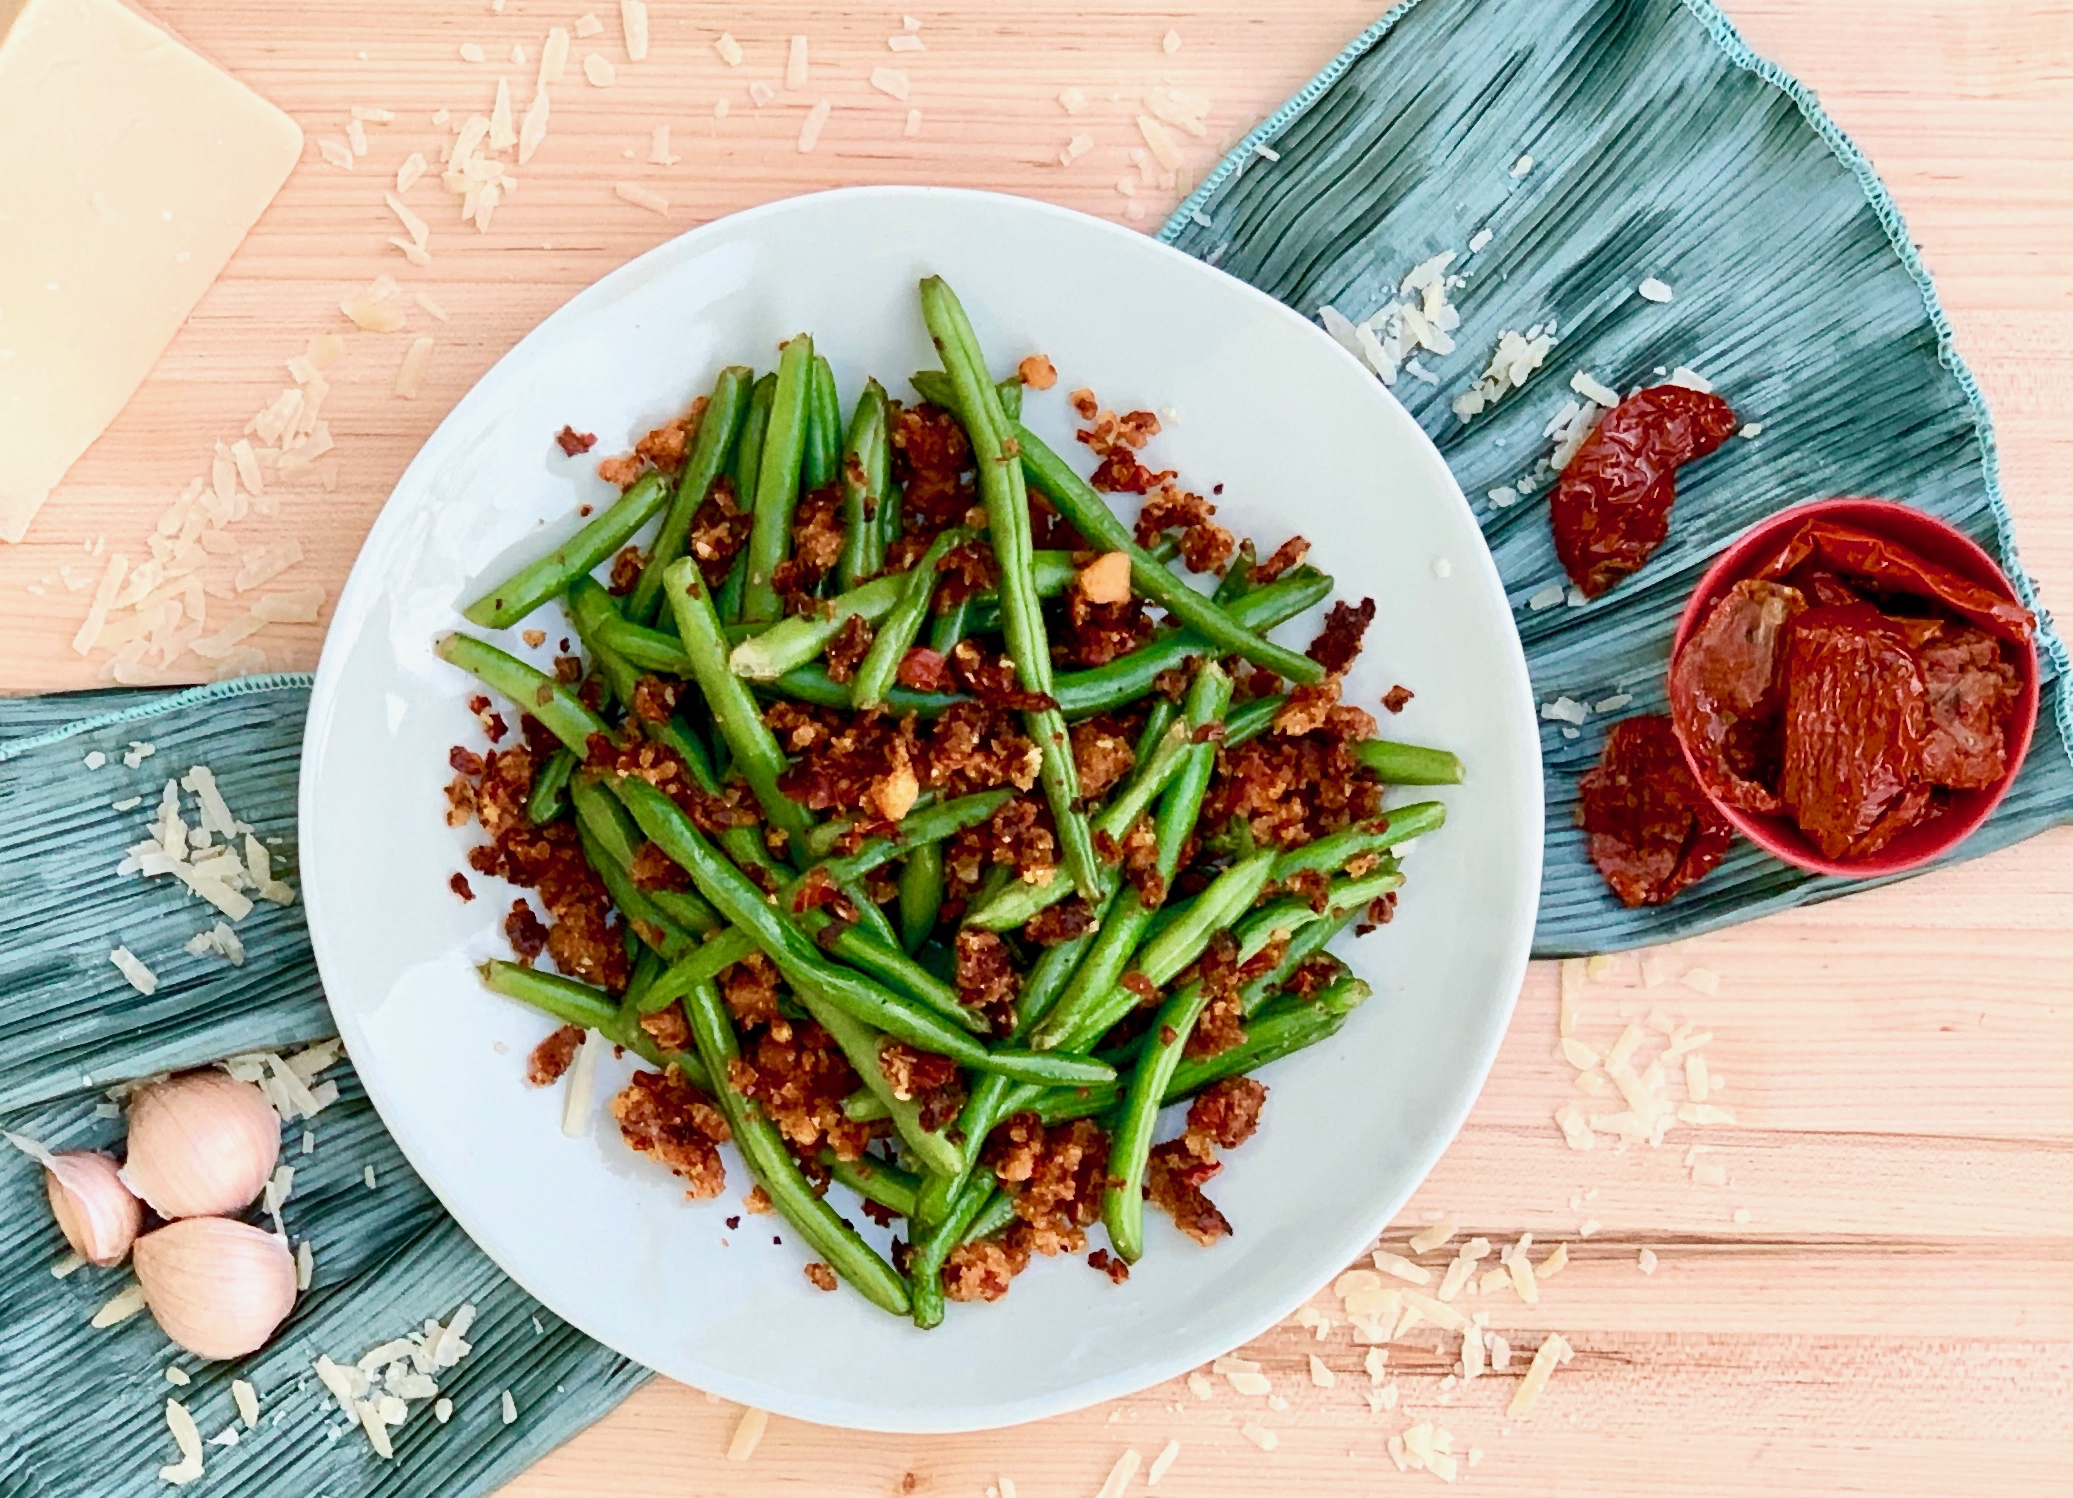
So now that you know how crazy my life is, you understand why I have to keep my recipes really simple right now. Many of you will be happy about that, I’m sure. I am too, but I will miss challenging myself every now and then. This wonderful side dish caught my eye because of its simplicity, but also because I had never heard of sun-dried pesto breadcrumbs. I knew I had to try it. And it also had one of my favorite ingredients: anchovies.

I was pleasantly surprised at how such a simple dish could pack in so much flavor. The sun-dried tomatoes add a nice tomatoey tang to the breadcrumbs. The delicately salted anchovy paste nicely compliments the sun-dried tomatoes. The parmesan gives it cheesy, gooey, goodness. This pesto brightens up plain old green beans into a thoroughly delightful side dish. I think you are going to love this as much as I did.

This recipe is courtesy of Keepers and serves 4 people who will love the simplicity of this dish.

Ingredients for Green Beans with Sun-Dried Tomato Pesto Breadcrumbs:

1/2 cup dried breadcrumbs or panko
2 oil-packed sun-dried tomatoes, drained and minced
2 tablespoons freshly grated pecorino or Parmesan cheese
1 small garlic clove, minced
1/4 teaspoon anchovy paste
Salt and pepper
1 pound green beans
2 tablespoons olive oil

Bring a large pot of water to boil over high heat.

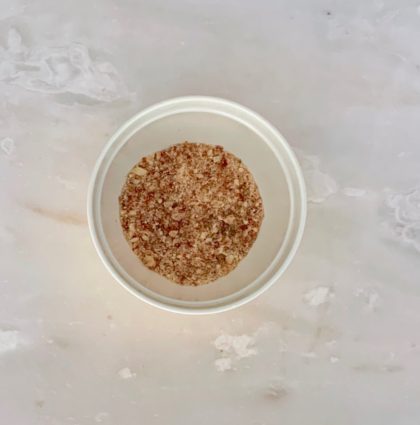
Meanwhile, in a small bowl, using a rubber spatula, or your hands, mash and rub together the breadcrumbs, sun-dried tomatoes, cheese, garlic, and anchovy paste.

Season with salt and pepper, then set the flavored breadcrumbs aside.

When the water boils, season it generously with salt; it should taste like seawater.

When it returns to a boil, add the green beans and gently boil, stirring once or twice, until crisp-tender, about 2 minutes.

Drain, pat dry, then set aside.

In a large skillet, heat the oil over medium heat.

Add the flavored breadcrumbs and toast, stirring often, until golden brown, about 2 minutes.

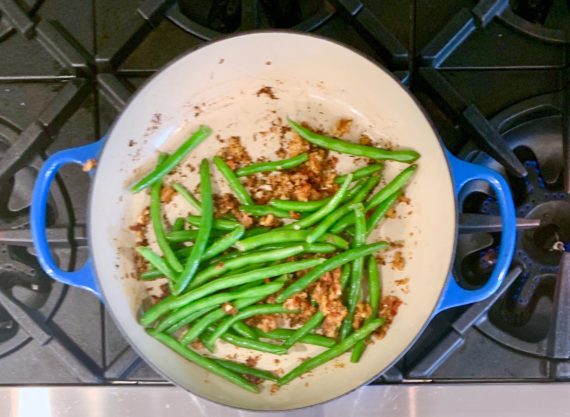
Add the blanched green beans and cook, stirring often, until coated with the breadcrumbs and heated through, about 2 minutes.

Check the seasonings. 

Serve.

It’s that simple!


Mazel

signature

[recaptcha]


It is finally apple season in New England! I remember taking my kids apple picking–their excitement was a joy to watch. Going apple picking is not just about pulling the apples off trees.  There’s fresh pressed cider, cider doughnuts, and sometimes petting zoos and hay rides. The hay ride at our usual farm would go up a steep incline, and we were rewarded with a beautiful view of the red, orange, and golden leaves rolling far into the distance.

Apples are so versatile. They can be eaten fresh, baked, or stewed. They can be made into a sauce, or pressed into cider or juice. They also can be made into jelly, butter, or vinegar.  You can make pies, doughnuts, crisps, crumble cakes, and doughnuts. But let’s be real here; they are most delicious when they are coated with caramel, candy sauce, toffee, or nuts. 

For baking, it is best to pick an apple with a more crisp texture, such as Granny Smith, Golden Delicious, Honeycrisp, or Empire. If you are making cider, chose between Gala, Fuji, McIntosh, or Honeycrisp. The best apples for applesauce are Cortland, Jonagold, Fiji, or Granny Smith. 

By themselves, apples are low in calories and high in fiber, vitamin C, and beta-carotene, the latter of which is found mainly in the peel. Apples also contain boron, which helps prevent osteoporosis and strengthen bones. This fabulous fruit also helps boost estrogen levels in menopausal women, leading to emotional and physiological stability.. And remember, they have no fat, no cholesterol, and no sodium. An apple a day may truly keep the doctor away!

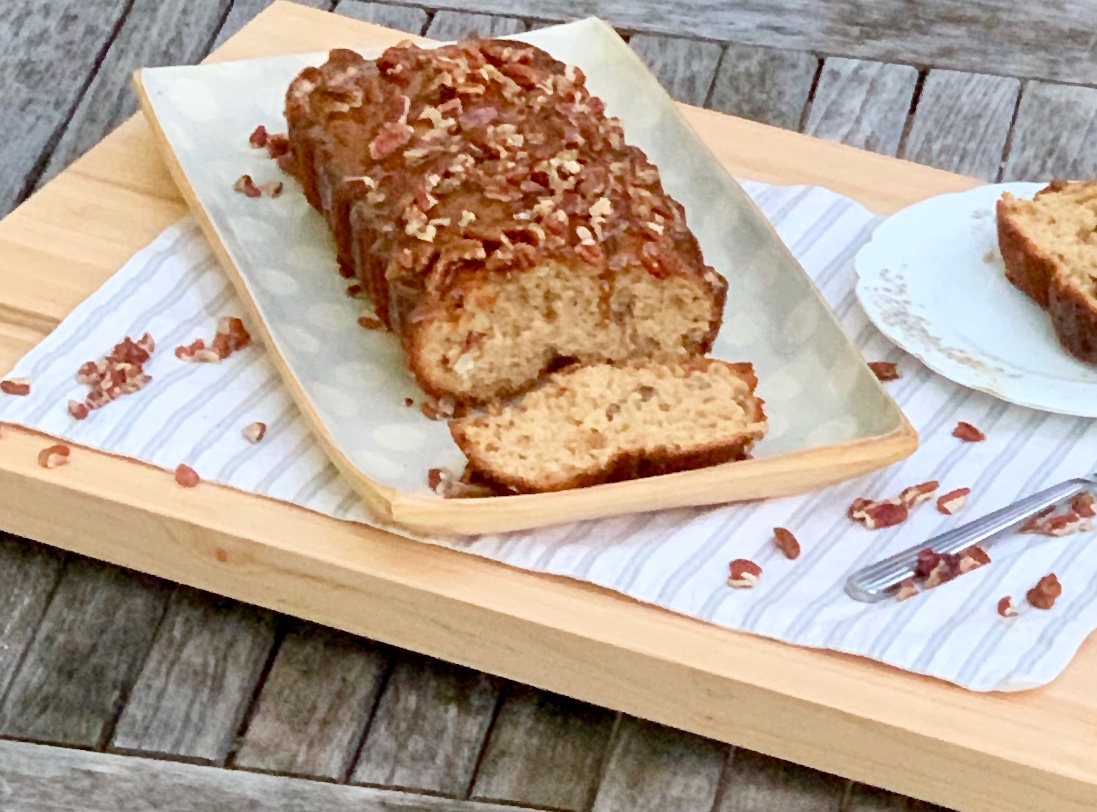
This sweet bread is absolutely outstanding. It is packed with juicy apples, and made into a sweet bread with all the good stuff–brown sugar, vanilla, and cinnamon.  The yogurt and eggs make it incredibly moist. Your house will smell so deliciously of cinnamon and apples. Just when you think it can’t get any better than that, it is then topped with a glaze that truly complements this loaf in every way. You now have a scrumptious, cinnamony, brown sugary loaf of pure goodness. 

This bread is perfect to prepare for  the Jewish Holiday. Happy New Year!

This recipe is courtesy of Sally’s Baking Addiction and will serve 6 to 8 people who will want to come along on your next apple picking outing.

Ingredients for Brown Sugar Glazed Apple Bread:

1/4 cup butter, softened to room temperature
3/4 cup plain yogurt (Greek or regular)
1/3 cup dark brown sugar
 2/3 cup granulated sugar
2 eggs
2 teaspoons vanilla extract
2 cups all-purpose flour
2 teaspoons baking powder
1/4 teaspoon baking soda
1 1/2 teaspoons ground cinnamon
3/4 teaspoon salt
1 large Granny Smith apple, peeled and diced 
1 cup chopped pecans

For the brown sugar glaze:

1 cup dark brown sugar
1/4 cup butter
1/3 cup heavy cream 
1/2 cup confectioners’ sugar, sifted

Adjust the oven rack to the lower third position and preheat the oven to 350 degrees F.

Spray a 9 x 5-inch loaf pan with non-stick spray and set aside.

Make the bread:

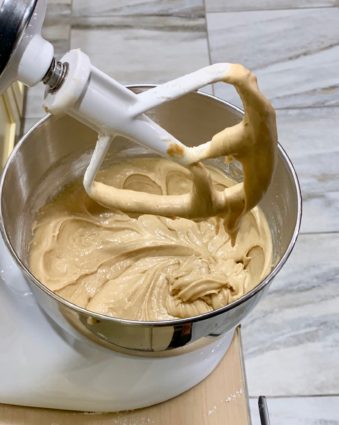
In a large bowl using a handheld mixer or stand mixer fitted with the paddle attachment, beat butter, yogurt, brown sugar, and granulated sugar on medium speed until creamed, about 2 to 3 minutes.

Add the eggs, one at a time, beating well after each addition.

Scrape down the sides of the bowl as needed.

Add the vanilla and beat on medium speed until everything is combined, about 2 full minutes.

Remove the bowl from the mixer if using a stand mixer.

Set aside.

In a medium bowl, whisk the flour, baking powder, baking soda, cinnamon, and salt together.

Using a large spoon or rubber spatula, slowly mix the dry ingredients into the wet ingredients.

Slowly stir everything together until no more flour pockets remain.

The batter will be thick, but do not overmix it.

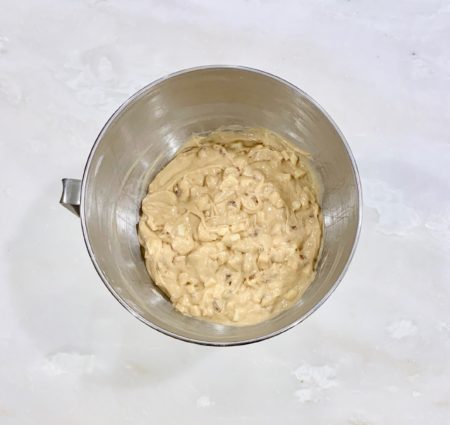
Fold in the chopped apple and 2/3 cup of the pecans.

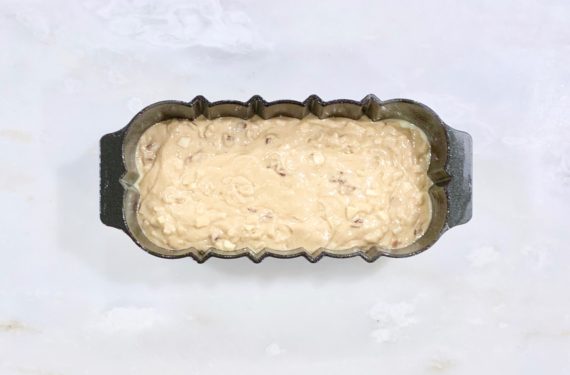
Spoon into the prepared loaf pan and bake for 55-65 minutes, making sure to loosely cover the loaf with aluminum foil halfway through to prevent the top from getting too brown.

The loaf is done when a toothpick inserted in the center comes out clean.

Allow the loaf to cool completely in the pan on a wire rack.

Make the glaze:

Combine the brown sugar, butter, and heavy cream in a medium saucepan over medium heat.

Bring to a boil, stirring the mixture often.

Allow to boil for 1 minute, then turn the heat down to low and allow to simmer for 1 minute.

Remove from the heat and whisk in the confectioners’ sugar.

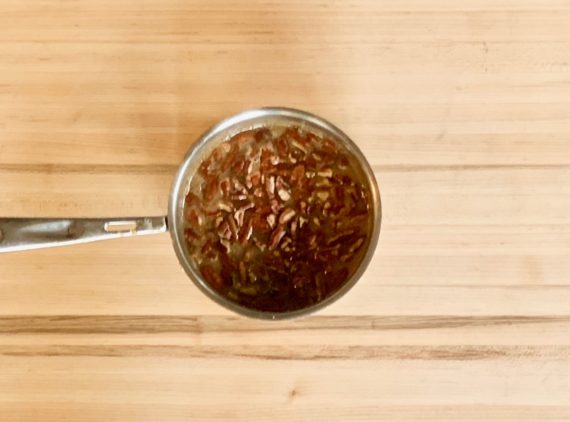
Add the remaining 1/3 cup of pecans.

Allow to cool for 3 minutes then spoon over bread while it is still warm.

The bread stays fresh in an airtight container at room temperature for up to 5 days and in the refrigerator for up to 7 days.

Serve warm or cold.

It’s that simple!


signature

[recaptcha]


Baking has always intimidated me. Too many failures does not make one want to continue trying. Now that I have some experience, I find that I really do enjoy baking, and it is not that hard… if you know what you’re doing.

Ever heard the phrase “measure twice, cut once?”  Same applies here. Carefully read the recipe ingredients and instructions twice. This will make you familiar with both the ingredients and the instructions.  You don’t want to combine your ingredients, only to discover you were supposed to mix them in separately.

Make sure you have all the right equipment. You don’t want to mix up some batter and then find out that your nine-inch pan is only eight inches.

Make a checklist of all necessary ingredients. It will save you a late night grocery store run.

Learn the lingo. “1 tablespoon chopped nuts” means you chop the nuts first and then measure out a tablespoon. “1 tablespoon nuts, chopped” means you should measure out a tablespoon of nuts and then chop them. If the recipe calls for eggs, it usually means large eggs.  “Butter” almost certainly means unsalted butter too.

Work by the principle of mise en place.  A French phrase that means roughly “everything in its place,” mise en place means that you should gather, measure, and prepare the ingredients before starting to bake. You won’t have to rush to chop anything ever again.

Look for ingredients you may have to take out of the refrigerator and bring to room temperature. This often takes 1 hour. 

If a recipe is properly written, the ingredients will be listed in the order that they will be used in the recipe. I line the ingredients up in that order so I can easily find them.

Preheat your oven if necessary.

Finally, remember that cooking is a journey and you learn through experience. Find the way that works for you and enjoy it. Soon, everything will come with ease.

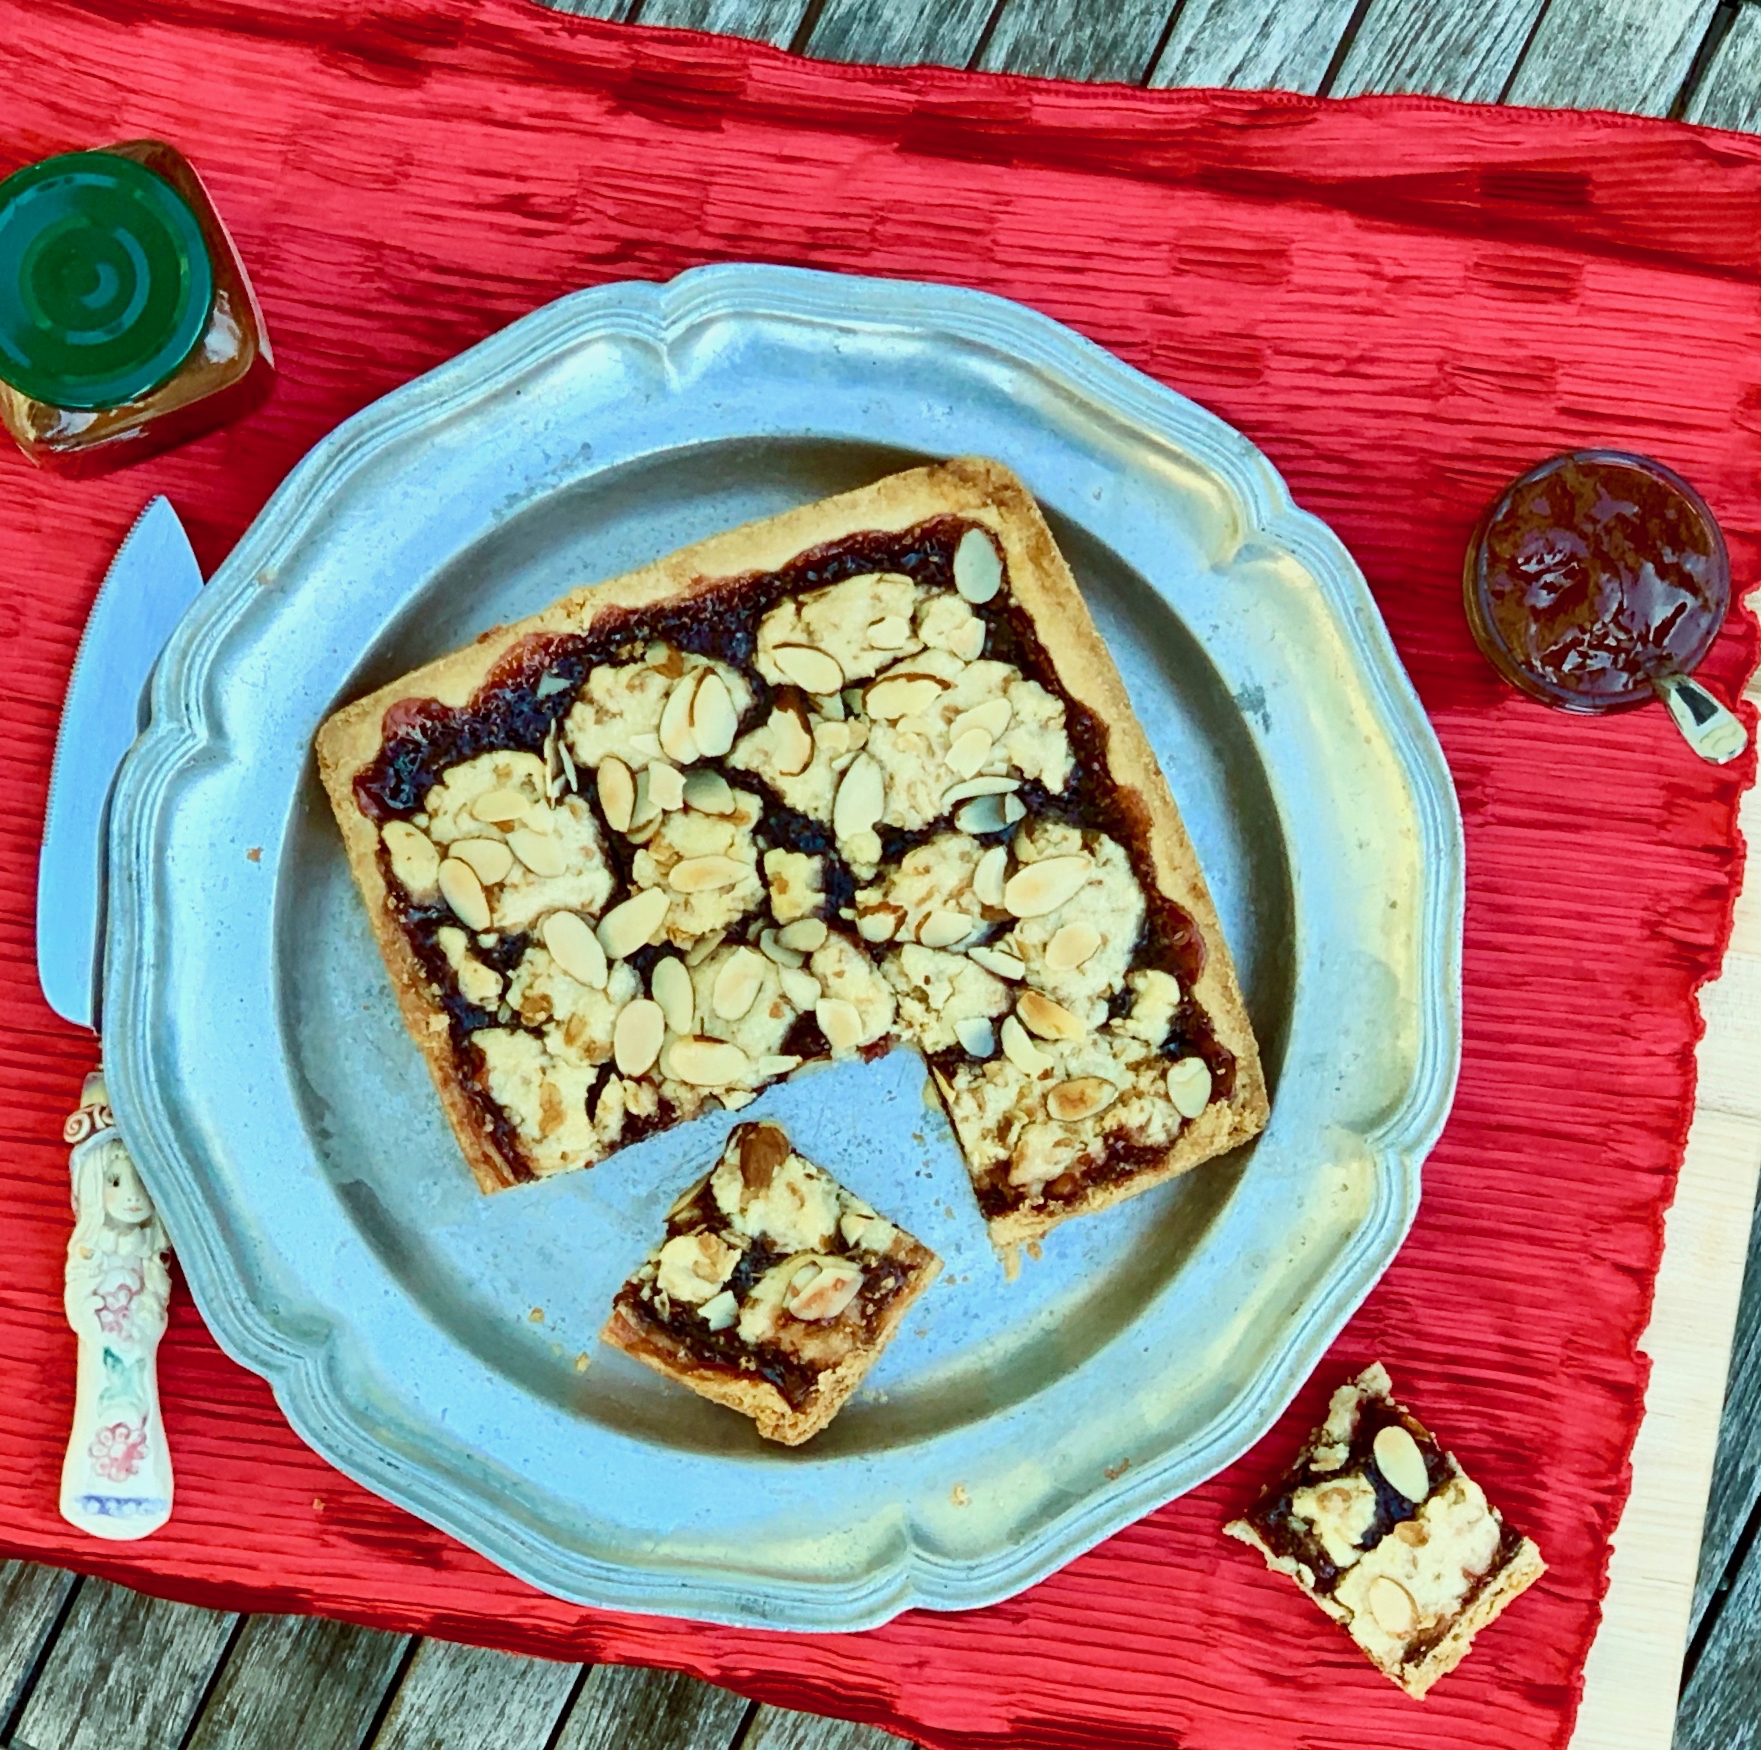
This recipe, to my great surprise, calls for raspberry jam and not the real ones. But, as always, Ina knows her stuff and these bars are a real sweet treat. The raspberry jam gives it just the right combination of tart and sweet. The granola always adds delicious flavor and texture. The almonds offer a nice crunch to finish. This is so delightfully enjoyable, you will almost certainly find yourself eating a little more than you want to.

The recipe is courtesy of Ina Garten and will make 9 to 12 bars for people who will thank you for reading the recipe twice!

Ingredients for Raspberry Crumble Bars:

1/2 pound (2 sticks) unsalted butter at room temperature
3/4 cup sugar
1 teaspoon pure vanilla extract
2-1/3 cups all-purpose flour
1/2 teaspoon kosher salt
10 to 12 ounces good raspberry jam, such as Hero
2/3 cup good granola without dried fruit
1/4 cup sliced almonds
Confectioners’ sugar, for sprinkling

Preheat the oven to 350 degrees.

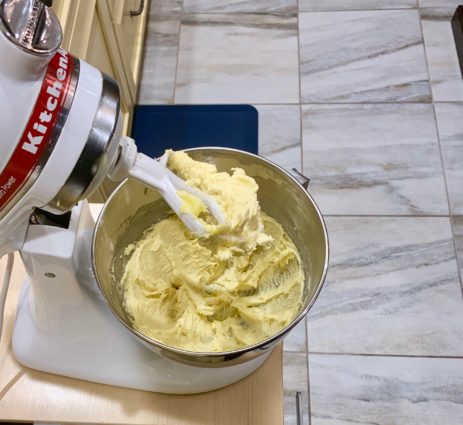
Place the butter and sugar in the bowl of an electric mixer fitted with the paddle attachment and mix on medium speed just until combined.

With the mixer on low, add the vanilla.

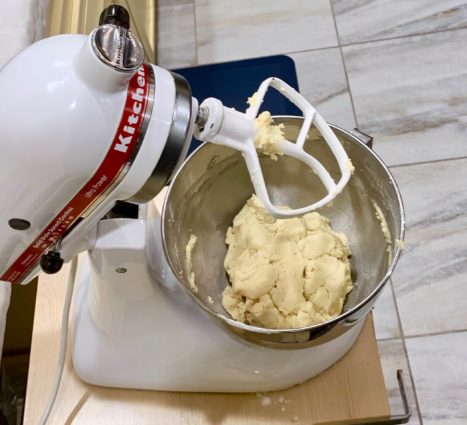
Sift the flour and salt together and, with the mixer on low, slowly add to the butter mixture, mixing until it almost comes together in a ball.

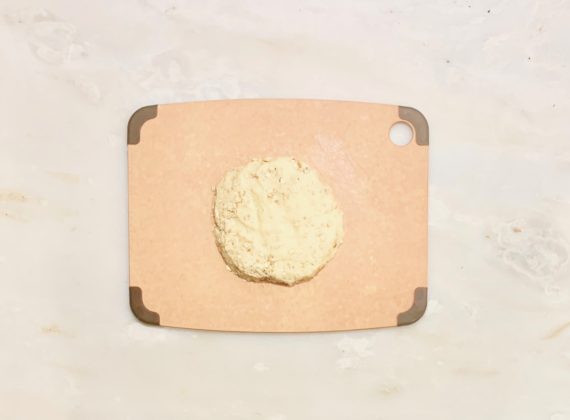
Turn the dough out on a board.

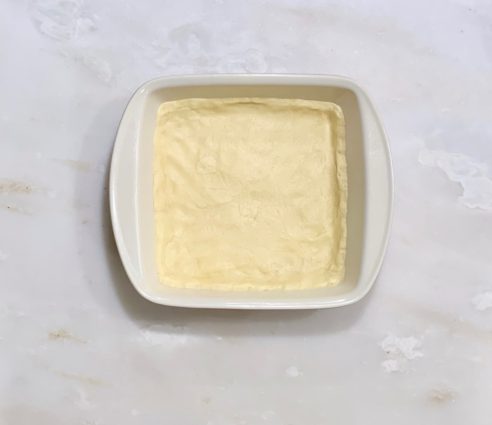
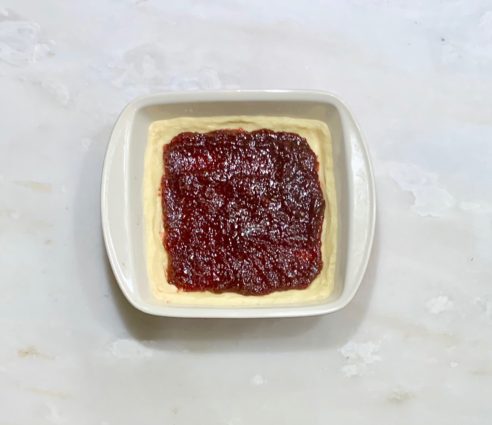
Lightly pat two-thirds of the dough evenly on the bottom of a 9-inch square baking pan and about ¼ inch up the sides.

Spread with the jam, leaving a ¼-inch border.

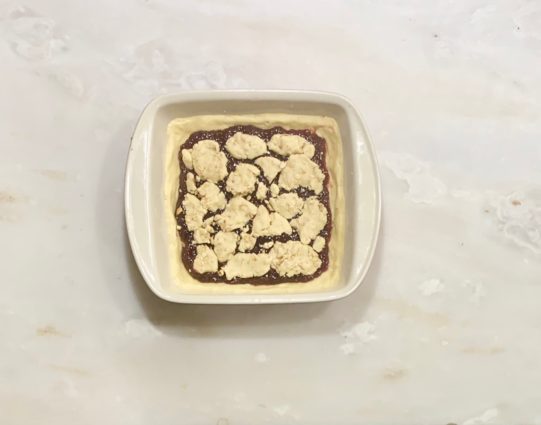
Mix the granola into the remaining dough with your hands.

Break the dough into small bits and distribute it on top of the jam, covering most of the surface. Sprinkle the almonds on top.

Bake the bars for 45 minutes, until lightly browned.

Cool completely and cut into 9 or 12 bars. Sprinkle lightly with confectioners’ sugar.

It’s that simple!


signature

[recaptcha]