Twice a year, my OCD gets the best of me: Spring and Fall. Fall brings out the necessity to clean and organize, since I know I will be hosting 50 (or more!) people in my home for Thanksgiving dinner, as well as assorted family members who stay with me for a few days. This year is especially stressful because I have some weekend weddings, rehearsal dinners, and brunches. And to top it off, I am hosting a bridal shower too. With all this going on, it will certainly be a challenge to prepare my house.

In addition to tidying up the more public rooms, I need to make sure that all the bedrooms and bathrooms have everything they need for my full-time guests: clean linens, towels, blankets, and pillows. I will freshen up the bathrooms with clean towels, soap, shampoo, toothpaste, and hand soap.

I am particularly excited that my great-nephew and niece will be staying over. They love my three dogs, and while the dogs provide them with much-needed entertainment, I also make sure there are games, crayons, markers, and toys to occupy them. I love having everyone stay over, but those two little ones are my greatest joy. It is so nice to have children in the house, with their shrieks of laughter and tiny footsteps echoing down the halls.

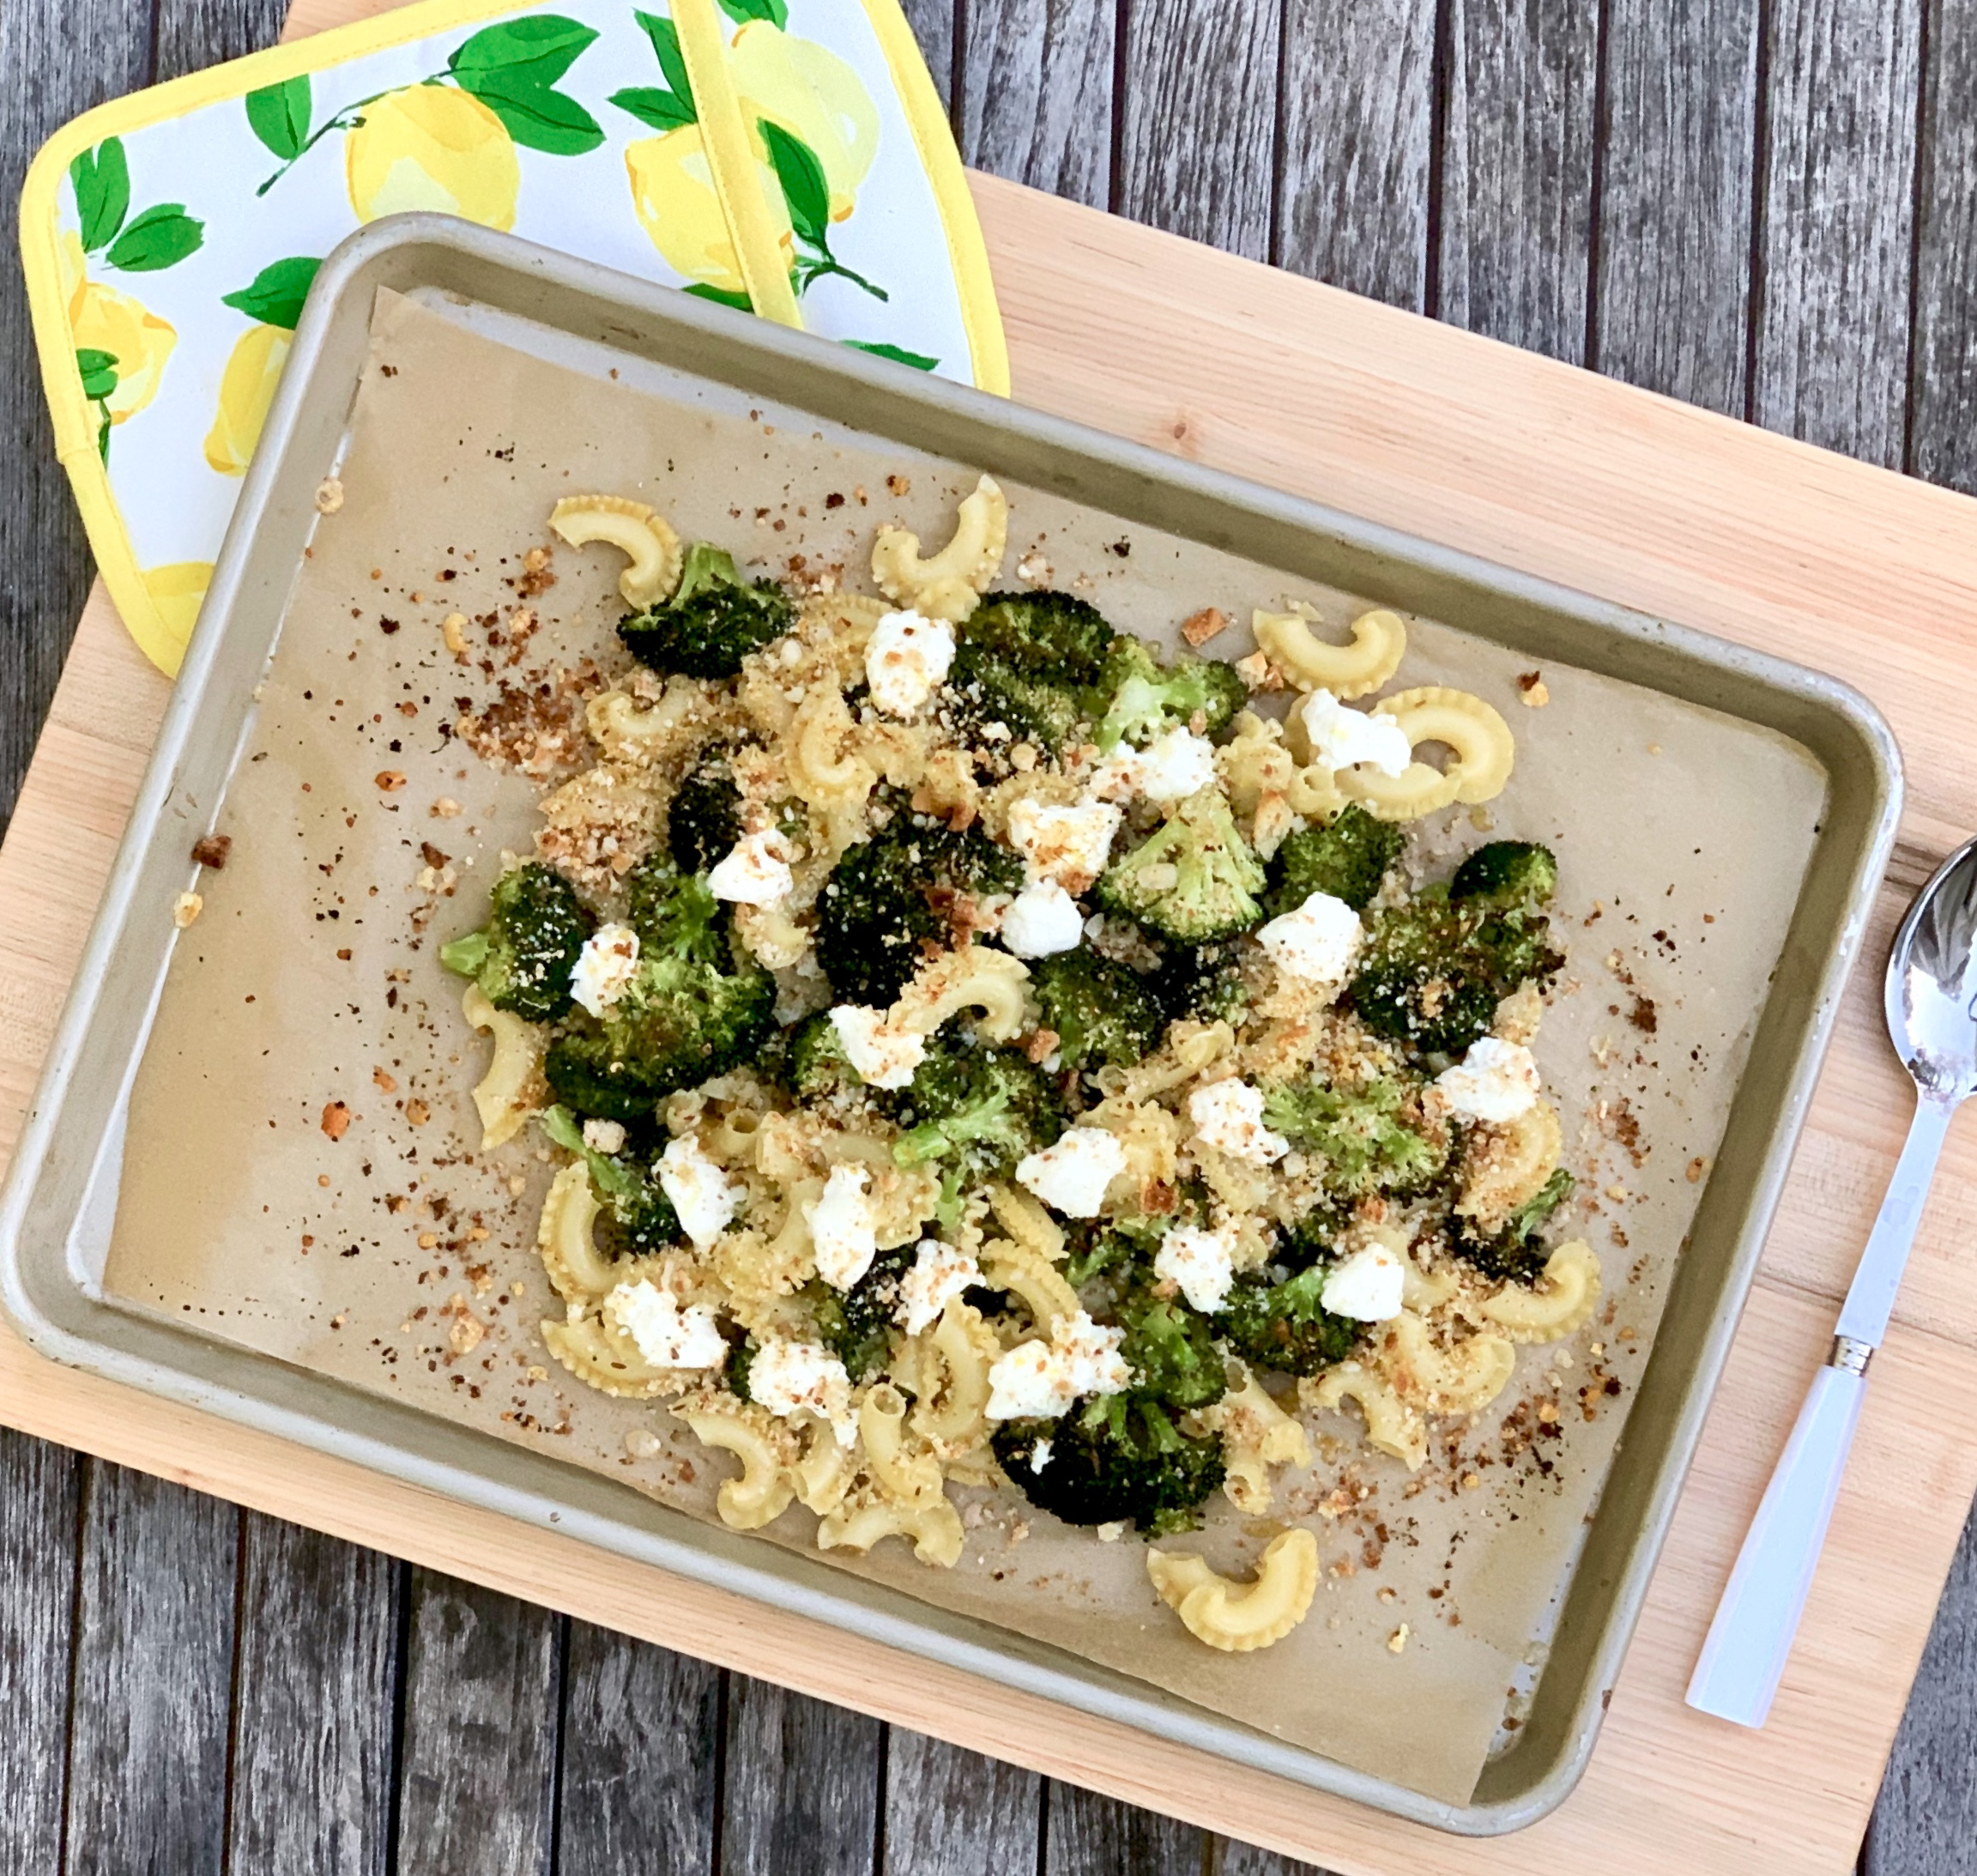
While I would love to prepare this recipe for Thanksgiving, I would have to make way too much pasta for all 50 people. I don’t think I even own enough pots to make that much! If you are expecting a reasonable amount of guests, I would definitely add this to your menu.

The pasta is combined with the lemon zest which adds a little tang. The parmesan and ricotta are creamy and oh so cheesy gooey delish. The cumin is savory perfection and the panko and broccoli add a yummy, crunchy texture. The red pepper flakes bring the perfect amount of heat, so that even those who don’t like spicy foods can have a taste.

This recipe is courtesy of The New York Times and will serve 4-6 people, gathered around your Thanksgiving table.

Ingredients for Sheet-Pan Roasted Broccoli Pasta:

2 ½ pounds broccoli, cut into bite-sized florets
2 tablespoons extra-virgin olive oil, more as needed
1 teaspoon cumin seeds (optional)
¾ teaspoon kosher salt, more as needed
½ teaspoon red pepper flakes, or to taste
12 ounces chiocciole or other tube-shaped pasta
⅓ cup grated Parmesan cheese
⅓ cup panko bread crumbs
1 tablespoon finely grated lemon zest
½ teaspoon freshly ground black pepper
12 ounces best-quality, whole milk ricotta
Fresh lemon juice, for serving (optional)

Heat oven to 425 degrees.

On a rimmed baking sheet, toss together broccoli, oil, cumin (if using), 3/4 teaspoon salt, and the red pepper flakes.
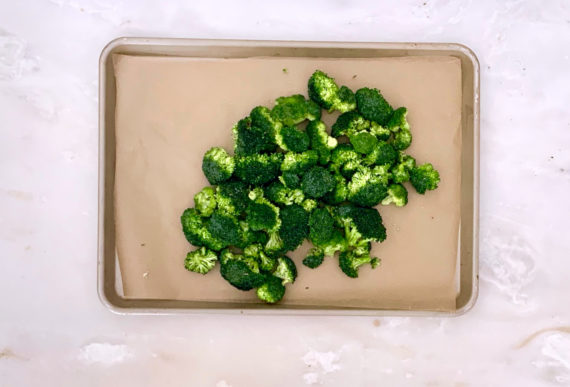
Roast until tender and browned at the edges, 18 to 25 minutes, tossing halfway through.

Remove from oven and set oven to broil.

Meanwhile, bring a large pot of salted water to boil.

Cook pasta according to package directions; drain.

In a small bowl, stir together Parmesan, panko, lemon zest, a pinch of salt and the black pepper.
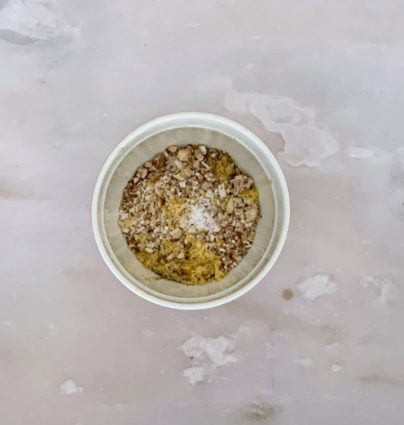
Toss cooked pasta with broccoli on baking sheet.
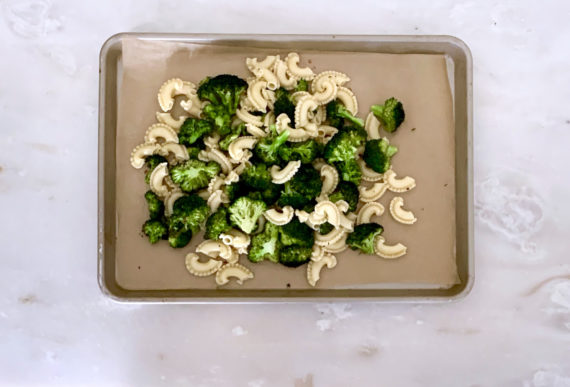
Season with salt and pepper to taste, then dollop with ricotta. Sprinkle with Parmesan mix, drizzle generously with oil, and broil until topping is crisped and golden, 2 to 3 minutes.

Sprinkle with lemon juice to taste, and serve.

It’s that simple!

Happy Puppy!
signature

[recaptcha]


I love New Jersey’s charming little towns. I grew up in New York, where there were few towns that compare to the ones here. These all have their own unique vibes. My husband and I love using Fall weekends to explore new towns or revisit old favorites. These towns offer peace and tranquility, and we go frequently to learn more about the history of the area, or just to stroll down the main street and shop.

Many have high-end clothing stores as well as vintage ones. They have farm stands with fresh apples, pumpkins, soups, chili, cider doughnuts, and apple cider. There are farms that are turned into an Autumn adventure land, complete with pumpkin picking, pony rides, wine tasting, and live music. 

Some towns have an old-world Victorian look. Many have beautiful rivers running through them. Some towns have big festivals with pie-eating contests, hat making, bounce houses. and food vendors. Oftentimes, the food vendors make authentic food that is definitely worth a taste. These quaint towns are always walkable, and you will find unique bookstores and small coffee shops offering up a great cup of joe. There are independent shops, art museums, and family-owned restaurants. 

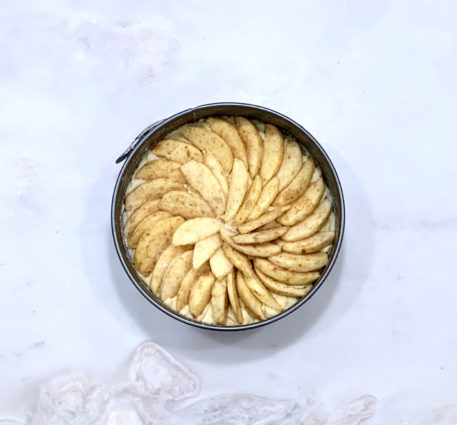
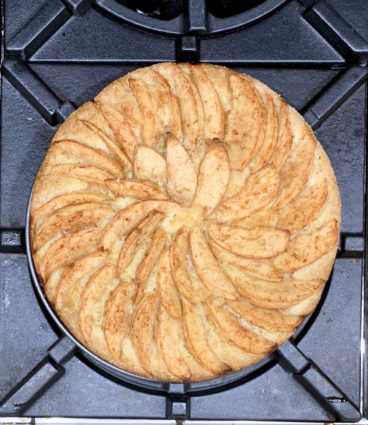
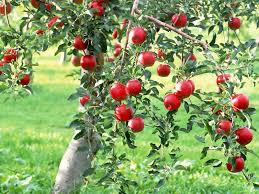
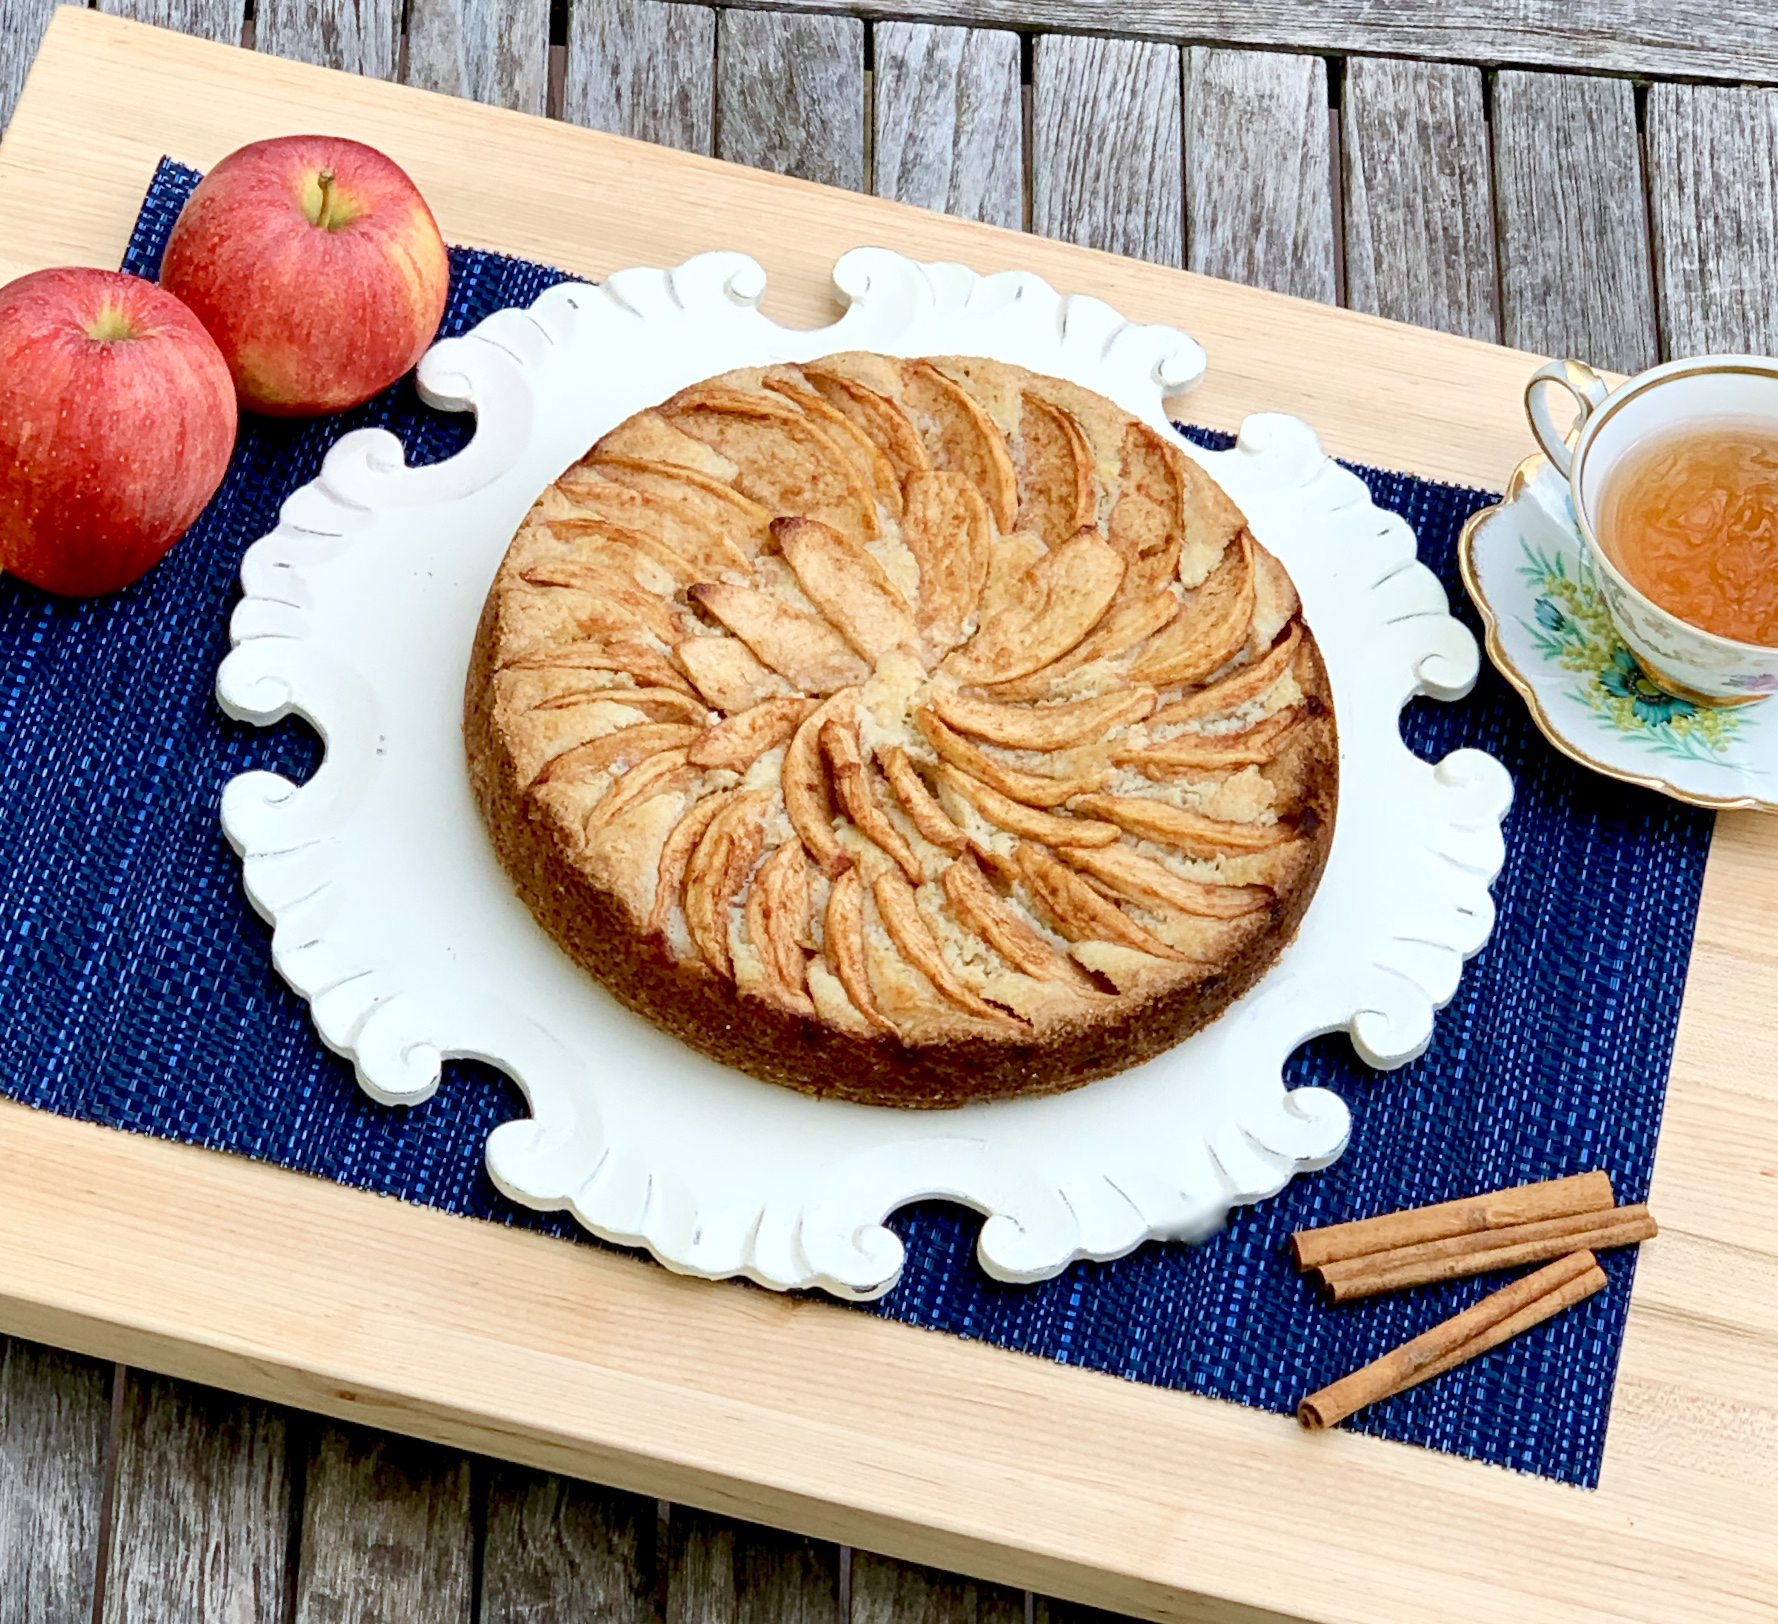
Even though these towns call us away on the weekend, there are many local farms, so I don’t have to go far to get the best stuff.  This year I got carried away and bought way too many apples. Some I gave away to friends, but I still have more than I can handle. This is a dessert that I retrieved from an old Joan Nathan book, and one I have wanted to try for a long time. It was well worth the wait. The Gala apples are baked to perfection and present beautifully on top of the cake — be sure to arrange them carefully! The apple brandy was a really nice touch that gives the cake a pleasant sweetness. The cinnamon and ginger added a savory Fall touch. This is a “must try.” Trust me, you will be missing out on something wonderful if you don’t indulge.

This recipe is courtesy of Joan Nathan and will serve 6 to 8 people who will want to come exploring on your next Fall road trip.

Ingredients for Babette Friedman’s Apple Cake:

8 ounces (2 sticks) unsalted butter, more for greasing pan
1 ⅓ cups plus 1 tablespoon sugar
⅛ teaspoon salt
2 large eggs
2 cups all-purpose flour
2 teaspoons baking powder
4 Gala or other flavorful apples, peeled, cored and each cut into 8 slices
½ teaspoon Calvados or apple brandy
1 teaspoon freshly grated ginger
½ teaspoon ground cinnamon

Preheat oven to 350 degrees.

Butter a 9-inch springform pan, and set aside.

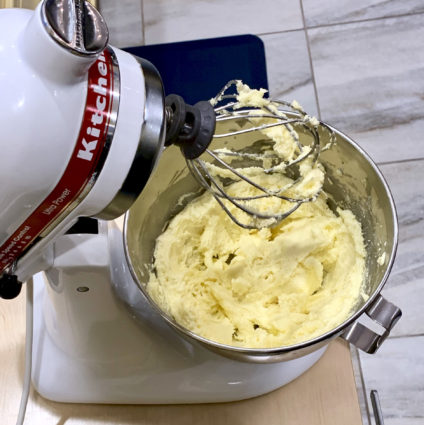
In bowl of an electric mixer fitted with a whisk attachment, combine remaining 8 ounces butter, 1 1/3 cups sugar and the salt.

Mix until blended.

Add eggs and whisk until smooth.

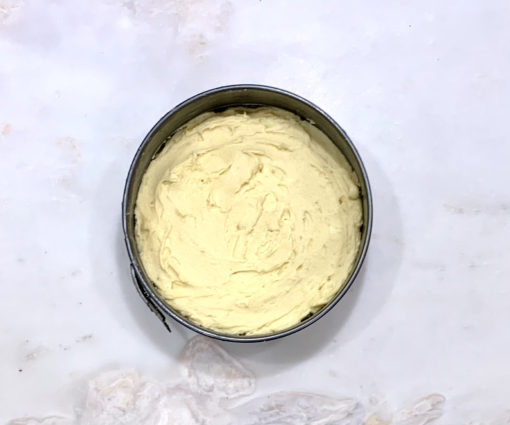
Using a rubber spatula, gently fold in the flour and baking powder until thoroughly mixed.

Fold in a few of the apples, and spread batter evenly in pan.

In large bowl, toss remaining apples with Calvados, ginger and cinnamon.

Arrange apple slices in closely fitting concentric circles on top of dough; all the slices may not be needed.

Sprinkle remaining 1 tablespoon sugar over apples.

Bake until a toothpick inserted into center of cake dough comes out clean and apples are golden and tender, about an hour and 15 minutes.

Serve warm or at room temperature.

It’s that simple!

signature

[recaptcha]


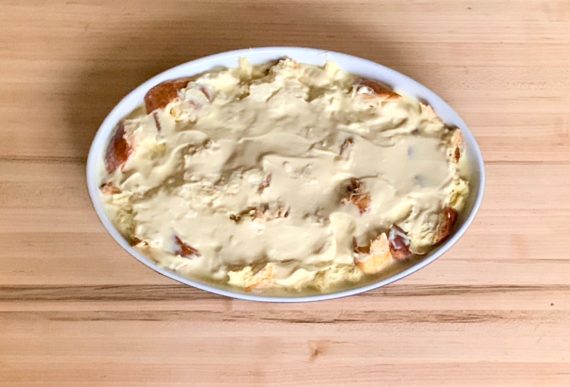
I waited a long time to have my first taste of bread pudding–too long, in fact. My lack of bread pudding wasn’t by choice, I simply had never heard of it until I had children of my own. Though I grew up with Mandel bread, babka, and rugelach, we never had bread pudding. Well into adulthood, a friend brought it to a party I attended, and as soon as I tasted it, I was hooked. It left an indelible mark on my memory.

Our favorite restaurant in town serves a different bread pudding every day, using the bread from the day before to make it– what a great way to reuse the leftover loaves! Now, every time I am there, I have to try it. Even if the ingredients don’t sound appealing to me, I always try it, and it is always so delicious. It is perfect for dessert or brunch.

Bread pudding is layers of bread mixed with a delicious, creamy custard made from eggs, sugar, and cream or milk. Using heavy cream alone will give the richest, most delicious results, but you can use milk, half-and-half, or a combination.

It is very easy to make and there are so many possibilities when choosing ingredients. Raisins, apples, almonds, white chocolate, chocolate chips, bourbon, caramel sauce… the list goes on! Use just one, or two that pair well together. There are also many bread choices to make it with. My favorite is challah bread, but you could use brioche, French or Italian bread. No matter the bread, it always comes out perfect.

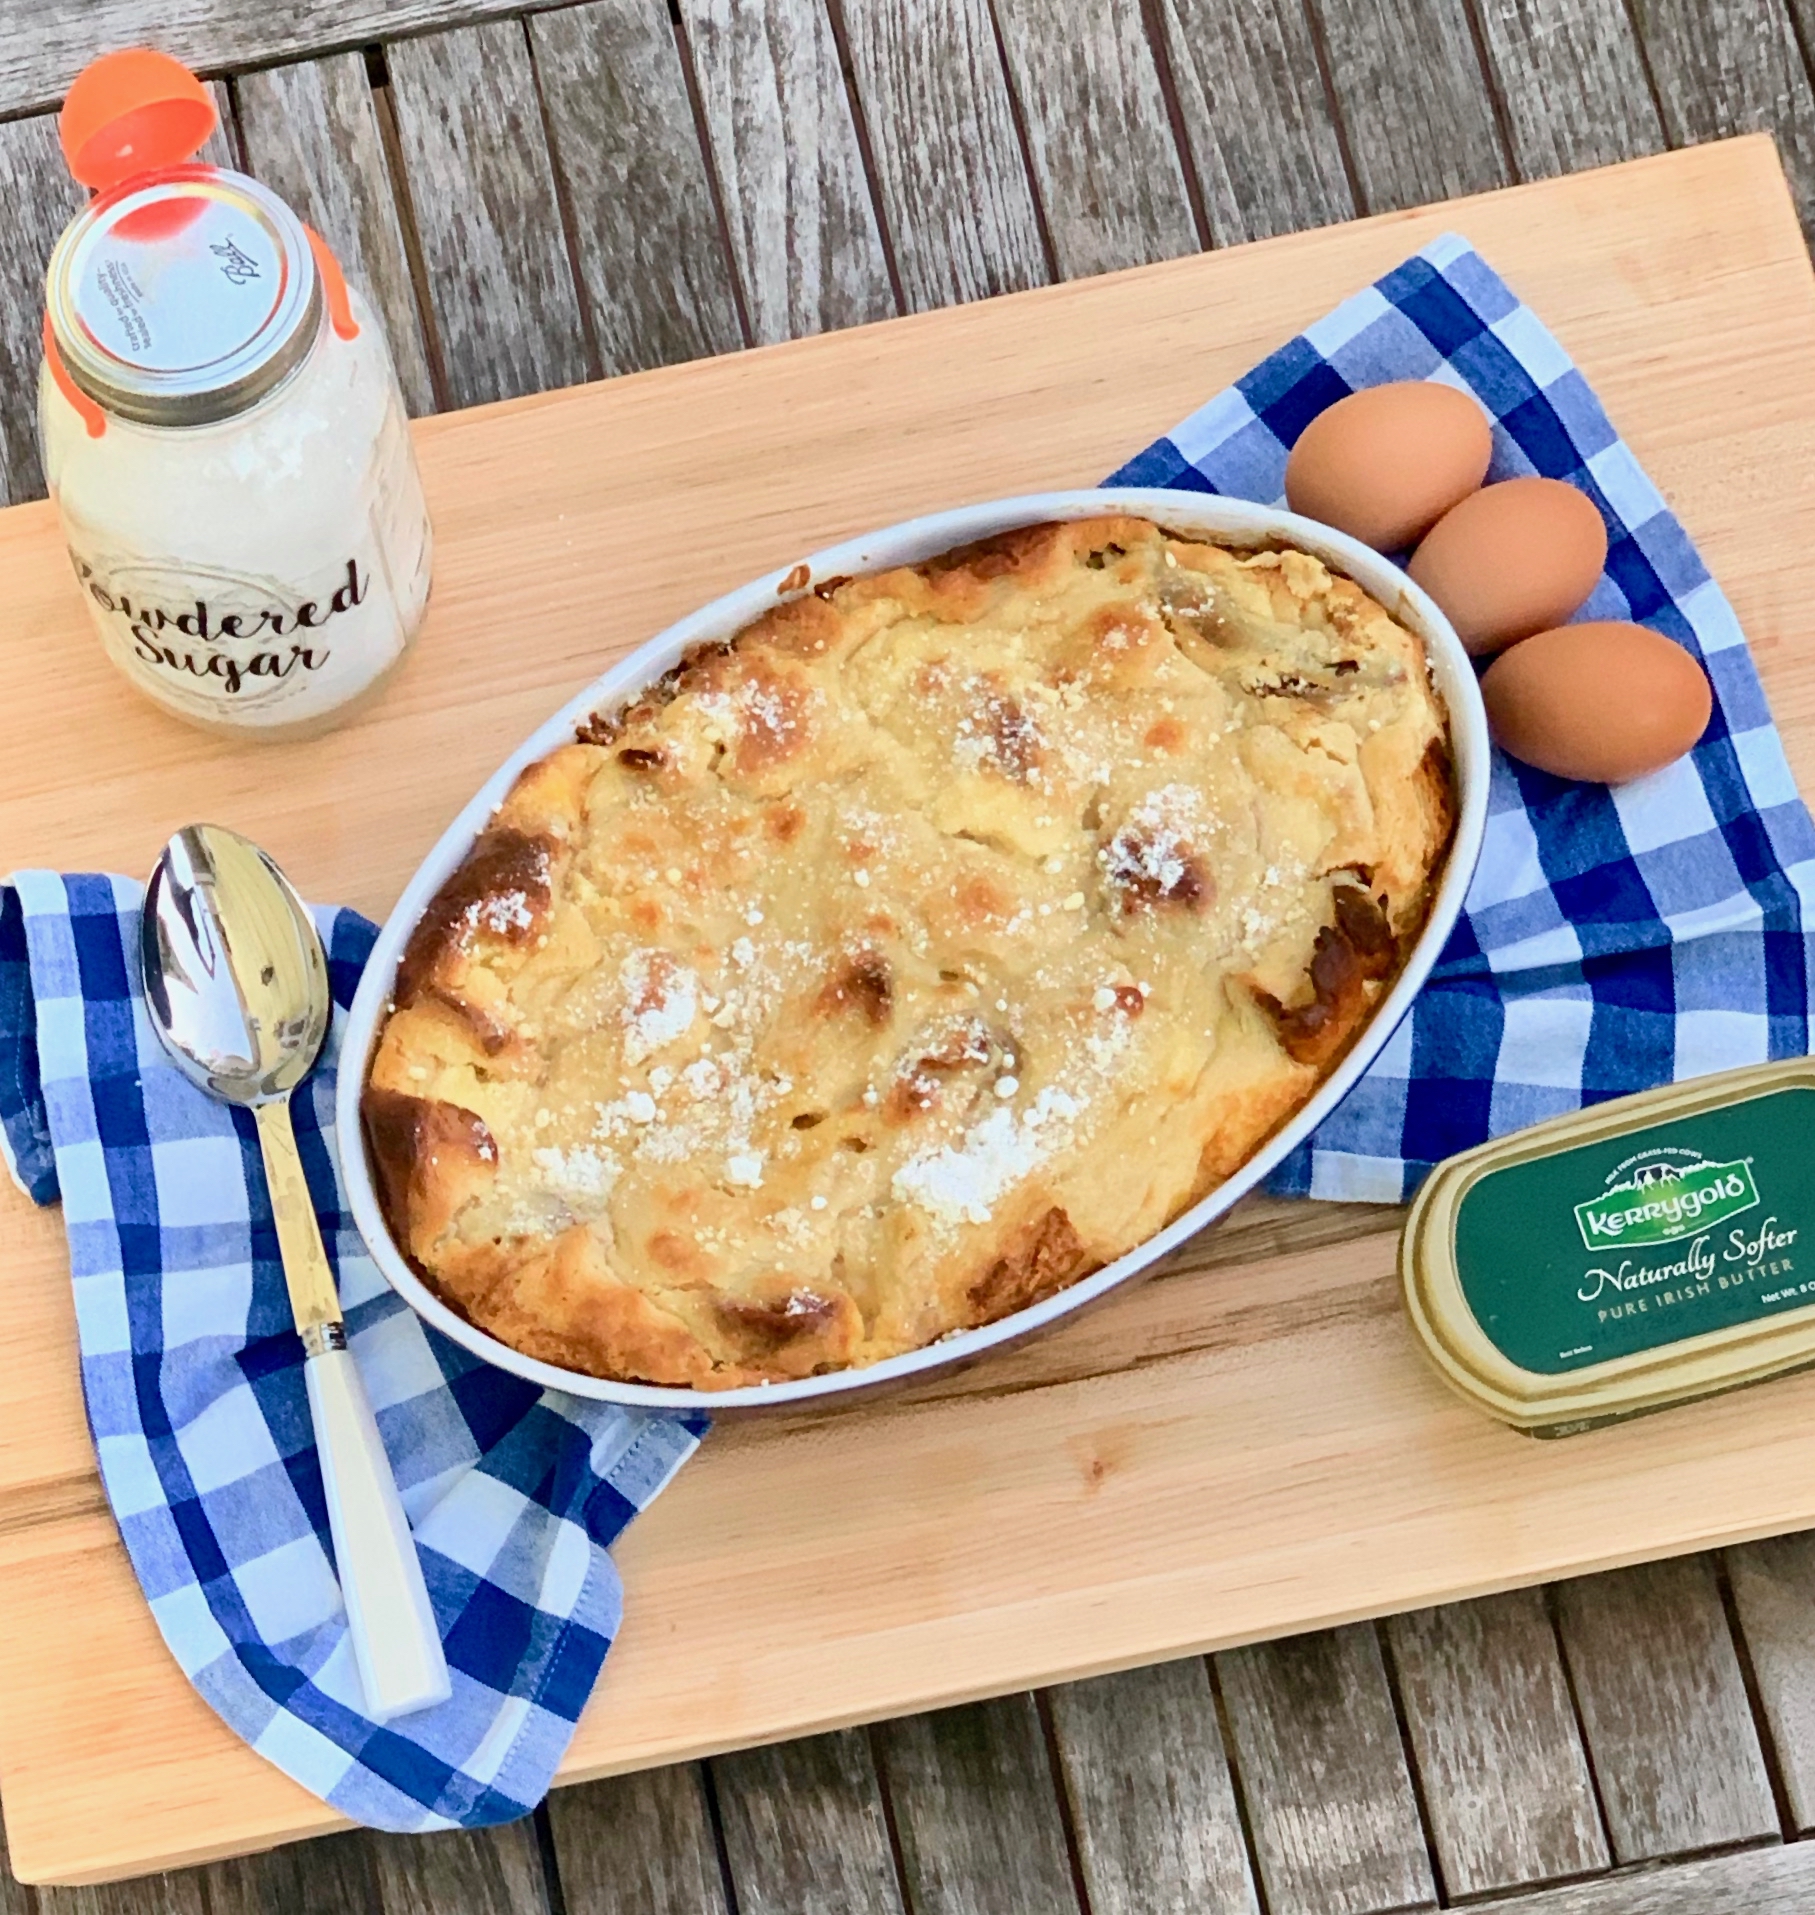
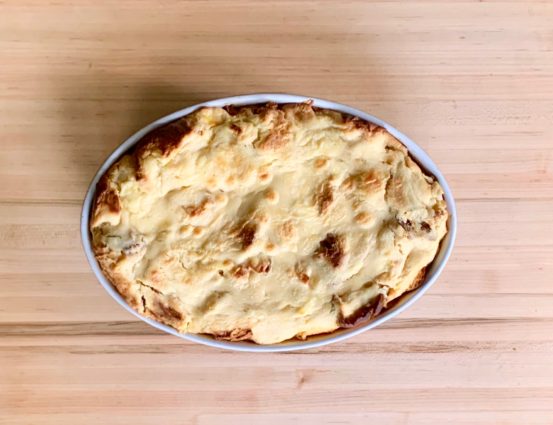
This dessert is a winner. It is kind of more like a souffle because of all the eggs, but still a bread pudding in my book. The vanilla bean, cinnamon, and orange lend savory essence. The egg and egg yolks, milk, and cream come together into a creamy custard that makes an exquisite, luxurious dessert. This is one recipe you will find yourself making again and again. Bring it to a friend’s home, they will think you’ve been baking all day!

This recipe is courtesy of The Kosher Palate and will serve 6 to 8 people who will be tempted to try their own flavor combinations.

Ingredients for Challah Souffle:

1 medium challah, 4 challah rolls or 4 large croissants
1 (8-ounce) package cream cheese, softened
1/2 cup (1 stick) butter, softened at room temperature for 15 minutes, plus extra for serving on the side
3/4 cup maple syrup (not pancake syrup) divided, plus extra for serving on the side
10 large eggs
3 cups light cream
1 teaspoon cinnamon
2 tablespoons confectioners’ sugar

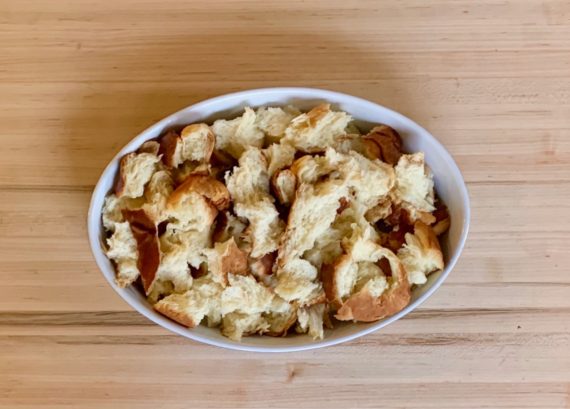
In the bowl of a food processor fitted with a metal blade, coarsely chop the challah or croissants (or just break them into pieces with your hands).

Distribute chopped bread evenly over the bottom of a 9 by 13-inch casserole or baking dish.

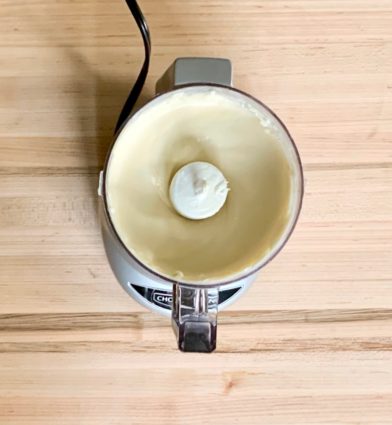
Combine the cream cheese, butter, and 1/4 cup maple syrup in the food processor; pulse until smooth.

Spread over the chopped bread.

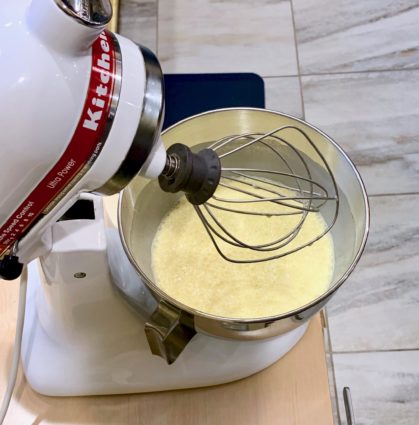
In a separate medium bowl, beat the eggs, remaining 1/2 cup maple syrup, and cream.

Pour over the mixture.

Sprinkle with the cinnamon.

Cover and refrigerate overnight.

Preheat oven to 350 degrees.

Uncover the souffle and bake for 45 to 50 minutes or until puffed and golden.

Sprinkle with confectioners’ sugar.

Serve with warmed maple syrup and softened butter.

It’s that simple!

signature

[recaptcha]


The blistery cold days of winter are coming. I read that the Northeast is going to get a big dose of cold and snowy days this winter. There are going to be a lot of school closures and many people will choose to work from home. Judging from past years’ experience, I know that I will not be venturing out in the snow. 

One good thing about staying home is that you can fine-tune your baking skills. I can already imagine getting cozy in my favorite chair, and sipping some hot cocoa while there are delicious treats in the oven. Just the smell of baking will warm you up, and the anticipation of eating it will make you happy if it is a miserable day.

I love these kinds of days because they force me to do nothing, as opposed to running around all hacking away at an endless list of errands and chores. As I have said before, cooking is my therapy, and I get lots of it on those cold, bitter days.

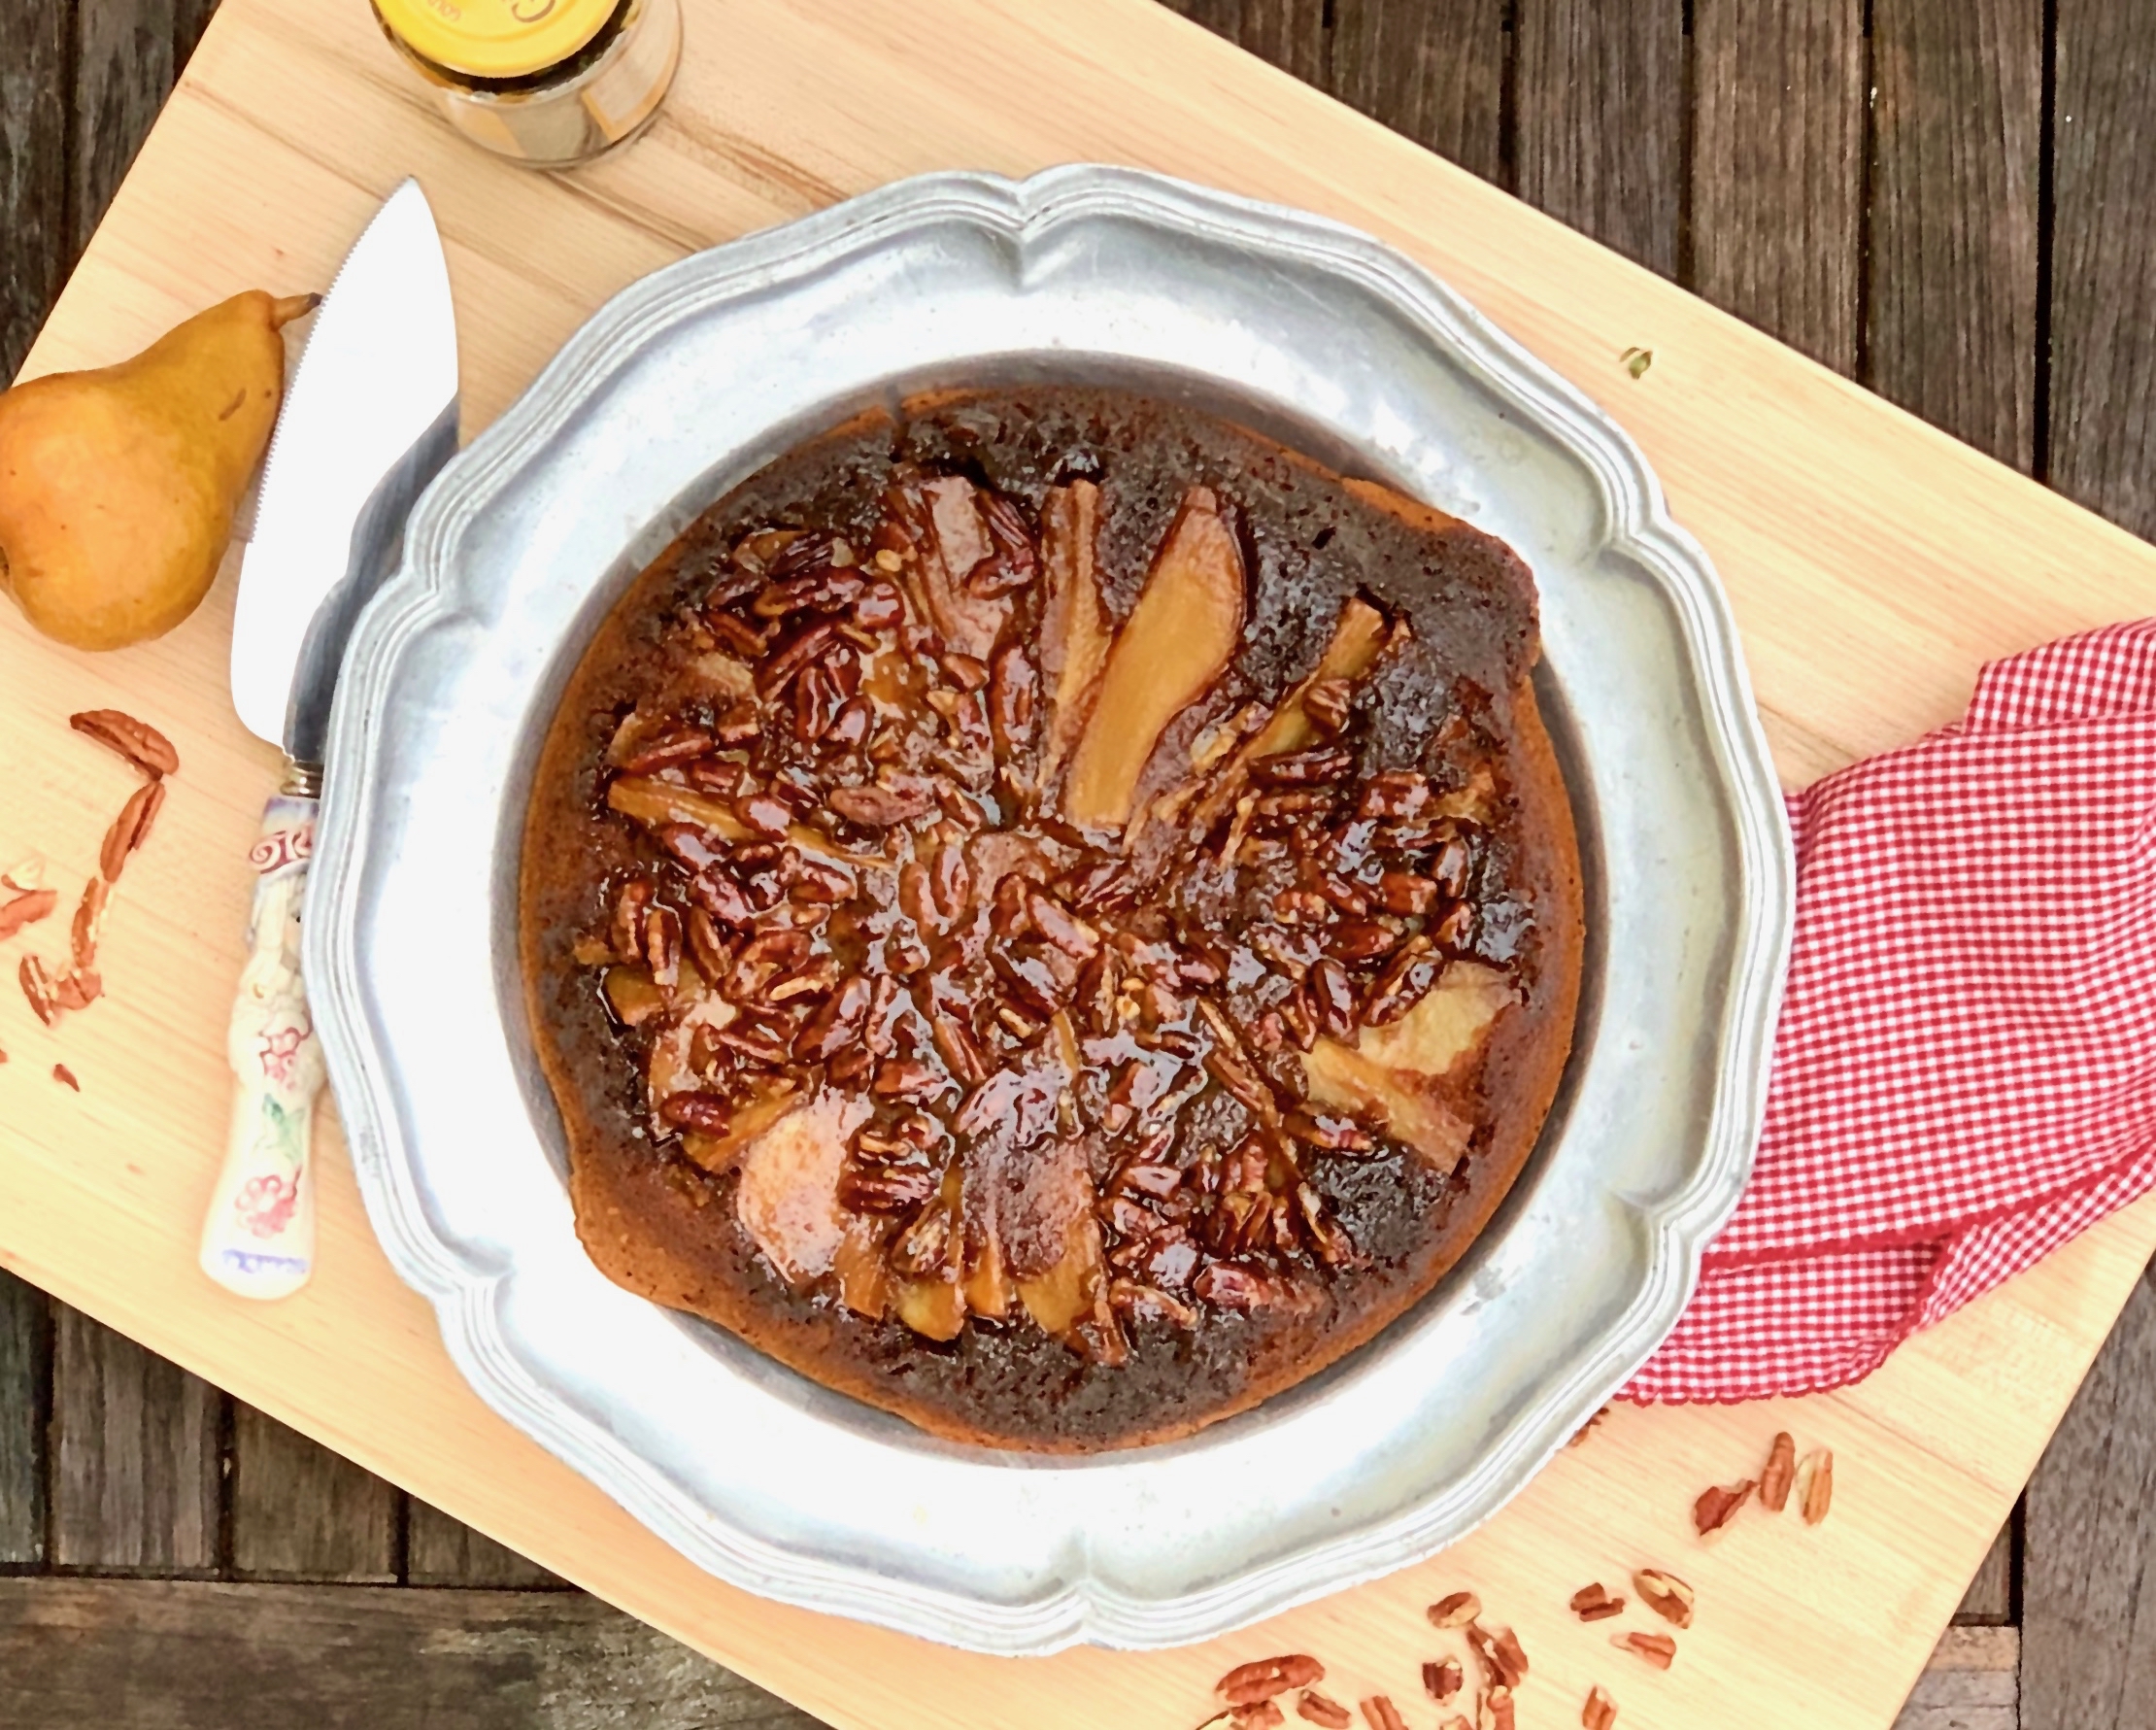
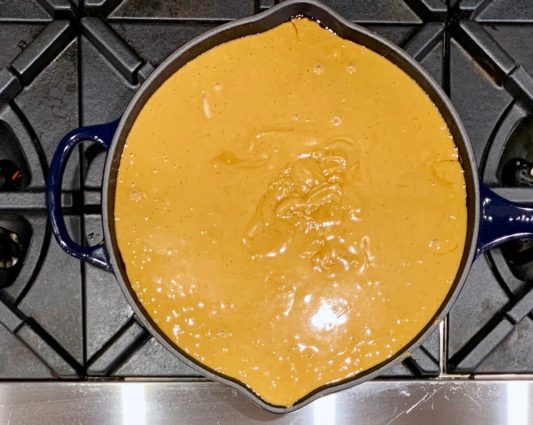
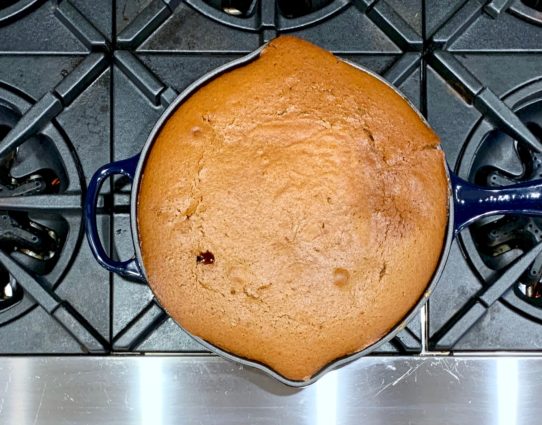
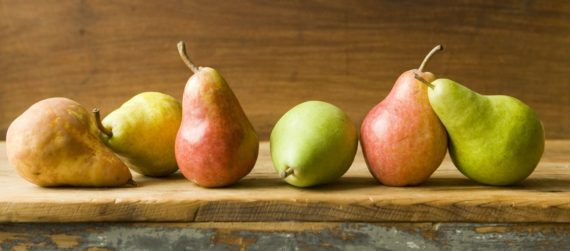
Even though it happened to beautiful out today, I decided to bake up this upside-down skillet pear cake. This is one you should definitely put away for one of the coldest days. It was moist and delicious–perfect for keeping the chill away. The molasses gives it a rich sweetness, and the ginger and cloves bring a savory flavor. The pears give it fruity touch, and the toasted pecans add a nutty crunch for the perfect finish. Just watch the cooking time; mine took a lot longer to bake than the instructions provided.

This recipe is courtesy of Food 52 and will serve 6 to 8 people who will want to stay inside on the next snow day.

Ingredients for Gingerbread Pear Upside Down Skillet Cake:

4 tablespoons butter
1/4cup dark brown sugar
4 tablespoons molasses
1/2 cup chopped, toasted pecans
3 medium pears, peeled, cored and sliced

For the filling:

½ cup granulated sugar
½ cup butter
1 egg
1 cup molasses
1/2 teaspoons baking soda
1 teaspoon ground ginger
½ teaspoon ground cloves
½ teaspoon salt
1/2 cups all-purpose flour
1 cup hot water

Heat oven to 350 degrees F.

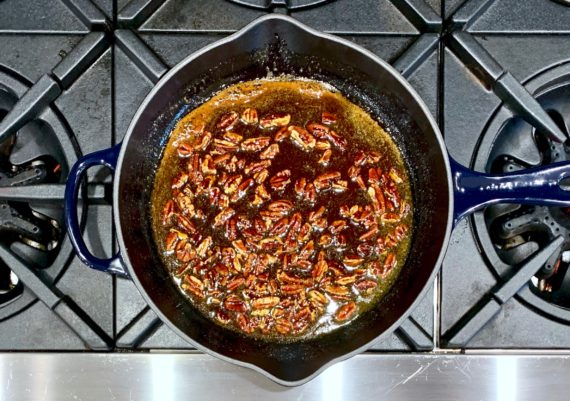
In a 12-inch cast-iron skillet, melt 4 tablespoons butter to begin the topping mixture.

Stir in brown sugar, molasses and pecans.

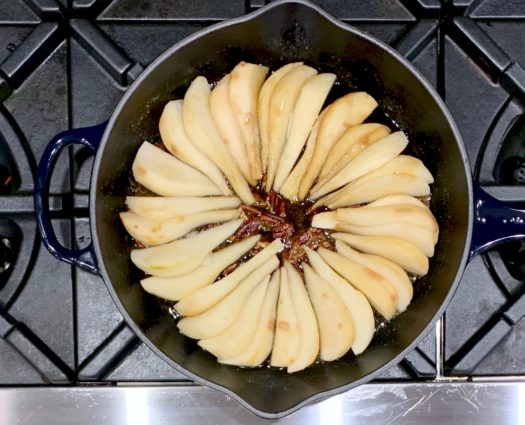
Evenly layer pears over the sugar mixture.

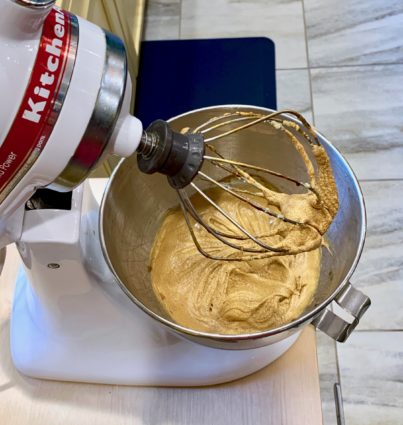
To make gingerbread, cream butter and sugar and add egg.

Add molasses.

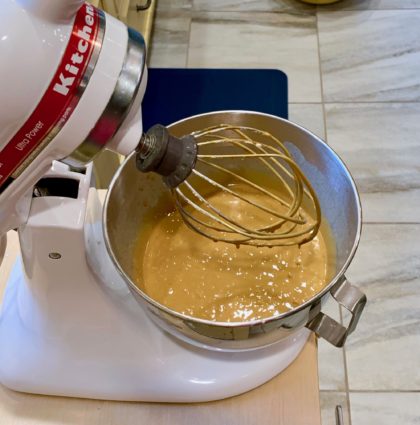
Stir together dry ingredients and slowly add to molasses mixture.

Add hot water and mix well.

Pour batter on top of pears.

Bake for 30 to 40 minutes (mine took a lot longer, so keep checking it) until gingerbread springs back lightly when pressed with a finger. Mine sprung back when I pressed it my finger, but it wasn’t cooked through. I suggest you use a toothpick, insert it in the middle, and see if it comes back clean. 

Remove skillet from oven and invert onto a heatproof serving plate.

Serve warm or cold.

Very good with sweetened whipped cream or vanilla ice cream.

It’s that simple!


signature

[recaptcha]


Not everyone can cook like Julia Child, but (sigh) how we wish we could. She had instincts about flavor that most of us will never possess. Ever wonder to yourself, “what is in this sauce that makes it taste so good?”  I know I do. Figuring out the magic isn’t as hard as you think. Many of our favorite comfort foods have a small amount of very basic ingredients– flavor boosters, if you will. You should have these in your pantry to transform your food go from so-so to magnificent. It really is so easy and you will be surprised by the flavor-punch they make.

Citrus Juices and Zest: Just a few teaspoons of lemon, lime, or orange juice will instantly brighten the flavor of your food. Use it in dressings, marinades, sauces, butters, or on vegetables. Try adding both the juice and the zest to layer the flavor even more.

Anchovy Paste: Controversial, I know, but hear me out. Anchovy paste has a deep savory flavor that, once incorporated into the dish, will not have a fishy flavor, I promise.  So even if you don’t like anchovies, you just might like the paste. Use it in sauces (especially red), stews, braises, marinades, or stews. 

Vinegar: It also will brighten the flavor of a dish. Red wine vinegar is tart and tangy, balsamic vinegar is sweet and rich, and apple cider vinegar has an apple flavor that pairs well with sauces, dressings, pork, or chicken.

Fresh Herbs: Throw in a bit of your favorite herb to make most dishes more vibrant. Fresh parsley is perfect for sauce. Mix it with a little bit of garlic, lemon juice, and zest to make any salad, meat or fish dish shine. Always remember to roughly chop your fresh herbs.  Resist the temptation to mince it to dust. 

Crushed Red Pepper Flakes: A truly perfect source of heat to spice up pasta sauces, vegetables such as broccoli or cauliflower, and ceviche. Adding them at the beginning of a dish will give the entire dish some heat, adding them at the end will give your dish a more subtle, fruity, spicy edge. Either preparation is perfect for marinades and stir-fries.

High-quality Extra Virgin Olive Oil: Keyword, “high quality.”  A really good olive oil highlights the flavor of any meal. Drizzle it on vegetables, cooked meats, over just made pasta and it will make a big difference in the taste. 

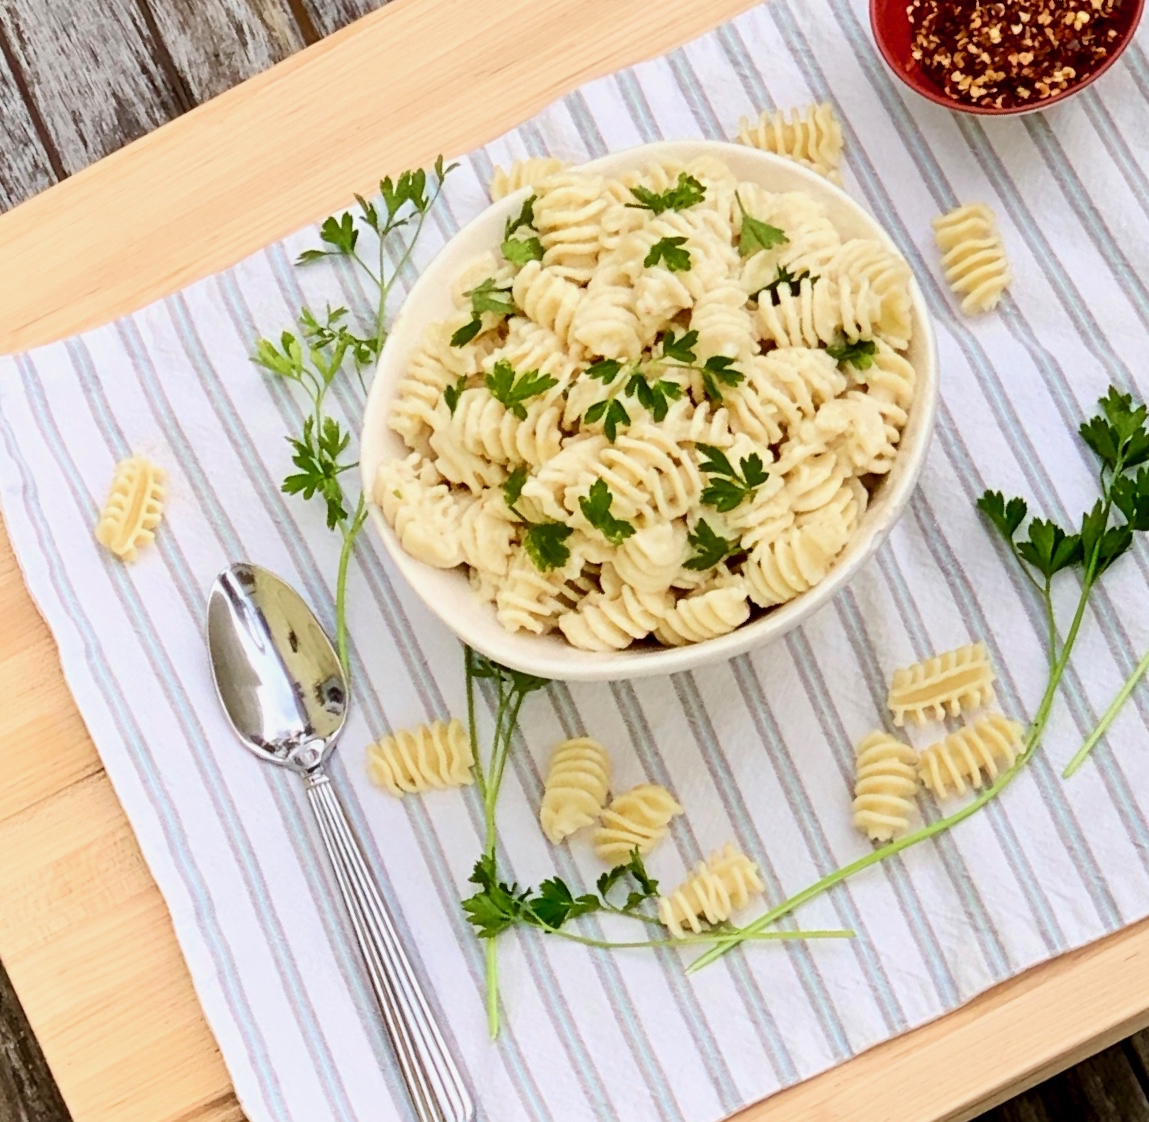
Now that you know some flavor boosters, this dish is a wonderful canvas for using some of them. This delicious pasta dish is the perfect comfort food. The butter, olive oil, and garlic add a pleasant, savory flavor. The cheese and sour cream offer a deliciously creamy texture. With that perfect amount of heat from the red pepper flakes, you have yourself one luxurious bowl of perfection.

Please remember to like my page on Facebook and Instagram. Thank you!

This recipe will serve 4 people who will want to know your flavoring secrets too!

Ingredients for Creamy, Radiatori Pasta:

3 cups uncooked radiator pasta (or any pasta that has curled edges)
3 tablespoons butter
3 tablespoons good olive oil
2 tablespoons all-purpose flour
2 garlic cloves, chopped
Pinch salt
2 tablespoons parsley
Dash crushed red pepper flakes
1/4 cup milk
1/4 cup reserved pasta water
2 tablespoons shredded Parmesan cheese
3 tablespoons sour cream

Cook pasta according to package directions.

Reserve 1/4 cup of pasta water.

Meanwhile, in a medium pan (big enough to hold the pasta), melt butter.

Stir in the oil, flour, garlic, salt, and red pepper flakes until blended, stirring continuously. 

Gradually add the milk and 2 tablespoons of reserved pasta water.

Cook and stir until slightly thickened, about 2 minutes.

Remove from the heat; stir in cheese and sour cream.

Reserve 1/2 cup of pasta water. I know I said it twice, but I don’t want you to forget!

Drain pasta; toss with sauce.

Add some remaining pasta water to thicken the sauce as much you would like.

It’s that simple!

signature

[recaptcha]