Call me a late bloomer, but I am proud to announce that I have finally begun taking photography lessons. Oh, I know enough to get by, but I really wanted to learn from the ground up. Learning something new is always hard, and many people avoid the heartache of failing at something. Living in the same routine is easy, but it is the new year, and maybe it is time for you to challenge yourself too.

Photography uses a lot of fractions, which are not my forte. I was struggling to keep up with my instructor and write down my notes. While I know my current limitations, I will try to overcome them and learn as much as I can. Let’s think about all the successful people in this world– those who succeed the most were the best at learning new skills. You must dedicate your spare time in the pursuit of learning a new skill. And you must stick with it. That is what I intend to do, and I know I will be successful. I took up the sport of boxing at 45 and have stuck with it ever since, trying to improve any way that I can. Will I ever be Mohamed Ali? No, probably not, but I will be the best boxer I can be, and that is good enough. Will I ever be Annie Leibovitz? Not likely, but I know I will be better at photography than I am today. I also learned to speak Spanish when I was in my thirties. I felt invincible when I spoke my first full sentence.

Nothing will make you prouder at this moment, then learning something new. Remember the first couple of chords of your guitar? Or the feeling of making it downhill on the steepest ski slope? I remember when I couldn’t cook. Now I can. Try something new. It’s good for your brain, your heart and your emotional well-being. You can do it. If you’ve been successful at learning something new, please share it, I would love to hear from you!

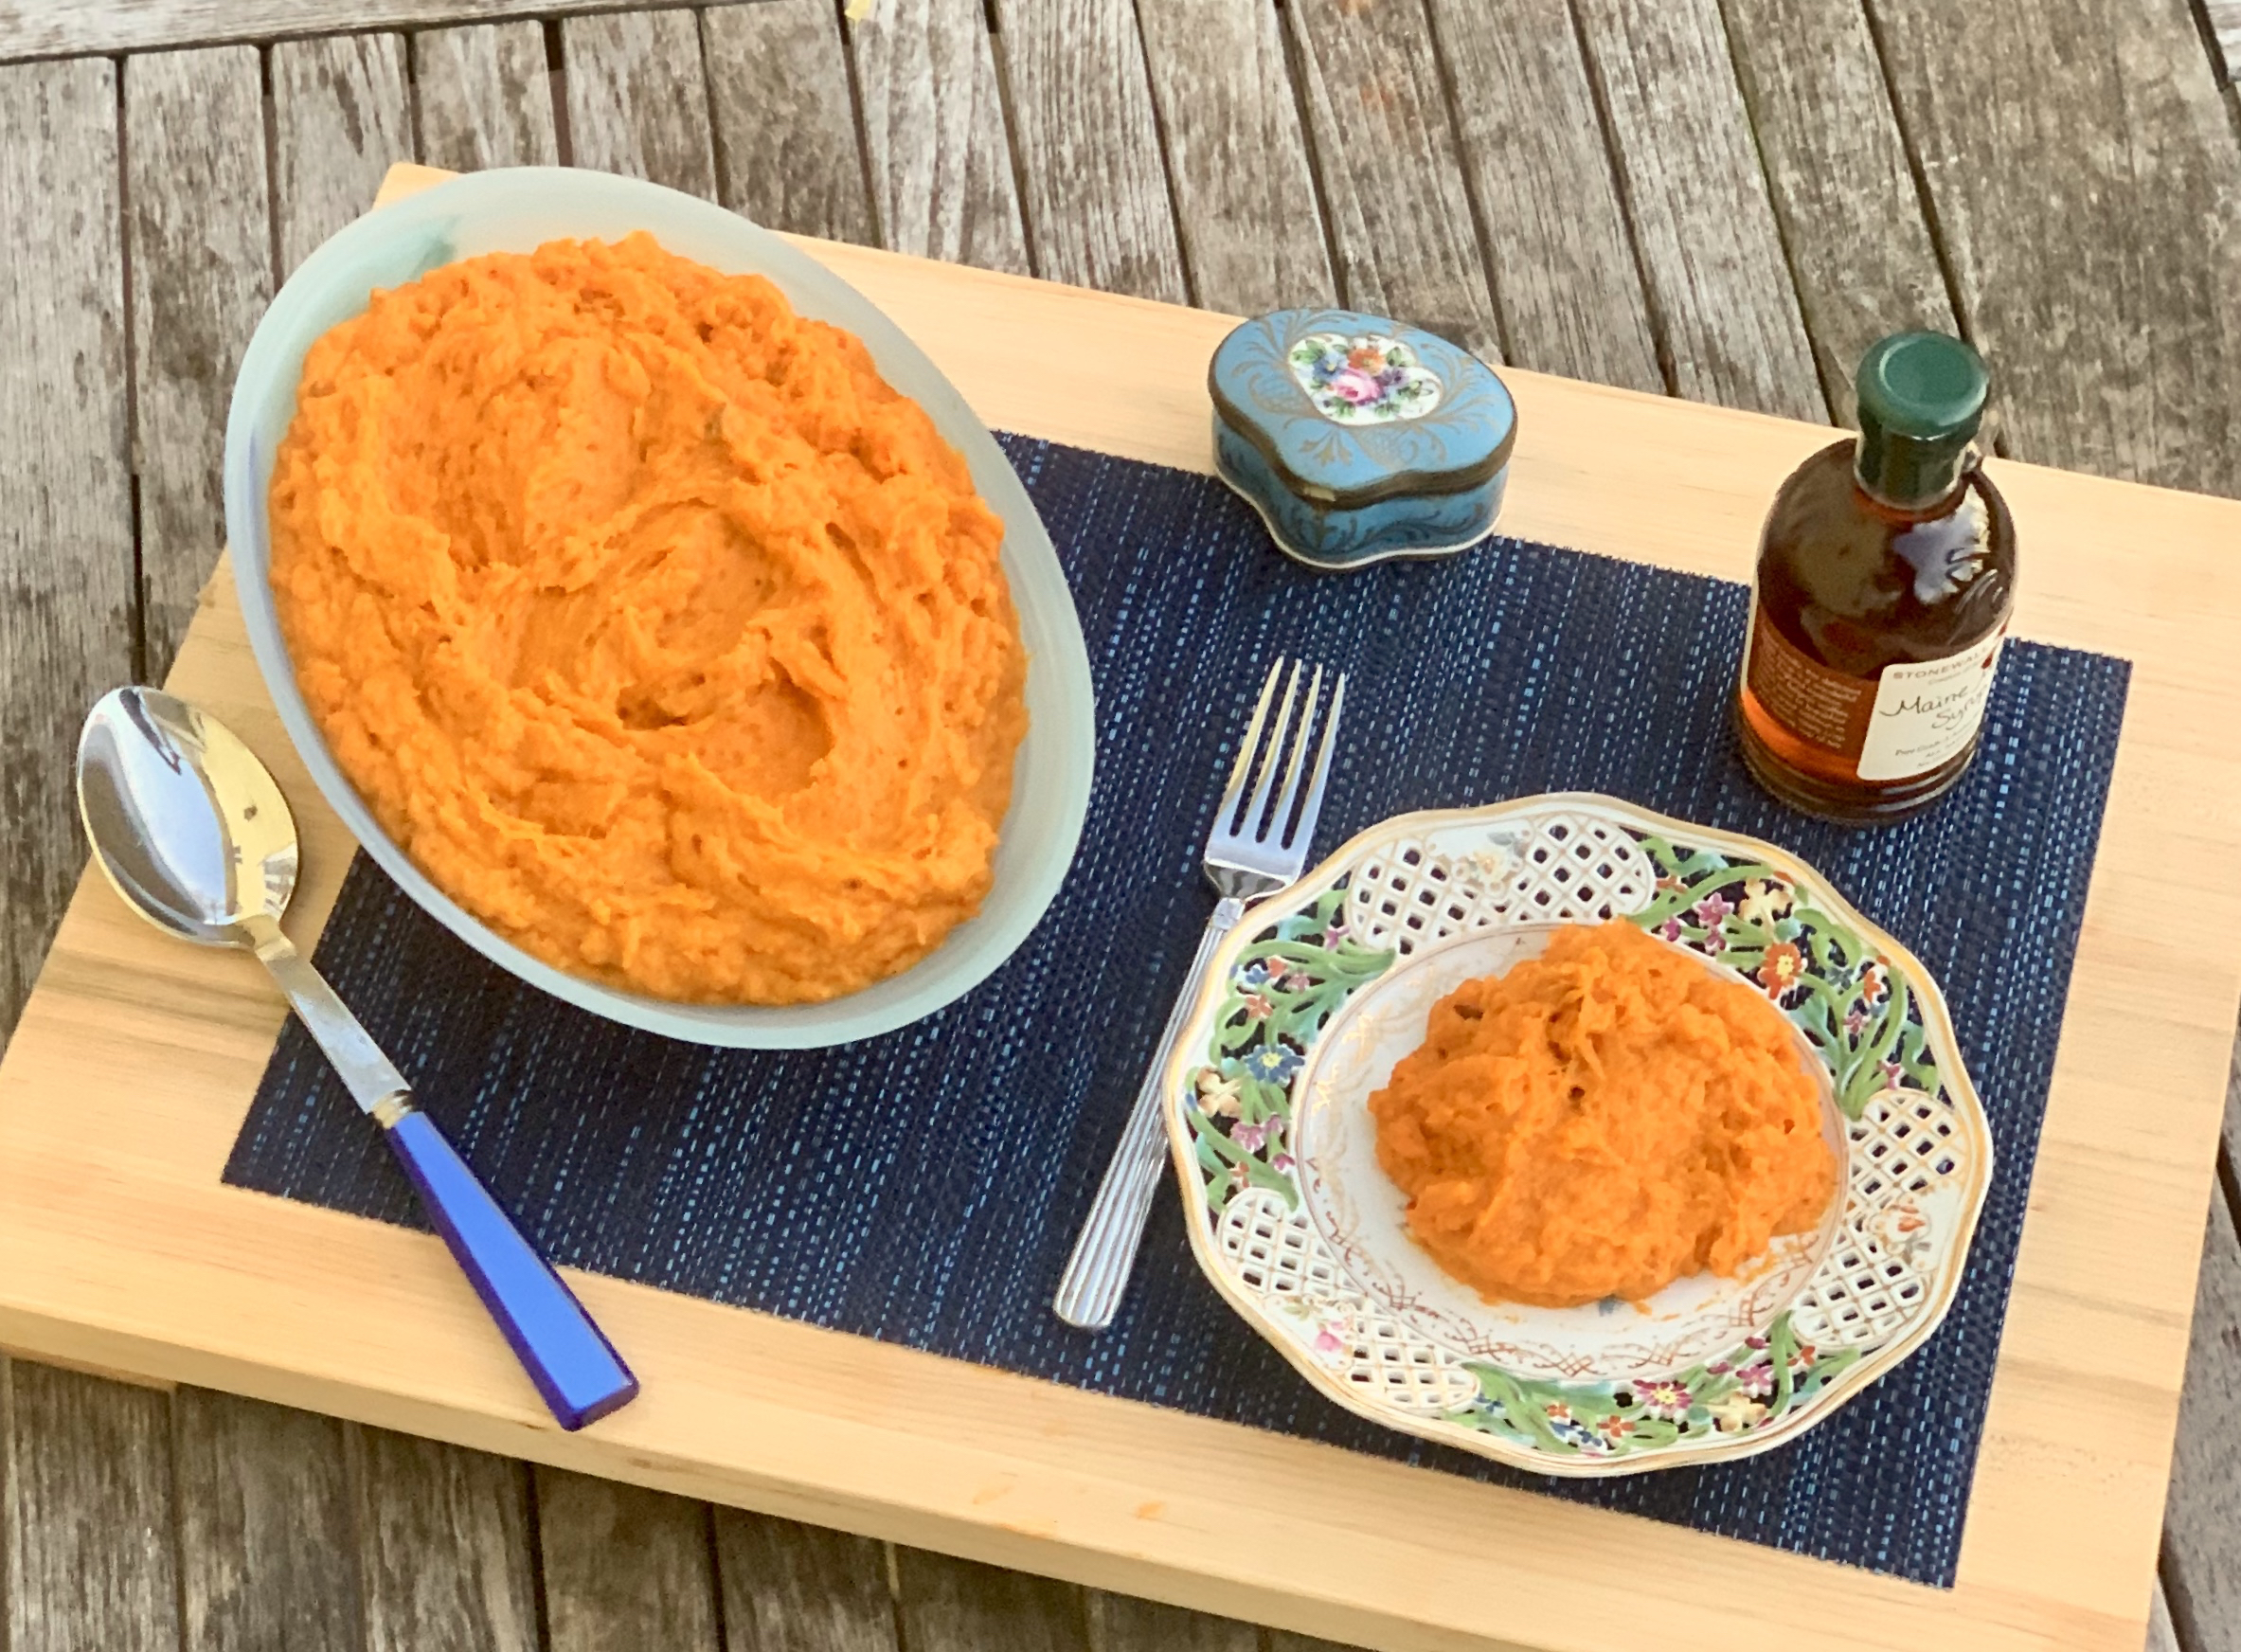
This dish is one that you can count on being successful. The roasted sweet potatoes are wonderfully caramelized adding deep rich flavor. It is so smooth and creamy. The maple syrup gives it sweetness and the chipotle chilies and the adobo sauce are the perfect amount of heat, making it lip-smacking good.

This recipe is courtesy of Ina Garten and will serve 6 to 8 people who will want to try this new dish too!

Ingredients for Chipotle Smashed Sweet Potatoes:

4 pounds sweet potatoes (6 potatoes)
1 cup whole milk
1 cup heavy cream
1 tablespoon minced chipotle chilies in adobo sauce with seeds, such as Goya
1 tablespoon adobo sauce (from the can of chilies)
¼ cup pure Grade A maple syrup
4 tablespoons (½ stick) unsalted butter, diced
Kosher salt and freshly ground black pepper

Preheat the oven to 350 degrees. Line a sheet pan with aluminum foil.

Place the sweet potatoes on the prepared sheet pan and pierce each potato 4 times with a small knife.

Roast for 1 to 1¼ hours, until very tender inside when tested with a knife.

Set aside until cool enough to handle. (Leave the oven on.)

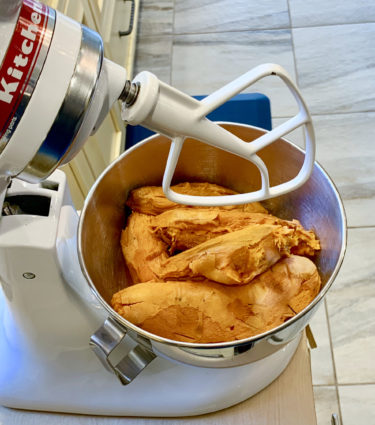
Peel the potatoes, discard the skins, and place the potatoes in the bowl of an electric mixer fitted with the paddle attachment.
Meanwhile, place the milk, cream, chipotle chilies, and adobo sauce in a small saucepan.
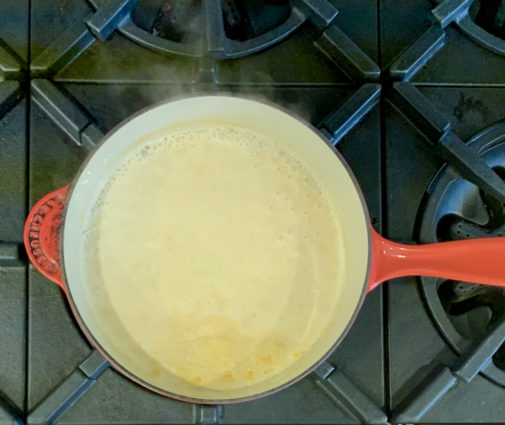
Bring to a boil, lower the heat, and simmer for 5 minutes. (It might look curdled.)

With the mixer on low speed, add the chipotle-milk mixture to the sweet potatoes.
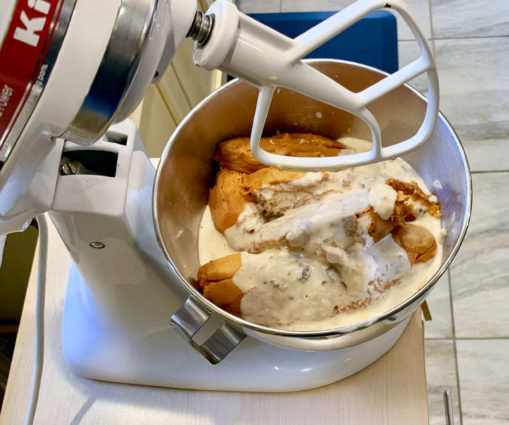
Add the maple syrup, butter, and 1 tablespoon salt.

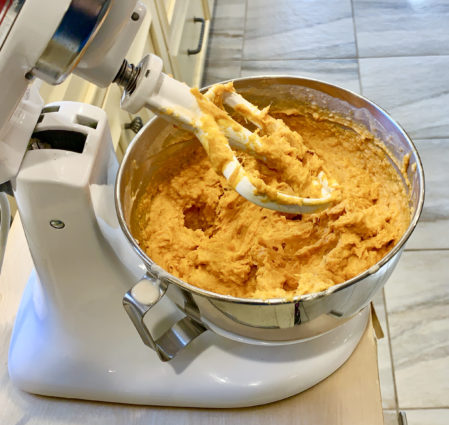
Mix until the potatoes are coarsely pureed.
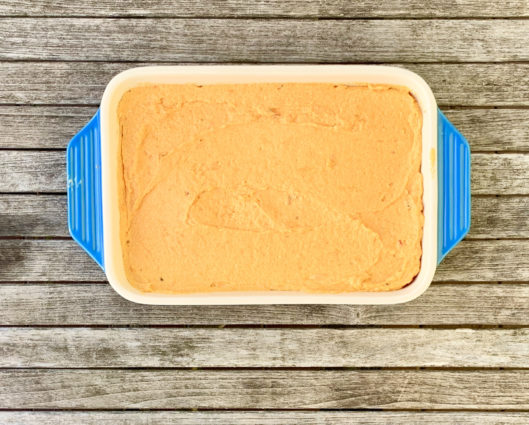
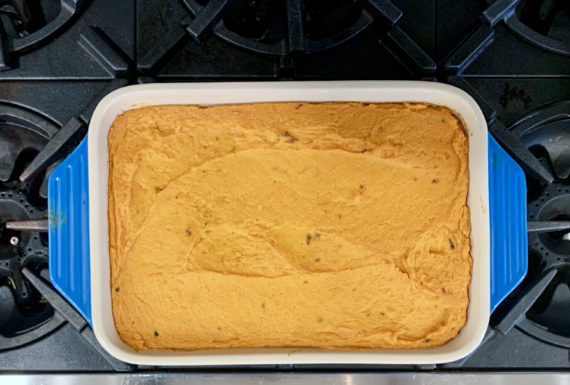
Pour into a 9 × 12 × 2-inch oval oven-to-table baking dish and bake for 30 minutes, until heated through.
Sprinkle with salt and pepper and serve hot.
It’s that simple!

signature

[recaptcha]


I never had a sweet tooth… until about 5 years ago. Like my father, I was more of a fruit lover than dessert lover. He ate fruit every day, and lived a long, vibrant life. Although my mother was a great cook and our meals were delicious, she never included a formal dessert on her menu. We certainly had sweets around, but they were never presented after the meal.

On the other hand, my husband was brought up thinking dessert was an important part of the menu. His mother served dessert after dinner every day.  Many of us are in the same boat, as some of us are learning to pass it up. Since I was doing the cooking in our home, dessert was never on the dinner menu. It took some time for the hubby to get used to that.

I use to love anything tart (like lemons of course) but I could only eat the real thing. Lemon mixed with sugar was not for me. But lately, since I have started this blog, I have learned to love baked apples, baked blueberries, baked raspberries, desserts which I never would have tasted in the past. Oh, if I had only known what I was missing.

Desserts are really pure joy. There are no health benefits (except for small amounts of dark chocolate), and excess can contribute to weight gain. We have never been told that eating cake will lower our blood pressure or reduce the risk of a heart attack. These disease fighting nutrients come from less processed food. There is no substitute for healthy fruit and veggies, but remember, there is a reason Santa asked for cookies and not berries on Christmas Eve. There is just no substitute for dessert either.

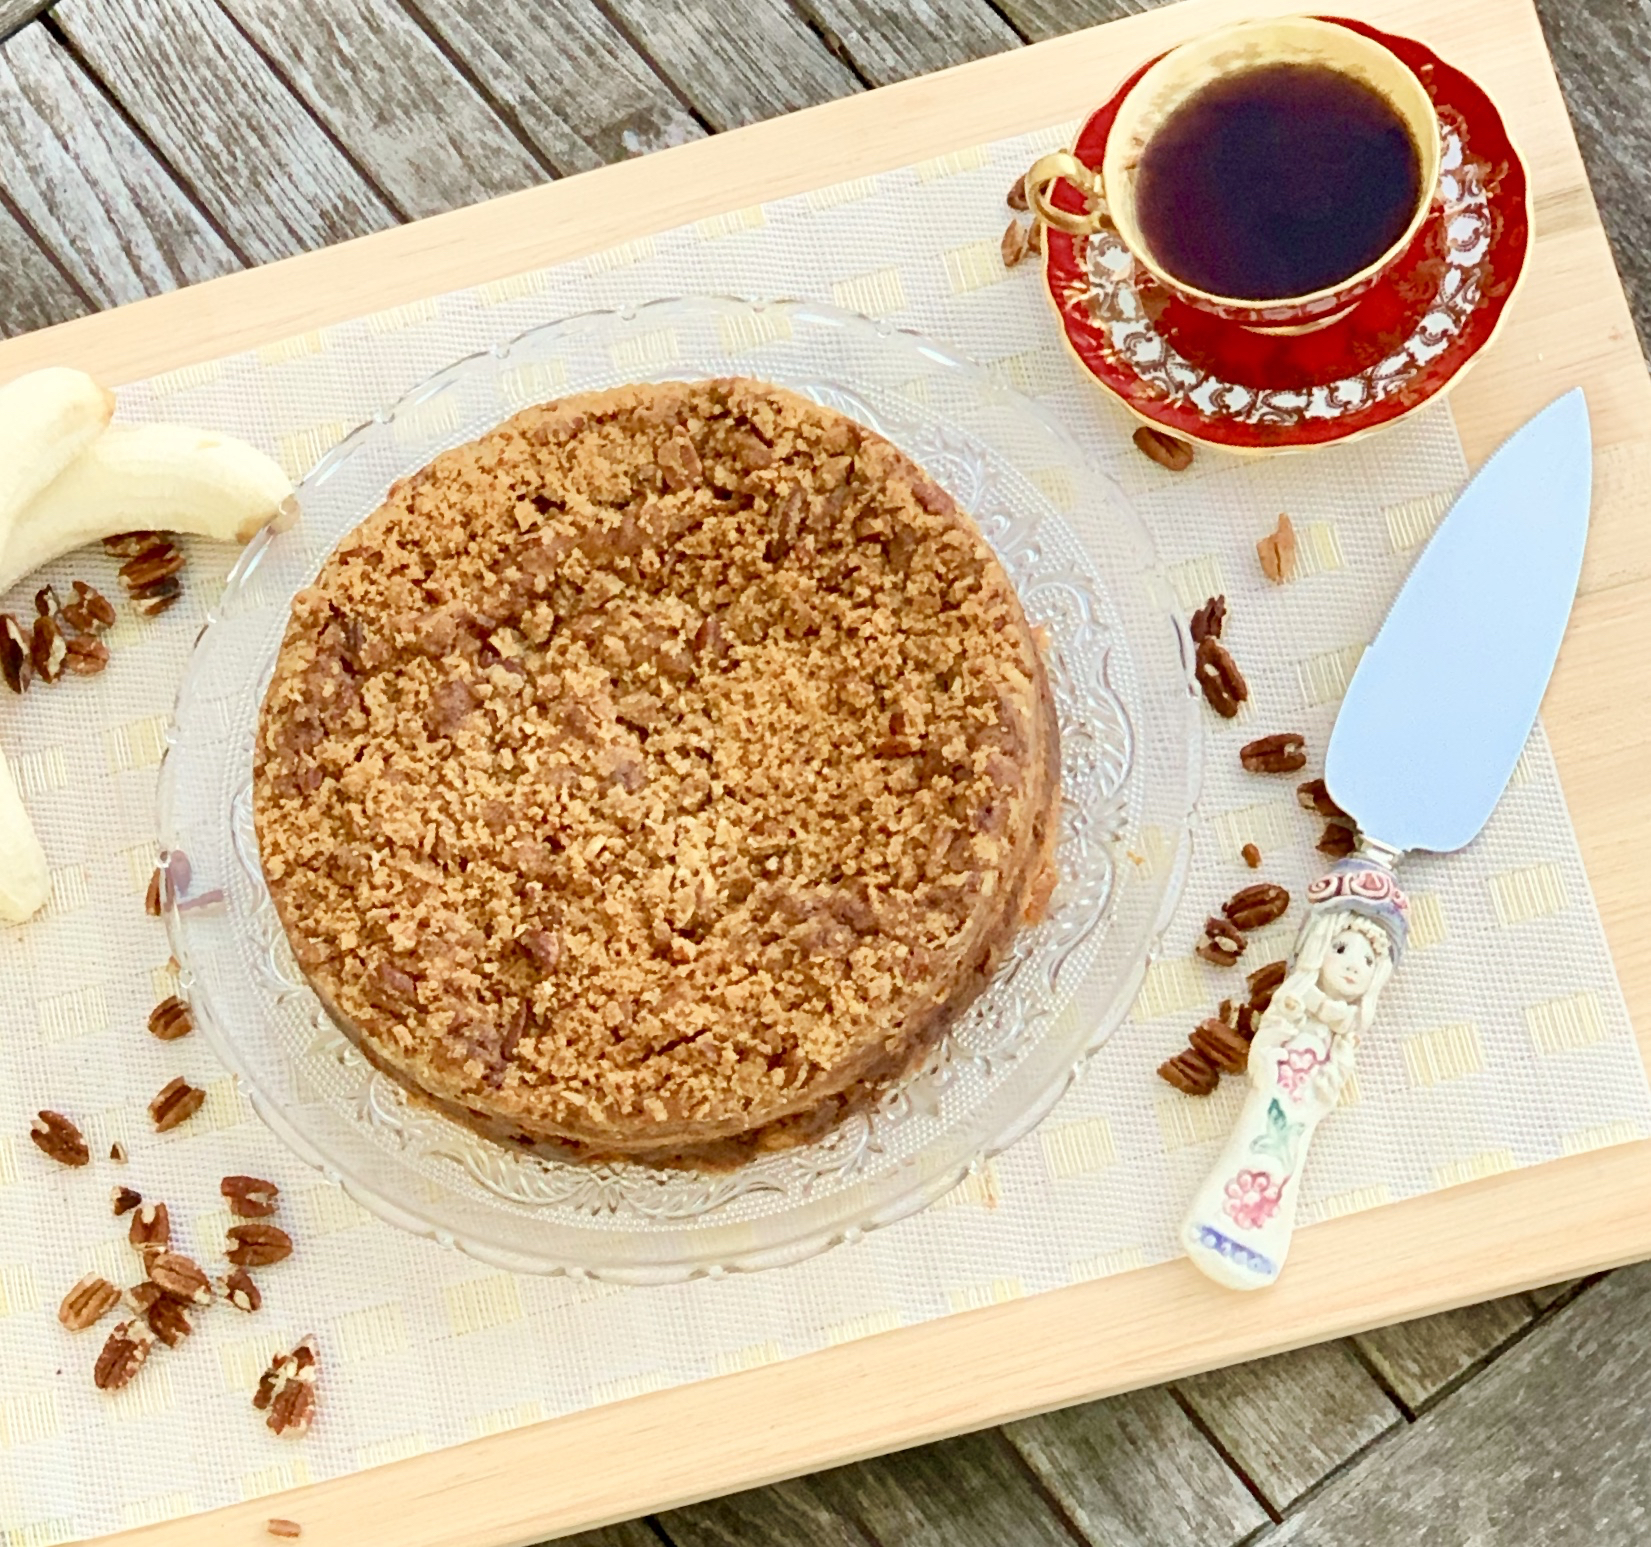
This particular dessert was way above my expectations. How can you not like anything with everything in it? Caramel, bananas, pecans, oh my! This super moist cake with its buttery, banana flavor is wonderful, with the praline pecans giving it a delectable texture. Every bite of the caramel is perfection combined with the banana. The brown sugar cinnamon topping adds even more deliciousness to every bite.

This recipe is courtesy of Bake and will serve 8 people who will be thrilled to get dessert after a wonderful meal.

Ingredients for Caramel Pecan Banana Coffee Cake:

1 cup unsalted butter, softened
1 cup granulated sugar
2 large eggs
1 cup mashed ripe bananas
1/2 cup sour cream
1 teaspoon vanilla extract
1 1/2 cups all-purpose flour
1 teaspoon baking powder
1/2 teaspoon kosher salt
1/2 cup chopped pecans

For the Caramel:

1 1/2 cups granulated sugar
1/4 cup water
1/2 cup warm whipping cream (105 degrees F to 110 degrees F)
1/4 cup unsalted butter, softened

Make the Caramel:

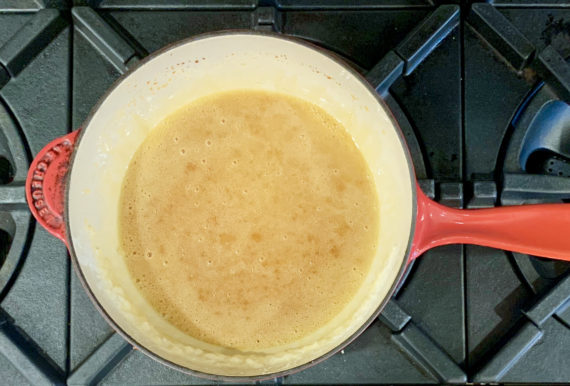
In a large skillet, stir together sugar and 1/4 cup water.

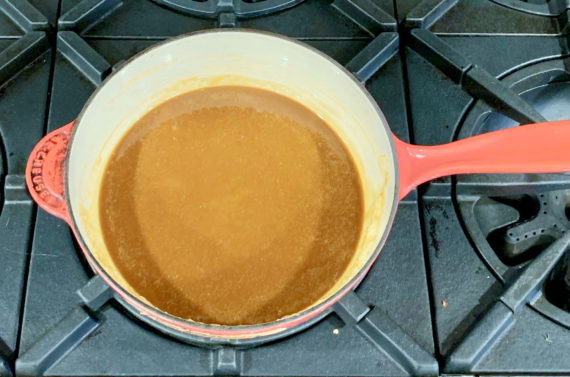
Cook over medium-high heat, without stirring, until mixture is amber colored, about 10 minutes.

Remove from heat, stir in warm cream and butter.

Let cool in skillet, stirring frequently.

For the Brown Sugar Cinnamon Topping:

1/3 cup firmly packed light brown sugar
3 tablespoons all-purpose flour
1/4 teaspoon ground cinnamon
2 tablespoons unsalted butter, melted
1/2 cup chopped pecans

Make the Brown Sugar Cinnamon Topping:

In a medium bowl, whisk together brown sugar, flour and cinnamon.

Using a wooden spoon, stir in melted butter until mixture is crumbly. Stir in pecans.

Preheat oven to 350 degrees F.

Make the Cake:

Butter and flour a 9-inch round cake pan.

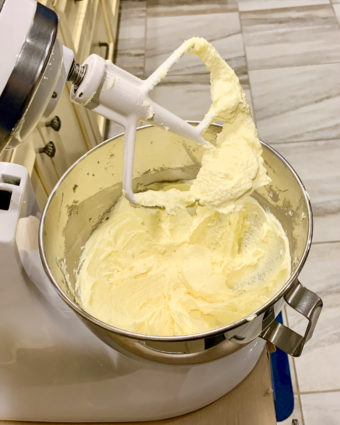
In the bowl of a stand mixer fitted with the paddle attachment, beat the butter and sugar at medium speed until fluffy, 3 to 4 minutes, stopping to scrape up the sides of the bowl.

Add eggs one at a time, beating well after each addition.

Beat in banana, sour cream, and vanilla.

In a medium bowl, whisk together flour, baking powder and salt.

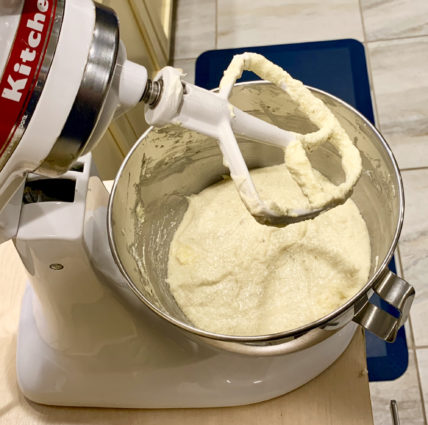
With mixer on low speed, gradually add flour to banana mixture, beating until just combined.

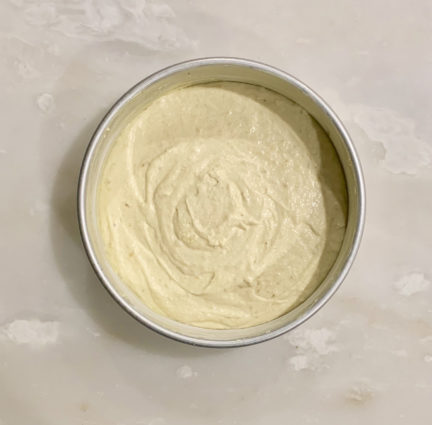
Spread half of batter into prepared pan.

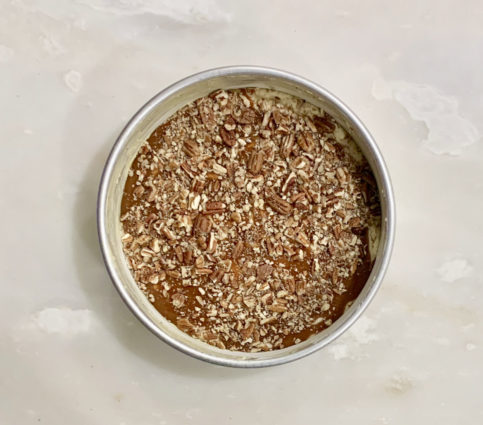
Drizzle with 3/4 cup warm Caramel, and sprinkle with pecans.

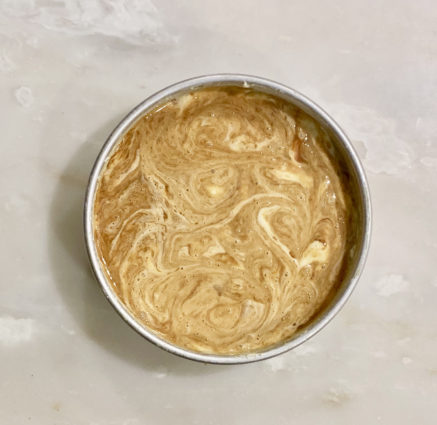
Top with remaining batter, and swirl in 1/4 cup Caramel. (If caramel is too solid, place it back on the stove for a minute or two.)

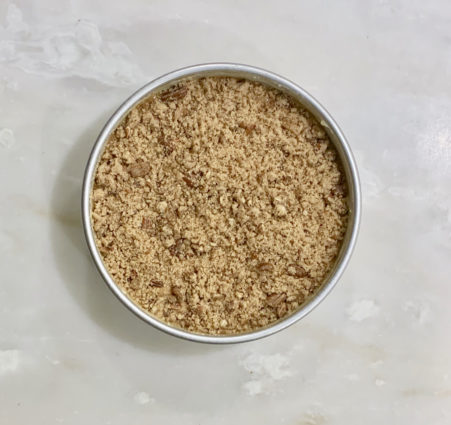
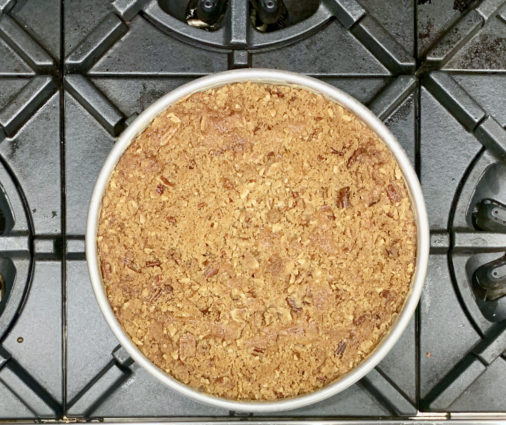
Sprinkle with Brown Sugar Cinnamon Topping.

Bake for 50 minutes.

Let cool in pan for 10 minutes.

Remove from pan, and let cool completely on wire rack.

Drizzle with remaining caramel before serving, if desired.

It’s that simple!
signature

[recaptcha]


Cooking on a regular basis can be an exhausting and stressful task, especially for parents who work full time, and come home to children who need their attention. When I was first married and had young children and worked full time, the last thing I wanted to do was come home and cook, not to mention clean up. I can remember evenings when I was finished working and first had to go to the grocery store to shop for the week. Yikes!

Going out to dinner every night like we did when we didn’t have children was not a possibility any more. I had to learn how to cook– there was no alternative. I did it step by step, just as you would learn a language word by word. Cooking is a process, it takes time, planning, skill, and desire. Cooking is putting yourself out there, and you can’t help but fear how it will be received. My younger son was a picky eater, so he did not have a big repertoire. That was tough to handle sometimes, especially when I made a nice dish that he did not like.  On the other hand, my husband’s mother was a horrible cook, so anything I made for him was gobbled up instantly. 

I admit, praise is an important part of learning to cook. If you know an aspiring cook, take care to find something to compliment.  Tell them how much you enjoyed their meal– it might inspire them to continue to grow and learn as a cook. All aspects of cooking, from menu planning to table layout, are difficult, so be kind and plentiful with your praises, it really does make one feel better about anything.

If cooking seems like an intimidating task, keep it simple. Maybe some chicken with a vegetable, or a steak with some roasted potatoes. Don’t be afraid to ask for help if you need to. Assign clean-up tasks to your family and make them do it. Every little bit of help will lessen the stress. 

Most of all, remember to enjoy what you are making. Pour yourself a glass of wine, put on your favorite music, and dance from the stove to the sink. We are all going to make mistakes, so let’s learn how to laugh about it and learn– a disaster one day is a funny story the next!

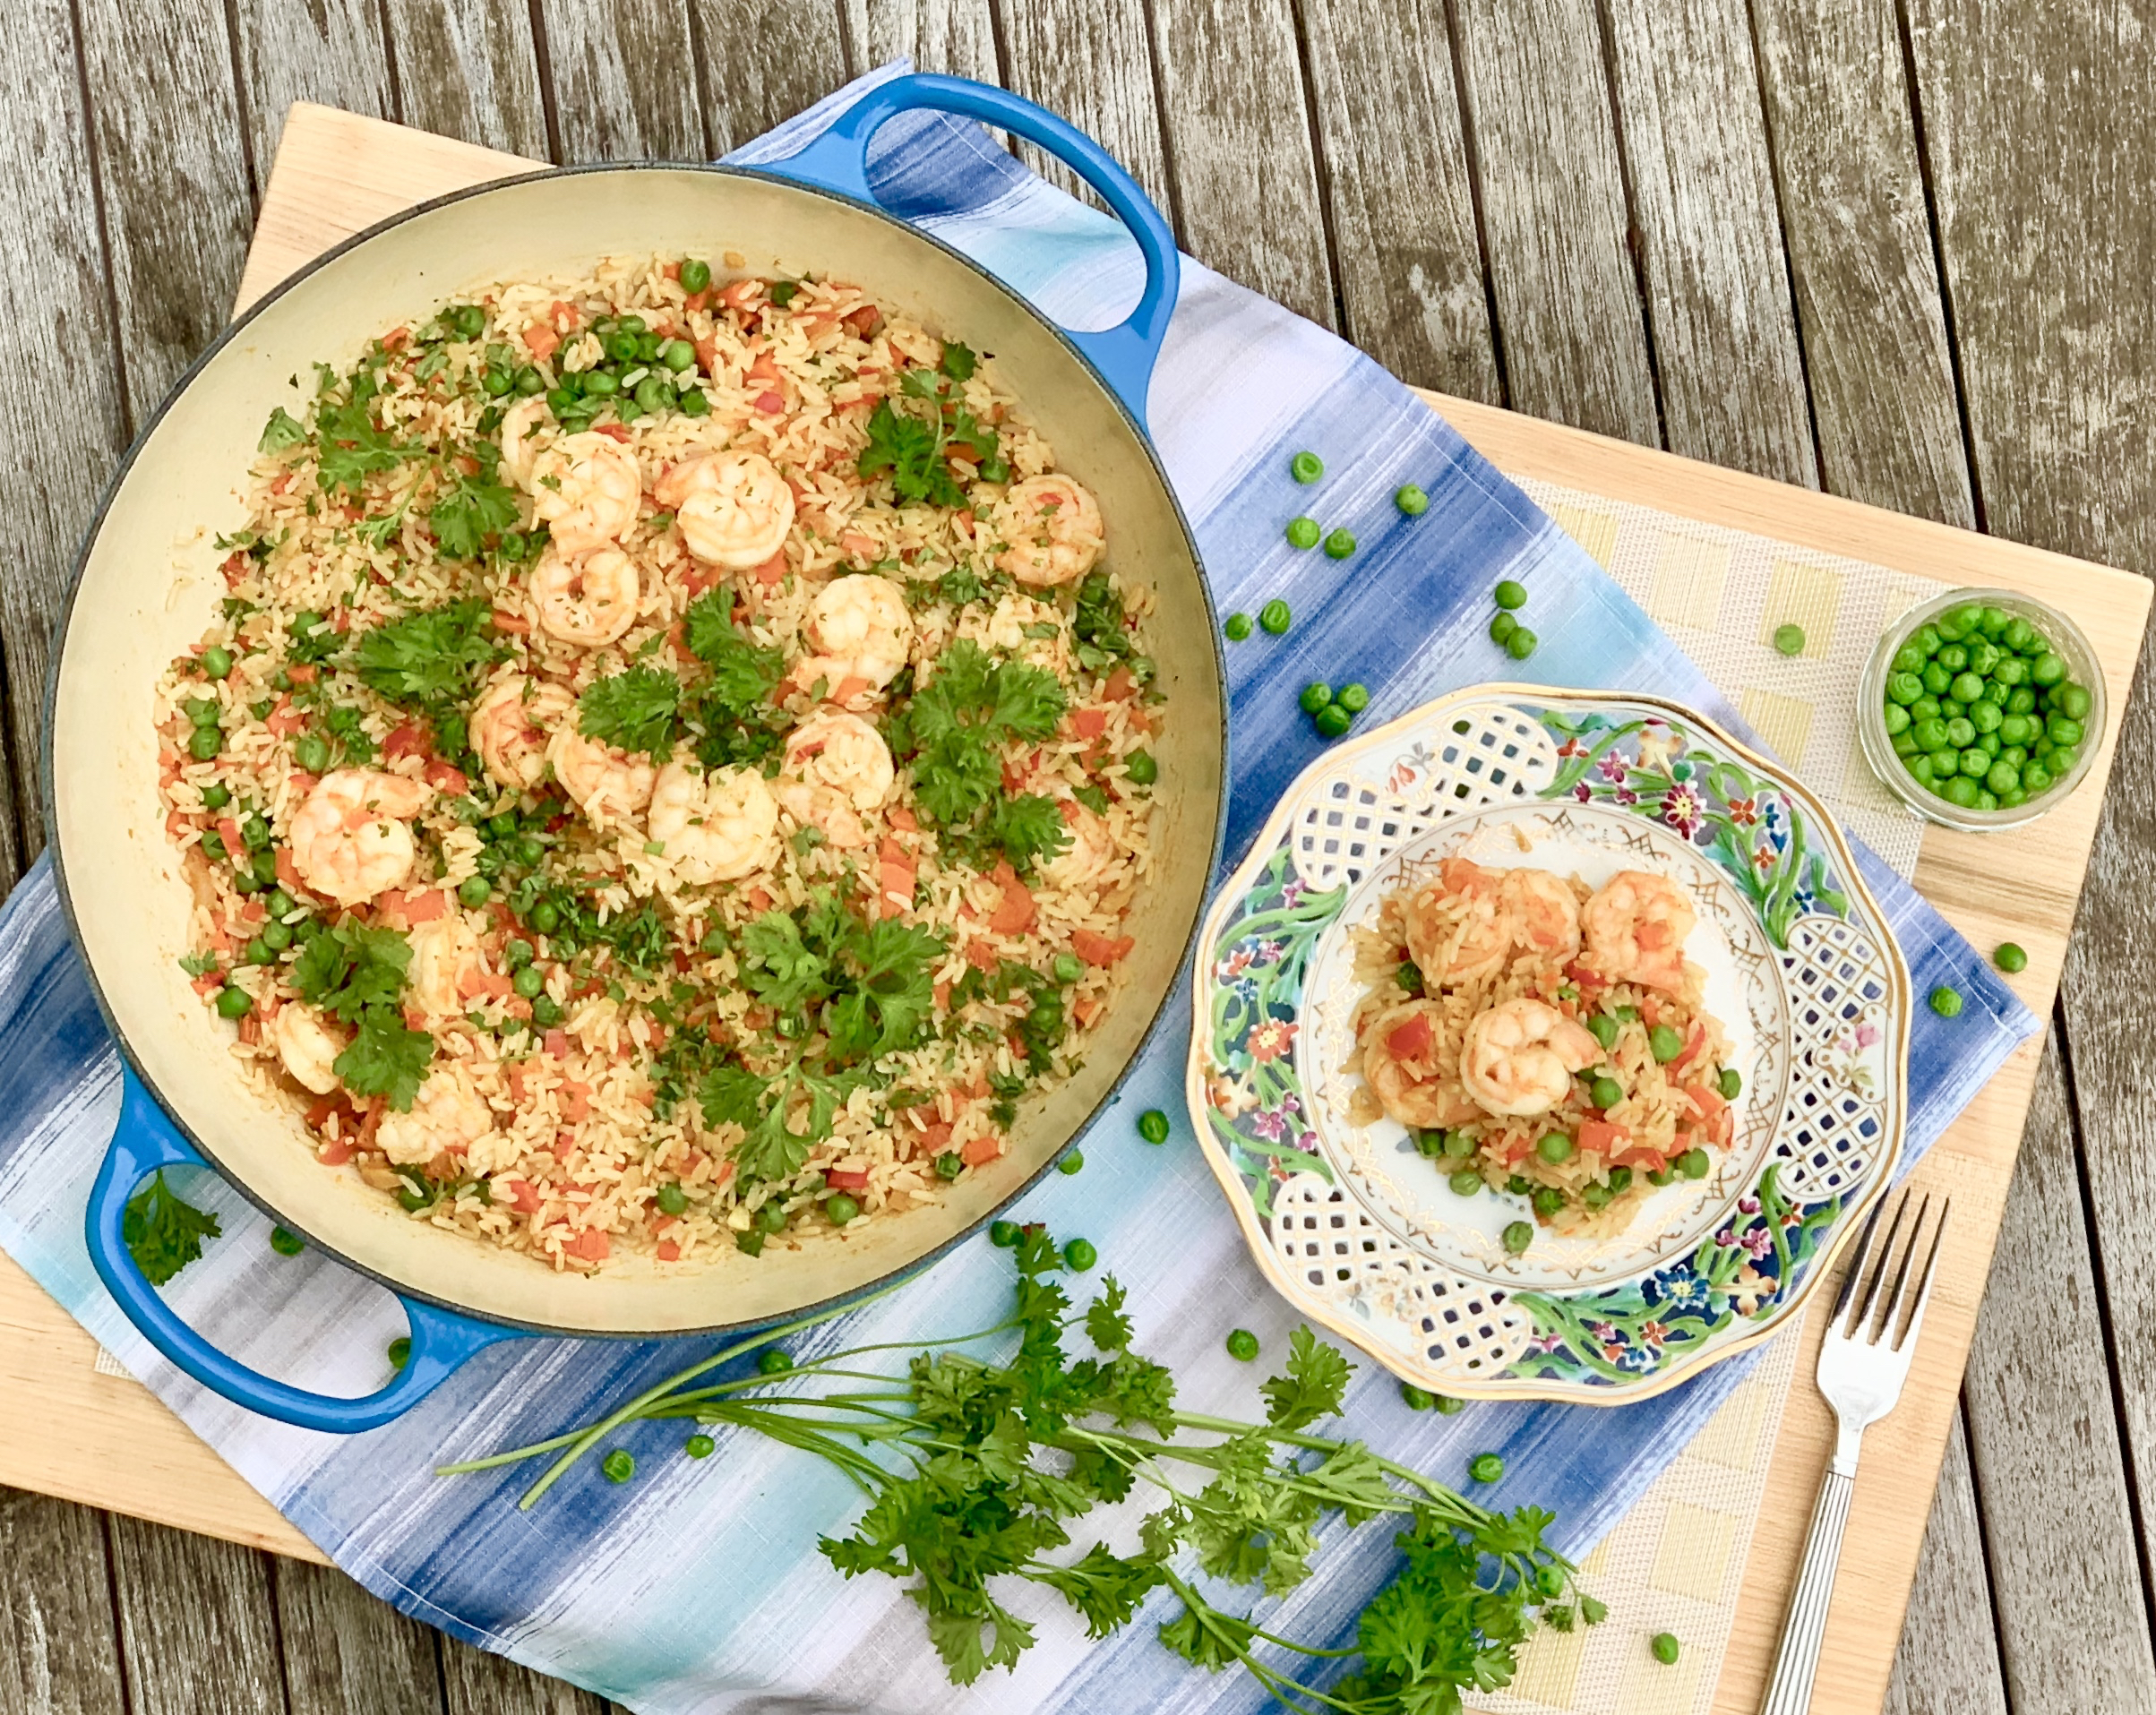
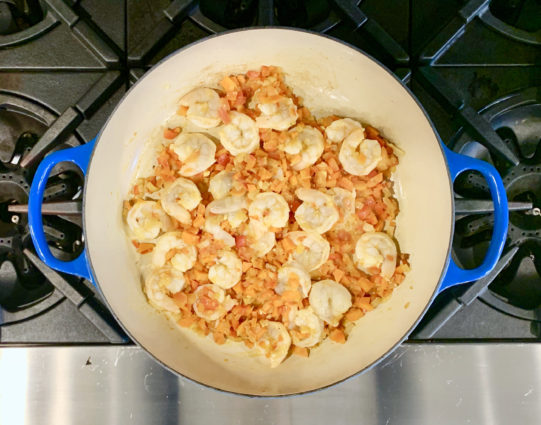
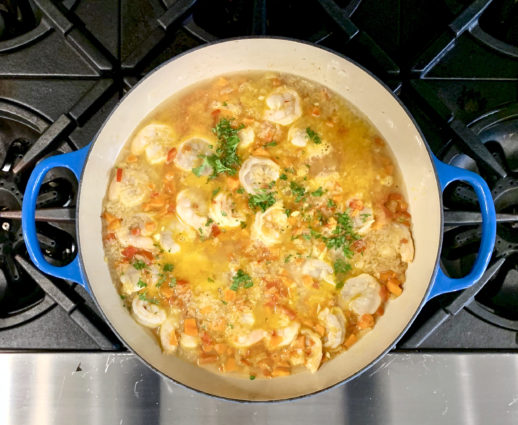
Making Latin food is not my forte, so I wasn’t sure how this would turn out. To my delight this dish is scrumptious. All the veggies blend beautifully together. The shrimp are moist and flavorful. The turmeric and garlic add delicious savory goodness and the peas are wonderful bursts of deliciousness. Dare to use the hot sauce, it adds an additional depth of flavor you shouldn’t miss.

Please sign up for my newsletter so you never miss a recipe. Follow me and like me on Facebook, and click on over to my website.

This recipe is courtesy of Food Network and will serve 4 people who will offer their compliments to the chef.

Ingredients for Spanish Shrimp and Rice:

3 tablespoons vegetable oil
1 small onion, chopped
2 cloves garlic, chopped
1/2 teaspoon turmeric
1 medium tomato, chopped
1 small carrot, diced
1/2 red bell pepper, diced
Kosher salt and freshly ground pepper
1-pound large shrimp, peeled and deveined 
1 1/2 cups converted white rice
1 tablespoon chopped fresh parsley
1/2 cup frozen peas, thawed
Hot sauce, for serving (optional)

Heat the vegetable oil in a large, deep skillet over medium heat.

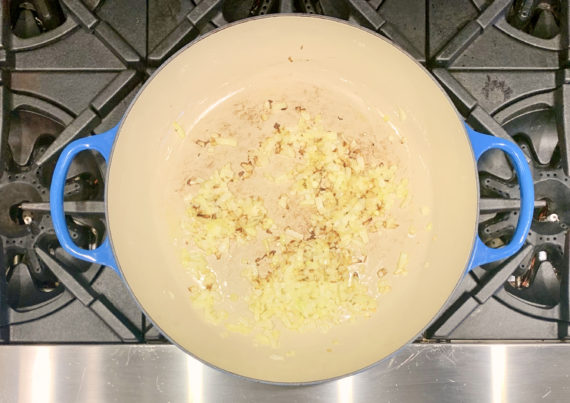
Add the onion, cook until edges turn slightly brown, about 5 minutes.

Add garlic and turmeric and cook, about 1 minute.

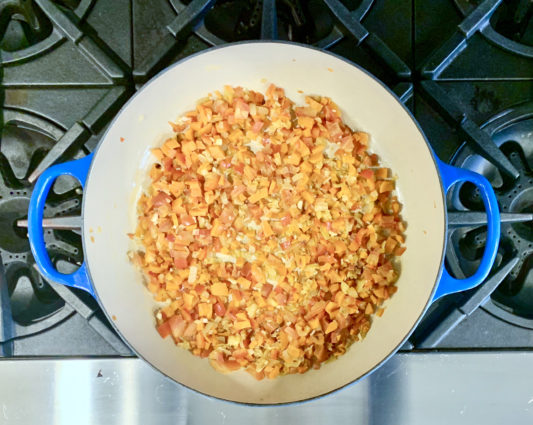
Add the tomato, carrot and bell pepper and cook, stirring occasionally, until tender, about 5 minutes.

Sprinkle with 3/4 teaspoon salt, and pepper to taste.

Add the shrimp and cook, stirring occasionally, until they begin to turn pink, about 1 minute.

Add the rice, 2 cups water and 1/2 tablespoon parsley; bring to a boil.

Reduce the heat to medium low, cover and simmer until the rice is tender, 15 to 20 minutes.

Remove from the heat and sprinkle in the peas and the remaining 1/2 tablespoon parsley.

Cover and let stand 5 minutes.

Fluff the rice mixture with a fork and incorporate the peas and parsley.

Season with salt and pepper.

Serve with hot sauce.

It’s that simple!

signature

[recaptcha]


Despite what you may think, I wasn’t born knowing how to host a big party. When my husband and I lived in Florida, Shelley, my sister-in-law, made me host Thanksgiving one year. With an 8 month old baby in the house and a full time job, I was terrified.  Honestly, I don’t know how it came together, but it did. Even after we’d moved back up north, I didn’t host anything for years.  

Through that time, I was slowly learning to cook. My mother taught me some of her recipes, although she did not have a very big repertoire. I especially loved the way she made mushrooms. She would take onions, garlic, and mushrooms and put them in a big pot, which she would cook low and slow on the stove. The mushrooms cooked in their own juices are so delicious.

Once my family had really settled and bought a home, I began to host Thanksgiving. The first couple of years, it was a small crowd, but that grew as quickly as my cooking skills. My cousin moved around the block from me, and my niece moved to New York City. Because of her work schedule, she couldn’t go to Florida for Thanksgiving, so my brother and his family decided to come up north for the holiday. See where I’m going here? You guessed it– the spots around my table filled quickly, and I had to learn how to cook for a crowd.

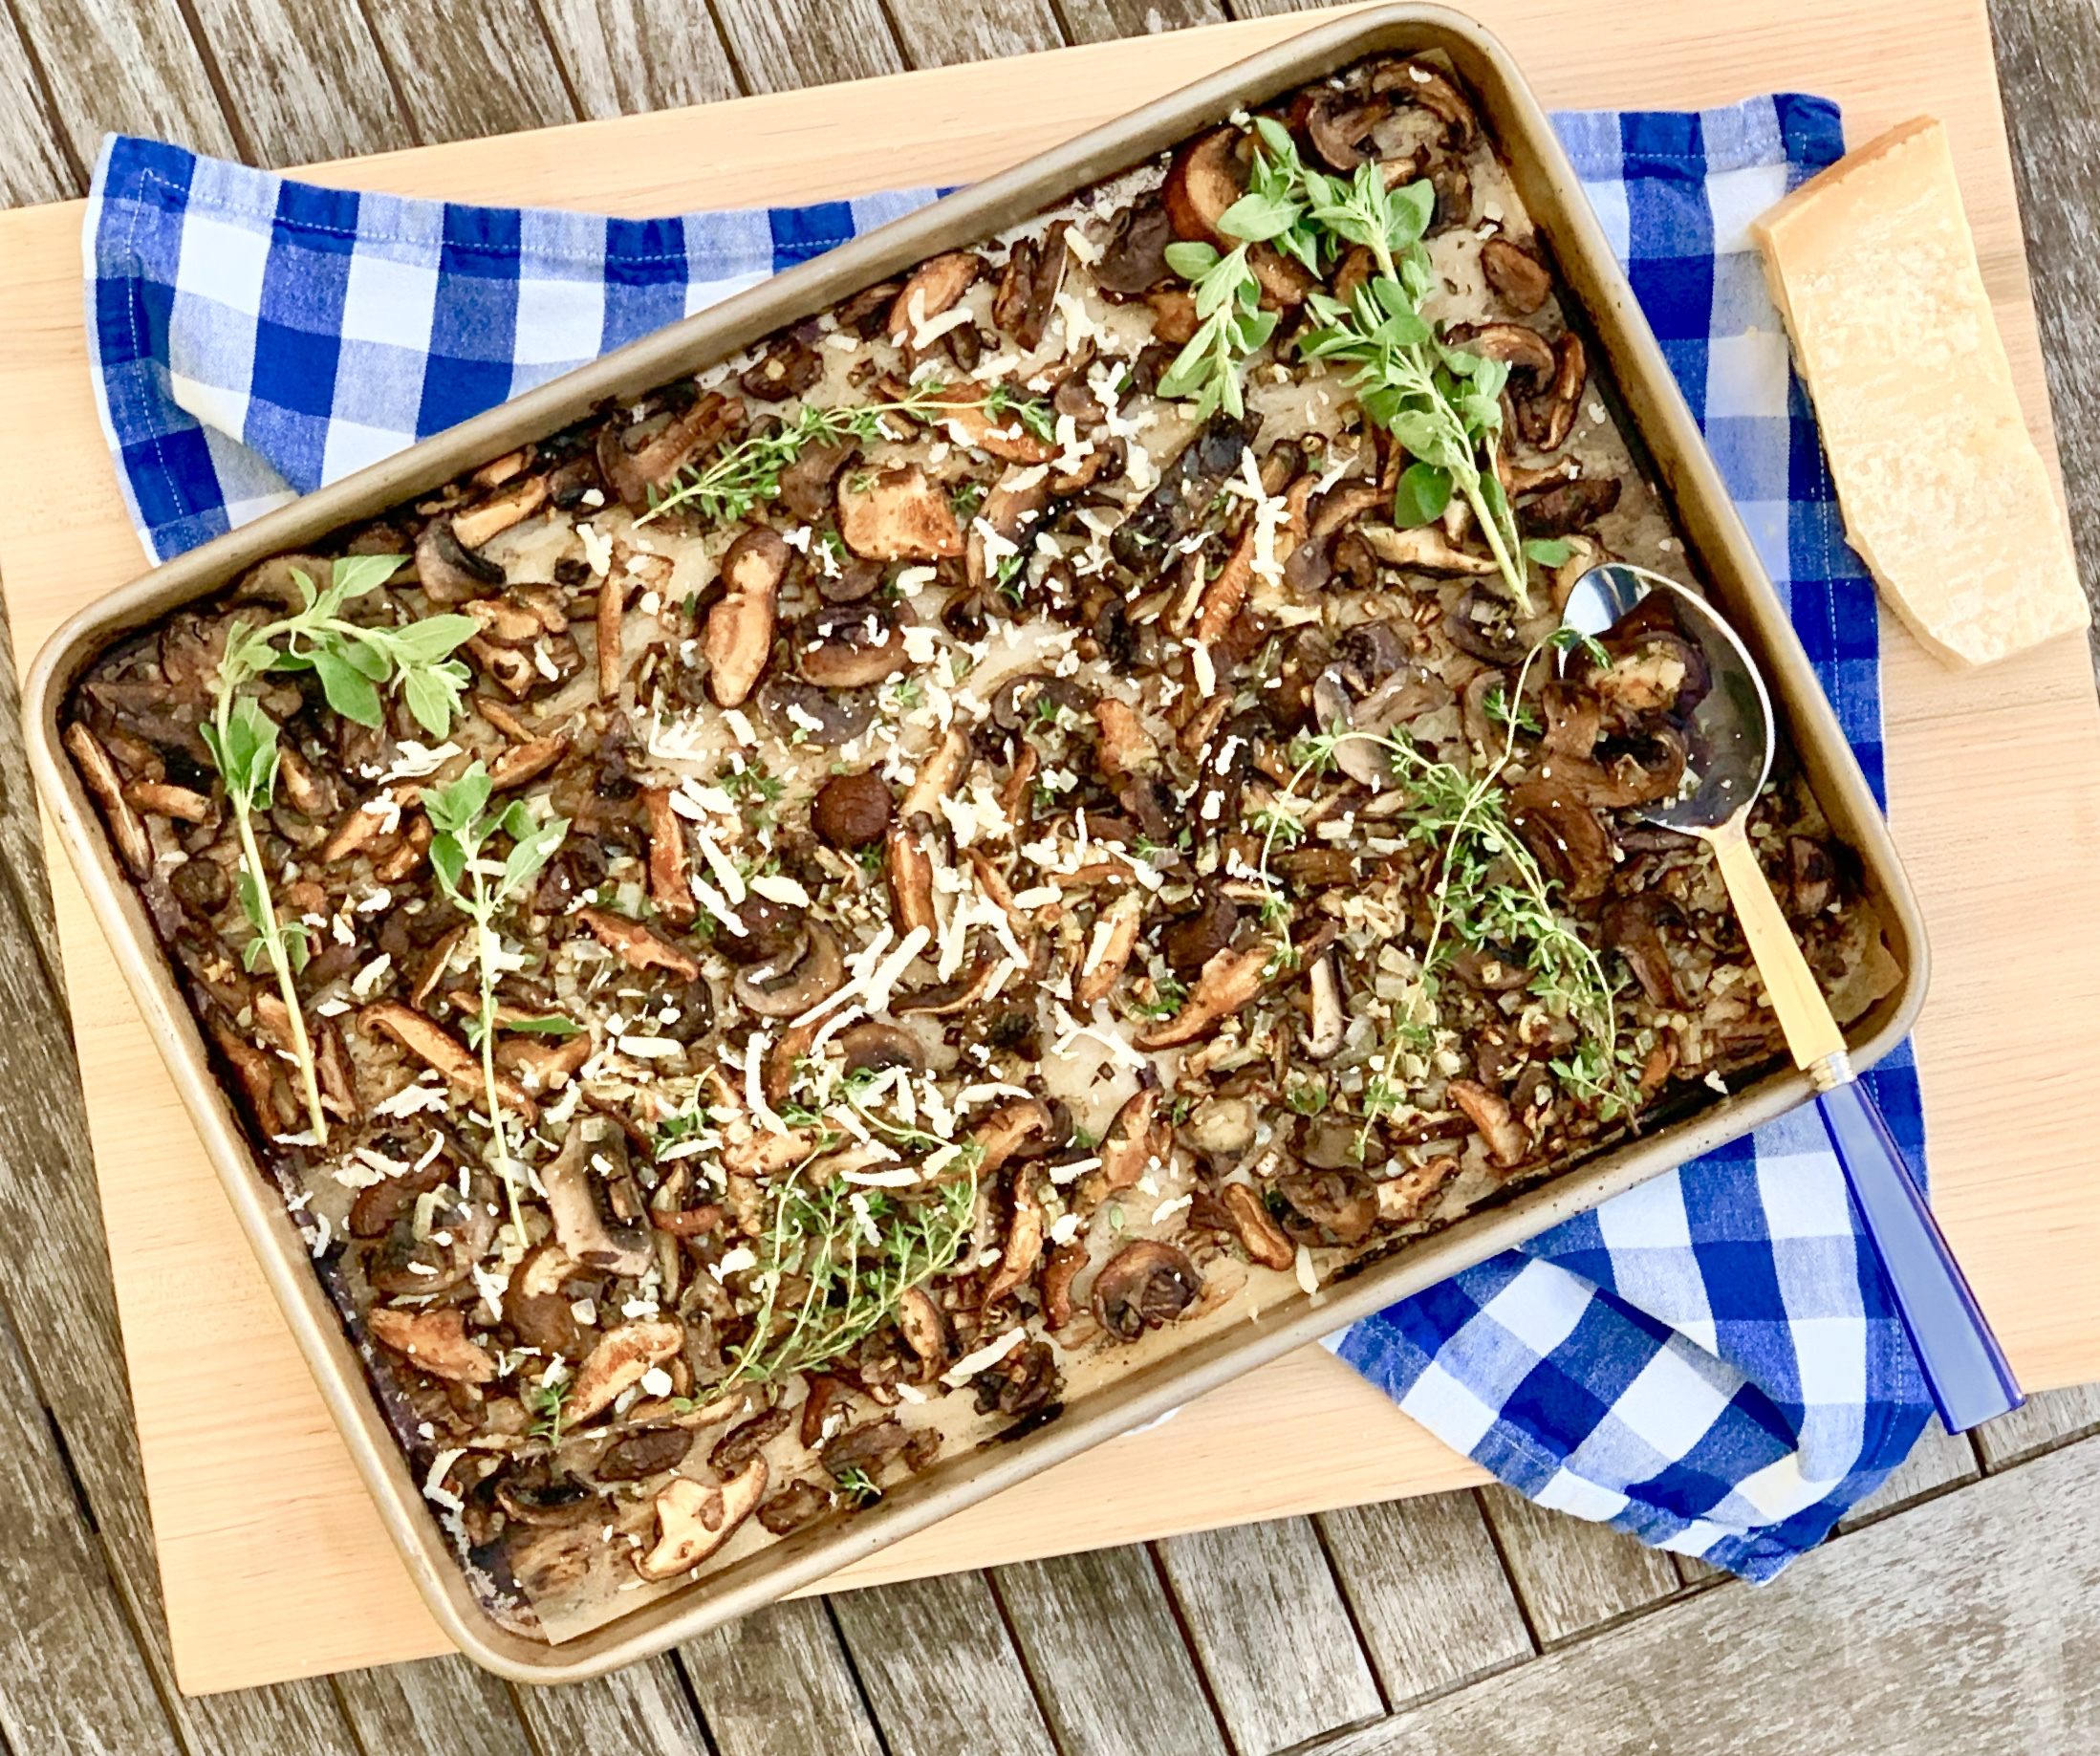
I always made my mother’s mushroom dish for holiday gatherings. That is, until I realized I could make some improvements. After learning how to caramelize vegetables, I pan roasted them until they were glistening with all those brown bits of goodness. As my crowd grew bigger, pan-roasting just took too long. That is how I came to make this recipe. It is really so simple, yet people think you were slaving over them all day. I made them for Thanksgiving AND Christmas, and when nobody complained about the repeat servings, I knew I had to share. I think my mother would have loved them, and I hope you do too!

This recipe is my own and will serve 4 people who will welcome the delicious preparation of simple ingredients.

Ingredients for Roasted Mushrooms:

4 (6-ounce packages) assorted mushrooms, such as crimini, chanterelle, portobello, or white button.
3 tablespoons melted butter
1 small onion, diced
3 cloves garlic, diced
2 tablespoons fresh thyme
1 tablespoon fresh oregano
1 teaspoon kosher salt
1/2 teaspoon freshly ground black pepper
½ cup Parmesan-Reggiano Cheese


Preheat oven to 450 degrees F.

Cover a baking pan with parchment paper.

If your mushrooms are not already cut, remove stems and cut into slices.

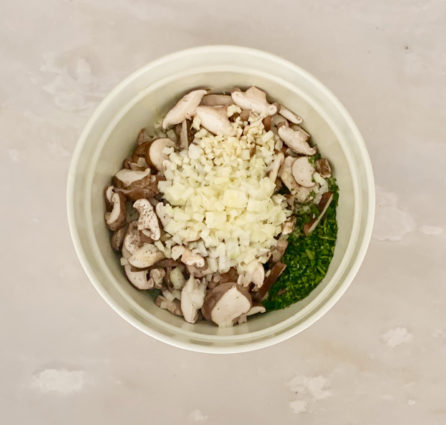
Place mushrooms in a large bowl. 

Add onion, garlic, thyme, oregano, salt and pepper.

Mix until well combined.

Stir melted butter into mushroom mixture. 

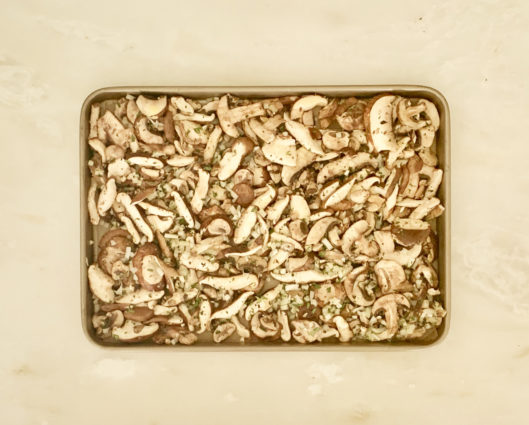
Place on baking sheet in single layer.

Roast for 20 minutes or until mushrooms are very browned.

Sprinkle with Parmesan-Reggiano cheese.

Serve warm.

It’s that simple!
Wish I was back there!

signature

[recaptcha]


As the year comes to an end, many of us make resolutions for the new year. Unfortunately, most of us don’t keep them, and in our day to day business, we most often forget about them. 

I do not make resolutions, but I do set new goals for myself, especially in the kitchen. I will share some of them with you, just in case you’re looking for some ideas for yourself:

Use more fresh herbs. They are so much better than dried ones, and most supermarkets sell them fresh in their produce department all year long.

Make my kitchen workplace a more beautiful one. I love my kitchen, but it can always be better! I know what I’m adding, but you might try to put out your favorite piece of pottery, or buy a nice plant or succulent to add life. Bring in some speakers and cook to music. It just might make you sing or dance a little too!

Nutrition is important. Take the time to read ingredients, and make choices that suit your lifestyle.  What you put into your body is important. 

Share some recipes and look for new ones.  Because of the blog, I’m always on the lookout for new recipes.  It’s a great habit to pick up. If you go to someone’s home and they serve something you love, ask them for the recipe. They will be flattered.  Then pay it forward and give recipes to your friends when they ask.

Encourage your kids to cook. They will be much more likely to eat the food they helped prepare, and will be very proud of the work they do. Messes can be hard to clean up, but the photos will make you laugh years later.

The only ingredient you really need is a four-letter word, LOVE, which I hope the new year brings to you!

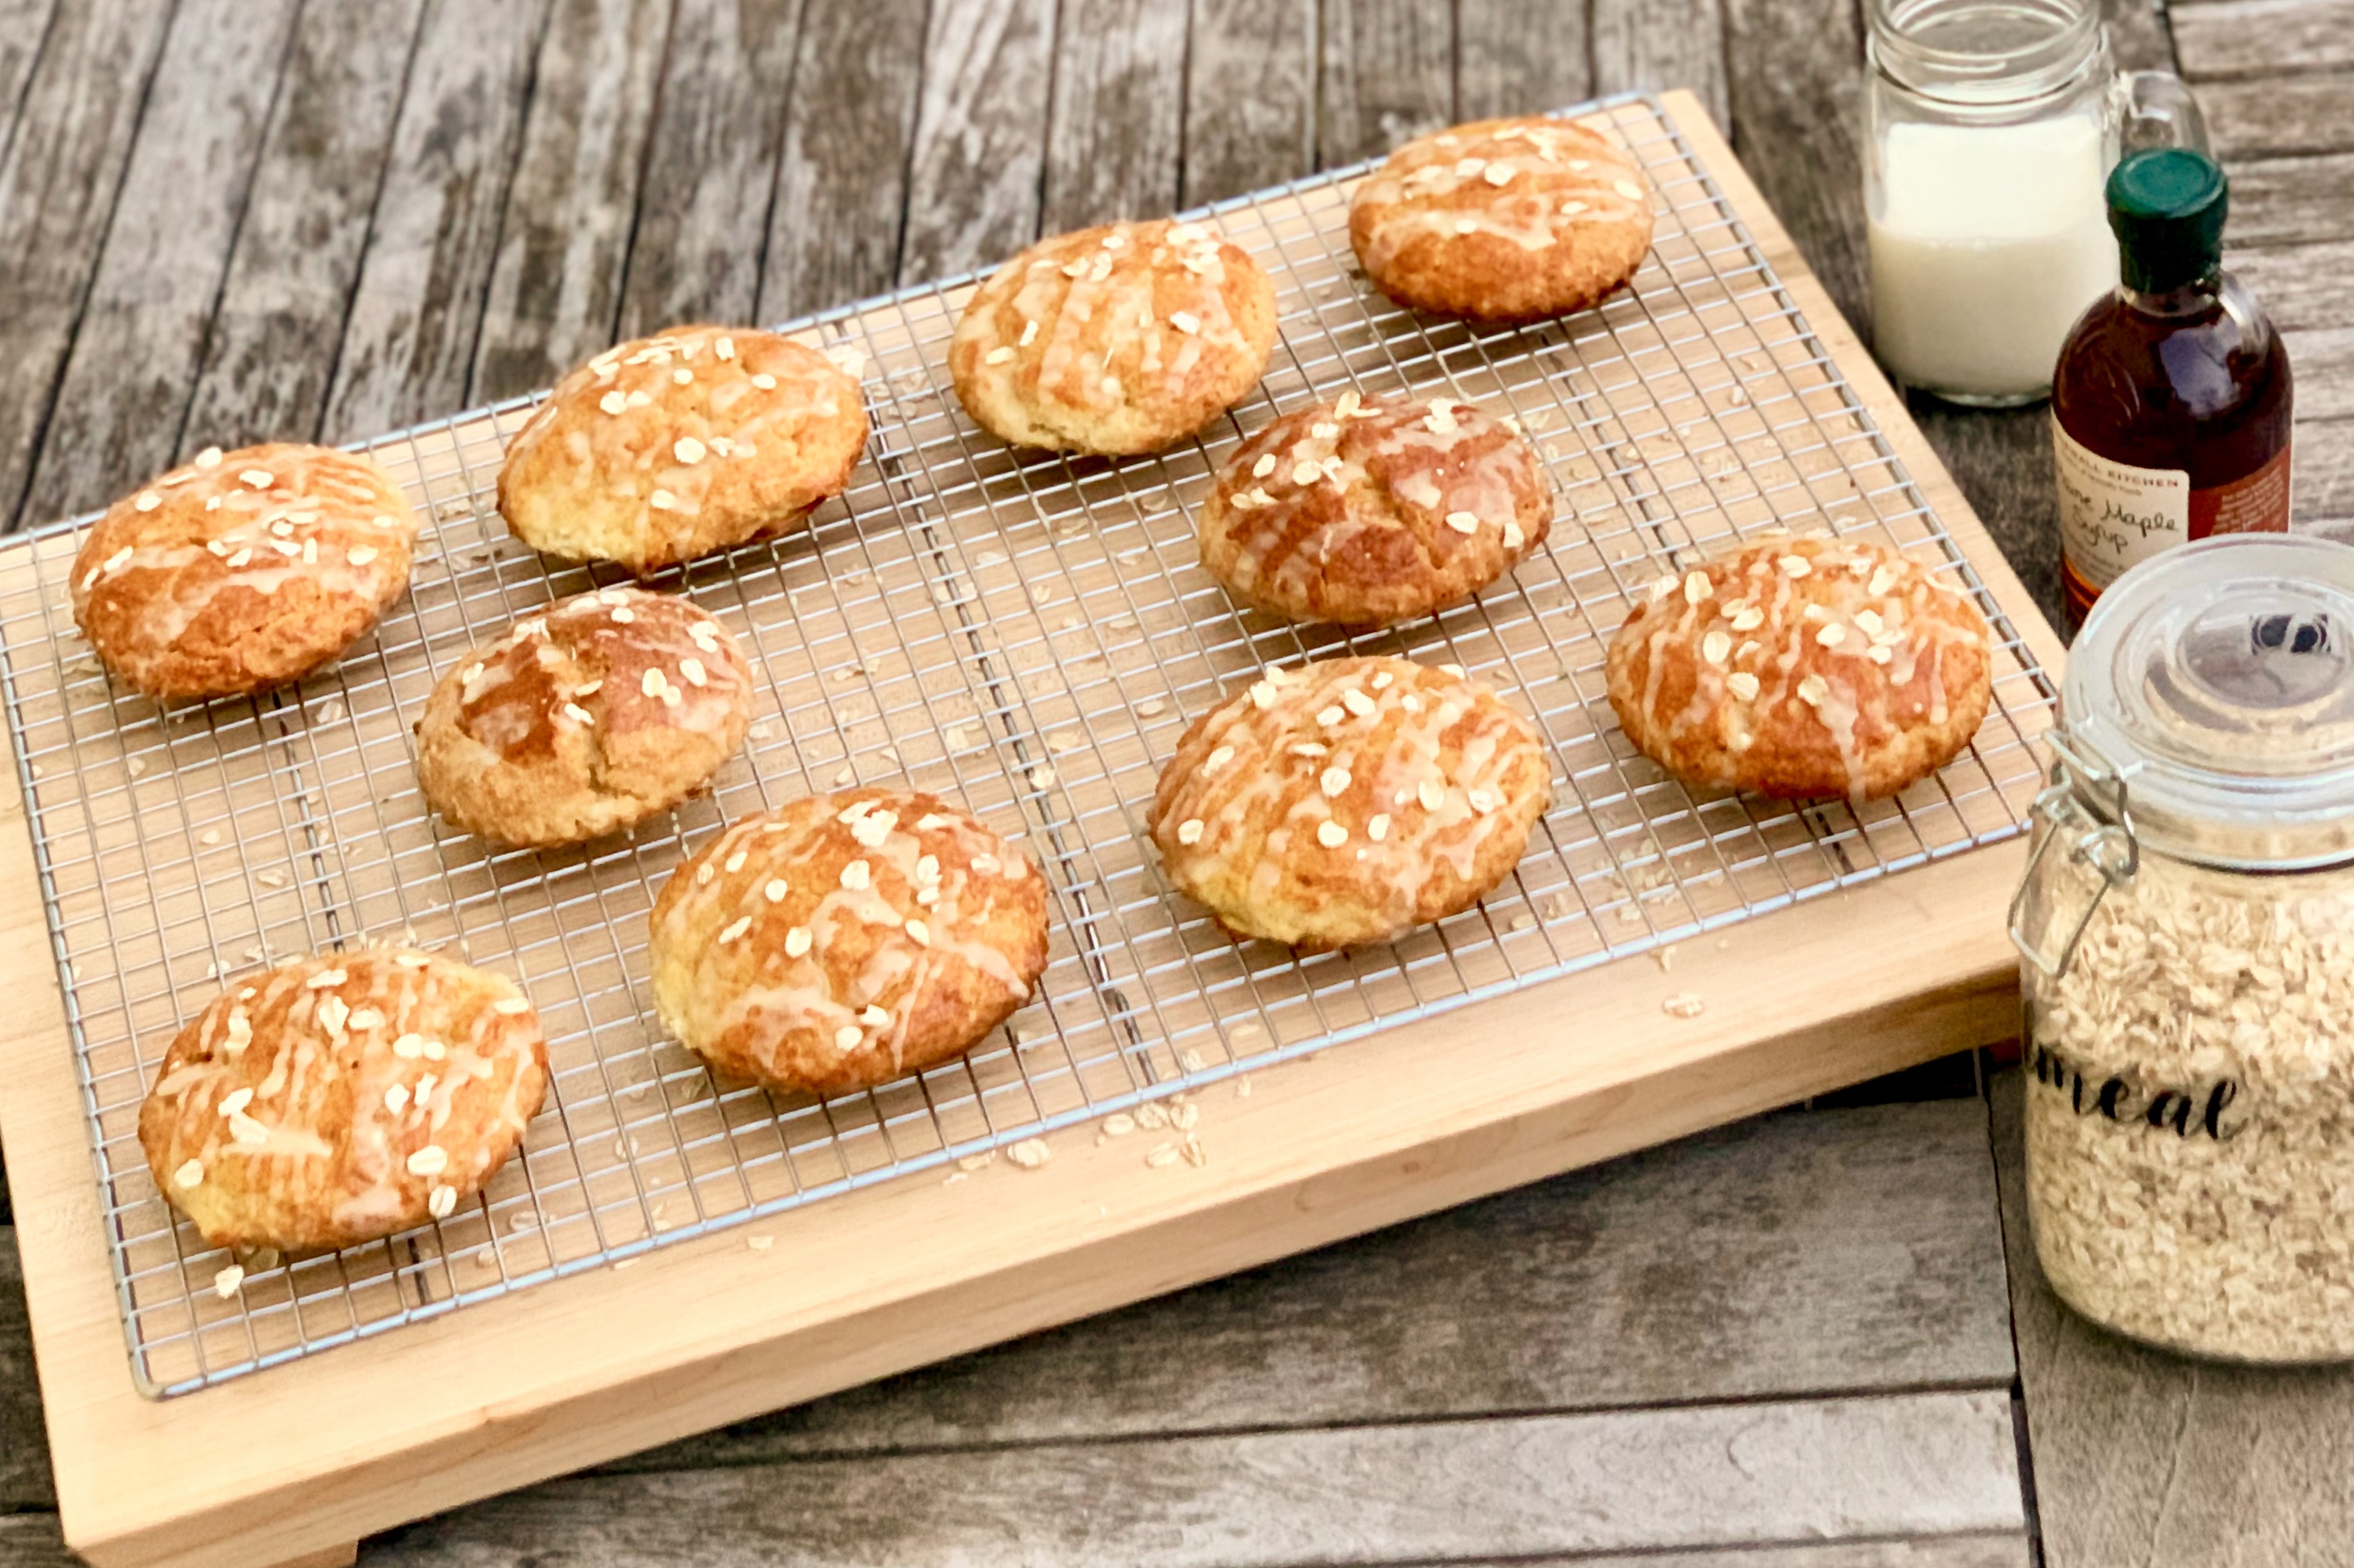
These scones will definitely taste like love when you serve them. The buttermilk ensures a soft, moist center. The oats add a nice texture, and the sugars combined with the maple syrup is just the perfect amount of sweetness for these tasty anytime treats. The glaze adds just the right savory and sweet. It’s the perfect topping for these delicious little delicacies.

This recipe is courtesy of Ina Garten (so you know it is truly perfection) and will make 14 scones for people who will love these as a daytime snack over the holidays.

Ingredients for Maple Oatmeal Scones:

3 1/2 cups all-purpose flour
1 cup whole-wheat flour
1 cup quick-cooking oats, plus additional for sprinkling
2 tablespoons baking powder
2 tablespoons granulated sugar
2 teaspoons salt
1 pound cold unsalted butter, diced
1/2 cup cold buttermilk
1/2 cup pure maple syrup
4 extra-large eggs, lightly beaten
1 egg beaten with 1 tablespoon milk or water, for egg wash

For the Glaze:

1 1/4 cups confectioners’ sugar
1/2 cup pure maple syrup
1 teaspoon pure vanilla extract

Preheat the oven to 400 degrees F.

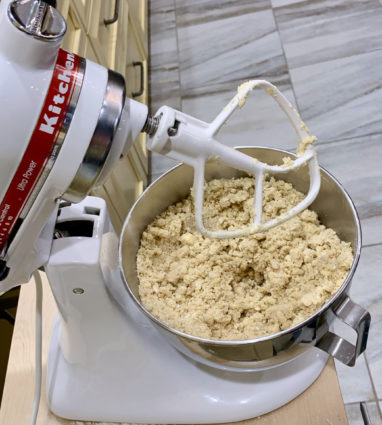
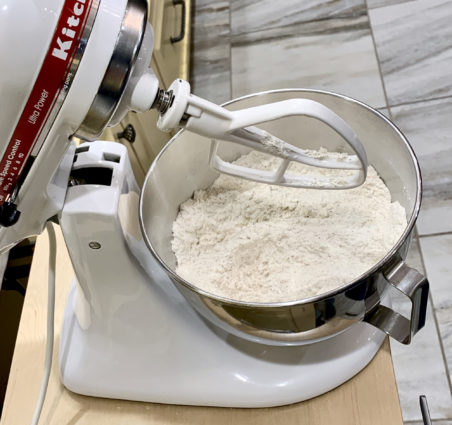
In the bowl of an electric mixer fitted with a paddle attachment, combine the flours, oats, baking powder, sugar, and salt.

Blend the cold butter in at the lowest speed and mix until the butter is in pea-size pieces.

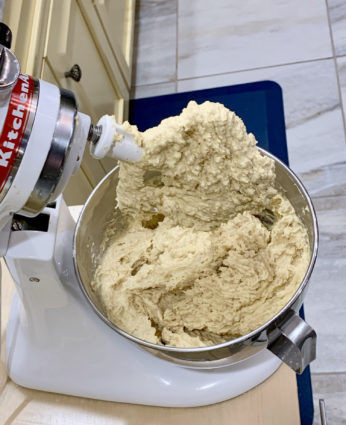
Combine the buttermilk, maple syrup, and eggs and add quickly to the flour-and-butter mixture.

Mix until just blended.  The dough may still be sticky.

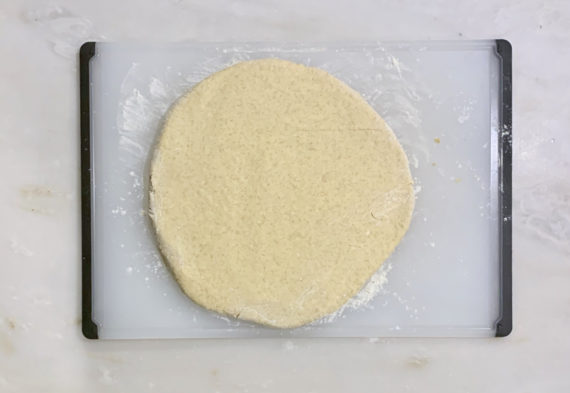
Dump the dough out onto a well-floured surface and be sure it is combined.

Flour your hands and a rolling pin and roll the dough 3/4 to 1 inch thick.

You should see lumps of butter in the dough.

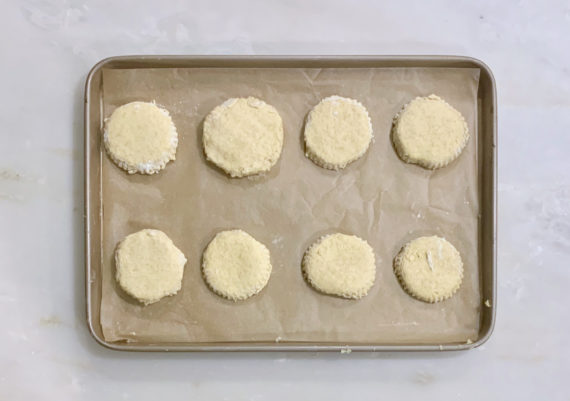
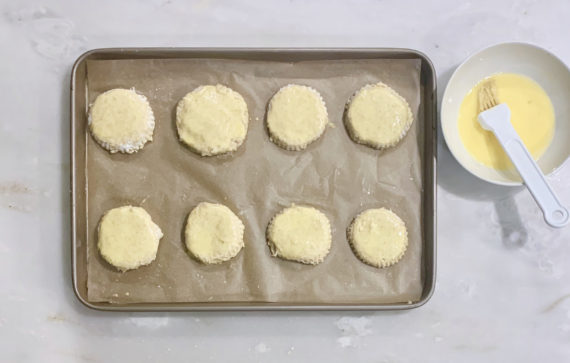
Cut into 3-inch rounds with a plain or fluted cutter and place on a baking sheet lined with parchment paper.

Brush the tops with egg wash. Bake for 20 to 25 minutes, until the tops are crisp and the insides are done.

To make the glaze, combine the confectioners’ sugar, maple syrup, and vanilla.

When the scones are done, cool for 5 minutes, and drizzle each scone with 1 tablespoon of the glaze.

I like to garnish the top with some uncooked oats.

The warmer the scones are when you glaze them, the thinner the glaze will be.

It’s that simple!
signature

[recaptcha]