As you might imagine, I am a very organized person. My kitchen is one of the most organized rooms in my home and I am going to share some of my tips with you today. Having a system helps me immensely, and I think it will help you too.  When I entertain, everything has to be in its place during preparation. This cuts my prep time in half, and lets me get to other things like decorating the table or doing a little bit of cleaning in the rooms I am going to be using. The French call this “mise en place,” literally WHATEVER, but I have to call call it SOMETHING.

So, here are a few tips when prepping your food:

Gather the bowls, tools, and machines (i.e. Kitchen Aid, blender, hand mixer) and always have a trash can near you when you are cooking. You can also set up a bowl on the counter for scraps for composting.

Looking good makes you feel good, but not in the kitchen.  It’s best not to wear your favorite clothing, since spills happen, and I recommend an apron too.

Wear gloves when prepping. This will prevent your hands from smelling like garlic or onions. It will also prevent the oil from hot peppers or chilies from getting on your hands and maybe your eyes or mouth.  Reusable gloves are great for this!

Indulge in one very good knife. You will be surprised how much it cuts down your prep time (pun very much intended!).

After chopping food, use the dull side of the knife to scrape up the contents. Knives should be sharpened regularly, but this will help keep them that way.

Read the recipe first. All the way through. This will give you a better understanding of the tools you will need as well as catch important instructions such as “reserve 1 cup of pasta water.” How many times do we forget to do that?

Cut a lemon into four wedges when you need to squeeze them for their juice. The smaller wedges make it so much easier to squeeze.

Dry all foods with towels, meat, poultry, and veggies. Water makes them steam and they will not brown properly. For meat and poultry, paper towels are best, but for veggies, a clean kitchen towel works great.

Taste, taste, taste! You need to make sure all the seasonings in your food taste exactly the way you want it to.

Keep things simple! Now go get yourself a nice glass of wine, you earned it!

I could go on and on and on, but I will stop here and leave the rest for another day. I hope you try these tips, they will really make a big difference in your cooking.

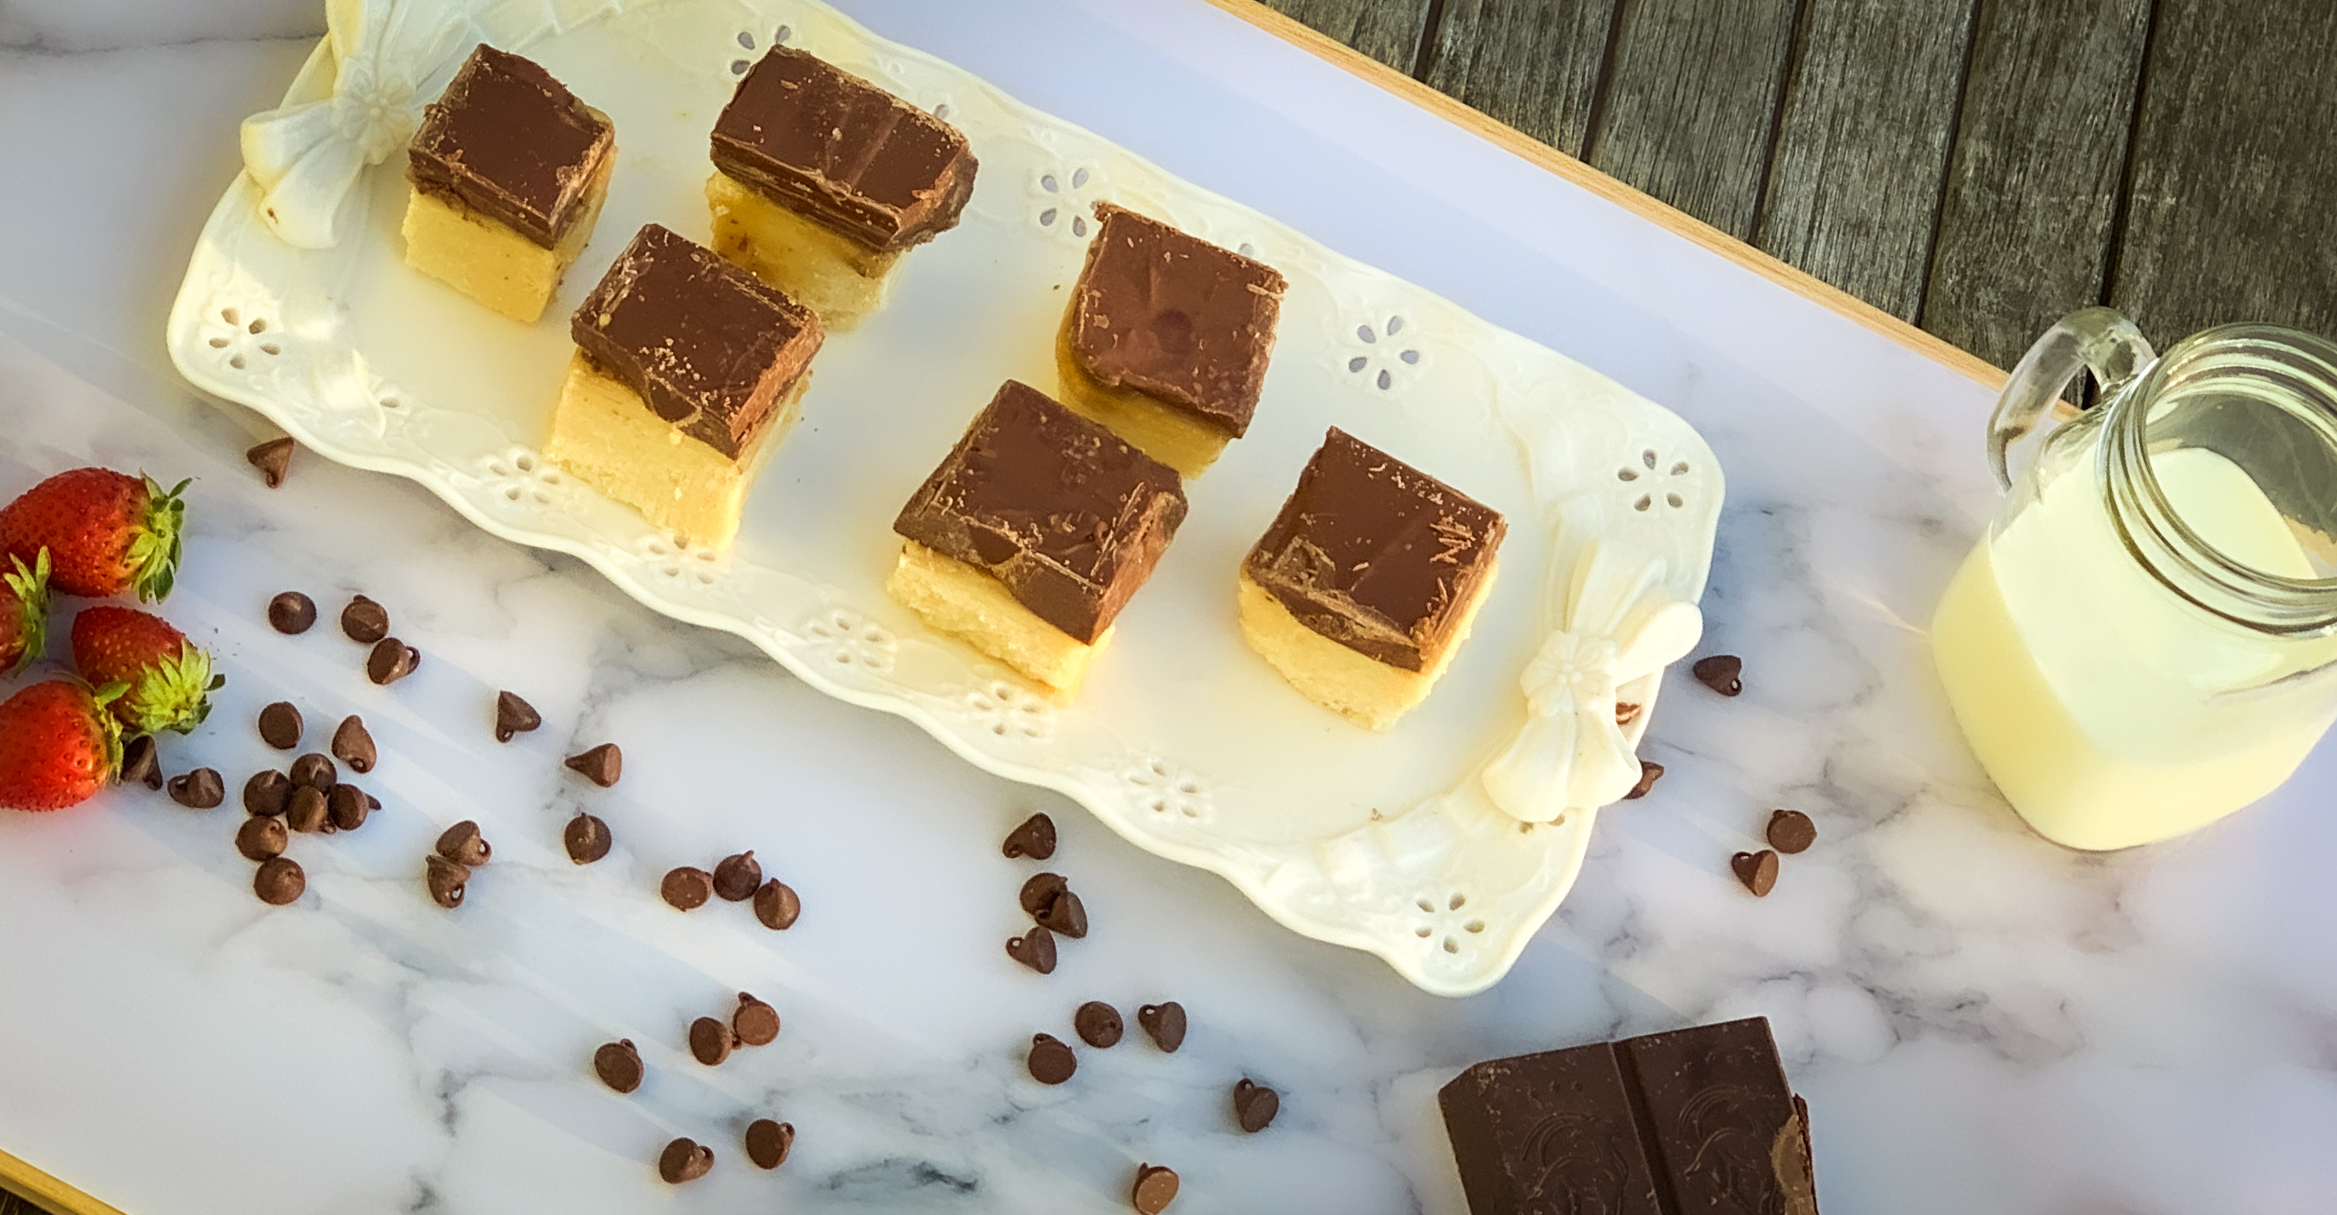
This is a really easy recipe if you want to keep it simple. There are five ingredients in it and it takes no time to whip up. The thing that will take the most time is waiting for the layers to freeze, so be sure to leave that time, otherwise the dessert will not set and the layers will run together. I also keep it refrigerated so it holds its shape. If you are a dark chocolate lover, feel free to use that instead, I just happen to be more of a fan of milk chocolate. If you really want to get fancy, find a recipe for chocolate ganache and put that on top. Wouldn’t that be decadent?

How could you not love millionaire shortbread? A layer of shortbread that serves as the vehicle to hold some chewy caramel (that’s already yummy), and covered with a blanket of chocolate. Topped off with a sprinkle of sea salt and you are in heaven. One bite and you are hooked. It’s a rich dessert (hence the name), so I cut the big squares into smaller ones. This is one dessert that ain’t called Millionaires for nothing! 

This recipe is my own and will make 28 pieces that are sure to surprise and delight your guests.

Ingredients for Millionaire Shortbread:

For the Shortbread:

1 cup (2 sticks) butter, softened
1 cup granulated sugar
1 1/2 teaspoons pure vanilla extract
2 1/4 cup all-purpose flour
1/2 teaspoon kosher salt

For the caramel:

1 cup light brown sugar, packed
4 tablespoons unsalted butter
1 teaspoon sea salt
1/2 cup heavy cream
1 1/2 tablespoons vanilla extract

For the chocolate layer:

2 cups milk chocolate chocolate chips
Sea Salt for garnish

Preheat oven to 300°.

Line a 13″-x-9″ pan with parchment paper and spray with cooking spray.

 Make shortbread layer:

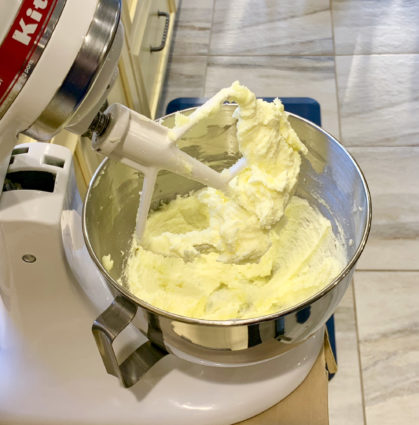
 Cream softened butter with sugar until light and fluffy.
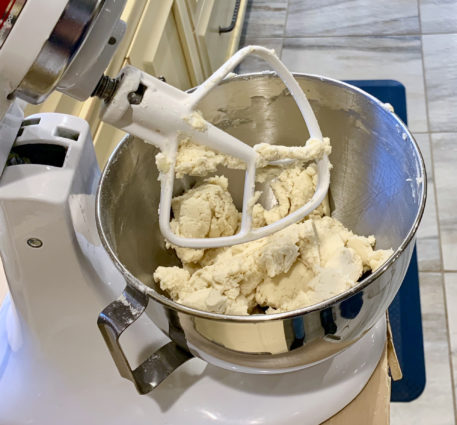
Add flour and vanilla and mix until a bread crumb texture forms.
Press mixture into a prepared pan and prick all over with a fork.
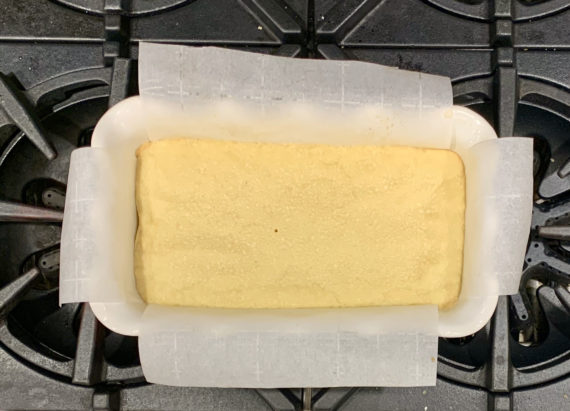
Bake until lightly golden, 30 minutes.

Let cool completely.

Make the Caramel Sauce:

Combine all ingredients in a saucepan and simmer over low heat, whisking constantly or until thickened and no longer watery (6-9 minutes).
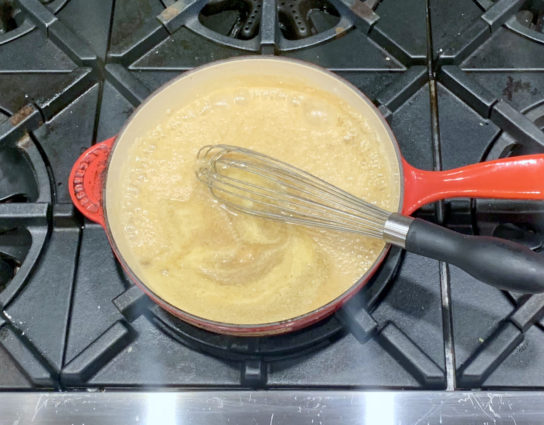
Remember, it thickens more as it cools.

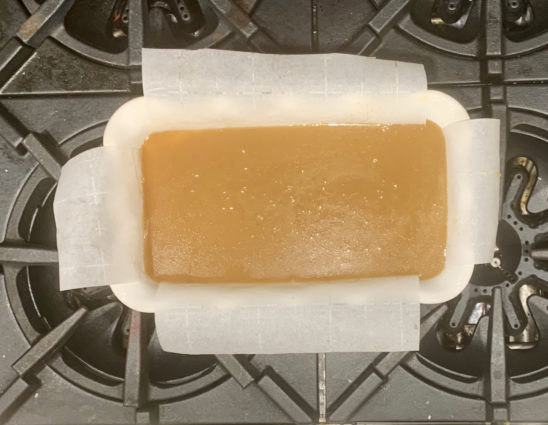
Pour over cooled shortbread and place in the freezer for  to 8 hours or overnight.
Make the Chocolate:

Place a small pot filled halfway with water on medium-high heat.

Bring to a boil.

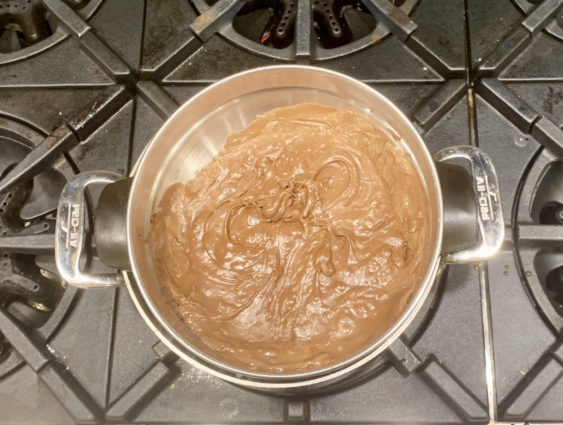
Place chocolate in a double boiler and heat until chocolate is fully melted.
 Take shortbread out of freezer.

 Make sure the caramel is frozen.

 Pour the melted chocolate over the caramel layer.
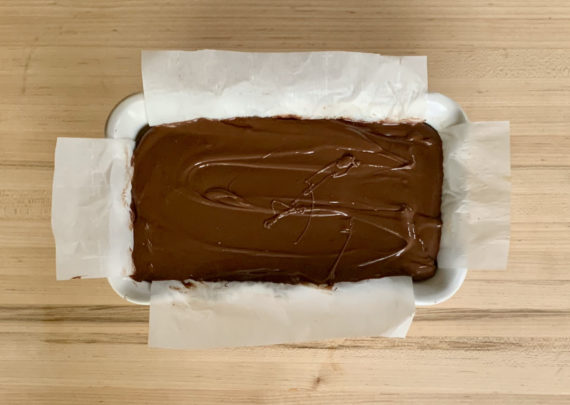
Place in freezer for 6 to 8 hours or overnight.

Take shortbread out of freezer and let it come to room temperature.

Slice into bars.

Slice bars into quarters.

Top with sea salt.

It’s that simple!

signature

[recaptcha]


I’ve said it a million times: I am just not into baking. Don’t get me wrong, I am a huge lover of all baked goods, but I am more of a cook than baker. Baking requires precision and timing. If you get one ingredient wrong, or the measurement wrong, it’s a disaster. Cooking is more open to interpretation–or just winging it!

Baking and cooking both require mixing, stirring, chopping, and cutting. They create desirable things to eat. Cooking is more laid back, requiring a ” handful of this,” a “pinch of that,” or “occasionally stir.” Baking is more definitive, calling for 1 cup plus 1 teaspoon of flour. It usually requires a standard measure of ingredients that must come together to achieve an exact result. It also requires the correct temperature that will take the mixed ingredients into another form (usually liquid-ish to solid). Baking is a science.  Cooking involves more improvisations and developing. Substitutions are easier when cooking. The amount of spices you use in a dish do not have to be exact, they could be just to taste. Don’t like onions?  That’s okay. Throw in some scallions or chives, or omit completely. The outcome will still be wonderful. Cooking is a form of art.

Baking too is surely an art.  There are so many beautifully frosted cookies and cakes out there, and creating those certainly involves a discerning eye and a practiced hane. So many cookie bakers are talented artists as well. I am a cook and an artist, but surely not the type for intricate cookie or cake decoration.  I leave that to others.

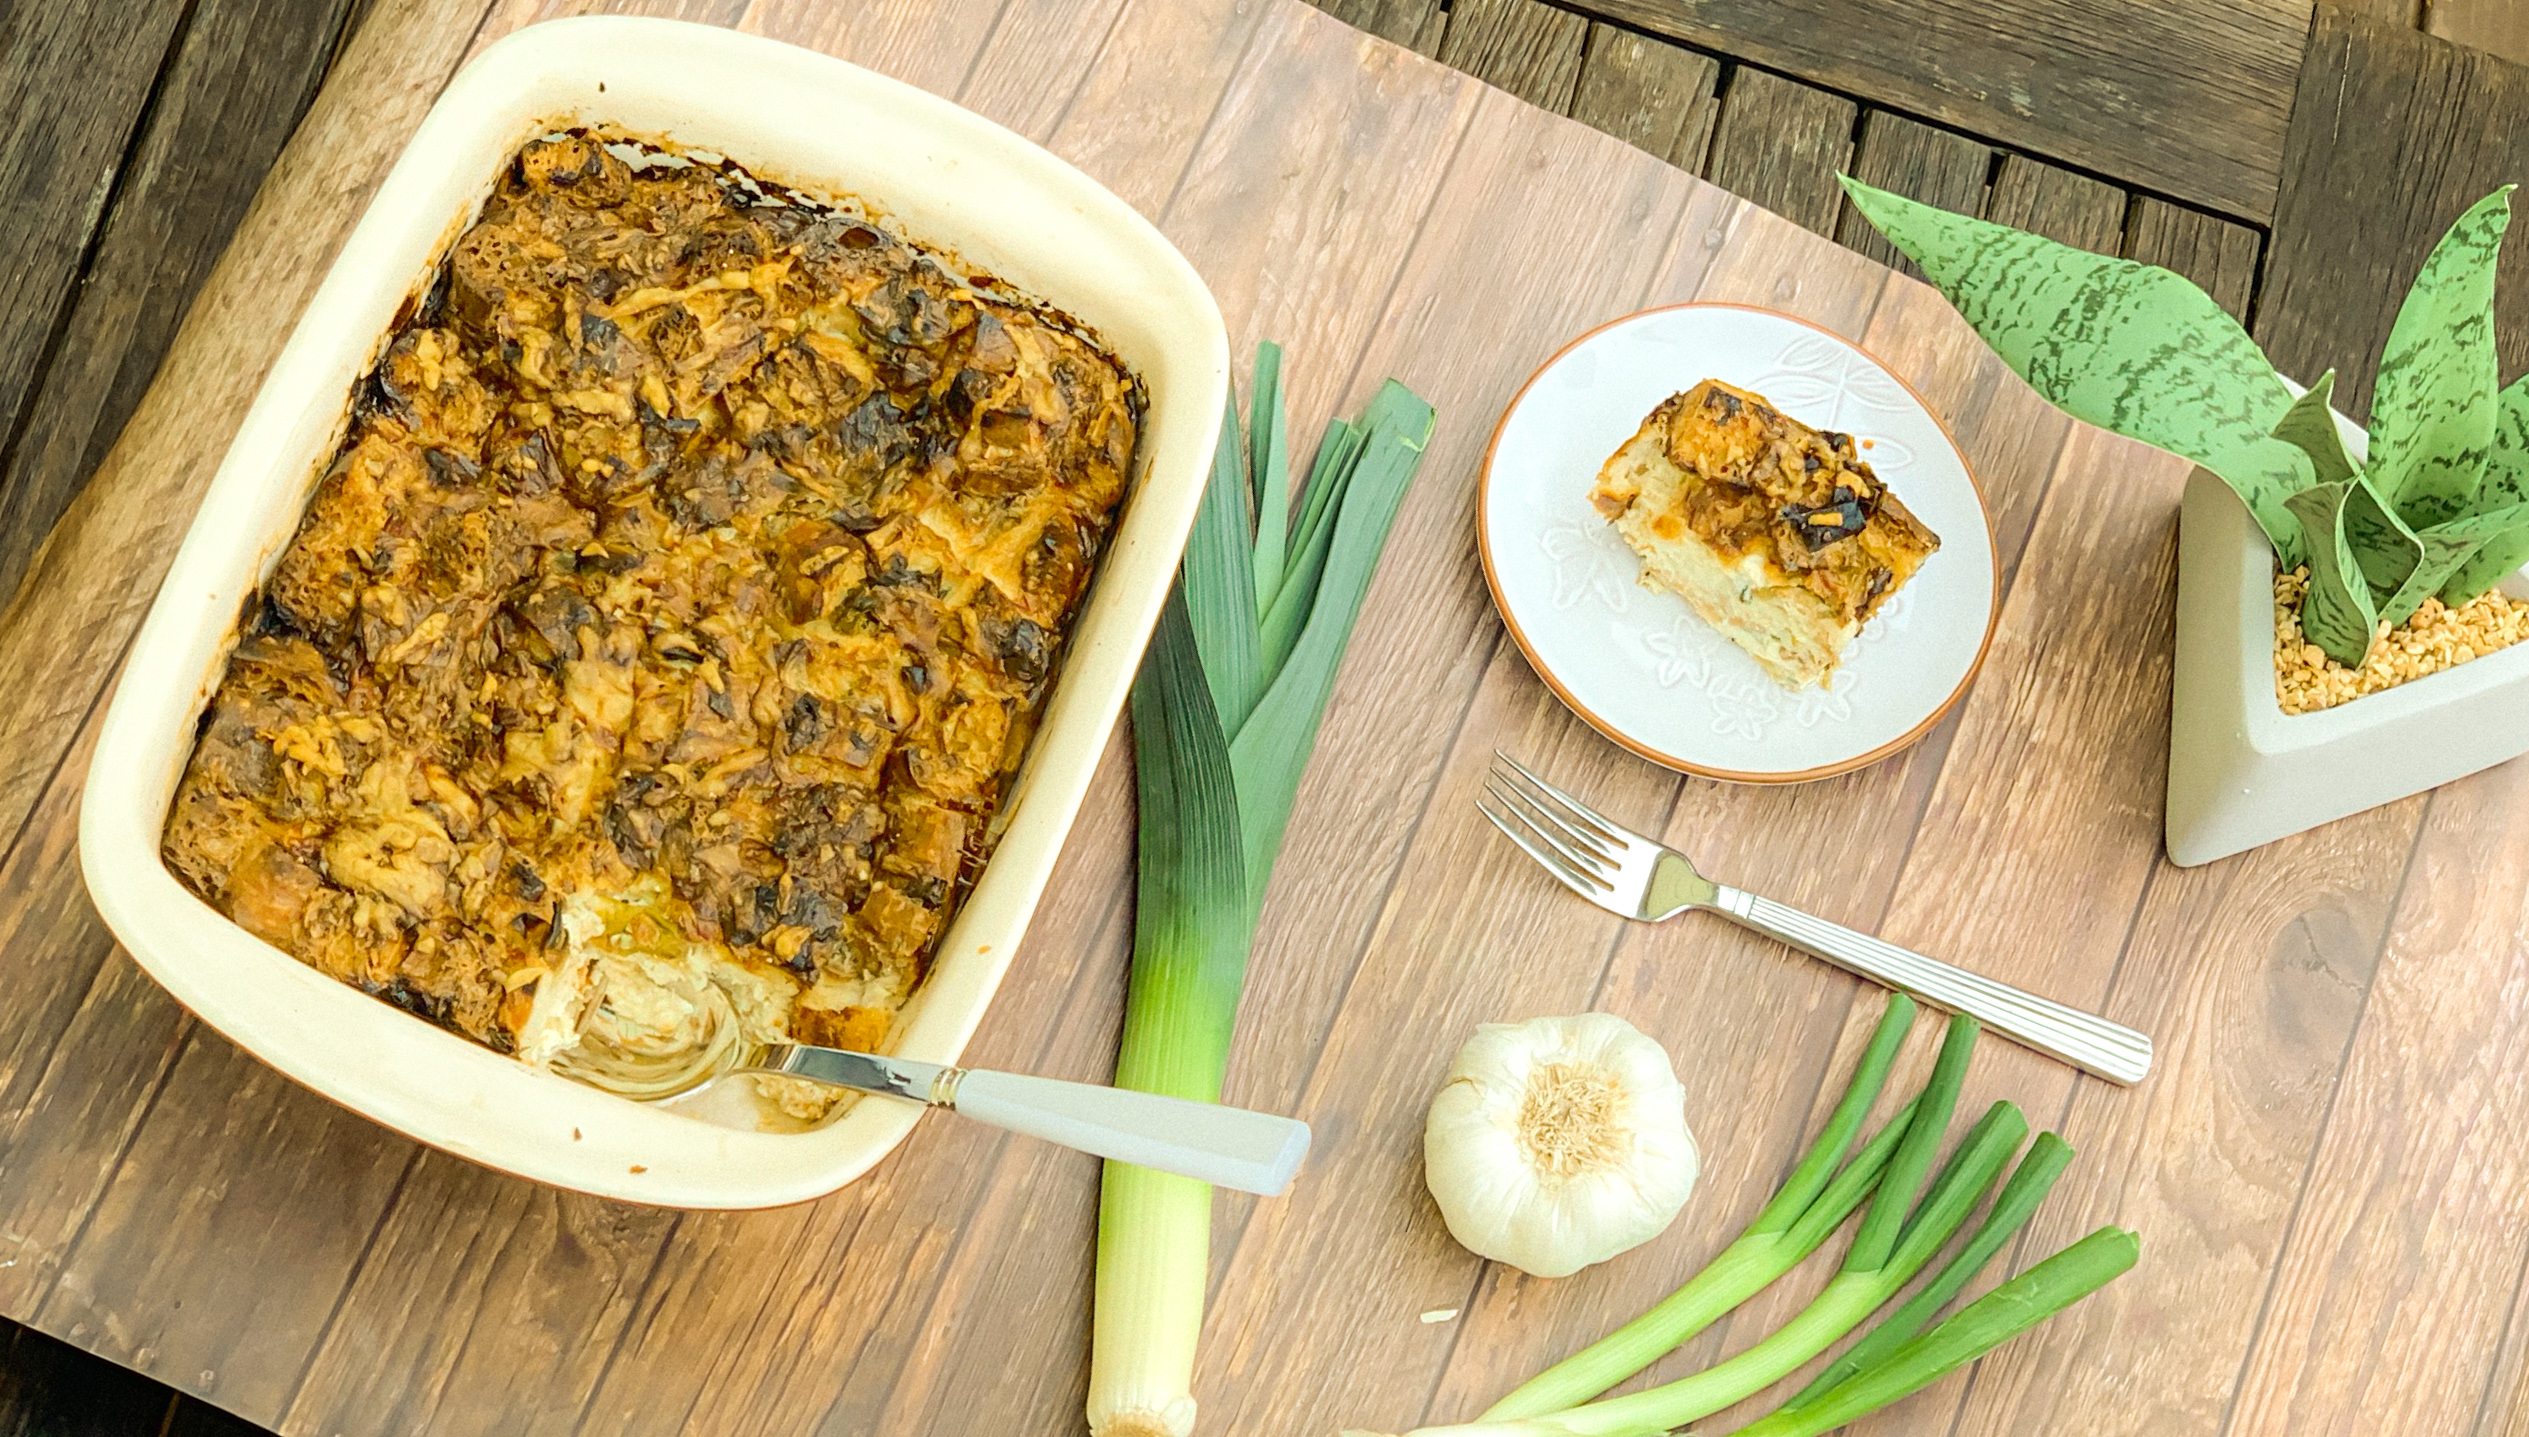
Whether you are a cook or a baker, this is one recipe that both can do. This beautiful bread pudding is filled with so many delicious ingredients. The leeks cook up into delightful treats, adding a full body of flavor to this dish. The scallions, nutmeg and thyme are the savory of this bread pudding. The gruyere adds cheesy goodness. The bread soaks up the creamy sauce and is the perfect filler for this dish. This is another keeper for sure.

This recipe is loosely adapted from Thomas Keller and will serve 12 cooks and bakers– or their helpers!

Ingredients for Leek Bread Pudding:

2 cups 1/2-inch thick sliced leeks, white and light green parts only, cleaned and rinsed
4 tablespoons unsalted butter
12 cups 1-inch bread cubes (baguette, French or challah) 
1 tablespoon finely chopped scallions 
1 teaspoon fresh thyme leaves
3 large eggs
3 cups whole milk
2 cups heavy cream
Kosher salt
Freshly ground black pepper
Freshly grated nutmeg
2 cups shredded Gruyere cheese

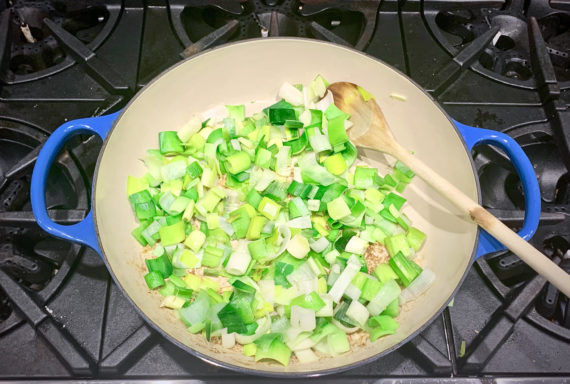
Place a medium sauté pan over medium heat, drain excess water from leeks, and add to pan.

Season with salt, and sauté until leeks begin to soften, about 5 minutes, then reduce heat to medium-low. (They’ll release liquid as they cook.)

Stir in butter.

Cover and cook, stirring occasionally, until leeks are very soft, about 30 minutes.

Adjust salt and pepper to taste.

Heat oven to 350° F.

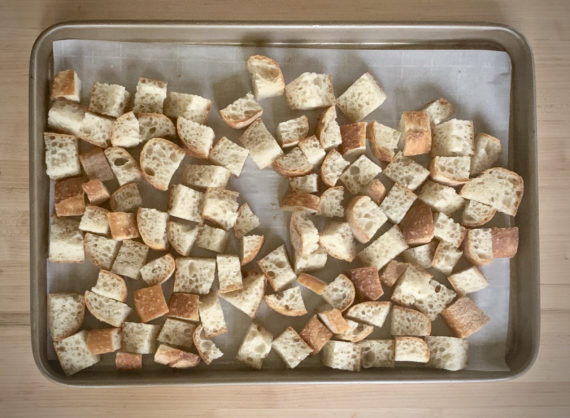
While leeks are cooking, spread bread cubes on a baking sheet and bake until dry and pale gold, about 20 minutes, turning pan about halfway through.

Transfer to a large bowl, leaving the oven on.

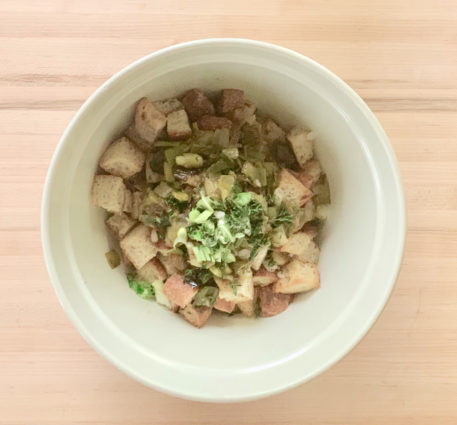
Add leeks, chives, and thyme to the bowl of bread; toss well.

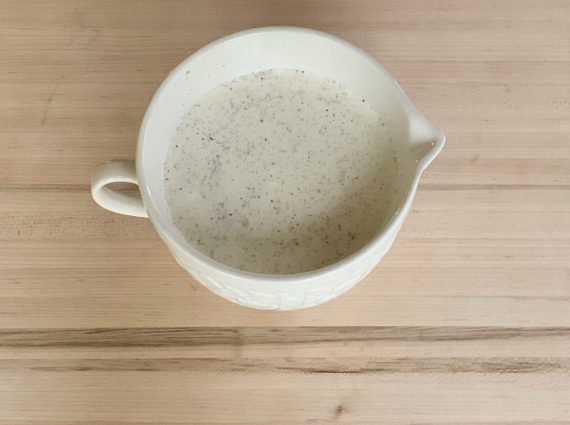
In another large bowl, lightly whisk the eggs, then whisk in milk, cream, a generous pinch of salt, pepper to taste, and a pinch of nutmeg.

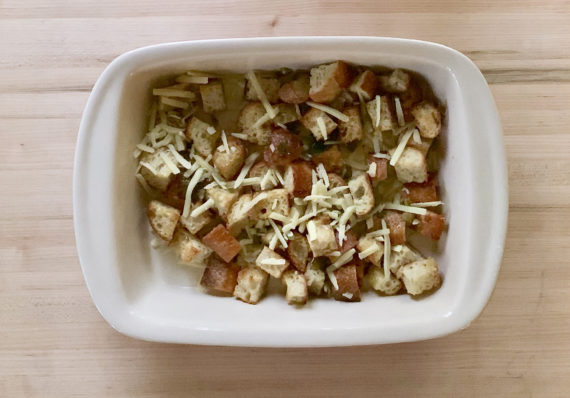
Sprinkle 1/4 cup shredded cheese in bottom of a 9- by 13-inch baking pan.

Spread 1/2 of bread mixture in pan, and sprinkle with another 1/4 cup cheese.

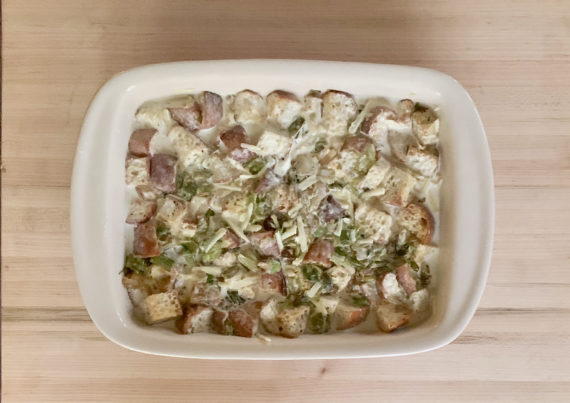
Spread remaining bread mixture in pan, and sprinkle with another 1/4 cup cheese.

Pour in enough milk mixture to cover bread, and gently press on bread so milk soaks in.

Let rest 15 minutes.

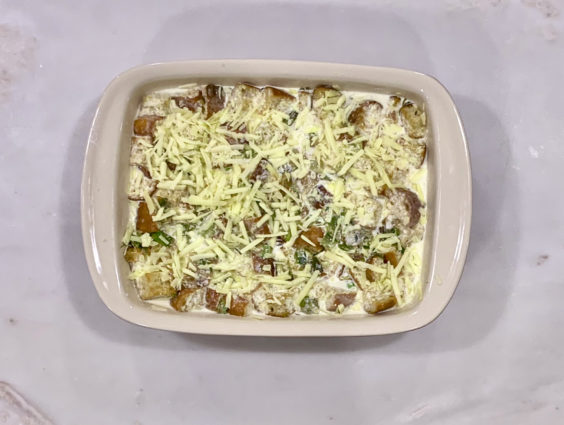
Add remaining milk mixture, letting some bread cubes protrude.

Sprinkle with salt and remaining cheese.

Bake until pudding is set and top is brown and bubbling, about 1 1/2 hours.

Serve hot.

It’s that simple!
signature

[recaptcha]


I must admit, I have never been a huge fan of Valentine’s Day. Don’t get me wrong, I am certainly a romantic, but the holiday itself feels hokey. When I was a young adult, without a boyfriend, I would feel lonely. Now, it’s just a day. I think we should show love every day, don’t you?

When I think of love, I think about kindness, mutual respect, and a safe and loving environment to express oneself. Love is reciprocal, and offers support and acceptance without expecting anything in return. It is not something that is forced, it comes naturally every day, not just one day of the year, or to romantic partners.  Love extends to family, friends and yes, our pets. Let’s be real here, our pets show us the most consistent love. Who here doesn’t love the joy your dog shows when you come home after work?

I am sure the people in my life know how much I love them. I try to make sure that they do through my actions all year round. I try to live my life in deep appreciation of those that love me. That said, while I don’t send all my loved ones a card or candy, I am sure they know the love I feel for them.

Even still, I find myself getting into the spirit of the holiday just a little bit. Celebrating the love you and your spouse share is a good thing. We get so busy with our daily lives throughout the year, it is nice to take one day where you are able to do something nice for one another. So, if my hubby buys me cards and flowers and takes me out, I do not refuse. However, I will absolutely not go out on the night of Valentine’s day because the restaurants make up ridiculously priced menus for that day. Joke’s on them–we are each other’s Valentine on every night. And that’s what matters.

Heart shaped sugar cookies with red or pink frosting are a staple for Valentine’s Day. They are so simple to make and of course home-made always says something extra-special. These cookies are no exception. The cookies themselves are so delicious, but topped with the home-made frosting, they become extraordinary. The frosting hardens after cooling on the cookie, so when you bite one, you get a mouthful of hard sweetness on top of a softer, more savory cookie. I bet you can’t eat just one!

This recipe is courtesy of Martha Stewart and will make two dozen cookies for beloved friends and family.

Ingredients for Iced Heart Cookies:

For the cookies:

2 cups unbleached all-purpose flour, plus more for dusting
1/2 teaspoon baking powder
1/2 teaspoon kosher salt
1 stick unsalted butter, room temperature
1 cup sugar
1 large egg
1 teaspoon pure vanilla extract

For the Icing:

1/2 pound confectioners’ sugar (2 spooned and leveled cups)
1 large egg white, or 2 1/2 tablespoons meringue powder
Gel food color (optional)

Make the cookies:

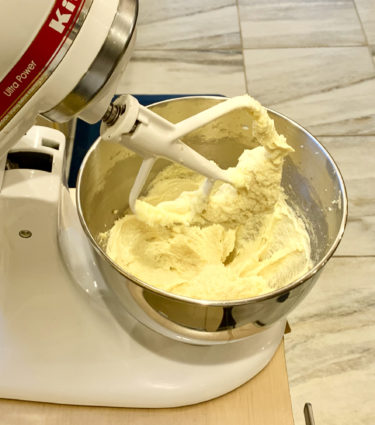
In a bowl, whisk together flour, baking powder, and salt. Beat butter and sugar on medium-high speed until light and fluffy.

Beat in egg and vanilla.

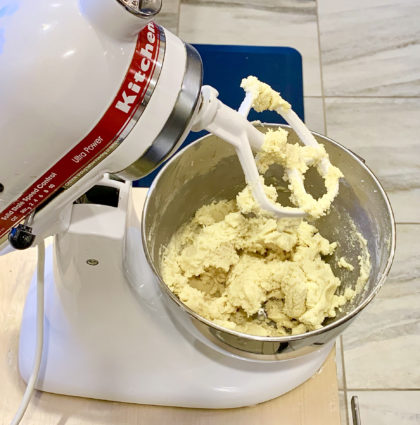
Reduce speed to low and gradually add flour mixture; beat until combined.

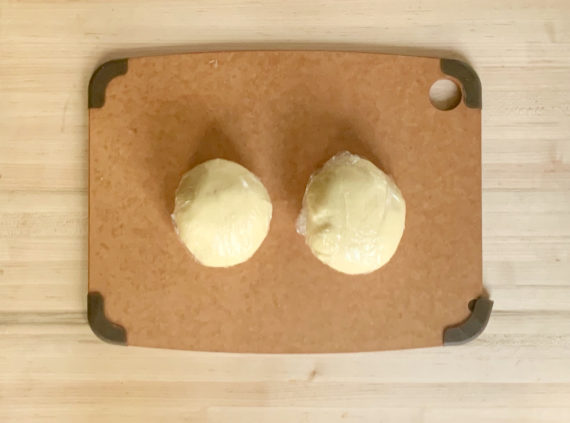
Divide dough in half.

Wrap each in plastic and freeze until firm, about 20 minutes.

Preheat oven to 325 degrees.

Line 2 rimmed baking sheets with parchment.

Remove 1 disk of dough; let stand 5 to 10 minutes. Roll out 1/8-inch-thick between two sheets of floured parchment, dusting with flour as needed.

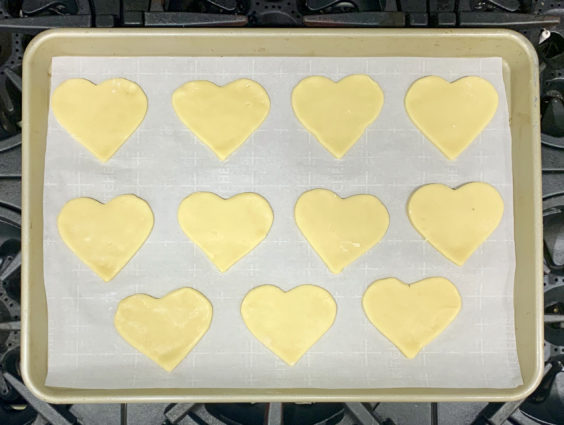
Cut shapes with 2 1/2-inch heart-shaped cookie cutters.

Using a spatula, transfer to prepared baking sheets (if dough gets too soft, refrigerate 10 minutes).

Reroll scraps and cut more shapes.

Repeat with remaining disk of dough.

Bake cookies, rotating sheets halfway through, until edges are golden, about 12 minutes. (If bubbles form, tap baking sheet firmly against oven rack a few times during baking.)

Let cool completely on wire racks.

Cookies can be stored in an airtight container up to 1 week.

Make the icing:

In the bowl of a mixer fitted with the paddle attachment, combine confectioners’ sugar and egg white on low speed.

Add a scant 1/4 cup water, then increase speed to medium-high and mix until icing holds a ribbon-like trail on surface for 3 seconds when you raise paddle, about 10 minutes.

Reduce speed to low and mix 1 minute more to eliminate air bubbles.

Add food color, a drop at a time, until desired color is reached.

Use immediately, or store in an airtight container in refrigerator up to 3 days.

Stir well before using.

Decorate cookies as desired.

It’s that simple!
signature

[recaptcha]


After the meal is done, do you clean the entire kitchen?  I know I do. I was brought up by my mother to make your bed every day, clean the bathroom, and always clean the kitchen after you have finished using it. Now that I have my own family, I still keep to these rules.  This is a blessing and a curse. I envy those who can wake up and not care– folks who can leave a bed undone, or the dishes in the sink until morning. Alas, I am not one of those lucky few, and I am passing that fate down to my boys. Now that they are living at home, there are rules that they have to follow. Of course, I should have taught them when they were young, but I couldn’t stand nagging them. It was just easier to do it myself. I did, however, manage to teach them how to do their laundry before they went to college.  I’d like to think their professors were grateful to have at least two well kept students.

When they were both at college, I went through their rooms, throwing out all I could and reorganizing the rest. I felt such peace. I was happy they were living on their own and that my house looked exactly like I wanted it to. Oh, don’t get me wrong, I missed them terribly, but I certainly did not miss their mess. I loved when they came home and loved when they went back. Who knew they would both be living with me again?

The rules are that the parts of my home that we share (ie not their bedrooms) must be as clean as it was before they came through. This is no easy feat, because overall, they are completely oblivious to their own messes. At first it was hard for me too, because, really, how many times can I repeat myself?  Even I got tired of hearing my own voice. 

 I finally put my foot down and set the new rules. Thankfully, the hubby totally supported me. When he tells them to do something, all he has to do is tell them once. Go figure. Now, after dinner (which I make most nights), they both help clean up the kitchen. One day, far in the future, I might stand a chance at getting them to tidy up their rooms. I should be so lucky! The true cherry on the top would be if they decided to be more adventurous eaters, but with such a beautiful family in a wonderful home, one can only ask for so much.  

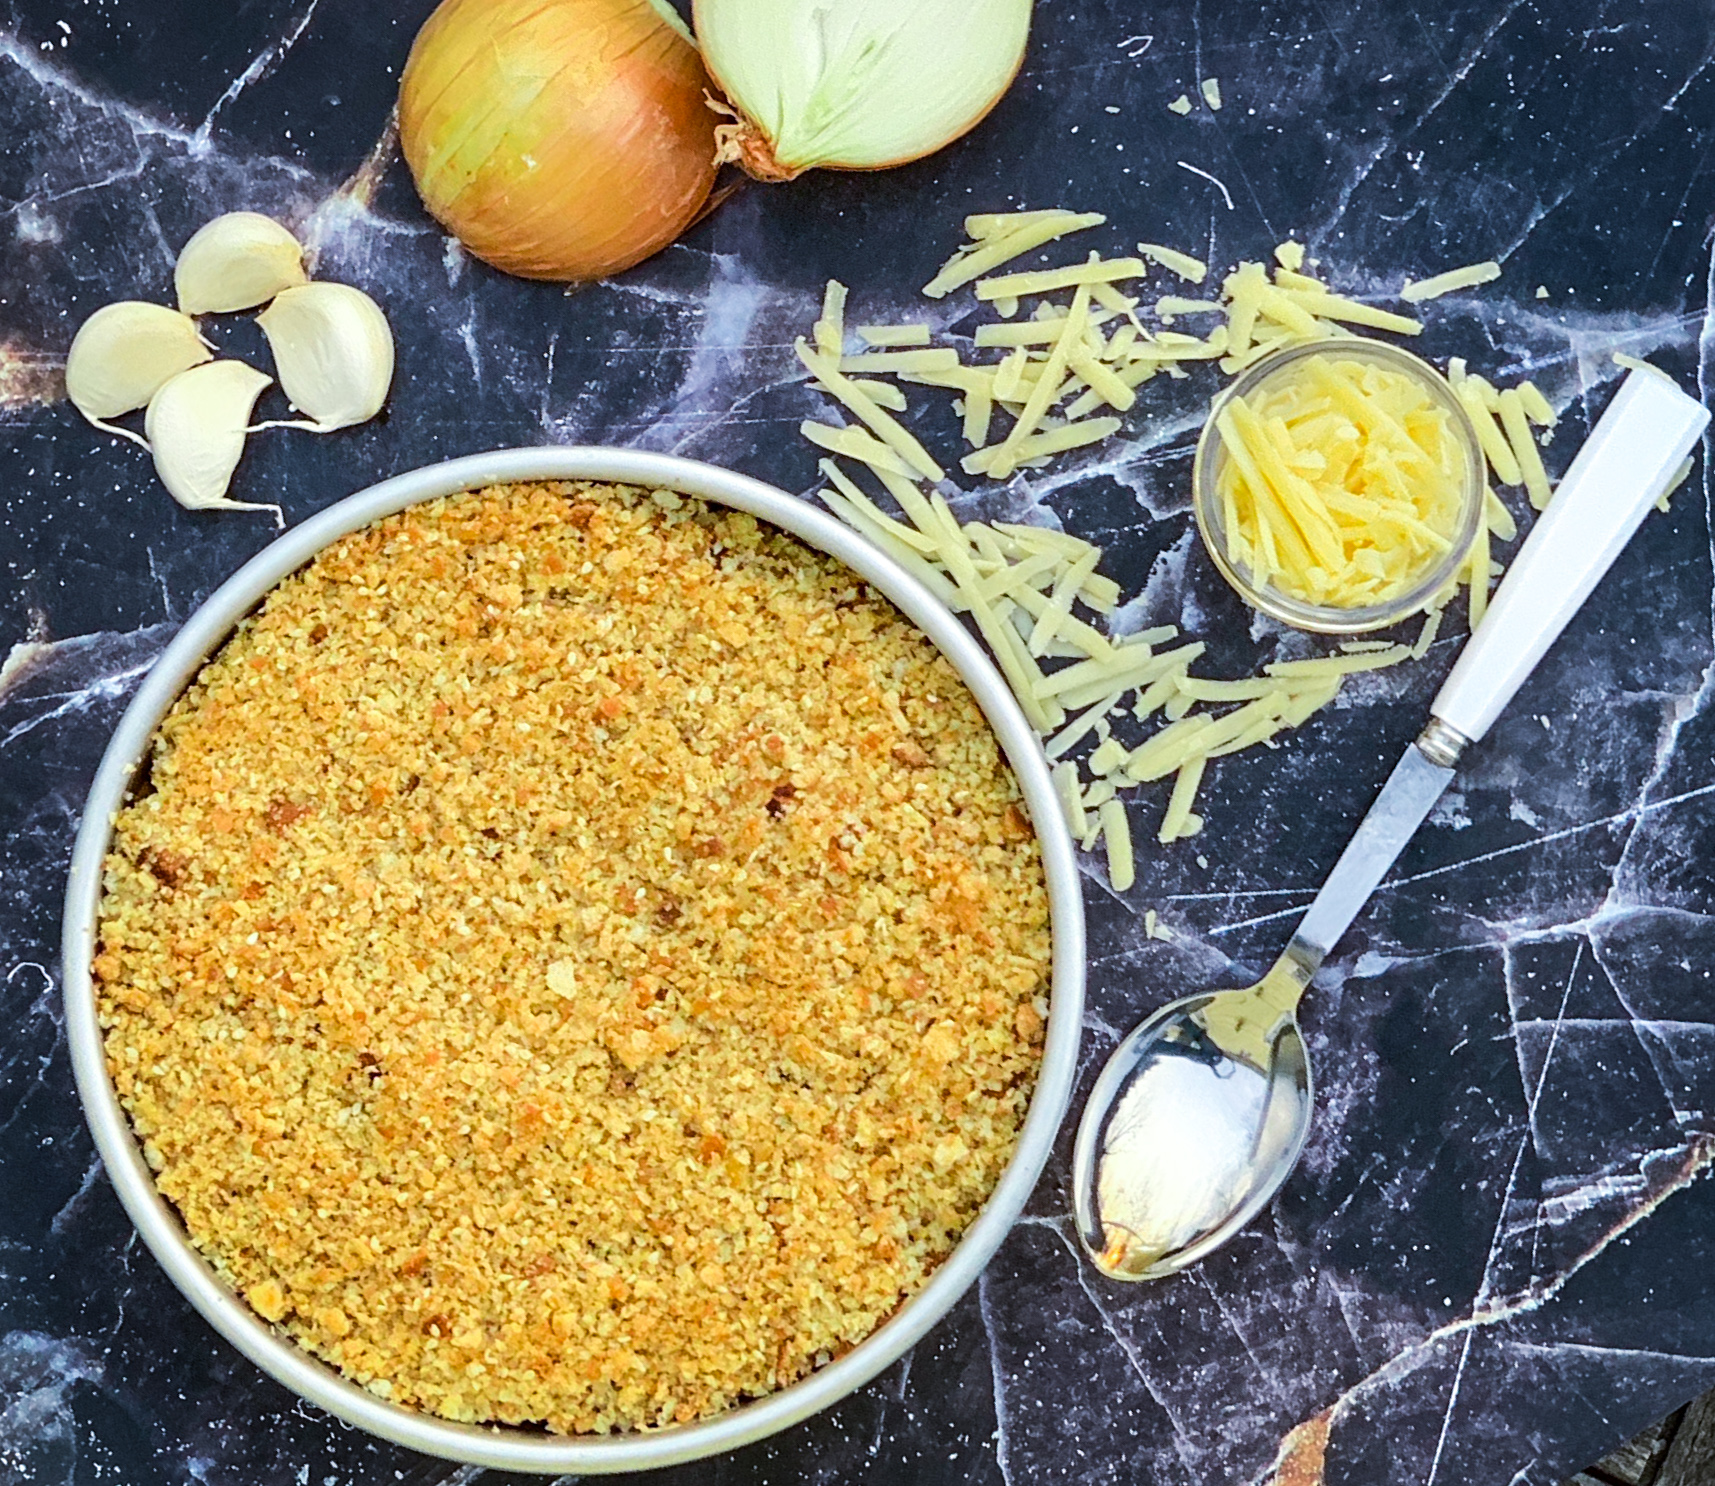
This recipe is one I only wish my boys would try– they truly have no reason not to! The cauliflower and the onions are so sweet and tender after they have been cooked in the cream. The cheese is ooey-gooey deliciousness. The pepper flakes give the perfect amount of heat, and the breadcrumbs and sesame seeds add a crunchy texture. This is a keeper for sure.

This recipe is courtesy of Nothing Fancy, by Allison Roman and will serve 4 to 6 people who will offer to help clean up in exchange for the recipe.

Ingredients for Creamy Cauliflower Gratin:

1 cup heavy cream
4 tablespoons (1/2 stick) unsalted butter
2 garlic cloves, finely grated
Kosher salt and freshly ground black pepper
2 1/2- to 3-pound cauliflower, leafy green parts removed
1/2 small sweet or yellow onion, very thinly sliced
6 ounces Gruyère or white cheddar cheese, grated (about 2 1/2 cups)
Crushed red pepper flakes (optional)
2 cups fresh coarse bread crumbs or panko (omit if you’d like to make gluten-free)
3 tablespoons white sesame seeds
1/4 cup olive oil (if using bread crumbs)

Preheat the oven to 425°F.

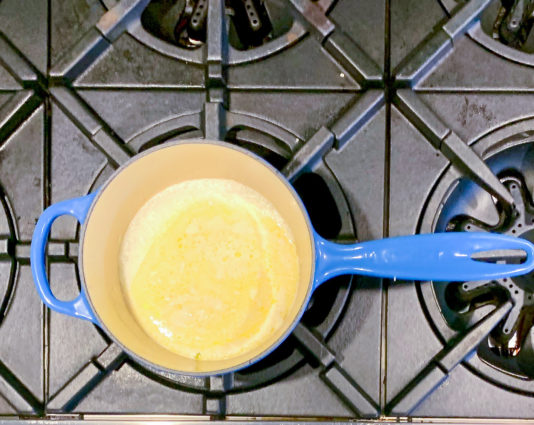
Bring the cream, butter, and garlic to a simmer in a small pot over medium heat.

Season with salt and pepper and remove from heat.

Slice the cauliflower into 1/2-inch-thick slabs (some of the bits will fall away and crumble into tiny florets; this is fine).

Place the smallest bits of cauliflower on the bottom of a 9-inch pie plate or cake pan (I like the roundness of the pie plates and cake pans, but a 2-quart baking dish of any shape will work).

Scatter with some of the onion, followed by some of the cheese.

Repeat with the remaining cauliflower, onion, and cheese until all of it is used, ending with the cheese.

Pour the cream mixture over (leave the garlic in or remove), followed by a good sprinkle of crushed red pepper flakes, if using.

Cover with aluminum foil and bake until the cauliflower is tender and cooked through, 2o to 25 minutes.

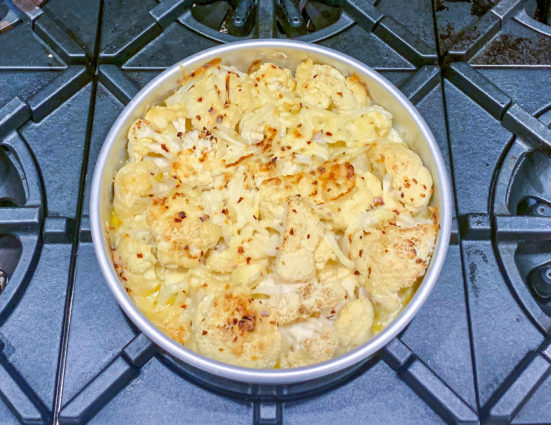
Remove the foil and continue to bake until the top is bubble and golden and the cream is mostly reduced, another 15 to 20 minutes (it will look slightly runny and creamy in the oven but will set and thicken once you take it out of the oven and let it cool a few minutes).

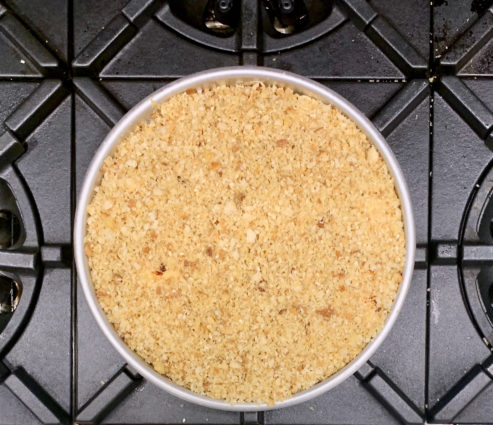
If using the bread crumbs: Now is the time to put them to use. Combine the bread crumbs, sesame seeds, and olive oil in a medium bowl (alternatively, just use the sesame seeds).

Season with salt and pepper.

Scatter the bread crumb mixture (alternatively, just scatter the sesame seeds) over the top and bake until those are deep and thoroughly crispy and golden brown, 8 to 10 minutes.

Remove from the oven and let cool slightly before serving.

It’s that simple!
signature

[recaptcha]


I don’t know about you, but I prefer the warm days of summer to the colder winter days. I love the feel of the sun on my skin, the long, sunny days and lighter clothes. During the winter, I am always freezing, and I find it difficult to get out of bed knowing just how cold it is outside. 

With all the cold weather here in the Northeast, I have been trying to stay positive.  I’ve looked to a few websites–Reader’s Digest, The Huffington Post, Aleksa Ristic, and Medical News Today– to investigate whether there are any upsides. What I’ve dug up might make you feel a little better, though it might not keep you warm.  So, let’s have a chat, shall we? 

Colder temperatures are known to help you think clearly. Research has shown that cooler rooms help people perform tasks better. Subjects in warm rooms were less likely to tackle harder problems, since the brain uses more glucose under those conditions. Going outside for a walk can clear your mind and help to prepare to take on more difficult tasks.

The cold makes your body work hard to maintain its warmth, therefore you might burn more calories. This may be an excuse to indulge, but just a little, not too much. Even more encouraging, just shivering will burn calories.

Perhaps you’ve noticed that your allergies don’t act up in the winter? This may be connected to the colder temperatures too, since the pollen count is almost nonexistent in wintry weather. If you have indoor allergies, I’m afraid this doesn’t apply to you.  Sorry!

Finally, you sleep better when it is cold. This is because your body temperature drops when you are trying to sleep. This process can take up to two hours in the summer, causing you to sleep less restfully. Plus, with darker mornings in the winter, you just might sleep later too.

So, this is a nice new way to look at those very cold days when you don’t want to get out of bed. Now you have some good reasons to face the day– I know I do!

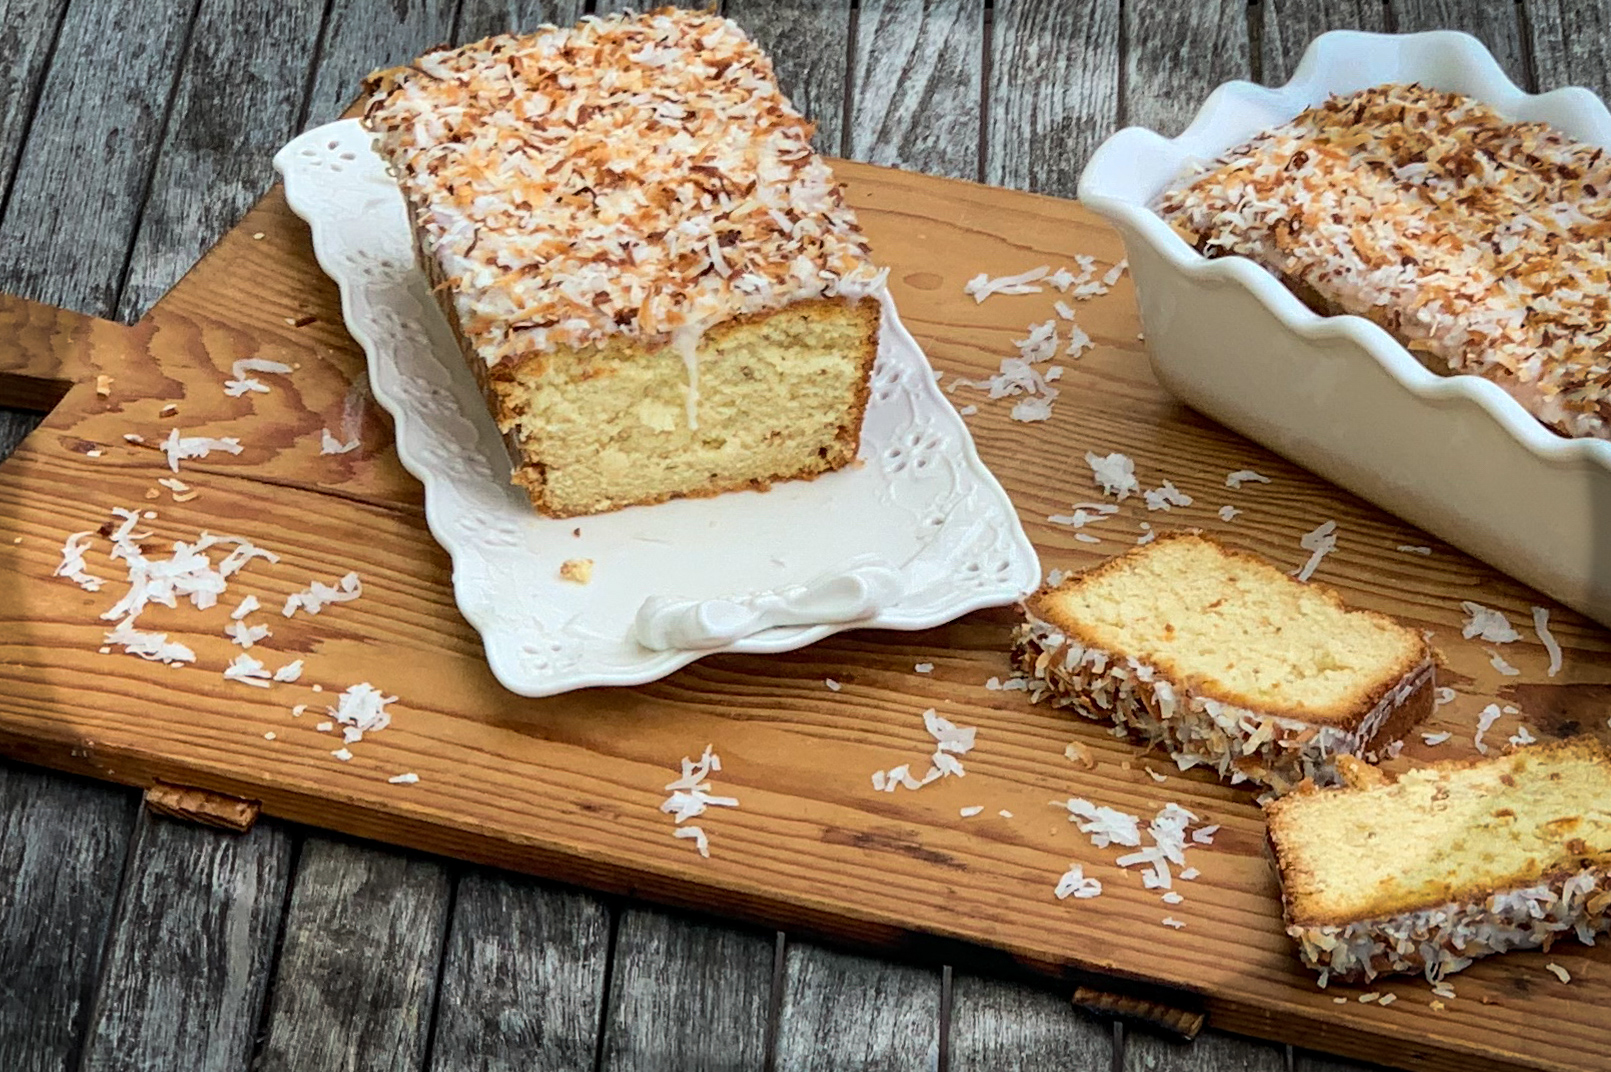
This dessert is perfect with a hot cup of tea, coffee, or cocoa on any cold day. The buttermilk ensures that this cake is moist. It is bursting with coconut flavor with a hint of savory vanilla. The lemon juice tames the coconut flavor with a little tang. The toasted coconut gives it a scrumptious texture. This cake is mouth-watering good. If you are cuckoo for coconuts, this is the cake for you! Make this cake now.

This recipe is courtesy of Bake from Scratch and will make two 9 x 5-inch loaves for people who will be happy to stay inside with you on a cold winter day.

Ingredients for Coconut Buttermilk Pound Cake:

1½ cups unsalted butter, softened
3 cups granulated sugar
5 large eggs 
3 cups all-purpose flour
2 teaspoons kosher salt
1 teaspoon baking powder
1 cup whole buttermilk
2 cups sweetened flaked coconut, toasted and divided
2 teaspoons vanilla extract
3 cups confectioners’ sugar
¼ cup unsweetened coconut milk
1 tablespoon fresh lemon juice

Spray two 9×5-inch loaf pans with baking spray, and flour lightly.

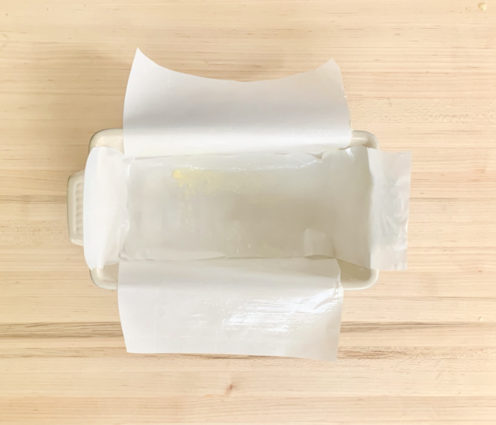
Line pans with parchment paper, letting excess extend over sides of pan.

Spray pans again.

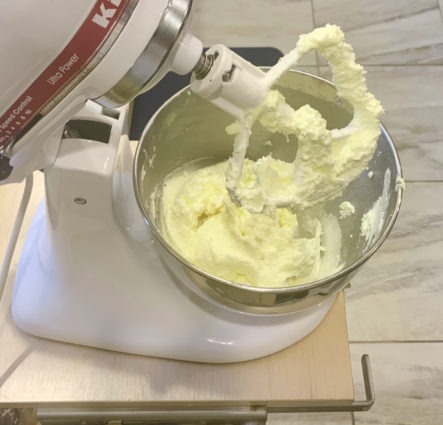
In the bowl of a stand mixer fitted with the paddle attachment, beat butter and granulated sugar at medium speed until fluffy, 3 to 4 minutes, stopping to scrape sides of bowl.

Add eggs, one at a time, beating well after each addition.

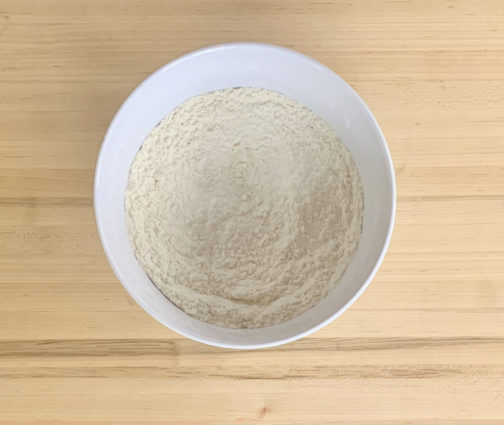
In a medium bowl, whisk together flour, salt, and baking powder.

Reduce mixer speed to low.

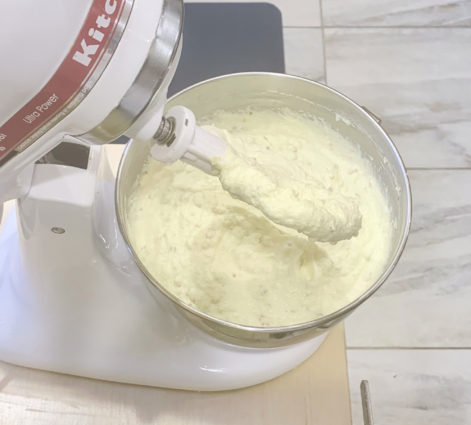
Gradually add flour mixture to butter mixture alternately with buttermilk, beginning and ending with flour mixture, beating just until combined after each addition.

Beat in 1¼ cups coconut and vanilla.

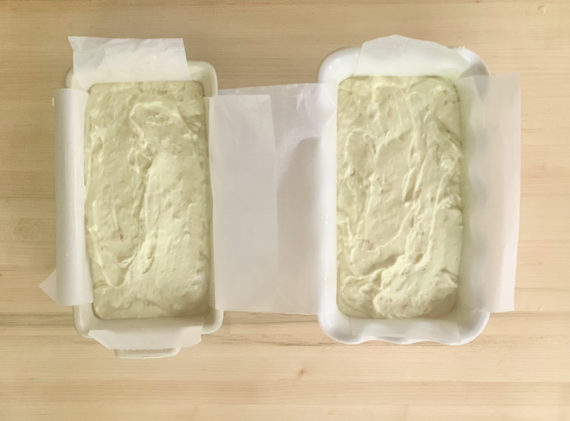
Divide batter between prepared pans.

Place in a cold oven.

Bake at 300°F until a wooden pick inserted in center comes out clean, about 1 hour and 15 minutes. (Mine took about 15 to 20 minutes longer than this.)

Let cool in pans for 10 minutes.

Remove from pans, and let cool completely on wire racks.

In a medium bowl, whisk together confectioners’ sugar, coconut milk, and lemon juice.

Drizzle glaze over loaves; sprinkle with remaining ¾ cup coconut.

It’s that simple! (And that good too!)
signature

[recaptcha]