I’m sure you’ll agree that these are very strange times. Like many of you, I am a very active person, and I don’t spend much of my day at home. Waking up with no plans for the day is a very weird experience for me. All the places I usually go are closed, and everyone is so on alert and afraid. The entire world has changed, seemingly overnight.

With all the fear in the world, I think it’s best we try to look at the good side of all this. All of my friend’s children have come home, so most of them have full houses again. They are taking walks outside, doing game and movie nights, and spending time together that they typically wouldn’t have. Even though these are unusual circumstances, having this time together, once this has ended, will be treasured and remembered fondly. 

As I have always said, cooking is an act of love. So show your family the love by making them a beautiful meal or dessert. If you know people that need help, bring them a dinner. There is no better way to show you care. I usually cook most nights, so cooking up a little extra isn’t a stretch for me, and I encourage you all to do the same.

More importantly, I hope you all stay healthy and safe.  It is difficult now, but make the decision to stay inside and keep yourselves and others healthy.  This is truly a community effort, and we all need to work together.

Today’s recipe brings a bright citrus note to otherwise dull days.  I’ve loved lemons since I was a child and the love continues to this day. When I see a recipe with lemons, it’s a no brainer.

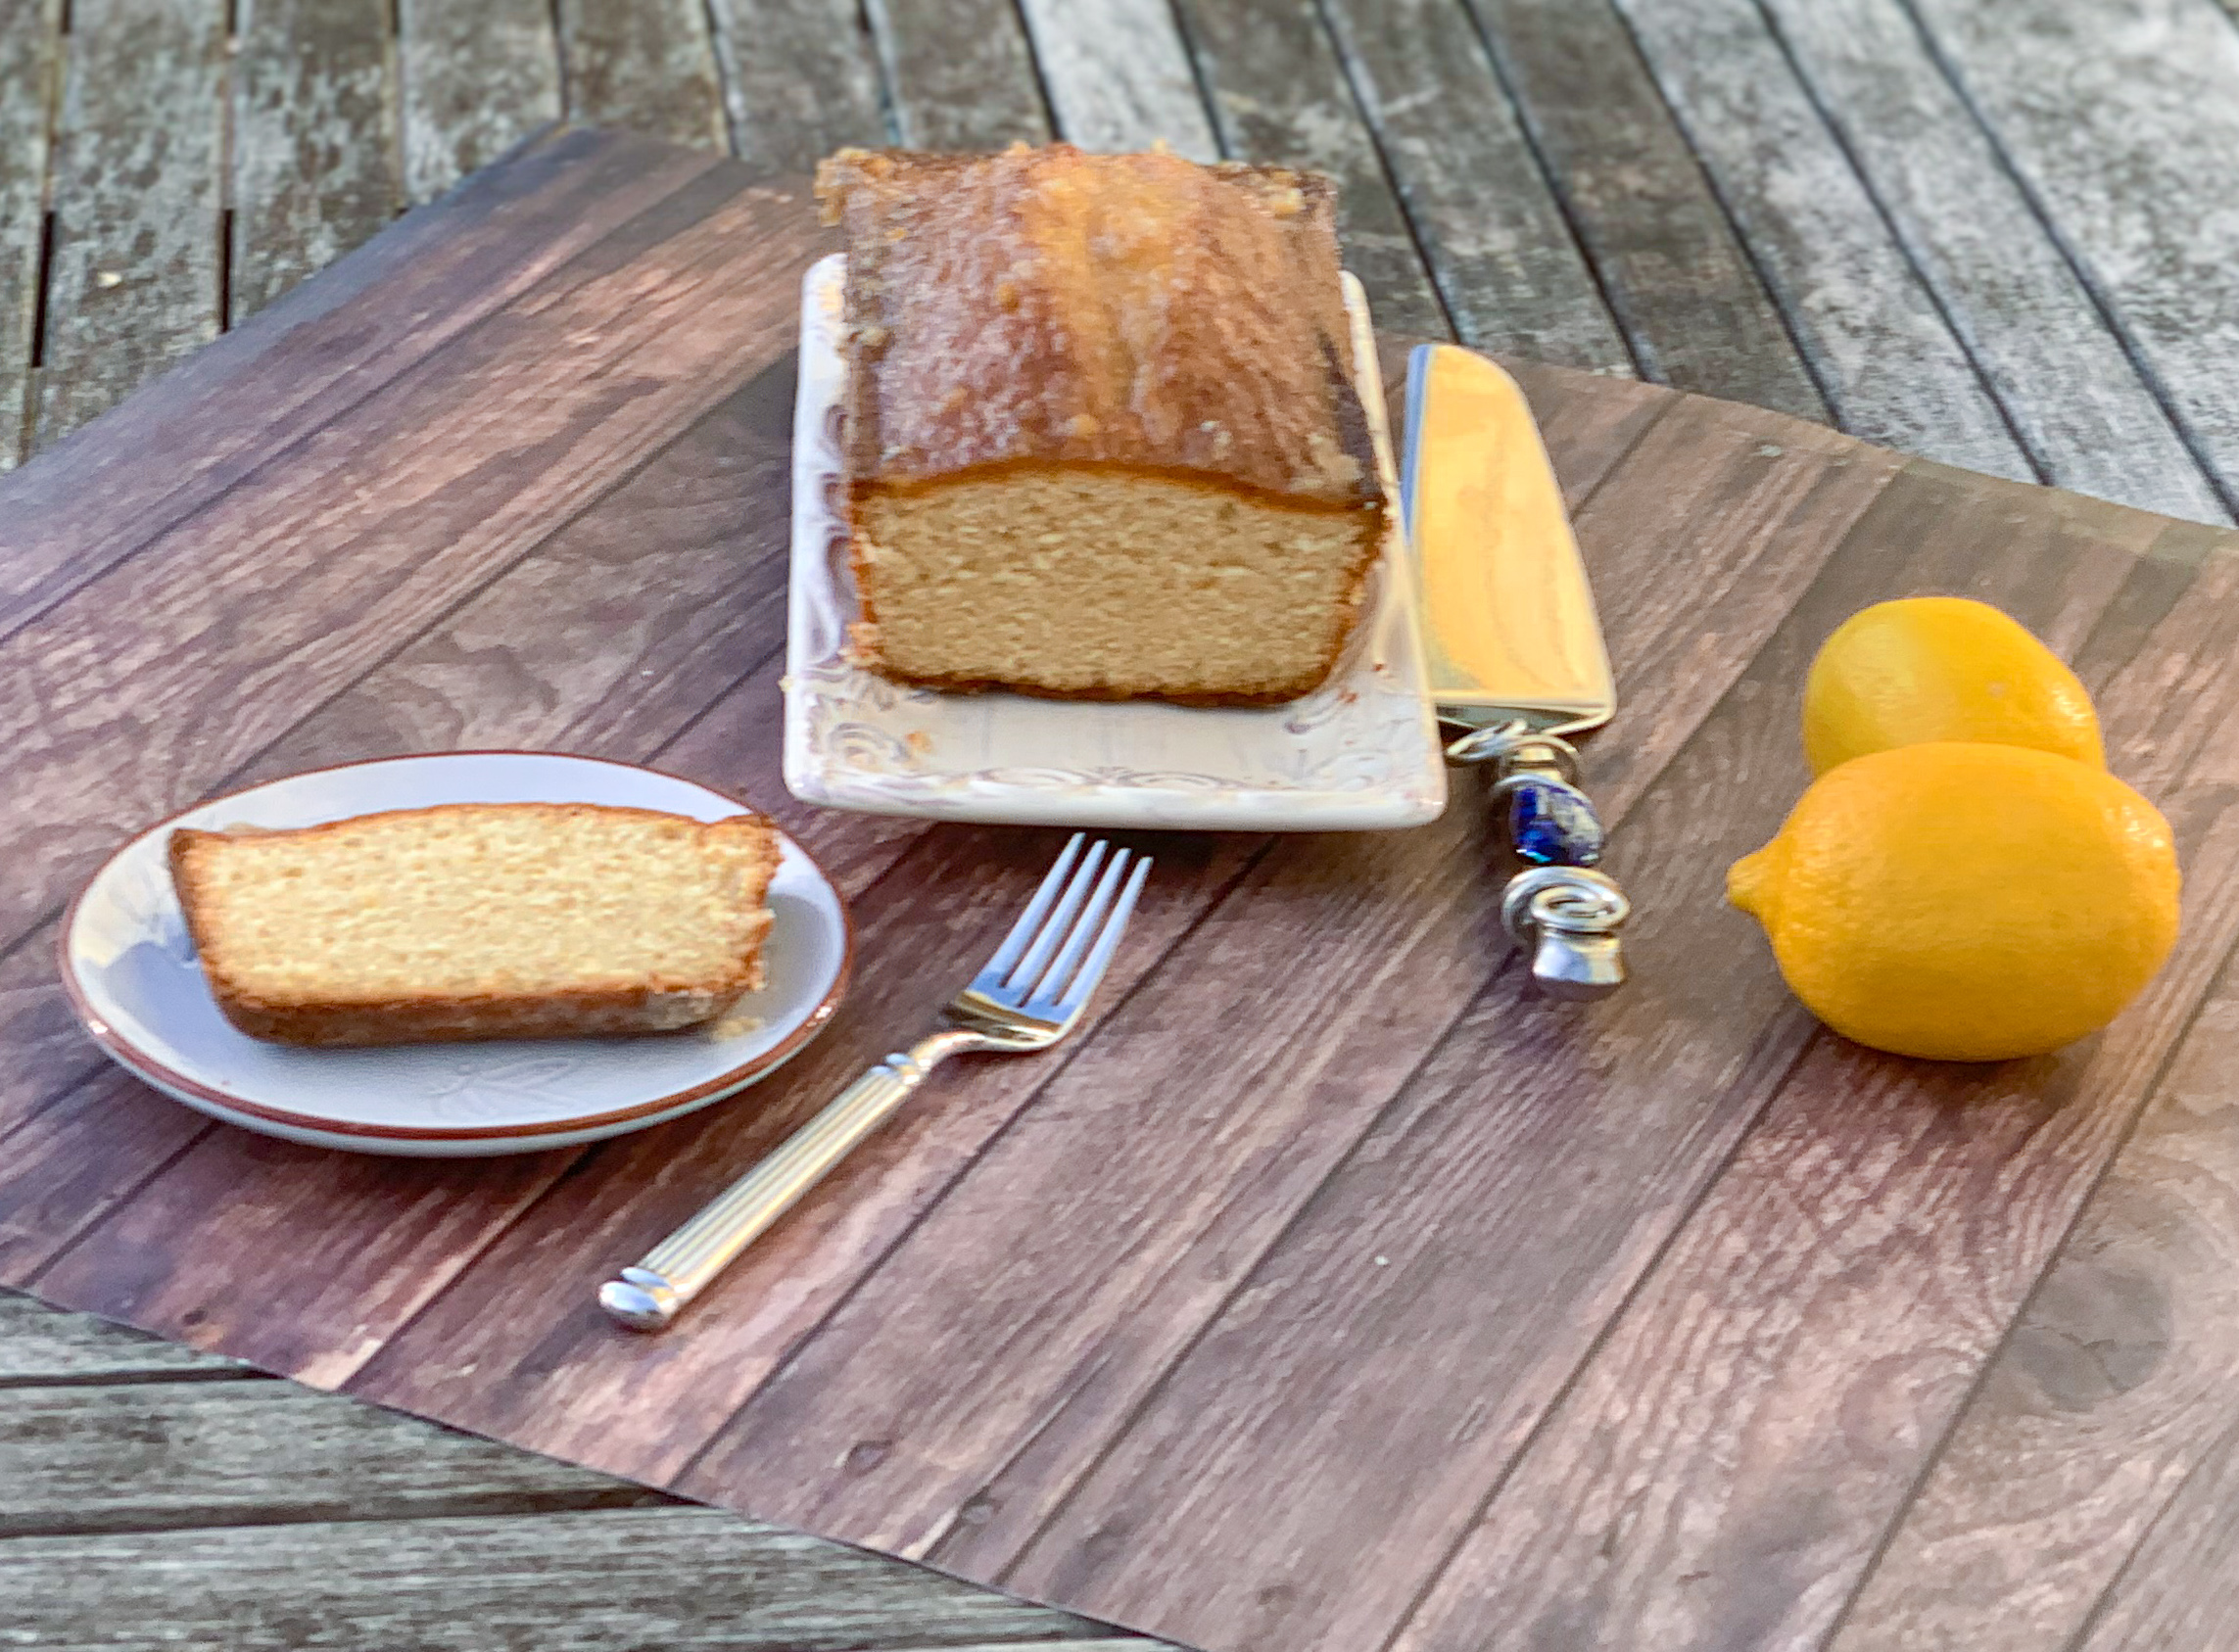
This dessert lived up to all my expectations. It looked deliciously moist and fluffy. It was perfect after a meal; light and heavenly with just the right combination of tangy lemon and sweet sugar. The cardamom and ginger adds the perfect amount of savory. The lemon and zest give it a splendid pucker. Don’t leave out the marmalade glaze. It is an exquisite topping and delivers the yummiest citrus tang imaginable.

This recipe is courtesy of New York Times cooking and will serve 6 to 8 people who will love the brilliant citrus note in these uncertain times.

Ingredients for Lemon-Spice Visiting Cake:

Butter and flour for the pan
1 ½ cups all-purpose flour
1 ¼ teaspoons baking powder
1 teaspoon ground cardamom
½ teaspoon ground ginger
½ teaspoon fine sea salt
1 ¼ cups sugar
1 large (or 2 small) lemons
4 large eggs, at room temperature
½ cup heavy cream, at room temperature
1 ½ teaspoons pure vanilla extract
5 ½ tablespoons unsalted butter, melted and cooled
⅓ cup marmalade, for glaze (optional)
½ teaspoon water, for glaze (optional)

Center a rack in the oven, and heat it to 350.

Butter an 8 1/2-inch loaf pan (Pyrex works well), dust with flour and tap out the excess. (For this cake, bakers’ spray isn’t as good as butter and flour.)

Place on a baking sheet.

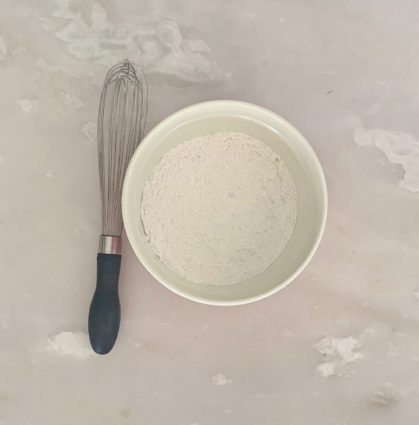
Whisk the 1 1/2 cups flour, baking powder, cardamom, ginger and salt together.
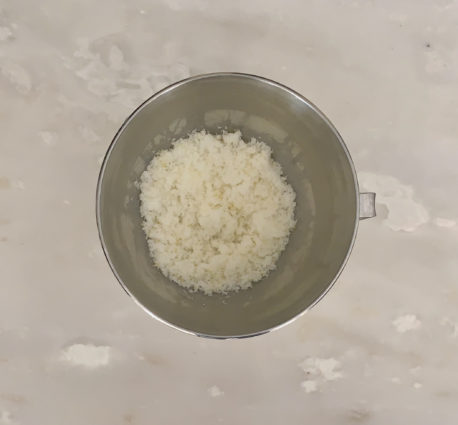
Put the sugar in a large bowl, and grate the zest of the lemon(s) over the sugar.
Squeeze the lemon(s) to produce 3 tablespoons juice, and set this aside.

Using your fingers, rub the sugar and zest together until the mixture is moist and aromatic.

One at a time, add the eggs, whisking well after each one.

Whisk in the juice, followed by the heavy cream.
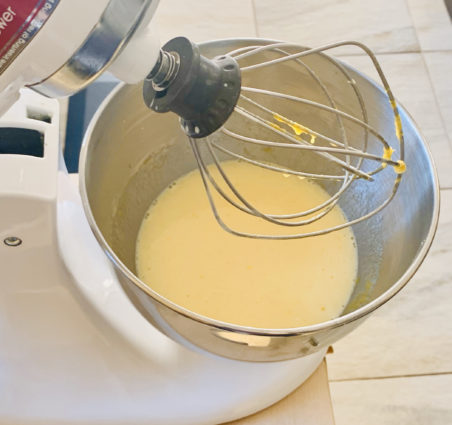
Still using the whisk, gently stir the dry ingredients into the batter in two additions.

Stir the vanilla into the melted butter, and then gradually blend the butter into the batter.

The batter will be thick and have a beautiful sheen.

Scrape it into the loaf pan.
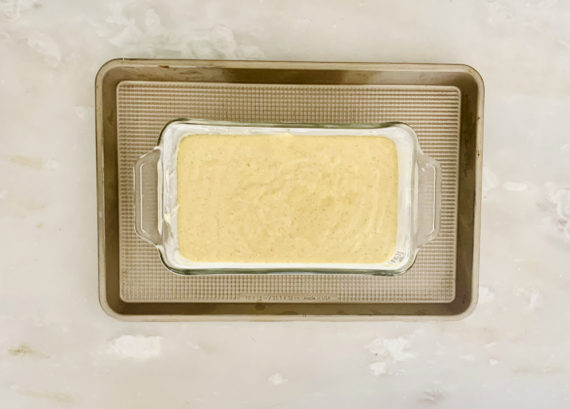
Bake for 70 to 75 minutes (if the cake looks as if it’s getting too dark too quickly, tent it loosely with foil) or until a tester inserted deep into the center of the cake comes out clean.
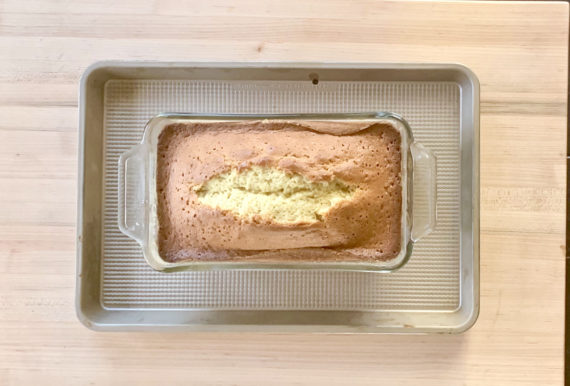
Transfer to a rack, let rest for 5 minutes and then carefully run a blunt knife between the sides of the cake and the pan.

Invert onto the rack, and turn over.

Cool to room temperature.

For the glaze:

Bring the marmalade and water to a boil.

Brush the glaze over the top of the cake, and allow to it to set for 2 hours.

The glaze will remain slightly tacky.

When the cake is completely cool, wrap in plastic to store.

If it’s glazed, wrap loosely on top.

It’s that simple!


signature

[recaptcha]


Do you know the difference between pan-roasting and roasting?  For a long time, neither did I.

Pan-roasting is a two-step process by which you cook something only part of the way in a cast-iron skillet on your stovetop (also known as a sear) and finish it in the oven. It is most often used to cook meat or chicken, however many people pan-roast vegetables as well.

If you are searing parts of a chicken, it will brown the skin and give it that desirable crispy texture. Same goes for a steak–it will crisp the outside and lock all the juicy flavor on the inside. The same goes for vegetables. This process will leave your vegetable with a flavorful caramelized crust! The browned bits that come from pan-roasting are delicious in their own way too, so do not discard them; you can work them into any sauce you may be making for your dish.

Sure, pan roasting involves an extra step but you will have dishes that are perfectly cooked, inside and out. As always, use a meat thermometer to make sure you have reached the desired cooking temperature. 

Roasting, on the other hand, is a one step process by which you cook food in an uncovered pan in the oven. Like pan-roasting, it is commonly used for large cuts of meat, and to intensify the flavors of vegetables. When you want to roast a vegetable, toss it with some olive oil, salt, and pepper, place it in the oven and you will have an exceptional side dish!

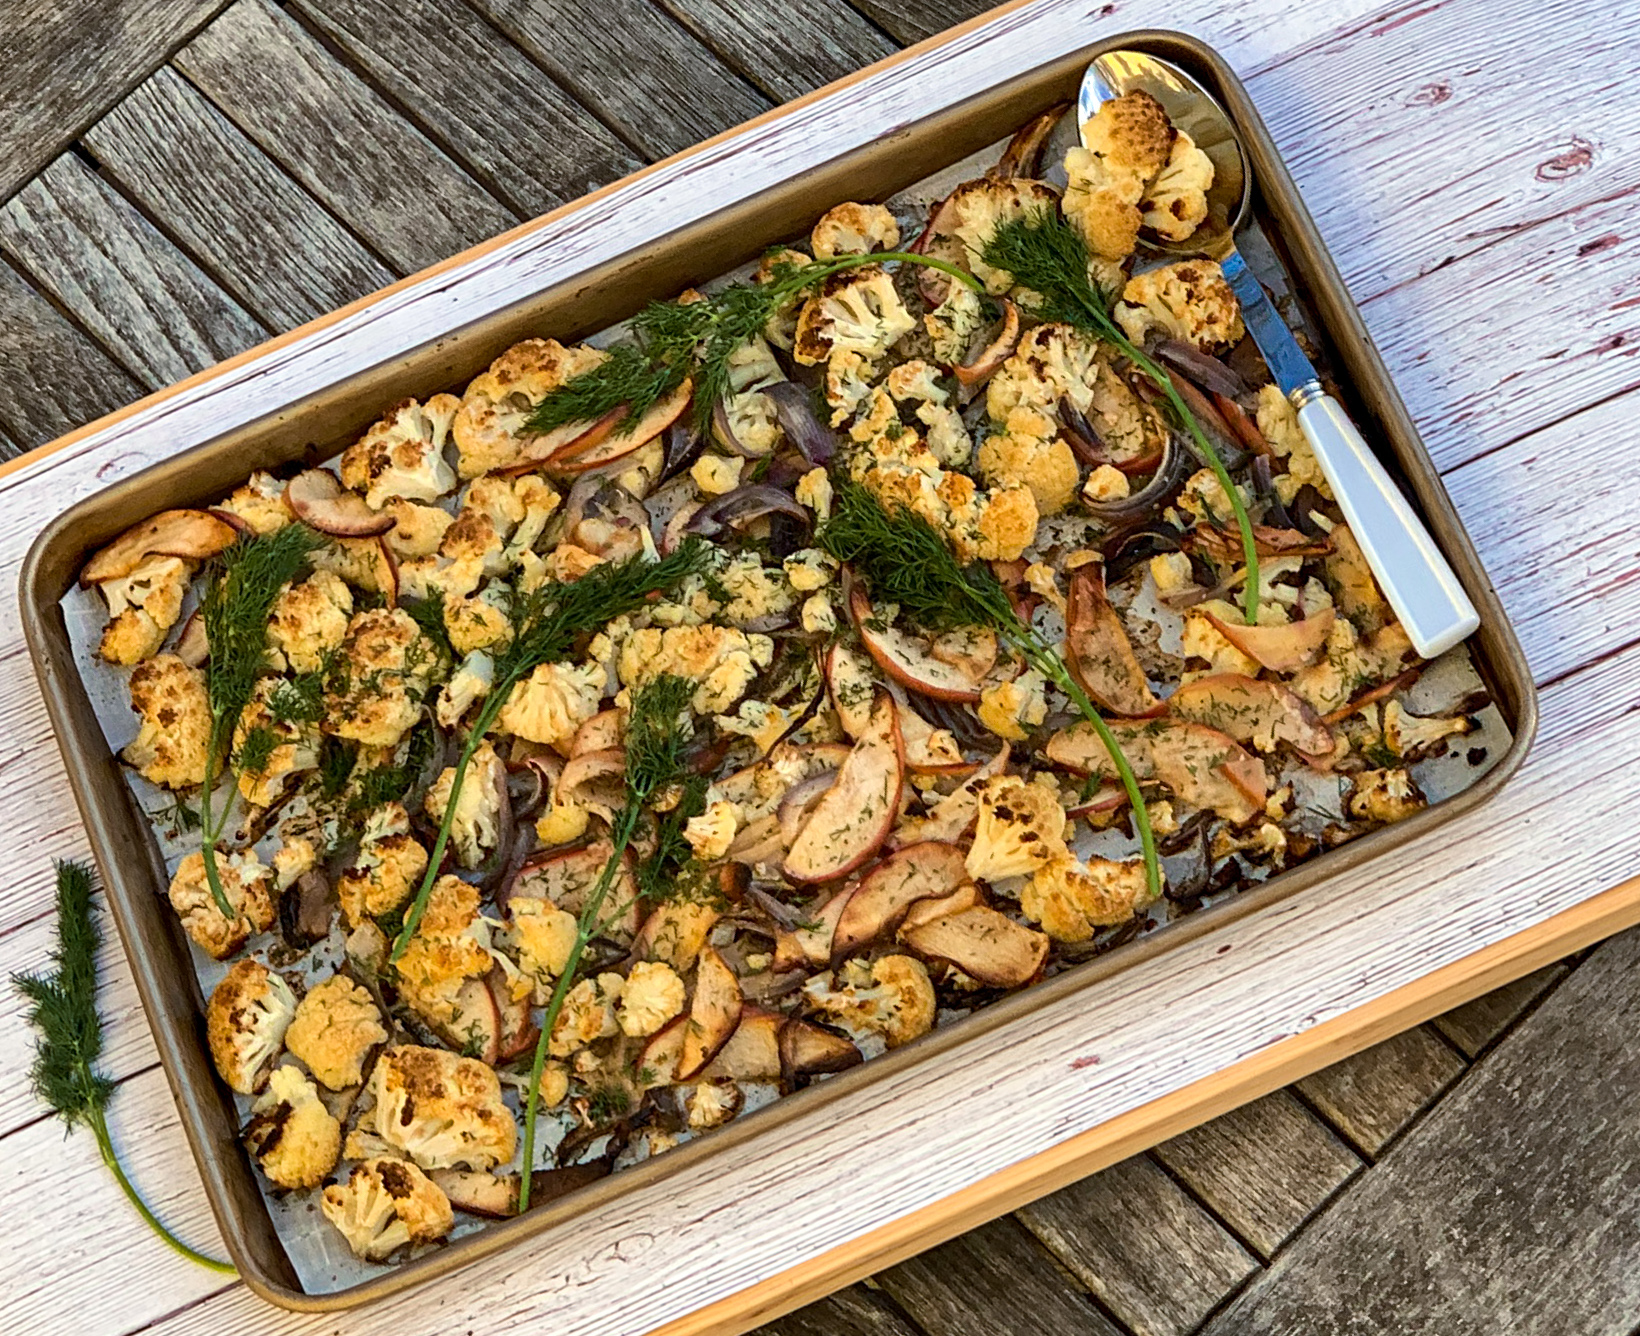
This cooking process used in this dish, turns boring cauliflower into a mouthwatering side. It is the beautiful caramelizing that makes the cauliflower so flavorful. The roasted onions and apples add that sweet goodness and surprising dimension to the cauliflower. The dill adds the savory, making it all the more delicious, so don’t skip out on it. The colors make this dish look so appetizing, you will want to eat this right away.

The recipe is courtesy of A Couple of Cooks and will serve 4 to 6 people who will love getting a serving of fruits and veggies from this healthy dish.

Ingredients for Roasted apple with Cauliflower and Dill:

1 large cauliflower (2¼ pounds whole; 7 cups chopped)
1 large red onion
2 apples
2 tablespoons fresh dill (do not substitute dried)
3 tablespoons olive oil
1 teaspoon kosher salt
Fresh ground black pepper

Preheat oven to 450°F.

Chop the cauliflower into florets.

Slice the onions.

Core and chop the apples into bite-sized pieces (no need to peel).

Coarsely chop the dill.

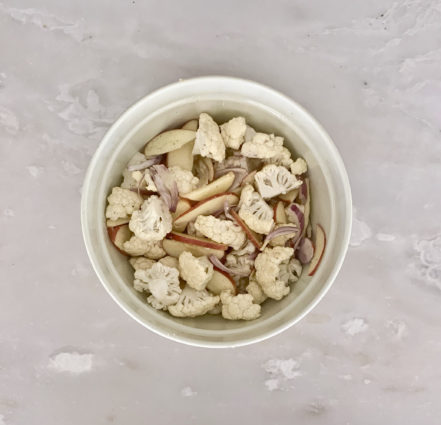
Place the cauliflower, red onion, and apples into a large bowl and mix together with the olive oil, kosher salt, and plenty of fresh ground pepper.

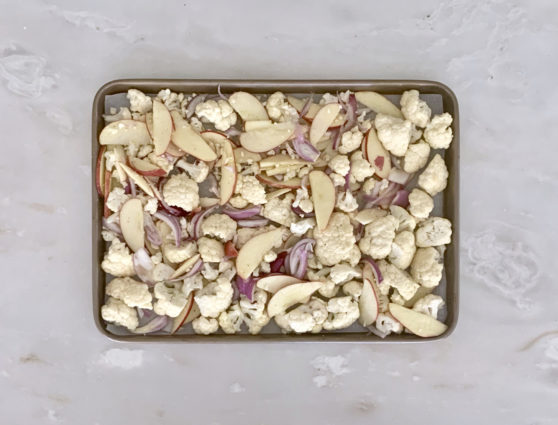
Line a baking sheet with parchment paper.

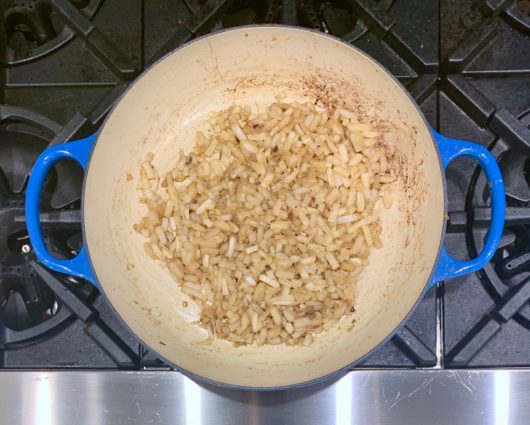
Place the chopped vegetables on the baking sheet, then roast for 40 minutes until the cauliflower is slightly browned, stirring twice during the baking time.

Remove from the oven, stir in the dill, and place in a serving dish.

Serve immediately.

It’s that simple!
Stay Safe Everybody!

signature

[recaptcha]


This week, my Aunt Esther, (my mother’s sister), had open heart surgery. The surgery went well, but she had complications that gave us quite the scare. I was particularly worried, since I am very close to my aunt, and I see her often. 

Her husband died when my cousins were very young. It was a tragedy for us all, as he was one of the loveliest man you could ever meet. Esther suffered this tragic loss with great dignity, and raised her children without complaints and without a husband. As one of eight children in a poor family, she had a tough life, but meeting her you would never know it. 

Her face lights up when she sees you, and she greets you with warmth that makes you feel special. Her smile and laughter light up the room.  Even at her age, she loves to be around young people–she says they make her feel alive and happy. When you hear laughter in the next room, you can be sure she is the cause. Her many tales of her upbringing make me remember my own mom. 

Her greatest quality is her ability to see the good in every situation. No matter what, she always knows the right thing to say. She loves life and sees the best in everybody. She has generated more compassion than any person I have ever met. She is happy all the time. You never see her worried or down, not ever. She turned 90 today and her granddaughter is getting married in May. 

I went to visit her in the rehab center today. You would never know what she had been through just four days ago. She was so happy to see me when I came into her room with flowers and balloons for her birthday. And I was so relieved she was back to being herself. She jokingly told me she couldn’t wait to get out, because of “all the old people there. ” More than anything, she wants to be strong enough to make it to her granddaughter’s wedding. She will, I just know it. When it was time for me to leave she said, “Cindy always be happy and look at all the good you have.” I was just happy I still have her.

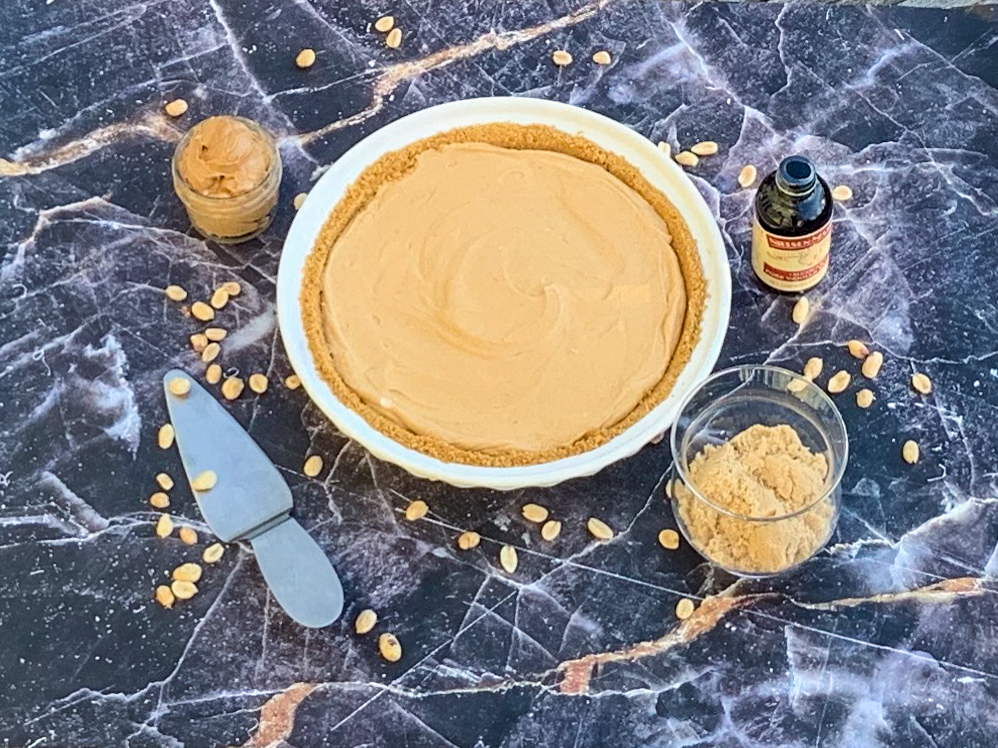
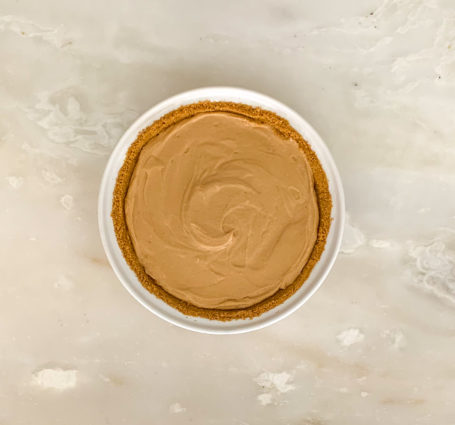
Next time I go to see her, I will be sure to bring her some of this pie. It is my first no-bake pie. It was refreshing to just place it in the freezer and not have to stress about the cooking time, (I always worry about that). Peanut butter, cream cheese, and graham-crackers – oh my! The cream cheese and peanut butter blend into delicious goodness. The whipped cream gives it just the right amount of sweet, and makes this pie so creamy and velvety. The graham cracker crust is an exceptional home to the sweet filling. Every bite is a little piece of perfection. One for now, and for your “keepers” list!

This pie is courtesy of Epicurious and will serve 8 people who will truly love this decadent dessert.

Ingredients for Peanut Butter Pie:

1 1/4 cups graham cracker crumbs
3 tablespoons unsalted butter, melted
1 cup heavy cream
8 ounces cream cheese, at room temperature
1 1/4 cups creamy peanut butter
3/4 cup packed light brown sugar
2 tablespoons pure vanilla extract

Preheat oven to 350 degrees.

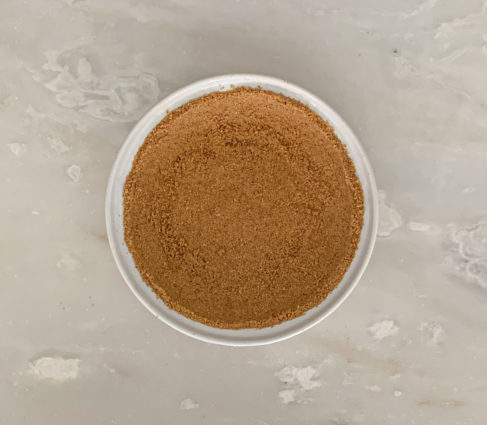
In a bowl, stir together the graham cracker crumbs and melted butter; press into the bottom and sides of a 9-inch pie dish. Bake until brown, about 5 minutes.

Set aside to cool completely.

With a heavy-duty stand mixer fitted with the whisk attachment, whisk the cream at high speed until it forms stiff peaks.

Transfer to a large clean bowl and set aside.

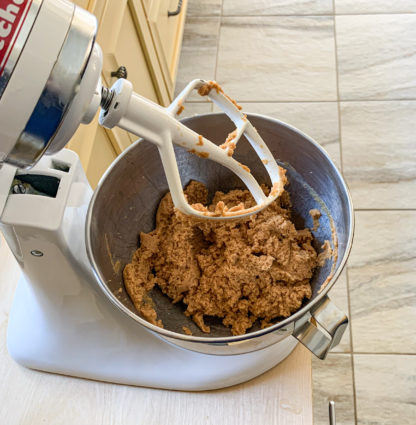
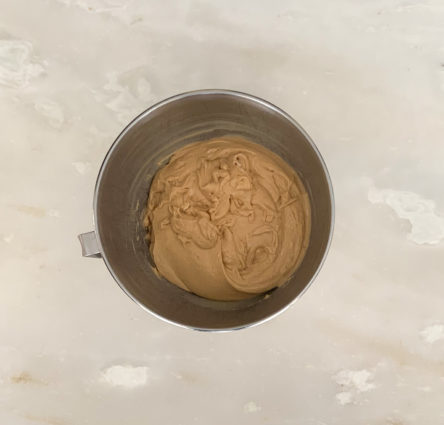
Fit the stand mixer with the paddle attachment and a clean bowl; add the cream cheese, peanut butter, brown sugar, and vanilla and beat at high speed until the mixture is smooth and silky.

Gently fold the cream cheese-peanut butter mixture into the whipped cream with a spatula until completely blended.

Spoon into the cooled pie shell and smooth out the top.

Place the pie in the freezer for 1 hour or until ready to serve (if you are going to leave it in the freezer awhile, wrap it in plastic wrap after 1 hour so it doesn’t get freezer burn).

Take the pie out of the freezer 15 minutes before serving. Slice it and pig out!

It’s that simple!
signature

[recaptcha]


In my years of cooking, I’ve come across all sorts of new things.  New fruits, vegetables, adjectives, technical terms, types of food, and even concepts.  We have julienne, umami, mise en place, and most recently, rillette. I’ve never come across this term before, and I’m excited to share what I’ve learned.

According to Antoine Westermann, “rillettes are meat, fish, or poultry that’s been chopped or shredded, seasoned with salt and pepper and preserved slowly in its own fat, the fat of another animal, olive oil, or butter to make a thick spread for sandwiches, crudité or pasta stuffing.” If you’re familiar with confit, this will sound familiar — the difference is that confit items are usually cooked and served whole, whereas rillettes are the result of shredding the confit. 

To me, that sounds like it could be a terrine too. So, I turned to Antoine Westermann, again and here is what he said about that. “A terrine is is a dish of ground meat, organ meat, seafood, vegetables, boiled eggs, herbs and/or other seasonings packed or layered in a ceramic or steel loaf-shaped mold, cooked in a water bath, cooled, turned out and sliced for serving. Sometimes an infused gelatin (called aspic) is set on top for a decorative effect that also adds an additional layer of flavor. Terrines can be par-cooked, wrapped in puff pastry and baked for ‘pâté en croute.’”

This made me think of a paté and again the famous chef came to the rescue. A paté is “a ground blend of meat, organ meat and herbs or seasonings. Some pâtés contain milk (for a smoother texture), egg (which helps it set in its mold), or bread (which helps stretch the ingredients and forms a firmer loaf). Pâté is often one element of a layered terrine, but it can be as simple as chicken liver mousse.”

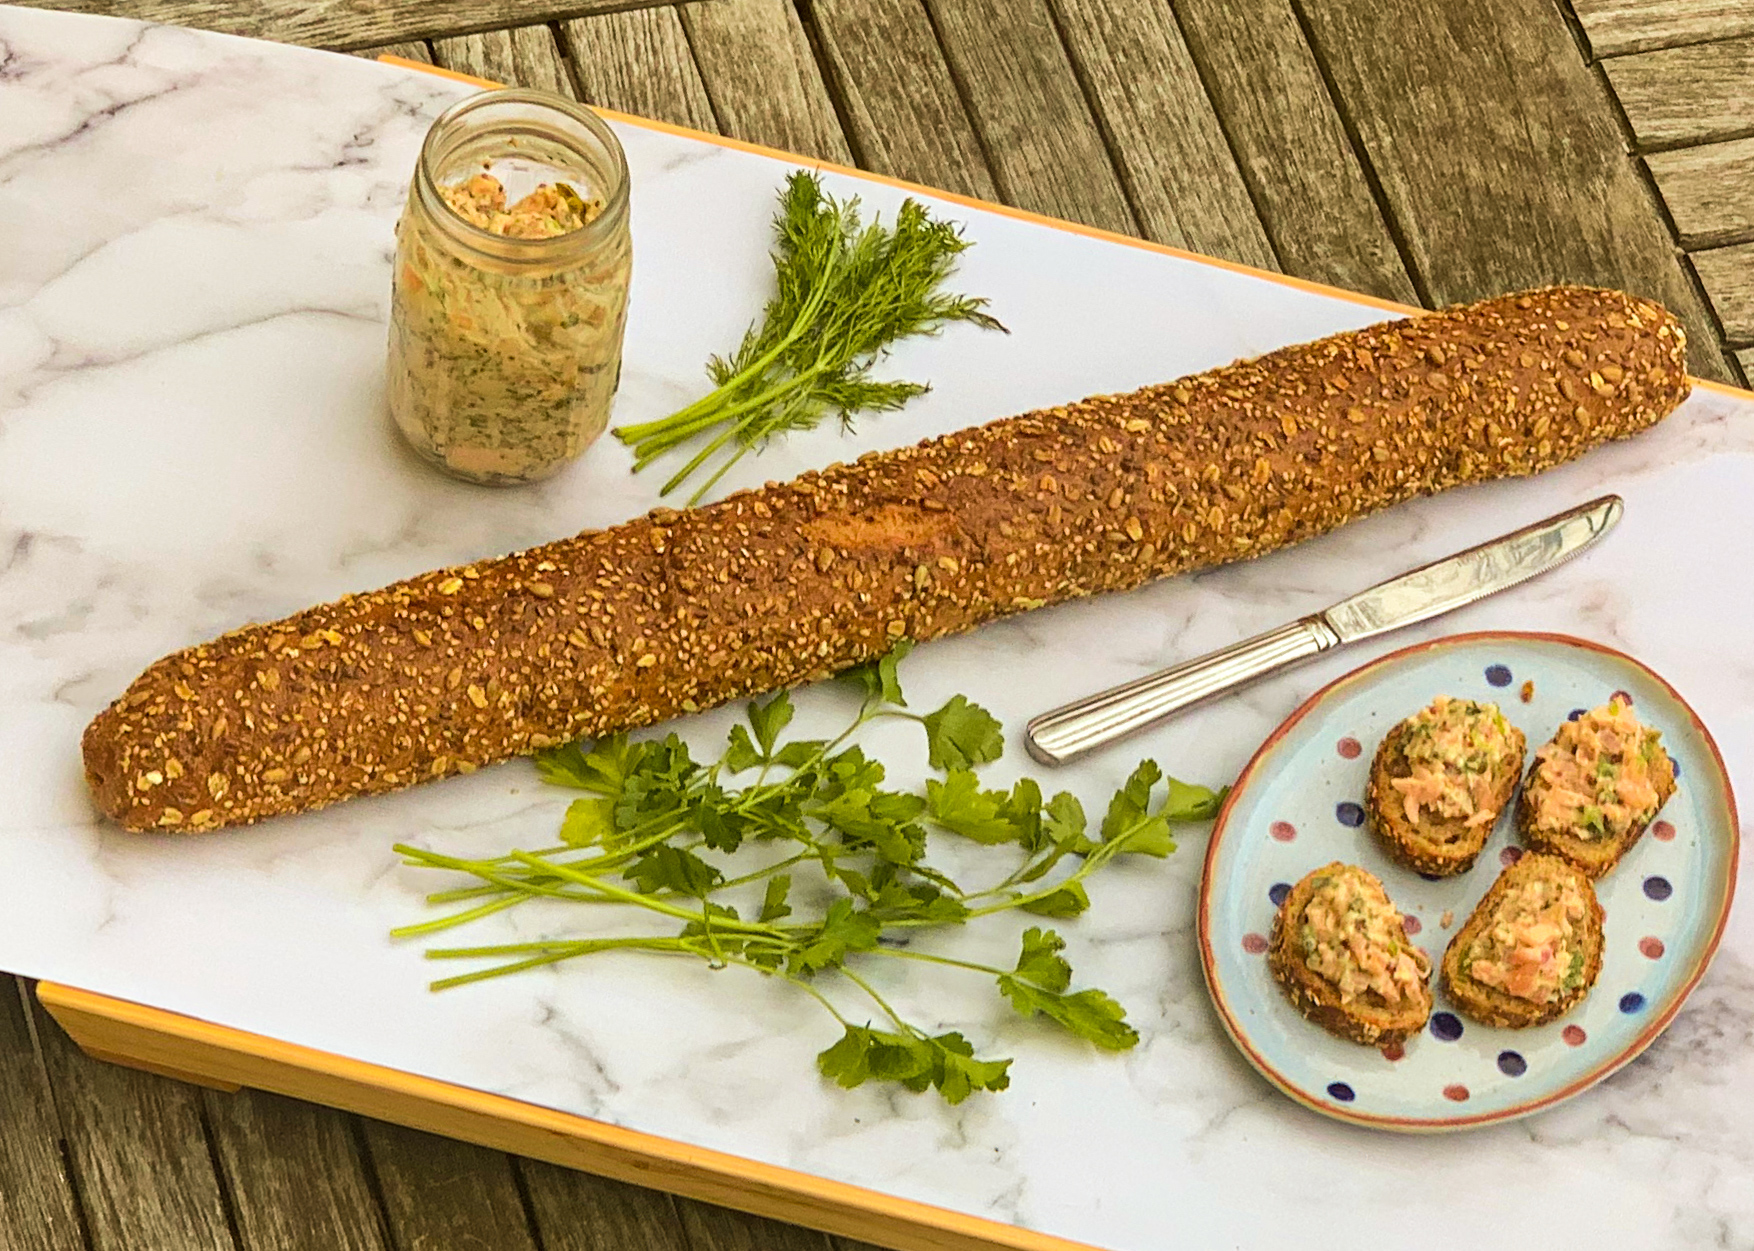
Learning all this was a wonderful experience.  I’ve done so much in the kitchen already, but how joyous that there is so much more to learn!  All these variations, and I’ve never made anything more than chopped liver! When I saw this recipe, I knew I have to make it. These different preparations don’t sound like they are hard to make but I have a feeling it takes a lot of skill and experience. However, this particular appetizer was very easy and came together like a salmon salad would, with a little cooking involved. I also substituted parsley for the cilantro, because I just do not like cilantro– I’m sure many of you agree with me.

Turns out this rillette was a really fun way of trying to cook something completely new to me. The salmon combines deliciously with the dill, parsley, and capers. These ingredients are impeccably perfect together. The butter and mayonnaise gives it a creamy texture. The grainy Dijon mustard (along with the capers) give it tiny bursts of delicious flavor in every bite. The lemon zest added that tang and the scallions give it a touch of heat.  I love this and I know you will too. Serve it with a baguette, and you have an exquisite appetizer.

This recipe is courtesy of Dorrie Greenspan and will serve 6 people who will be inspired to try something new as well.

Ingredients for Honey-Mustard Salmon Rillettes:

2 scallions, trimmed, white and green parts minced
1 lemon
1/2 cup white wine, or white vermouth
1/2 cup water
Fine sea salt
6-8 ounces salmon fillet, fresh or frozen skin and any pin bones removed (see headnote)
2 tablespoons unsalted butter, softened
1 small shallot, minced (about 1 tablespoon), rinsed and patted dry
Freshly ground black pepper
1/4 pound smoked salmon, cut into thin strips or small squares
1/4 cup mayonnaise
2 tablespoons grainy Dijon mustard, (preferably french)
1/2 teaspoon honey
1 tablespoon capers, rinsed, patted dry and finely chopped if large
2 tablespoons minced fresh dill
1 tablespoon fresh minced cilantro
Crackers, toast or dark bread, for serving
Fresh herbs, minced or thinly sliced for serving (optional)

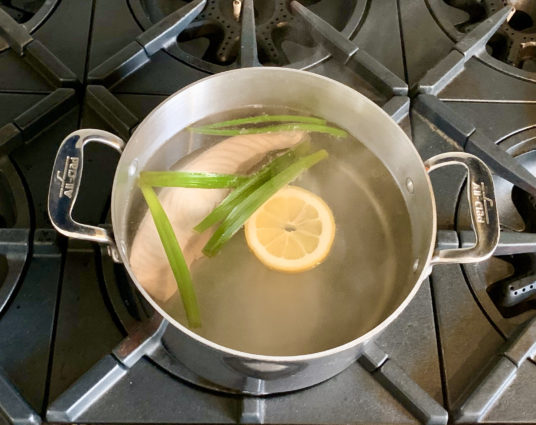
Toss the dark green scallion parts into a medium saucepan, add the wine, water and a pinch of salt and bring to a boil.

Drop in the salmon and lower the heat so that the liquid just simmers for a minute (3 minutes if the salmon is frozen), then remove the pan from the heat, cover and set aside for 10 minutes.

Drain the salmon (discard the cooking liquid) and transfer to a plate; refrigerate for 20 minutes. (You can refrigerate the salmon for up to 1 day; cover it once it has cooled.)

Using a flexible spatula and working in a medium bowl, beat the butter until it’s spreadable.

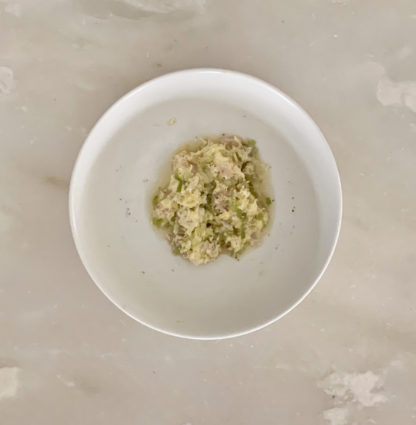
Grate the lemon zest over the butter, squeeze the juice from half of the lemon into the bowl and add the reserved minced scallions, the shallot, a pinch of salt and a few grindsof pepper.

Blend thoroughly, then stir in the smoked salmon.

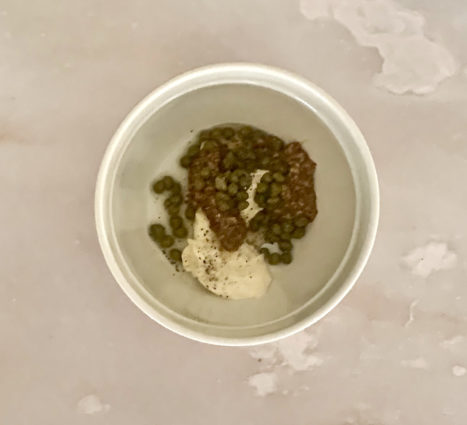
In another bowl, stir together the mayonnaise, mustard, honey and capers.

Squeeze a few drops of lemon juice into the bowl and stir in some pepper.

Scrape this out over the smoked salmon mixture and blend well.

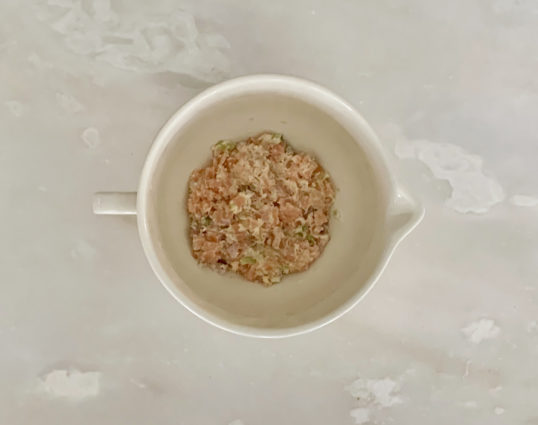
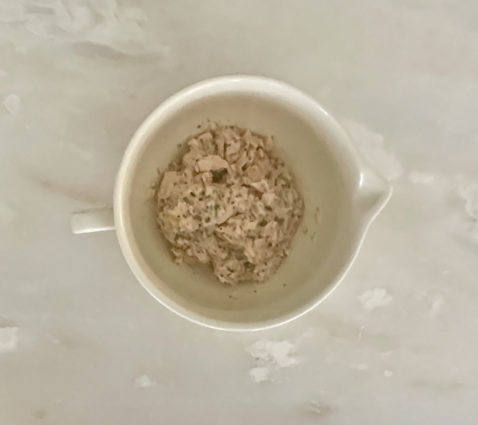
Remove the poached salmon from the fridge, cut it into bite-size pieces and gently stir them into the smoked salmon mixture — even if you’re extremely gentle, the salmon will flake and flatten; go with it.

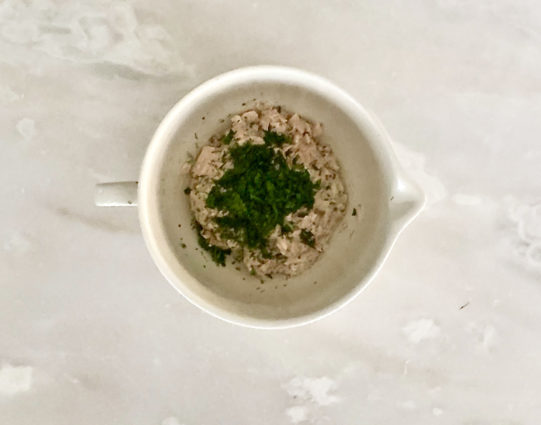
Fold in the dill and cilantro, then taste for salt, pepper and lemon juice.

You can serve the rillettes now, but the flavor and texture are better if you pack them into a sealed container and refrigerate for at least 6 hours.

Serve with bread or crackers and, if you’d like, put out minced herbs that can be sprinkled over each serving.

It’s that simple!


signature

[recaptcha]


Let me hazard a guess: You hate anchovies. You don’t like the way they look, and you probably don’t like the way they taste either. I hope with this next recipe, I can get you to rethink the culinary riches of these ugly fishes. 

I didn’t start cooking with anchovies until a couple of years ago. Now, I am obsessed with them and add them to just about everything: pasta, salads, pizzas, vegetables, dressings, and eggs (to name a few). Weird though it may sound, I especially love them with eggs. My innermost self believes that just about everyone loves anchovies, they simply don’t know it yet.

When I first started including anchovies in my cooking, I didn’t dare tell my husband and sons.  It started small, with a simple pasta sauce that garnered rave reviews from my family. I told them they must love anchovies, to which they responded with a resounding “We hate anchovies.” I will never forget their faces after the big reveal.  Some time later, the same trick worked on my son’s friends, and they became anchovy lovers just as my family had.

Here’s the truth: Anchovies often enhance the flavor of a dish when used in small or medium amounts. Too much, and you’ll be tasting the ocean.  Many haters, without knowing that a dish is made with anchovies, will find that they enjoy the little fishes. Most of you just don’t know it. So maybe give them another try, I think you might just change your mind.

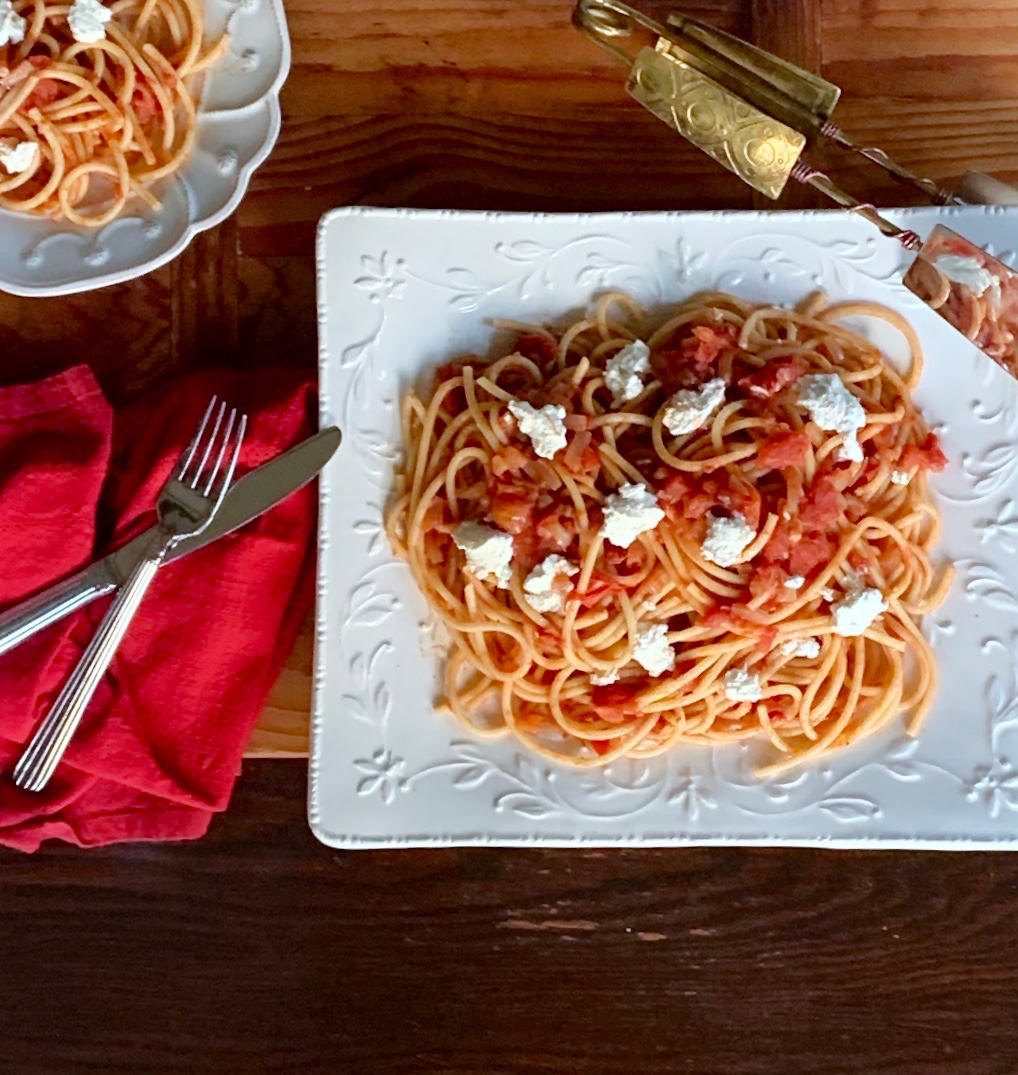
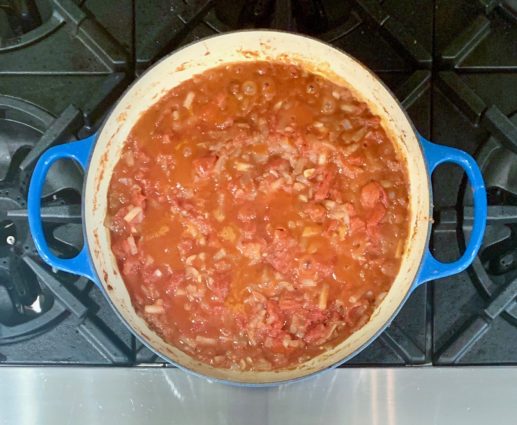
This particular dish is a wonderful side when you are short on time. The onions, garlic, and anchovies pack this sauce with a bold flavor. The crushed red pepper flakes, lemon zest, and juice add that heat and tang that makes this sauce luscious and satisfying. You won’t be able to get enough of it.

This recipe will serve 6-8 people who will rethink their position on anchovies.

Ingredients for Simple Pasta Sauce:

1 28-ounce can crushed San Marzano tomatoes
3 cloves garlic, chopped
8 anchovies, roughly chopped
2 tablespoons extra-virgin olive oil
1 cup Vidalia onion, finely chopped
1/2 teaspoon crushed red pepper flakes
Zest and juice of 1 lemon
1/2 teaspoon kosher salt
1/4 teaspoon freshly ground black pepper
3/4 pound long, thin pasta such as bucatini, spaghetti or fettuccine
1 cup Reggiano-Parmesan
1 cup Ricotta cheese


Bring a large pot of water to a boil.

Add 2 to 3 tablespoons kosher salt and return to a boil.

Place in pasta and cook 2 minutes less than package directions.

Reserve 1 cup of pasta water.

Heat the oil in a large heavy bottom skillet over medium-high heat.

Sprinkle in the anchovies and cook until anchovies are melted.

Add onions and continue to cook until onions are softened, stirring occasionally, for about 4 minutes.

 Add the garlic and red pepper flakes and cook for 1 more minute.

Stir in the tomatoes, lemon zest, and juice.

Bring the sauce to a simmer and hold at a simmer for 20 minutes.

Add the pasta to the sauce and toss to coat, adding a little pasta water at a time, until the sauce is your preferred consistency.

Toss in the parsley, Reggiano-Parmesan cheese and continue to stir.

Place pasta in a serving bowl and top with dollops of Ricotta cheese.

It’s that simple!

Flowers in Barbados -My Happy Place!

signature

[recaptcha]