When my sons were toddlers, my husband and I began renting a condominium on the beach every year. I loved being out there. Everything about it was magical. The farm stands and food are incredible, and the smell of the ocean is so calming. Most of all, I love walking through the towns nearby. They all have their own unique sense of charm. After enjoying the peace and simplicity of the beach, it feels great to explore these tiny towns! Because of this, I always dreamed of owning a home there so I could take advantage of all the fresh produce and seafood and meats and cook to my heart’s content.

I finally realized that dream when my husband and I finally purchased a home close to where we used to stay. What an enormous task to furnish and make up a home from scratch!  It’s been almost 30 years since I have done that.  I went room by room in my house, and wrote down the things I would need.  You can imagine how exhausted I was after I completed it. And very happy.

Now I truly get to explore the towns out there. I can now try out the many food festivals, breweries, and wineries. My husband and I are going to buy bicycles and ride to see the many historic homes, cottages, and really drool-worthy beach homes! At the end of it all, we can rent a boat, take a sunset sail, and dine on the water. The possibilities are truly endless, and I plan on doing it all.

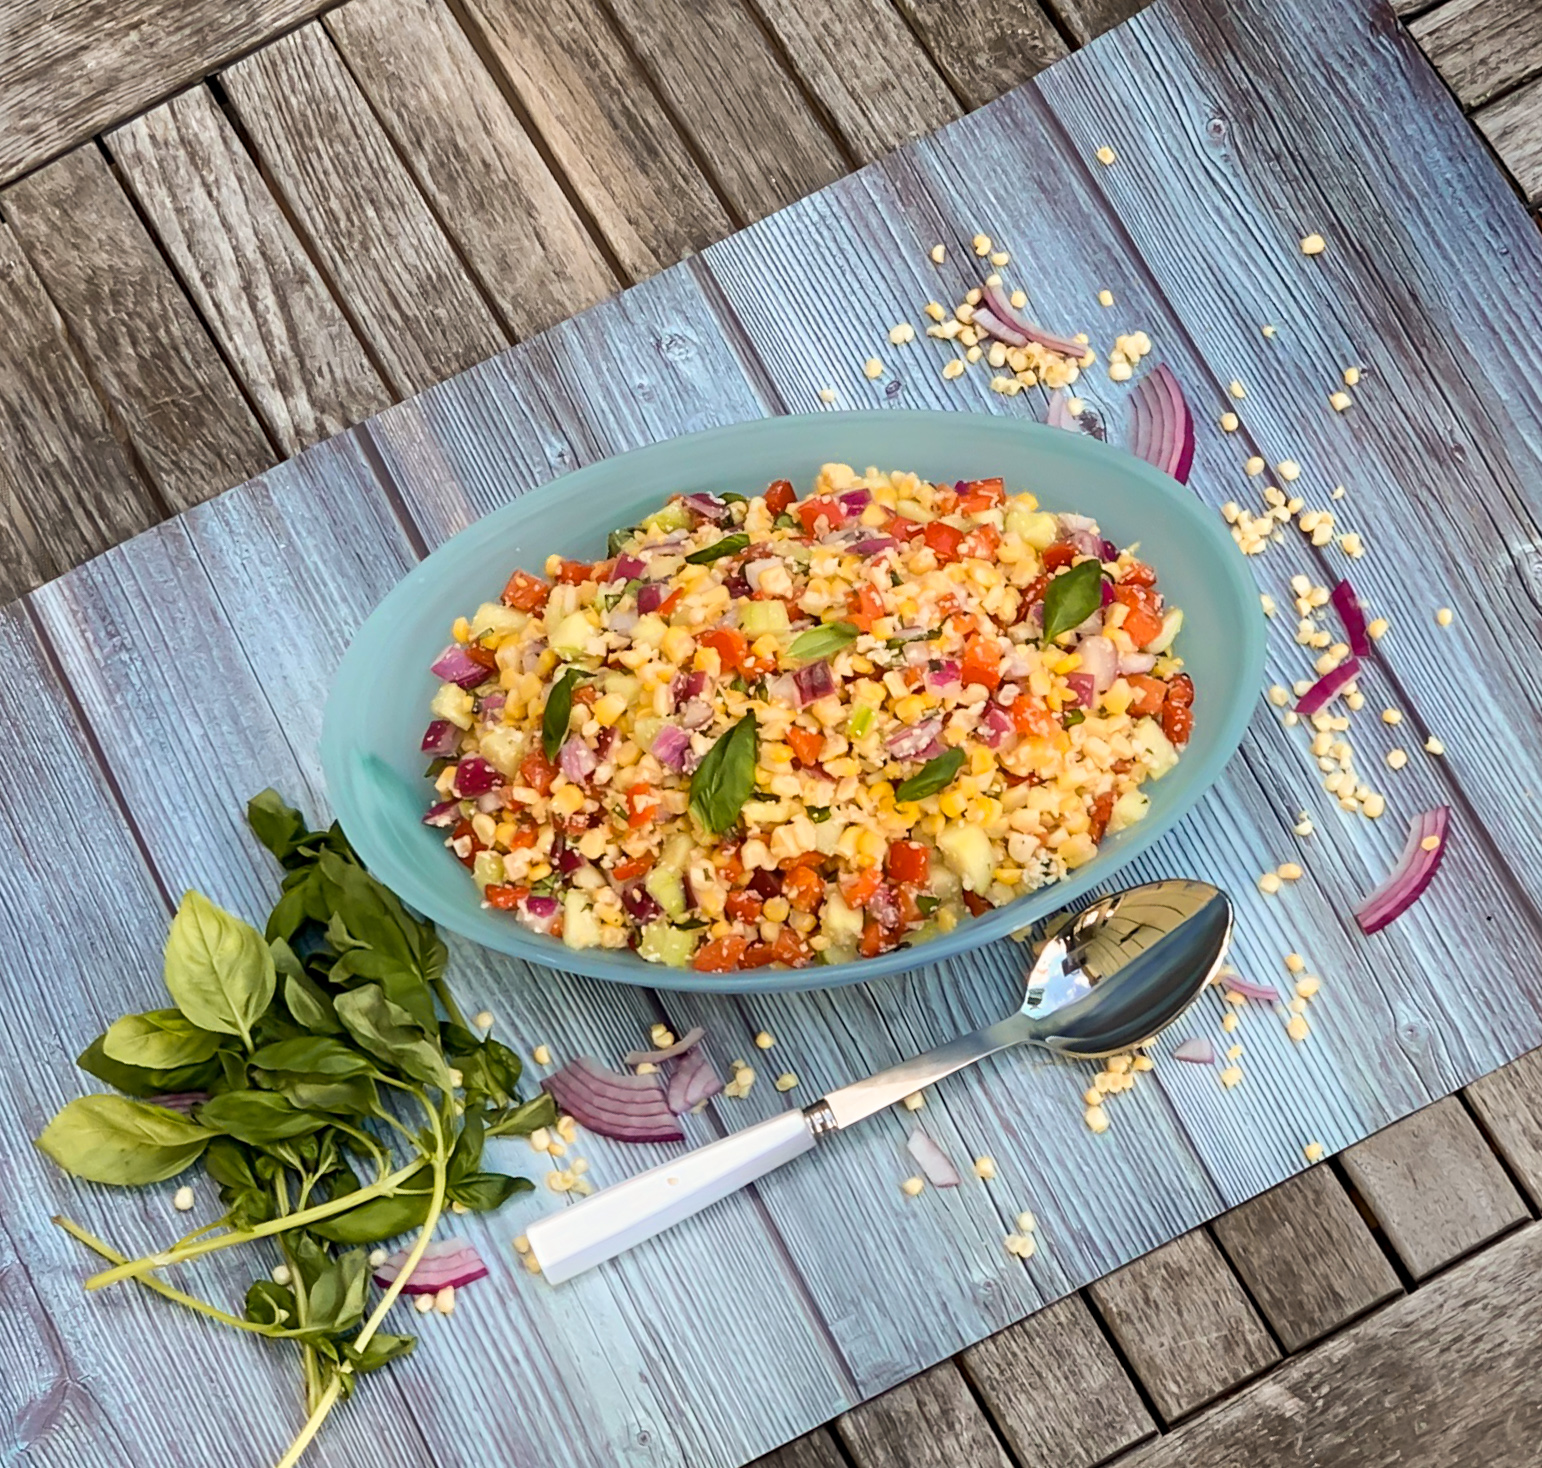
One thing I so love about these towns is the locally grown corn. In the past, I would buy so much to bring home and cook and freeze it so I could have it all year round. I still plan to do that, but now that I have this beach house, I can really take advantage of it. It just seemed fitting to make a corn salad that is refreshing and so delicious.

You can grill the corn, or boil it as I do. The apple cider vinegar and the lime give this salad a refreshing tang. The onion is a touch of sweet heat. The basil is the savory and the perfect complement to the corn. The Parmesan cheese completes this dish, so do not leave it out! This turned out so delicious, you must try it. I hope you do.

This recipe is my own and will serve 4 to 6 people who are sure to love this sweet summer side.

Ingredients for Corn Salad:

3 cups corn kernels (about 4 cobs of corn)
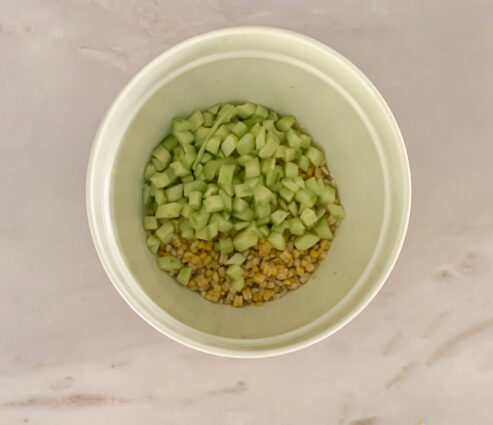
1 English cucumber, seeded and cut into 1/2-inch pieces
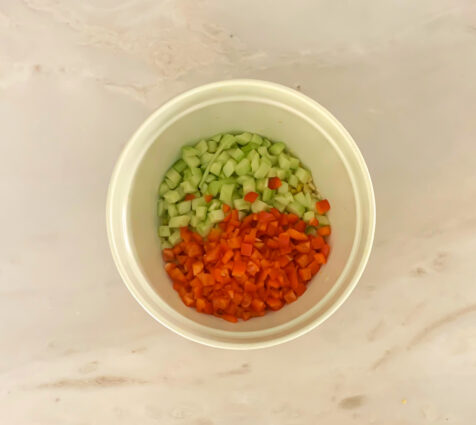
2 red bell peppers, cut into 1/2-inch pieces
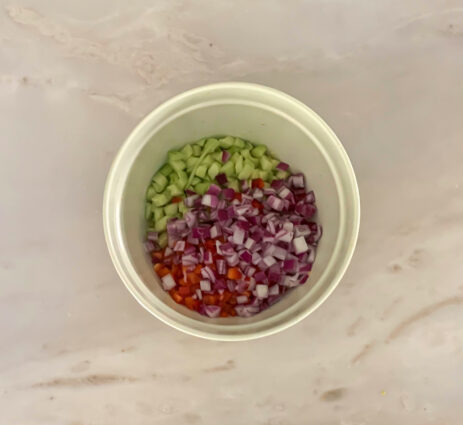
1/4 cup red onion, diced
3 tablespoons of good extra-virgin olive oil
1/4 cup basil, thinly sliced
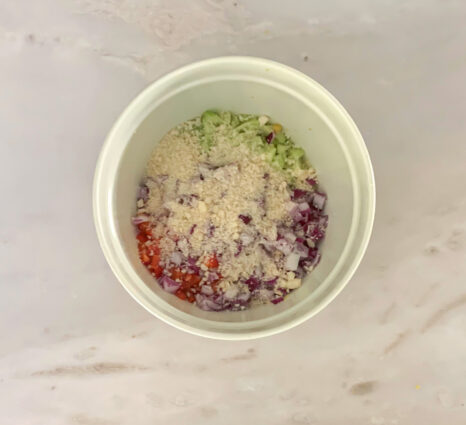
1/2 cup Parmesan cheese
1/4 cups good extra-virgin olive oil.
4 tablespoons apple cider vinegar
Juice of 11/2 limes
1 teaspoon kosher salt, or more to taste
1/2 teaspoon freshly ground pepper
 
Bring a pot of water to boil.
 
Place 1 tablespoon of sugar into pot.
 
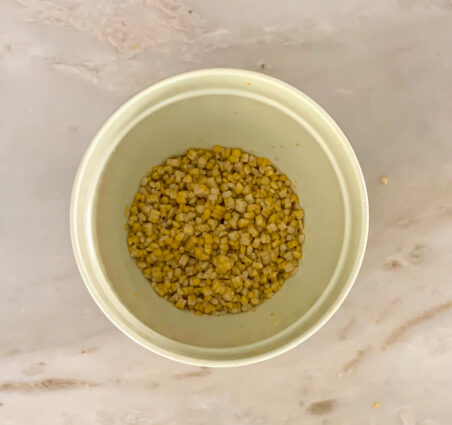
Toss corn into pot.
 
Let cook for 6 to 8 minutes, until corn is bright yellow.
 
When corn is cool, cut kernels off.
 
Set aside.
 
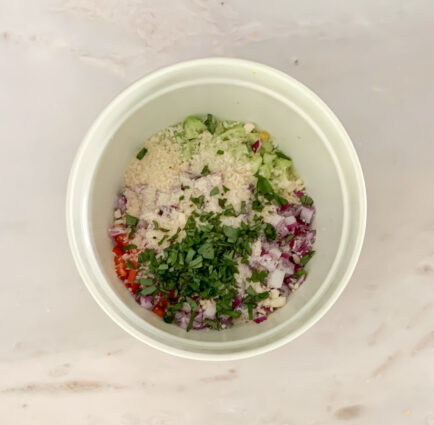
Add cucumber to corn.
 
Toss in redd pepper.
 
Add red onion.
 
Toss in Parmesan cheese.
 
Toss in basil.
 
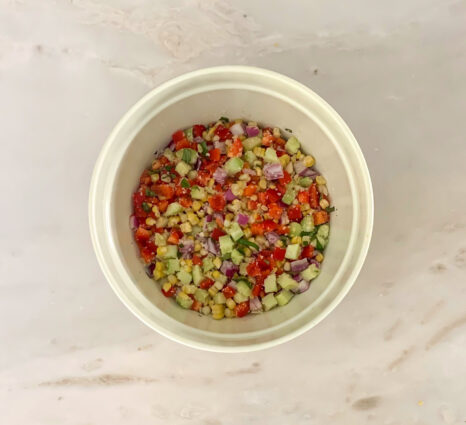
Mix salad together.
 
Sprinkle in salt and pepper.
 
Whisk the olive oil, apple cider, lime juice together.
 
Pour over salad and mix to combine.
 
It’s that simple! 
 
signature

[recaptcha]


My mother was a great cook. I have great memories of many of her meals. As I remember now, she had a relatively small repertoire of recipes. We were never served broccoli, cauliflower or eggplant. Corn on the cob and green beans from a can are two of the vegetables I remember. She also had a pretty strict routine for her cooking. Wednesday was spaghetti and meatballs Thursday was veal, Friday was fried chicken (oh so good), Sunday was steak, get how it goes here? Even her holiday menus were routine. As a young child, I never got tired of it, and always looked forward to her meals. 

For the first few years, after I was married, I never cooked. My husband was not always home for dinner, and I wasn’t going to just cook for myself. It wasn’t until I had children, that I really needed to start cooking. I began cooking basically the same way my mom did, but my repertoire grew instinctually. I found that I really enjoyed it and hungrily (no pun intended) looked up recipes.

During this lockdown, I find that I am actually cooking more simply. Of course my son’s appetites are simple, and they don’t need anything fancy. When I do actually prepare a more complicated meal, I end up giving it away. I am excited to share this recipe with you, because it was finally one my family loved and it is so easy to prepare.

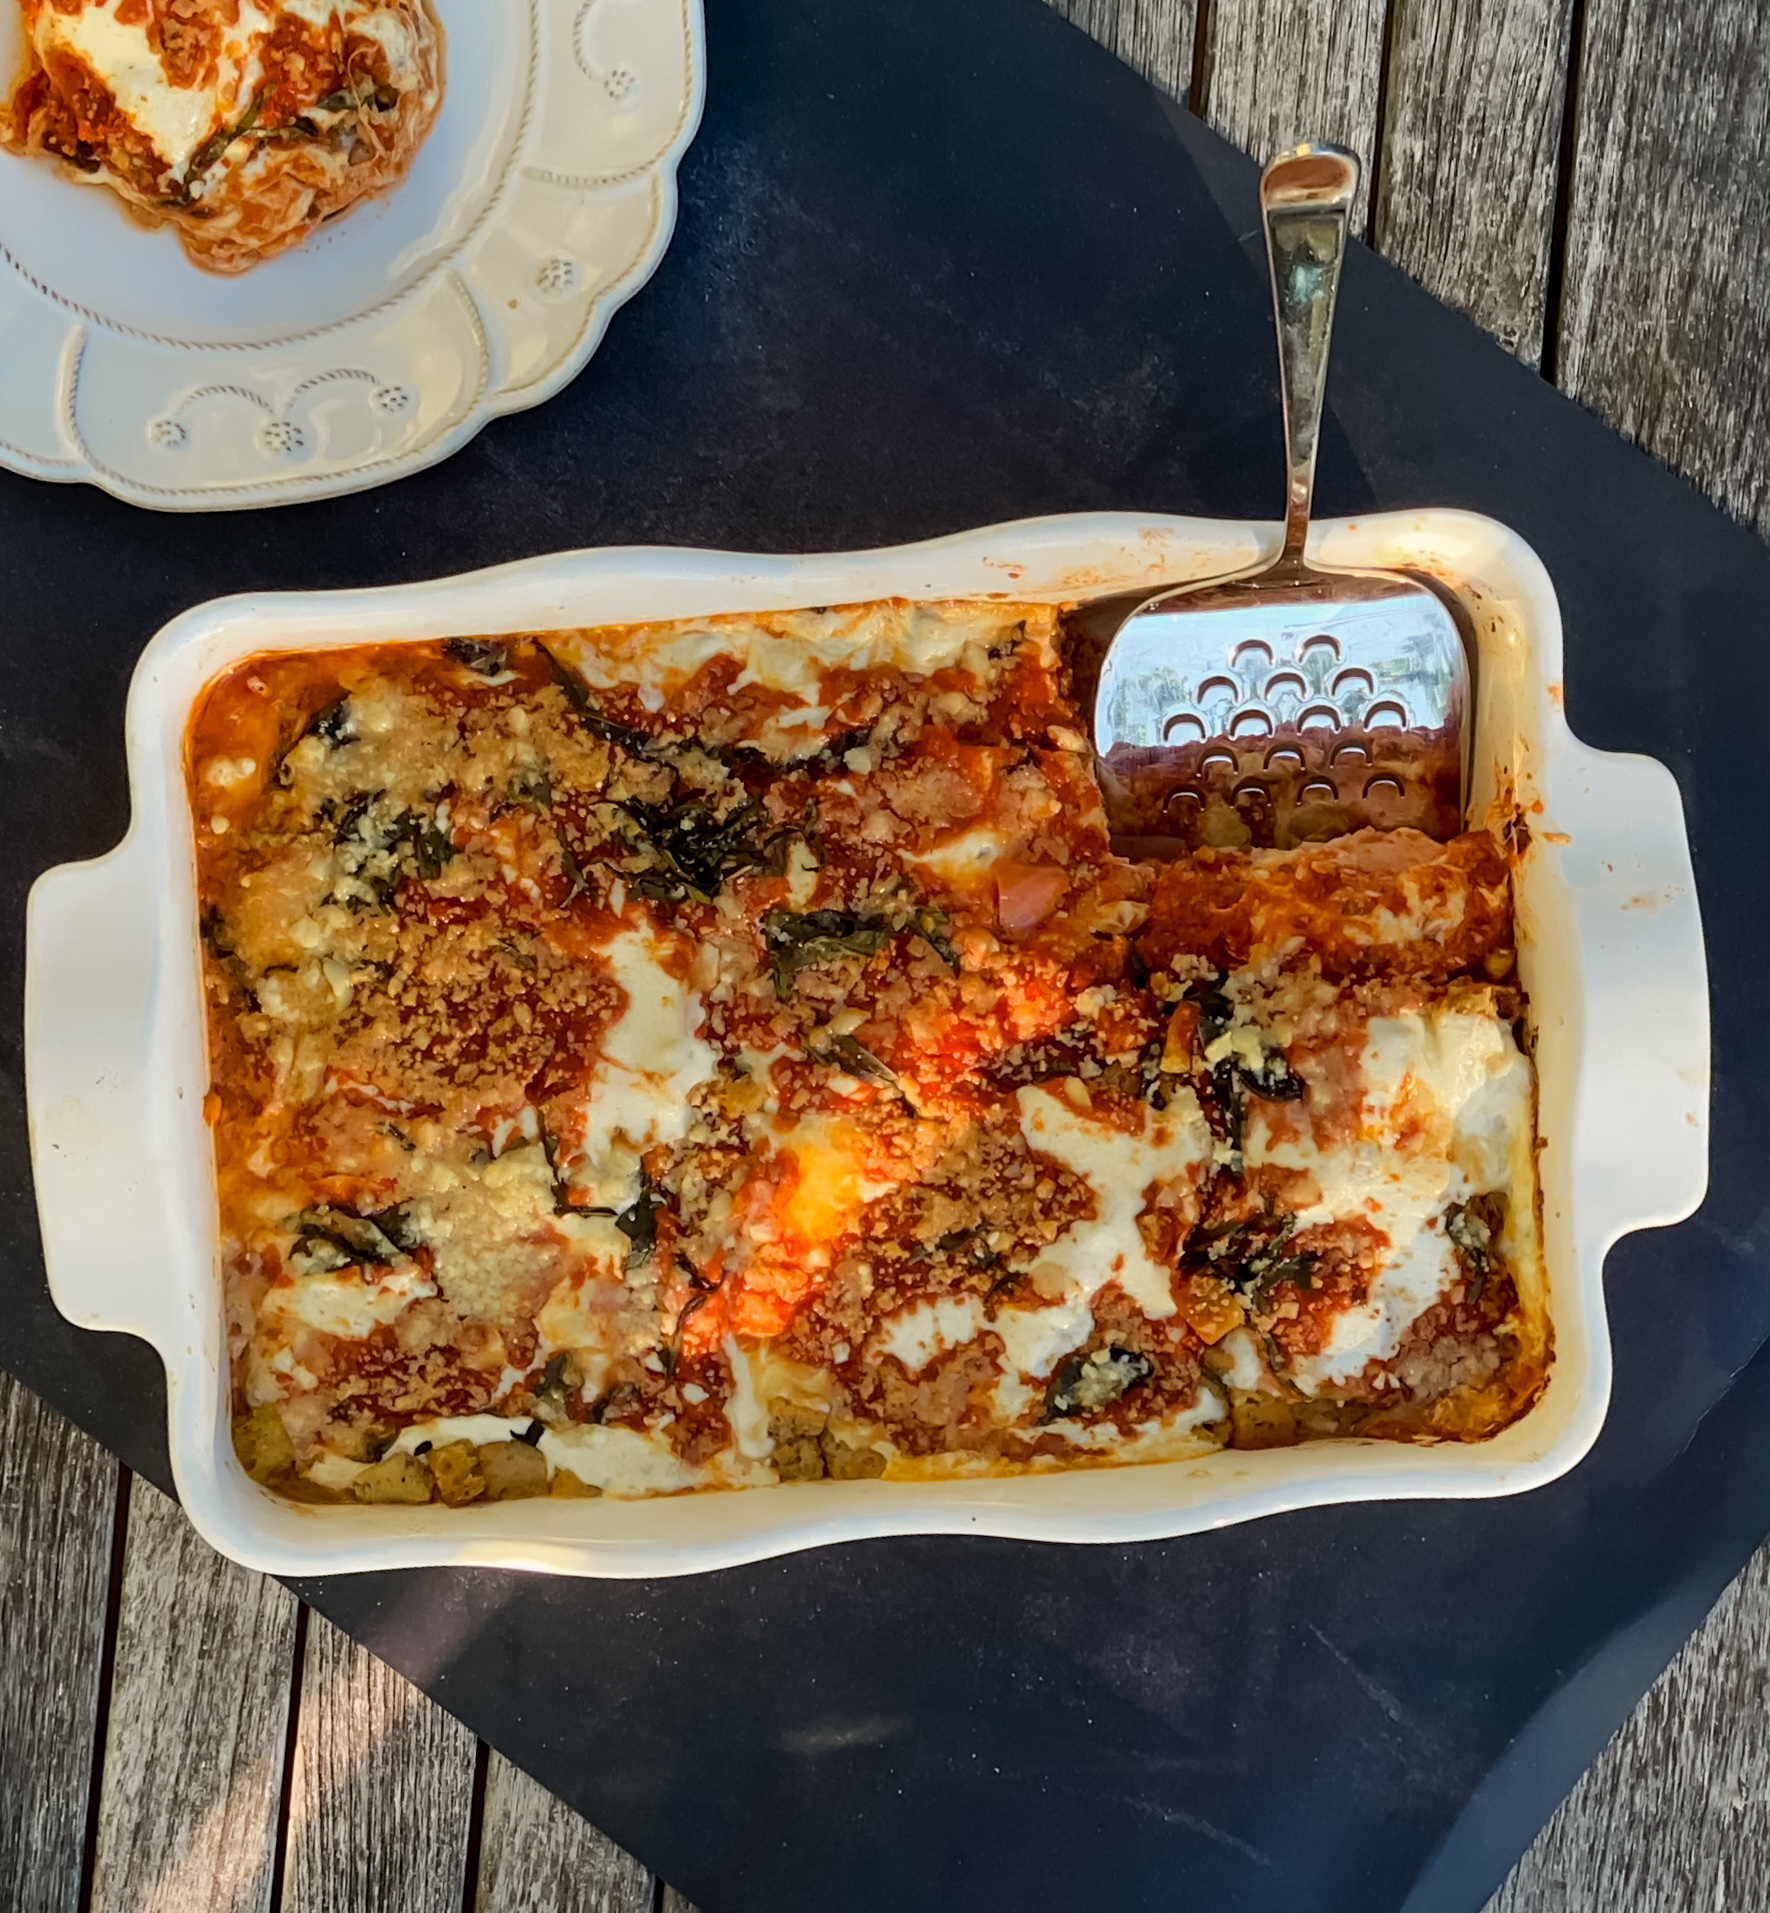
This is a really simple way to make chicken Parmesan, because everything is store bought and comes together effortlessly. The chicken soaks up the flavor of the marinara sauce beautifully. The crushed red pepper flakes give it just the right amount of heat. The basil and the garlic adds a nice savory touch and the Parmesan and mozzarella are the perfect topping for this delectable dish.
This recipe is courtesy of Allrecipes and will serve 6 people who will definitely be asking for seconds!

Ingredients for Parmesan Chicken Bake:

2 tablespoons olive oil
2 cloves garlic, crushed and finely chopped
¼ teaspoon crushed red pepper flakes, or to taste
6 skinless, boneless chicken breast halves
2 cups prepared marinara sauce
¼ cup chopped fresh basil
1 (8 ounce) package shredded mozzarella cheese, divided
½ cup grated Parmesan cheese, divided
1 (5 ounce) package garlic croutons 

Preheat oven to 350 degrees F (175 degrees C).

Coat the bottom of a 9×13 inch casserole dish with olive oil, and sprinkle with garlic and hot red pepper flakes.
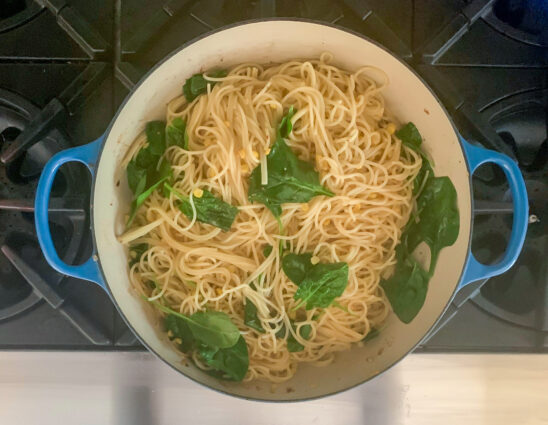
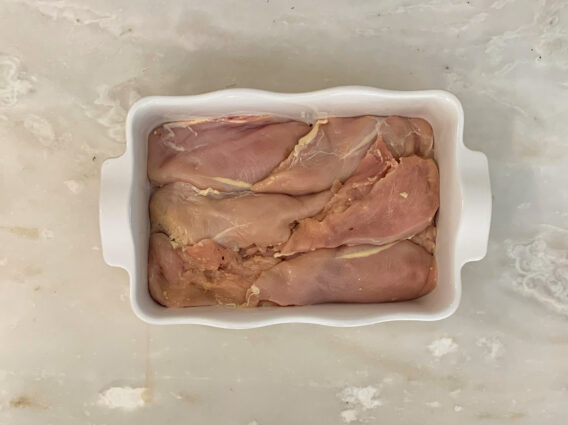
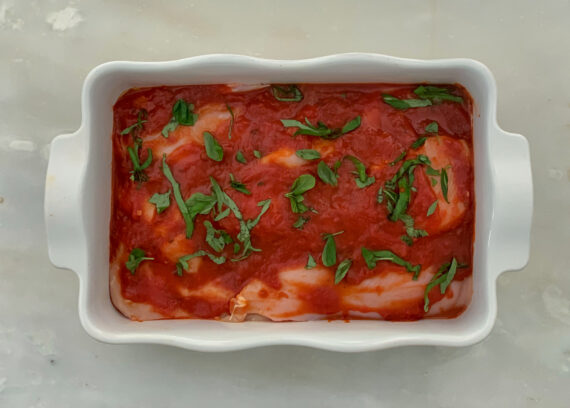
Arrange the chicken breasts in bottom of the dish. 

Pour marinara sauce over chicken and sprinkle with basil.

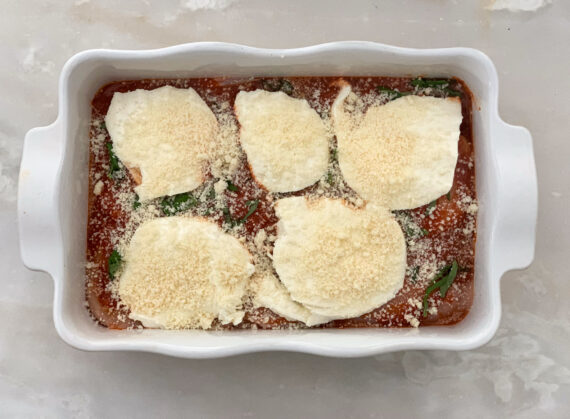
Top with half the mozzarella cheese, followed by half the Parmesan cheese.

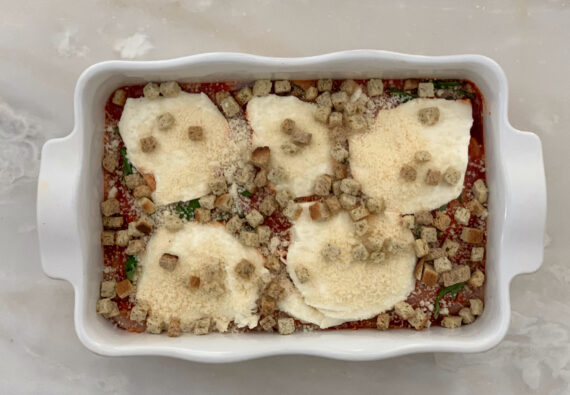
Sprinkle on the croutons.  

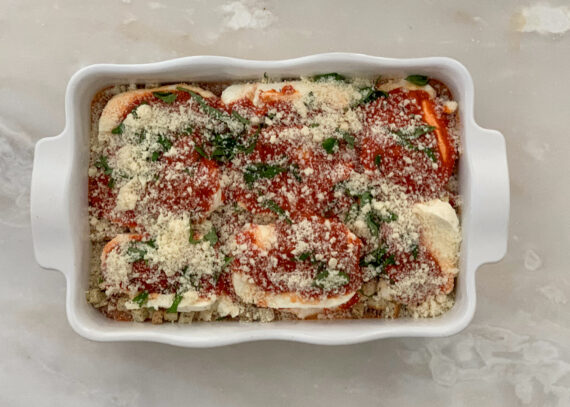
Top with the remaining mozzarella cheese and remaining Parmesan cheese. I used up the rest of the marinara sauce as well.

Bake in preheated oven until cheese and croutons are golden brown and the chicken is no longer pink inside, about 35 minutes to an hour, depending on the shape and thickness of your chicken breasts.

An instant-read thermometer inserted into the thickest part of a chicken breast should read at least 160 degrees F (70 degrees C).

It’s that simple!


signature

[recaptcha]


I have never been a fan of dill. I dislike the smell, so forget the taste. For that reason, I seldom use it in my recipes, and even when I must, I keep it to a minimum. When I make chicken soup, I put it in right at the very end, securely wrapped up in cheesecloth so very little of it gets in the soup. And mind you, this is solely because most people expect dill in their chicken soup, not because I want it there.

With that said, I actually enjoy dill in this salad. When I first made it, I did not include any dill, and I loved the taste anyway. But I knew something was missing. Many people make this salad with dill, so I thought I would at least give it a try. You can imagine my surprise when I liked it even better!

Salads are a great addition to any meal, especially in the summer. There is no better way to appreciate the work of farmers (or your own handiwork if you have a garden!) than to use beautiful, fresh produce to create a cool salad. As a side dish or a main feature, salads of all varieties are appreciated and enjoyed by all.

This salad is so easy to throw together. It uses simple ingredients and stores really well. The key here is to start with English cucumbers. There are fewer seeds, making it easy to take them out (which you definitely should, and wipe the cucumbers dry). In my opinion, they also taste better than regular cucumbers.

Creamy cucumber salad is somewhat nostalgic – it has been around for ages and you have probably tasted it before at one gathering or another. The key to this particular recipe is the addition of lime juice, which gives it a different but wonderful citrus-y essence. It is packed with so much flavor you are going to be licking your spoon! Enjoy!

Please don’t forget to subscribe to my weekly newsletter and to like me on facebook. Please always check out my website, Simplebycindybog.com! 

The recipe will serve 4-6 people who will love this refreshing salad on a hot summer day.

Ingredients for Creamy Cucumber and Red Onion Salad:

2 English cucumbers, peeled, seeded and cut into 1/2-inch thick pieces
1/2 thinly sliced red onion
1/2 cup sour cream
2 teaspoons fresh lime juice
2 tablespoons white wine vinegar
2 teaspoons granulated sugar
1 to 2 tablespoons fresh dill
1/2 teaspoon salt

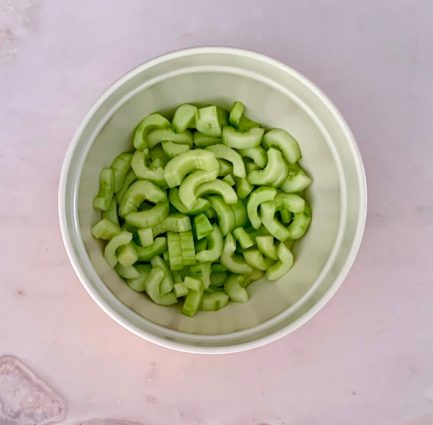
Peel and cut cucumbers in half lengthwise. 

Using a spoon, scrape the seeds out of the cucumber.

Cut cucumber into 1/2 pieces.

Place in medium bowl.

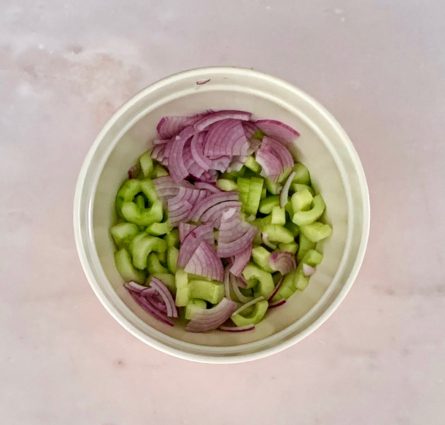
Slice a red onion in half and peel.

Cut the onion in half again, and then cut into thin slices.

Place onion in the bowl with the cucumber.

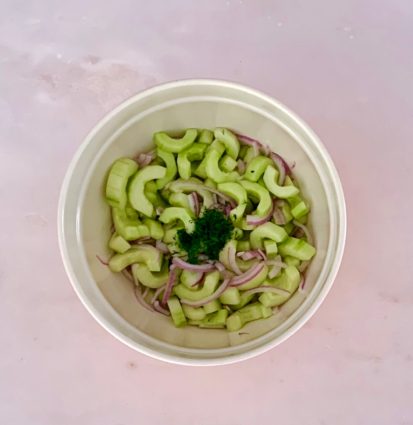
Add the dill.

Set aside.

In a medium mixing bowl, combine the sour cream, lime juice, vinegar, sugar, and salt.

Pour 3/4 of the sour cream mixture into the cucumber mixture, toss to coat.

Taste, then add a little more of the sour cream mixture, if needed. Make sure not to overdress!

Cover and refrigerate 2 or more hours.

It’s that simple!

My leaf garden is starting to grow beautifully!

signature

[recaptcha]


As of now, it looks like my state will be one of the last to reopen. I just found out that salons will be reopening June 22, which seems a lifetime from now. I never imagined myself looking like this, or not needing to get properly dressed in the morning. I long for the days when I have my routines back! 

Long before this lockdown, my husband and I were at one of our favorite restaurants for dinner. We know the owner (who is also the chef) and her husband quite well. One night, I asked them to recommend a dessert, and without hesitation, they suggested the butter cake. With all the wonderful desserts on the menu, I was curious as to why they selected something so simple.  I initially hesitated, then decided to trust them and asked them to bring us a piece.

Wow! That cake quickly became one of my favorites. I tried to only take a “small taste” but all my self-control evaporated. Go figure.

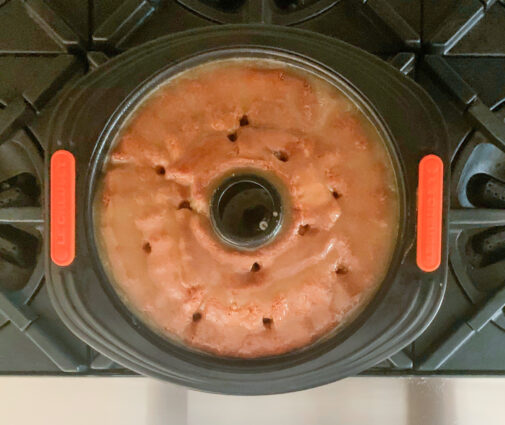
Well, since I loved the cake so much, I started looking into how hard it would be to make one myself.  Equipped with a few tips and tricks, I baked my first one. Since then, there have been many, and I’ve shared most of those with you. Given how good this cake is, I am not at all sorry to give you another recipe. It has such a unique preparation: first you bake the cake and then, using a knife, cut holes in the bottom and pour all this buttery deliciousness right into the cake. 

You definitely need a deep cake pan or Bundt pan for this, as there is a lot of batter. This dessert is perfect with a nice cup of coffee or tea. The buttermilk ensures that this cake is moist, no matter what. It has delightful hints of vanilla and an enchanting of vanilla-scented, buttery sugar glaze that is poured over the cake when it is warm. Don’t miss this one!

This recipe is courtesy of Margaux Laskey and will serve 10 to 12 people who will love this sweet taste of the South.

Ingredients for Kentucky Butter Cake:

1 cup unsalted butter (2 sticks), softened, plus more for greasing the pan
3 cups all-purpose unbleached flour, plus more for dusting the pan
Nonstick cooking spray (optional)
2 cups granulated sugar
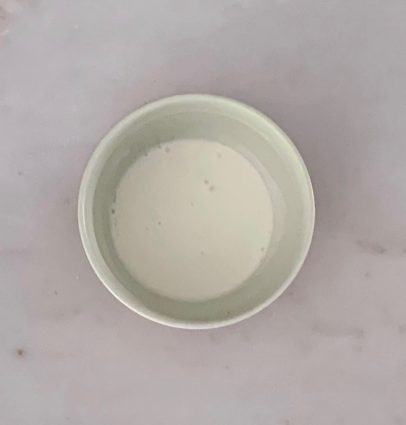
1 cup buttermilk 
4 eggs
2 teaspoons vanilla extract
1 teaspoon baking powder
1 teaspoon fine sea salt
½ teaspoon baking soda

For the Butter Sauce:

3/4 cup granulated sugar
1/3 cup unsalted butter
2 teaspoons vanilla extract
Confectioners’ sugar for sprinkling

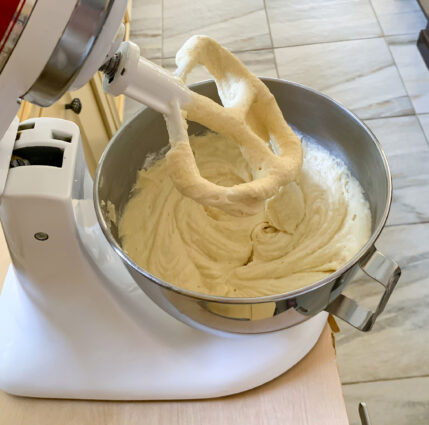
In the bowl of a stand mixer fitted with a paddle attachment, or using a handheld mixer, combine the remaining cake ingredients and beat for 3 minutes at medium speed.

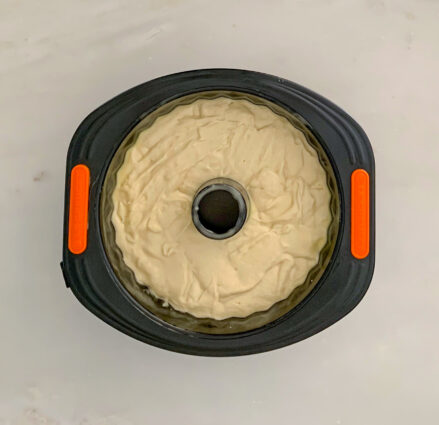
Pour into prepared pan, level with a spatula.

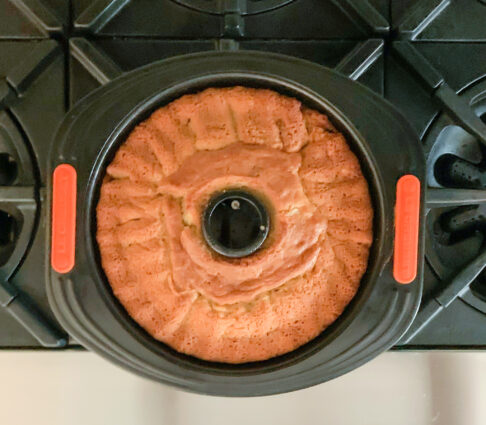
Bake until a toothpick inserted in the center comes out clean, 60 to 70 minutes.

Shortly before the cake is done baking, make the butter sauce:

Combine the granulated sugar, butter and vanilla with 3 tablespoons water in a saucepan over low heat until the butter just melts. (Do not let the mixture boil, as you do not want the sugar to completely dissolve.)

As soon as the cake comes out of the oven, leave the cake in its pan and gently poke it all the way through 15 to 20 times with a long wooden skewer or a long-tined fork.

Slowly pour warm butter sauce over the cake.

Let cool for at least 3 hours before unmolding from pan.

Just before serving, sprinkle with confectioners’ sugar, if desired.

It’s that simple!

signature

[recaptcha]


If you haven’t cooked before, I am sure many of you are cooking a lot more now. It is so important for us to look for ways in which we can save money during this time, and keep ourselves and our families safe. Cooking at home will save you lots of money in comparison to eating out, and buying in bulk and eating leftovers will save you time too. I wonder how many of you never-cookers have learned and are now enjoying it much more? If you’re just at the start of your cooking journey, I am envious of you, since you get to learn from my mistakes.

As you begin, you must know that there are lots of bad days in the kitchen, and more these days than usual. I find I am forgetting how to spell some simple words, and I have to look up recipes that I used to know by heart. It’s shaken me a little bit, but self kindness is important, and I’m forgiving myself.

Anyway, now that I’m making more mistakes, I thought I would share a few common ones with you, in hopes that you can avoid them. I am pretty sure I have shared them before, so for many of you it will be (I hope) a welcome reminder.

Soggy Salads: It is so important to wash your produce, but it is just as important to dry them, and I mean thoroughly dry them, not just pat it once with a paper towel. I usually wrap them in a dish towel (or you could use paper towels, but I know they are scarce right now). If you don’t, you will have a wet, soggy salad with thinner dressing because the water will get into the dressing too. Yuck!

Overcooking hard-boiled eggs: The next time you boil an egg, see what color the yellow part is. If it is bright yellow, you are good. If it is green around the edge, you have grossly overcooked it. I now have a new, foolproof method that never fails to cook the egg perfectly and peel easily without any problem. Bring water to a boil, drop the eggs in it, and turn your timer on for 10 minutes. As soon as the timer goes off, drain the eggs, and have a bowl of cold water next to you. BEFORE you plunge them into the cold water, peel them while they are warm and the shells will come off beautifully and perfect. Once they are peeled, go ahead and place them in the cold water to stop the cooking process. I promise you, it works.

Cutting your meat too soon: You must let your meat sit for at least 5 minutes after it is done. Use a meat thermometer. This takes all the guesswork out of the cooking process. Remember, always cook your meat 10 to 15 degrees less than the cooking time instructions. The meat will continue to cook after it has come out of the oven, and I am sure you would prefer eating a juicy piece instead of shoe leather.

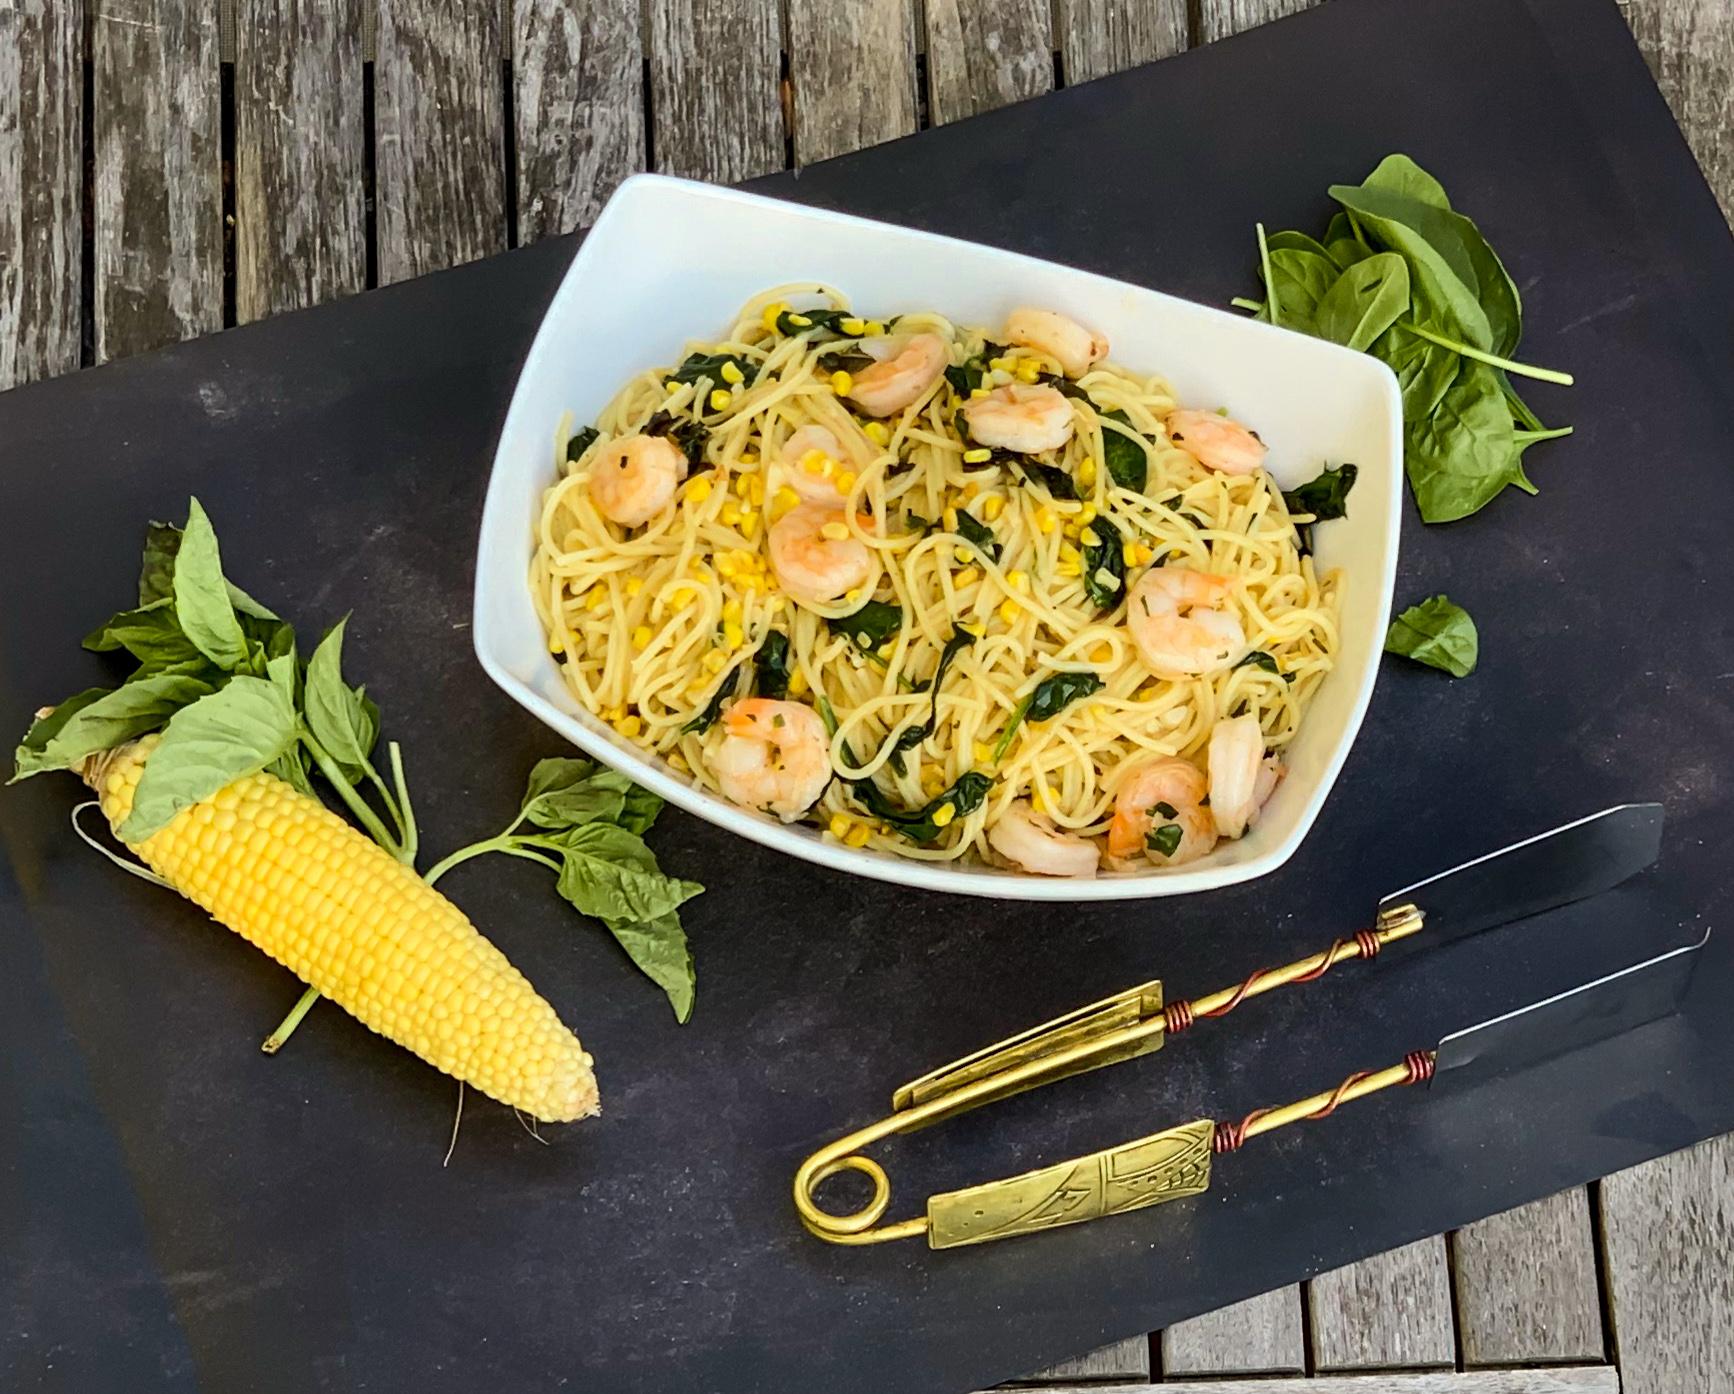
For this recipe, remember to wash and dry your herbs as described above.  It will make a difference here.  I love this recipe for many reasons, but first among them is that my family will eat it. Amazing! This one is just packed with all good ingredients too. The shrimp takes on a delicious, buttery flavor, the corn is caramelized to the perfect sweetness, and it all comes together in a wine sauce that has just the right amount of heat. 

This recipe is courtesy of Colu Henry and will serve 4 to 6 people.  You will certainly find this dish at home at a lovely dinner on the patio.

Ingredients for Shrimp Linguine with Herbs, Corn and Arugula:

Kosher salt
12 ounces linguine or spaghetti
1-pound large shrimp, peeled and deveined, tails removed, if you prefer
Black pepper
½ cup unsalted butter (1 stick)
2 cups fresh corn kernels (from 2 to 3 ears)
3 garlic cloves, thinly sliced
½ teaspoon red-pepper flakes
1 cup dry white wine
8 ounces baby arugula, spinach or other tender greens
2 cups loosely packed, roughly chopped tender herbs, such as basil and mint
Extra-virgin olive oil, for drizzling (optional)

Bring a large pot of well-salted water to a boil.

Add pasta and cook according to package instructions until it is just short of al dente.

Reserve 1 cup of the pasta cooking water, then drain pasta.

While the pasta cooks, season the shrimp well with salt and pepper.

Melt half the butter in a deep 12-inch skillet over medium heat.

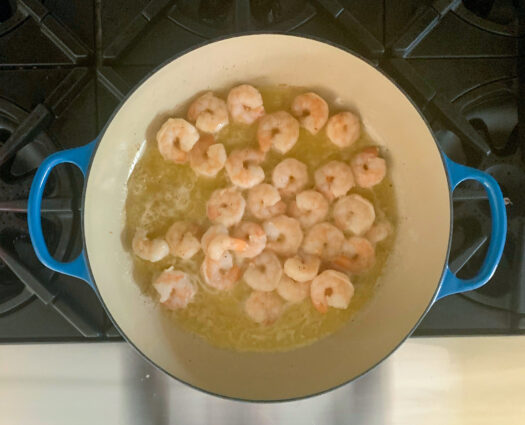
Add the shrimp and sauté until just cooked through, 1 to 2 minutes per side.

Remove and set aside.

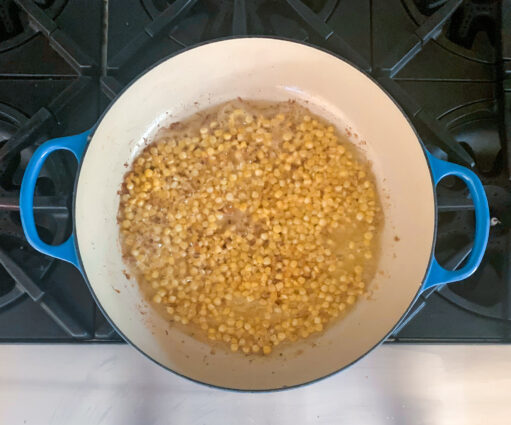
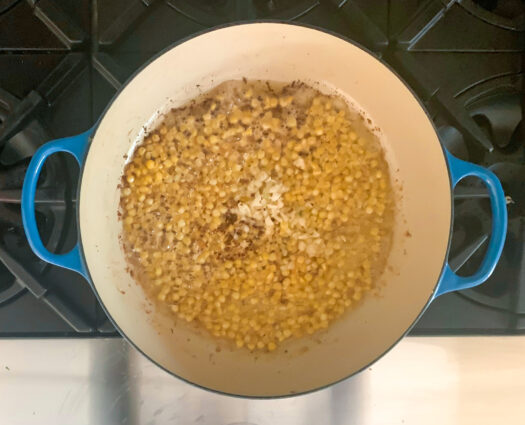
Add the corn to the pan and season with salt.

Cook, stirring frequently, until browned in spots, 4 to 5 minutes.

Add garlic and red-pepper flakes and cook, stirring frequently, 1 minute.

Add the wine, bring to a simmer and cook until it is reduced by about half, 3 to 4 minutes.

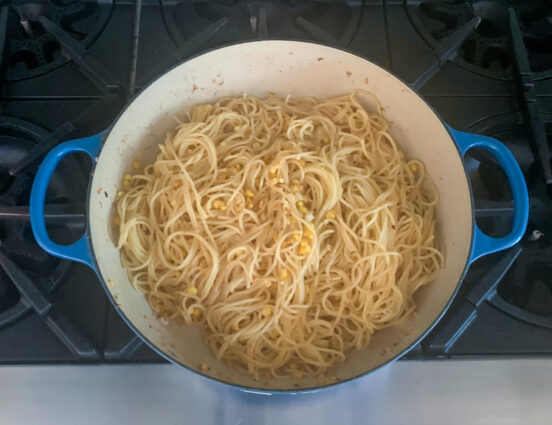
Add the cooked pasta to the skillet and toss to combine.

Add the arugula by the handful, stirring well between each addition, until wilted, adding some of the reserved pasta water as needed.

Add the remaining butter and the shrimp to the pasta and toss until the butter is melted and everything is coated with sauce.

Add more pasta water as needed.

It’s that simple!

signature

[recaptcha]