This is the 5th year anniversary of my blog! I can’t even grasp how the time has flown by- I simply cannot believe it! The years have gone so fast and I have loved every minute. I want to thank you all for following me. I am so grateful to everyone who takes time out of their day to read, learn, and create.  I love to read your comments, and I feel like I know so many of you and truly cherish those online friendships. Much love and thanks to you all.

Even the months of the shutdown seemed to go so fast. Most of us found ways to make the time pass by knitting, doing puzzles, taking up yoga, or maybe you finally got to read some of the books that were on your list. I spent my time crossing things off the list to purchase for my beach house. Even though I knew exactly what I had purchased, I was amazed at all the decorative pillows that kept arriving on my porch. No worries, I put them all to good use. The sheets for the bed? Well, those are delayed in shipping. At least I know our heads will be comfy.  

I also got to catch up on my cookbook reading. I love to read recipes and cookbooks. I have an absurdly large collection.  Nowadays, most people get their recipes off the internet. I do that as well, but I know I will never stop buying cookbooks. I love to turn the glossy pages, see the covers, and I adore looking at the beautiful pictures that accompany the recipes.

I read every book from front to back and mark the recipes I would like to try. I copy the recipe I am going to use so there is no chance I get the book dirty. Before I did that, my cookbook pages, especially the ones I used repeatedly, became dirty and yellow. Not anymore! They stay clean and crisp and always feel brand new. I also create new recipes by looking at many similar recipes with different ingredients. It takes time and effort, but I feel especially accomplished when my recipe turns out to be, as we call it in my home, “blog-worthy.” 

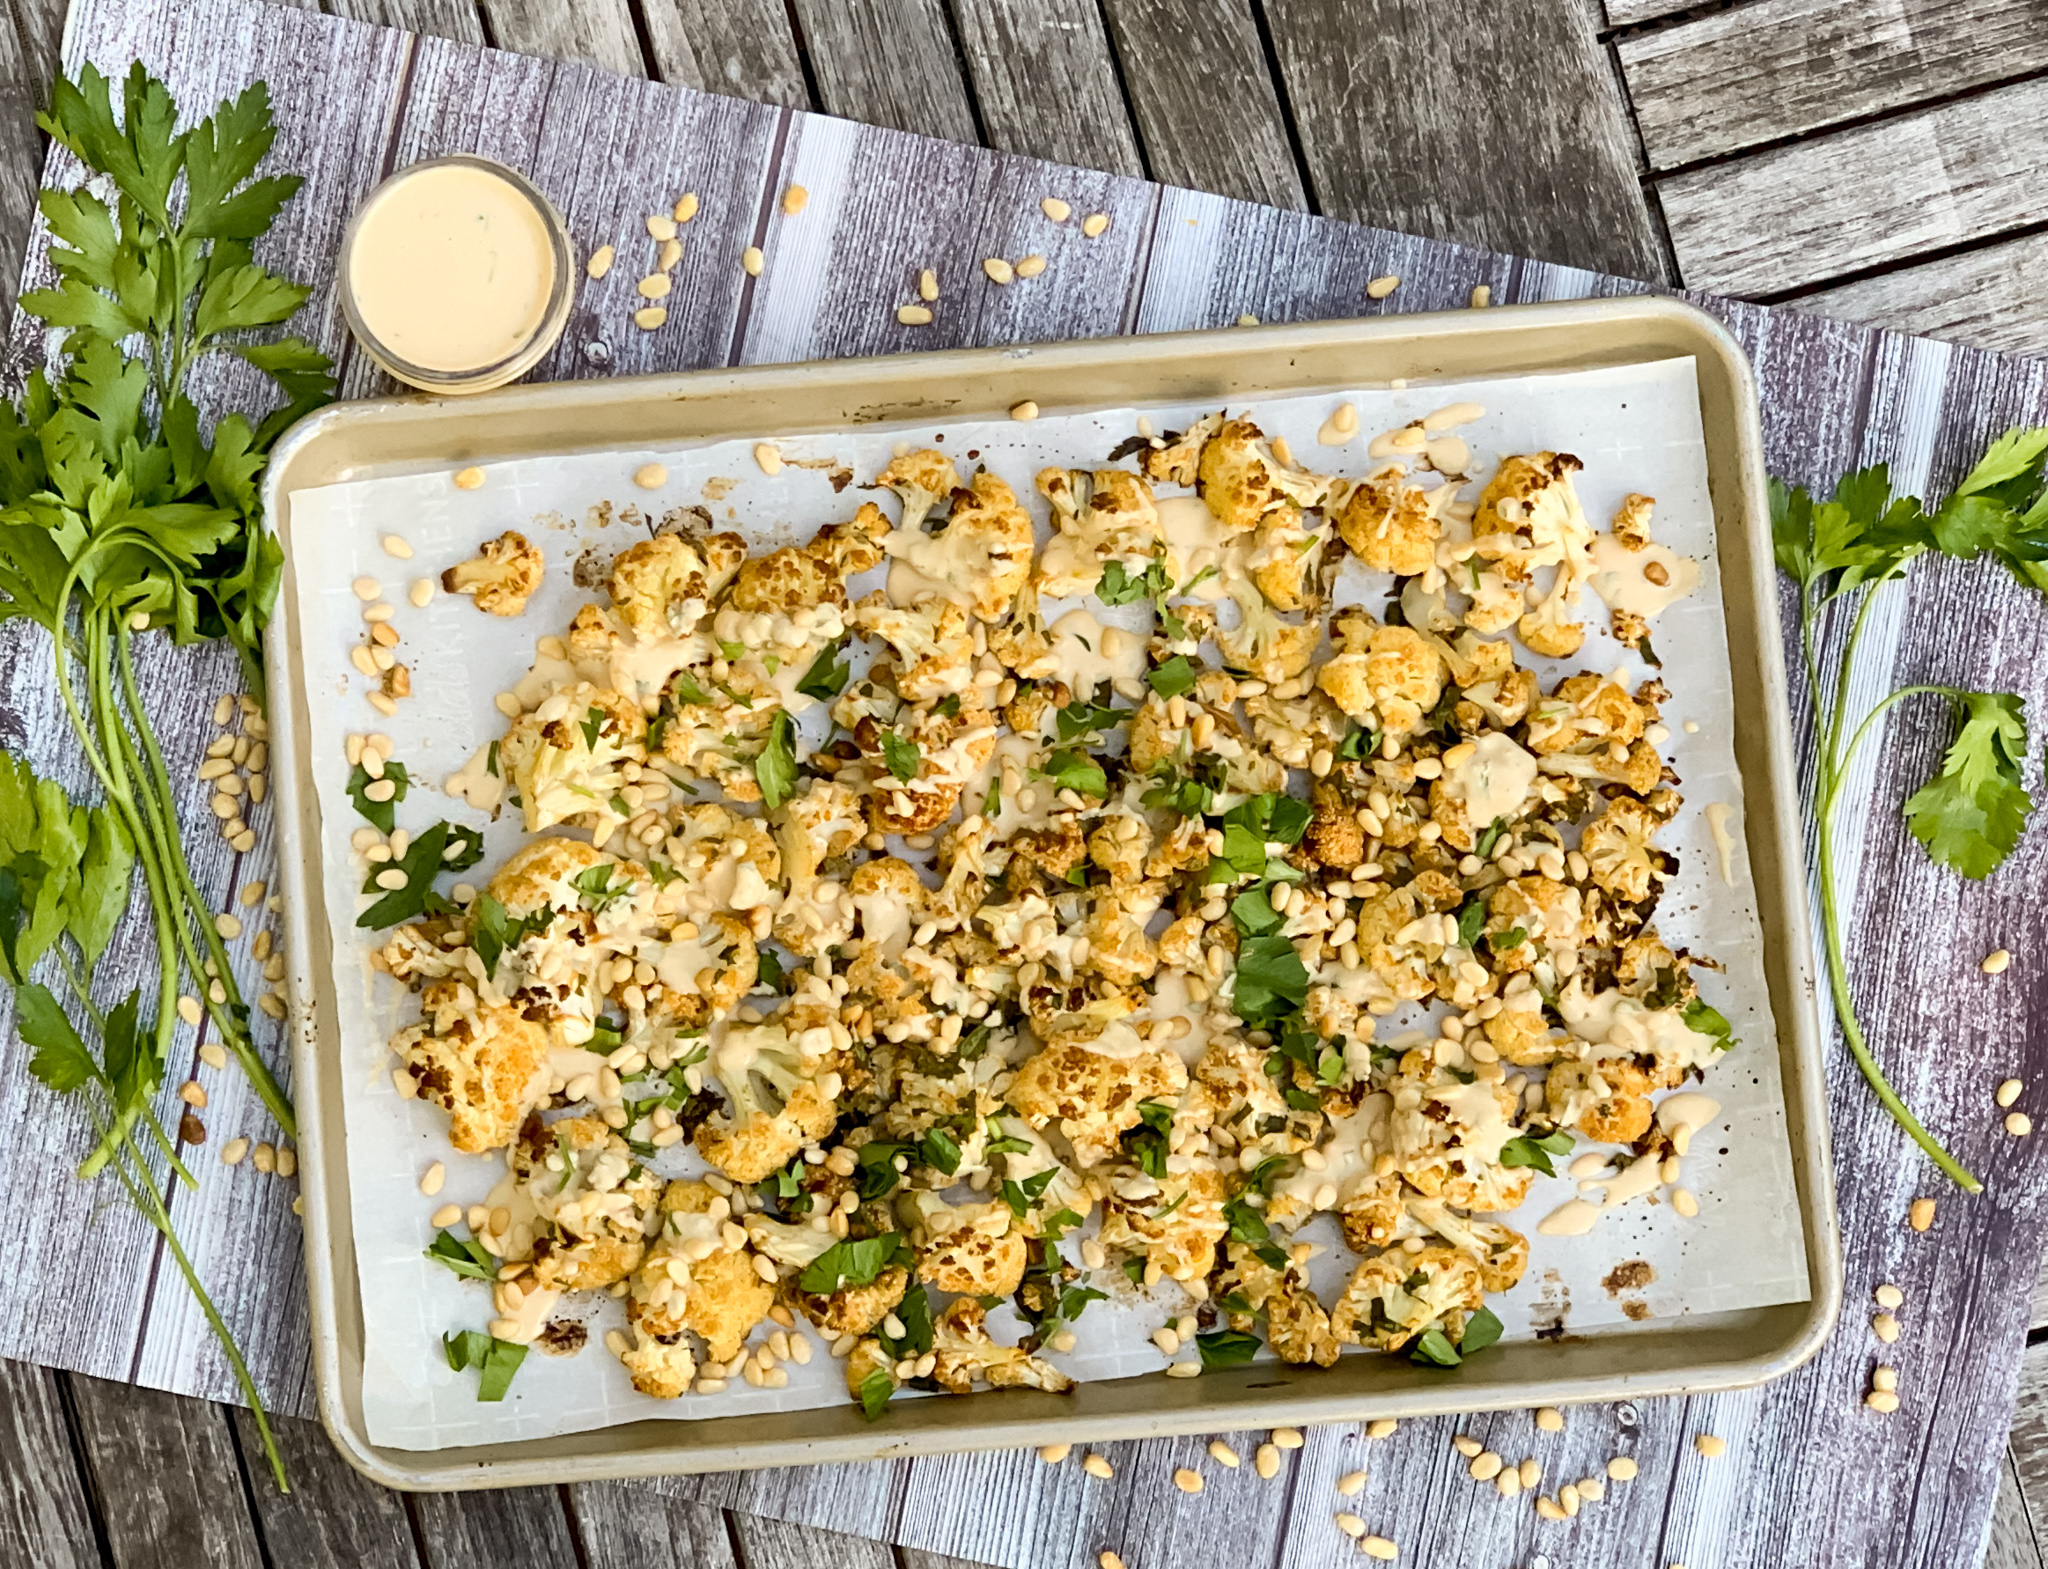
This is not one of my own dishes but it is definitely “blog worthy.” The garlic and cumin give the cauliflower an earthy aroma. The cayenne pepper perks it up with a little heat. The best part of course is the tahini sauce. It is tangy and savory at the same time. The pine nuts give it a nice crunch to finish it off.  The entire dish is also vegan– huge plus!

This recipe is courtesy of Food 52 and will serve 3 to 4 people, even if they swear they don’t like vegetables.

Ingredients for Spice-Roasted Cauliflower with Pine Nuts and Tahini Drizzle:

For the spice-roasted cauliflower and pine nuts:

1 cauliflower head, cut into florets
1 tablespoon cumin
1 teaspoon cayenne pepper
2 teaspoons garlic powder
3 tablespoons extra-virgin olive oil
1 pinch kosher salt, to taste
1 pinch Fresh-cracked pepper, to taste
1/4 cup pine nuts, toasted for a few minutes in a dry pan on medium heat
1 handful freshly-chopped parsley, as garnish

For the tahini sauce:
1 cup tahini
1 lemon, juiced
1 garlic clove, pressed or grated
1 pinch Kosher salt, to taste
1 pinch freshly-cracked pepper, to taste
1 handful freshly-chopped parsley

Preheat the oven to 425° F.

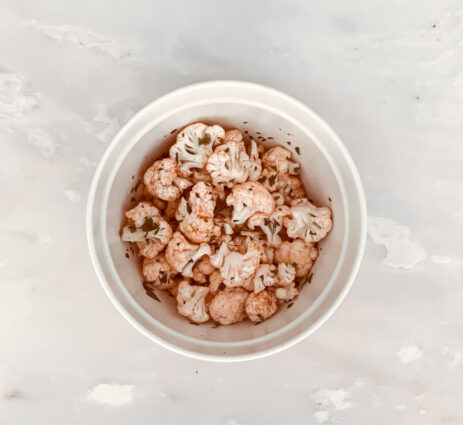
In a large mixing bowl, combine the cauliflower florets and spices and oil.

Add the salt and pepper to taste.
Then spread out on a sheet pan.
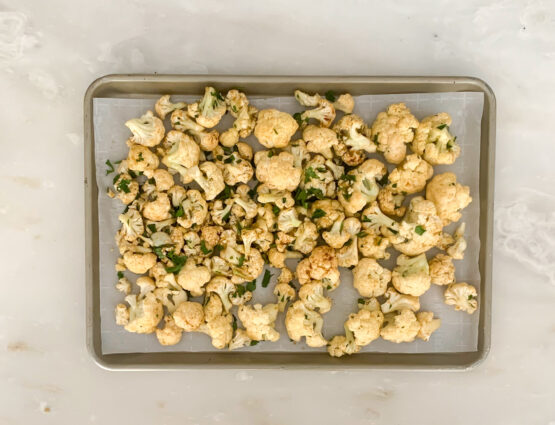
Roast the cauliflower for about 40 minutes (depending on your oven), flipping half-way through to ensure the cauliflower is evenly browned and roasted.

About 8 minutes before they are done, sprinkle the toasted pine nuts over the florets and give the pan a shake to mix them in with the spices and oil.

While the cauliflower is roasting, make your tahini sauce. In a small mixing bowl, add in the tahini, and mix in half of the lemon juice.
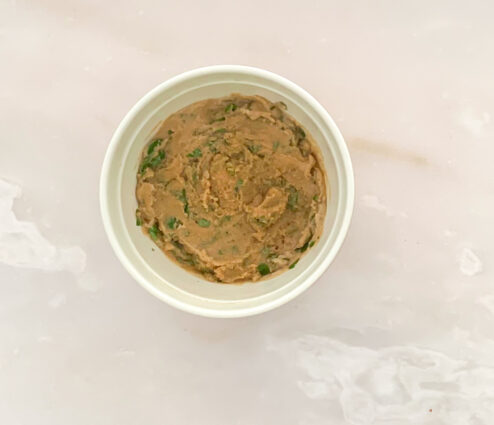
Whisk to combine, and then add in a garlic, parsley, and salt and pepper to taste.

Start adding in warm water a little bit at a time, and continue whisking, until it reaches your desired consistency (The author preferred something drizzle-able)!
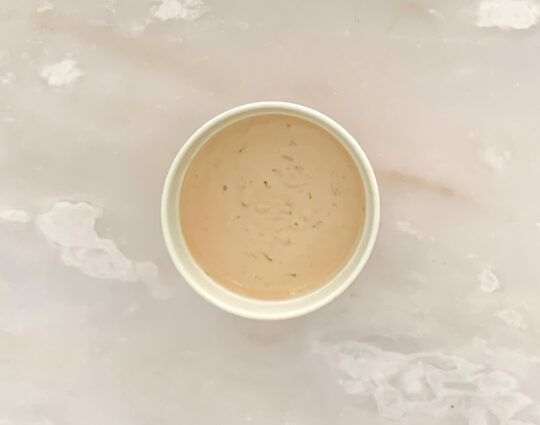
Taste and make sure there is enough salt and pepper, and if you like a little more tanginess add as much of the remaining lemon juice as you’d like. The author went with the whole lemon, and it was perfect.

When the spiced cauliflower and pine nuts are done, remove them from the oven and arrange in a serving bowl.

Drizzle with some of the tahini sauce, to taste, top with more fresh chopped parsley, and serve warm.

Save the rest of the tahini sauce as a dip or make into a dressing for another day!

It’s that simple!


signature

[recaptcha]


Much to its detriment, salad was never considered a main dish. Traditionally, it’s been served before a main dish rather than as a standalone dish. As a lighter, healthier option, it seems that many women, falling under societal pressure to be ever skinnier, opt for salad as main courses these days.  Nowadays, many men enjoy salads as a main as well, but when my parents were younger, a man wouldn’t be caught dead eating a salad!  With that said, many folks, including my husband, prefer a stick-to-your-ribs, meat and potato type of meal. To each their own!

As we have increased our awareness of nutrition, salads have come so far from just an iceberg wedge with a few tomatoes. Salads can include meat, chicken, grains, beans, berries, and nuts. Grains have become increasingly popular, making salads more interesting in taste and texture. Proteins are more filling and make you feel like you are, in fact, eating a full meal. And yes, even my husband and boys will now have a salad for lunch or dinner–provided it has the right ingredients.

There are so many choices in terms of what to put in a salad that there really is no magic key.  The only thing to remember is that you absolutely do not want to over dress a salad.  Usually, when I buy a salad from a store, or order one in a restaurant, it is overdressed, soggy, and disgusting. It doesn’t look like anything anyone would want to eat. Order the dressing on the side, and as you should do with any salad, put a little of the dressing in slowly. Keep tasting, and just when you start to taste the dressing, stop. It will be perfectly dressed. An undressed salad will also keep fresher if there are leftovers, so save the dressing on the side.

In the summer, with all the fresh tomatoes available, I love to make a caprese salad. I decided to try it with the addition of pasta and a pesto dressing. Nothing goes better with mozzarella and tomatoes than basil. In this salad, the basil is the root of the pesto, and pine nuts and Parmesan cheese add a delicious and wonderful texture. The pasta is a wonderful addition, complimenting this salad perfectly. I think you are going to love this dish.

This recipe is my own and will serve 6 people who will adore this new twist on an Italian classic.

Ingredients for Pesto Pasta Caprese Salad:

1 pound pasta (I like fusilli, but any kind with do that is short and round)
¼ teaspoon salt, or to taste
⅛ teaspoon ground black pepper
½ cup halved grape tomatoes
½ cup small fresh mozzarella balls

For the Pesto:

2 cups fresh basil leaves 
2 tablespoons pine nuts 
2 large cloves garlic
½ cup extra-virgin olive oil
½ cup freshly grated parmesan cheese

Make the Pesto:

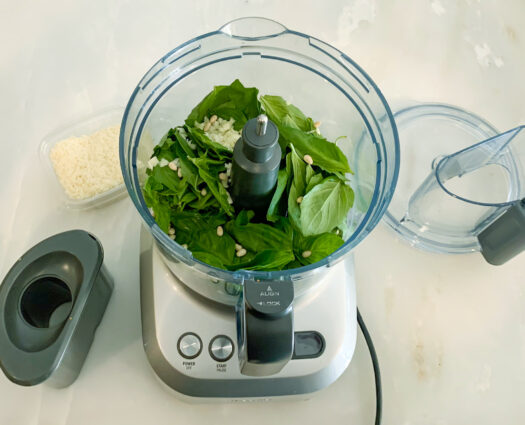
Combine basil leaves, pine nuts or walnuts and garlic in a food processor.

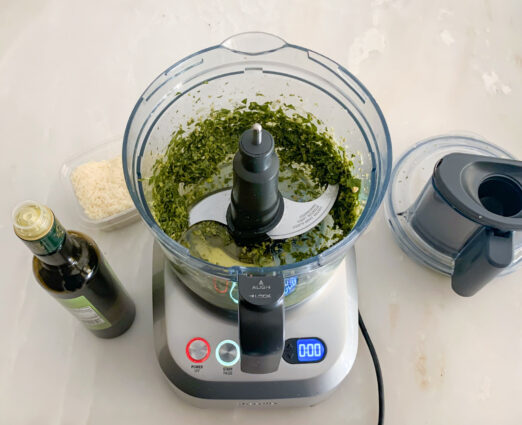
Process until very finely minced.

With the machine running, slowly dribble in the oil and process until the mixture is smooth.

Add the cheese and process just long enough to combine. 

Set aside.

Make the Pasta Salad:

Bring a large pot of lightly salted water to a boil; cook the pasta at a boil until according to directions.

Mix pesto, olive oil, salt, and black pepper in a bowl.

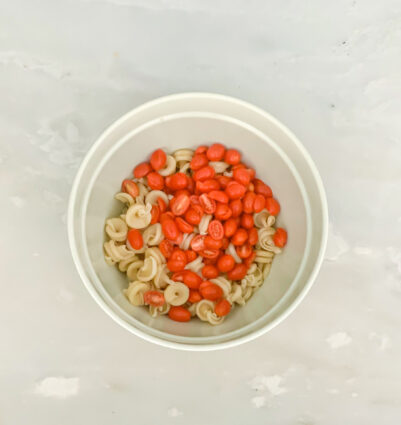
Combine pasta and tomatoes.

Toss to combine.

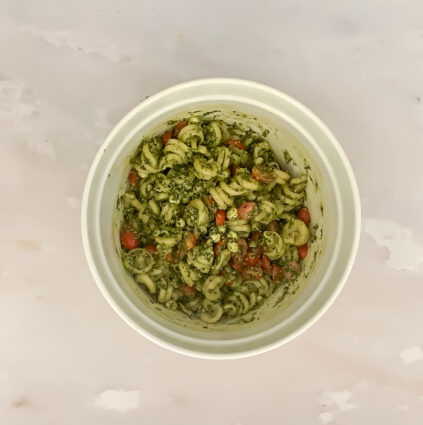
Fold in pesto mixture.

It’s that simple!


signature

[recaptcha]


I try to purge all my extra junk twice a year, but the lockdown has made cleaning and organizing a consistent part of my life. That may sound like a lot to most of you, but I truly hate clutter. I like to actually know where something is when I look for it, especially if I am in a rush to get out of my house.

When both of my boys were in college, I cleaned their rooms for them, throwing out what I knew they didn’t need, simply so I could wake up to a perfectly tidy house every morning. The scotch tape was always where I put it, as were the stapler, pens, notepads, and scissors.  Those things had a way of wandering off when the boys were home. The countertops were always clean and there were never any dishes in the sink. I was even able to find all my kitchen utensils when I needed them!

When they moved back home, I instituted much stricter rules. I knew I had to teach them to clean up after themselves. They learned how to load the dishwasher and clean the countertops to perfection. They do their own laundry and do not leave any dishes in the sink. I think they are handling it very well. Their rooms? Well, we don’t talk about that. I tell them to leave the door closed. 

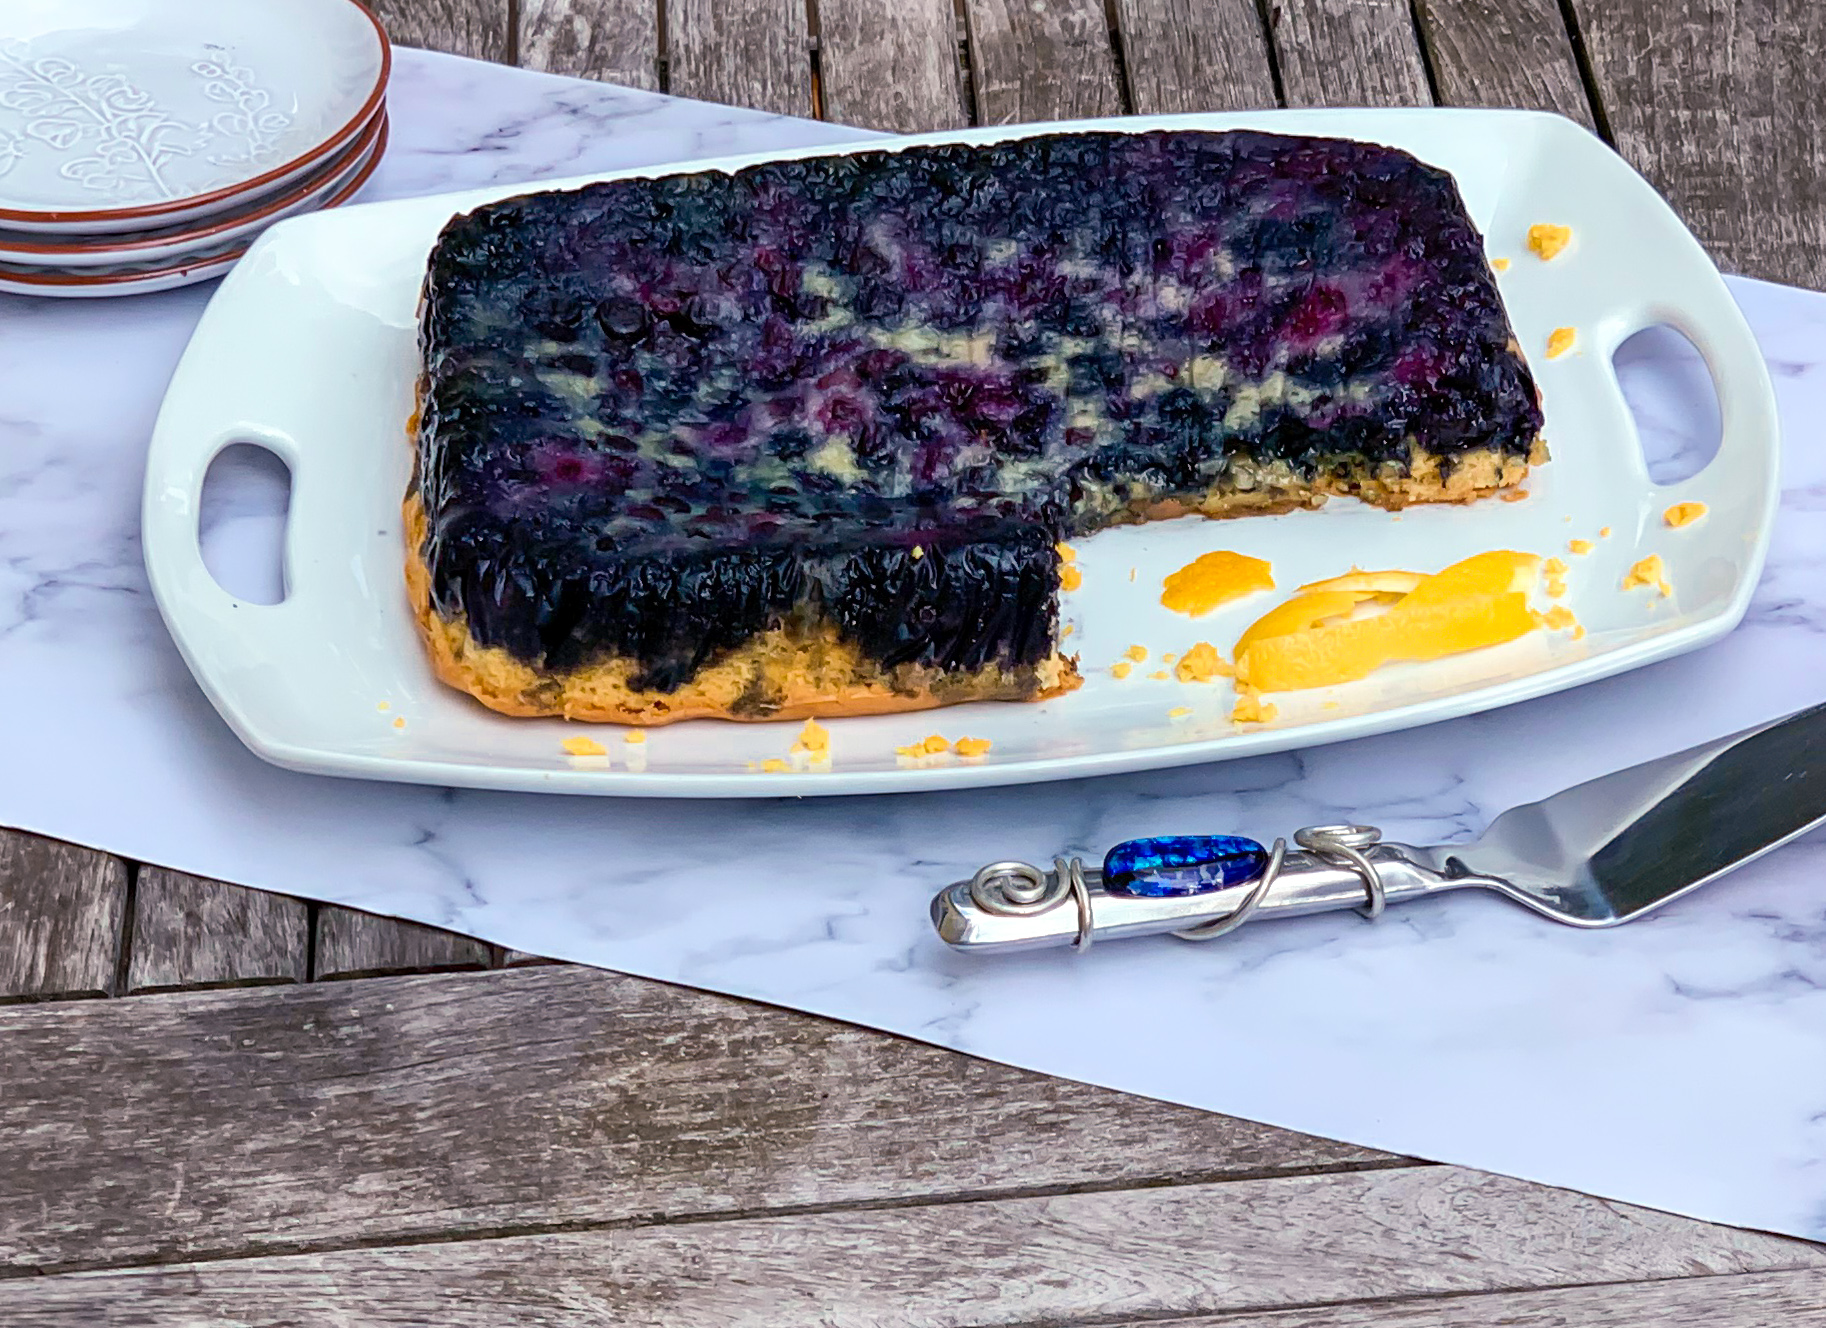
Every now and again, I’ll forgive myself for a bit of mess, and turn my attention to something else.  This morning, I took some time off of organizing to bake something special. This delicious and beautiful dessert is perfect for the summertime. It only has six ingredients, so there is no excuse not to make it. It is not too sweet and the lemon zest adds savory and tang. The natural sweetness of the fresh blueberries is the real treat. The marshmallows are the final decadent joy. Perfect for a snack or breakfast, or just plain anytime.

This recipe is courtesy of Taste of Home, and makes 12 servings of one of the most delicious cakes you’ve ever had.

Ingredients for Blueberry-Lemon Upside-Down Cake:

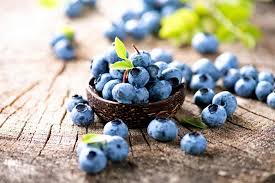
4 cups fresh blueberries
1/2 cup sugar
2 cups miniature marshmallows
1 package yellow cake mix (regular size)
1/2 teaspoon grated lemon zest
Whipped topping

Preheat oven to 350°.

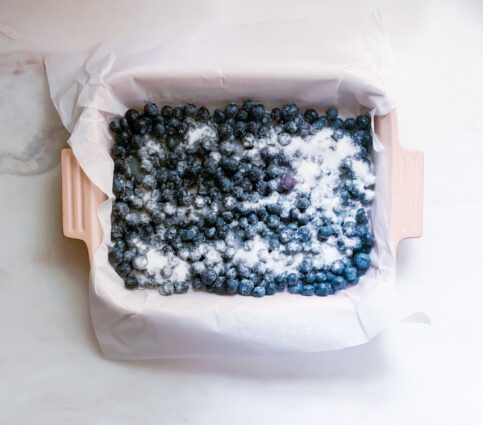
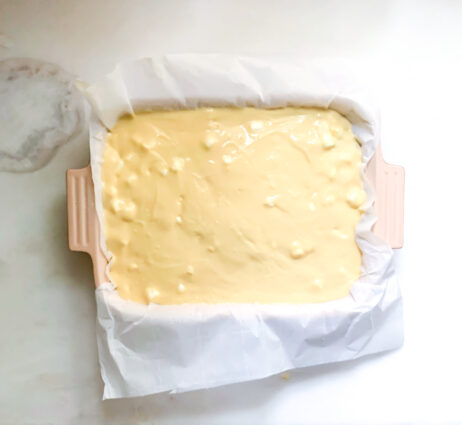
In a greased 13×9-in. baking dish (I used parchment paper, because I hate when these things stick to the pan, as they usually do), layer blueberries and sugar.

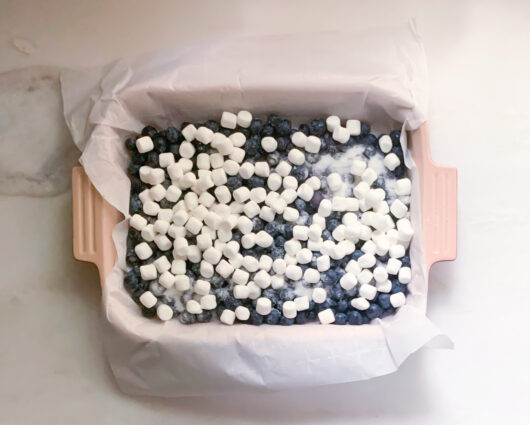
Add the marshmallows.

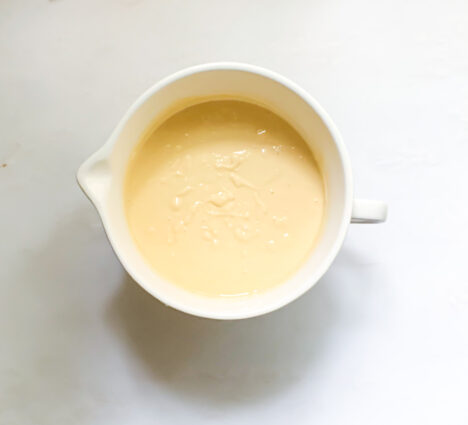
Prepare cake mix batter according to package directions.

Add lemon zest before pouring in batter; pour batter over marshmallows.

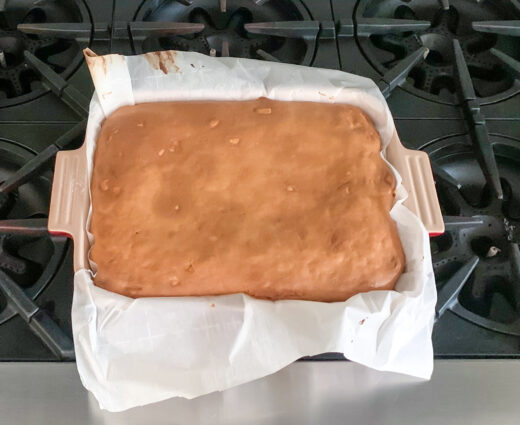
Bake 35-40 minutes or until a toothpick inserted in center comes out clean.

Cool 10 minutes before inverting onto a serving plate.

Serve warm with whipped topping.

It’s that simple!

signature

[recaptcha]


Once upon a time, my husband and I decided to move to Miami. We are very close to our family there, and compared to the Northeast, the weather is incredible. I had been there so many times and I loved the beautiful sunny days. For most people, this would have been an easy transition. But not me. It seems you can take a girl out of the Northeast, but you can’t take the Northeast out of a girl. 

The summers were dreadfully hot, and putting my young son in a hot car seat in an even hotter car was simply not practical. Because I worked, I found it hard to socialize and make friends. We had just bought our first home, and I thought that I would be there forever. How I wished we could move back.

As it has gone many times in my life, something good came out of something bad.  We were badly hit by Hurricane Andrew, the strongest hurricane to ever hit Florida. I won’t go through the details, because it turned my life upside down, but suffice to say that we lost everything.

A couple of months after the hurricane, my husband got a call for a job back up north. I was ecstatic!  He took the job and I was moving back where I belonged. Yes, the Northeast has snow and gloomy winter days but, I wouldn’t have it any other way.

This light salad reminds me of those summer days in Florida– cool, refreshing, and easy to put together.  No slaving over a hot stove today! The celery and onions give some heat and crunch, and the hearts of palm and the parsley are savory additions. It all comes together in a creamy, sweet and tangy dressing. This salad is a perfect side to any main dish whether it’s barbecued or oven-made. Put this on your “short on time” list for sure. 

This recipe is my own and will serve 6 to 8 people who will truly enjoy this fresh and tasty summertime salad.

Ingredients for Macaroni Salad:

2 cups dry elbow macaroni, cooked, rinsed, and drained
1/3 cup diced celery
1/4 cup minced red onion, chopped
1 tablespoon minced flat-leaf parsley
1/4 cup hearts of palm
3/4 cup grape or cherry tomatoes, halved
1/2 cup mayonnaise
1/4 cup Dijon mustard
1 teaspoon sugar
3 tablespoons cider vinegar
3 tablespoons sour cream
1 teaspoon kosher salt
1/2 teaspoon freshly ground black pepper

Bring a pot of salted water to a boil, add the pasta and cook according to directions.

When pasta is done, drain and set aside in a large bowl.

Let cool while preparing your other ingredients.

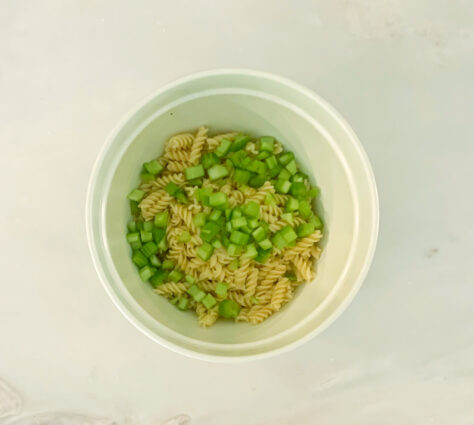
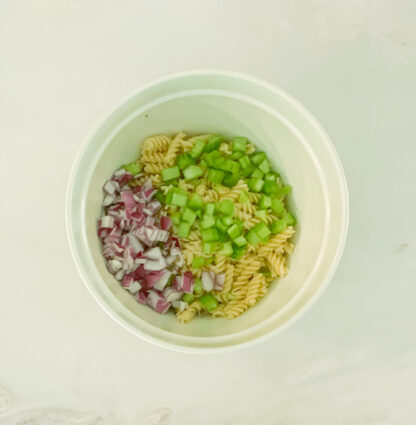
Add the celery.

Now the red onion.

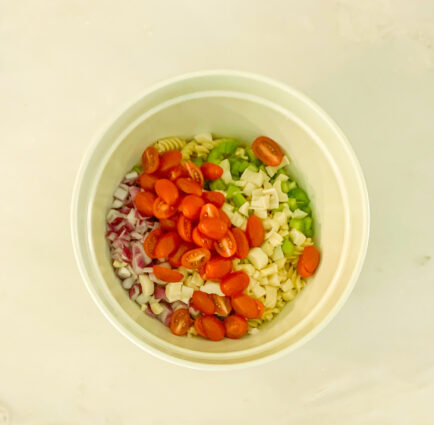
Toss in the tomatoes.

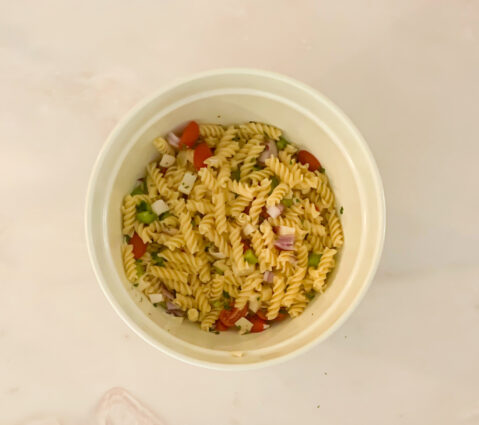
Sprinkle in parsley, and hearts of palm, and stir to combine.
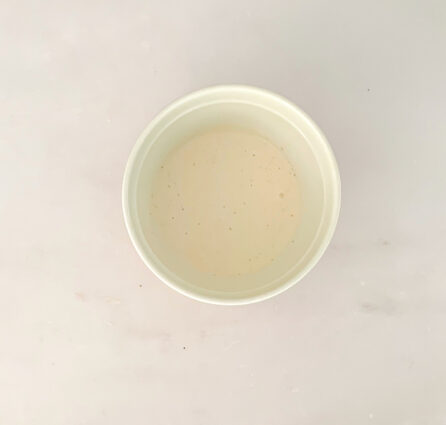
In a small bowl, whisk together the mayonnaise, mustard, sugar, vinegar, sour cream and salt.

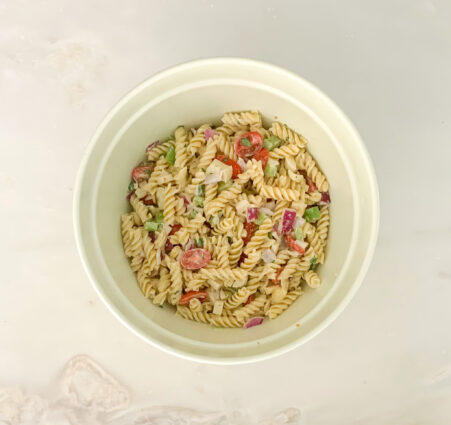
Pour the dressing over the salad and stir to combine.

Season with salt and pepper.

Serve.

Store covered in the refrigerator, for up to 3 days.

It’s that simple! (and good).


signature

[recaptcha]


Finally, summer is on full blast. I love waking up to the bright mornings these days, and taking a sunset walk along the beach. The weather makes me want to be outside all day. Lately I have been working on my garden and tending to my herbs. They all grew back this year, which was a wonderful surprise; I usually have to rebuy them every year. 

The best thing is that our local farmer’s market opened up. 

Visiting my local farmer’s market is one of my favorite things to do. There is nothing better than walking through the market knowing everything there was freshly grown. You know you are getting the highest quality food at a very fair price, as well as helping out your local economy.

There are some things you should know before going to your local market. It can be intimidating so here are a few tips to help you navigate it easier.  Things are different this year, so I’ve amended my usual tips with COVID-19 in mind.

Before you go, look online to see if vendors are listed.  This is a great way to plan out your route before you get there.  

Prepare a clean mask to wear, and bring hand sanitizer.  Many markets are requiring shoppers to wear a mask, so it’s best to have one ready to go.

Bring cash.  Small vendors may not take cards due to fees from credit card companies.  

Take a walk through the market before you buy anything. Make a mental or written note of the vendors you want to return to.

Bring your own bags.  This is environmentally friendly, convenient, and safe!

Do not be afraid to ask questions. I have found that most vendors enjoy talking about the way they grow the food and operate their farm. They will be able to tell you what’s in season, what tastes best, and how to store it.

Pick up your largest purchases last so you don’t have to carry it around.

Don’t forget to pick up the items you will need for your 4th of July celebration!

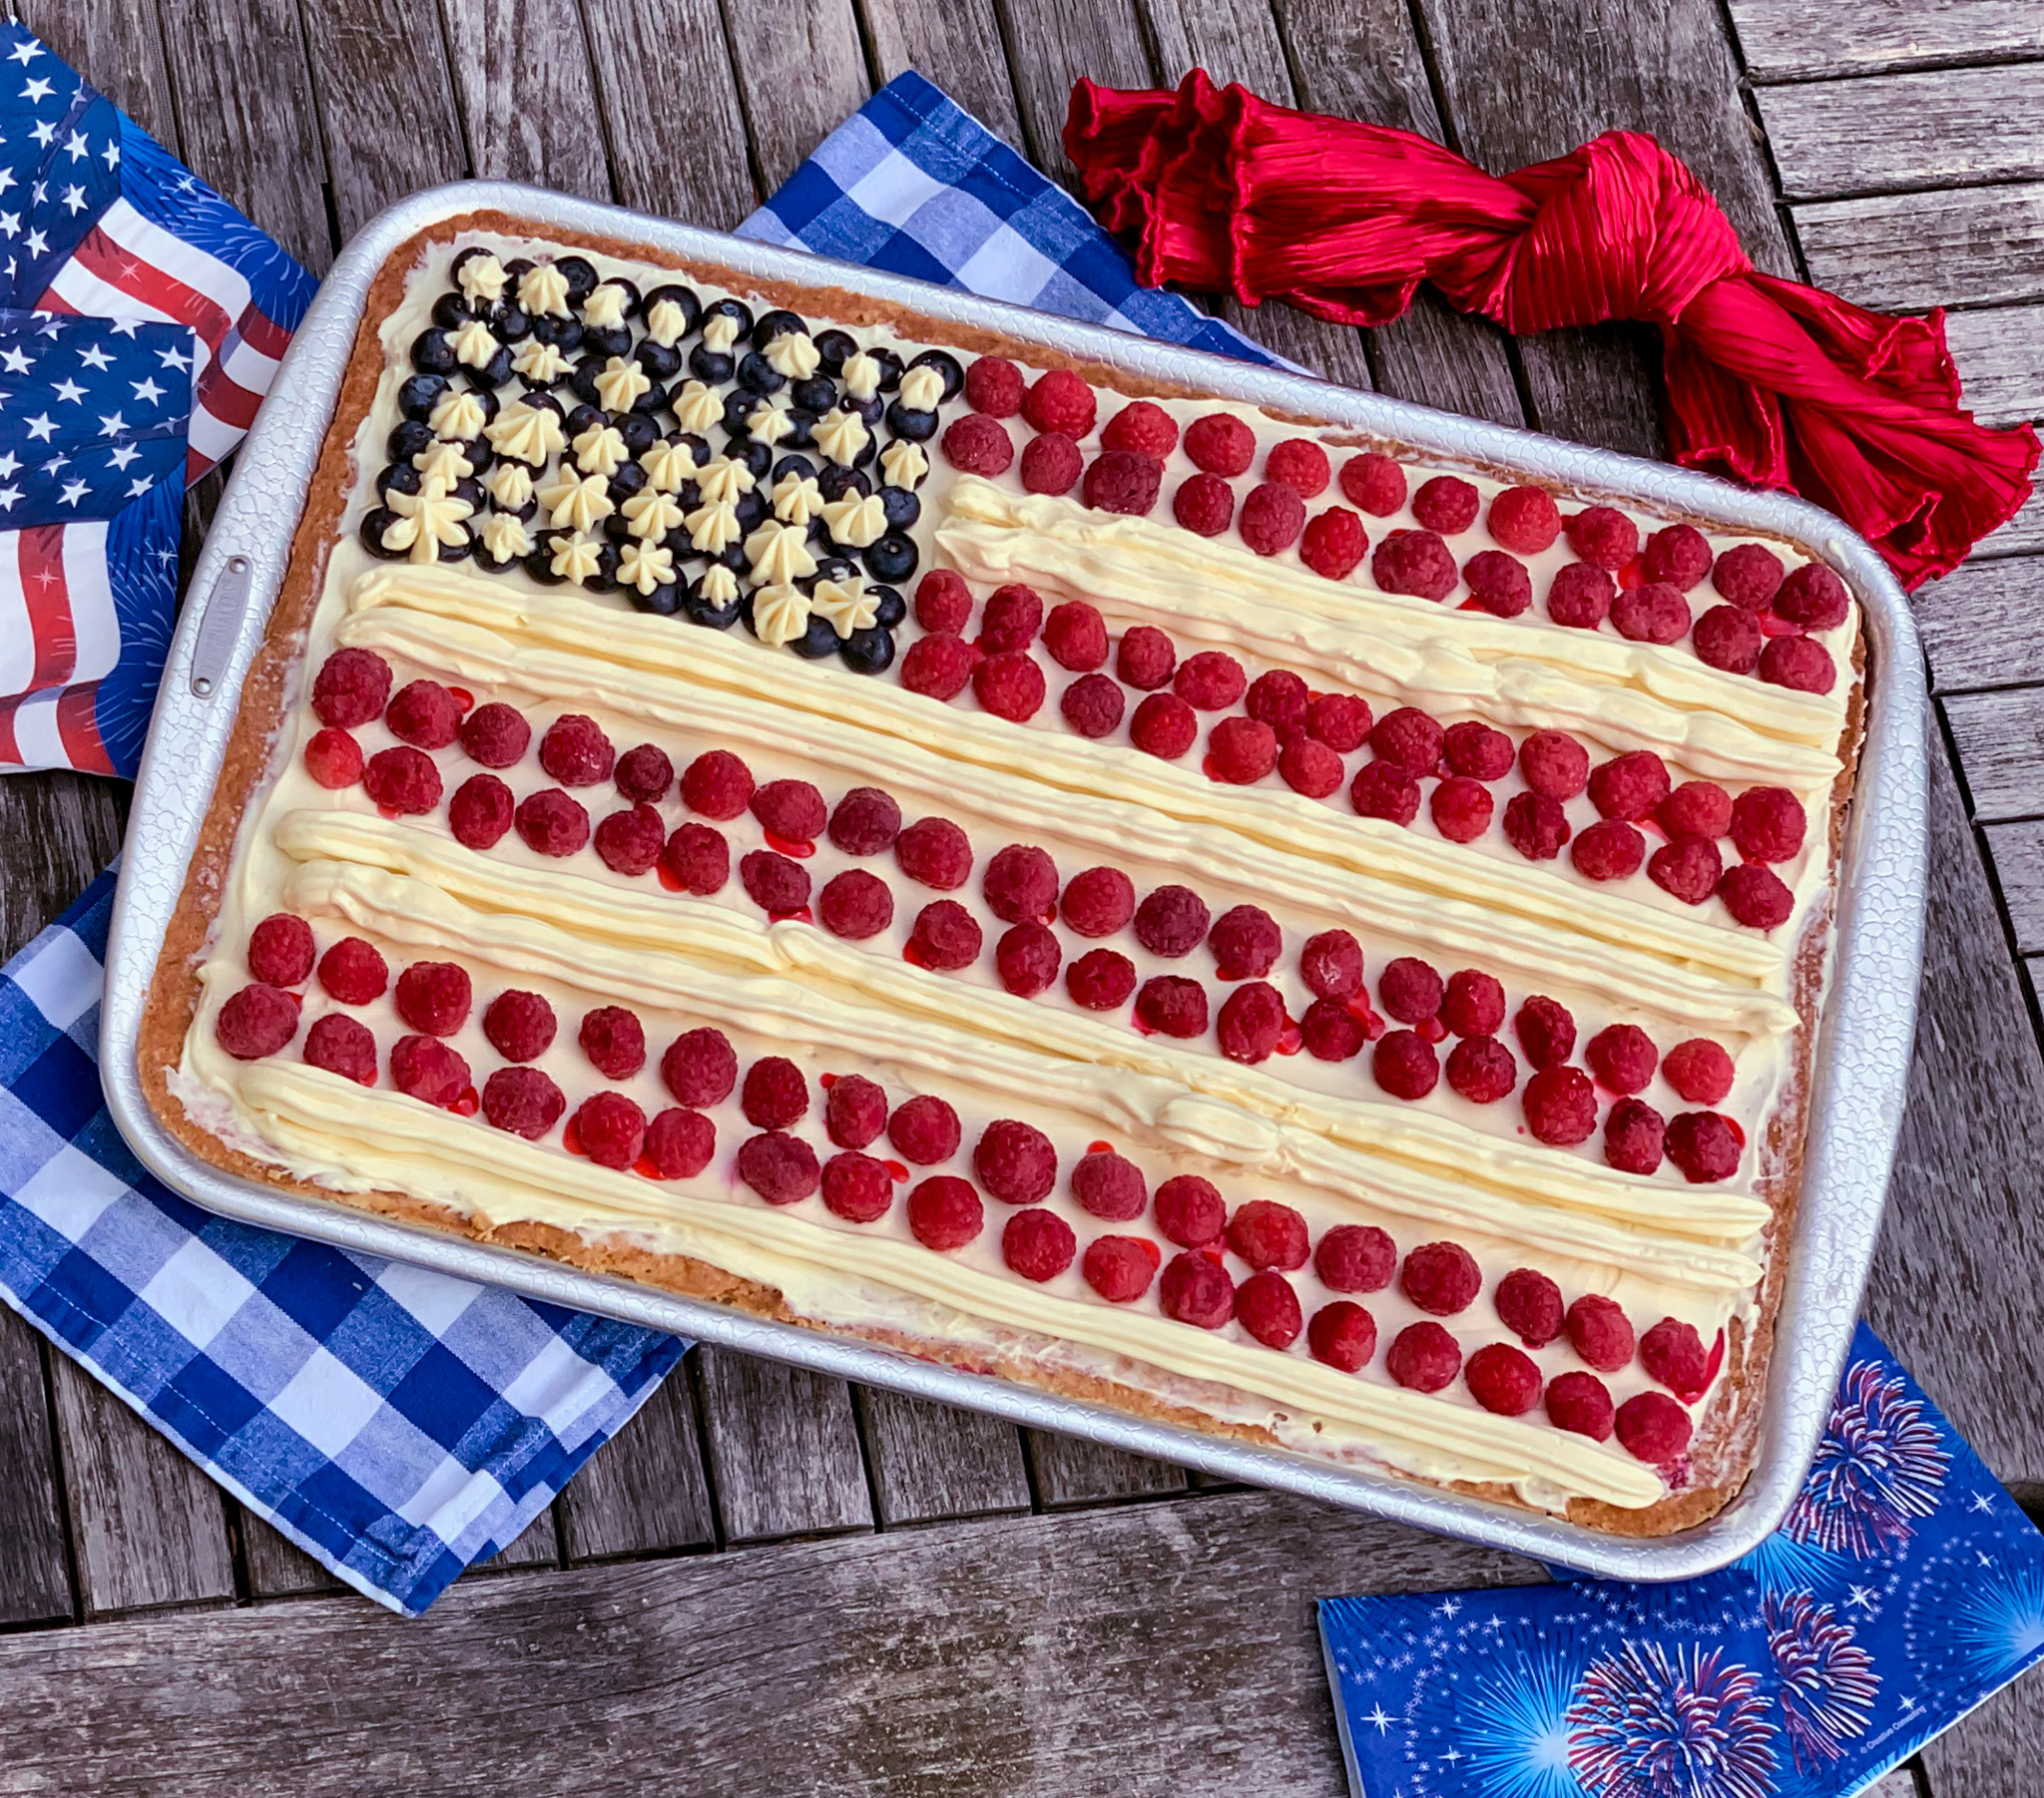
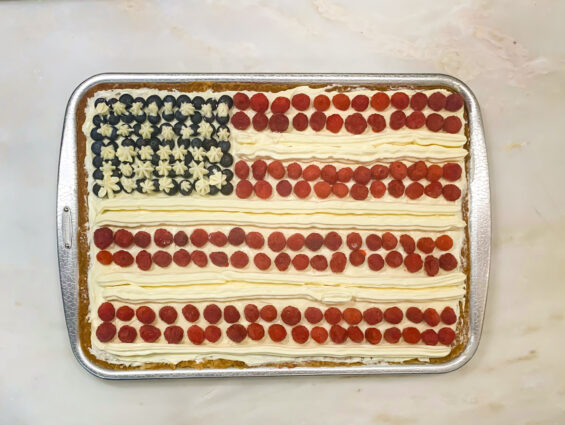
Now this dessert really does say 4th of July. I was hesitant to make it, because I am not good with food decorations, but I decided to give it a try and I was so glad I did. Of course, my cake is not as beautiful as Ina’s but I find all of her recipes and directions to be spot on and delicious. This cake was so easy to make. The sour cream ensures it is nice and moist. It is just the right amount of sweet with hints of vanilla. Thanks to the cream cheese, the icing is wonderfully smooth. Fresh fruit is the perfect topping for this delightful and beautiful dessert.

This recipe is courtesy of Ina Garten and will serve 20 to 24 people who will surely want seconds!

Ingredients for Flag Cake:

18 tablespoons (2-1/4 sticks) unsalted butter, at room temperature
3 cups sugar
6 extra-large eggs, at room temperature
1 cup sour cream, at room temperature
1-1/2 teaspoons pure vanilla extract
3 cups all-purpose flour
1/3 cup cornstarch
1 teaspoon kosher salt
1 teaspoon baking soda

For the Icing:

1 pound (4 sticks) unsalted butter, at room temperature
1-1/2 pounds cream cheese, at room temperature
1 pound confectioners’ sugar, sifted
1-1/2 teaspoons pure vanilla extract

To Assemble:

2 half-pints blueberries
3 half-pints raspberries

Heat the oven to 350 degrees. Butter and flour an 18 x 12 x 1-1/2-inch sheet pan (see note).

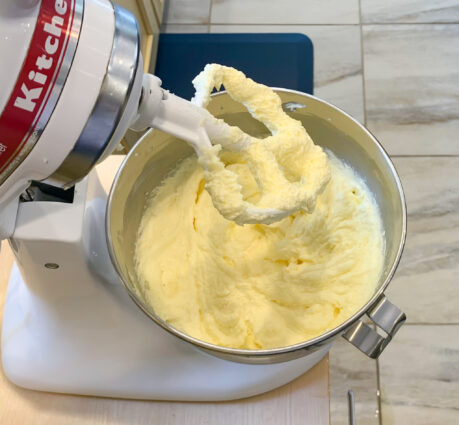
Cream the butter and sugar in the bowl of an electric mixer fitted with the paddle attachment for 3 minutes on medium speed, until light and fluffy. (If the butter is too cool to be light and fluffy, add a teaspoon or two of warm water,)

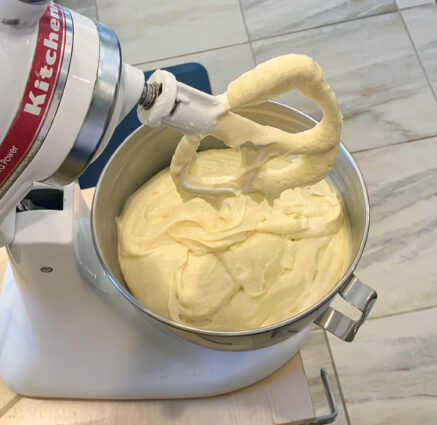
On medium-low speed, add the eggs, 2 at a time, then add the sour cream and vanilla.

Scrape down the sides and stir until smooth.

Sift together the flour, cornstarch, salt, and baking soda in a bowl.

With the mixer on low, add the flour mixture and mix until just combined.

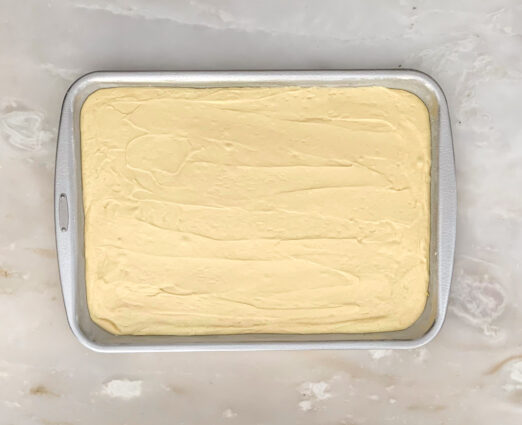
Stir the batter with a rubber spatula and pour into the prepared pan and smooth the top.

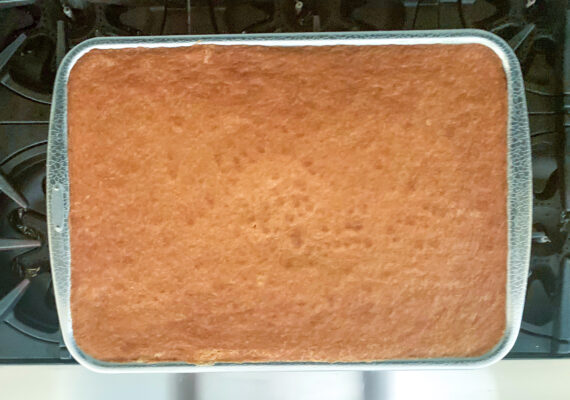
Bake in the center of the oven for 20 to 30 minutes, until a toothpick comes out clean.

Cool to room temperature.

For the icing, combine the butter, cream cheese, and vanilla in the bowl of an electric mixer fitted with the paddle attachment and mix on medium speed until very smooth. 

Add the confectioners’ sugar and mix on low speed.

Stir with a rubber spatula to be sure the icing is well mixed.

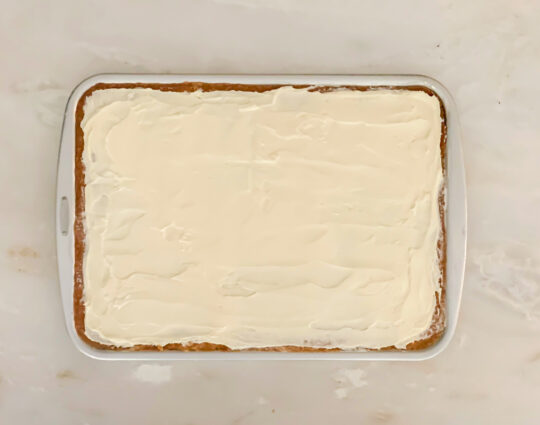
Spread three quarters of the icing on the cake.

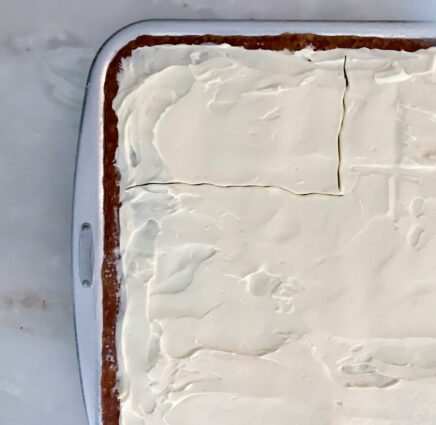
Using a toothpick, outline a flag on the cake.

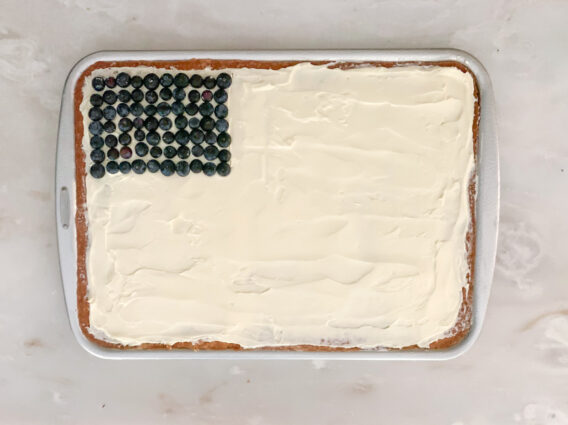
Fill in the upper left corner with blueberries.

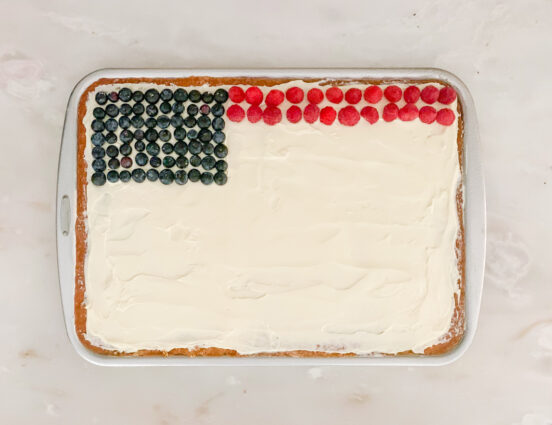
Place 2 rows of raspberries across the top of the cake like the red stripes.

Put the remaining icing in a pastry bag fitted with a star tip and pipe two rows of white stripes below the raspberries.

Alternately add 2 rows of raspberries and 2 rows of icing until the flag is completed. Pipe stars on top of the blueberries.

Note: If you don’t want to serve your cake from the pan, line the pan with parchment paper and turn it out into a board before you ice and decorate it.

It’s that simple!


signature

[recaptcha]