Do you ever get the urge to indulge in a perfect cookie and a tall, cold glass of milk? Yeah, me too.  Cookies are just about everyone’s favorite treat. Their size makes it easy to bring them anywhere you go, and their versatility makes them a great option for breakfast, a snack, or desert.

Although everyone’s definition of the “perfect cookie” is different, I challenge anyone to disagree with my assessment. 

Shortbread cookies are different because they have an unusually high butter content.  According to the Nibble, these cookies may have been made as early as the 12th century, but its invention (or at least, the refinement to its current form) is often attributed to Mary, Queen of Scots in the 16th century. She had a team of French chefs who had the time, labor, and ingredients to perfect the recipes.

Shortbread origins are in Scotland during medieval times. According to EnglishTeaStore.com, Scottish shortbread evolved from medieval biscuit bread, a twice-baked, enriched bread roll dusted with sugar and spices and hardened into a rusk. Eventually, butter was substituted for yeast, and shortbread was born.

The original shortbreads were made with oatmeal; the more elegant white flour came later and lightened the cookie substantially. The addition of rice flour gives shortbread a grainy, crumbly texture, while cornstarch (also called corn flour) gives it a denser texture, although I don’t know of many recipes that call for rice flour for shortbread cookies any more.

There are two possible reasons for the name “shortbread cookie.” Some say it is because of the crumbly texture of the cookie, while others attribute it to the large quantity of shortening or butter. 

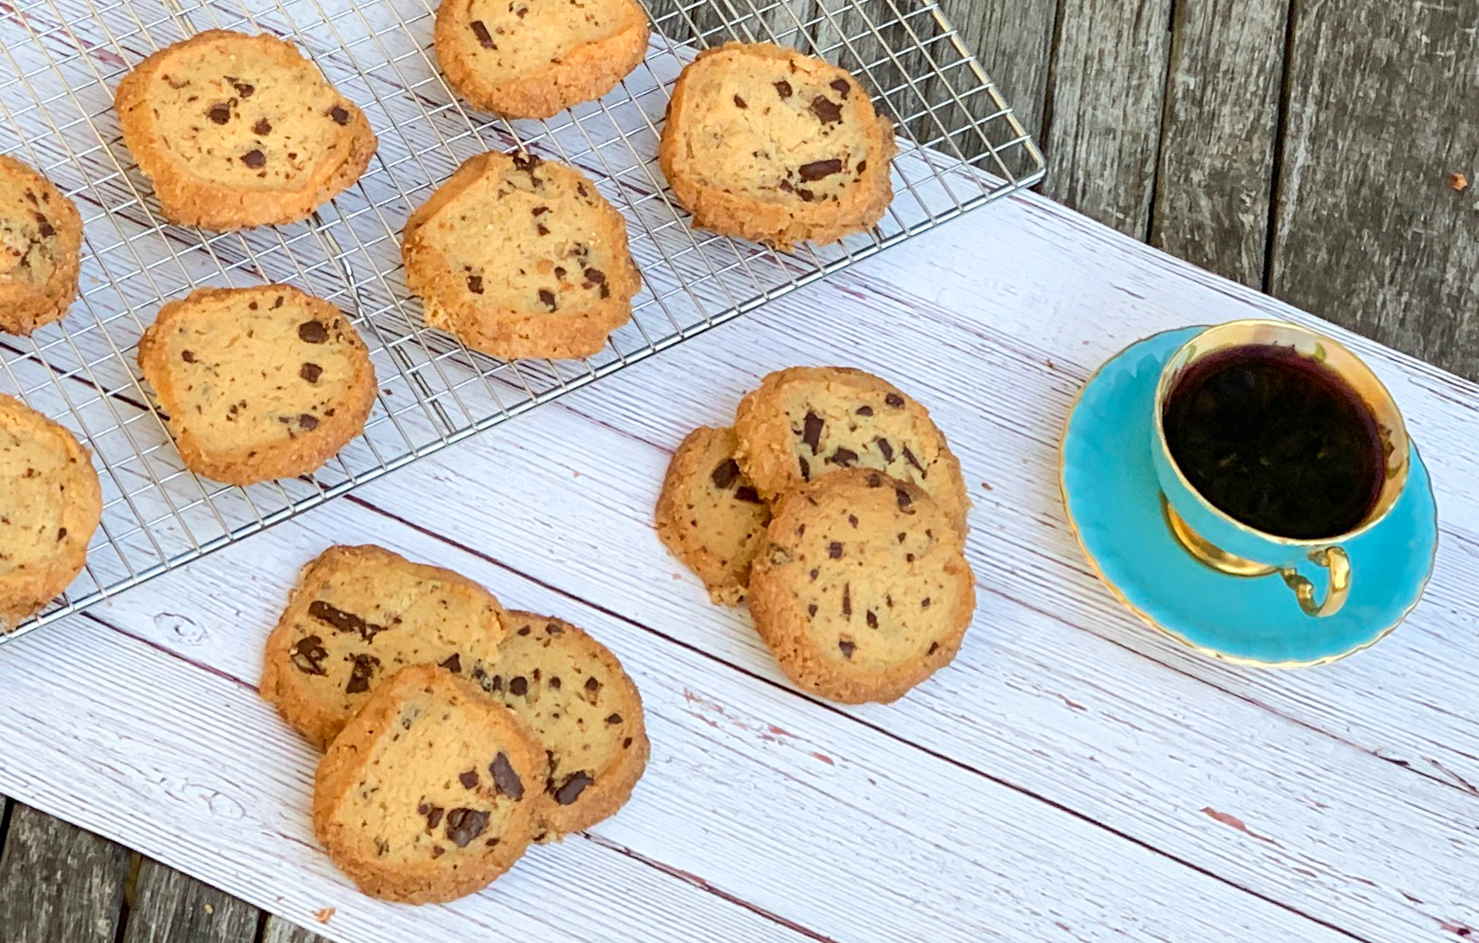
These cookies are easy to prepare and if you or a loved one have a sweet tooth, you need to add them to your repertoire. The flawless contrast of their chewy inside and crunchy outer layer make them worth every minute of preparation! There is no better way to describe these cookies than Allison Roman does: “less chocolate chip cookie, more brown sugar shortbread with chocolate chunks–they might be just the cookie you are looking for. Made with lots of salted butter (it has a slightly different flavor and a deeper saltiness than just using salt), the dough has just enough flour to hold together and the right amount of light brown sugar to suggest a chocolate chip cookie. If you find it tragically annoying finding salted butter just for this recipe, you can use unsalted butter and add 3/4 teaspoon kosher salt to the flour.”

This recipe is courtesy of Allison Roman and will make about 20 cookies for cookie lovers of all ages.

Ingredients for Salted Butter and Chocolate Chunk Shortbread Cookies:

1 cup plus 2 tablespoons (2¼ sticks) cold salted butter, cut into ½-inch pieces
½ cup granulated sugar
¼ cup (packed) light brown sugar
1 teaspoon vanilla extract
2¼ cups all-purpose flour
6 ounces semisweet or bittersweet dark chocolate, chopped (but not too fine, you want chunks, not thin shards of chocolate)
1 large egg, beaten to blend
Demerara sugar (for rolling)
Flaky sea salt

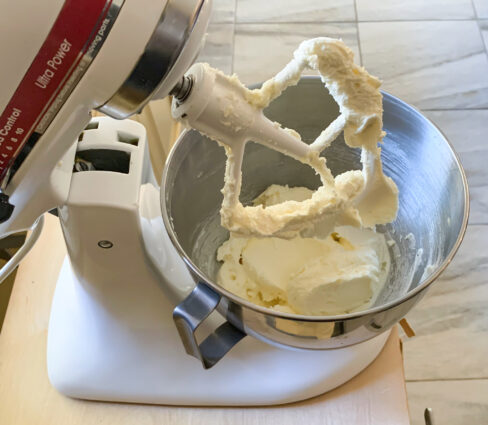
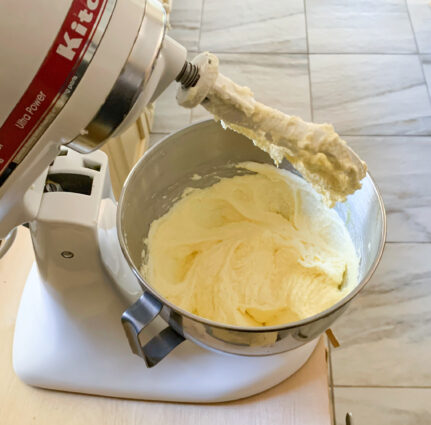
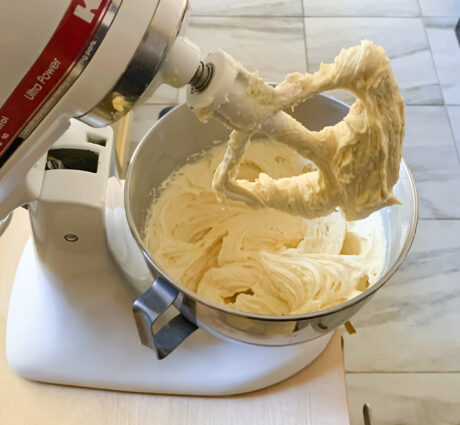
Using an electric mixer and a medium bowl or a stand mixer fitted with the paddle attachment, beat butter, granulated sugar, brown sugar, and vanilla on medium-high speed until super light and fluffy, 3–5 minutes.
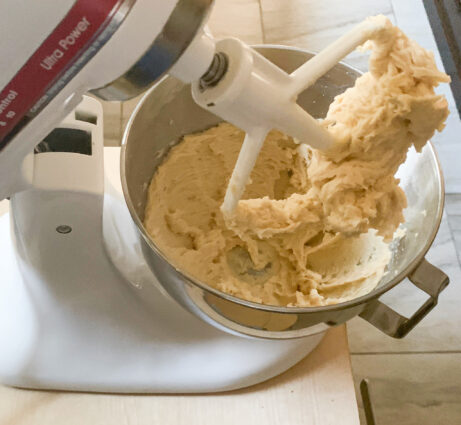
Using a spatula, scrape down sides of bowl.

With mixer on low speed, slowly add flour, followed by chocolate chunks, and beat just to blend.
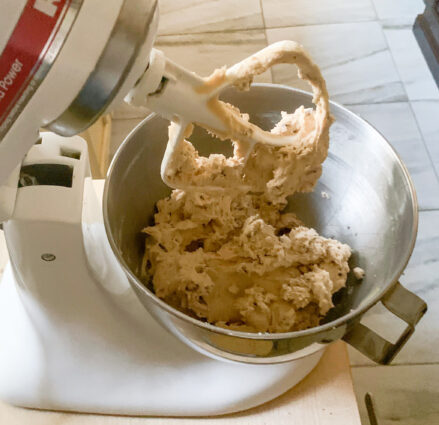
Divide dough in half, then place each half on a large piece of plastic wrap.

Fold plastic over to cover dough and protect your hands from getting all sticky.

Using your hands (just like you’re playing with clay), form dough into a log shape; rolling it on the counter will help you smooth it out, but don’t worry about getting it totally perfect.
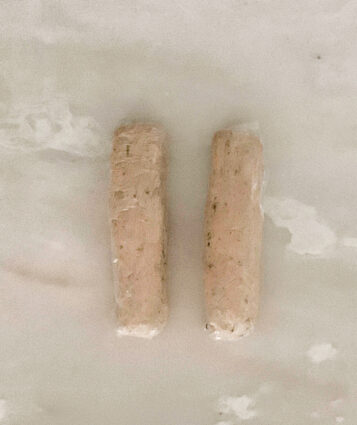
Each half should form logs that are 2–2¼” in diameter.

Chill until firm, about 2 hours.

Preheat oven to 350°. Line a rimmed baking sheet (two, if you’ve got ’em) with parchment paper.

Brush outside of logs with egg wash.

Roll logs in demerara sugar (this is for those really delicious crispy edges).

Slice each log into ½”-thick rounds.

Arrange on prepared baking sheet about 1″ apart (they won’t spread much).
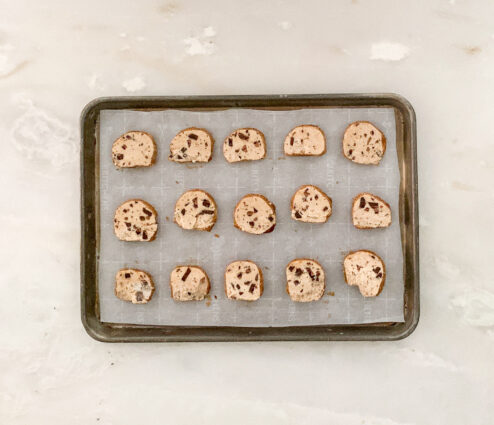
Sprinkle with sea salt. Bake cookies until edges are just beginning to brown, 12–15 minutes.
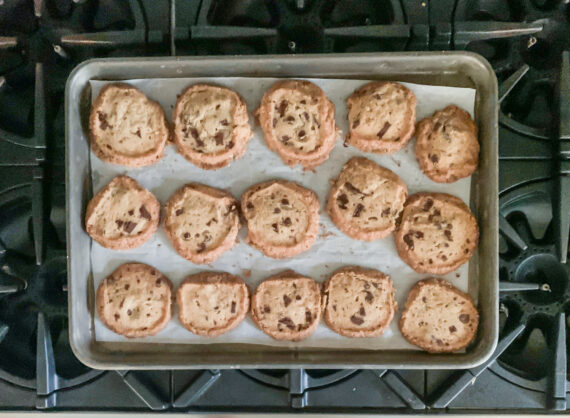
Let cool slightly before eating them all.

Do Ahead: Cookie dough can be made 1 week ahead. Tightly wrap in plastic and chill, or freeze up to 1 month. Cookies can be baked 5 days ahead. Store in plastic wrap or an airtight container.

It’s that simple!

signature

[recaptcha]


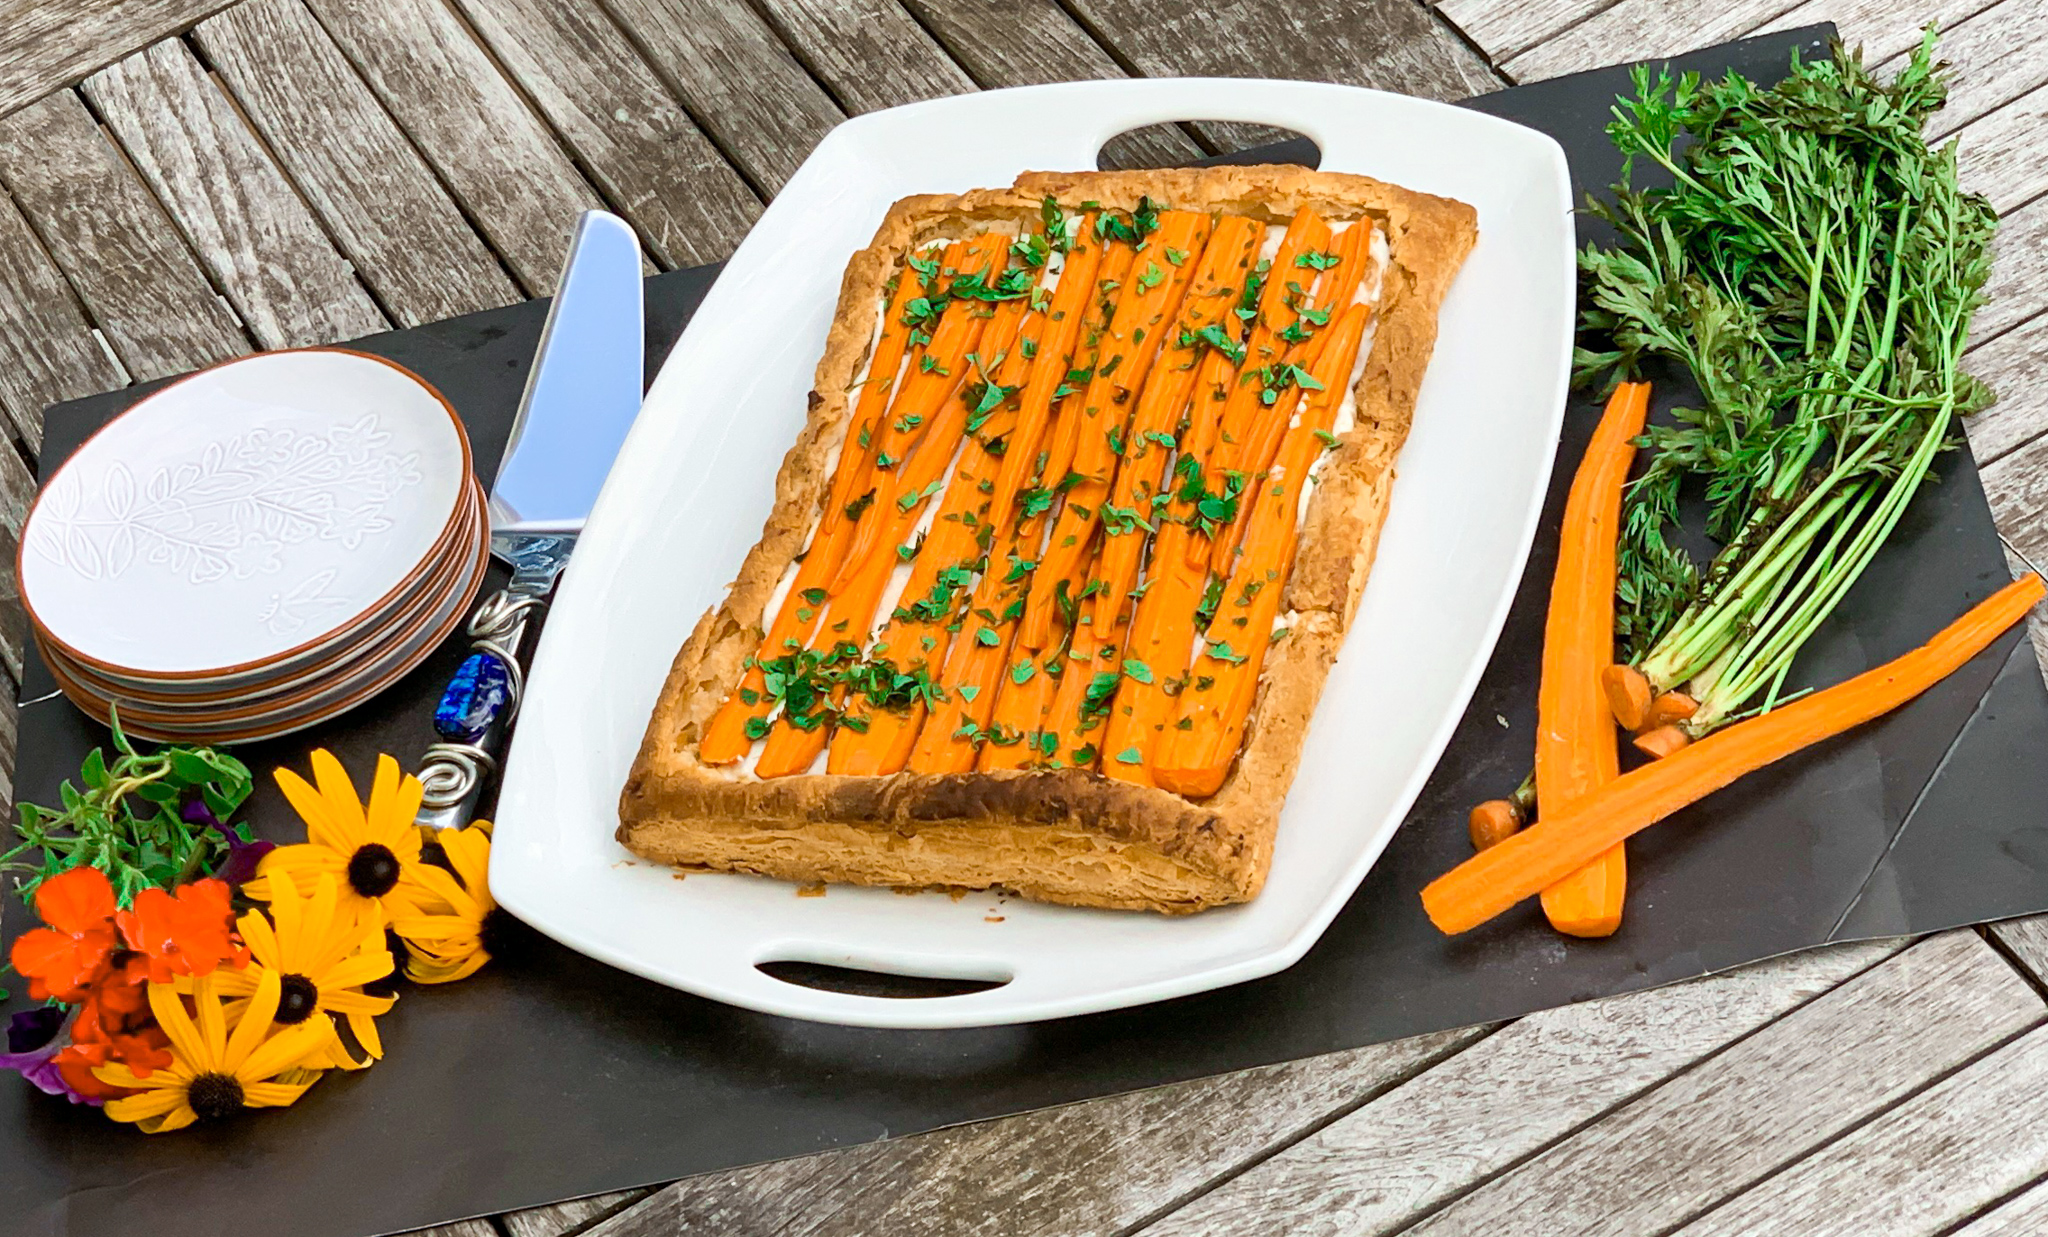
I definitely have a thing for tarts. A tart is a pastry base with a delicious filling and an open top. Most tarts are thought to have come from a tradition of layering food, or Medieval pie making. The tart filling may be savory or sweet, although nowadays it can be filled with a fruit base or pudding base as well. This particular recipe has a lovely cheese filling.

Tarts originated in Medieval France and Great Britain, where they were presented as a flat open-faced pie. Originally, tarts were made with meat fillings which later transformed to sweet tarts and filling tarts which had fruit and custard. The dough is made of flour and thick filling with perpendicular sides.  Tarts were considered to be extravagant cuisine, and were most often prepared by cooks to look and taste beautiful. The open pastry base provided a broad canvas on which a creative chef could compose a work of art. Thus brightly-colored fruits, vegetables, and spices all found their way into (onto) them. They could be sweet, savory, or more often than not, a mixture of both.

One of the most popular tarts is a tart tatin, which is an upside-down tart, of apples, other fruit, or onions.  Quiches are technically tarts too, including the German ‘onion tart’, and Swiss cheese tart made from Gruyere.  Despite these two lovely preparations, the French are still considered to be the master of the tart.  With many traditional recipes stemming from the country, from the quiche to the onion tart, to the “French apple” tart to the tarte tatin. Citrus tarts are still considered the most classic European version, but as our culinary palettes have grown, tarts can be filled with anything.

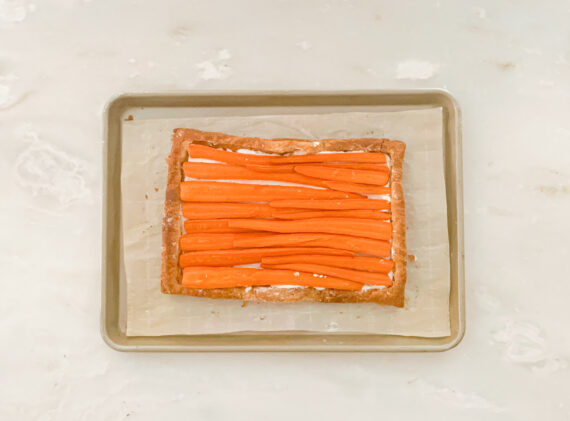
This tart is no different. The carrots are beautiful and so sweet when roasted and caramelized. The garlic adds the savory and just a little bit of heat. The cheeses combine elegantly together and provide a delightful base that further enhances the flavor of the carrots. The parsley tops it off with lovely color and complementary taste.

This recipe is courtesy of New York Times Cooking and will serve 8 people who will love this beautiful savory tart.

Ingredients for Carrot Tart with Ricotta and Feta:

Flour, for rolling out dough
1 (14-ounce) package frozen puff pastry, thawed
1 pound multicolored carrots, scrubbed and sliced lengthwise into 1/4-inch-thick pieces
1 tablespoon extra-virgin olive oil, plus more for serving
Kosher salt and black pepper
8 ounces ricotta
4 ounces feta, crumbled
1 garlic clove, grated
Chopped fresh parsley, chervil or chives, for garnish

Heat oven to 425 degrees.

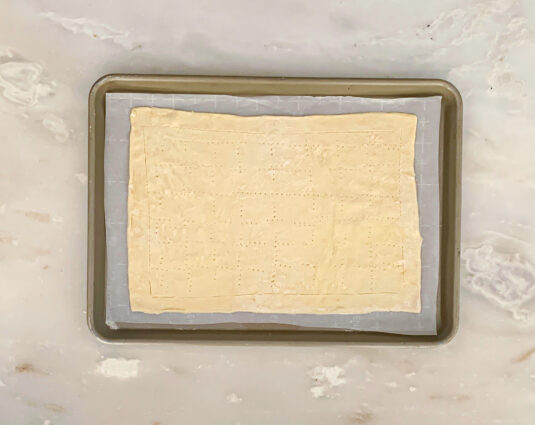
On a lightly floured surface, roll puff pastry into a 10-by-14-inch rectangle.

Using a paring knife, lightly score a border around the perimeter of the puff pastry about a 1/4-inch away from the edges.

Place puff pastry on a parchment-lined baking sheet and prick the pastry inside the border using a fork to prevent puffing in the center.

Bake on top rack until puff pastry is lightly golden, about 20 minutes.

Remove from the oven and let cool slightly.

Meanwhile, toss carrots with 1 tablespoon oil, season generously with salt and pepper and spread into a single layer on a baking sheet.

Roast carrots on the bottom rack (underneath the puff pastry) until the edges are golden brown and carrots are still crisp-tender, 15 to 20 minutes.

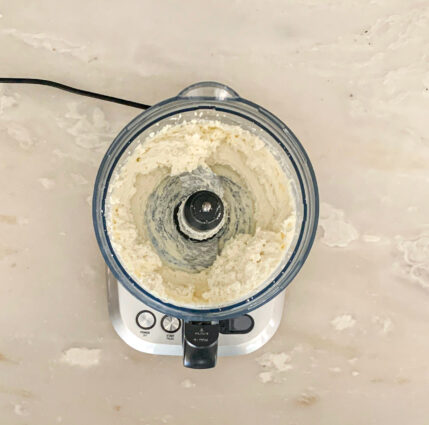
While puff pastry and carrots are in the oven, blend ricotta, feta and garlic in a food processor until smooth.

Season with salt and pepper.

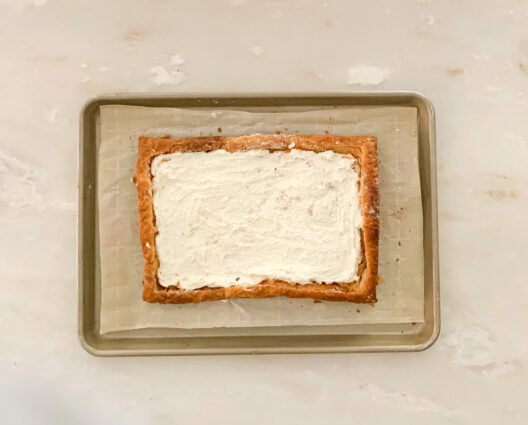
Spread the cheese mixture onto the puff pastry up to the border and arrange the carrots in a single layer on top.

(I found the cheese mixture hard to spread, so I used some good olive oil on my spatula, and it spread much easier.)

Bake until the carrots are tender and the edges of the cheese mixture are golden brown, 15 to 20 minutes.

Drizzle with olive oil and sprinkle with herbs before serving.

It’s that simple!
 

signature

[recaptcha]


When I was growing up, my mother always had some kind of dessert in the house, just in case we had unexpected visitors. Impromptu company is not as common now, and I don’t know many people who are as prepared as my mother was.  Okay, so I know we are in the middle of a pandemic, but even before this, people would never show up without calling first. With the prevalence of cell phones, a call (or at least a text) is the polite thing to do before dropping by for a snack.

Now that I have a new home by the beach, I am looking forward to a house full of company.  I’m waiting for a time when we can be at ease and not have to worry about where everyone has been. I have to say, the people who live here by the beach are very careful.  Everybody is wearing masks, even outdoors walking around, and keeping their distance on the beach. 

If you are having people over for dessert (and safely distancing), this is a crowd pleaser for sure. This dessert not only looks beautiful, it will make all of your guests happy too. The heavy cream, condensed milk and vanilla pudding mix ensures that this delicious dessert is creamy, light, and fluffy. The vanilla wafers give it a nice texture with added deliciousness, and the vanillas that perfect hint of savory. Each bite is full of banana-filled goodness.  I can guarantee that you will be licking your spoon clean.

This recipe is courtesy of Delish and will serve 10 lucky visitors.

Ingredients for Banana Pudding Trifle:

1 1/3 cup whole milk
1 (5.1-oz.) package instant vanilla pudding mix
1 (14-oz.) can sweetened condensed milk
3 cups heavy cream
1 teaspoon pure vanilla extract
1 (12-oz.) box vanilla wafer cookies
4 bananas, sliced into coins
2 teaspoons granulated sugar

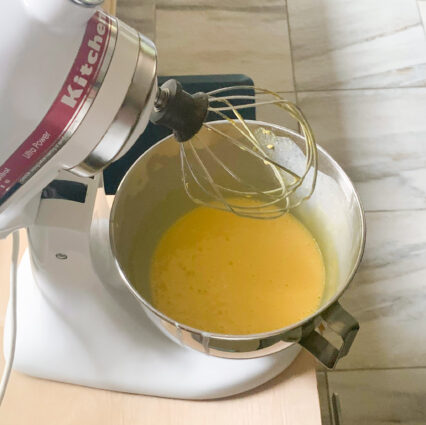
In a large mixing bowl, combine milk, vanilla pudding mix and sweetened condensed milk.

Whisk thoroughly, breaking up any lumps, and refrigerate for at least 5 minutes, or until set.

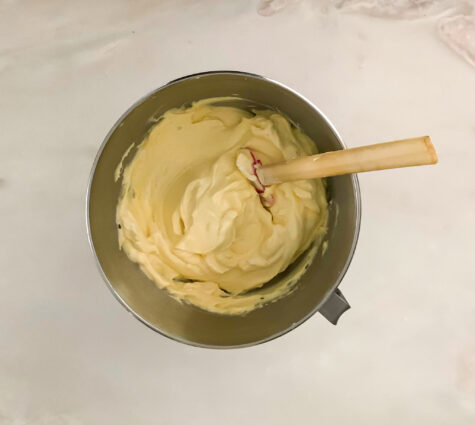
In another large bowl, combine heavy cream and vanilla.

Beat until stiff peaks form, 2 to 3 minutes.

Set aside half of the mixture for topping the dish.

Fold remaining half into the pudding mixture.

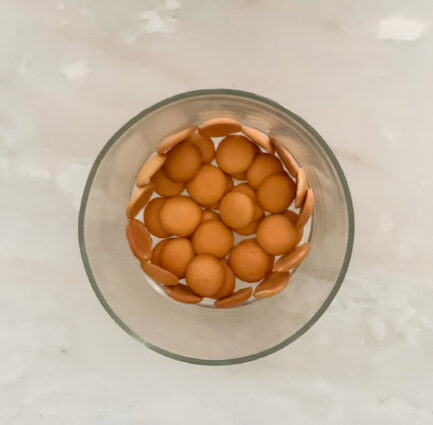
Cover the bottom of a 3-quart trifle dish with vanilla wafers.

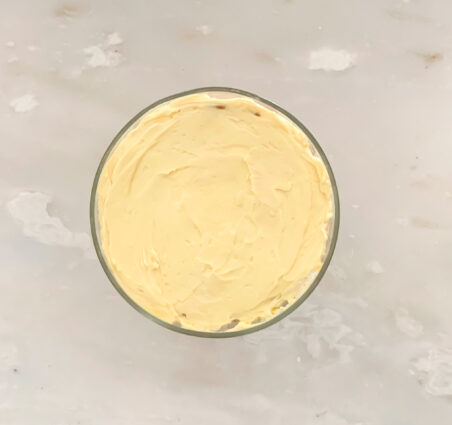
Top with one-third of the pudding mixture.

Cover with another layer of the wafer cookies—you may want to also stand some cookies up vertically, so you see the full circle along the edge of the trifle dish.

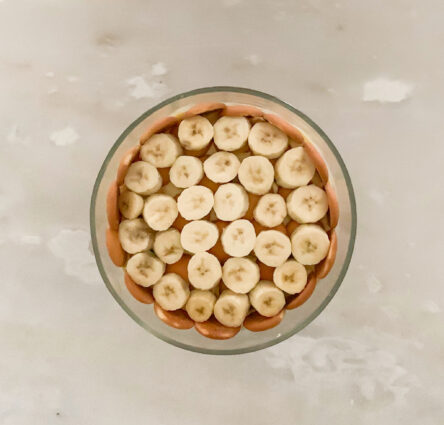
Top with an even layer of banana slices.

Continue layering the pudding, wafer cookies and banana slices until you reach the top, ending with a final layer of banana pudding.

Refrigerate for at least 3 hours, or up to overnight.

Sweeten the remaining whipped cream: Add sugar to whipped cream, stirring to combine.

Just before serving, dollop on top of the banana pudding, then sprinkle crumbled wafer cookies on top.

It’s that simple!
 

signature

[recaptcha]


Recipes are simple: a set of instructions you follow that detail how to make raw ingredients into a flavorful plate of food.  Even though most recipes have directions laid out step by step, you are not absolutely required to use all of them. There is plenty of room for improvisation based on availability, preference, or taste.  Humans’ sense of taste is extremely sensitive, and it’s beneficial to learn to describe those tastes, and figure out how to better tailor dishes to your personal preferences.

According to Kitchn, there are four main components to ingredients. First are the low notes; these are the deep lingering flavors in foods that form the base or the backdrop for other flavors. Second there are mid notes; flavors in this range are much more subtle. They’re not as immediately identifiable and don’t hang around as long as the low and high notes (think of vegetables and raw chicken). Third are the high notes; these flavors are the show stoppers. They fizz and zing and dance in your mouth. Think of a splash of citrus, a handful of fresh herbs, or a nice spicy pepper. 

As you cook, remember that you can add, omit, or replace ingredients to get the flavor profile you like. For example, today’s recipe calls for ginger, which is a “no way” ingredient in my book. Some people love it, but I cannot stand it.  Just eliminate it or replace it and the outcome will be exactly what you want, and you will love the dish you made.

If you’re just starting out or are used to following a recipe, cooking without instructions can seem like a daunting task. But honestly, once you get a few basic cooking rules down, you’ll be able to toss most of your recipe books in the recycling bin and start creating cookbook-worthy meals of your very own. Seriously — unlike baking, cooking does not require exact measurements, times, or temperatures for food to taste good. Be bold, mix it up, and try something new–you may be very happy with your outcome.

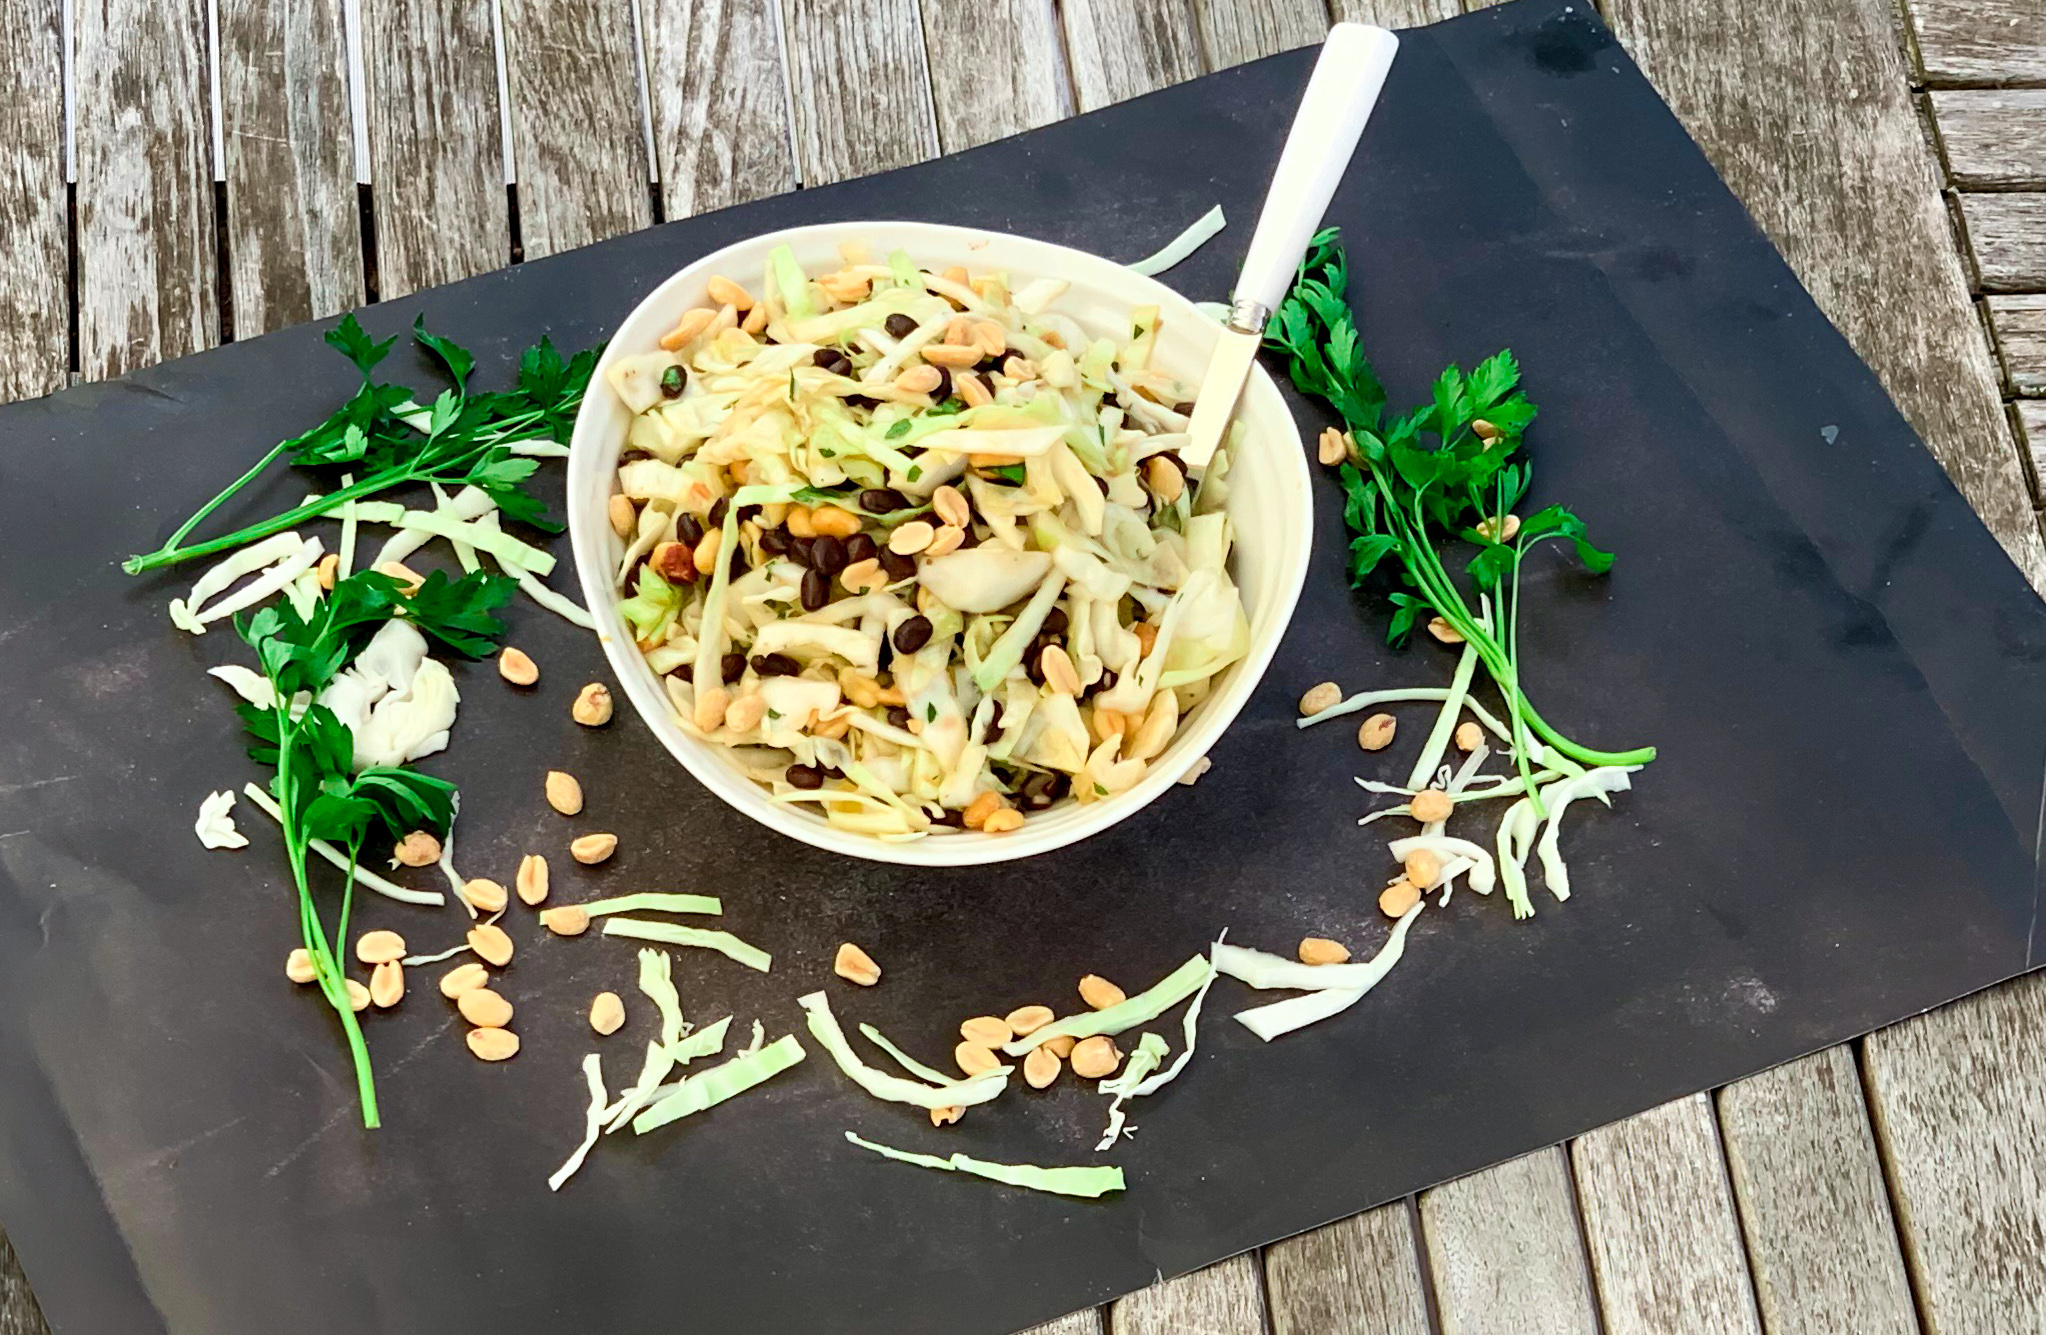
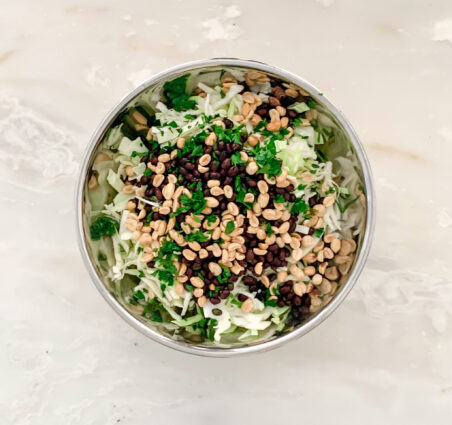
This dish caught my attention because of the peanuts. I love roasted peanuts. I thought putting them in a slaw would be perfect. The nuts are the highlight of this dish because of the crunch-roasted goodness it brings to the recipe. The dressing worked perfectly with this slaw too.  The jalapeños offer just the right amount of heat, and the soy sauce and rice wine vinegar is the perfect amount of salty and tang. I think you are going to love this recipe as much as I did. Be careful, it can be addicting!

This recipe is courtesy of Food 52 and will serve 4 to 6 people who will definitely want second and third helpings.

Ingredients for Leslie’s Peanut Slaw:

1 medium head of green cabbage (use half if you have a particularly large cabbage), cored and shredded
1/2 cup unsalted roasted peanuts (you can purchase them this way, or toast raw peanuts over medium heat in a dry heavy-bottomed pan until fragrant, about 5 minutes)
One 14-ounce can of unseasoned black-eyed peas, drained and rinsed
1/2 cup fresh cilantro leaves, roughly chopped (I used parsley, but mint or thyme might work well too).

For the sweet and spicy dressing:

1 teaspoon toasted sesame oil
2 pickled jalapeños/green chilies (cans may be found in the International Foods or Mexican Food aisle), finely minced
2 tablespoons grated fresh ginger (I did not use it, but if you are a ginger lover go for it).
2 cloves of garlic, grated
1 tablespoon brown sugar
3 tablespoons rice wine vinegar
1 tablespoon soy sauce
1/4 cup vegetable oil or other light unflavored oil such as grapeseed or canola
Salt and pepper, to taste

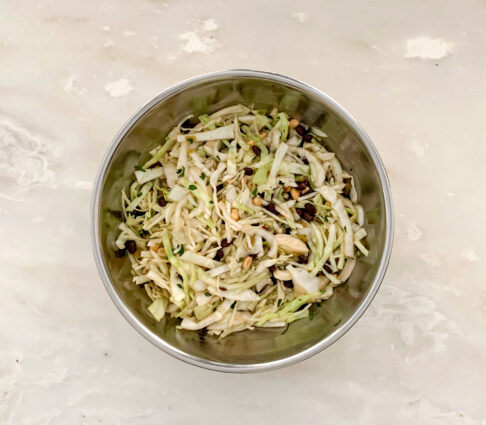
Combine all ingredients in a large bowl.

Mix well to combine.

Make the sweet and spicy dressing:

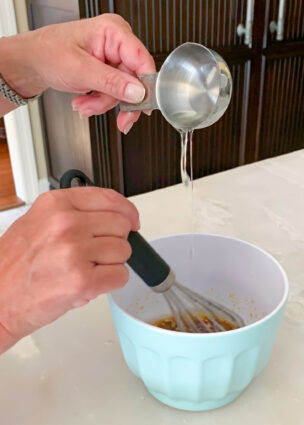
In a small bowl, use a whisk to combine all ingredients except for the oil.

Slowly drizzle in oil, continuing to whisk the mixture, until slightly thickened, as you would do with a vinaigrette.

Add salt and pepper to taste

Pour dressing over slaw mixture and toss to combine.

Let chill in the fridge for 2 or 3 hours prior to serving so that the flavors combine and the cabbage just slightly softens.

It’s that simple!
Jenna and her unicorn!

signature

[recaptcha]


Our first family rule was that we always had dinner together. In this crazy world, it was important to me that we had this time to check in with each other, especially as new homeowners and parents. Growing up, my family and I always ate with one another, and we would eat the same time every day. The neighborhood children would play together after school, and when our mothers would call us for dinner, we came home no questions asked.

I have so many fond memories sitting around the small table in our kitchen and telling stories about our day. I remember I had one teacher in high school who used to teach us geometry principles to a tune so we would remember it for a test. I would sing the principles at dinner and my family would laugh so hard.

Nowadays, many families do not make the time to sit down and have dinner together. Children’s schedules get in the way, parents are working much later hours and dinner is not  a priority anymore. Studies show that children have a greater sense of security and belonging when family meals are routine– even teenagers tend to enjoy the family time!  In a recent Columbia University study, 71% of teenagers said they consider talking, catching-up, and spending time with family members as the best part of family dinners.

When families eat together, young children are less likely to be obese or overweight because these children eat regular, nutritious, home cooked meals, and also help in making or serving those meals. In 2008, researchers at Brigham Young University conducted a study of IBM employees and found that “sitting down to a family meal helped working moms reduce the tension and strain  from long hours at the office.”  With all the crazy busy times we now have, family dinners allow for a time to stop other activities and obligations and deepen the family connection. 

In my family, dinner is sometimes the only time we have together.  It’s a great opportunity for us to put down the phones, turn off the TV, and reduce other distractions.  It might feel stilted at first if you’re not used to it, but I promise it gets easier.

In every family meal, a good dessert is a must–it’s just as important as the main course. Dessert puts you in a good mood for the rest of the evening, and really completes dinner. This is one dessert that doesn’t disappoint. It has fairly simple ingredients and the one ingredient I can never pass up: lemon. This cake is such a nice moist cake that oozes with lemony flavor. Then comes the burst of sweet fruit in every bite. The brandy adds an adult touch, but feel free to replace it with apple juice or omit completely if you’d like to avoid alcohol.

This recipe is courtesy of Epicurious and will serve 12 people who will want to bring this to the family dinner table.

Ingredients for Lemon Cake with Fruit:

1 cup (2 sticks) unsalted butter, room temperature, plus more for pan
2 cups all-purpose flour, plus more for pan
2 tsp. baking powder
1 1/2 tsp. kosher salt
1 lemon
1 2/3 cups plus 3 Tbsp. granulated sugar
3 large eggs
1 large egg yolk
3 Tbsp. pear, orange, or apple brandy (optional)
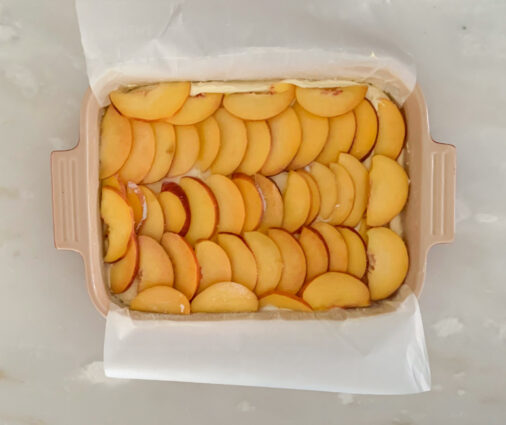
2 lb. pears or apples, sliced, stone fruit, cut into thick wedges, blueberries, and/or blackberries (I used sliced peaches)
Powdered sugar (for serving)

Place a rack in middle of oven and preheat to 350°F.

Butter and flour a 13×9″ baking pan. ( I used parchment paper with overhangs on the side).

Whisk baking powder, salt, and 2 cups flour in a medium bowl.

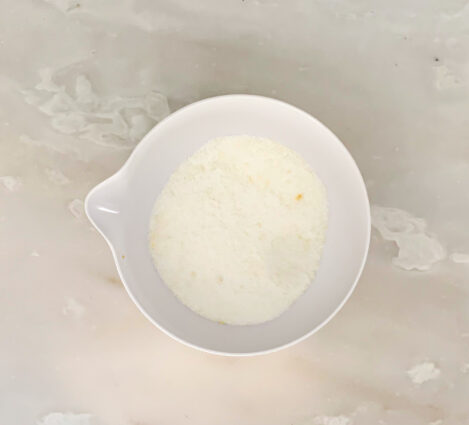
Finely grate lemon zest into another medium bowl.

Slice lemon in half; set aside.

Add 1 2/3 cups granulated sugar to zest and work with your fingers until mixture is fragrant and looks like wet sand, about 1 minute.

Using an electric mixer on medium speed, beat 1 cup butter in a large bowl until smooth, about 20 seconds.

Add sugar mixture, increase speed to medium-high, and beat until very light and fluffy, about 5 minutes.

Reduce speed to medium and add eggs one at a time, beating well between additions; mix in egg yolk.

Reduce speed to low and gradually add dry ingredients.

Beat just until incorporated, then add brandy and beat just until smooth.

Fold batter a few times with a rubber spatula; scrape into prepared pan and smooth top.

Scatter fruit over (do not press down).

Squeeze a reserved lemon half over fruit (save other half for another use) and sprinkle with remaining 3 Tbsp. granulated sugar.

Bake cake until sides are golden brown and top is golden, 55–65 minutes.


Let cool; cut into squares.

Serve dusted with powdered sugar.

Cake can be baked 2 days ahead.

Store tightly wrapped at room temperature.

It’s that simple!
signature

[recaptcha]