I can’t believe how fast this summer has gone. I had a whole list of things I wanted to do, and somehow, it just passed by…. along with half of what I wanted to get done. There were closets to clean, rugs that needed to be shaken out, and so many other things that I never got the chance to do.  I know we still have a little bit of summer left, so I am hoping I can accomplish something in the next month or so. 

Even still, there is a lot to look forward to–beautiful, warm days and cool, enjoyable evenings. September also brings changing leaves, the excitement of going apple picking, and never knowing what the weather will be.  Each day of the month feels like a different temperature, and that unpredictability allows us to wear our favorite fall clothes.

As the fall approaches, I find myself thinking forward to the holidays.  I imagine that so many things will be different.  The Jewish holidays will be held virtually, as it will not be safe to hold any formal synagogue meetings. Labor Day will be celebrated with small gatherings of family. Who knows what Halloween will bring? Will there be any trick-or-treaters? I do not think so, but I remain optimistic that things will be back to normal soon.

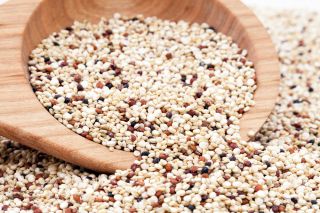
Anyway, I figured we might as well savor summer fruits while they’re still in season.  The delicious quinoa is combined with the summer fruit of your choice. Of course, the fruit is the star of this recipe, and it is enhanced by the addition of yummy nuts, (I used almonds, as I could not find hazelnuts), which gives it an additional depth of flavor, and a nice, crunchy texture. The parsley is the savory touch that this dish needs, and the lemon dressing is a bright finish. This is a side dish that will go with any main, though it is just as enjoyable by itself as a snack or lunch.

This recipe is courtesy of Good Food and will serve 4 people who will love every last bite of delicious summer fruit.

 Ingredients for Summer Fruit Quinoa Salad:

1/2 cup quinoa
3 peaches or nectarines, or 6 apricots, diced
3 1/2 tablespoons toasted hazelnut, roughly chopped (I used almonds, I couldn’t find hazelnuts)
Handful mint, roughly chopped
Handful parsley, roughly chopped
2 tablespoons olive oil
Zest and juice 1 lemon

Put the quinoa in a medium saucepan and cover with 1 1/4 cups water.

Bring to the boil and simmer for 20 mins or until the quinoa is tender.

Drain off any excess liquid and set aside to cool.

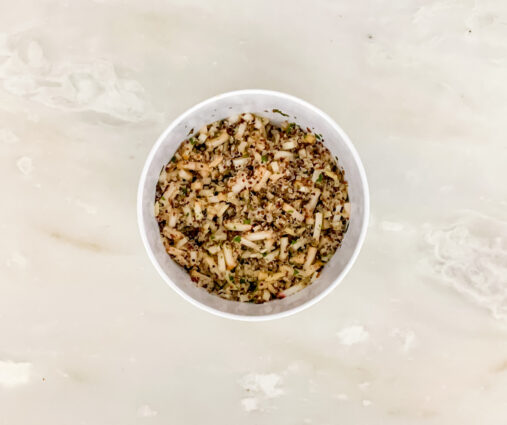
Add the fruit, almonds, herbs and seasoning to the cooled quinoa.
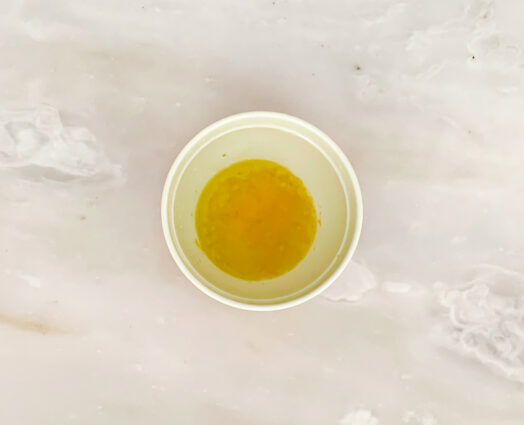
Whisk together the olive oil, lemon zest and juice.
Pour over the salad and mix thoroughly.

It’s that simple!
 

signature

[recaptcha]


One of the things I cherish most about the summer is all the wonderful, fresh fruit at our local farm stands. Fruit picked fresh from the farm just tastes so much better than the ones in our grocery stores. It smells fresher, and tastes much sweeter and more delicious.  Local orchards know their crops, which ensures that they are picked at their peak ripeness.  The flavors are noticeably better, and more true to the fruit.  They are then brought to the stand within a day or two, rather than being frozen for weeks before they arrive at the grocery store.  

When you buy locally, you get more than just better tasting fruit: the fruit is also better for you the sooner you buy it after it has been picked. When fruits are first picked, vitamins C, E, A and some B vitamins begin to deteriorate. Exposure to light and temperature changes during shipping can affect this as well, so purchasing fruit picked yesterday is better than fruit picked two weeks ago and shipped to your local store.  According to the BBC, there is not a whole lot of difference in nutrition between fresh and frozen produce, so it might well be to your advantage to freeze some summer blueberries.

Buying locally also helps to support the economy in your area and cut down on the use of fossil fuels. Instead of being paid off to your grocery store, the shipping company, and the fruit company, your money goes directly to a company in your area and supports local jobs.  And while it might take gasoline to get you over to your market (if you feel comfortable biking or walking, you can do that too, and make the whole venture even more environmentally friendly), buying from a local farm means that the produce was transported only regionally, rather than overseas.  So you get to eat good food and help to save the world– how cool is that?!

The best thing of all is that by going to the farmer’s market, you get to know your local growers.  They are some of the most kind, friendly, and knowledgeable people out there.  I encourage you to ask questions about the produce, their favorite preparations, and what might be good.  These people know the crops so well, and they can often direct you to a particular fruit or vegetable that is particularly tasty on that specific day, so keep an open mind.

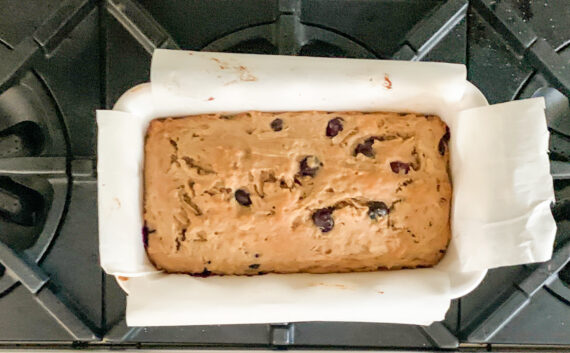
 I hope I have convinced you to look for your local farmer’s market and spend your money there.  Now, when you are there, be sure to pick up some apples and blueberries for this recipe. It is worth every penny, I swear. The honey gives it a sweetness that compliments the blueberries and apples beautifully. The yogurt makes sure that this bread is moist and delicious. The cinnamon and nutmeg adds savory goodness, and you get a taste of the sweet, luscious fruit in every bite.

This recipe is courtesy of Sally’s Baking Addiction and will serve 8 people who will love enjoying the last of this summer’s blueberries.

Ingredients for Greek Yogurt Apple Blueberry Bread:

1/3 cup canola, vegetable, or melted coconut oil
6 tablespoons honey
1 large egg
1/2 cup (121g) plain Greek yogurt
1 and 1/2 teaspoons pure vanilla extract
1 cup shredded apple (about 1 apple)
1 and 1/2 cups all-purpose flour, spooned and leveled
1 teaspoon baking powder
1/2 teaspoon baking soda
1/2 teaspoon salt
1 teaspoon ground cinnamon
1/4 teaspoon ground nutmeg
1 cup  fresh or frozen blueberries (not thawed)

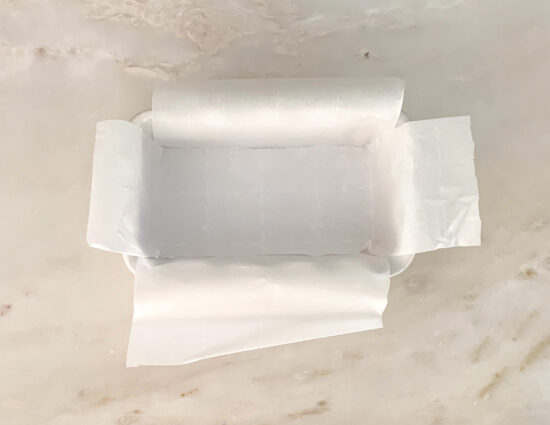
Preheat the oven to 350°F (177°C) and grease a 9×5 inch loaf pan. (I used parchment paper).

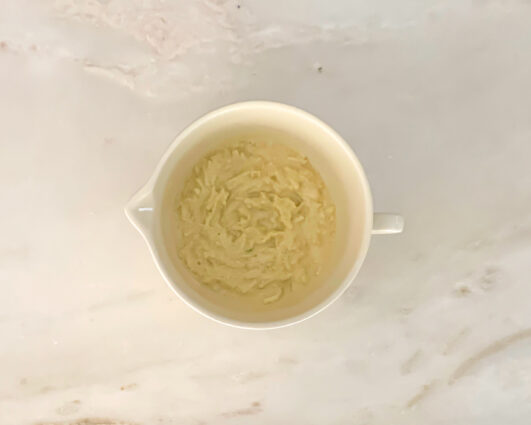
Whisk the oil, honey, egg, yogurt, vanilla, and apple together in a medium bowl until well combined.

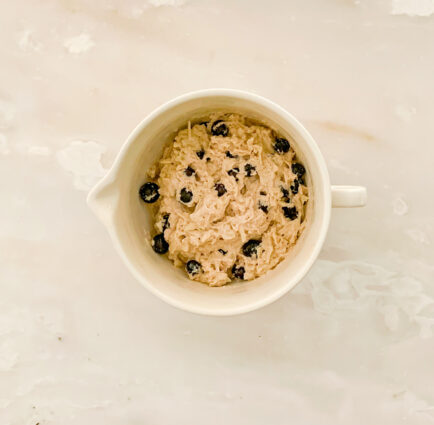
In a large bowl, whisk the flour, baking powder, baking soda, salt, cinnamon, nutmeg, and blueberries together.

Pour the wet ingredients into the dry ingredients and mix with a large wooden spoon or rubber spatula until combined.

Avoid overmixing.

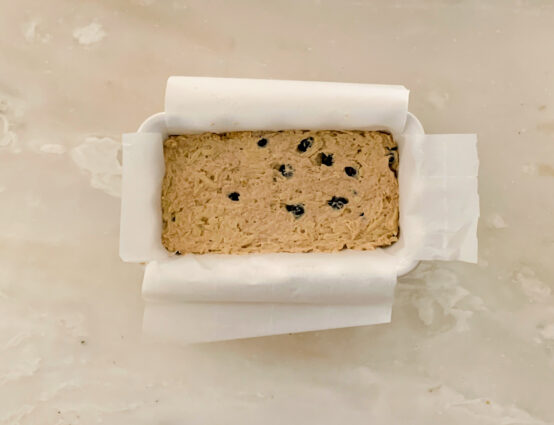
Spread batter into the prepared loaf pan.

Bake for 40-50 minutes.

Baking times vary, so keep an eye on yours.

The bread is done when a toothpick inserted in the center comes out clean.

If you find the top of the bread is browning too quickly in the oven, loosely cover it with aluminum foil.

Remove the bread from the oven and set on a wire rack.

Allow to cool completely before slicing and serving.

Cover and store leftover bread at room temperature for up to 5 days.

It’s that simple!
signature

[recaptcha]


The end of summer is creeping ever closer. The days are slowly getting shorter, and though the evenings are still warm, you can feel the cold already.  Even though the temperatures are still high, you know, somehow, that fall is just around the corner. 

The best thing we can do these days is to savor every last drop of sunlight we can get, and revel in the final weeks of a beautiful, albeit strange, summer.  Spend some time pool-side, take a walk in a local park, or write some goals for the upcoming months. Look forward to the beautiful change of color that autumn brings, and the perfect outdoor temperature that is neither too hot nor too cold.  Perhaps you can take out all your favorite scarves, hats, gloves, and cozy sweaters too, and remember just how much you actually do like wearing more than a light t-shirt and shorts.  Fall is a good time to take up baking and fill your kitchen with smells like vanilla, pumpkin, caramel, and fresh bread.

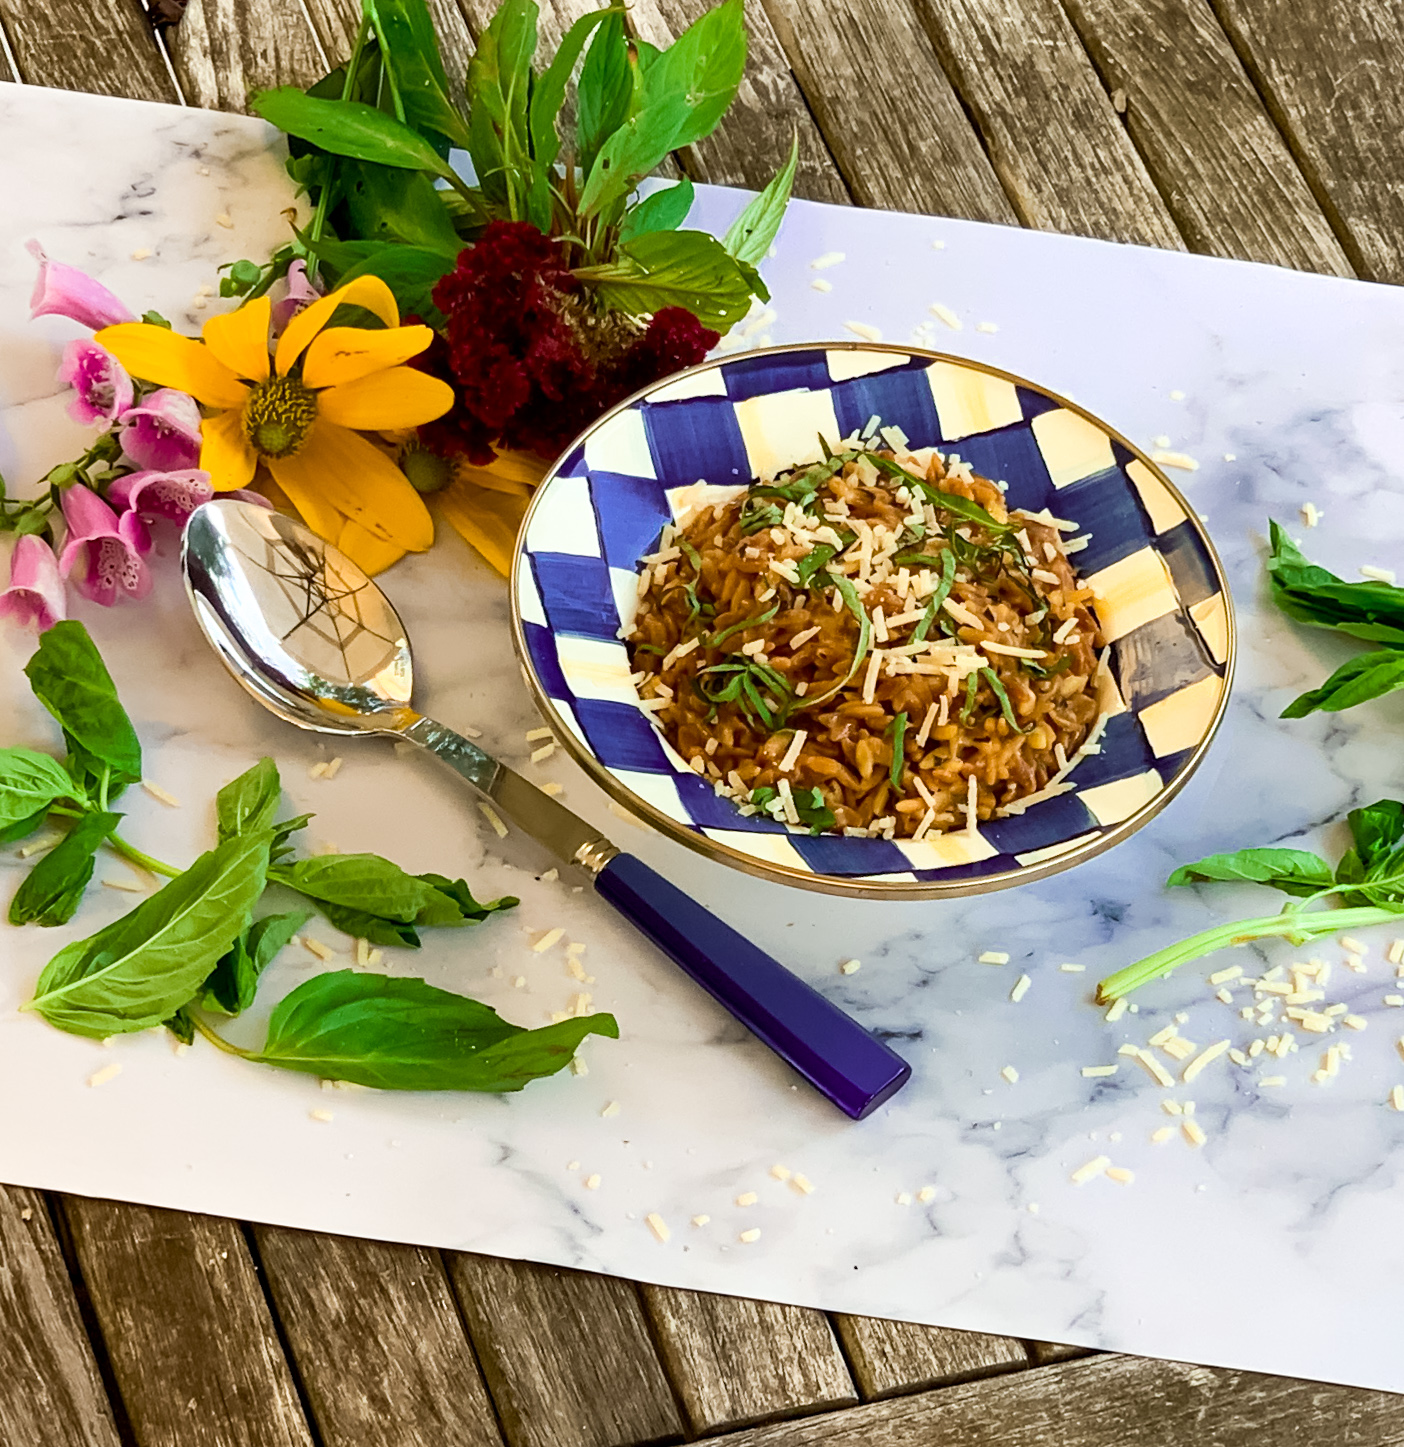
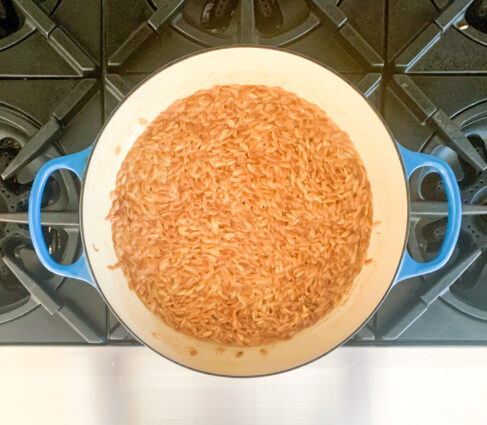
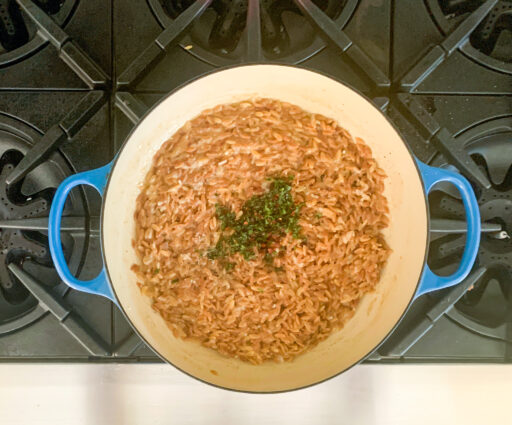
Colder temps mean that we can start using the oven without considering that we’ll have to stand in front of it for hours.  We can make our favorite stick-to-your-ribs comfort foods and eat them without feeling guilty. This is definitely one of those dishes. “Orzo” is Italian for barley, because of how much this rice-shaped pasta resembles the grain. This dish does not disappoint in the comfort-food category. Feel free to add chicken and vegetables to make it a hearty main course, or serve it as written for a side dish along with chicken or fish.  The butter makes a luscious, creamy sauce that combines smoothly with the chicken-flavored broth. The red pepper flakes give it the perfect amount of heat and the Parmesan and basil add even more delicious, savory goodness.

This recipe is my own and can be shared among 4 to 6 people.

Ingredients for Orzo with Parmesan and Basil:

1 cup uncooked orzo pasta or pearl couscous
2 tablespoons butter
1 can (14-1/2 ounces) chicken broth
1/2 cup grated Parmesan cheese
2 teaspoons dried basil
1/8 teaspoon crushed red pepper flakes
Thinly sliced fresh basil, optional

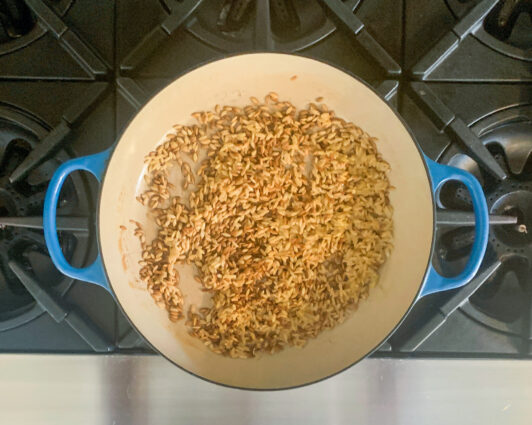
In a large cast-iron or other heavy skillet, sauté orzo in butter until lightly browned, 3-5 minutes.

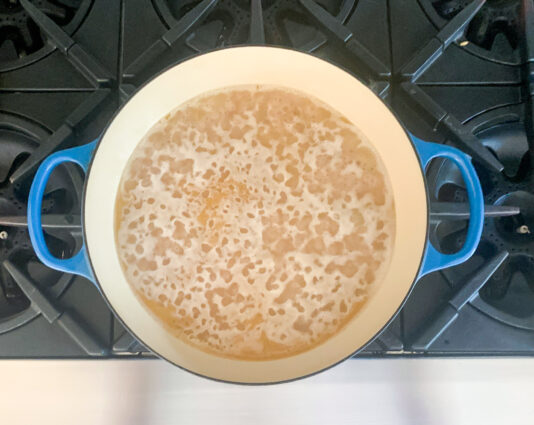
Stir in broth.

Bring to a boil.

Reduce heat; cover and simmer until liquid is absorbed.

Reduce heat; cover and simmer until liquid is absorbed and orzo is tender, 10-15 minutes.

Stir in the cheese, red pepper flakes, basil and pepper.

If desired, top with some more fresh basil. (Hey, why not?)

It’s that simple!
 

signature

[recaptcha]


As you know, I love the tangy, sour taste of lemons. Even when I was a little girl, I would pass over brownies and go for a lemon bar every time. Although I still love lemon, I like to indulge in a sweet chocolate treat every now and then. Now that there’s been research that says chocolate has health benefits, I’m definitely more likely to have a piece of a chocolate tart. Let’s go over a few and see if I can talk you into nourishing yourself with a little (or a lot!) of good old-fashioned chocolate goodness.

A new study suggests that eating chocolate can help you stay thin. Researchers at the University of California-San Diego found that people who frequently eat small amounts of chocolate have lower body-mass indexes than people who don’t.

Chocolate decreases stroke risk. A Swedish study found that eating more than 45 grams of chocolate per week—about two bars worth—led to a 20 percent decrease in stroke risk among women. Susanna Larsson, the author of the study, claims that the flavonoids in chocolate have antioxidant properties that can help fight strokes.

Chocolate protects against inflammation. The Moli-sani project, a large health study conducted in Europe, found that eating a bit of chocolate will decrease the amount of C-reactive protein in your blood.  C-reactive protein is a protein associated with tissue inflammation. 

Chocolate reduces the likelihood of a heart attack. The same study also found that eating chocolate prevents blood clots, which in turn reduces the risk of heart attacks. Blood platelets clump together more slowly in chocolate eaters, the study said.

Chocolate may prevent cancer. Researchers at the Lombardi Comprehensive Cancer Center at Georgetown University found that cocoa in chocolate also contains a compound called pentameric procyanidin, or pentamer, which disrupts proteins that causes cancer.

Chocolate is good for your skin. This is a new fact for me, since I grew up with doctors telling me that it will cause breakouts and acne. Turns out that it’s actually good for your skin! Well, cocoa at least. Antioxidants found in cocoa protect the skin from the sun’s UV rays, but that doesn’t mean you can skip the sunscreen.  Most antioxidants are lost during the process that turns cocoa into chocolate, but food chemists are working to try to preserve those and make chocolate even healthier.

The takeaway here is that chocolate is not a health food.  It should be consumed in moderation– many of these studies used a sample piece about the size of a Hershey’s kiss– rather than with abandon.  A lot of this research was paid for by chocolate manufacturers too, so it’s definitely best to make sure your portions of this sweet treat are under control.

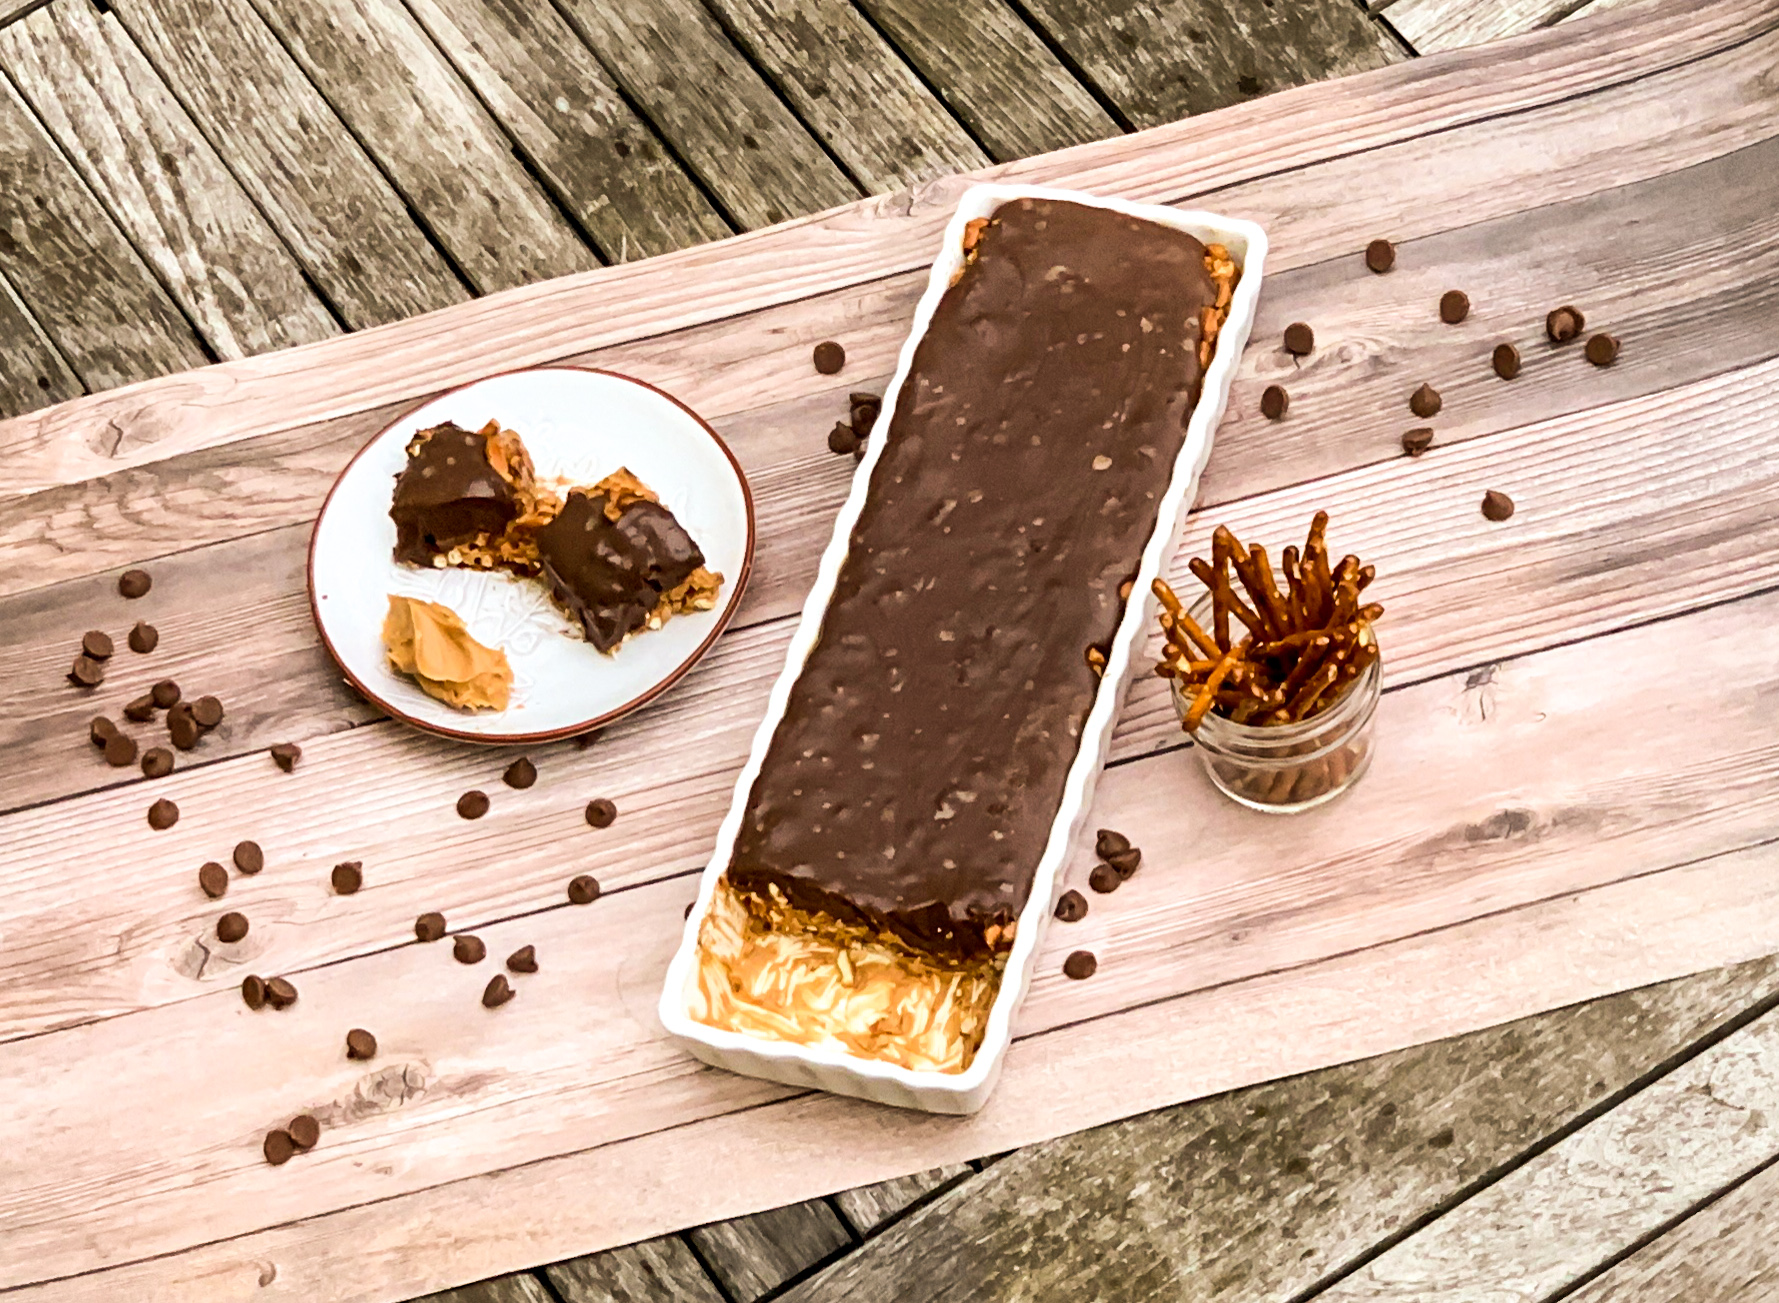
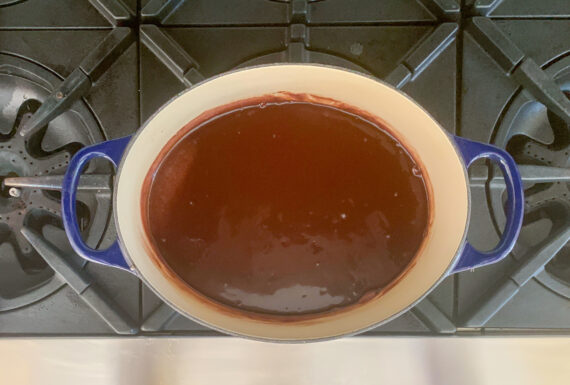
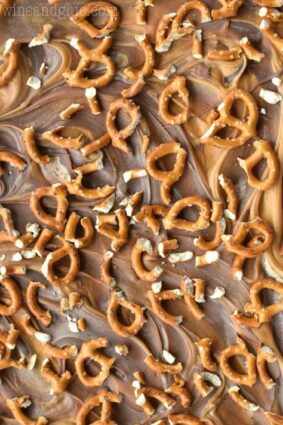
This dessert is one extravagance that will not let you down, though you’ll probably want seconds. Really, few things go better together than chocolate and peanut butter. The milk chocolate, when combined with the cream, turns miraculously elegant and creamy. It is then housed by a peanut butter and pretzel (oh my!) crust that is perfect for this chocolatey treat. And this is a no bake dessert– no need to turn your oven on for this one!  This is cool perfection in every bite.

This recipe is adapted from Food and Wine and makes a tart that will serve 12 lucky people.

Ingredients for Milk Chocolate Tart with Peanut Butter Crust:

For the Filling:

12 ounces good quality milk chocolate, roughly chopped
1 ½ cups) heavy cream

For the Crust:

1/2 cup creamy peanut butter
2 cups crushed salted pretzels plus additional for topping tart 

Make the filling:

Place chocolate in a large heat-safe bowl and set aside

In a small saucepan, bring cream to a rolling boil over medium high heat (do not stir) and then immediately pour over chocolate; let sit for five minutes and then whisk until completely smooth.

Let cool at room temperature for one hour and make crust

Prepare the Crust:

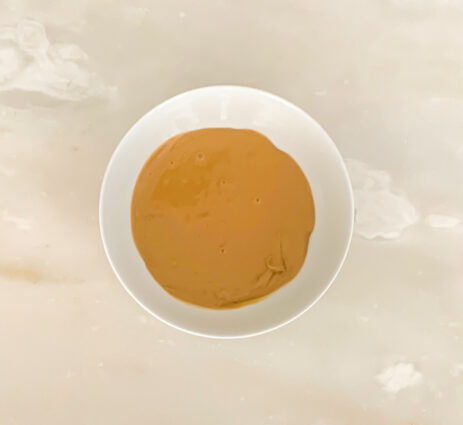
In a medium bowl, melt peanut butter in microwave by heating for 15 seconds, stirring and repeating until easy to stir.

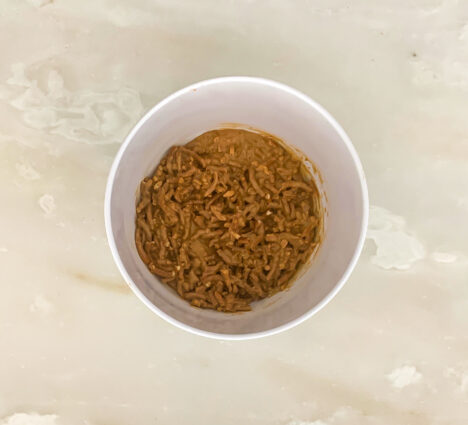
Stir in pretzel crumbs.

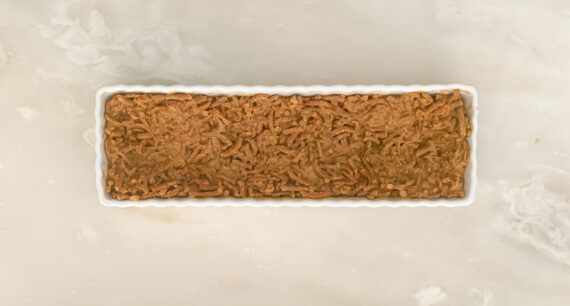
Press mixture into a 11-inch tart pan so that it is evenly spread out and up the edges; place in refrigerator until ready to use.

Once ready, pour chocolate mixture into chilled crust; then chill tart in refrigerator 4 hours (or up to 24 hours).

Use additional pretzels to decorate tart before serving if desired

It’s that simple!
 

signature

[recaptcha]


Today’s recipe has a bit of a story.  Until recently, I had always bought broccoli salad at my grocery store or local deli. After some research, I finally decided to try and make it myself– turns out, it’s incredible!.

The key here is not to drown it in dressing.  People who usually gravitate towards gloppy, soggy greens need to be enlightened on how pleasurable a nice, beautiful simple salad can be. Those of you who have been reading for a while will know that this is a pet peeve of mine, so please PLEASE refrain from it here, especially because broccoli salad is usually interpreted as a “healthy” choice compared to other salads. It certainly can be, when paired with a light dressing instead of dumping the entire container on there. 

I prefer to lightly “dress” my salads so they are just glistening, as opposed to creating a heavy, thick liquid that is both unappealing and unappetizing. It is important to add the dressing very slowly.  Stop pouring it in when the salad has been lightly coated. You can always place some dressing on the side for those guests who like it that way.  Take care to dress only what you need to serve, since undressed salad keeps much better.

I wanted to make sure this salad had all the right ingredients to ensure a perfect dish. Many salad dressings with mayo are very heavy, but I think I’ve found a way around it. Instead of using a lot of mayo, I added some greek yogurt for a lighter, tangy taste. Do not use a food processor to slice the broccoli: cutting the florets from the stalk into bite sized pieces makes this salad more appealing and beautiful.

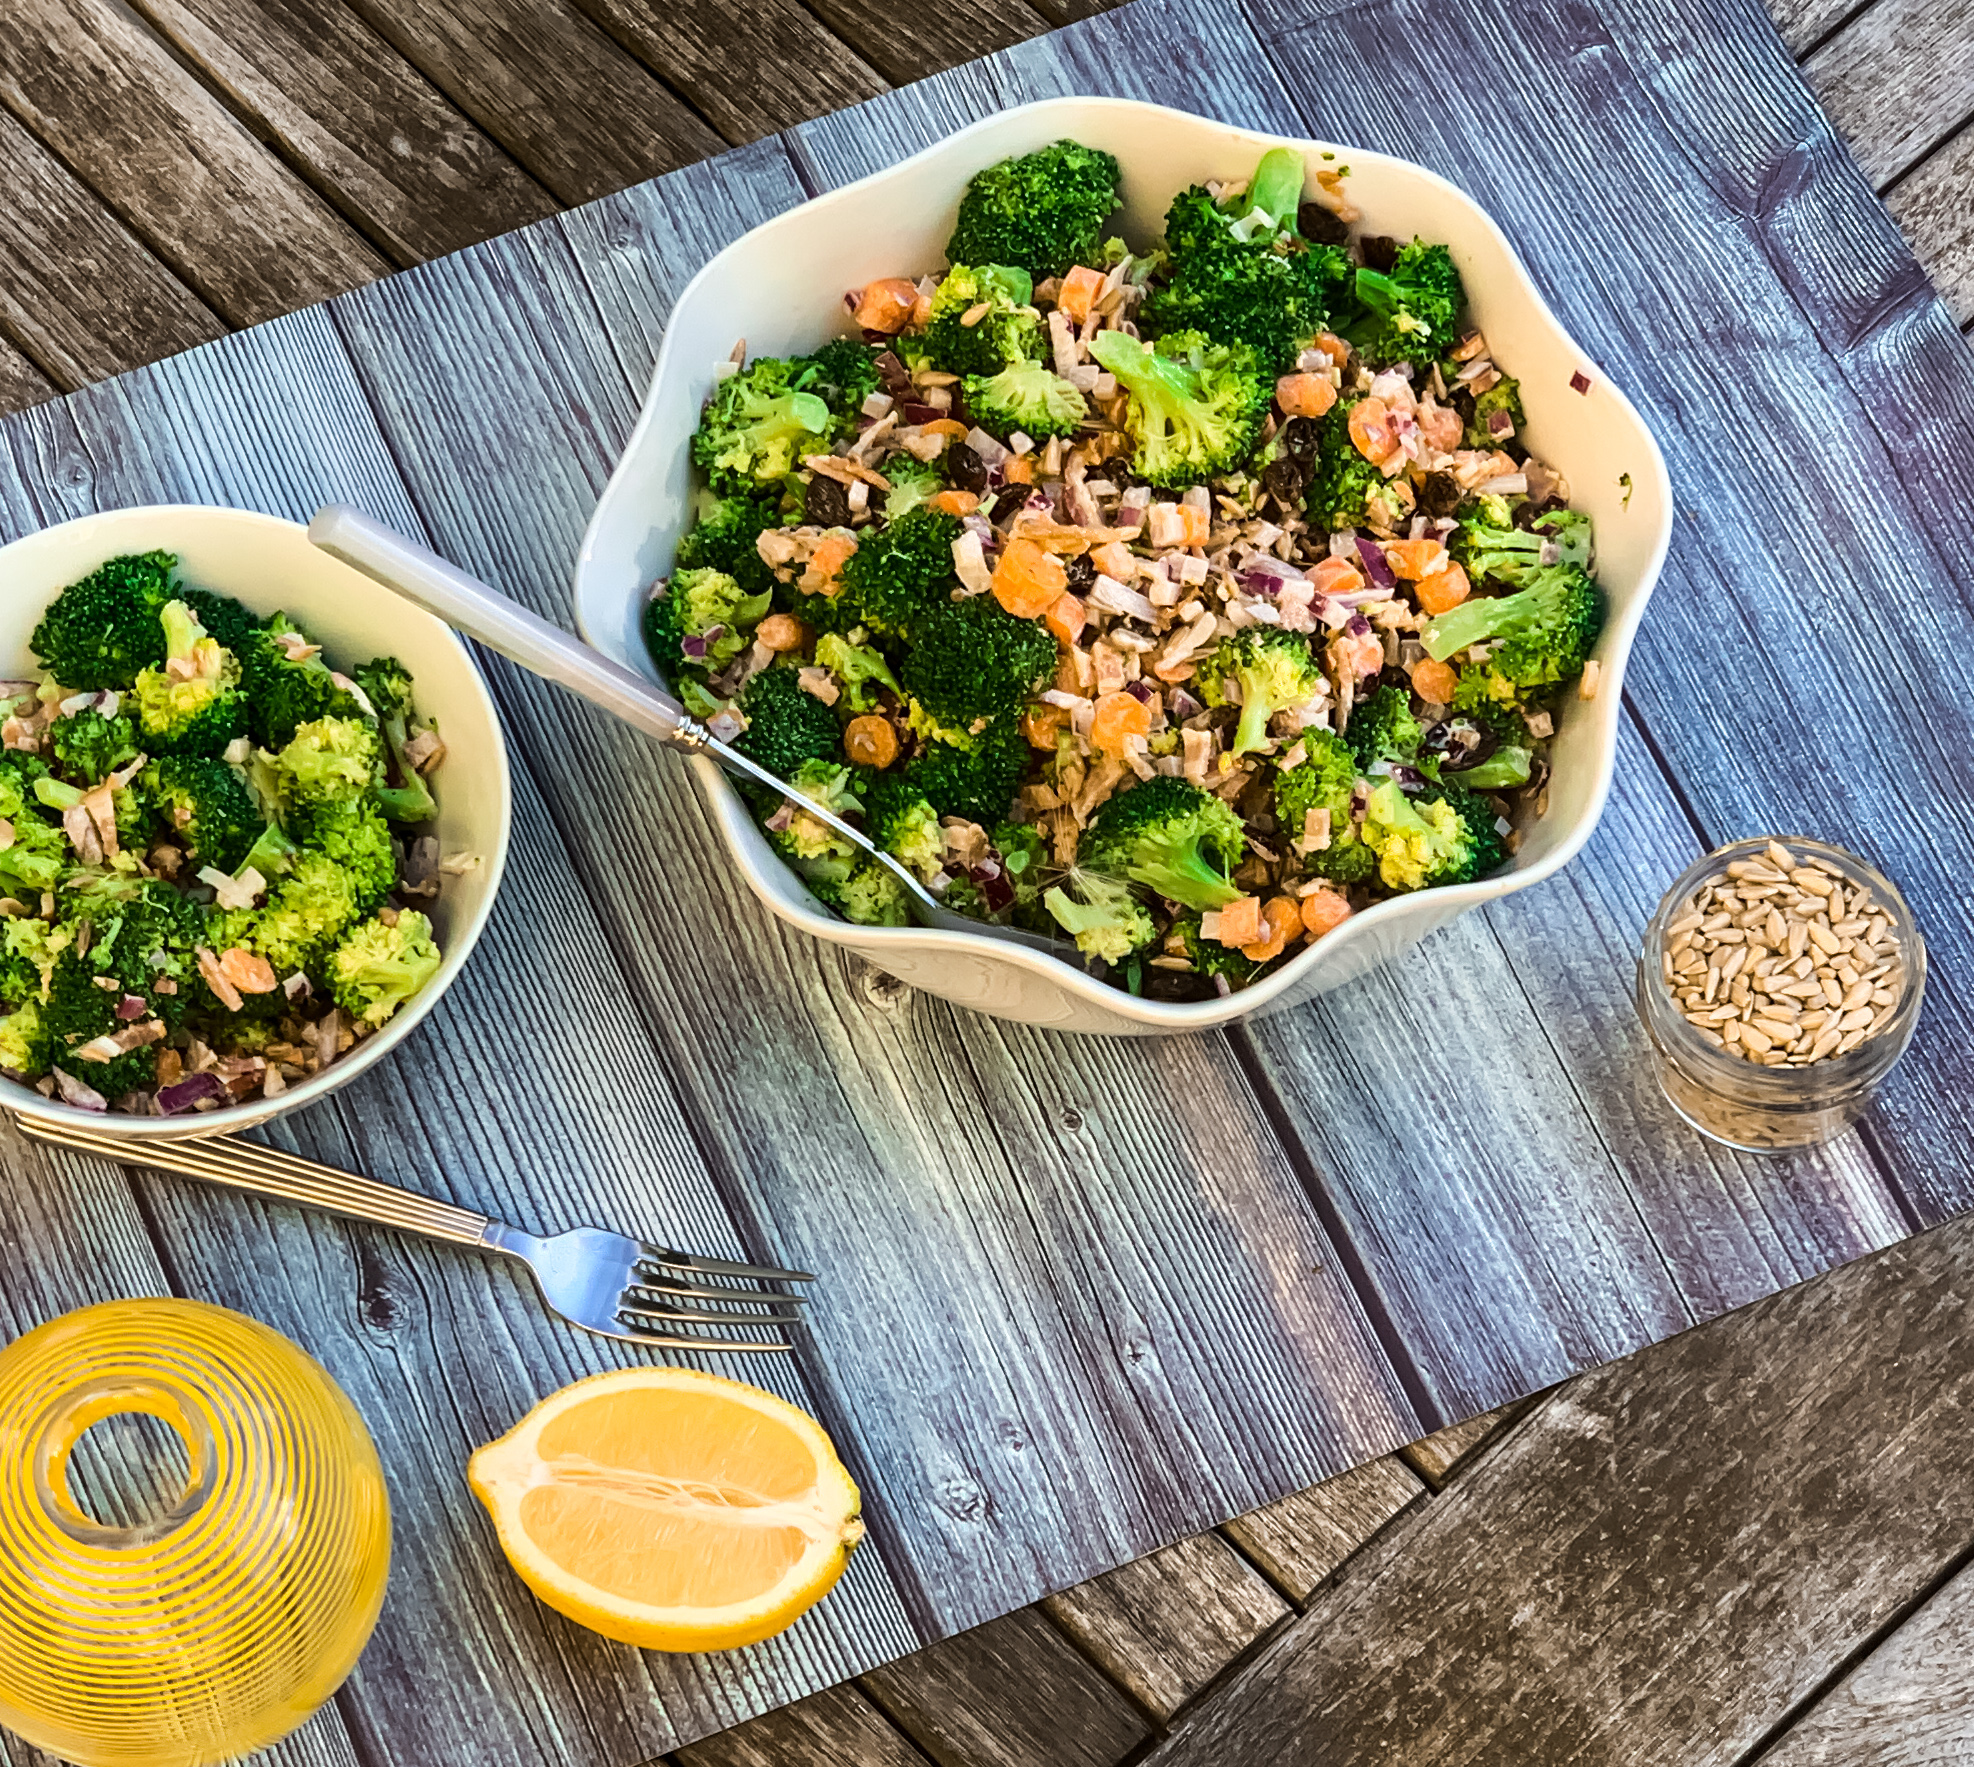
This salad is a wonderful side for any main dish. The red onion adds just the right amount of heat and the raisins add spots of sweetness. Giving this dish a deep, savory flavor is the bacon. The sunflower seeds add a nice texture too, but the dressing is the star of this salad. It is creamy, sweet, and tangy, a perfect topping for a delicious salad.

This recipe is my own and will serve 4 to 6 people who will be sure to eat their veggies at this meal!

Ingredients for Broccoli Salad:

4 cups broccoli florets 
1 lb. bacon, cooked and minced
1/2 cup red onions, minced
1/2 cup sunflower seeds
1 cup raisins 

For the Dressing:

3/4 cups mayonnaise
6 tablespoons greek yogurt
1/3 cup sugar
3 tablespoons fresh lemon juice
3 tablespoons apple cider vinegar
1 teaspoon kosher salt
1/2 teaspoon freshly ground black pepper

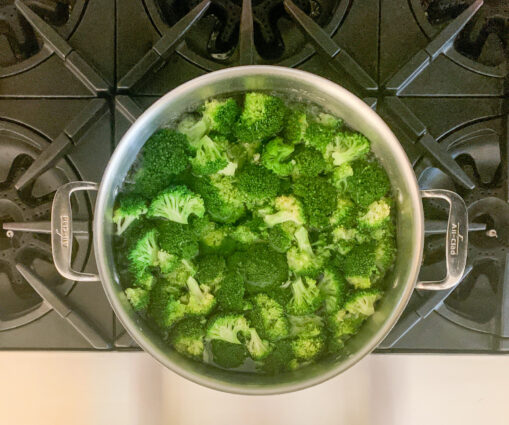
Bring a large pot of water to boil.

Place broccoli into pot and cook for 2 minutes.

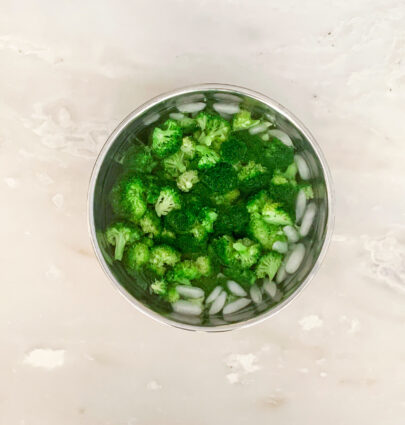
Drain and pour into ice water to stop cooking process.

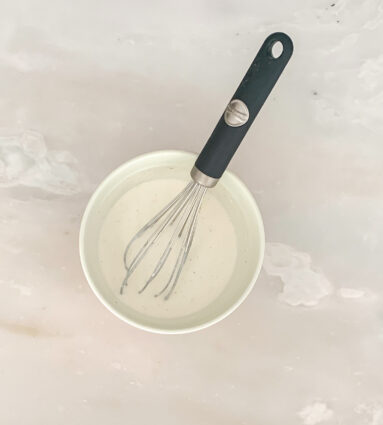
In a small bowl mix together mayonnaise, sugar, lemon juice, apple cider vinegar and salt.

Whisk until smooth.

In a large bowl toss together broccoli florets along with bacon, red onions, sunflower seeds, raisins and prepared dressing.

Can be served immediately, but is best when chilled for at least an hour.

It’s that simple!
signature

[recaptcha]