The weather is perfect these days. Autumn is in full swing and because the cool weather is here, I get to go running outdoors.

I have always been an exercise buff. When I entered college, I went to my first aerobic dance class. My sister dragged me to one, and even though I initially resisted, I fell in love with it. I know I am dating myself, but the class was a Jackie Sorenson class. For those Gen X and millennial folks, Jackie was the first person to invent the aerobics class. 

Wikipedia says this: “Jackie Sorenson (born Jacquline Fay Mills; December 10, 1942) is the American originator of aerobic dancing… Inspired by Dr. Kenneth H Cooper’s 1968 book on aerobic exercise, she created for women an aerobic dance routine to music in 1969 in Puerto Rico, teaching U.S. Air Force wives. She expanded this concept into a teaching method and studio franchise, Aerobic Dancing Inc., that rose to 1,500 locations and 4,000 instructors teaching 170,000 students in 1981 at its peak.”   

She hesitated calling it an aerobics class, because she did not think the term would catch on, given its scientific origins.   Aerobic exercise is performed by repeating sequences of light-to-moderate intensity activities for extended periods of time. Aerobic exercise may be better referred to as “solely aerobic,” as it is designed to be low-intensity so that all carbohydrates are aerobically turned into energy.  Jackie felt that “Americans don’t know what fitness is really all about. They’re worrying about the little muscles in their inner thighs, when they should be worrying about the most important muscle – their hearts.”

With that in mind, you can see how this class changed my life– and health– for the better. Soon after I began taking the class, my instructor offered to train me to learn how to become an instructor. This wasn’t an easy task. At that time, we had a weight requirement, had to run a six-minute mile, and teach in front of the other instructors to make sure our form and routines were performed correctly. While I passed all the levels, this period of examination always made me nervous. How was I going to run a 6-minute mile? I had never run before!  I started to train for my instructor requirements on a regular basis so I wouldn’t have to be so nervous during tryouts. It didn’t really help, I was always nervous when the time came to run the time trial.

I ended up teaching aerobics for 12 years and I loved every minute of it. As an instructor for Jackie Sorenson, I got to meet new people every time a new session began. We were required to have our backs to the students in each class so they did not get nervous about doing the exercise perfectly. If a student asked for extra help, I was happy to stay and help them out. Learning to call out the cues for the steps at the exact time during each song also was a challenge, but I was a quick learner, and the cues became easier and easier to learn. 

Though I started exercising and eating right just for the class, I continue to do so today because I care about my health. I have since been a very disciplined person, who lives by these rules. Oh, there are the days when I wanted to run but found every excuse not to, and I have also had my share of decadent desserts and meals. If you stay pretty disciplined, you can cheat every once in a while. Hey, you only get to live once, right? We all have to have our share of “happy moments.” 

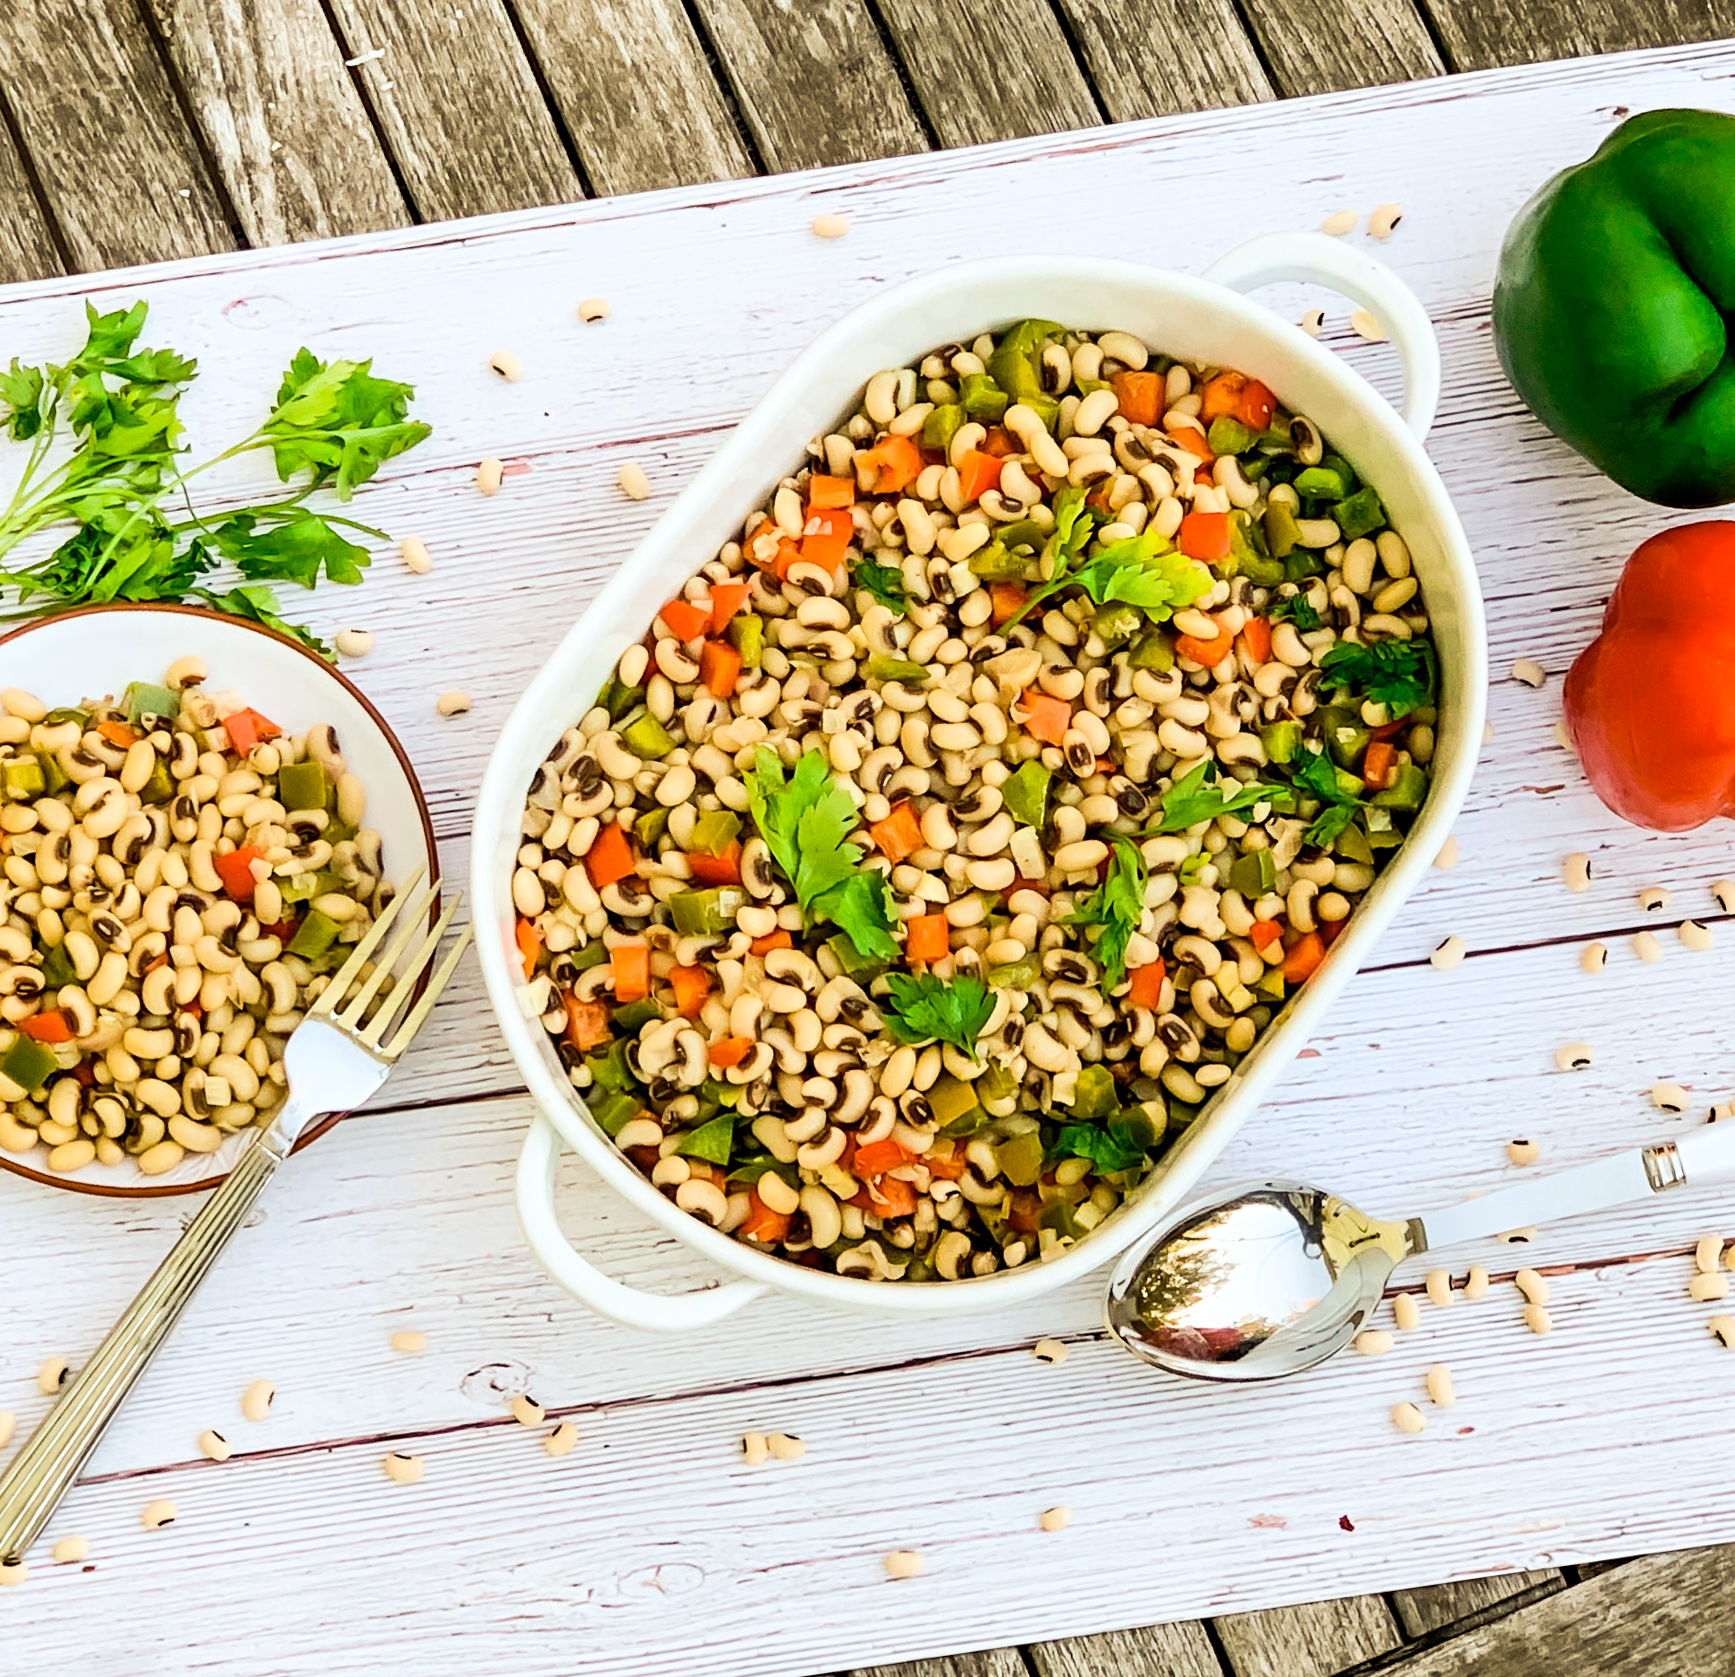
No matter what your daily diet, this is the side or salad for you. It takes some advance planning, but it is worth it. The red and green pepper gives these flavorful beans a nice added crunch. The scallions become sweet and tangy when combined with the vinaigrette. The champagne and apple cider vinegar join together to top this off with a savory goodness. The bacon gives this dish added delectable essence. The bacon is not included in the final dish, but I ate it anyway and so should you!

This recipe is courtesy of 425 magazine and will serve 8 to 10 people who will love this healthy, delicious, and flavorful dish.  

Ingredients for Black Eyed Pea Salad:

2 cups dried black-eyed peas (about 12 oz.)
1 red bell pepper, finely chopped
1 green bell pepper, finely chopped
2 scallions, thinly sliced
1 garlic clove, finely chopped
½ cup olive oil
¼ cup Champagne vinegar or white wine vinegar
¼ cup malt or apple cider vinegar
1 tablespoon chopped fresh flat-leaf parsley
1 tablespoon kosher salt
1½ teaspoon freshly ground black pepper
4 oz. bacon (about 4 slices)
6 cups low-sodium chicken or vegetable broth

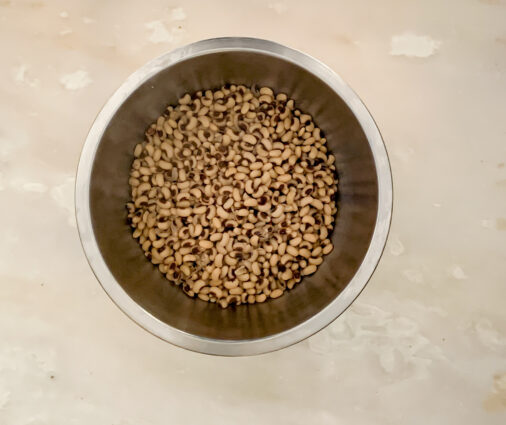
Place black-eyed peas in a bowl and add cold water to cover by 4-inches.
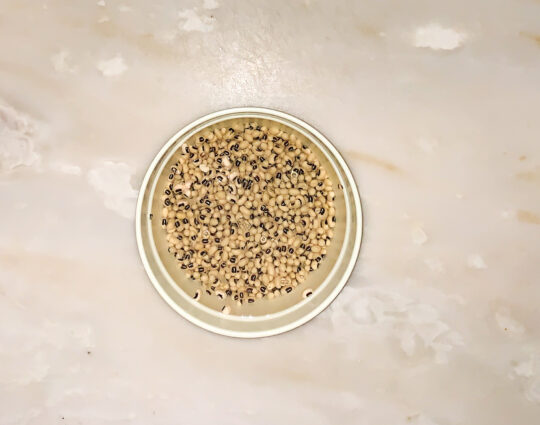
Chill 12 hours, then drain.
 

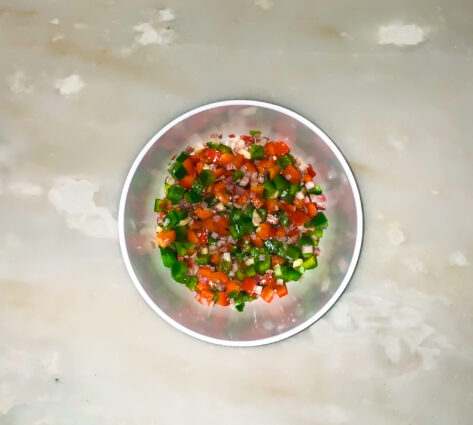
Whisk red and green peppers, scallions, garlic, oil, Champagne vinegar, malt vinegar, parsley, salt, and black pepper in a medium bowl.

Cover and chill vinaigrette at least 4 hours and up to 12 hours.
After beans have finished soaking, cook bacon in a large pot over medium heat, turning occasionally, until brown and fat is rendered (bacon shouldn’t be crisp), 5–7 minutes.

Add beans, then carefully add broth and bring to a boil.
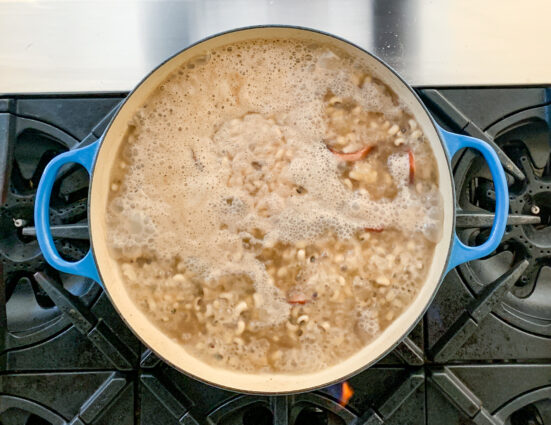
Reduce heat and simmer, stirring occasionally, until beans are tender, 25–30 minutes; remove bacon.

Transfer beans to a large bowl, add vinaigrette, and toss to combine.
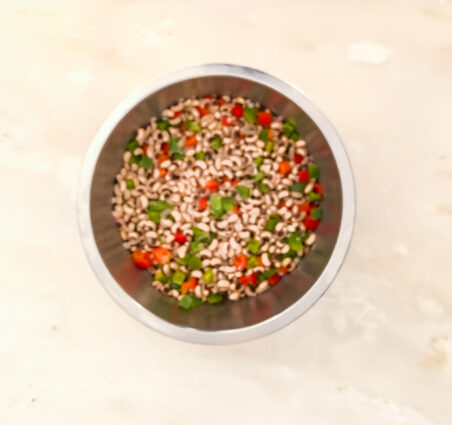
Chill, tossing occasionally, until cool, about 1 hour.

Salad can be made 2 days ahead. Cover and keep chilled.

It’s that simple!

signature

[recaptcha]


I am still wondering what is going to happen this year on Thanksgiving. I know that the people who would normally fly in for the holiday will not be flying this year, and I don’t blame them. Many of them are elderly, and flying is not a good option for them. With this in mind, I have no idea what my normally festive holiday is going to look like. I know so many of you look forward to seeing the pictures, but right now it is not looking like the holiday will be so elaborate and festive. I will keep you all posted.

Today, the weather was actually cool for the first time. I love these days, when the sun is shiny and the days are just a little crisp. Usually, during these months, my husband and I will go antiquing. Over the years, we have accumulated many antique dinner and salad plates for Thanksgiving. When I got married, many moons ago, I had no registry, and fine china was out of the question because it was just too expensive. Looking back on it now, I would not have had china for 50 people, and in all probability, my taste would have changed, and I never would have used it. 

I am lucky to have my mother’s china, but there are not nearly enough plates and I would be too afraid to use it. If I broke a plate, my heart would break with it. I have it beautifully displayed in my kitchen, behind glass door cabinets for everyone to see. I feel comforted when I see it. It is like having a little bit of my mom with me always.

Because the plates are too precious to use, my husband and I made a plan to buy separate pieces of china, each with its own pattern. We had such a fun time, and to my surprise, my husband really enjoyed the hunt and became pretty good at finding the right pieces. It took several years to buy enough to be able to use them for the holidays. Because I was looking for single plates, I often got really good deals on the expensive ones. They discounted them a lot because, let’s face it, not many people are looking for just one plate.

Several years ago, we finally accumulated enough plates to use the entire “set.” What a great accomplishment that was! My husband and I are so proud of our china because we handpicked every plate with love.

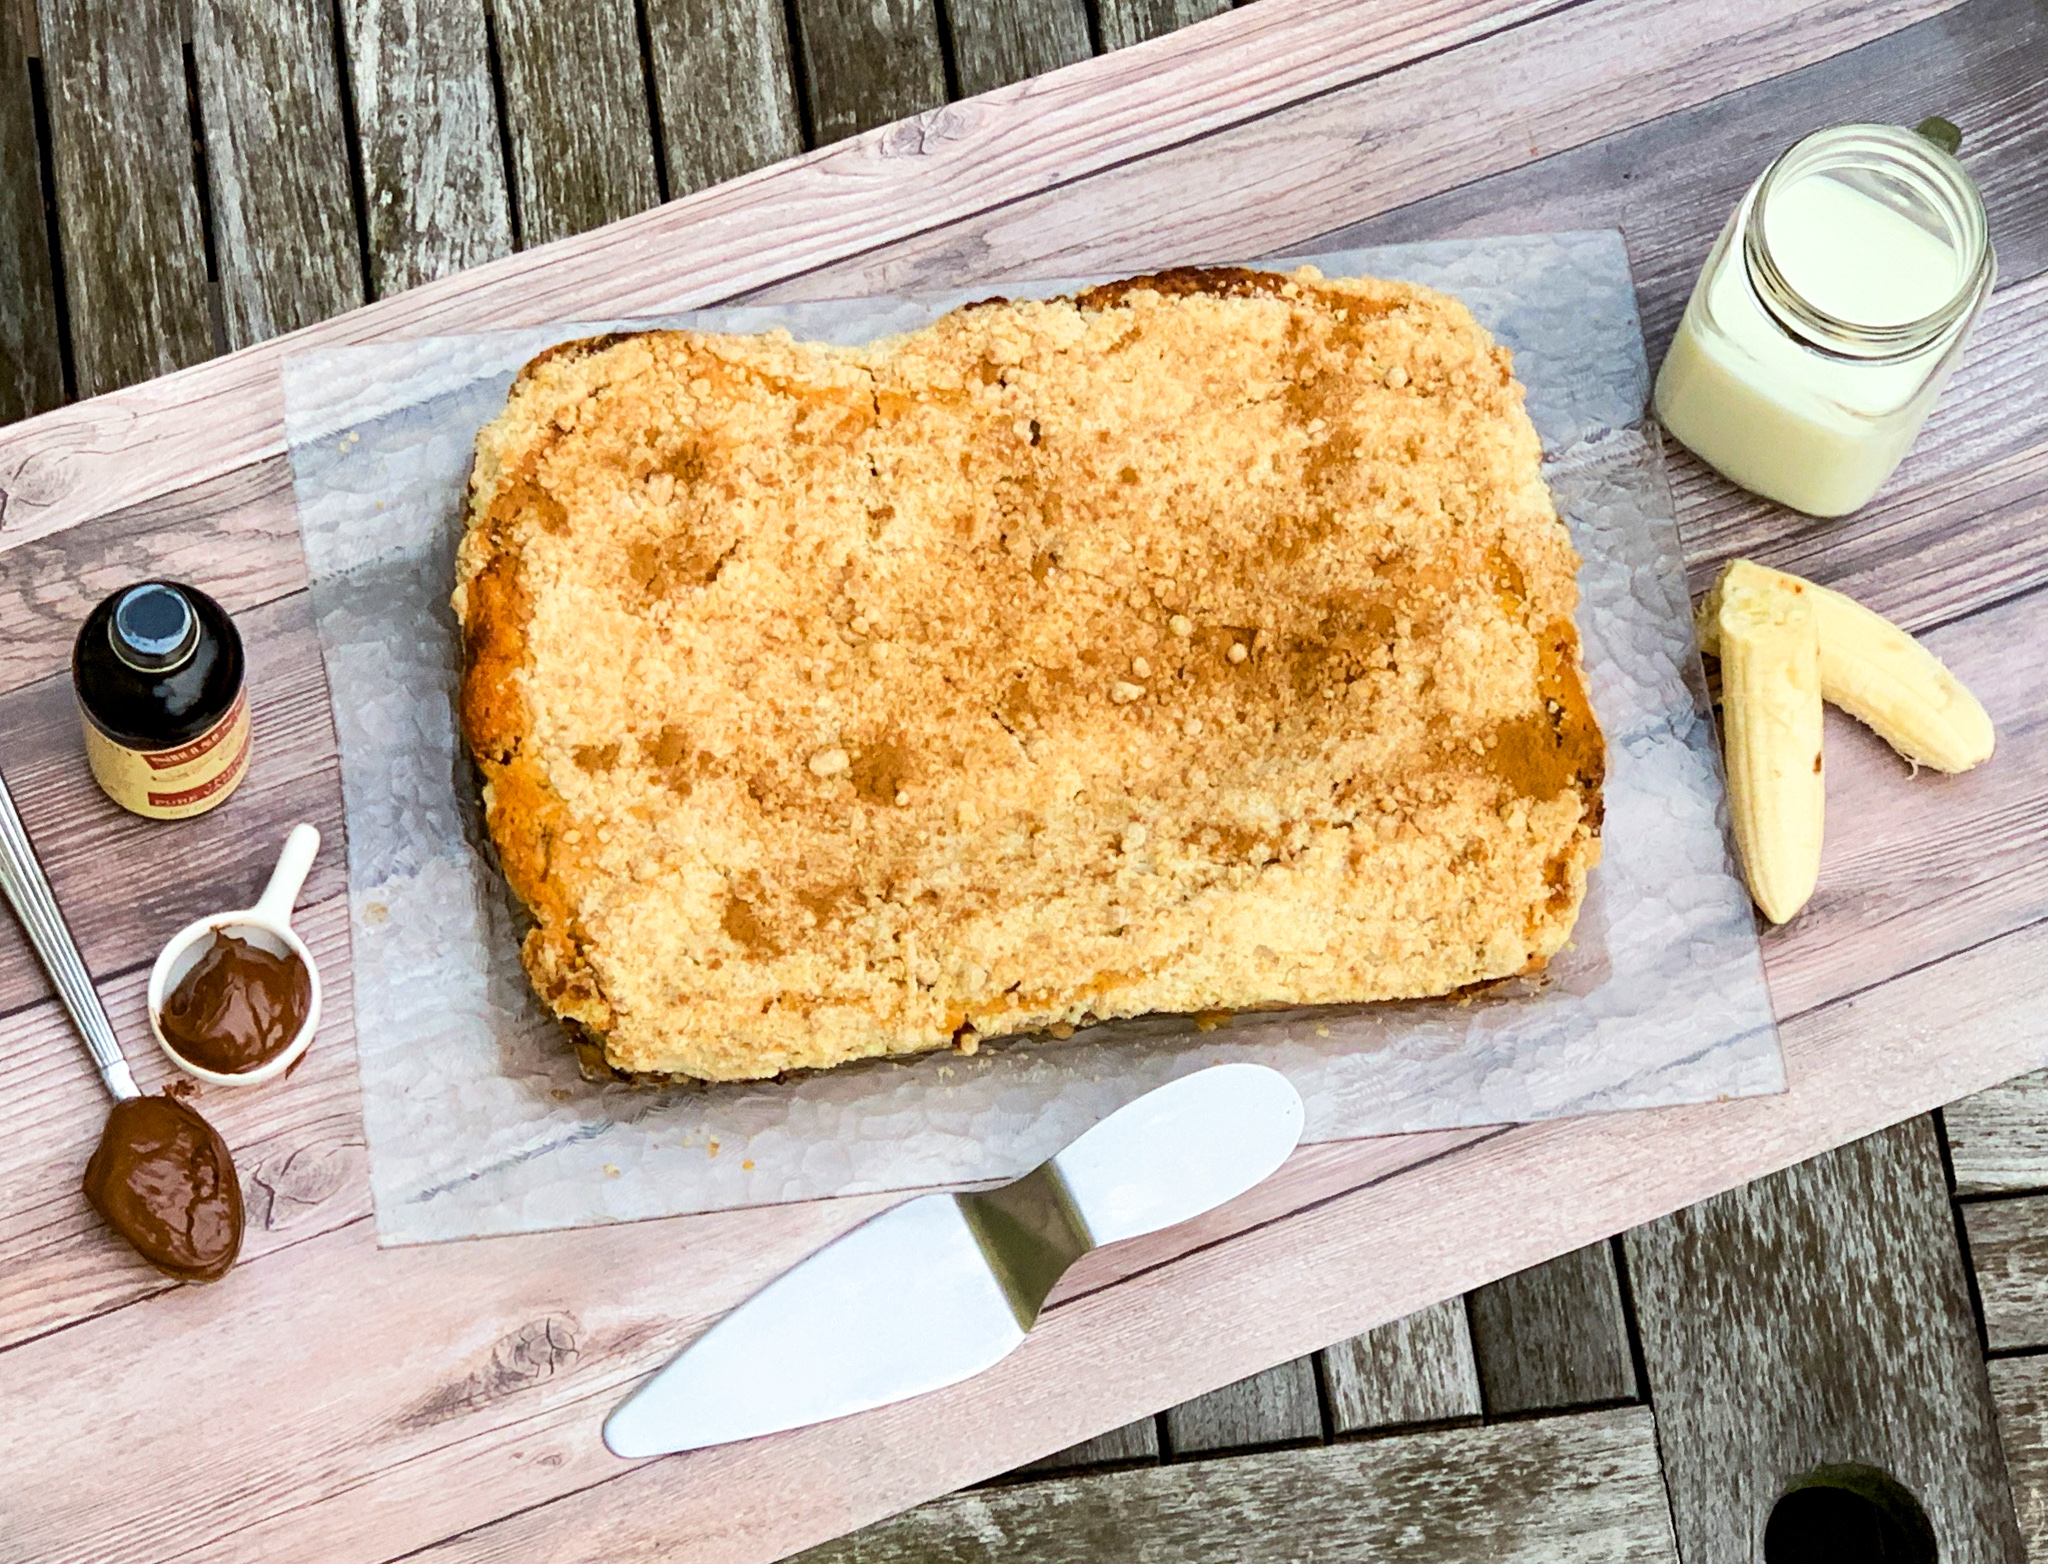
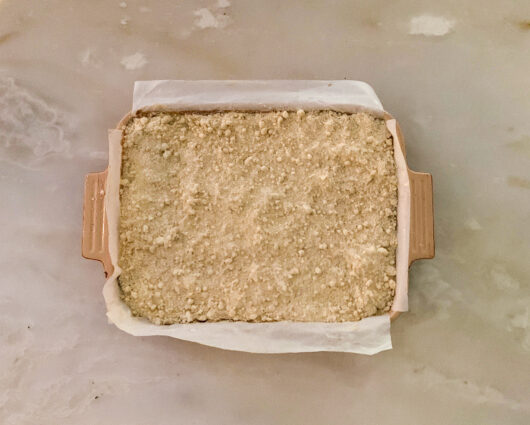
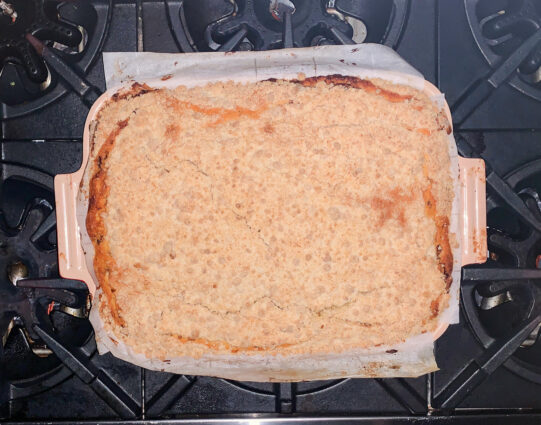
I know Thanksgiving is right around the corner, but you surely do not have to wait until then to make this fabulous cake. The sour cream, eggs and buttermilk ensure that this cake is both moist and fluffy. The vanilla combines beautifully with the bananas, giving it a deeper flavor than a regular banana cake. The Nutella, brown sugar, and banana filling make this cake wonderfully addicting. The topping adds another layer of savory goodness, and the result is a crunchy crumb topping, a heavenly moist cake concealing a luscious layer of banana and of course, Nutella. This is a “must try.”

This cake is courtesy of Ovenly, and will serve 12 people who will love this cake for Thanksgiving, or any other day of the year.

Ingredients for Banana Nutella Coffee Cake:

For the Cake:

1 cup of unsalted butter
3 3/4 cup all-purpose flour
2 cup sugar
1 tablespoon baking powder
1 1/2 teaspoon salt
1/4 teaspoon baking soda
1 cup buttermilk
4 eggs at room temp
1/4 cup sour cream
2 teaspoon vanilla

For the Filling:

2 ripe bananas, peeled and sliced thinly
1/2 cup Nutella spread
1/4 cup brown sugar

For the Topping:

4 tablespoons unsalted butter
1 cup all-purpose flour
3 tablespoons sugar
2 tablespoons brown sugar
1 1/4 teaspoon ginger
1 teaspoon cinnamon

Preheat oven to 350 degrees and grease a 13×9-inch pan.

Melt the 1 C of butter and set aside.

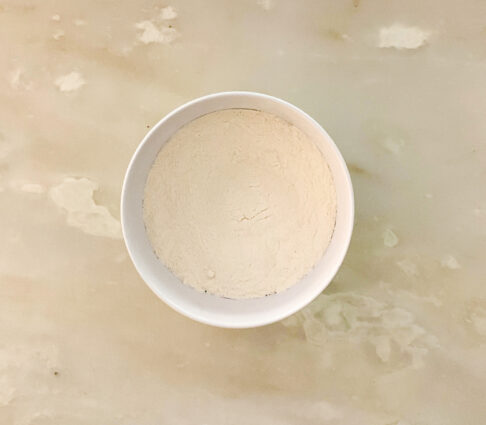
In a large bowl, whisk together the flour, sugar, baking powder, salt and baking soda.

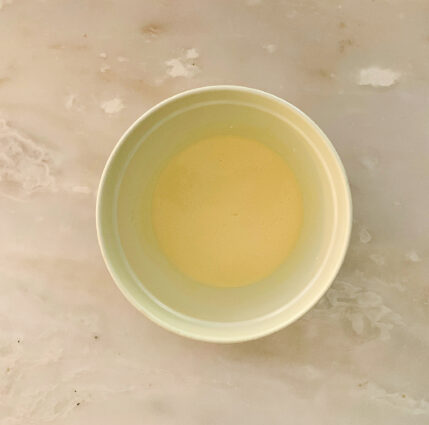
In a separate bowl, whisk together the buttermilk, eggs, sour cream, vanilla, and melted butter.

Using a spatula, mix the dry into the wet until combined.

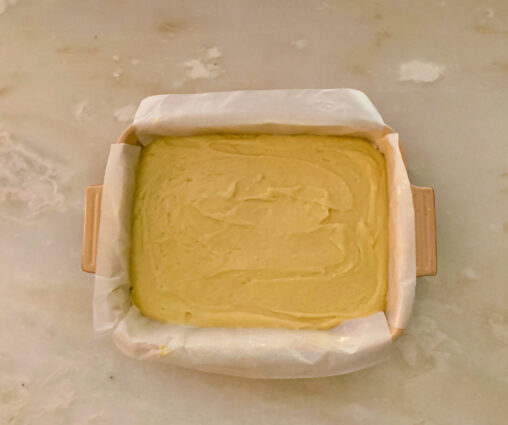
Layer half the batter into the pan.

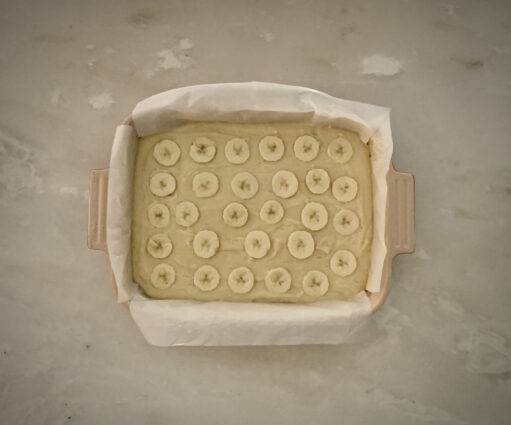
Lay the sliced bananas on top.

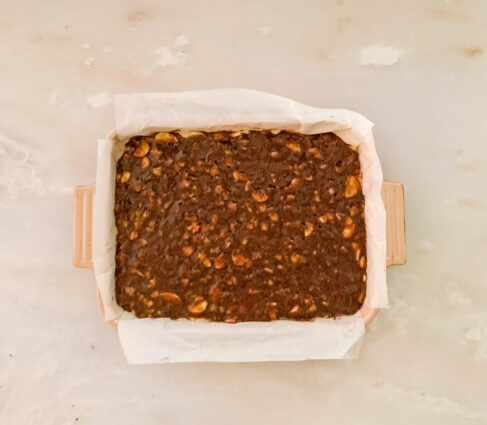
Drizzle on the nutella spread.

You may need to warm the spread to make it thin and pourable.

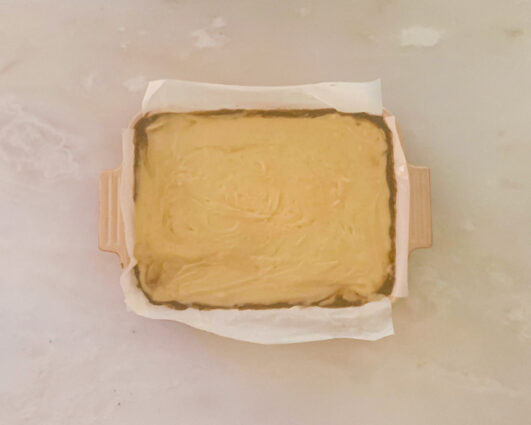
Next, carefully layer the remaining batter on top of the bananas and nutella. I used a spatula to smooth out the batter because it’s really thick.

Make crumble topping:

Melt 4 tablespoons of butter and set aside to cool.

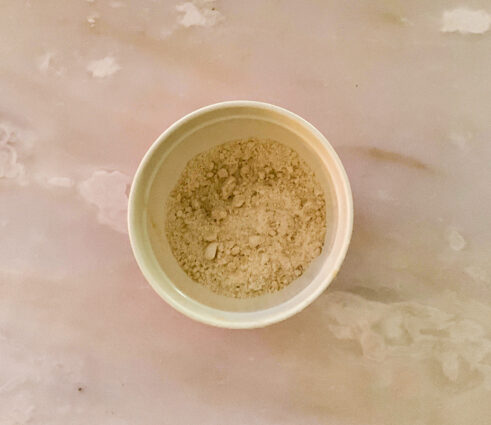
Whisk remaining dry ingredients in a small bowl.

Add the melted butter with your hands or a folk and mix until crumbly.

Sprinkle topping over coffee cake batter.

Bake for 50-55 minutes until set when a toothpick inserted comes out clean.

Cool on a wire rack before slicing.

Make 12 generous squares

It’s that simple!


signature

[recaptcha]


Cabbage is a controversial food in many homes. To most people, cooked cabbage is not appealing. The fact remains that very few of us are born cabbage lovers, but as we get older, our taste buds increase and most of us were willing to give it another try. 

Even still, this vegetable is not one of the more exciting ones. Many of us associate it with that dreaded cabbage soup we eat to lose weight. Its 15 minutes of fame comes around St. Patrick’s Day, when it is paired with corned beef. Then, of course, once the holiday has come and gone, we forget about it. Many of our mothers and grandmothers have made stuffed cabbage, but did anyone really enjoy it as a kid? Personally, I would not have gone anywhere near it. 

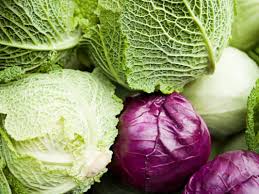
These days, you can find beautiful, fresh, locally grown cabbage in most farmer’s markets. It comes in a variety of shapes and colors, including red, purple, white, and green, and its leaves can be either crinkled or smooth. While it may look a lot like lettuce, it actually belongs to the Brassica genus of vegetables, which includes broccoli, cauliflower, and kale. Now I can eat it raw, roasted, steamed or in soup. Red or green, I am not picky. I love a good coleslaw and have even posted a few cabbage recipes in the past. You can enjoy cabbage when it is roasted, with some butter, salt, and pepper. This time, this unpopular vegetable is roasted with cheese, which always makes any dish more appealing. 

Cabbage is rich in vitamin B6 and folate, both of which are essential. In addition, cabbage is high in fiber and contains powerful antioxidants, including polyphenols and sulfur compounds. Cabbage is especially high in vitamin C, a potent antioxidant that may protect against heart disease, certain cancers, and vision loss. 

Cruciferous vegetables like cabbage contain antioxidants that have been shown to reduce chronic inflammation as well. Eating more cabbage is an excellent way to keep your digestive system healthy and happy. Cabbage contains more than 36 different kinds of potent anthocyanins, making it an excellent choice for heart health too. 

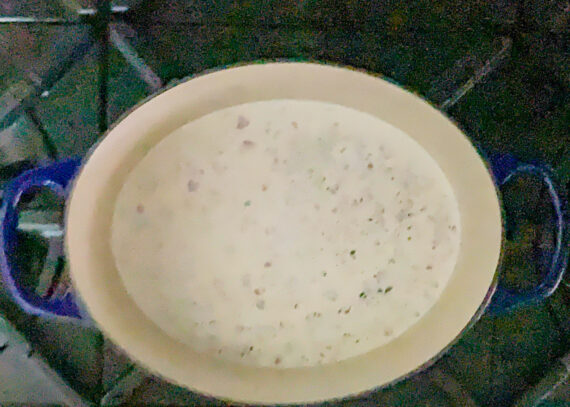
I hope I have convinced you to try it, you won’t be sorry, especially in this delectable side dish. This gratin is rich with flavor. The shallots, garlic and thyme are the savory touch in this dish and the cream gives it a lush texture that is so hard to pass up. The cabbage becomes beautifully caramelized, giving it a sweet, addicting flavor. The cheeses add gooey deliciousness and the result is a scrumptious side dish that is so appetizing, it may make you fall in love with cabbage all over again.

This recipe is courtesy of Bon Appetit and will serve 8 people who will be amazed at how cabbage can be transformed.

Ingredients for Cheesy Cabbage Gratin:

1 medium head of green or savoy cabbage (about 3½ lb. total), cut through core into 8 wedges
2 Tbsp. extra-virgin olive oil
1½ tsp. kosher salt, plus more
1 tsp. freshly ground black pepper, plus more
2 medium shallots, quartered through root end
4 garlic cloves
2 cups heavy cream
1 Tbsp. thyme leaves, plus more for serving
1 Tbsp. unsalted butter
3 oz. Gruyère, grated (about 1½ cups)
½ oz. Parmesan, finely grated (about ½ cup)

Place oven racks in upper third and middle of oven; preheat to 350°.

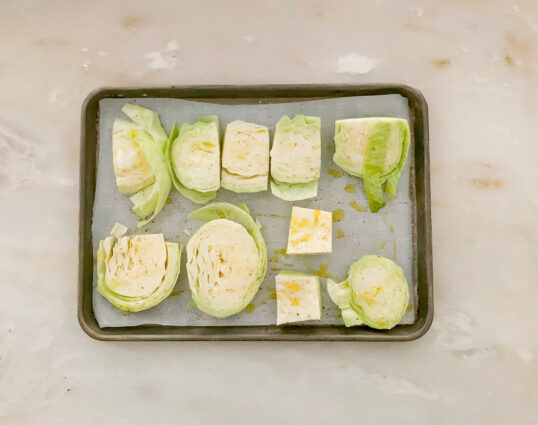
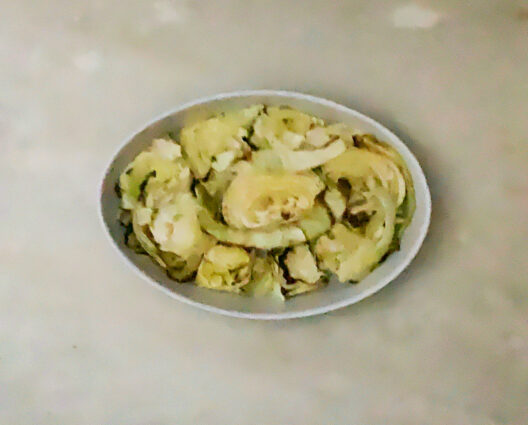
Place cabbage on a rimmed baking sheet and drizzle with oil; season lightly with salt and pepper.

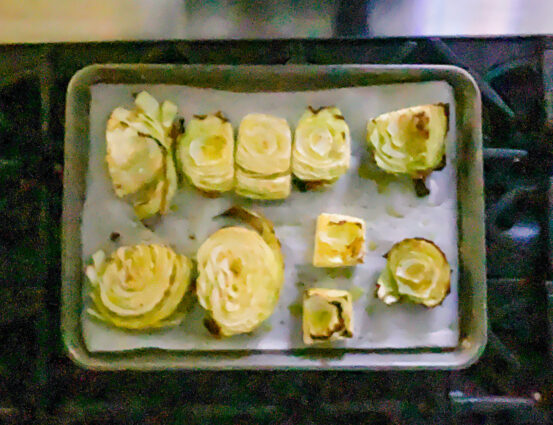
Roast until tender and edges are golden, 40–45 minutes. (This is an essential first step: It draws out the excess moisture, ensuring that the cream mixture doesn’t get watery.)

Meanwhile, bring shallots, garlic, cream, 1 Tbsp. thyme, 1½ tsp. salt, and 1 tsp. pepper to a simmer in a small saucepan over low heat.

Cook, stirring occasionally, until shallots and garlic are very soft, 15–20 minutes.

Let cool slightly.

Transfer to a blender; blend until smooth.

Rub the inside of a 3-qt. shallow baking dish with butter.

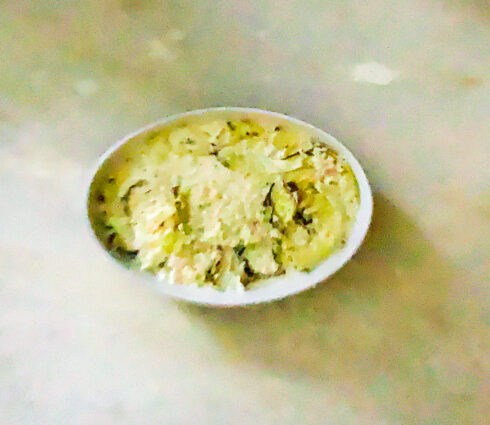
Arrange cabbage in dish so wedges are lying on a cut side.

Pour cream mixture over.

Bake on middle rack, uncovered, until cream thickens, 30–40 minutes.

Let cool 30 minutes.

Heat broiler.

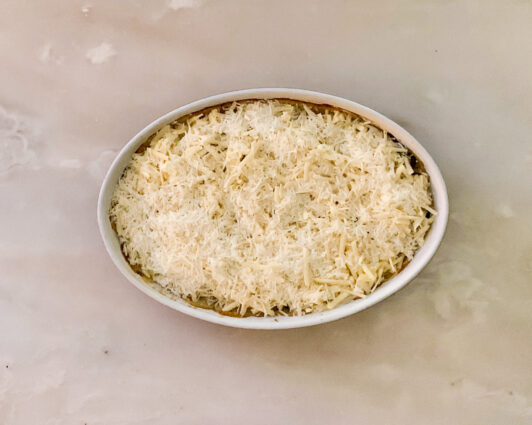
Sprinkle Gruyère and Parmesan evenly over cabbage.

Broil until cheese is bubbling and gratin is deeply browned, about 4 minutes.

Top with more thyme.

Do Ahead: Gratin (without cheese) can be baked 1 day ahead. Cover and chill. Bring to room temperature before sprinkling with cheese and broiling.

It’s that simple!
Come on, give it another try!

signature

[recaptcha]


During this crazy health crisis, it is important that we all take care of each other.  Giving without the expectation of anything in return will elevate your happiness and sense of caring. It shows that you are thinking of someone, and will help you strengthen the bond that you have with them.

There is a social value to gift-giving as well. For thousands of years, people have engaged in “potlatch”, now an antiquated term, that was a happy ceremony that celebrates engaging in this custom. Many moons ago, the status of a family was dictated not by their wealth, but instead by those who gave away the most. The more lavish the potlatch, the more prestigious the family was.

Whether it is a gift of time, a meal, or a necklace, gift giving is one of the ways one can show a partner that they care. It can strengthen a bond or even signal that a relationship is likely to end. With many branches of social science weighing in, the New York Times wrote that giving gifts is “a surprisingly complex and important part of human interaction and will help define relationships and strengthen bonds with family and friends.” They also note that it is often the giver, rather than the recipient who reaps the most psychological gains from a gift.

This is a cue for all of us to go out of our way and make someone happy. By doing this, the biggest effect may be on ourselves. It reinforces our feelings for them, but also makes us feel effective and caring, and who could want anything more?

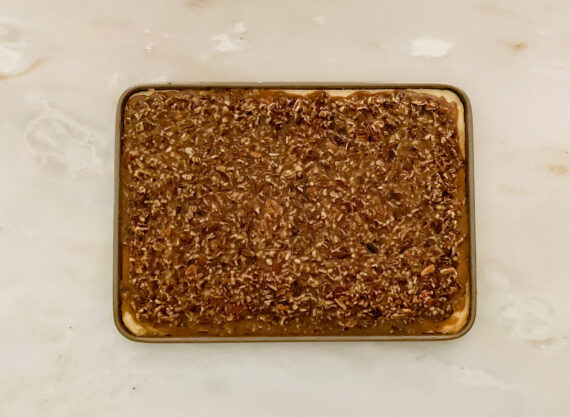
If you make this delicious treat, you may want to make another batch and give it to someone you care about. These perfect pecan bars will surely make their day. The heavy cream adds a depth of flavor that ensures these bars are delightfully rich. The honey makes it lip smacking, gooey, and sweet. The orange and lemon zest gives it savory tang, and of course the pecans add a smokey, nutty goodness. They are housed by an elegant crust, making each bite irresistible. These bars are a delightful treat, for dessert, breakfast, or a snack. It is love in every bite.

This recipe is courtesy of Ina Garten, who never, ever disappoints. It will serve 6 to 8 of the luckiest people.

Ingredients for Ina Garten’s Pecan Squares:

For the Crust:

2 1/2 cups Unsalted Butter, room temperature (this is 5 sticks of butter or 1.25 lbs)
3/4 cup Granulated Sugar
3 Eggs, large
3/4 teaspoon Pure Vanilla Extract
4 1/2 cups All-Purpose Flour
1/2 teaspoon Baking Powder
1/4 teaspoon Salt

For the Filling:

2 cups Unsalted Butter (this is 4 sticks of butter or 1 lb)
1 cup Honey
3 cups Light Brown Sugar, packed
1 teaspoon Grated Lemon Zest
1 teaspoon Grated Orange Zest
1/4 cup Heavy Cream
2 pounds Chopped Pecans

Preheat the oven to 350 degrees F.

Make the Crust:

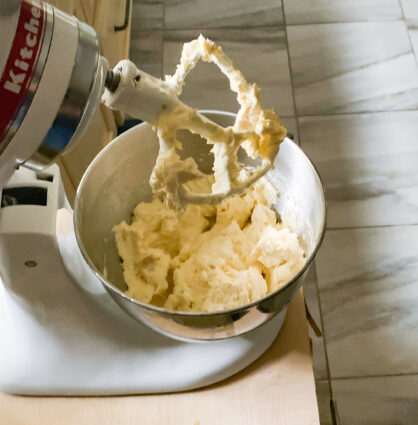
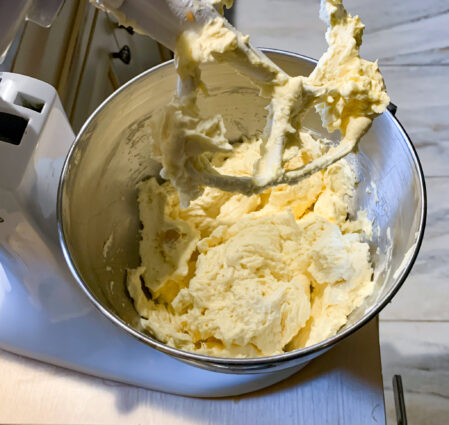
Beat the butter and granulated sugar in the bowl of an electric mixer fitted with a paddle attachment, until light, approximately 3 minutes.

Add the eggs and the vanilla and mix well.

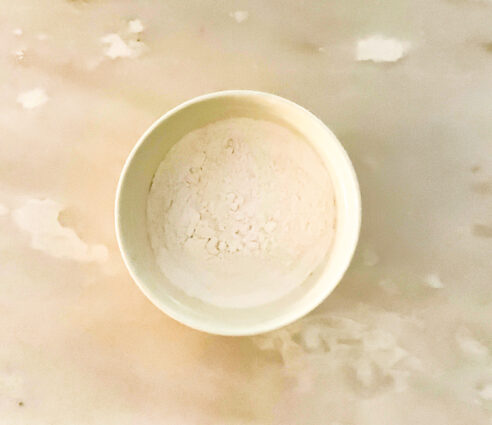
In a separate bowl, sift together the flour, baking powder, and salt.

Mix the dry ingredients into the batter with the mixer on low speed until just combined.

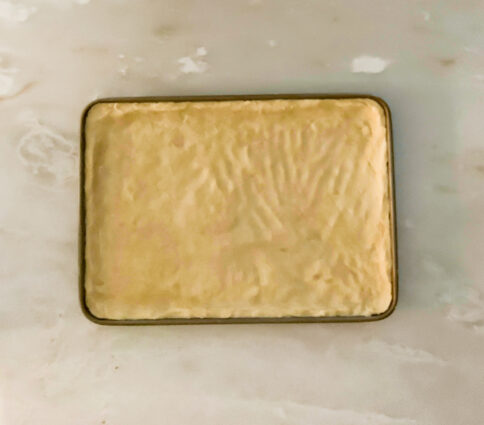
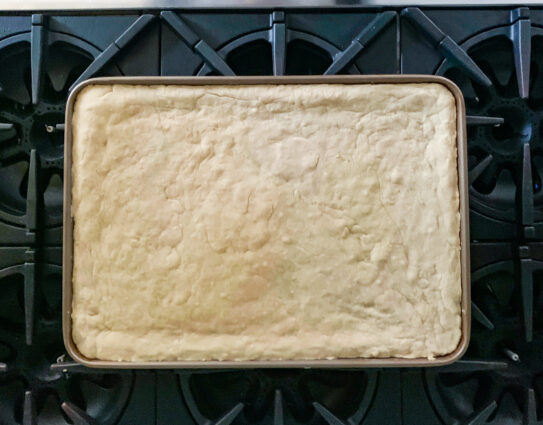
Press the dough evenly into an ungreased 18 by 12 by 1-inch baking sheet, making an edge around the outside.

(Note: The crust dough will be very sticky. To make it easier to work with, dust your hands and the dough with some flour as you work.)

Bake for 15 minutes, until the crust is set but not browned. Allow to cool.

Make the filling:

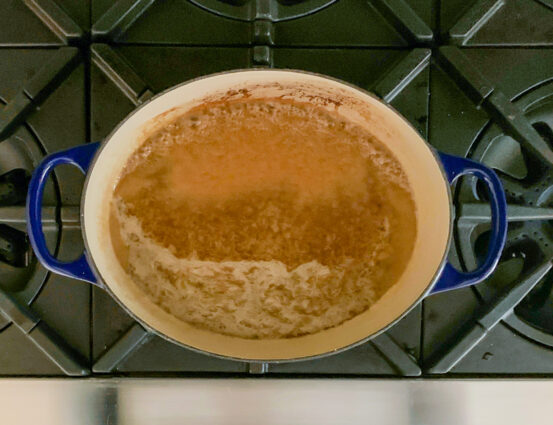
Combine the butter, honey, brown sugar, and zests in a large, heavy-bottomed saucepan.

Cook over low heat until the butter is melted, using a wooden spoon to stir.

Raise the heat and boil for 3 minutes.

Remove from the heat.

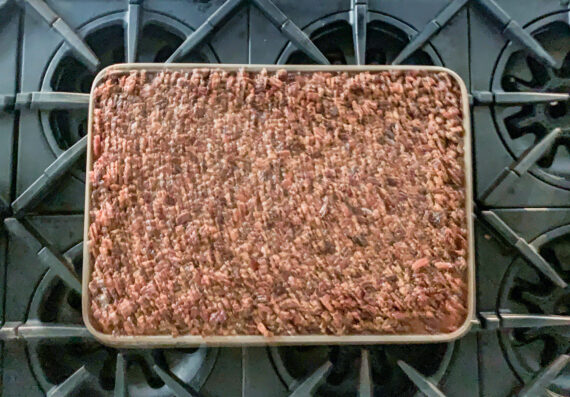
Stir in the heavy cream and pecans.

Pour the filling over the crust, trying not to get the filling between the crust and the pan.

Bake for 25 to 30 minutes, until the filling is set.

Remove from the oven and allow to cool.

Wrap in plastic wrap and refrigerate until cold.

Cut into bars and serve.

It’s that simple!
signature

[recaptcha]


This week, I’ve been musing on talents.  From clothing designers to home decorators to artists and chefs, I always wonder how some people can see things in their head and bring them to life.  Highly creative people tend to think for themselves, and are not easily influenced or swayed by others. They can, unlike most people, easily think outside the proverbial box. What distinguishes the “highly creative” folks from the rest of us is their ability to follow through on their creative ideas.  Who among us has not had some incredible idea?  I’m sure we all have.  Now who of us has gone and made that a reality?  That pool is far smaller than the first one.

When people say they are not creative, it can be a self-fulling prophecy. We assume that creativity is an innate quality, so we never try to create anything, so we never get better at it, which discourages us from ever trying.  See what I mean?  

I know there is a lot of anxiety around the first brushstroke, note, or word.  Beginning is really difficult, but with enough practice, we can learn how to get around that paralysis and just start. Part of that is understanding that not everything we make has to be perfect.  Before every masterpiece came hours of practice and imperfections.  For me, this blog made me believe that maybe, just maybe, I could create something of my own. I had to overcome the self-deprecating thoughts in my head and just go for it. 

And so here I am, doing just that.  If I can do something like this, I think you can too. Don’t let your fears stop you. After I received so many encouraging comments about my blog, I began to feel better about my own creativity. Sure, there were problems with it, but it was the support of others that helped me to continue until it became easier to write.  Of course, I will never be the next Ralph Lauren or Tory Birch, but this is good enough for me. Now, in what ways are you creative? I am sure there are some thoughts you can act on– maybe a drawing, painting, half finished dance, or neglected instrument?  If not, I’ve got a recipe for you to try.  Let go of your inhibitions, and give it a shot.

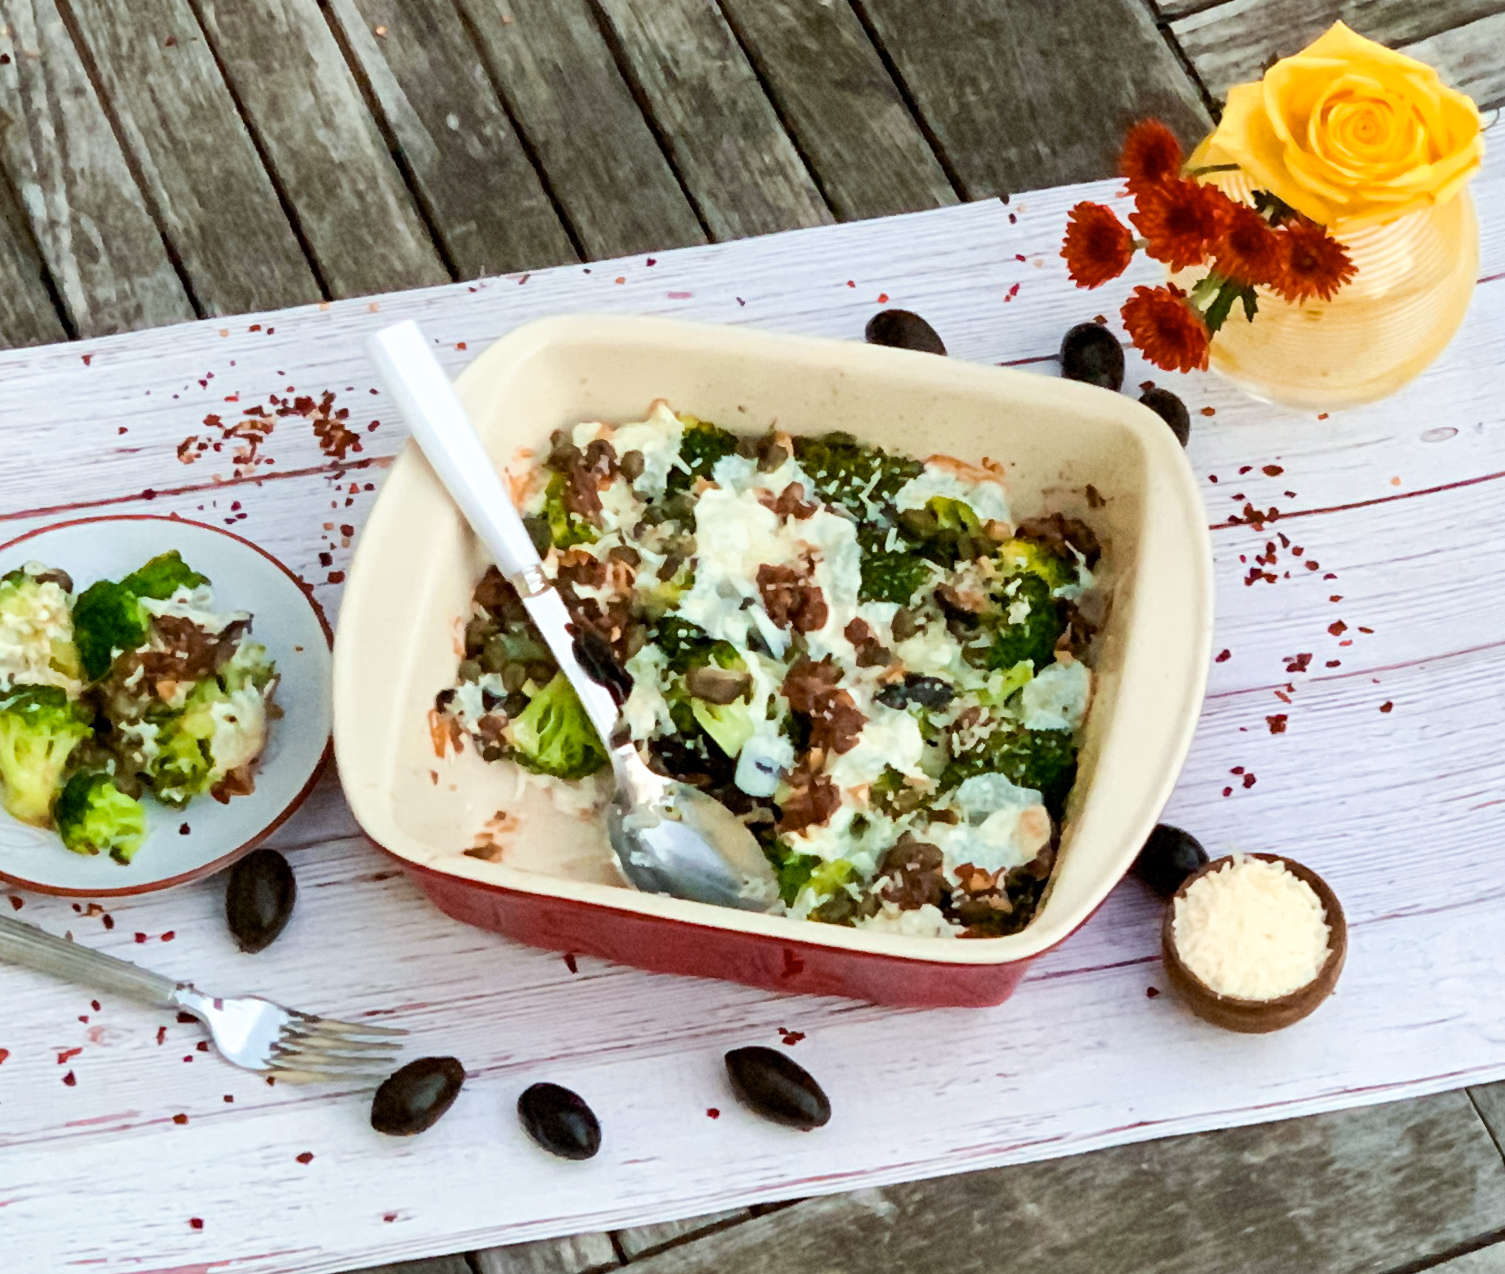
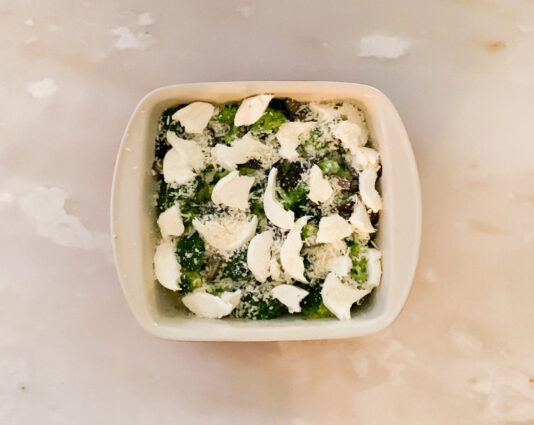
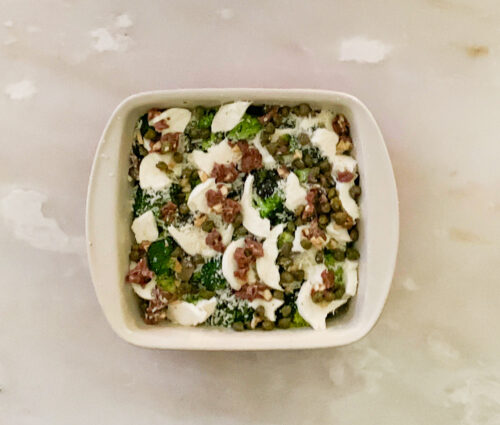
I had a lot of left-over broccoli from the holidays, and wanted to find a new and unusual way to use it. The olives are a savory twist on ordinary broccoli and they combine deliciously. The red pepper flakes add just a touch of heat. The two cheeses are baked to bubbly, delightful goodness that makes every bite a mouthful of scrumptious satisfaction. Don’t miss this one. It will definitely be a crowd pleaser.

This recipe is loosely adapted from the New York Times and will serve 8 to 10 people who will not want to pass this up. 

(There were several ingredients missing in the recipe, so I added them with the amounts I thought appropriate for this dish.)

Ingredients for Baked Romanesco Broccoli with Mozzarella and Olives:

2 or 3 medium heads Romanesco broccoli (about 3 pounds)
3 tablespoons extra-virgin olive oil, plus more for baking dish
1-pound fresh mozzarella, sliced
1 cup grated pecorino or Parmesan (about 2 ounces)
1 dozen soft black oil-cured olives, or another type of black olive, pitted
2 garlic cloves, chopped
8 anchovies, chopped
1/4 cup capers, drained and dried
½ teaspoon crushed red pepper, or to taste
4 sprigs oregano, leaves trimmed and chopped

Put a large pot of well-salted water over high heat and bring to a boil.

Heat oven to 375 degrees.

Cut broccoli into quarters and trim away the core and any tough bits.

Chop quarters into rough 2-inch cubes.

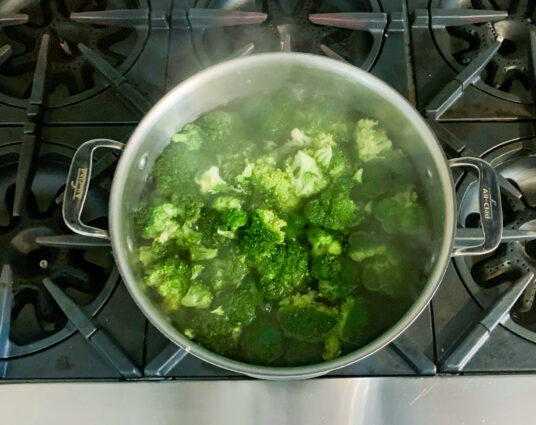
Transfer to boiling water and cook for 2 minutes.

Drain and rinse with cool water.

Lightly oil an earthenware baking dish.

Arrange blanched broccoli in one layer.

Season lightly with salt and pepper.

Tear mozzarella slices and scatter over the top, then sprinkle with pecorino.

Arrange olives here and there.

In a small bowl, stir together capers, anchovy, garlic, red pepper and 3 tablespoons olive oil.

Drizzle mixture evenly over the top.

Bake for about 30 minutes, until cheese has browned a bit and broccoli is tender when pierced with a fork.

Let rest 10 to 15 minutes before serving.

Sprinkle with a good pinch of dried oregano.

It’s that simple!
Why don’t more people like me?

signature

[recaptcha]