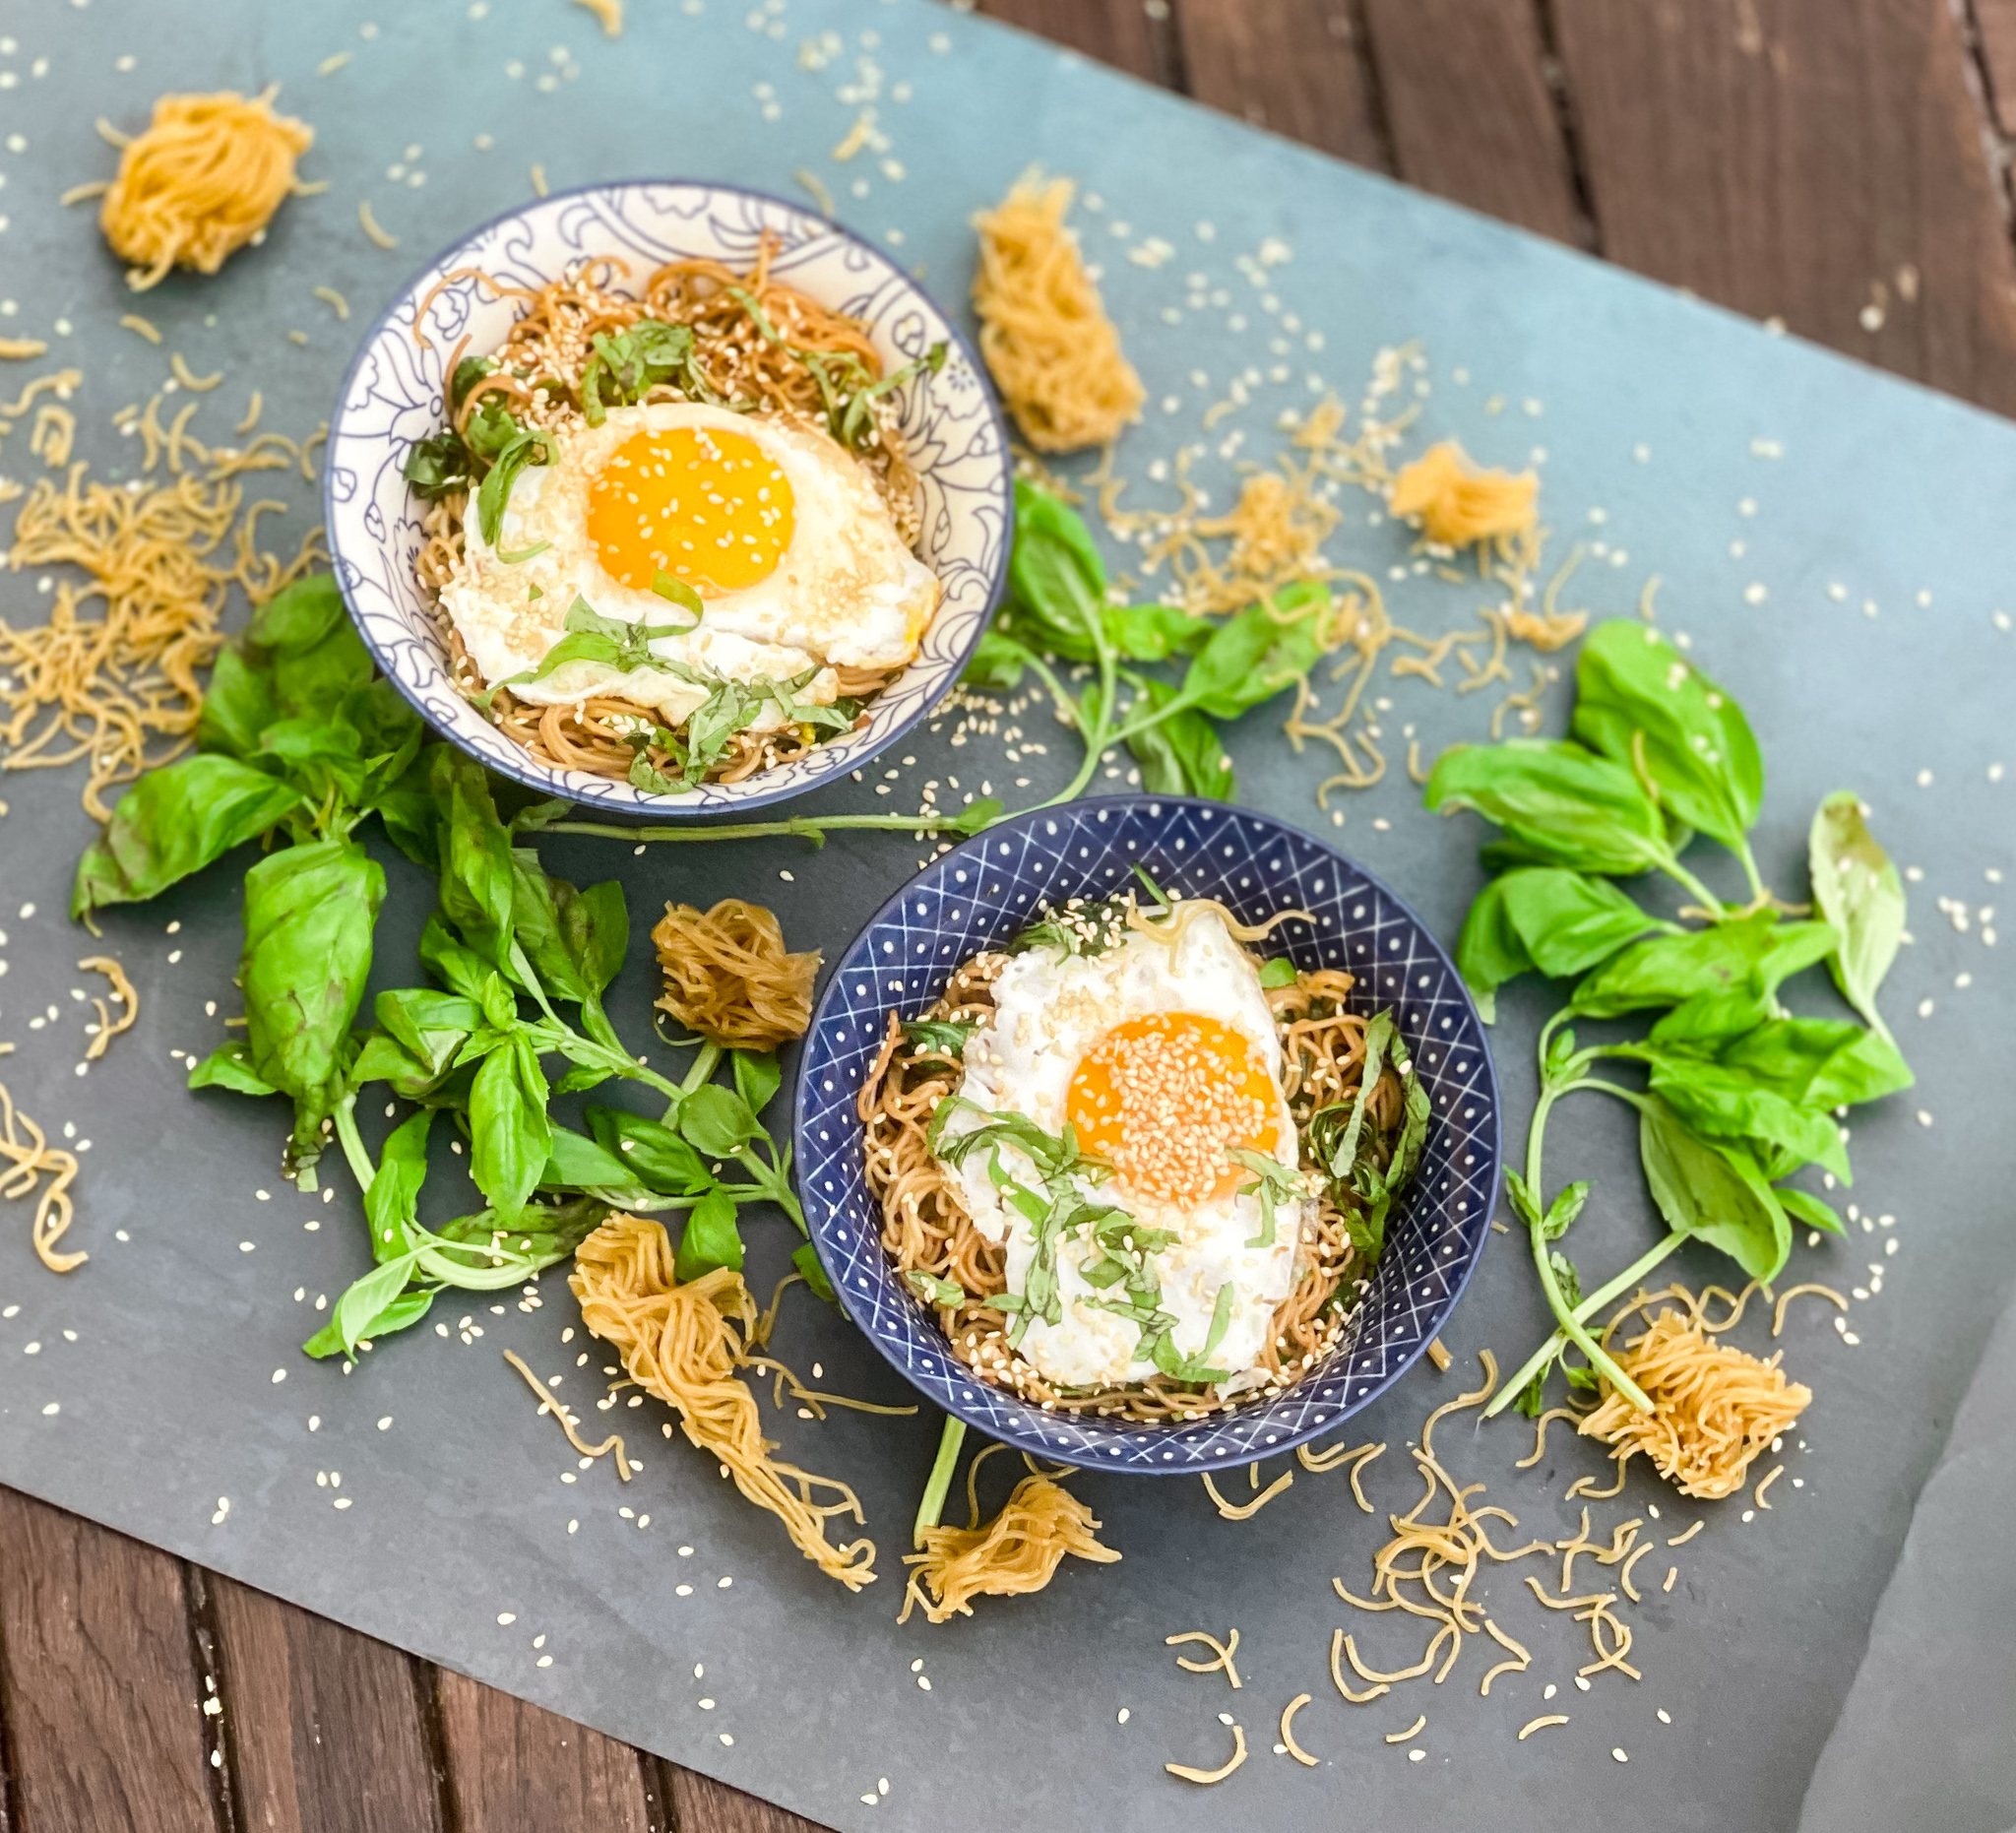
Ramen has become all the rage in recent years. I probably don’t have to tell you this, but ramen is a dish of pulled wheat noodles usually served in broth and flavored with soy sauce or miso. It has gone from pre-packaged staples of college students everywhere to restaurant menus all over the world. My kids lived on ramen noodles when they were in college, as did their roommates. I would buy the packages by the dozen, and they loved them. Thankfully, these noodles are very versatile. They are easy to make and can easily be changed to your tastes with spices of your choice. If you can’t find ramen noodles, you can easily substitute angel hair pasta or thin spaghetti in the recipe below.

Ramen has become a new favorite in global market trends. Japan is the birthplace of instant noodles, and China is the biggest consumer of ramen noodles in the world. In the United States, there has been a huge increase in competition of global market brands who are competing to win the hearts and minds of consumers, so you’ll find many different brands on the shelves these days.

These noodles have become immensely popular during the long cold days of winter. The warm, satisfying broth offers that blissful wintery feeling while it’s cold outside.  This is a one bowl meal that can be garnished with meat or vegetables that simmer in a delicious flavorful broth. All across the US, people are learning to love this flavorful dish and many restaurants have adopted ramen, or ramen-like offerings into their menus.

Although ramen alone is not necessarily the healthiest food, it does contain iron which is necessary for moving oxygen throughout the body and preventing fatigue and anemia (iron deficiency).  You can make your dish healthier by adding meats, poultry, or vegetables.  They also add volume to the meal and can increase feelings of fullness.

Even if you just use the noodles and not the seasoning, you can make these delightful noodles into something comforting and healthy. Are you a ramen lover? I would love to hear from you. Please send me an email and don’t forget to like or follow me on Facebook. Of course, do not forget to subscribe to my newsletter so you never miss a thing!

I just love this dish. It takes very little time and effort to make. The butter gives it a smooth creamy taste. The garlic and ginger are the savory here, and cooking them before adding the noodles is sure to make your house smell amazing. The greens add additional flavor and texture, so don’t leave them out. The soy sauce gives it a little tang and the basil gives it a smooth piquant flavor. Please add the egg! They are the perfect topping for this delightful, cozy dish.

This recipe is courtesy of Super Simple by Tieghan Gerard and will serve 2 people who will absolutely love to cozy up with this savory winter meal.

Ingredients for Garlic Butter Ramen:

2 packs brown rice ramen noodles, seasonings discarded
6 tablespoons salted butter
4 cloves garlic, minced or grated
2 teaspoons fresh grated ginger
2 to 3 cups chopped leafy greens, such as spinach or kale
3 tablespoons low-sodium soy sauce
1/4 cup fresh basil, roughly chopped 
2 soft boiled or fried eggs (optional) 
Toasted sesame seeds for serving

In a large skillet over medium heat, melt the butter, then add the garlic and ginger, stirring constantly.

Cook until the garlic is fragrant and beginning to caramelize, 3 to 4 minutes.

Add the greens and cook until wilted, 2 to 3 minutes more.
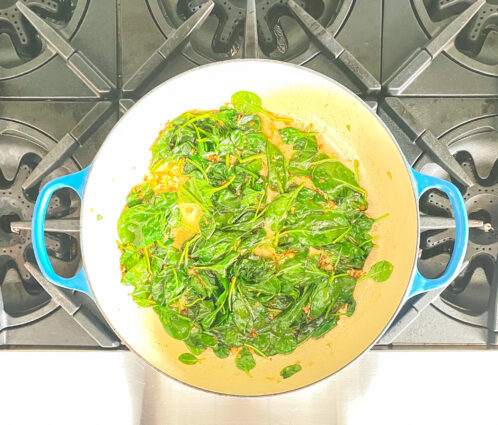
Meanwhile, cook the noodles according to the packet instructions.

Drain.

Add the noodles and soy sauce to the skillet, tossing with the garlic and butter.

Remove from the heat and add the basil, tossing to combine.
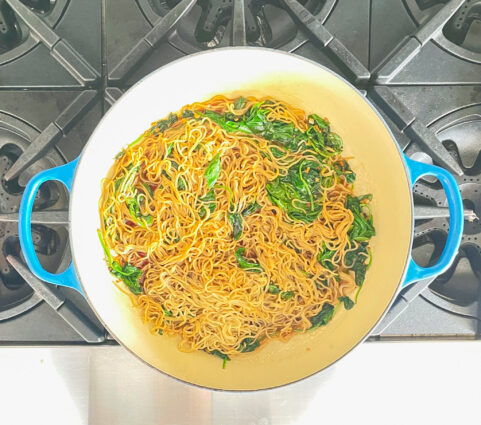
Divide the noodles between two bowls and top each with a fried egg, sesame seed, and more basil if desired.

Season with pepper.

It’s that simple!

signature

[recaptcha]


What’s red, white, and absolutely delicious? A red velvet cookie, of course! It is a baked sweet treat that is a cookie twist on an old-fashioned cake. 

Stella Parks states that the “cake has its roots in the Victorian era. There was a ‘velvet cake’ with a smooth, soft crumb, as well as a ‘dense and fudgy’ chocolate cake made with egg yolks.” Parks claimed that around 1911, the two recipes converged and a “velvet cocoa cake” was born. Although some people think that it gets its color from the chemical reaction of the cocoa powder and the baking soda, this just is not so. Actually, the red coloring originally came from beets. Nowadays, the reason for the beautiful color is simple–red food coloring! So, is this really just a chocolate cake disguised as a red velvet cake? Not really, because a chocolate cake can be topped with any kind of frosting, but a red velvet cake has to be topped with a yummy cream cheese frosting.

Although this treat was originally made as a cake, the idea of red velvet has made its way into cupcakes, cookies, and even pancakes!

Adams Flavors, Foods, and Ingredients, as manufacturers of red food coloring, among other products, featured home-baking recipes for the cake, which derived its hue from their bottled dyes. It began including recipe cards for red velvet cake in its food-coloring packages sometime between the 1920s and 1950s, and also featured the recipe on tear-off displays inside grocery stores. Though Adams doesn’t have an exact date for its invention, the company says red velvet cake was heavily promoted during the 1940s and 50s and again beginning in the 1980s.

The flavors of this cake come from the buttermilk, vinegar, cocoa powder, and cream cheese frosting. Some recipes use only a tablespoon or two of cocoa powder, giving virtually no chocolate flavor. This leads some people to think that red velvet cake is just a white cake dyed red. If you want to purchase a real red velvet cake, it can be very expensive. This could be because the frosting does typically contain cream cheese, which could make the frosting pricier, or that the name is associated with luxury, thus allowing for a large markup.

Thanks to its beautiful red color, this is a festive favorite for celebrations. The dramatic shade adds a bright burst of color to the table, and biting into its creamy cream cheese icing makes for a sweet treat irresistible. Before the debut of food coloring, though, red velvet cake was likely more rust-colored, not the brilliant bright red we know today. And the velvet portion of its name referred to the light texture of the cake, not the frosting.

According to Sally’s Baking Addiction, “it is dense and soft with a moist and velvety crumb texture. However, the absolute best part about red velvet cake is the cream cheese frosting. Slathered on thick, my cream cheese frosting recipe is delicately sweet and undeniably creamy.”

Usually I choose to make this cookie from scratch, I wanted to save us all time by using a ready-made cake mix, and add a few ingredients that make it taste like it has been made from scratch. I have always been a fan of using cake mixes that, by adding other flavors to it, come out rich, buttery, and moist, so no one will ever guess you “cheated a bit.”

Oh, my how I love this cookie recipe because the red cookies look so enticing with the white cream cheese in the middle, and it is so SO easy. Don’t tell anyone you used a cake mix, and they will think you have been studiously baking all day. The addition of bourbon adds just a hint of sweet and savory. The cream cheese filling is enhanced not with cocoa powder (that is in the cake mix), but with vanilla and coconut. The result is a scrumptious cookie that will make anyone happy on Valentine’s Day. These cookies are a “must try.” Make some extra cookies and send them to your family and friends to make this holiday even more special. They do travel well too!

This recipe are courtesy of Allrecipes and will make 24 cookies for people who will feel the love on Valentine’s day!

Ingredients for Red Velvet Sandwich Cookies:

1 (18.25 ounce) box red velvet cake mix
2 eggs, lightly beaten
½ cup vegetable oil
1 tablespoon bourbon

For the Icing:

1 (8 ounce) package cream cheese, softened
¼ cup butter, softened
2 teaspoons evaporated milk
1 teaspoon vanilla
½ cup flaked coconut
4 cups confectioners’ sugar
½ cup chopped pecans

Preheat the oven to 375 degrees F.

Mix together cake mix, eggs, oil, and bourbon in a large bowl.

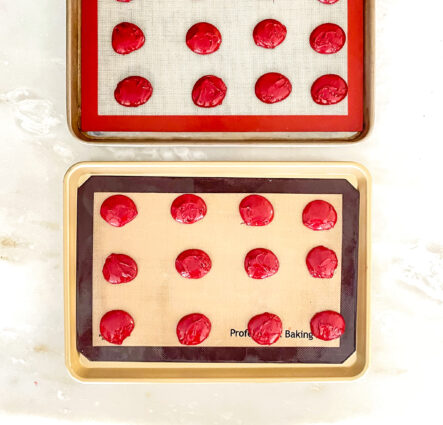
Roll the dough into balls the size of walnuts.

Place 2 inches apart on ungreased baking sheets.

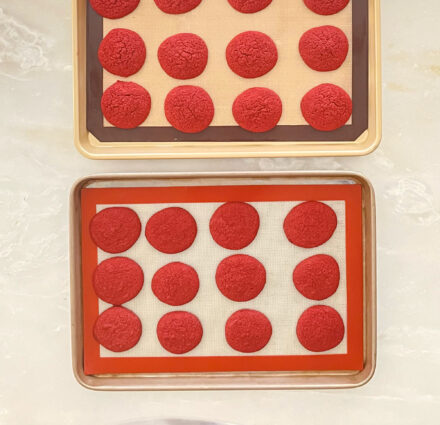
Bake in the preheated oven until the tops start to crack, about 8 minutes.

Cool in the pans for 10 minutes before removing to cool completely on a wire rack.

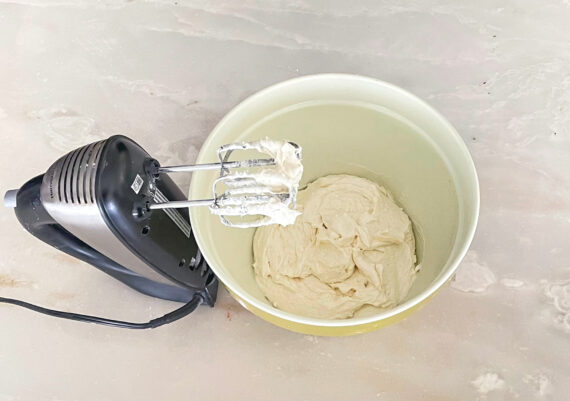
In a large bowl combine cream cheese, butter, evaporated milk, vanilla, and coconut.

Add the confectioners’ sugar 1 cup at a time, mixing well with each addition.

If consistency is too stiff, add more milk.

Place the chopped pecans in a bowl.

Spread a generous amount of icing on the bottom of a cookie, sandwich it with another cookie, pressing firmly so that the icing comes all the way out to the edge.

Roll the edges of the sandwich cookies in the chopped pecans.

Repeat with the remaining cookies.

You will likely have extra icing after building your sandwich cookies. Lucky you!

It will keep it for up to 2 weeks covered tightly in the refrigerator.

It’s that simple!
signature

[recaptcha]


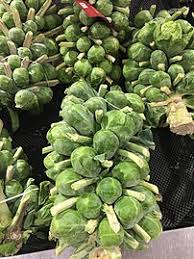
If I were to ask readers of a certain age what their least favorite childhood food was, I would probably hear a resounding chorus of “brussels sprouts.”  To most people, Brussels sprouts are just not appealing. There’s definitely some leftover feelings from childhood: When Mom cooked them, they looked mushy and so unappealing, and just plain gross.

Even now, there are so many people who chose to avoid them, remembering them from their childhood.  And that’s totally fair!  But for some of us, Brussels sprouts are no longer the food our mothers tried to force us to eat. We have found that as we get older, our taste buds changed, and those mushy veggies are actually delicious! 

If you are not a lover, maybe you can try just one more time. Brussels sprouts are not only full of wonderful flavor, they have so many health benefits that might change your mind. According to Groovy Green Living here are quite a few reasons to give them another shot:

Brussels sprouts lower your cholesterol. Steaming them allows their fiber to bind to bile acids in your digestive system more effectively, which allows those bile acids to exit the body as waste.

They boost your immune system. They are filled with vitamins C, E, and A. They also contain manganese, a mineral that promotes a healthy immune system. The vitamin C in one serving of Brussels sprouts is 50 percent of what men need each day, and about 65 percent of what women need on a daily basis.

They promote good bone health: they are high in vitamin K which helps with bone health and prevents calcification of the body’s tissues.

Brussels sprouts help with eye health. They contain vitamin A, which is good for the proper functioning of the retina. It also helps prevent night blindness by helping the eye to adapt between bright light and darkness, helps reduce the risk of age-related macular degeneration and the forming of cataract

These pretty green veggies are good for your heart. They contain a compound called isothiocyanate sulforaphane, which aides in preventing inflammation in our cardiovascular system and can also prevent (and possibly reverse) blood vessel damage. 

They prevent high blood pressure. They are filled with potassium, which helps lower blood pressure and maybe even cholesterol.

With all this in mind, brussels sprouts really have gotten a bad rap. Like I said, I get it.  I really do.  It’s time to put your big kid pants on and give them another try.  Come on, they are extremely healthy and really delicious when they are prepared properly. Try this recipe and I promise, you’ll be surprised.

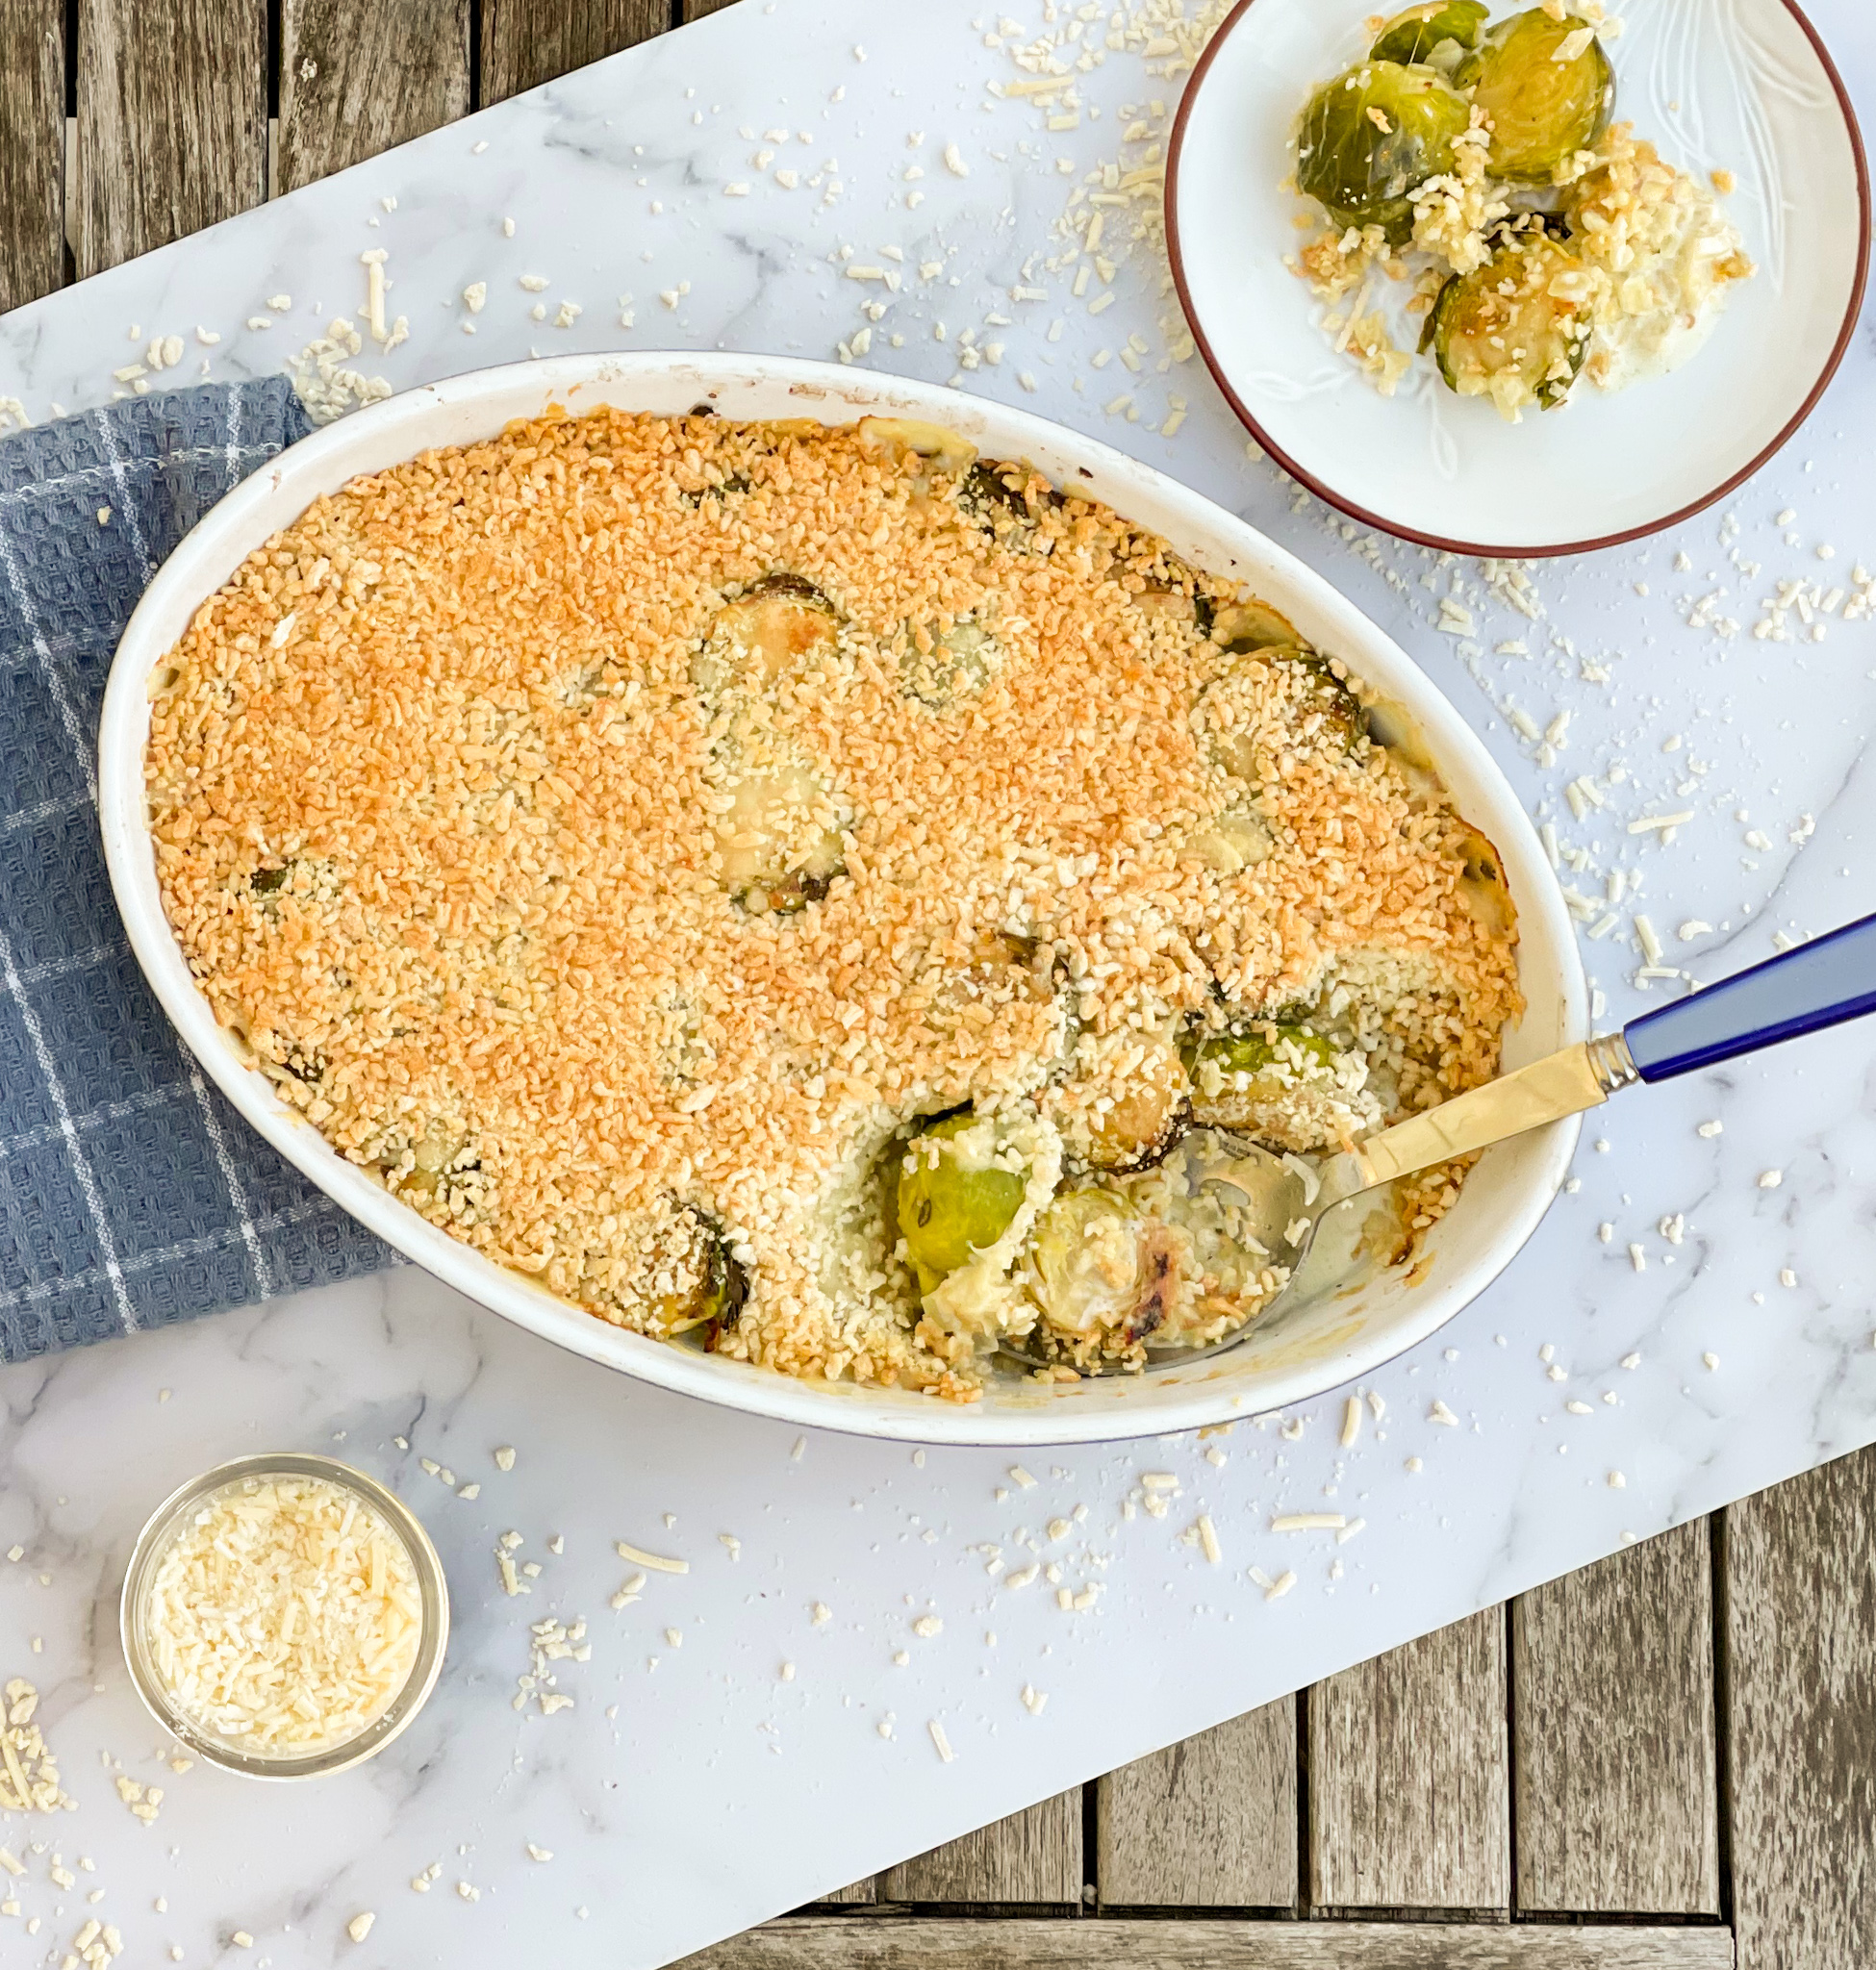
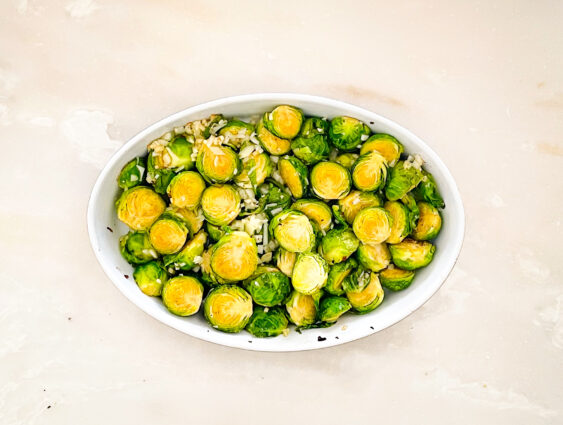
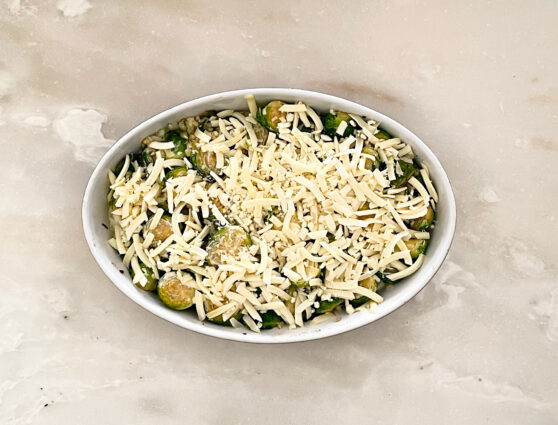
This beautiful green vegetable is combined with shallots and garlic, giving them a nice boost of delectable flavor. Brussels sprouts alone don’t have much of a taste, so it’s up to the additional ingredients on this one.  The sprouts are then cooked in a creamy sauce and topped with breadcrumbs that add nice texture and crunch. The Gruyere gives it gooey cheesy goodness that takes this gratin to Brussels sprouts perfection. Mushy? That’s all in the past. This recipe is simply delicious.

This recipe is courtesy of Alison Roman and will serve 6 people who will be amazed at the radical transformation of this powerful little vegetable.

Ingredients for Brussels Sprouts Gratin:

1 1/2 lbs. Brussels sprouts, ends trimmed and halved lengthwise
2 large shallots, peeled and quartered lengthwise
2 cloves garlic, peeled and thinly sliced
5 Tbsp. olive oil
Kosher salt and black pepper
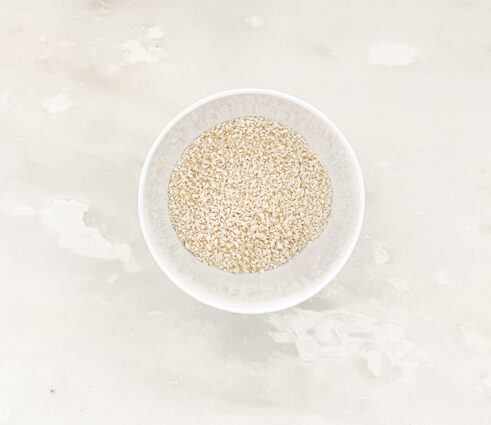
1 1/2 cups coarse breadcrumbs or panko
3/4 cup heavy cream
1 cup grated Gruyere (about 3 ounces

Heat oven to 425 degrees.

Toss together Brussels sprouts, shallots, garlic and 2 tablespoons olive oil in a 9-by-13-inch baking dish.

Season with salt and pepper and roast, tossing occasionally until sprouts are bright green and just tender (think al dente), 12 to 15 minutes.

Meanwhile, combine breadcrumbs with remaining 3 tablespoons olive oil and season with salt and pepper.

Set aside.

Pour cream and scatter Gruyere over sprouts and toss to coat.

Continue to roast until cream is reduced by about half and sprouts are beginning to brown, another 12 to 15 minutes.

Scatter breadcrumbs over sprouts and return to oven until golden brown and crisp, 5 to 8 minutes.

Let sit 1 to 2 minutes at room temperature before serving.

It’s that simple!
signature

[recaptcha]


When I was growing up, I had a very limited diet. I ate only bread, peanut butter, and eggs, and it drove my mom crazy.  On occasion, I would maybe eat some steak or chicken. Any vegetable was a no for me. I think that was caused by the way vegetables were presented at that time: soggy, unappealing mush. Of course I wouldn’t eat them!

My absolute favorite food choice was lemons, and lots of them. My mother would buy me lemons, knowing full well that I would eat them raw right in front of her.  My mom was especially upset at this because she felt I was too skinny. My nickname was “Toothpick,” and it stuck for many years. I hated that name, but because my food choices were so limited, and because I loved to play sports, I couldn’t put on any weight. 

As I got older, my tastes increased. Once, when I was a teenager, my brother ordered fried calamari at a restaurant. He told me it was fried chicken, and why would I not believe it? My mother kept a kosher home, so I had never even heard of calamari. I tried it, and I LOVED it. It was not until the way home in the car, that my brother told me the truth. I was shocked, but continue to love it to this day. 

It was not until I met my husband that I had my first lobster. He was astonished that I had never had one. Of course, I ordered what I knew I would like, but I was able to get a taste of his. And again, I loved it. How had I been missing on this food all my life? That moment changed things for me. I became unafraid to try new foods, and my diet improved quickly. 

When my oldest son was a child, he, like me, would eat only a small range of food, though he was even pickier than I was. I homemade all the baby food for my kids, so I knew that he was eating well.  But as he grew, he learned how to say “no.”  Forcing him to eat was an uphill battle, so I simply made his dinners separately from the rest of the family. I had a feeling that he, like me, would find that his tastes would change later down the line. And of course, they did, and now he is a very healthy eater.

In contrast, my younger son would eat anything. When he had his tonsils out at four, my husband told him he would get him some chicken soup. He was still in the recovery room at that time. He yelled at my husband and said, “no chicken soup, I want schwimp.” The nurses burst out laughing. So out my husband went, trying to recover some shrimp for our precocious four year old.

Things are so different now: children now grow up trying an enormous range of foods. My great-nephew and niece have terrific diets and will try most foods. And their mother, my niece Leslie, was an even pickier eater than I was! Because of the varieties in stores and in restaurants, kids can be exposed to lots of foods early on, and with better understanding of nutrition, parents can make more informed decisions. 

Now this is a recipe that adults and children can agree on. The cream cheese and sour cream whip up to a delightfully creamy and incredibly smooth filling.  It is then combined with a citrus, which takes this tart to a whole other level, giving it a slight tang. Sweet and salty? I’m all in! This delicious filling is housed in a buttery, salty, crunchy base of cracker crust that makes this tart absolute perfection. Even your younger kids will love it too!

This recipe is courtesy of Nothing Fancy, by Allison Roman and will serve 8 to 10 of the pickiest children around.

Ingredients for Sweet and Salty Cream Cheese Tart:

For the crust:

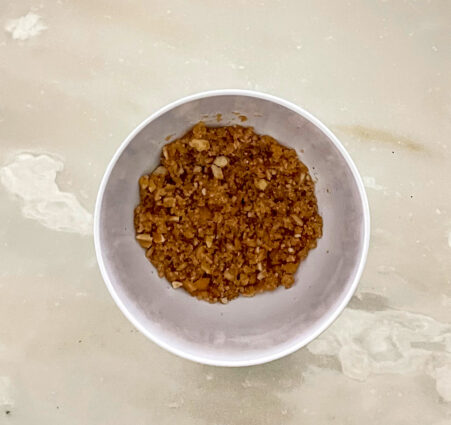
5 oz.  Ritz crackers or Nilla wafers
2 tbsp. light brown sugar
4 tbsp. unsalted butter, melted
Pinch of kosher salt

For the filling:

16 oz. full fat cream cheese, at room temperature
1 cup sour cream or full-fat Greek yogurt
½ cup granulated sugar
2 large eggs
3 tbsp. fresh citrus juice (grapefruit, lemon, lime or orange)
Flaky sea salt, such as Maldon, for finishing

Heat the oven to 325˚ F.

Make the crust:

Pulse the crackers or wafers in a food processor until you’ve got a fine crumb (crumb, not powder!). You can also do this by hand by placing the crackers in a resealable bag and crushing or smashing with a skillet or rolling pin.  This is a great job for a little helper!

Transfer to a medium bowl and add the brown sugar and butter.

Using your hands, mix until the crumbs are evenly coated and you have a wet sand texture.


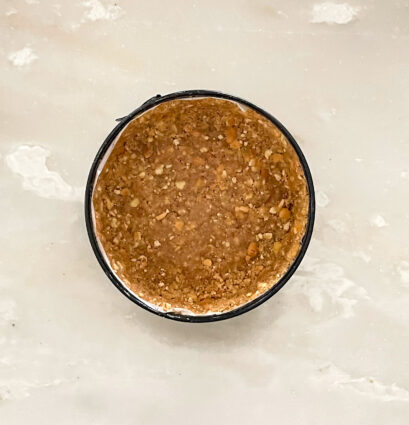
Press mixture into an unlined 9-inch tart or springform tin, or a cake pan lined with parchment paper.

You can use a lined 8-inch square baking pan here, although expect a slightly thicker outcome (maybe that is your preference).

Using the bottom of a measuring cup or small bowl, really press the crumb mixture in there–otherwise it can be challenging to cut later on.

Bake until crust is lightly golden brown at the edges (it gets baked one more time, so best not to overdo it here),  10-15 minutes.

Make the filling:

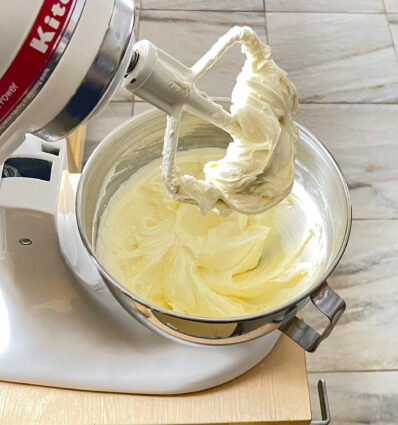
Combine the cream cheese, sour cream and granulated sugar in a food processor and process until impossibly smooth and well blended, scraping down the sides as needed to incorporate any stubborn chunks of cream cheese.

Add the eggs, fruit juice and a pinch of sea salt, and keep processing until it is even smoother and creamier than before.

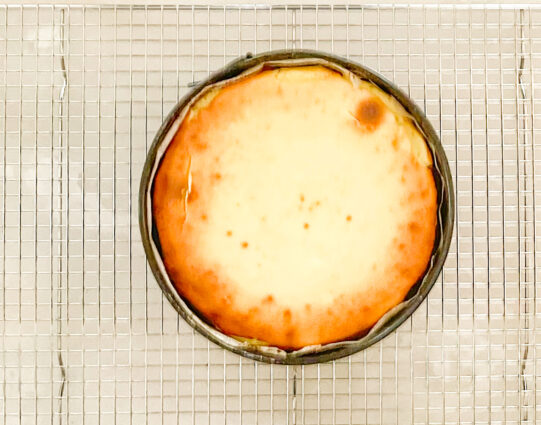
Pour the mixture into the baked crust and bake until the whole thing is set and no longer jiggles when tapped, for 25-35 minutes (it should not brown at all).

(Oh, oh, mine did turn brown, but still tasted great!)

Turn the oven off and open the door a crack.

Let the tart sit in there for about 15 minutes, before transferring it to a wire rack on a counter to cool completely.

Place the tart in the fridge to chill for at least 1 hour, (this gradual cooling is to prevent any unsightly cracks appearing on the surface which can appear when there is a sudden change in temperature).

To serve, sprinkle with a little flaky salt and serve with some fresh citrus of your choosing if you like.

It’s that simple!

 

signature

[recaptcha]


2020 is finally gone!  Hooray! The holidays here were very quiet, just me, the hubby, and my two sons. I was not happy: I missed the festive celebrations with my family and friends. I had no tables to decorate, no menus to plan, no invitations to send. It was very weird for me, and very sad. Sure, it was nice to be with my sons on New Year’s Eve, as all of us usually go our separate ways, but as we rang in 2021, it was unusually quiet. As we watched the ball drop in New York, we remarked that it was strange not to see the crowds of people. All the same, I was glad to say goodbye to the old year and bring in the new one.  I hope that this year will be good and prosperous for all.

Quinoa (pronounced keen-wah) is an ancient crop that has been eaten by the South American people for 5,000 years. It means “mother grain” in the Inca language. While some people refer to it as a grain, it is actually a seed. It is gluten-free, comes in different colors and is just plain delicious!

This hardy little seed looks a little bit like couscous, but is smaller in size and crunchier in texture. Quinoa is rich in lysine, which promotes tissue growth throughout the body, has a very high range of anti-inflammatory benefits and is rich in nutrients such as iron, magnesium, vitamin-E, potassium and fiber. Have I convinced you to try it yet?

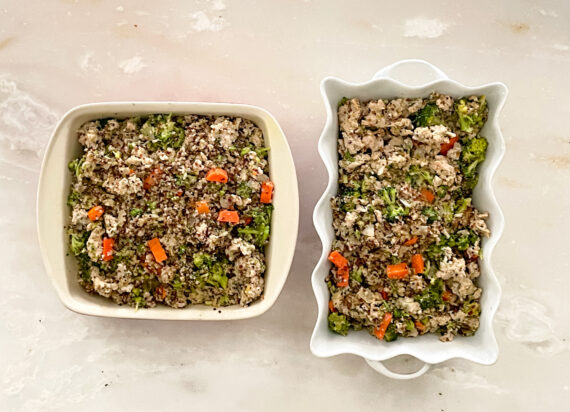
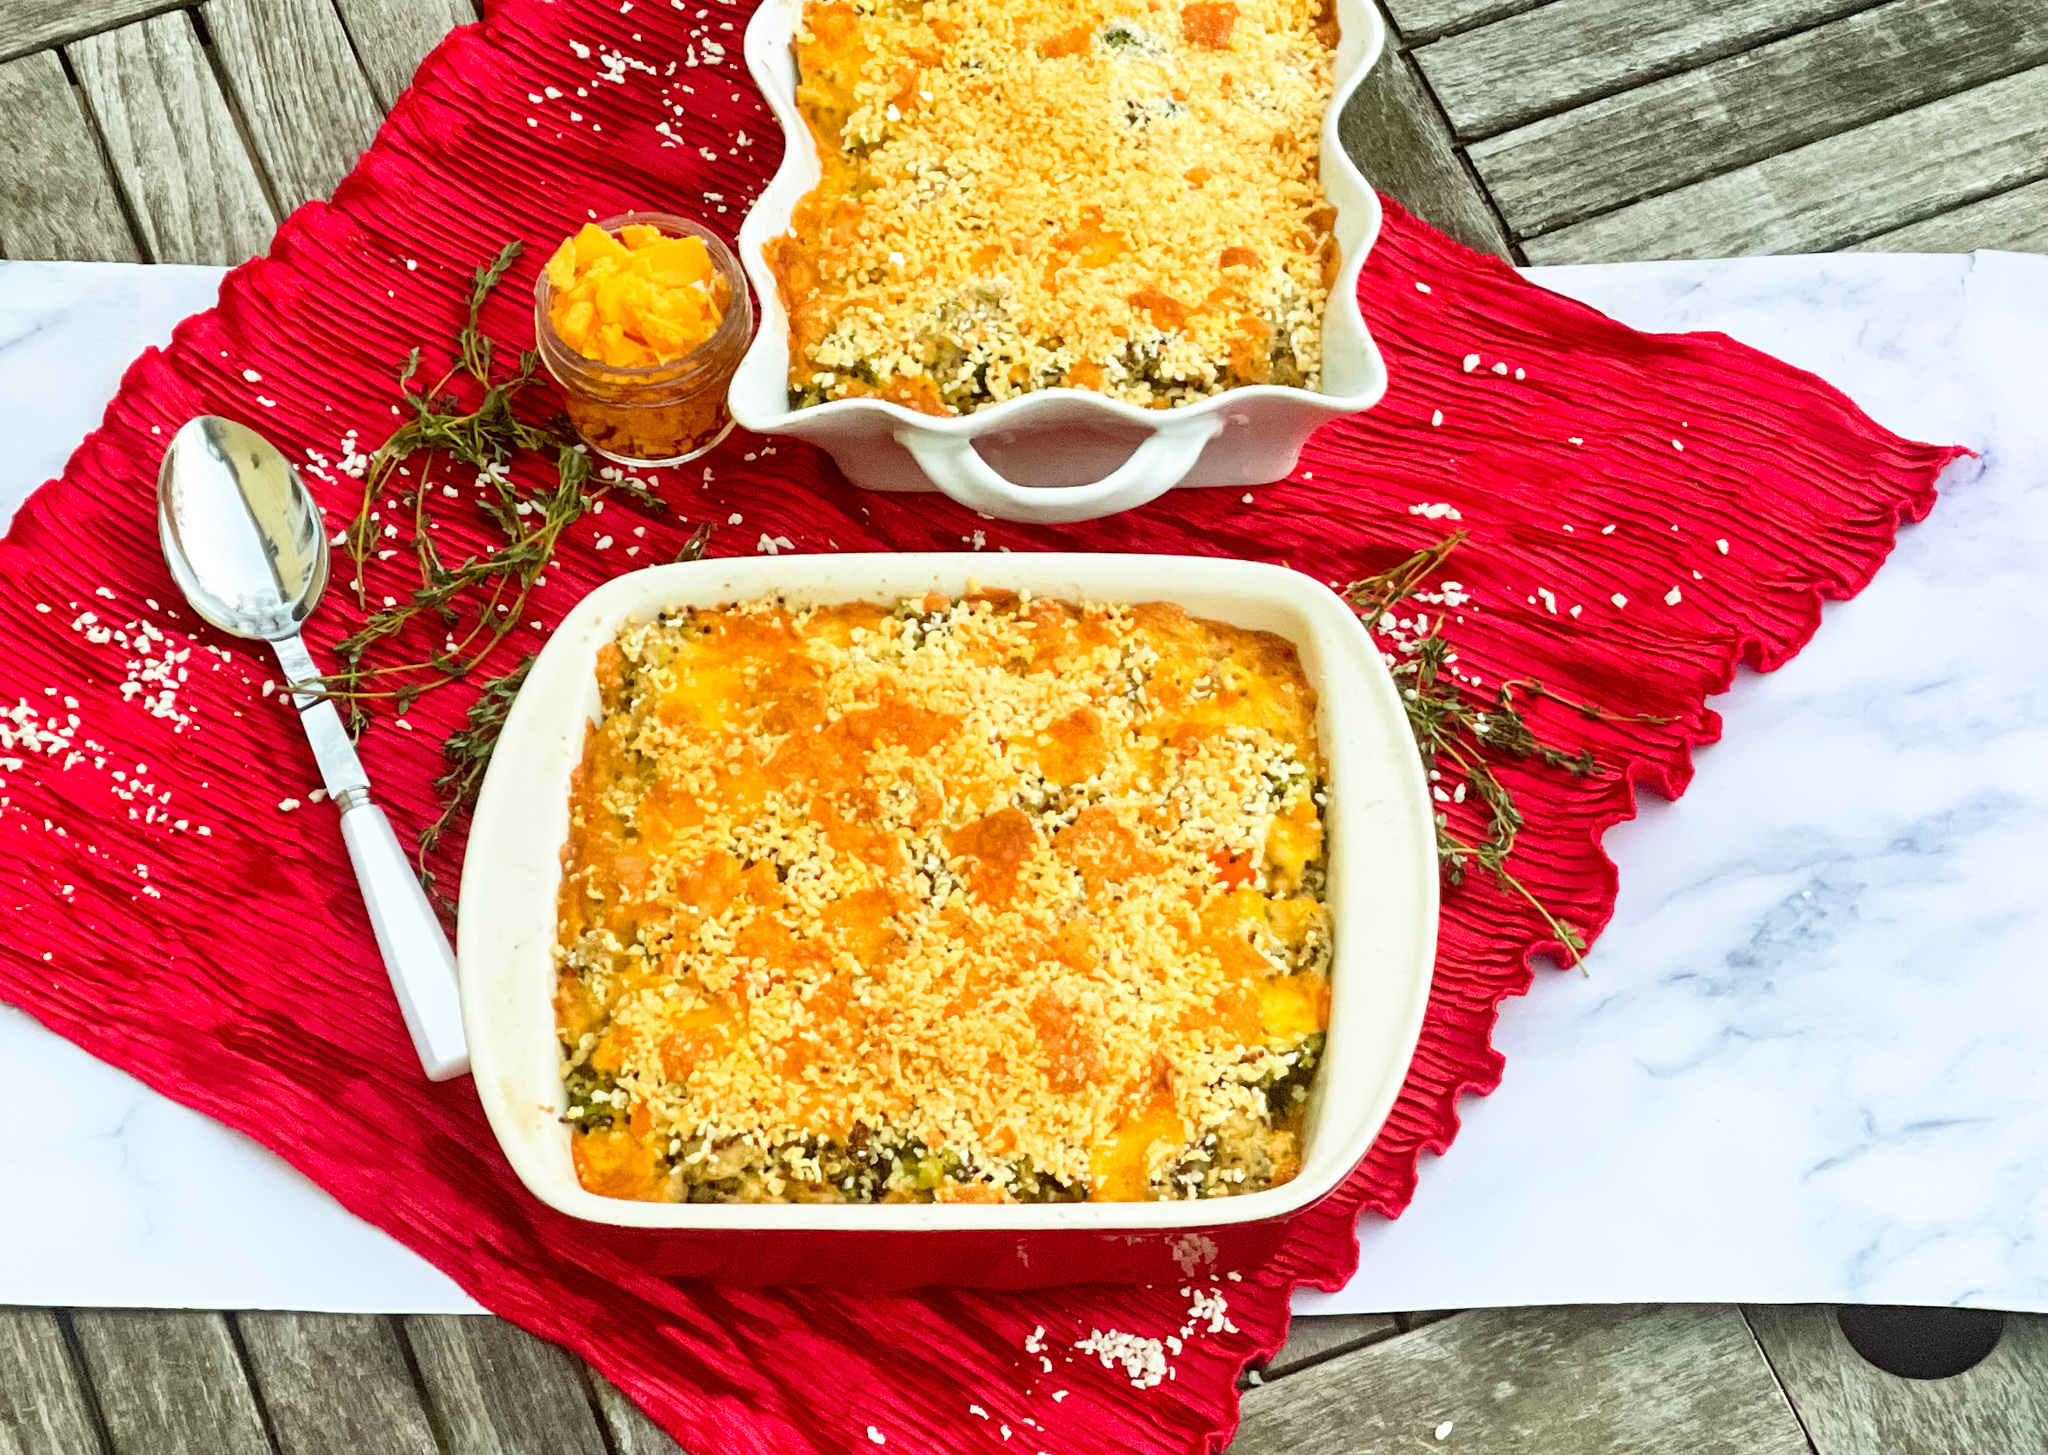
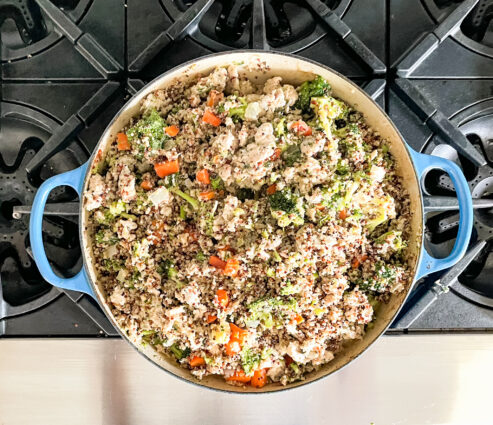
Quinoa is also a very versatile food. It can be used in soups, salads, side dishes, and stuffing. I loved this recipe for so many reasons, foremost because it offers a healthy dish after all the heavily holiday food you may have eaten.  This dish is perfect as a main or side dish. The quinoa flavor is a cross between brown rice and oatmeal, and it is deeeelicious. It is fluffy, creamy (and a little crunchy), and nutty. The broccoli, carrots, and sausage add additional depth, and will leave you happy and satiated if you cook this up as a main course. The thyme gives this dish a mild minty flavor that is savory with a little bit of sweet and peppery at the same time. The crushed red pepper flakes bring it a nice hot kick. It is then topped off with panko crumbs for delightful crunch, and cheddar that adds gooey cheesy goodness. This is the perfect modern comfort food, and I’m sure you and your family will love it!

This recipe is courtesy of Cooking Light and makes 12 servings for all to enjoy.

Ingredients for Cheesy Sausage, Broccoli and Quinoa:

2 ½ cups water 
2 cups uncooked quinoa, rinsed and drained 
1 ½ tablespoons olive oil, divided 
½ cup chopped yellow onion 
½ cup chopped carrot 
4 (4-oz.) links sweet chicken Italian sausage, casings removed 
¼ cup all-purpose flour 
2 tablespoons unsalted butter 
2 garlic cloves, finely chopped 
2 cups whole milk 
2 cups unsalted chicken stock (such as Swanson) 
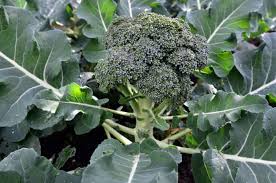
6 cups chopped fresh broccoli florets 
1 tablespoon chopped fresh thyme, divided 
½ teaspoon kosher salt, divided 
½ teaspoon freshly ground black pepper, divided 
¼ teaspoon crushed red pepper 
½ cup whole-wheat panko (Japanese breadcrumbs) 
4 ounces cheddar cheese, shredded (about 1 cup)

Preheat oven to 400°F.

Bring 2 1/2 cups water and quinoa to a boil in a large saucepan.

Reduce heat; cover and simmer 12 to 14 minutes or until liquid is absorbed.

Remove pan from heat; let stand 5 minutes.

Heat a large Dutch oven over medium-high.

Add 1 tablespoon oil to pan; swirl to coat.

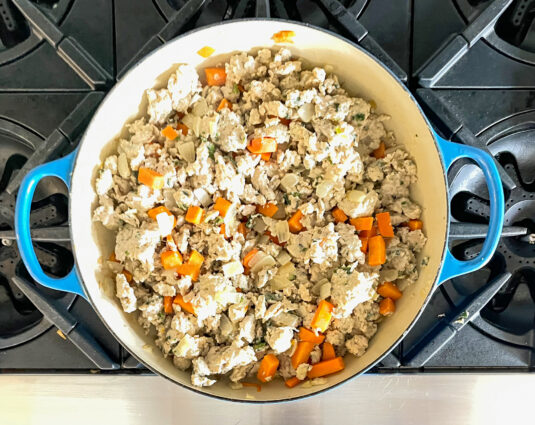
Add onion, carrot, and sausage; cook 7 minutes, stirring to crumble sausage.

Remove sausage mixture to a bowl with a slotted spoon.

Add flour, butter, and garlic to drippings in pan; cook 2 minutes, stirring frequently.

Add milk and stock; bring to a boil.

Cook 2 minutes, stirring constantly with a whisk.

Reduce heat to medium; stir in broccoli, 2 teaspoons thyme, 3/8 teaspoon salt, 3/8 teaspoon black pepper, and red pepper.

Cover and cook 2 minutes.

Stir in quinoa and sausage mixture.

Coat 2 (8-inch) square microwave-safe glass or ceramic baking dishes with cooking spray.

Divide quinoa mixture between dishes.

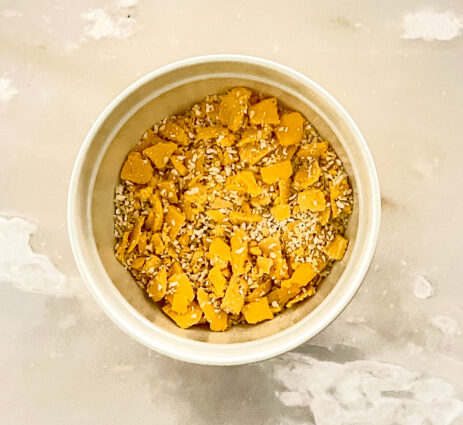
Combine remaining 1 1/2 teaspoons oil and panko in a bowl; add remaining 1 teaspoon thyme, remaining 1/8 teaspoon salt, remaining 1/8 teaspoon black pepper, and cheddar.

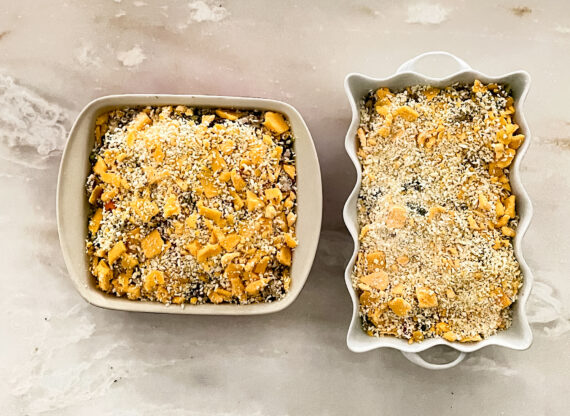
Sprinkle cheese mixture evenly over casseroles.

Bake at 400°F for 18 minutes or until browned, or follow freezing instructions.

FREEZE: Cool unbaked casseroles completely; cover tightly with aluminum foil. Freeze up to 2 months. THAW: Remove foil. Microwave at HIGH 20 minutes or until thawed. REHEAT: Cover with foil and bake at 375°F for 25 minutes; then broil 5 minutes or until golden brown.

It’s that simple!
signature

[recaptcha]