We are finally opening our beautiful pool for the summer, and I love it. However, that was not always the case. When we first bought our home and we had young children, I did not want a pool–I was afraid for their safety. My husband always wanted a pool, so he got his wish.

As it turns out, my worries about the kids were unfounded, but it was my dogs who had problems. When we got our English bulldog, Mazel, the pool hadn’t opened yet. Even though we never had a problem before, my husband had this weird premonition and wondered aloud if Mazel would fall in.

The summer that we opened the pool, we went out there to watch Mazel. My husband had just come home from work and he was still dressed nicely. Mazel went running around the pool and jumped right into the untreated water. Her head was too big for her to come up and tread water, so my husband dove headfirst into that repulsive water. He lost his glasses, watch, and wallet in one fell swoop. After he got her to safety, he turned around to see if he could see his belongings. Only the wallet appeared– the glasses and watch were in there for two more weeks until the water was treated. 

We laugh about it now, but the hubby wasn’t laughing then. I thought the whole thing was hilarious, even then, but of course I wasn’t the one who had to jump in.

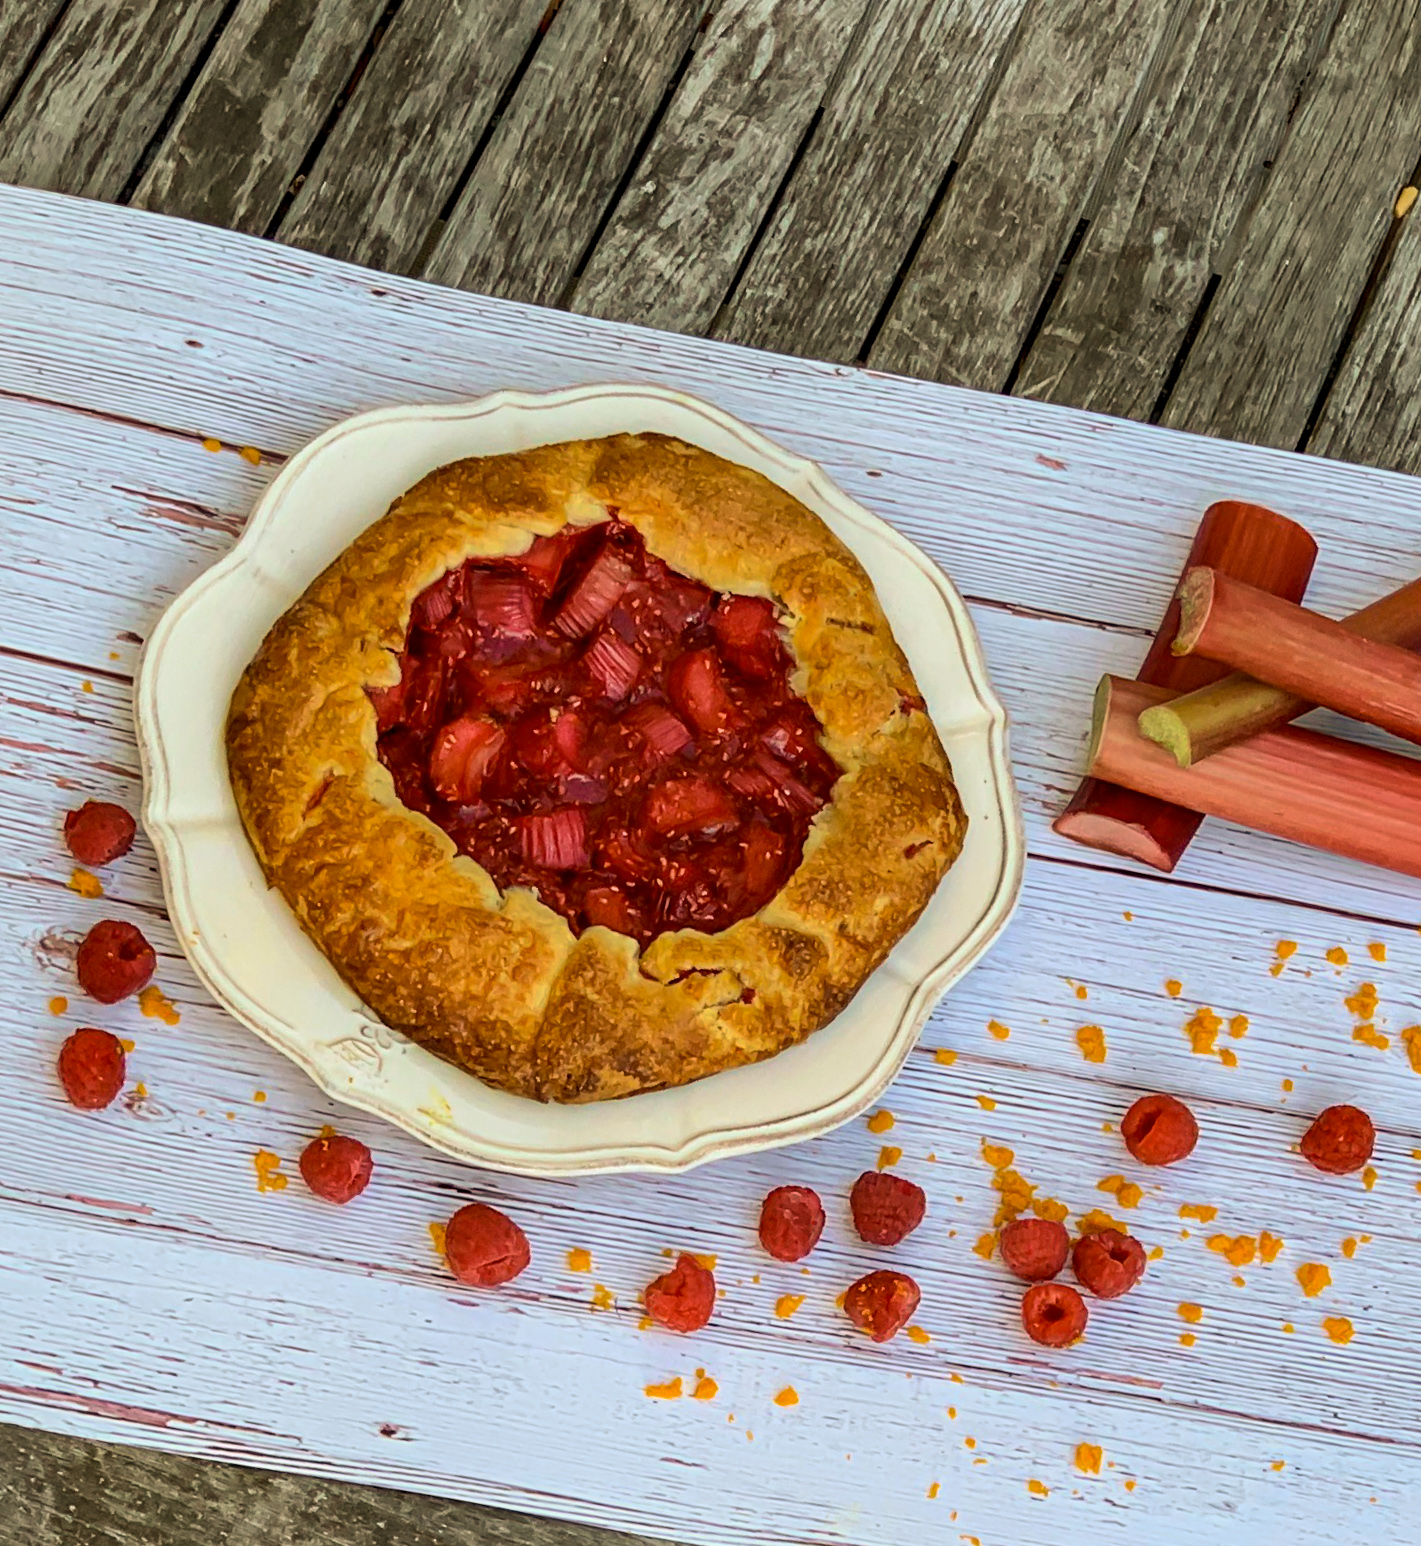
Late spring is the best time to open the pool, and as luck would have it, it’s also rhubarb season. This delicious dessert uses the fresh rhubarb perfectly, melding with the bright flavor of the raspberries. The citrus of the orange adds a delightful tang, and the turbinado sugar brings yummy sweetness. The crust is the perfect home for this decadent filling .

This recipe is courtesy of Food Network and will serve 6 to 8 people who will enjoy this treat around a sparkling blue pool.

Ingredients for Raspberry Rhubarb Crostata:

For the Pastry (makes 2):

2 cups all-purpose flour
¼ cup granulated sugar
½ teaspoon kosher salt
½ pound (2 sticks) very cold unsalted butter, ½-inch-diced
¼ cup ice water

For the Filling (makes 1):

¼ cup cornstarch
4 cups (½-inch-thick) sliced fresh rhubarb (1¼ pounds)
6 ounces fresh raspberries
2/3 cup granulated sugar
1 teaspoon grated orange zest
¼ cup freshly squeezed orange juice
1 extra-large egg beaten with 1 tablespoon water, for egg wash
Turbinado or demerara sugar, such as Sugar in the Raw

For the pastry, place the flour, granulated sugar, and salt in the bowl of a food processor fitted with the steel blade.

Pulse a few times to combine.

Add the butter and toss carefully with your fingers to coat each cube of butter with the flour.

Pulse 12 to 15 times, or until the butter is the size of peas.

With the motor running, add the ice water all at once through the feed tube.

Keep hitting the pulse button just until the dough comes together.
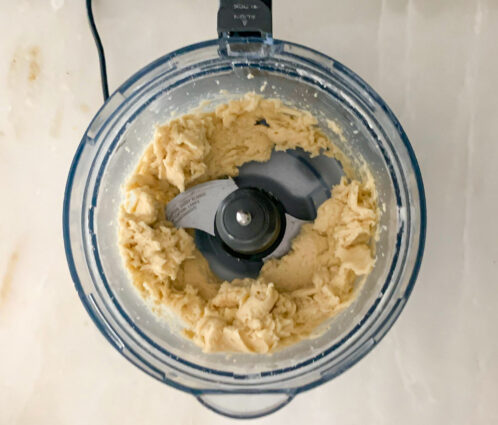
Turn onto a well-floured board, cut in half, and form into two disks. (It will be sticky).
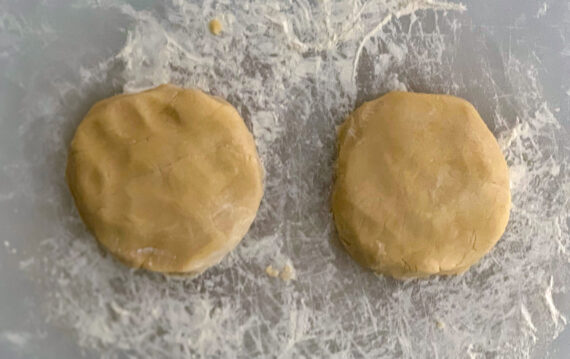
Wrap and refrigerate for at least an hour. (Wrap the second dough well and freeze, if not using.)

For the filling, place 3 tablespoons of water in small bowl, whisk in the cornstarch, and set aside.

In a large heavy-bottomed saucepan, combine the rhubarb, raspberries, granulated sugar, orange zest, and orange juice.
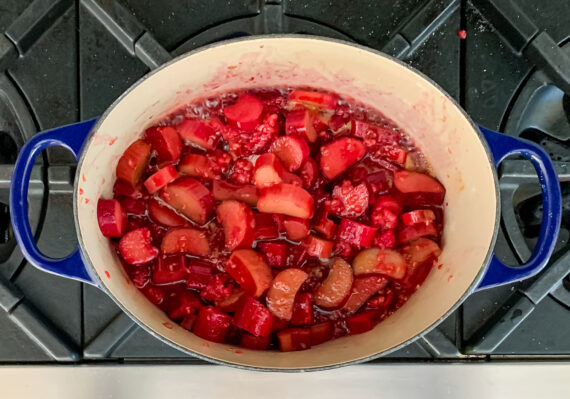
Cook over medium heat for 5 to 6 minutes, until some of the juices are released.

Stir in the cornstarch, bring to a boil, lower the heat, and simmer for 2 minutes.
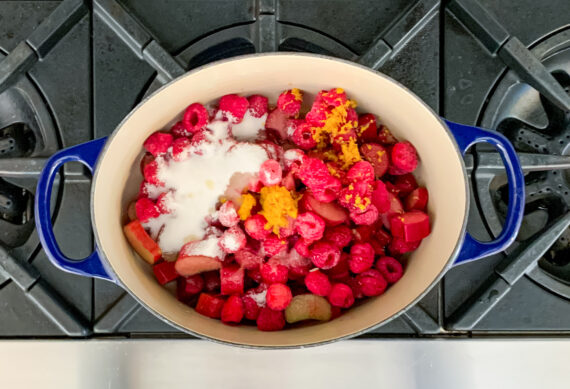
Refrigerate for 30 minutes, until cool.

Preheat the oven to 425 degrees.

Line a sheet pan with parchment paper.

Roll the pastry into an 11- to 12-inch circle on a lightly floured surface and transfer to the prepared pan.

Pile the raspberry rhubarb mixture onto the pastry, leaving a 1½-inch border all around.

Fold the border up over the filling, pleating if necessary and pressing lightly.

Brush the pastry with egg wash, sprinkle just the pastry with turbinado sugar.
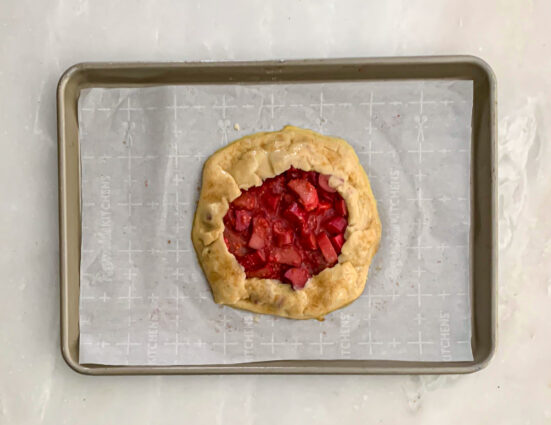
Bake for 30 to 35 minutes, until the pastry is browned and the filling is thickened.
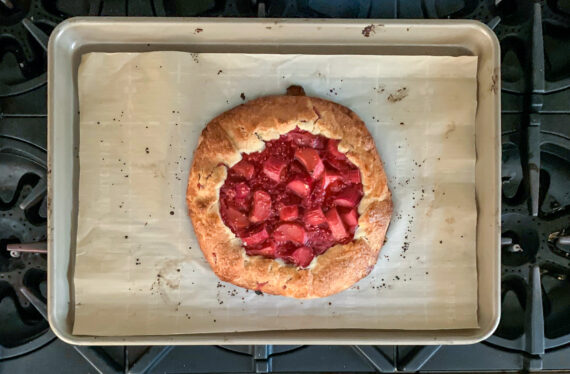
Cool for 30 minutes and serve warm or at room temperature.

It’s that simple!
signature

[recaptcha]


Though you all want to claim that you love healthy recipes, the metrics say otherwise.  When I look to see which types of recipes most people enjoy, I notice that most of you prefer the decadent dishes to healthier ones. With so many people trying to eat clean nowadays, I wonder why preferences go the other way. 

As it turns out, I need look no further than my own home. When I make dishes for my blog, I will often throw a couple of potatoes in the oven just in case the rest of my family decides not to indulge. More often than not, the healthy sides do not even get a look. One time, I did make my husband try my Brown Rice and Wheatberry dish. Initially he turned his nose up, but when he took a bite, he liked it so much that he took it for lunch the next day!

When I am cooking for company, I stick to my old standbys (and you should too). There may not be many out there willing to taste your experimental cooking, but they will of course love your lasagna or green bean casserole. That being said, there is nothing wrong with trying new dishes, but perhaps reserve that for your closest friends and those who can laugh over a failed attempt.

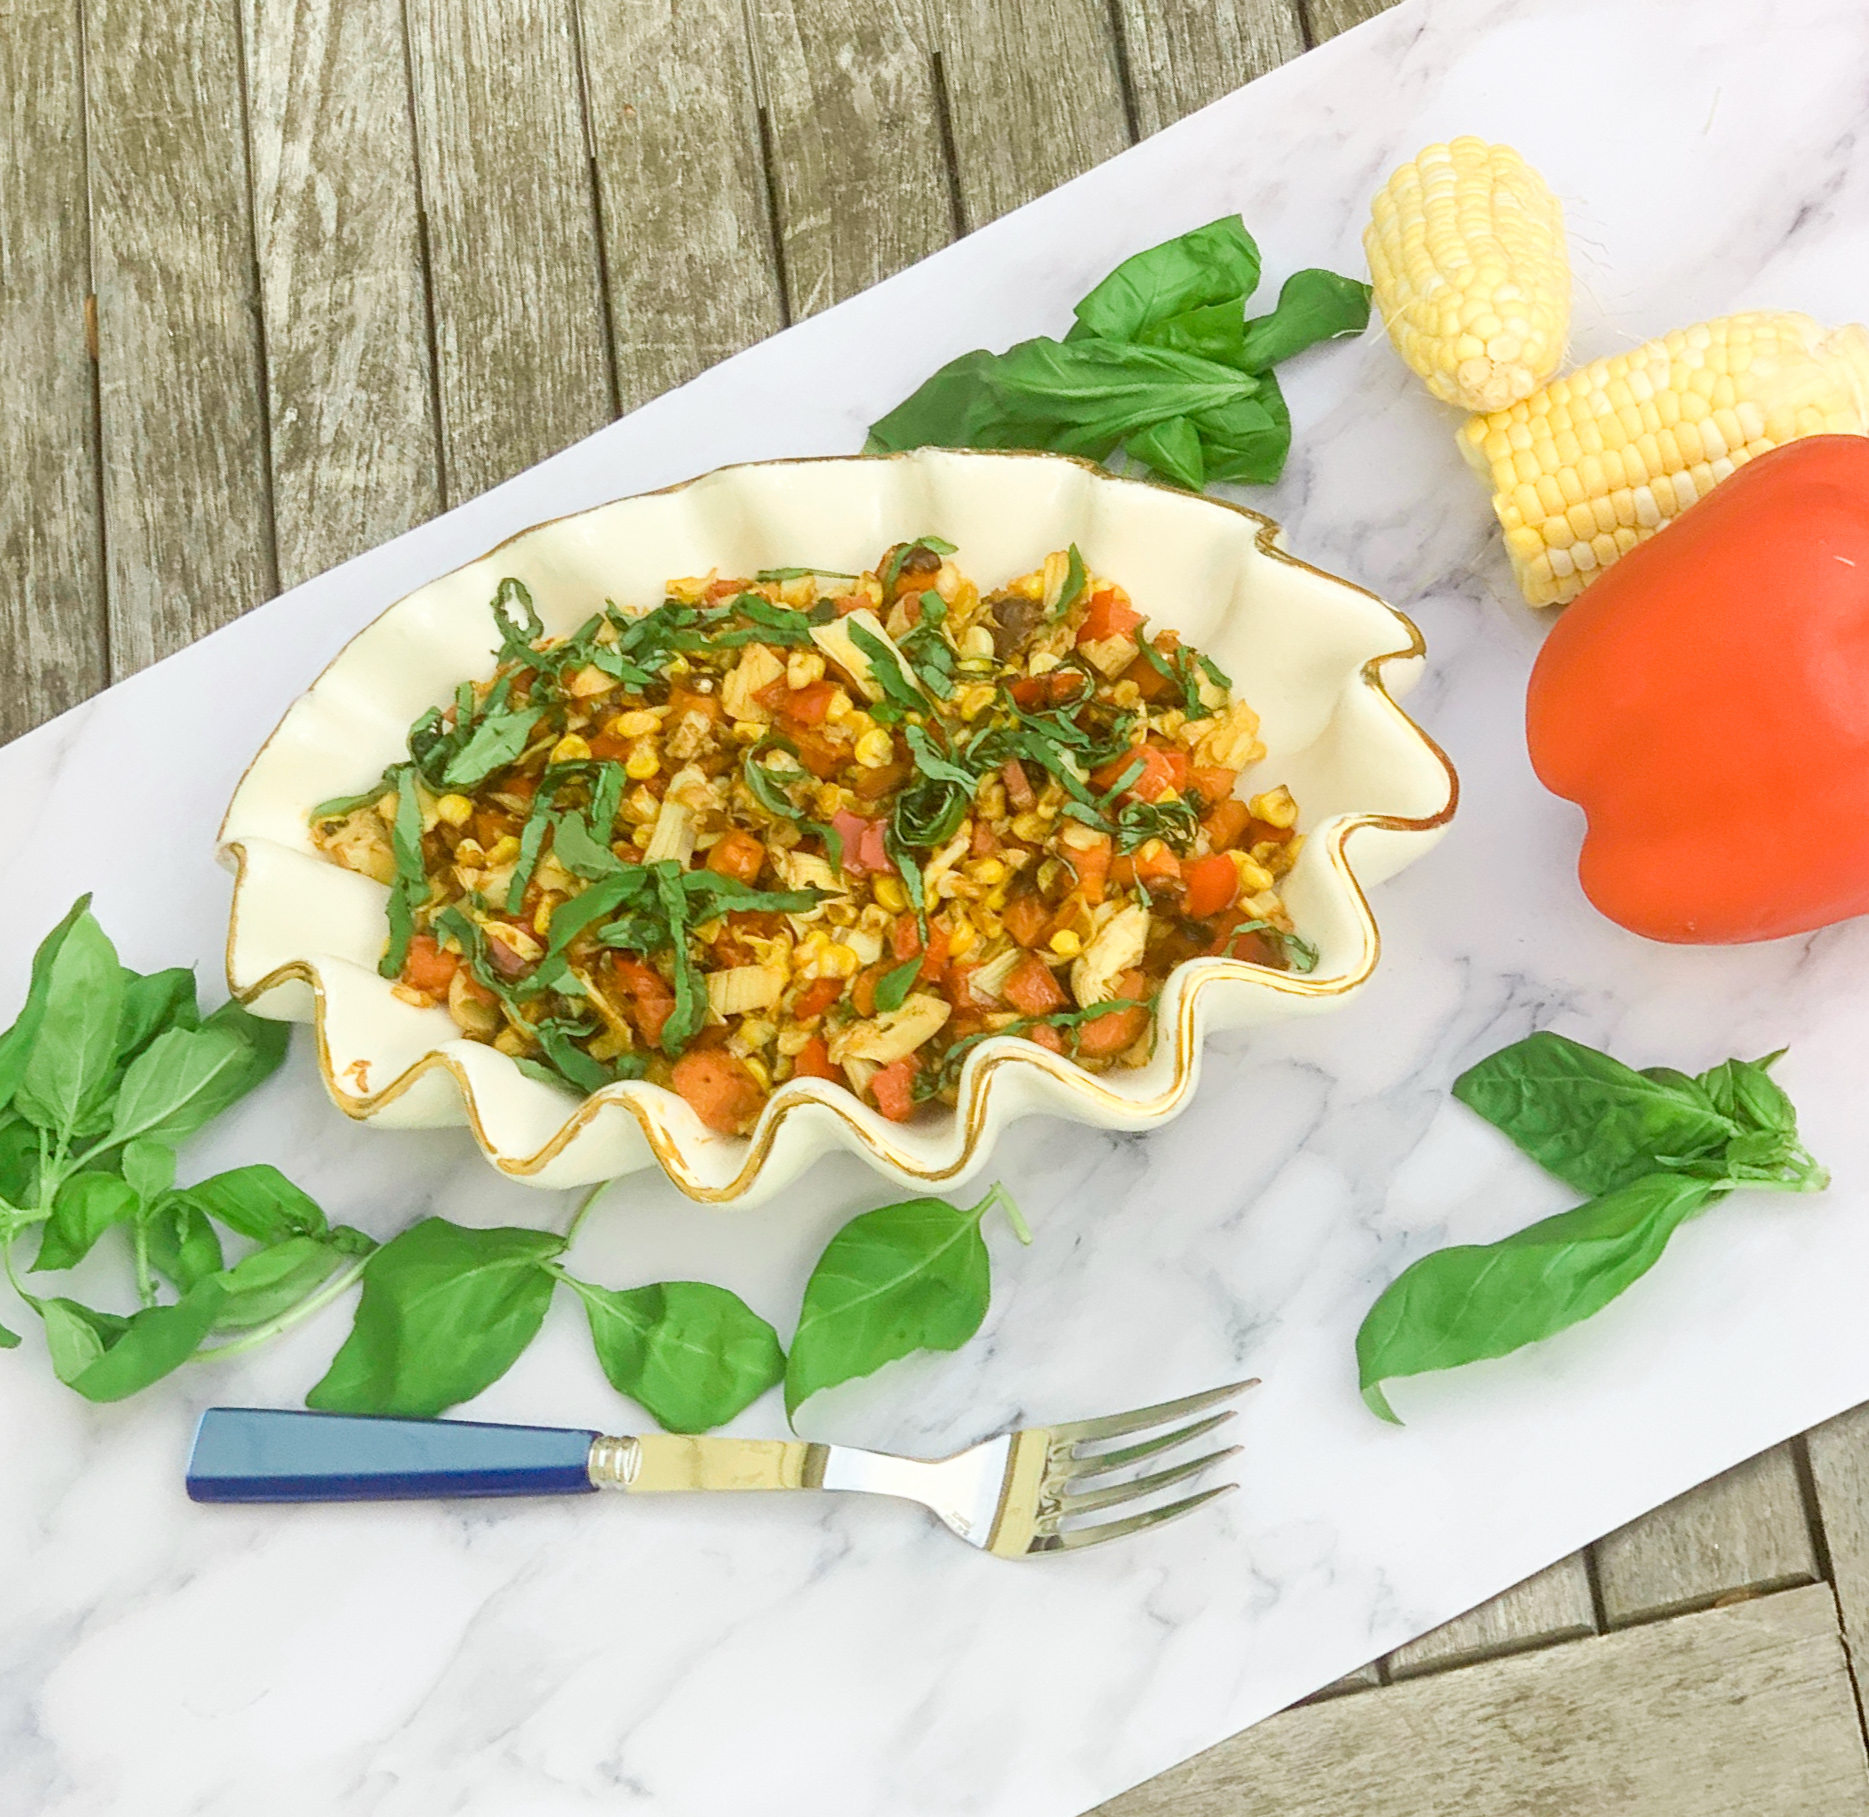
This dish actually turned out to be one my family loved, and there was no one more surprised than I. Watching my boys eat cooked carrot made my heart swell. This side is so easy to whip up, you will have it done in no time at all! The corn, red pepper, and carrots are surrounded by buttery goodness. They also gave it a nice crunch in every bite. The artichokes and basil are that savory touch, the lemon is the tang and the red pepper flakes add the perfect amount of heat. This is a “short on time” dish packed with flavor.

This recipe is my own and will serve 4 to six people who will, for a change, love this healthy dish. 

Ingredients for Confetti Corn:

2-3/4 cups fresh or frozen corn, thawed
1/2 cup carrots, chopped 
1/2 cup chopped pepper red pepper
1/4 cup artichoke hearts, chopped
4 tablespoons butter
6 large fresh basil leaves, chopped
Pinch of red pepper flakes
Juice of one-half lemon
1 teaspoon kosher salt
1/2 teaspoon freshly ground black pepper

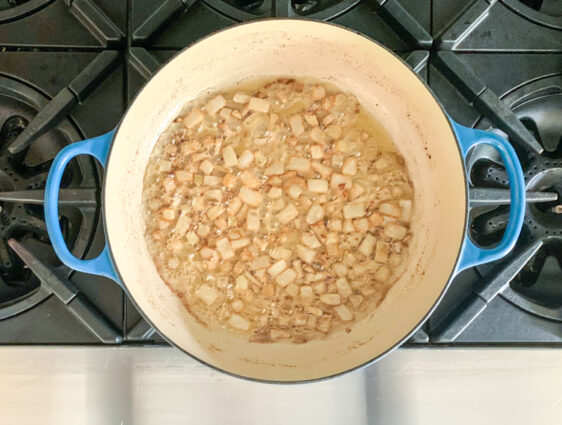
Place butter in medium skillet and heat on medium heat until melted.

Add onions and cook until just tender.

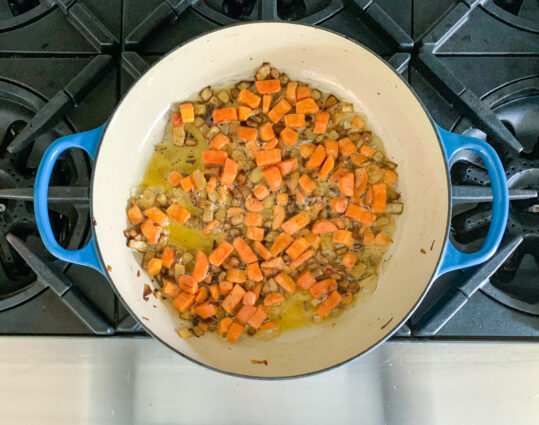
Add the carrots and crushed red pepper flakes and cook until softened.

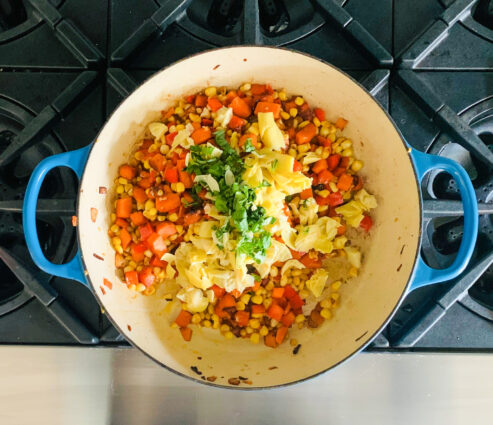
Stir in the red pepper, artichokes, basil, salt, and pepper.

Squeeze in the lemon juice.

Cook for another minute or two.

Serve warm and enjoy.

It’s that simple!

signature

[recaptcha]


My path to becoming the cook I am today has been full of adventures and learning experiences. Because there is no perfect cook, I continue to improve by reading and listening to other chefs, and watching carefully to see how each dish is prepared.  I incorporate those findings into my everyday cooking.  Much like other cooks, I am one to appreciate the details in preparation and plating. This recipe calls for that kind of meticulousness, and although having to peel asparagus seems like a terrible chore, it really changes the look and taste. 

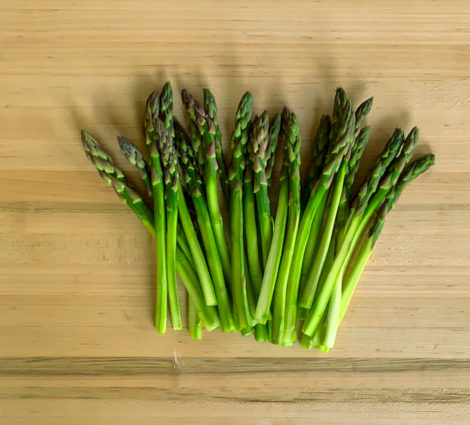
For this dish, you can buy medium-thick or thin asparagus, it does not make a difference. The quality of your peeler does make a difference, so make sure to use a very good one. Some folks don’t agree with me, but I feel very strongly about this: for asparagus to have a clean, delicate flavor, they should be shaved slightly. Peeling asparagus doesn’t just make it look prettier, it makes a larger portion of the stalk more tender and edible. 

Now you are ready to prepare this delicious dish.  It takes just minutes to prepare, and yet tastes like you spent all day cooking it up. The delicate asparagus is the perfect pairing with the salmon (if you have frozen fillets in your freezer, now’s your chance!), adding crunch and texture. The onions are the perfect sweetness and the butter makes the sauce smooth and creamy. Don’t forget the wine, which gives it another depth of deliciousness. This is a healthy “must try.”

This recipe will serve 4-6 people who will be surprised and delighted by this healthy springtime meal.

Ingredients for Spring Pasta with Salmon, Asparagus, and Parsley:

Cooking spray
1 (6 oz.) salmon fillet, skin removed
Kosher salt and freshly ground black pepper
Juice of half a lemon
1 lb. cavatappi or other short pasta
8 small asparagus, peeled and cut into bite sized pieces
1 (10 oz.) package peas
4 tbsp. unsalted butter, cut into pieces
1/2 yellow onion, chopped
1/2 cup dry white wine
4 tbsp. fresh parsley, torn

 Preheat oven to 350°F.

 Lightly grease a small baking sheet.

 Season salmon with salt, and pepper.

 Roast on prepared baking sheet until cooked through, 20 to 25 minutes. (Do not turn off oven.)

Transfer to a plate.

Cool completely, then flake into large pieces.

Turn oven up to 450 degrees.

Peel the stalks of the asparagus.

See how beautiful and bright green they are?

Combine asparagus with oil, the lemon juice and salt and pepper.

Place asparagus on baking sheet lined with parchment paper.

Roast for 10 to 15 minutes, until they are bright green with bits of brown running through them.

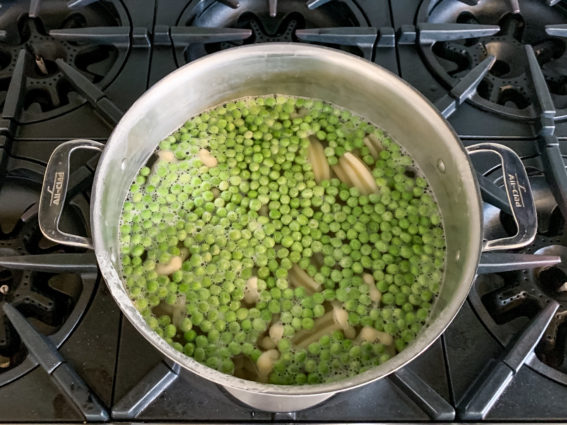
Bring a pot of water with handful of salt to a boil.

Place pasta in pot. 

Cook according to directions on package minus 4 minutes.

Place peas into pasta and cook for 4 more minutes.

 Reserve 1 cup cooking water; drain.

 Return pasta to pot.

 Melt 2 tablespoons butter in a large skillet over medium heat.

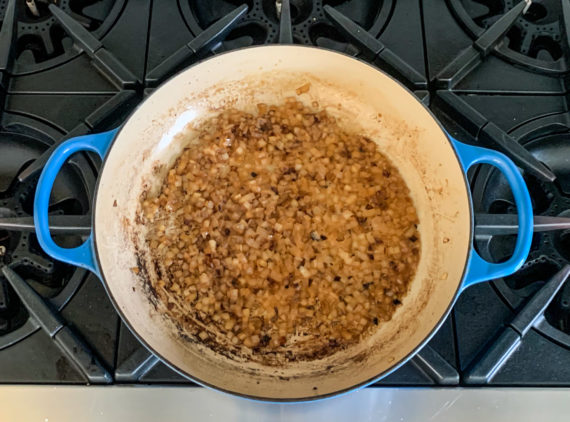
 Add onion and season with salt and pepper.

 Cook, stirring occasionally, until tender, 6 to 8 minutes.

 Add wine, lemon juice and cook until syrupy, 3 to 4 minutes.

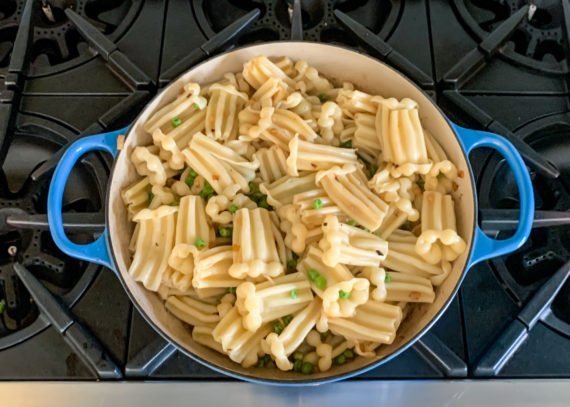
 Add pasta.

 Bring to a simmer.

Remove from heat and stir in remaining 2 tablespoons butter (adding additional cooking water if needed to create a thicker sauce).

Pour over pasta, and add additional cooking water if needed to create a thicker sauce.

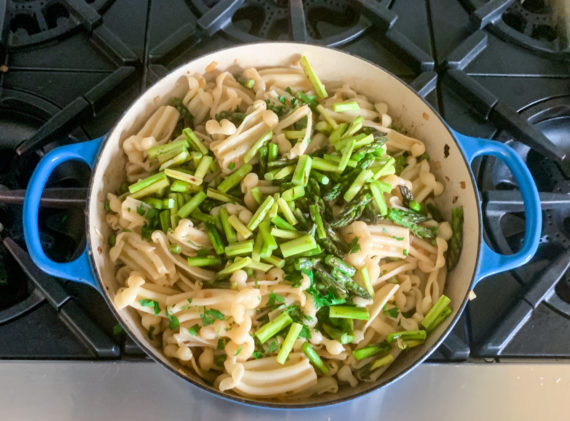
Gently fold in 2 tablespoons parsley and asparagus.

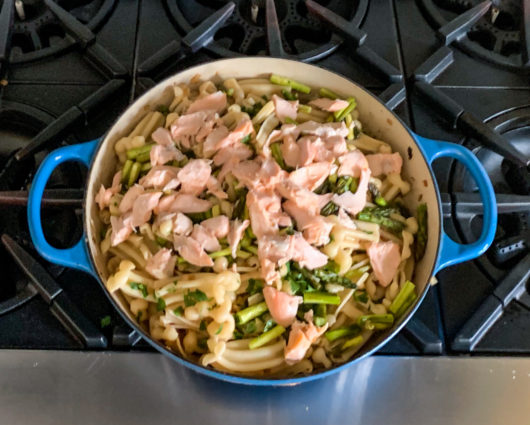
Carefully fold in salmon.

Transfer to a serving dish and sprinkle with the remains parsley.

 It’s that simple!
signature

[recaptcha]


Right up into my twenties, I was one of those people who despised vegetables. I would never even try one. Now, I love most vegetables. As you might expect, our food repertoire grows with us. Almost everyone eats a larger variety of foods as an adult than they did as a child. 

When we were younger, we all had vegetables that were cooked until they turned to mush, and the presentation was incredibly unappealing.  I don’t recall vegetables being served often in my house, but when they were, they looked truly awful and smelled just as bad. How many of you adults remember eating Brussels sprouts as a kid? I introduced vegetables when my children were older and I knew how to cook them correctly, and still they still won’t eat them (their loss).

As my knowledge of cooking increased, I learned how to cook veggies so they looked inviting and tasted wonderful. Roasting them at a high heat creates a beautiful caramelization that makes them crunchy and sweet. You can do this with any vegetable. Just toss them with a bit of olive oil, salt, pepper and lemon juice, and place them in the oven at 425 degrees. Different veggies have different roast times so you need to do your research and start checking them five minutes before the cook time the recipe tells you. 

If you are steaming veggies, take them out of the pot when they are a brilliant green, orange or yellow. Blanche them by placing them into a pot of ice-water to stop the cooking process. This will ensure that they do not overcook. Remember, everything you take out of the oven or a pot will continue to cook off the heat. Eat them plain, or toss with the sauce of your choice. 

Thankfully, vegetables have become an important choice for us all. And guess what? We really like them too.

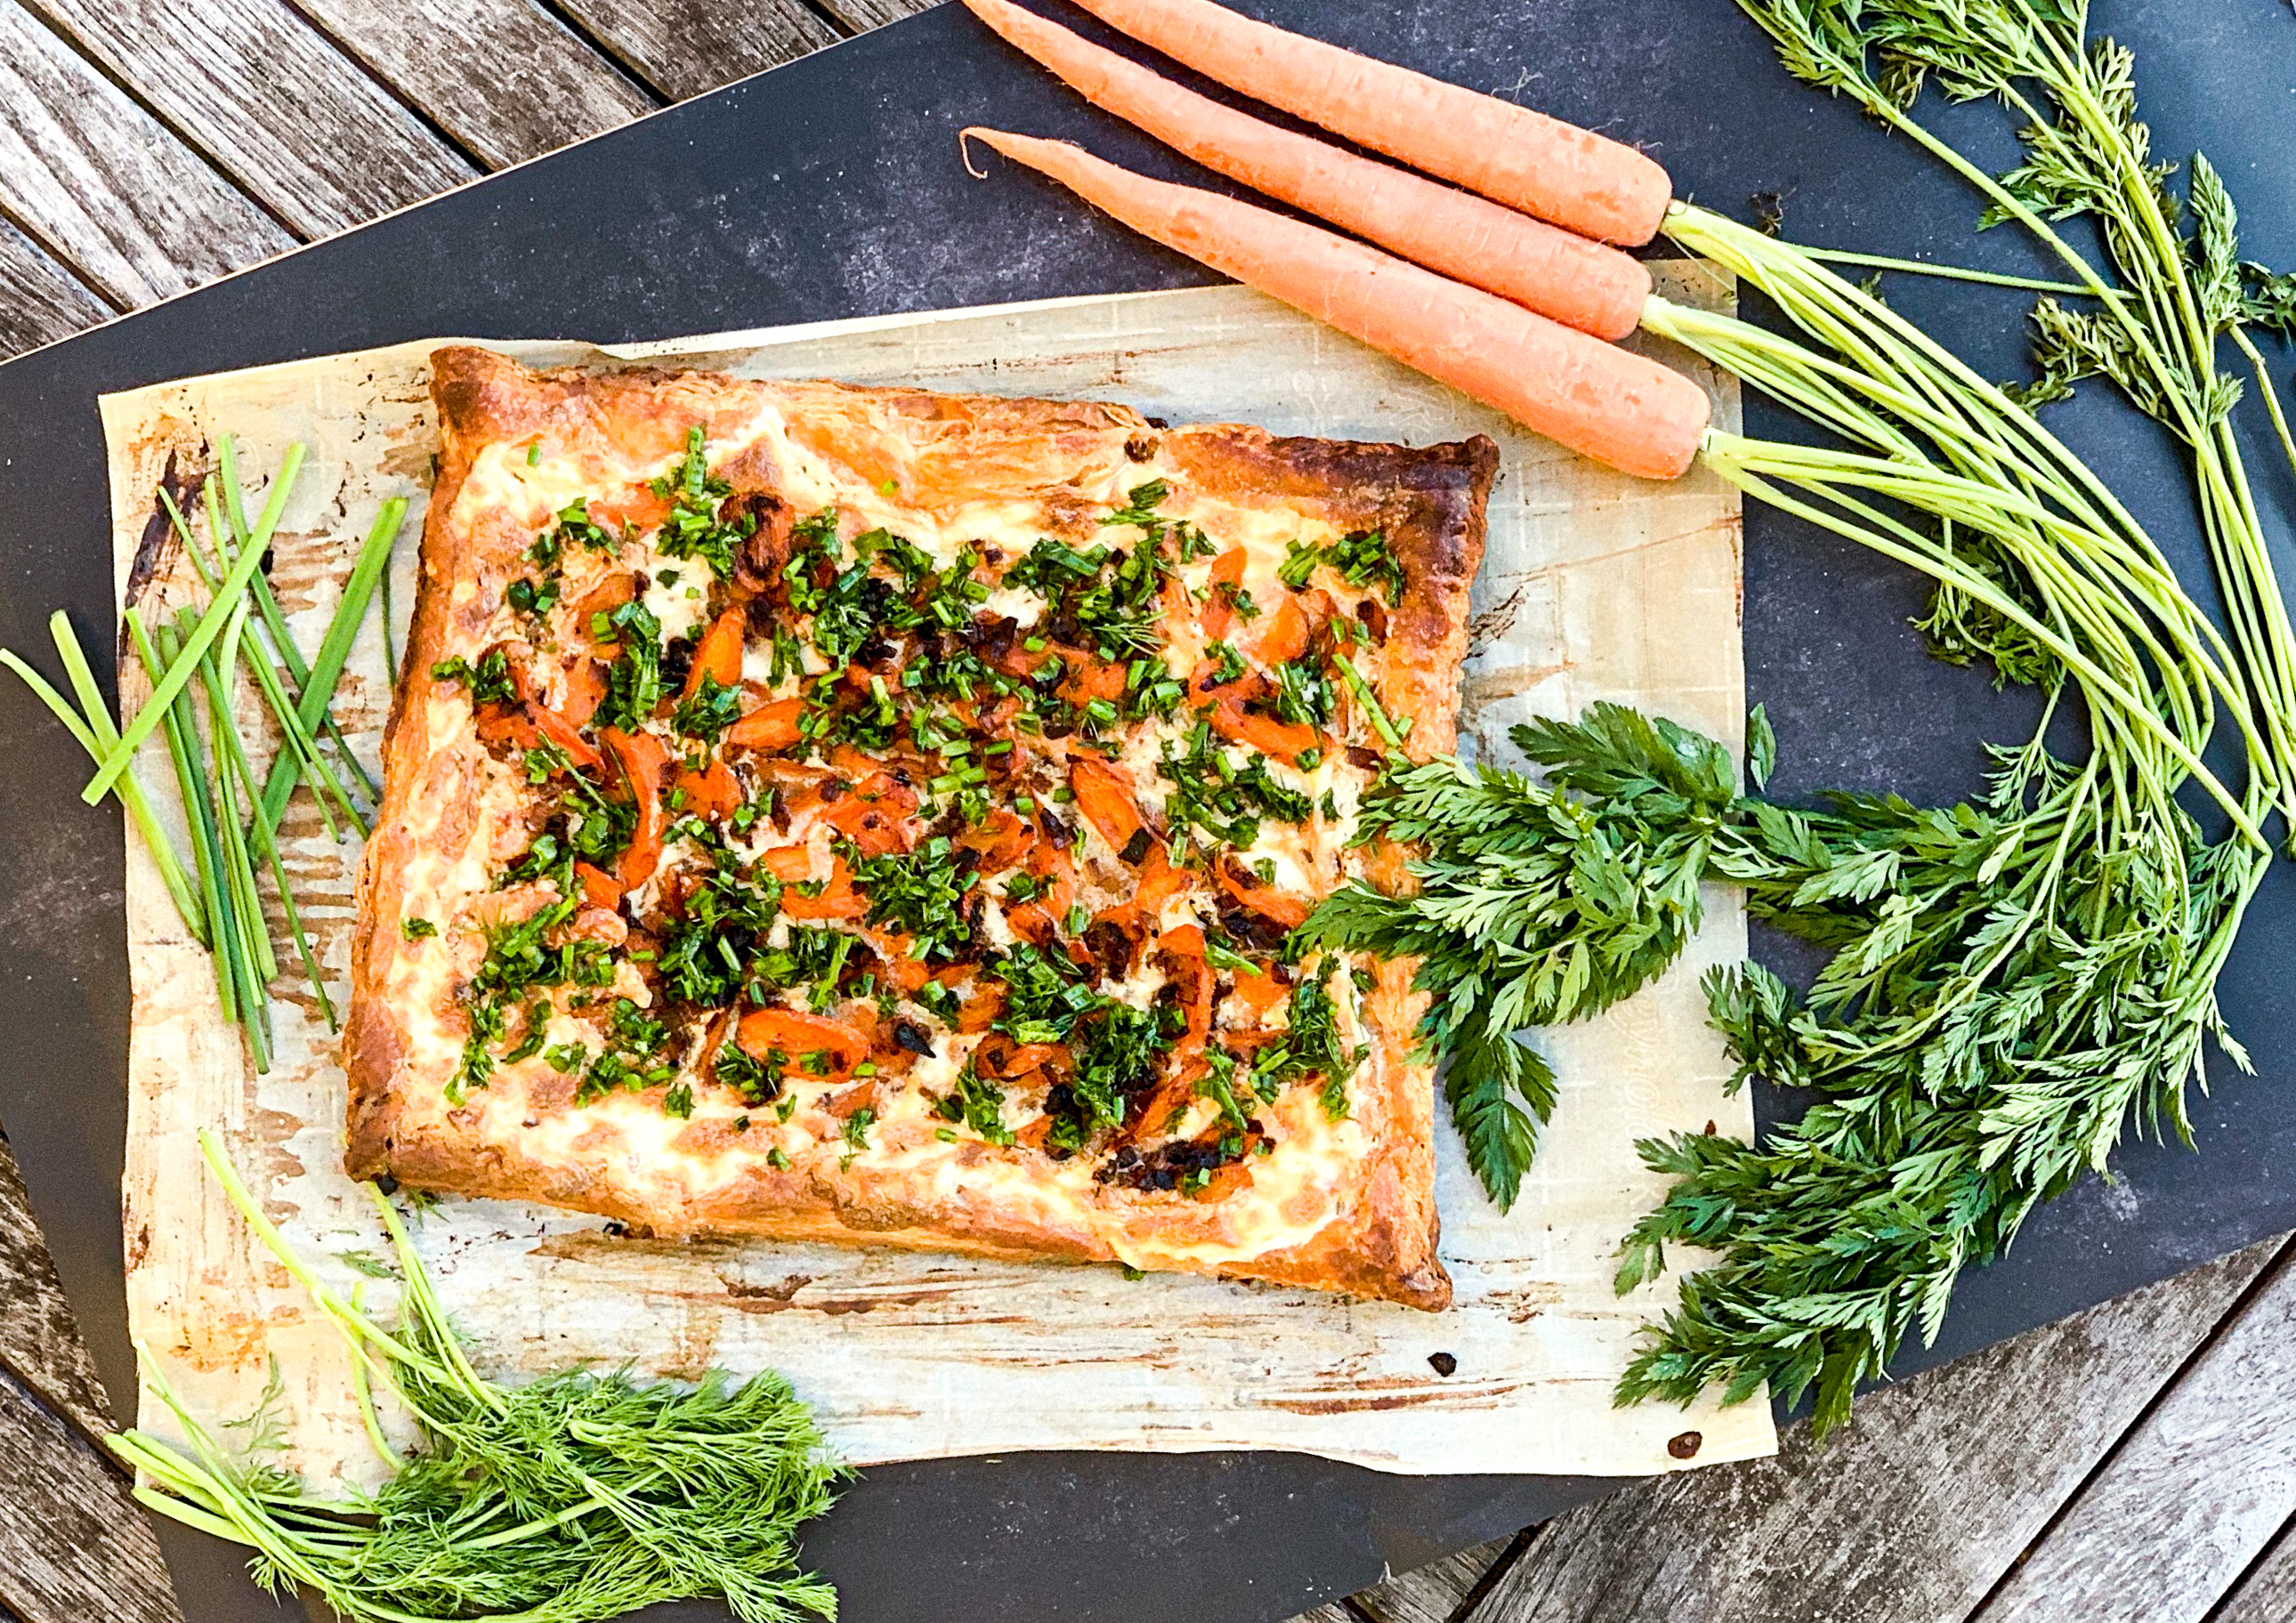
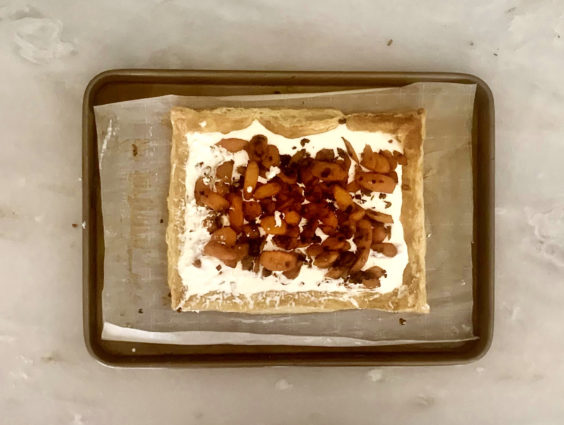
This wonderful tart is no exception. Watch the timing for the carrots, it is so important they do not overcook. The carrots and onions caramelize to sweet deliciousness in the pan. The ricotta and cream intensifies its delicious, rich flavor. The herbs add a savory touch, and the delicate, delightful puff pastry is the perfect home for this tart.

This recipe is courtesy of Bon Appetit and will serve 8 people who will love a fresh preparation on a familiar vegetable.

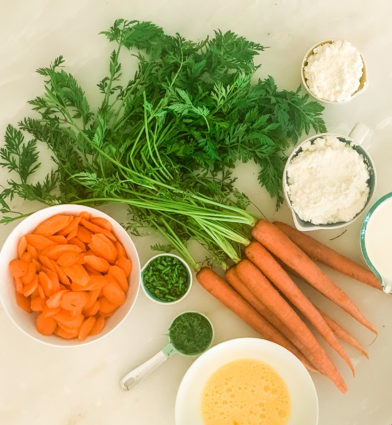
Ingredients for Carrot Tart with Herbs:

2 cups ricotta
¼ cup heavy cream
Kosher salt and freshly ground pepper
3 tablespoons olive oil, divided
1 small onion, thinly sliced
4 large carrots (about 8 ounces), scrubbed, thinly sliced into coins
1 package frozen puff pastry, thawed
1 large egg, beaten to blend
¼ cup coarsely chopped fresh chives
2 tablespoons dill, chopped 

Preheat oven to 425°.

Whisk ricotta and cream in a small bowl; season with salt and pepper. 

Heat 2 tablespoons oil in a large skillet over medium-high.

Cook onion, stirring occasionally, until soft and starting to brown, about 5 minutes.

Add carrots and cook, tossing occasionally, 2 minutes; season with salt and pepper and set aside.

Lightly roll out pastry on parchment paper just to smooth out creases.

Transfer on paper to a baking sheet. Lightly score a 1″ border around pastry.

Brush with egg; bake until golden and slightly puffed, 10–15 minutes.

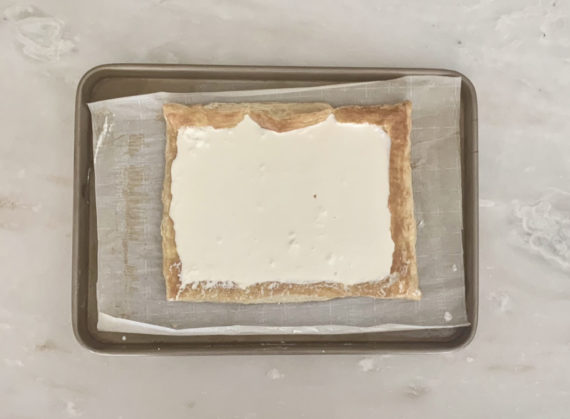
Remove from oven and spread ricotta mixture over pastry, staying within border.

Scatter reserved onion and carrots over top. Bake until carrots are tender, onion is starting to caramelize, and pastry is golden brown and baked through, 30–35 minutes.

Let cool.

It’s that simple!
signature

[recaptcha]


I know lots of people who do not like to cook. They prefer to have somebody else to cook for them. Deciding where to go takes more time than throwing a chicken in the oven. And, now that it is so cold, once I get home, I do not want to go out again! Make a simple dinner at home is my first choice, and should be yours too.

First and foremost, cooking saves you money. Eating dinner that is prepared at home is much cheaper than eating at a restaurant, or even prepared meals at a grocery store.  Restaurants especially are so expensive and the cost of a meal every day will add up quickly. When you eat at home, you can plan cost-effective menus and make larger portions so you can have leftovers for the next day or two. Most folks (my family included included) love leftovers. 

Second, if you are cooking for yourself, the meal will likely be more healthy.  We do not tend to indulge at home like we would at a restaurant. You will probably not be making French fries because of all the work and mess that goes into it. Who has the right equipment for deep frying?  And more importantly, wants to clean that up? You will probably choose something easier, with simple ingredients that help you maintain a healthier lifestyle. 

Third, you know exactly what is going into your food. I know that when I go to a restaurant, I ask a million questions about how the food is prepared (they probably hate me for this) and what ingredients go into the dish. The staff are always kind enough to answer my questions and will often alter the dish according to my preference. Cooking at home will safeguard that you have control of what is in your food, such as sugar, oil, and salt.  For those of you with tight dietary restrictions, this is also much less stressful than eating out.

Whether eating at a restaurant or at my own table, sweets are a must for me.  If you can control what goes into your meal, then you may just have a little extra room to have dessert. You won’t feel guilty and you can truly enjoy them. Let’s face it, desserts make life more enjoyable, so cook yourself a good homemade meal and indulge (but not too much). 

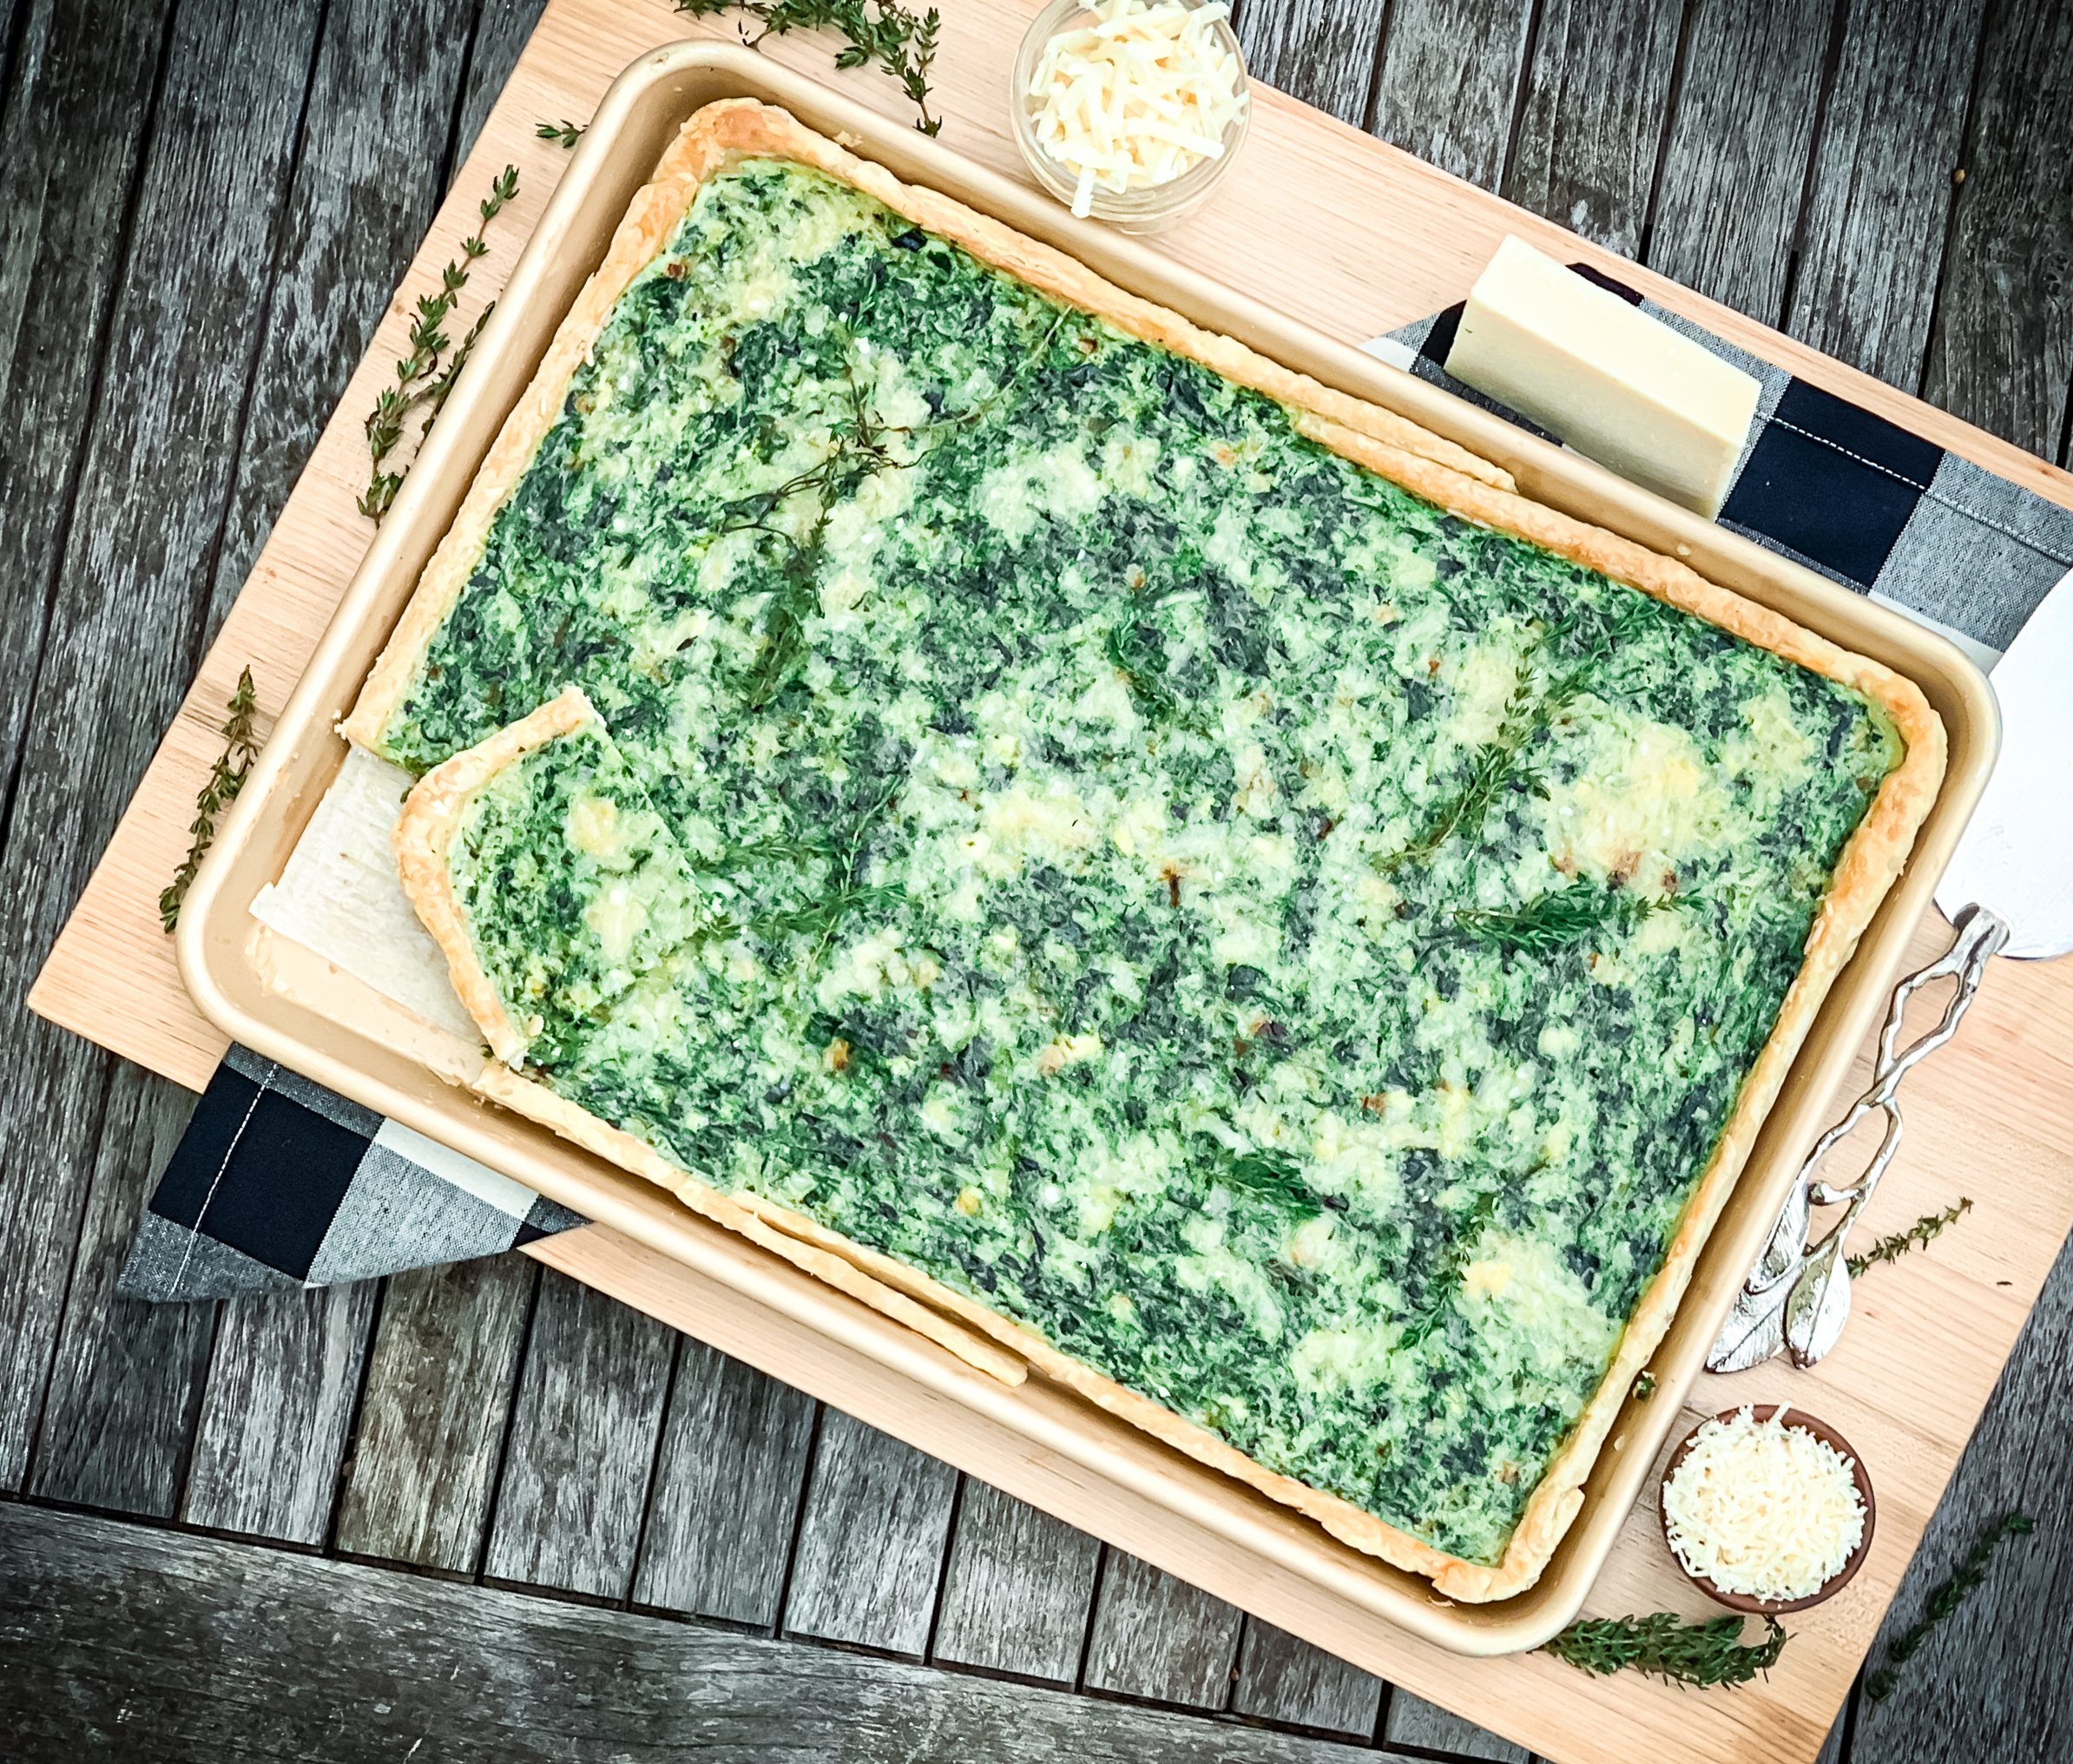
 This dish is definitely something you can make at home and feel really good about. It is very satisfying and so easy to make. The puff pastry is the perfect vessel for these enticing ingredients. The spinach and onion are a delicious combination. The cheeses add gooey deliciousness and the thyme and chives are the savory wonders of this quiche.

This recipe is mine and will serve 8 to 10 people who will love this rustic, homemade meal.

Ingredients for Spinach Quiche:

2 sheets puff pastry, defrosted but chilled
2 (10-ounce) packages frozen spinach, thawed and drained
4 ounces cream cheese, softened
1 cup Gruyere cheese
1 cup Parmesan cheese, divided
2 tablespoons olive oil
1 yellow onion, sliced
10 eggs
2 egg whites plus 1 teaspoon water
10 eggs
2/3 cup half and half, whole milk or heavy cream
4 sprigs thyme, thyme removed and chopped
1 teaspoon kosher salt
1/2 teaspoon freshly ground black pepper

Preheat oven to 400 degrees F.

Line a baking sheet with parchment paper.

On a floured surface, roll out each piece of dough to a long rectangle.

Place one sheet on either side of baking sheet, leaving enough dough on the sides to carefully work dough up sides of pan.

Press along center where the two puff pastry sheets meet and press so they come together.

Using your hands, work dough up to the lip of the pan, forming your crust.


Using a fork, prick the surface of the dough to keep it from puffing up when baking.

Brush the dough with egg whites plus 1 teaspoon water.

Place a piece of parchment paper over the dough and place some rice on top to weigh it down.

Bake the dough for 10 minutes then remove from oven.

Take the rice off and remove the parchment paper.

Place in the oven to bake for 5 more minutes.

While dough is baking, heat the olive oil in a large sauté pan over medium-high heat.

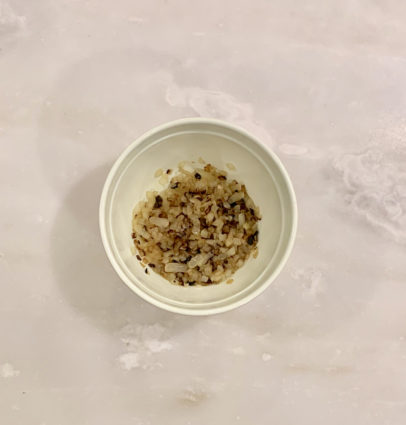
Add the onions and cook until they soften and become golden brown, about 15 to 20 minutes.

Transfer the onions to a bowl and allow to cool.

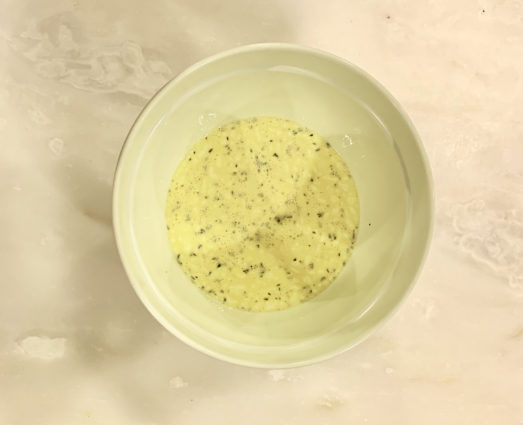
In a medium bowl, whisk together the 10 eggs, cream cheese, cream (or milk) and thyme, until they are completely combined.

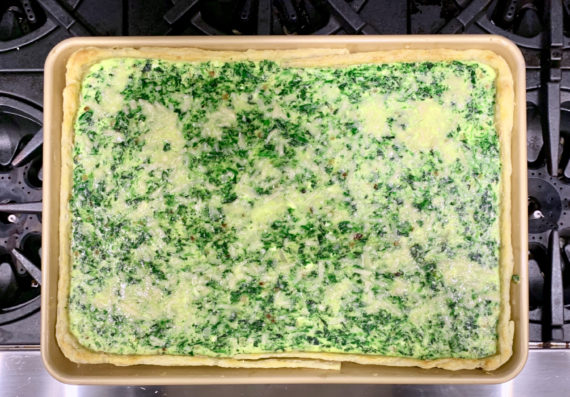
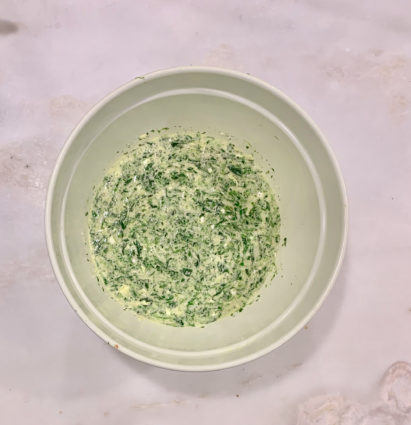
Add thawed and drained spinach, 1/2 cup of Parmesan cheese and onions to the egg mixture.

Season with salt and pepper.

Sprinkle remaining 1/2 cup Parmesan on top.

Pour the filling into the cooled crust and bake for 15 minutes or until the filling sets.

Allow the quiche to stand for 5 to 10 minutes.

Serve warm.

It’s that simple! 
signature

[recaptcha]