Carbonara is an Italian dish from Rome. The ingredients usually include a long pasta, such as spaghetti, fettuccine, linguine or bucatini, as well as egg, a hard cheese, and pancetta or bacon.

It never calls for cream, the eggs are the substitution for it in this dish. The eggs are cooked gently by the heat of the pasta, and becomes thick and creamy. Once the pasta is placed in the egg and cheese mixture, it must be stirred in very quickly and thoroughly to coat the pasta perfectly.

This was my second attempt at making a pasta carbonara. We won’t even mention the first time, because it wasn’t pretty, fun or edible. Second time’s the charm, I guess! Preparing this dish was not as intimidating as I thought it would be. I know many of you are probably fantastic at making this dish, but I am just a novice. I worked slowly and followed the directions carefully. To my delight, this recipe was a winner! My kids were eating this dish up as fast as I gave it to them. This is a perfect way to make a carbonara. The only thing the author left out was reserving some of the pasta water, (I am assuming she put the pasta right from the pot into the egg mixture without draining it first). So, I did add in a reminder for you to reserve a cup of the water before you go and drain it all out. The reserved water is really important because it will determine the thickness and creaminess of your sauce.

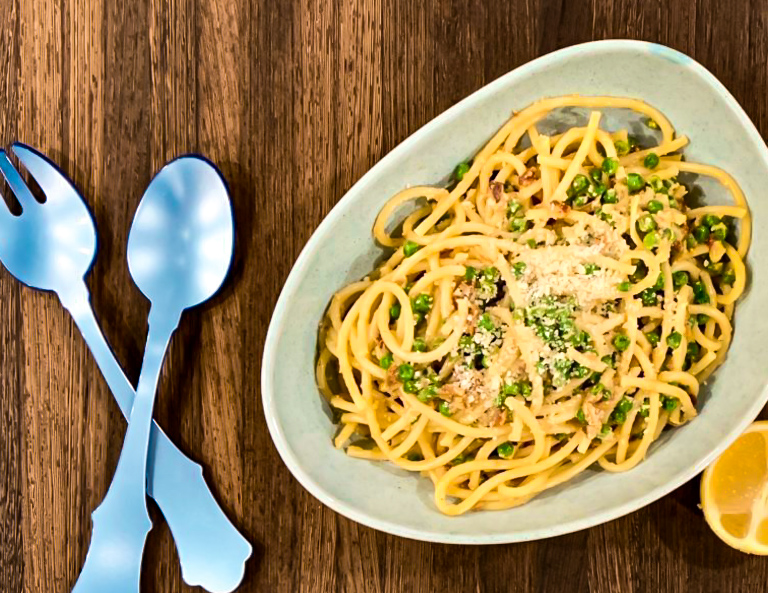
This dish is so exceptionally delicious. The bucatini becomes covered with egg and cheese mixture, adding a velvety texture to each bite. The lemon gives it a nice tang, and the Parmesan makes this dish perfect. I love the simplicity of this dish. It is perfect to make on a Sunday night served with some good garlic bread and a salad. Give this a try. It is so worth it.

This recipe is courtesy of Let’s Stay In and will serve 4 to 6 people who will think you’re a pro pasta carbonara maker, even if you aren’t!

Ingredients for Lemony Carbonara with Peas:

6 ounces pancetta or bacon, cut into 1/2-inch strips
4 garlic cloves, thinly sliced
10 ounces fresh or frozen peas
1-pound spaghetti or bucatini pasta
1 cup grated Parmesan cheese, plus more to finish
3 large eggs
1 teaspoon freshly ground black pepper. plus more to finish
2 teaspoons finely grated lemon zest, plus more to finish
3 tablespoon freshly squeezed lemon juice

Pour in enough water to fill a large Dutch oven or stock-pot halfway up, then stir enough of the sea salt to make the water taste of the sea.

Bring it to a boil.

While the water comes to a boil, crisp up the pancetta in a large skillet over medium heat. 5 to 7 minutes.
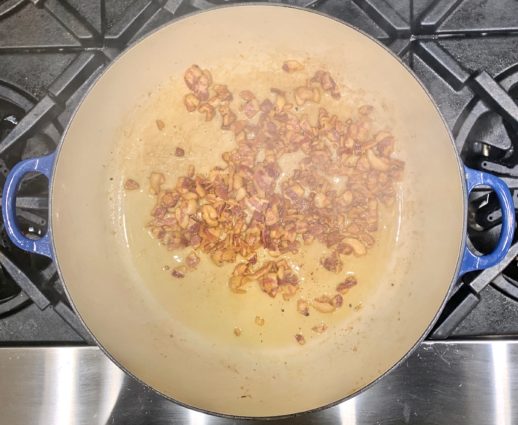
(sorry this is so smokey!)

Add the garlic and cook until golden and crisp, 3 to 4 minutes.
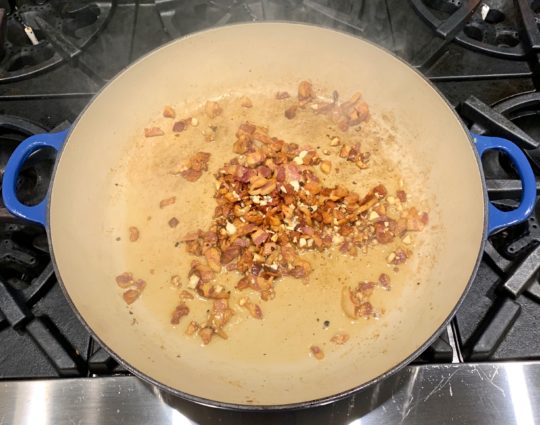
Stir in the peas and cook just until their color brightens, 1 to 2 minutes.
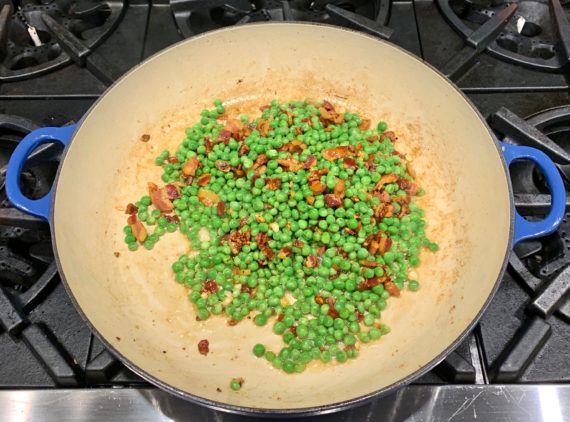
Remove from the heat.

Cook the pasta in the salted water until al dente, 10 to 12 minutes.

Reserve 1 cup of the pasta water.

In a large bowl, stir together the Parmesan, eggs, and pepper until thoroughly combined.
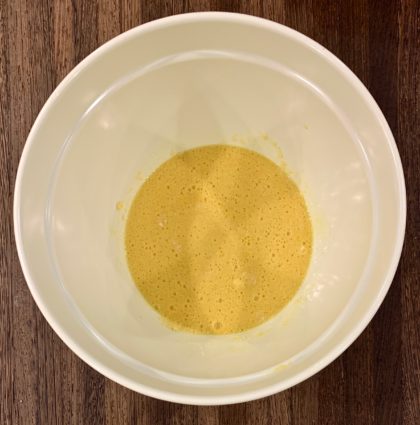
Add the hot pasta directly to the egg mixture and stir well and quickly so as not to scramble the eggs.
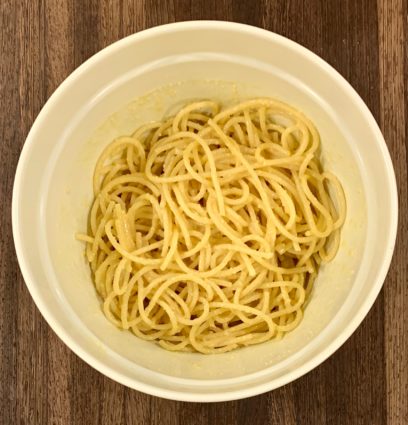
Add a bit of the pasta water as needed to create a creamy sauce.

To the pasta, add the pancetta mixture, then stir in the lemon zest and juice.
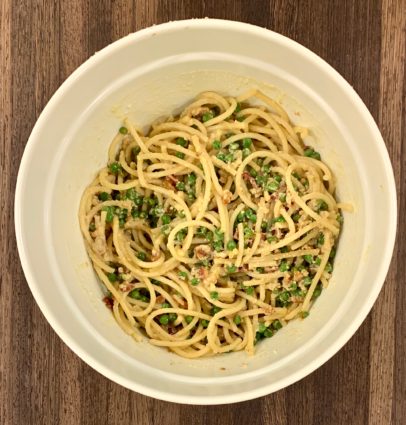
Transfer the pasta to a serving platter, then top with more grated Parmesan, lemon zest and pepper.

It’s that simple!

Mitzie and Macy
signature

[recaptcha]


I know most people think it is a nightmare, but I love doing construction on my home.  It’s so exciting to plan my dream home, then work together with all sorts of people to bring the plans to fruition. 

The last time I did construction on my home, I had my kitchen redone– I added a library for my cookbooks, and a full bar too. I have a wonderful architect and contractor. That architect had completed the first two phases of my home, so it made sense to use him a third time. He knows my tastes really well, so I really enjoy looking at his plans and finalizing them. He always comes up with interesting ideas, and though we have to pick and choose according to our budget, I always end up with rooms I really love.

I had redone my kitchen once before, but with all the cooking I do, especially for the holidays, it quickly became too small. My sister-in-law, her daughters, their husbands, and her two grandchildren come over the day before Thanksgiving to help. My kitchen was hard to manage, especially with all those people in it. A few years went by and my husband and I decided we wanted to put a bar in the house. After spending years of my life in the kitchen, my very kind husband told me he wanted me to have a kitchen with all the bells and whistles. I finally got my dream kitchen, and I thought that was the end of construction.

Now that we have the beach house, we knew we would have to do construction. Surprise, surprise, the kitchen had to be redone. In addition to our surprise, my architect has a home near our beach home, and he offered to do the plans for my new home too. We are still in the planning stage, but I am looking forward to watching our home really become “ours.” I have enough room for any company that comes, but the kitchen and the first floor need a little work. I am sure I will be out there a lot, watching over and managing the workers and what they do. I feel very blessed to be designing a second dream kitchen.

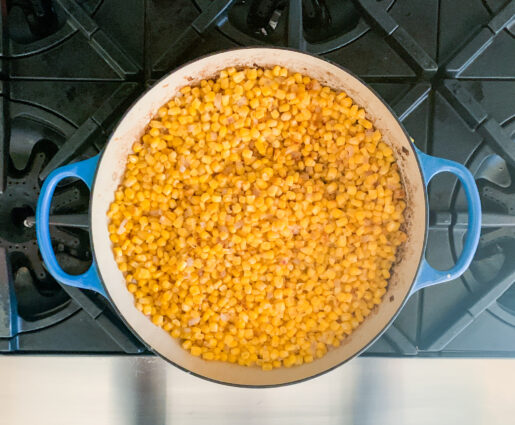
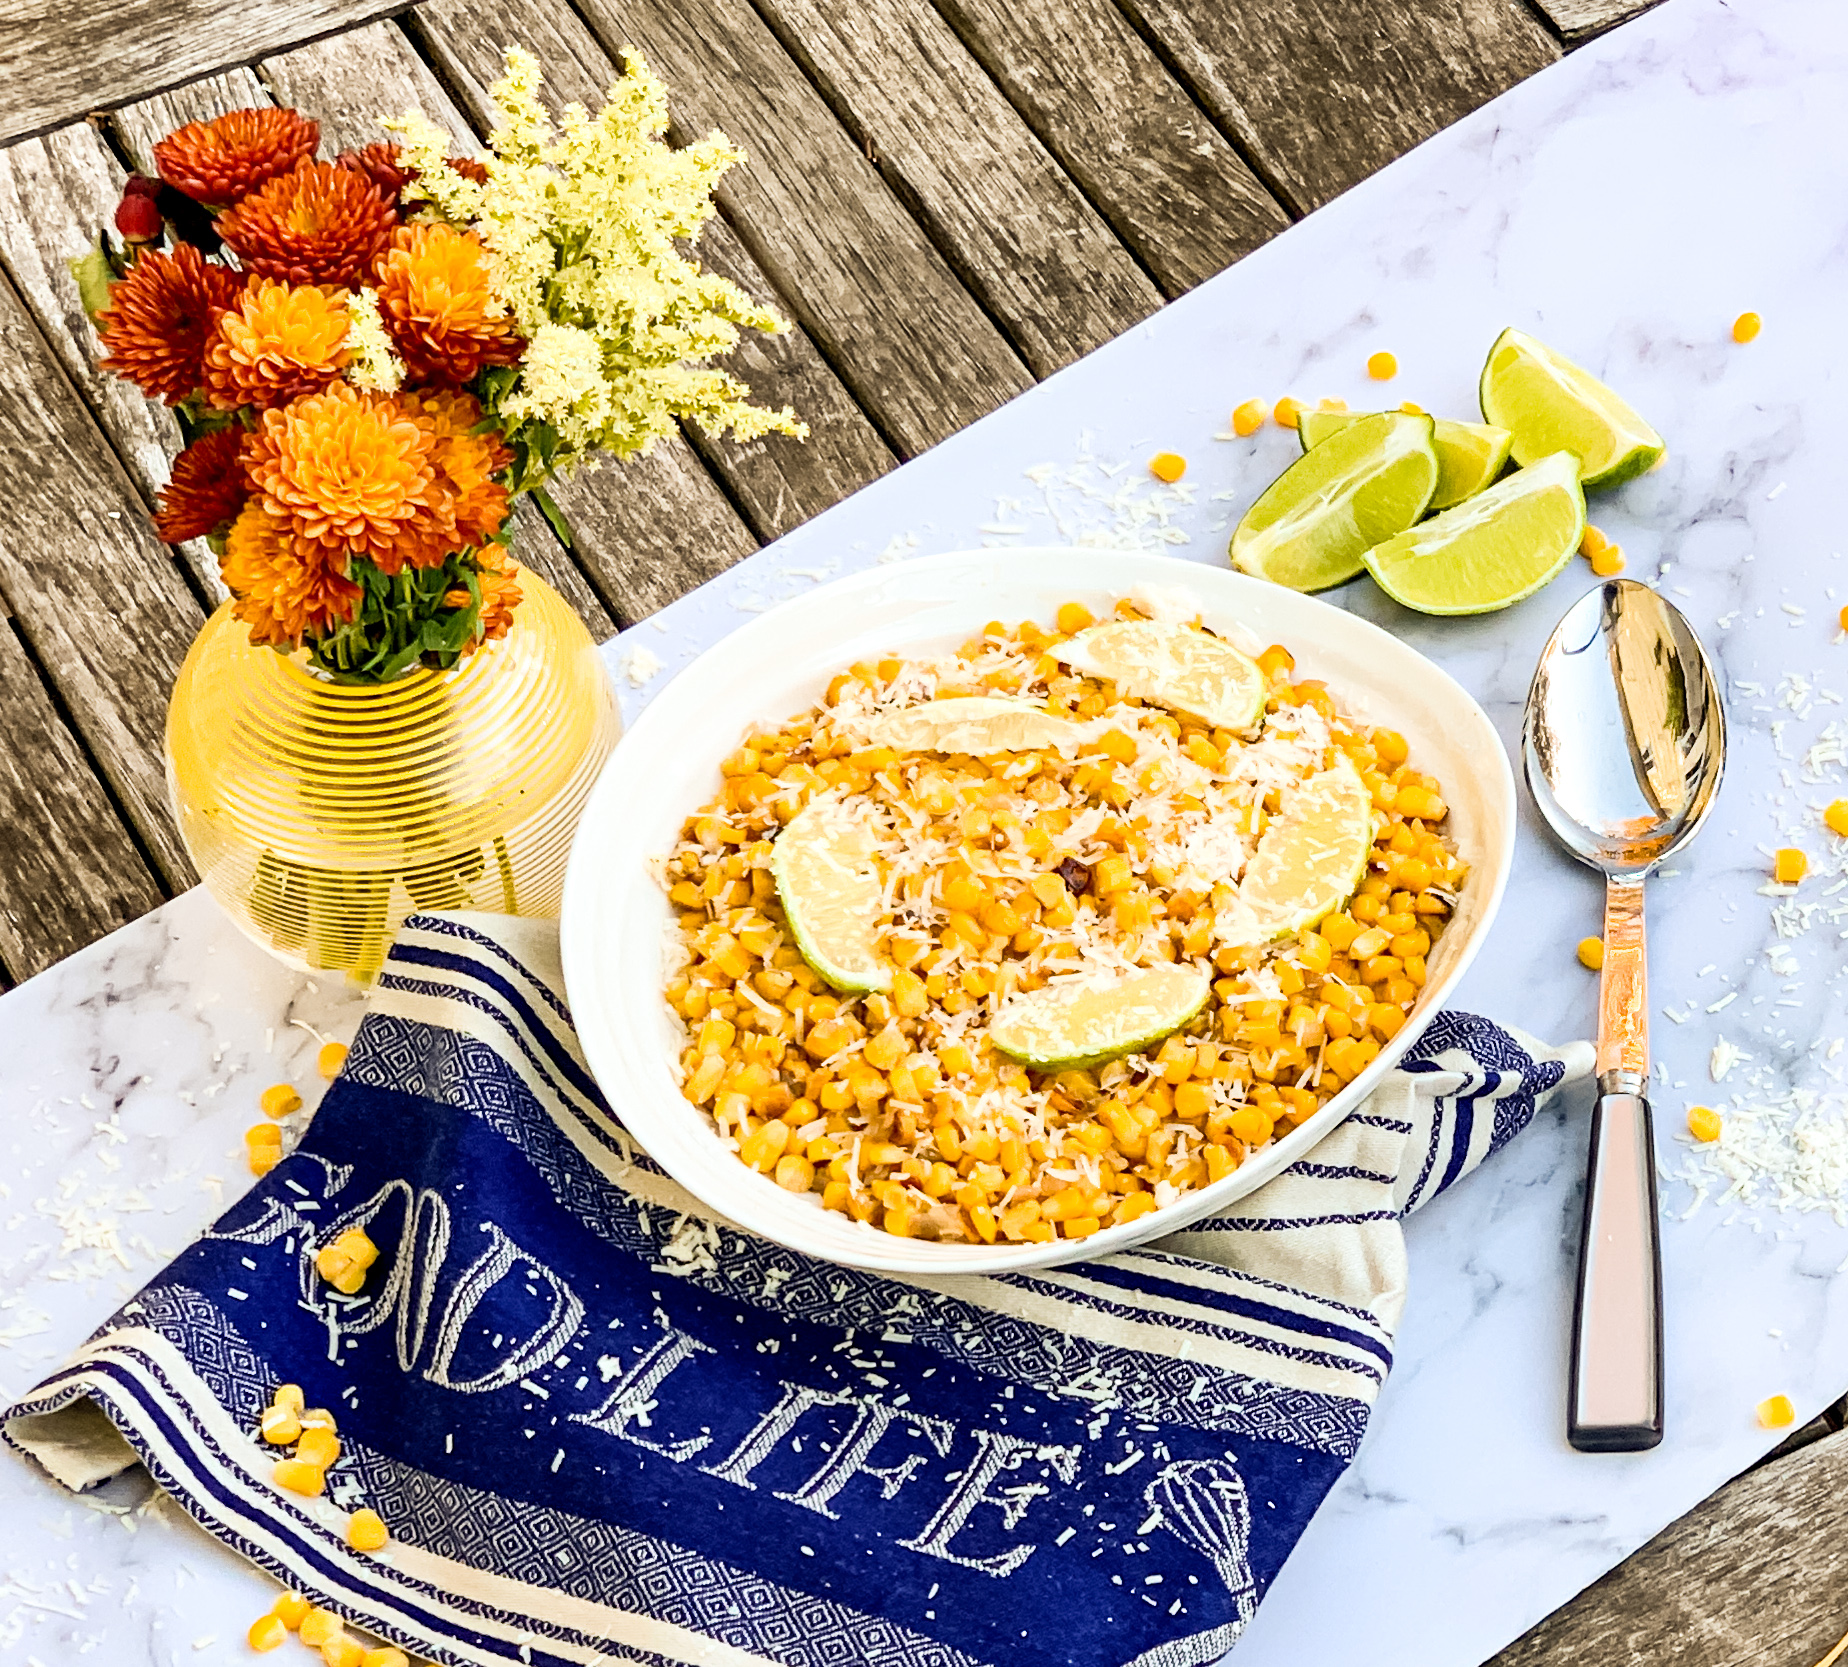
No matter what the size of your kitchen, this is one dish that you can cook up. Unfortunately, I couldn’t find fresh corn, so I bought frozen corn, thawed it out, and used it. It worked beautifully. The sweet corn, when combined with the chipotle chili lends itself to a wonderful sweet and spicy aroma that makes you want just one more bite. The shallots add a nice fragrant sweetness. I added some lime zest along with the lime juice which gives it mouthwatering tang, and some extra flavor.  The Parmesan tops this dish off with irresistible deliciousness.

This recipe is courtesy of Ina Garten, who never, ever disappoints. It makes 6 to 8 servings, and proves that you don’t need the world’s fanciest kitchen to make a delicious side dish.

Ingredients for Chipotle Parmesan Sweet Corn:

6 tablespoons (¾ stick) unsalted butter
1 cup shallots, halved lengthwise, peeled, and thinly sliced crosswise (3 shallots)
8 cups white or yellow corn kernels (8 to 12 ears)
¼ teaspoon chipotle chile powder
Kosher salt and freshly ground black pepper
2 tablespoons freshly squeezed lime juice
1 tablespoon freshly grated Italian Parmesan cheese

Heat the butter in a large (12-inch) sauté pan over medium heat, add the shallots, and cook for about 5 minutes, until tender and fragrant.

Add the corn.

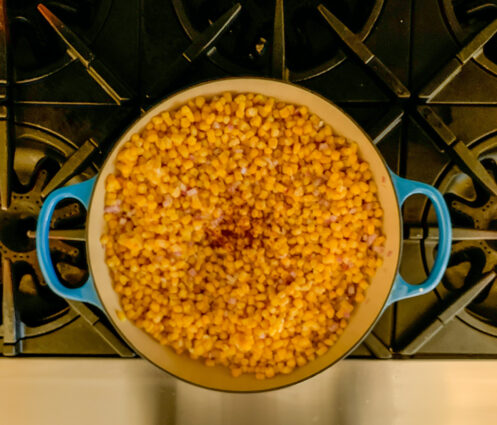
Sprinkle in the chipotle powder, 2 teaspoons salt, and 1 teaspoon pepper.

Raise the heat to medium high and cook for 10 to 12 minutes, stirring occasionally to allow the corn to brown lightly, until the corn is tender but still firm.

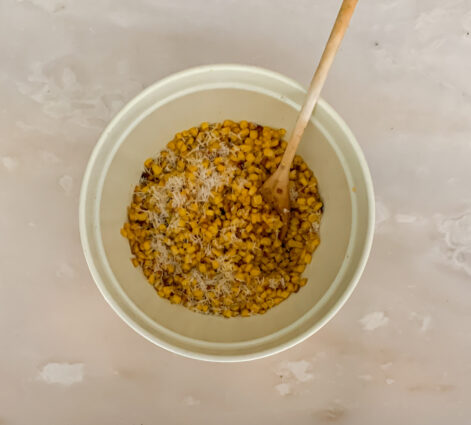
Off the heat, stir in the lime juice and Parmesan.

Taste for seasonings and transfer to a large shallow serving bowl.

Serve hot.

It’s that simple!


signature

[recaptcha]


The weather is perfect these days. Autumn is in full swing and because the cool weather is here, I get to go running outdoors.

I have always been an exercise buff. When I entered college, I went to my first aerobic dance class. My sister dragged me to one, and even though I initially resisted, I fell in love with it. I know I am dating myself, but the class was a Jackie Sorenson class. For those Gen X and millennial folks, Jackie was the first person to invent the aerobics class. 

Wikipedia says this: “Jackie Sorenson (born Jacquline Fay Mills; December 10, 1942) is the American originator of aerobic dancing… Inspired by Dr. Kenneth H Cooper’s 1968 book on aerobic exercise, she created for women an aerobic dance routine to music in 1969 in Puerto Rico, teaching U.S. Air Force wives. She expanded this concept into a teaching method and studio franchise, Aerobic Dancing Inc., that rose to 1,500 locations and 4,000 instructors teaching 170,000 students in 1981 at its peak.”   

She hesitated calling it an aerobics class, because she did not think the term would catch on, given its scientific origins.   Aerobic exercise is performed by repeating sequences of light-to-moderate intensity activities for extended periods of time. Aerobic exercise may be better referred to as “solely aerobic,” as it is designed to be low-intensity so that all carbohydrates are aerobically turned into energy.  Jackie felt that “Americans don’t know what fitness is really all about. They’re worrying about the little muscles in their inner thighs, when they should be worrying about the most important muscle – their hearts.”

With that in mind, you can see how this class changed my life– and health– for the better. Soon after I began taking the class, my instructor offered to train me to learn how to become an instructor. This wasn’t an easy task. At that time, we had a weight requirement, had to run a six-minute mile, and teach in front of the other instructors to make sure our form and routines were performed correctly. While I passed all the levels, this period of examination always made me nervous. How was I going to run a 6-minute mile? I had never run before!  I started to train for my instructor requirements on a regular basis so I wouldn’t have to be so nervous during tryouts. It didn’t really help, I was always nervous when the time came to run the time trial.

I ended up teaching aerobics for 12 years and I loved every minute of it. As an instructor for Jackie Sorenson, I got to meet new people every time a new session began. We were required to have our backs to the students in each class so they did not get nervous about doing the exercise perfectly. If a student asked for extra help, I was happy to stay and help them out. Learning to call out the cues for the steps at the exact time during each song also was a challenge, but I was a quick learner, and the cues became easier and easier to learn. 

Though I started exercising and eating right just for the class, I continue to do so today because I care about my health. I have since been a very disciplined person, who lives by these rules. Oh, there are the days when I wanted to run but found every excuse not to, and I have also had my share of decadent desserts and meals. If you stay pretty disciplined, you can cheat every once in a while. Hey, you only get to live once, right? We all have to have our share of “happy moments.” 

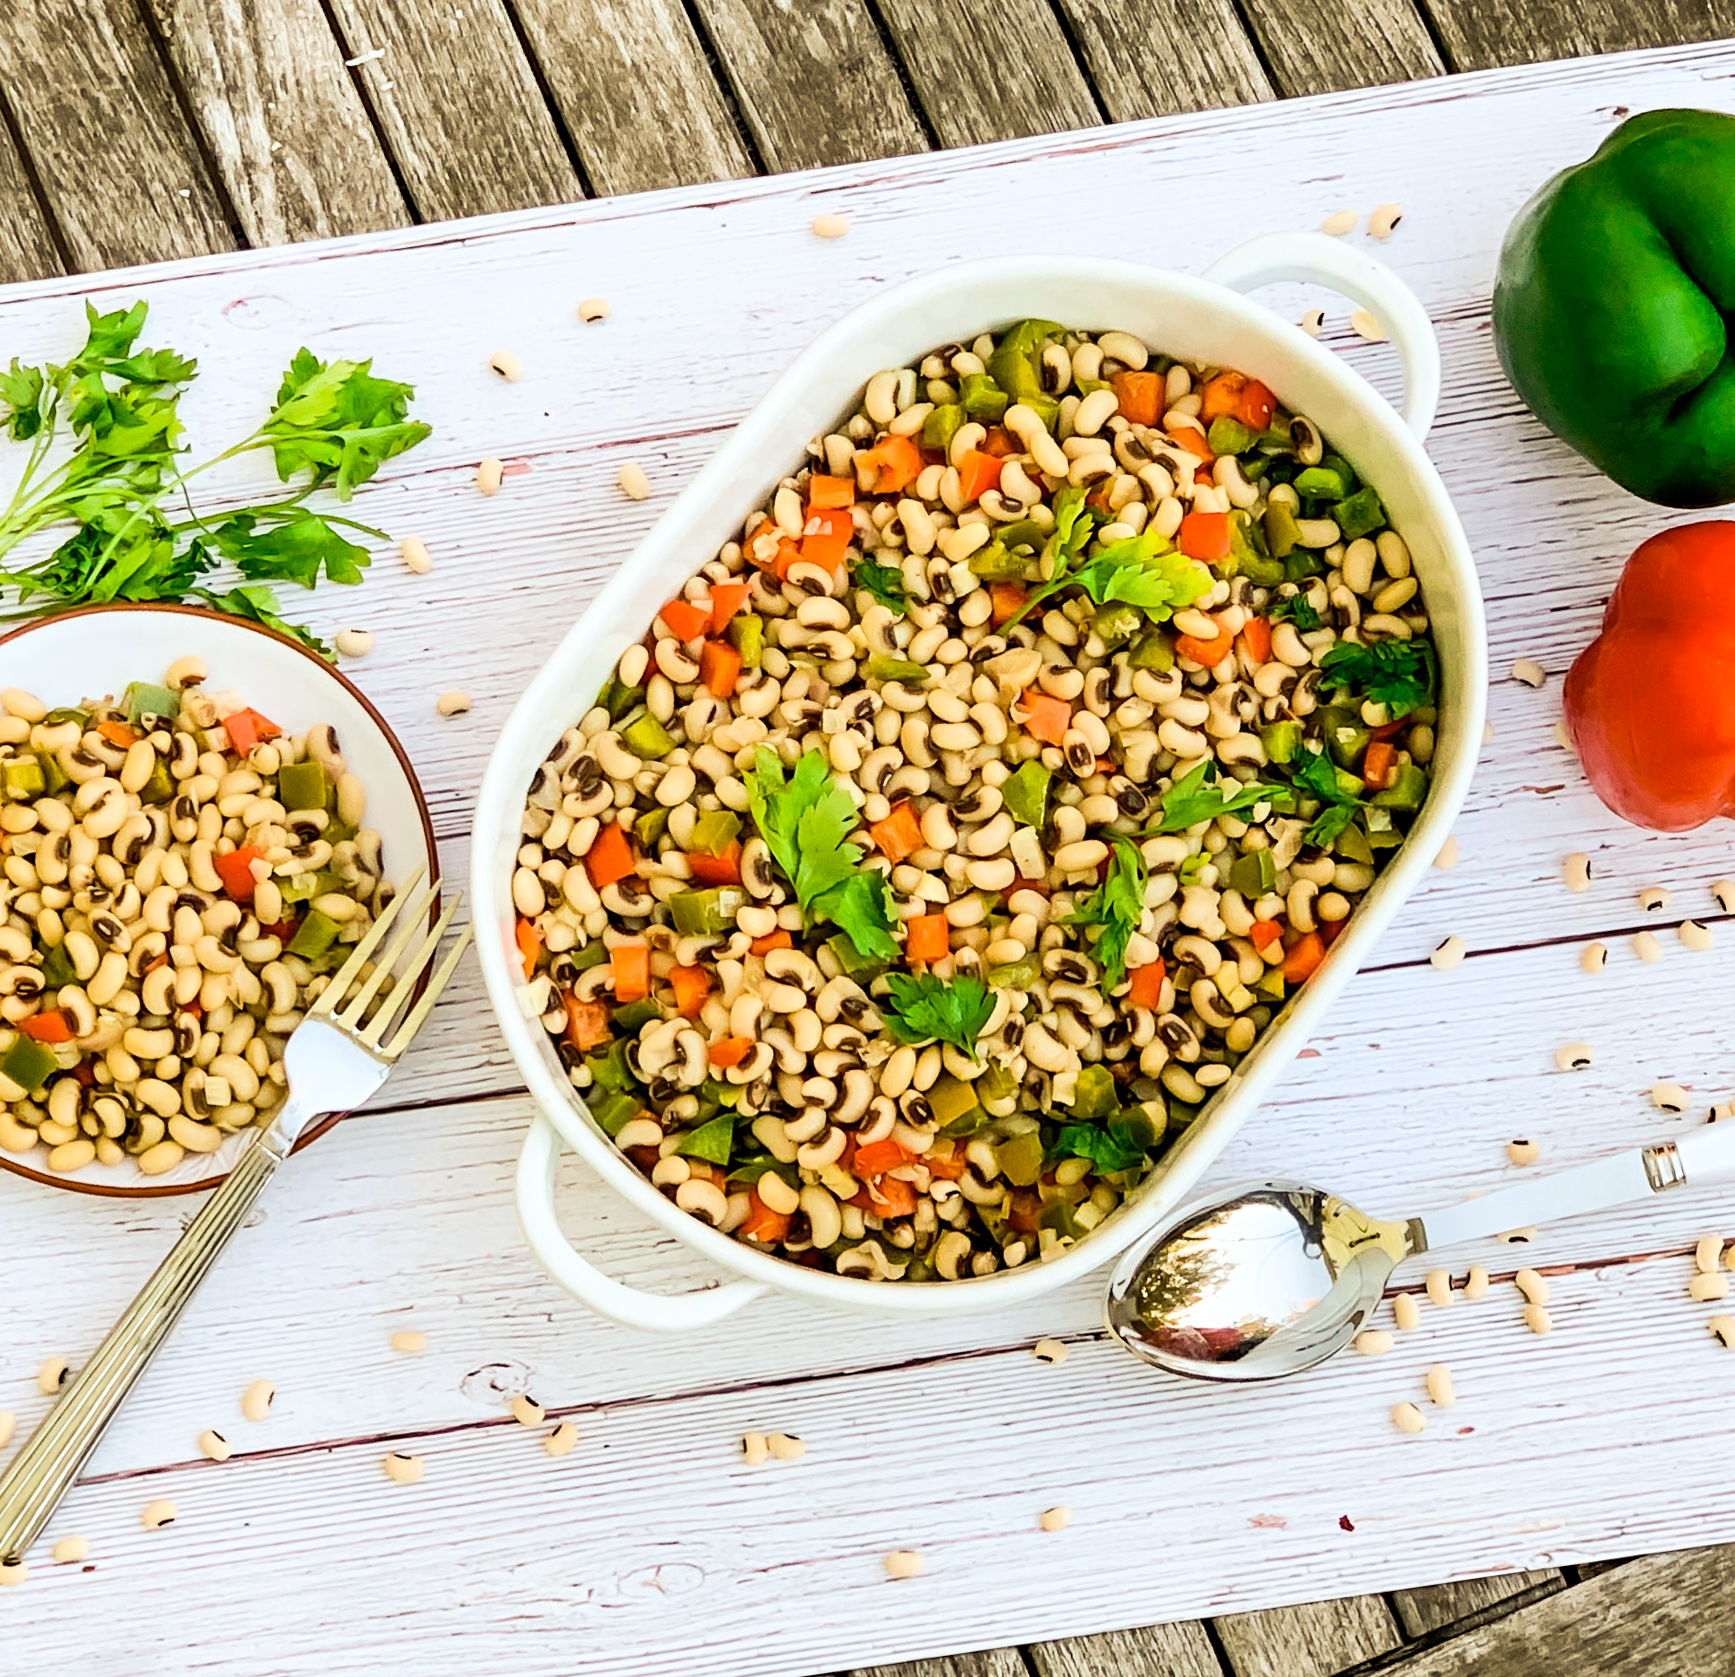
No matter what your daily diet, this is the side or salad for you. It takes some advance planning, but it is worth it. The red and green pepper gives these flavorful beans a nice added crunch. The scallions become sweet and tangy when combined with the vinaigrette. The champagne and apple cider vinegar join together to top this off with a savory goodness. The bacon gives this dish added delectable essence. The bacon is not included in the final dish, but I ate it anyway and so should you!

This recipe is courtesy of 425 magazine and will serve 8 to 10 people who will love this healthy, delicious, and flavorful dish.  

Ingredients for Black Eyed Pea Salad:

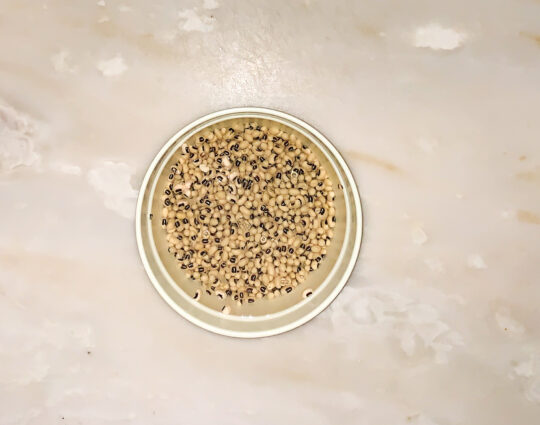
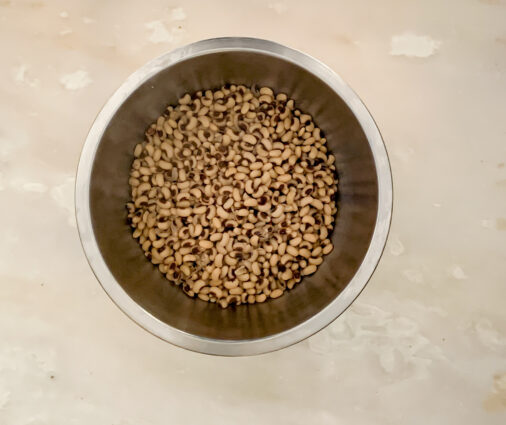
2 cups dried black-eyed peas (about 12 oz.)
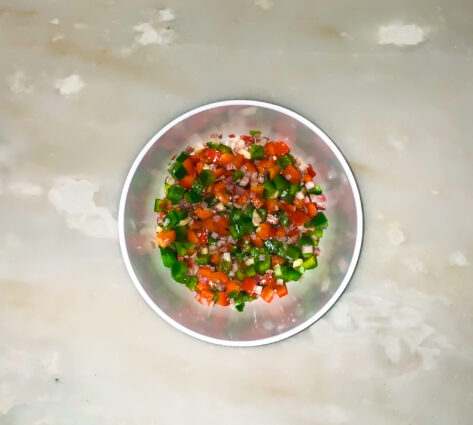
1 red bell pepper, finely chopped
1 green bell pepper, finely chopped
2 scallions, thinly sliced
1 garlic clove, finely chopped
½ cup olive oil
¼ cup Champagne vinegar or white wine vinegar
¼ cup malt or apple cider vinegar
1 tablespoon chopped fresh flat-leaf parsley
1 tablespoon kosher salt
1½ teaspoon freshly ground black pepper
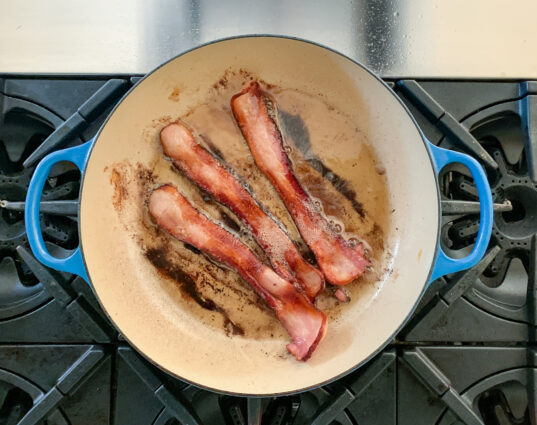
4 oz. bacon (about 4 slices)
6 cups low-sodium chicken or vegetable broth

Place black-eyed peas in a bowl and add cold water to cover by 4-inches.

Chill 12 hours, then drain.


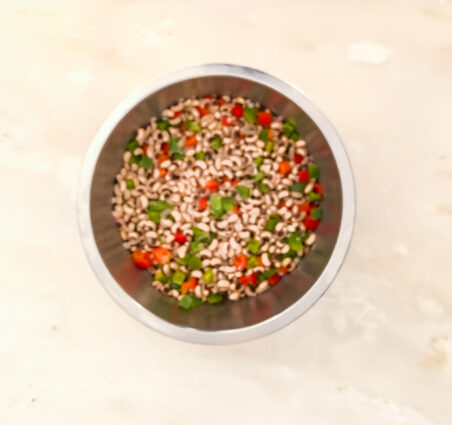
Whisk red and green peppers, scallions, garlic, oil, Champagne vinegar, malt vinegar, parsley, salt, and black pepper in a medium bowl.

Cover and chill vinaigrette at least 4 hours and up to 12 hours.

After beans have finished soaking, cook bacon in a large pot over medium heat, turning occasionally, until brown and fat is rendered (bacon shouldn’t be crisp), 5–7 minutes.

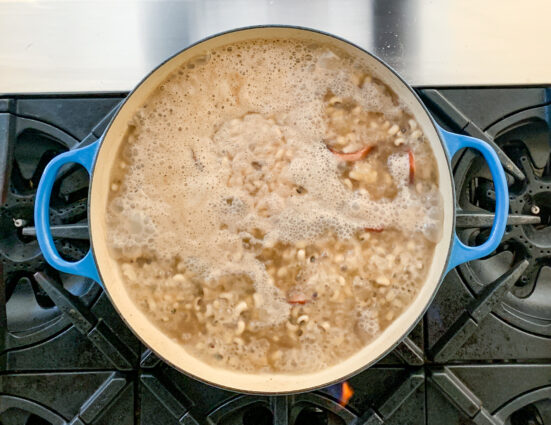
Add beans, then carefully add broth and bring to a boil.

Reduce heat and simmer, stirring occasionally, until beans are tender, 25–30 minutes; remove bacon.

Transfer beans to a large bowl, add vinaigrette, and toss to combine.

Chill, tossing occasionally, until cool, about 1 hour.

Salad can be made 2 days ahead. Cover and keep chilled.

It’s that simple!

signature

[recaptcha]


This week, I’ve been musing on talents.  From clothing designers to home decorators to artists and chefs, I always wonder how some people can see things in their head and bring them to life.  Highly creative people tend to think for themselves, and are not easily influenced or swayed by others. They can, unlike most people, easily think outside the proverbial box. What distinguishes the “highly creative” folks from the rest of us is their ability to follow through on their creative ideas.  Who among us has not had some incredible idea?  I’m sure we all have.  Now who of us has gone and made that a reality?  That pool is far smaller than the first one.

When people say they are not creative, it can be a self-fulling prophecy. We assume that creativity is an innate quality, so we never try to create anything, so we never get better at it, which discourages us from ever trying.  See what I mean?  

I know there is a lot of anxiety around the first brushstroke, note, or word.  Beginning is really difficult, but with enough practice, we can learn how to get around that paralysis and just start. Part of that is understanding that not everything we make has to be perfect.  Before every masterpiece came hours of practice and imperfections.  For me, this blog made me believe that maybe, just maybe, I could create something of my own. I had to overcome the self-deprecating thoughts in my head and just go for it. 

And so here I am, doing just that.  If I can do something like this, I think you can too. Don’t let your fears stop you. After I received so many encouraging comments about my blog, I began to feel better about my own creativity. Sure, there were problems with it, but it was the support of others that helped me to continue until it became easier to write.  Of course, I will never be the next Ralph Lauren or Tory Birch, but this is good enough for me. Now, in what ways are you creative? I am sure there are some thoughts you can act on– maybe a drawing, painting, half finished dance, or neglected instrument?  If not, I’ve got a recipe for you to try.  Let go of your inhibitions, and give it a shot.

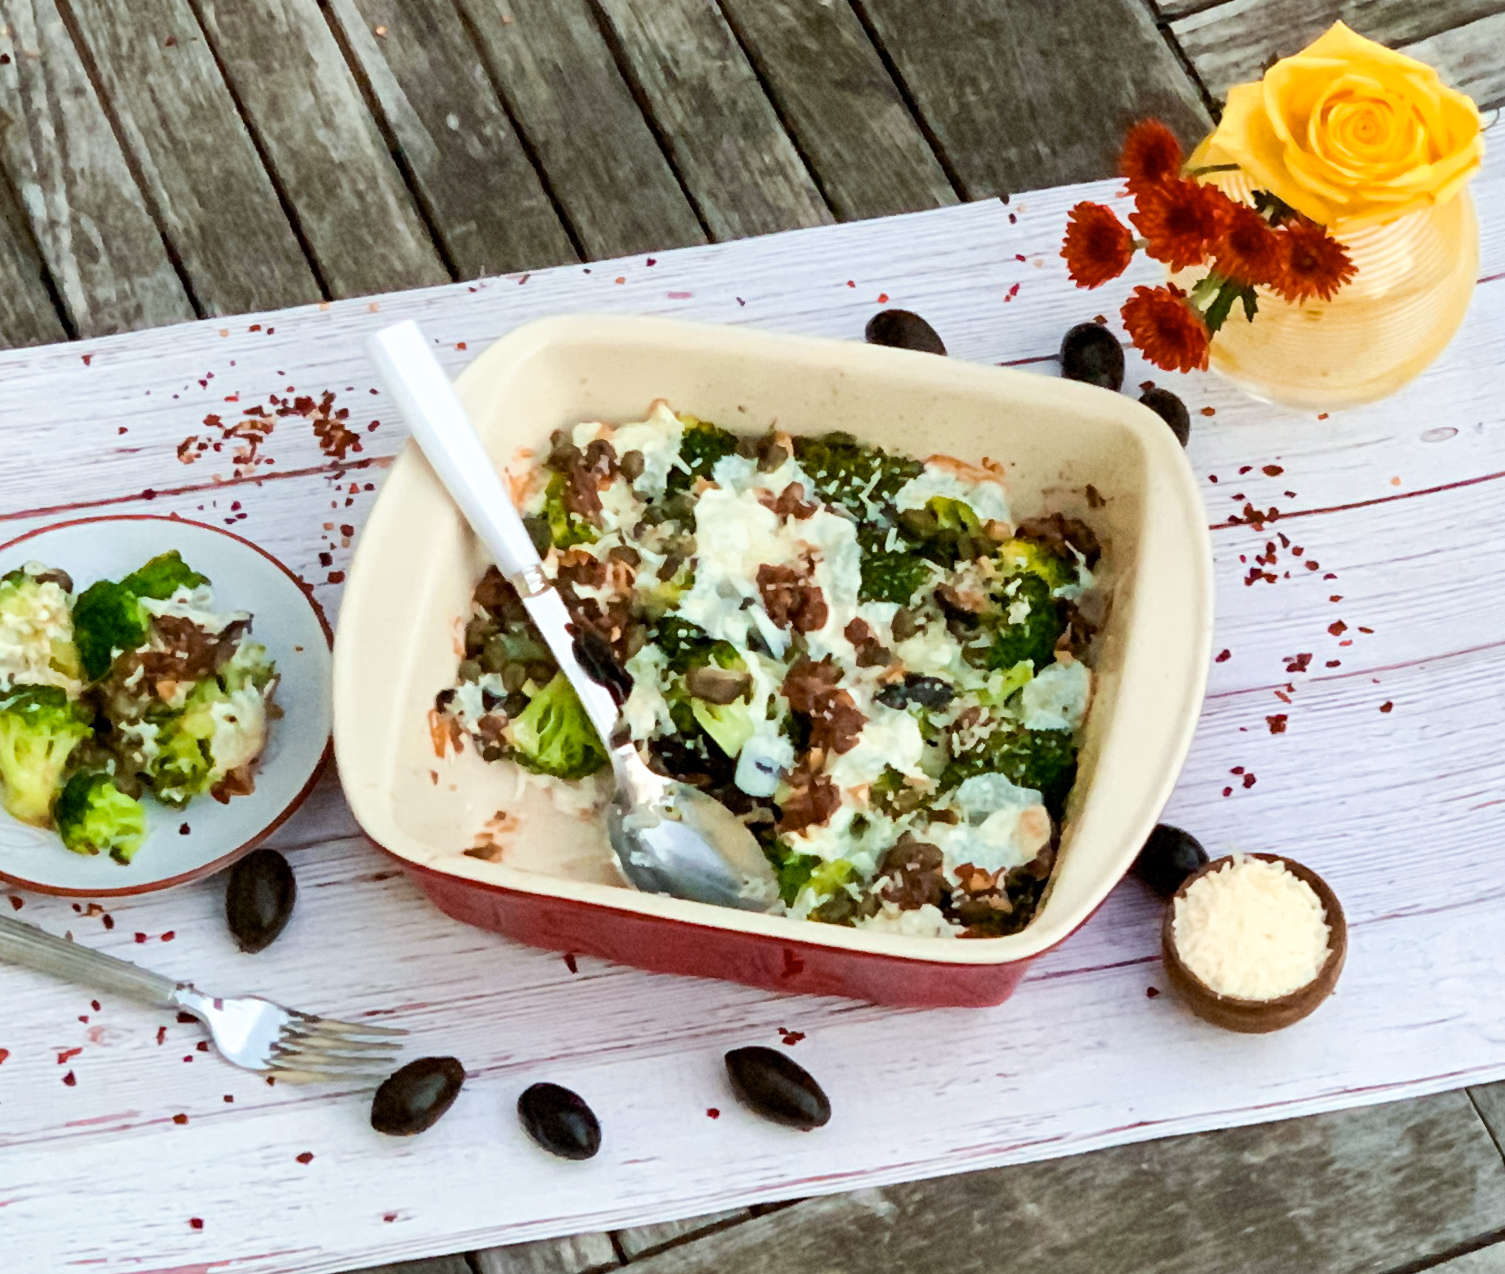
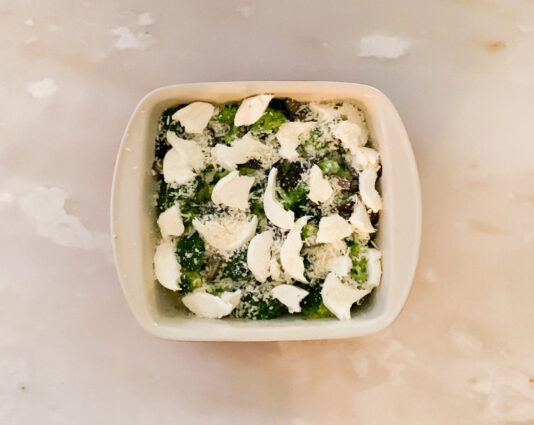
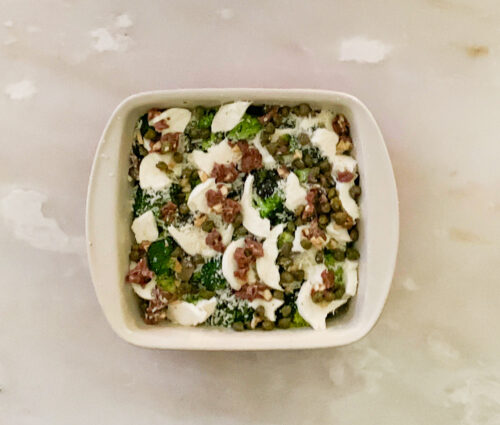
I had a lot of left-over broccoli from the holidays, and wanted to find a new and unusual way to use it. The olives are a savory twist on ordinary broccoli and they combine deliciously. The red pepper flakes add just a touch of heat. The two cheeses are baked to bubbly, delightful goodness that makes every bite a mouthful of scrumptious satisfaction. Don’t miss this one. It will definitely be a crowd pleaser.

This recipe is loosely adapted from the New York Times and will serve 8 to 10 people who will not want to pass this up. 

(There were several ingredients missing in the recipe, so I added them with the amounts I thought appropriate for this dish.)

Ingredients for Baked Romanesco Broccoli with Mozzarella and Olives:

2 or 3 medium heads Romanesco broccoli (about 3 pounds)
3 tablespoons extra-virgin olive oil, plus more for baking dish
1-pound fresh mozzarella, sliced
1 cup grated pecorino or Parmesan (about 2 ounces)
1 dozen soft black oil-cured olives, or another type of black olive, pitted
2 garlic cloves, chopped
8 anchovies, chopped
1/4 cup capers, drained and dried
½ teaspoon crushed red pepper, or to taste
4 sprigs oregano, leaves trimmed and chopped

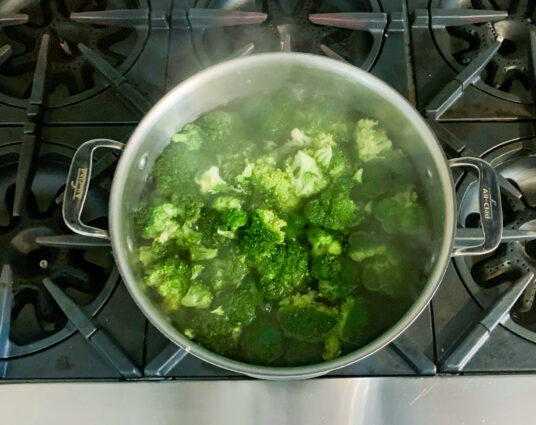
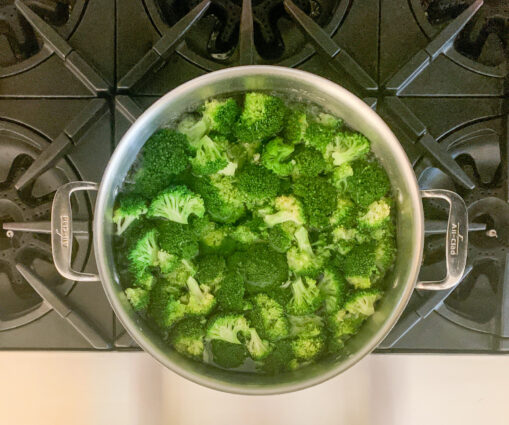
Put a large pot of well-salted water over high heat and bring to a boil.

Heat oven to 375 degrees.

Cut broccoli into quarters and trim away the core and any tough bits.

Chop quarters into rough 2-inch cubes.

Transfer to boiling water and cook for 2 minutes.

Drain and rinse with cool water.

Lightly oil an earthenware baking dish.

Arrange blanched broccoli in one layer.

Season lightly with salt and pepper.

Tear mozzarella slices and scatter over the top, then sprinkle with pecorino.

Arrange olives here and there.

In a small bowl, stir together capers, anchovy, garlic, red pepper and 3 tablespoons olive oil.

Drizzle mixture evenly over the top.

Bake for about 30 minutes, until cheese has browned a bit and broccoli is tender when pierced with a fork.

Let rest 10 to 15 minutes before serving.

Sprinkle with a good pinch of dried oregano.

It’s that simple!

Why don’t more people like me?

signature

[recaptcha]


Today’s recipe has a bit of a story.  Until recently, I had always bought broccoli salad at my grocery store or local deli. After some research, I finally decided to try and make it myself– turns out, it’s incredible!.

The key here is not to drown it in dressing.  People who usually gravitate towards gloppy, soggy greens need to be enlightened on how pleasurable a nice, beautiful simple salad can be. Those of you who have been reading for a while will know that this is a pet peeve of mine, so please PLEASE refrain from it here, especially because broccoli salad is usually interpreted as a “healthy” choice compared to other salads. It certainly can be, when paired with a light dressing instead of dumping the entire container on there. 

I prefer to lightly “dress” my salads so they are just glistening, as opposed to creating a heavy, thick liquid that is both unappealing and unappetizing. It is important to add the dressing very slowly.  Stop pouring it in when the salad has been lightly coated. You can always place some dressing on the side for those guests who like it that way.  Take care to dress only what you need to serve, since undressed salad keeps much better.

I wanted to make sure this salad had all the right ingredients to ensure a perfect dish. Many salad dressings with mayo are very heavy, but I think I’ve found a way around it. Instead of using a lot of mayo, I added some greek yogurt for a lighter, tangy taste. Do not use a food processor to slice the broccoli: cutting the florets from the stalk into bite sized pieces makes this salad more appealing and beautiful.

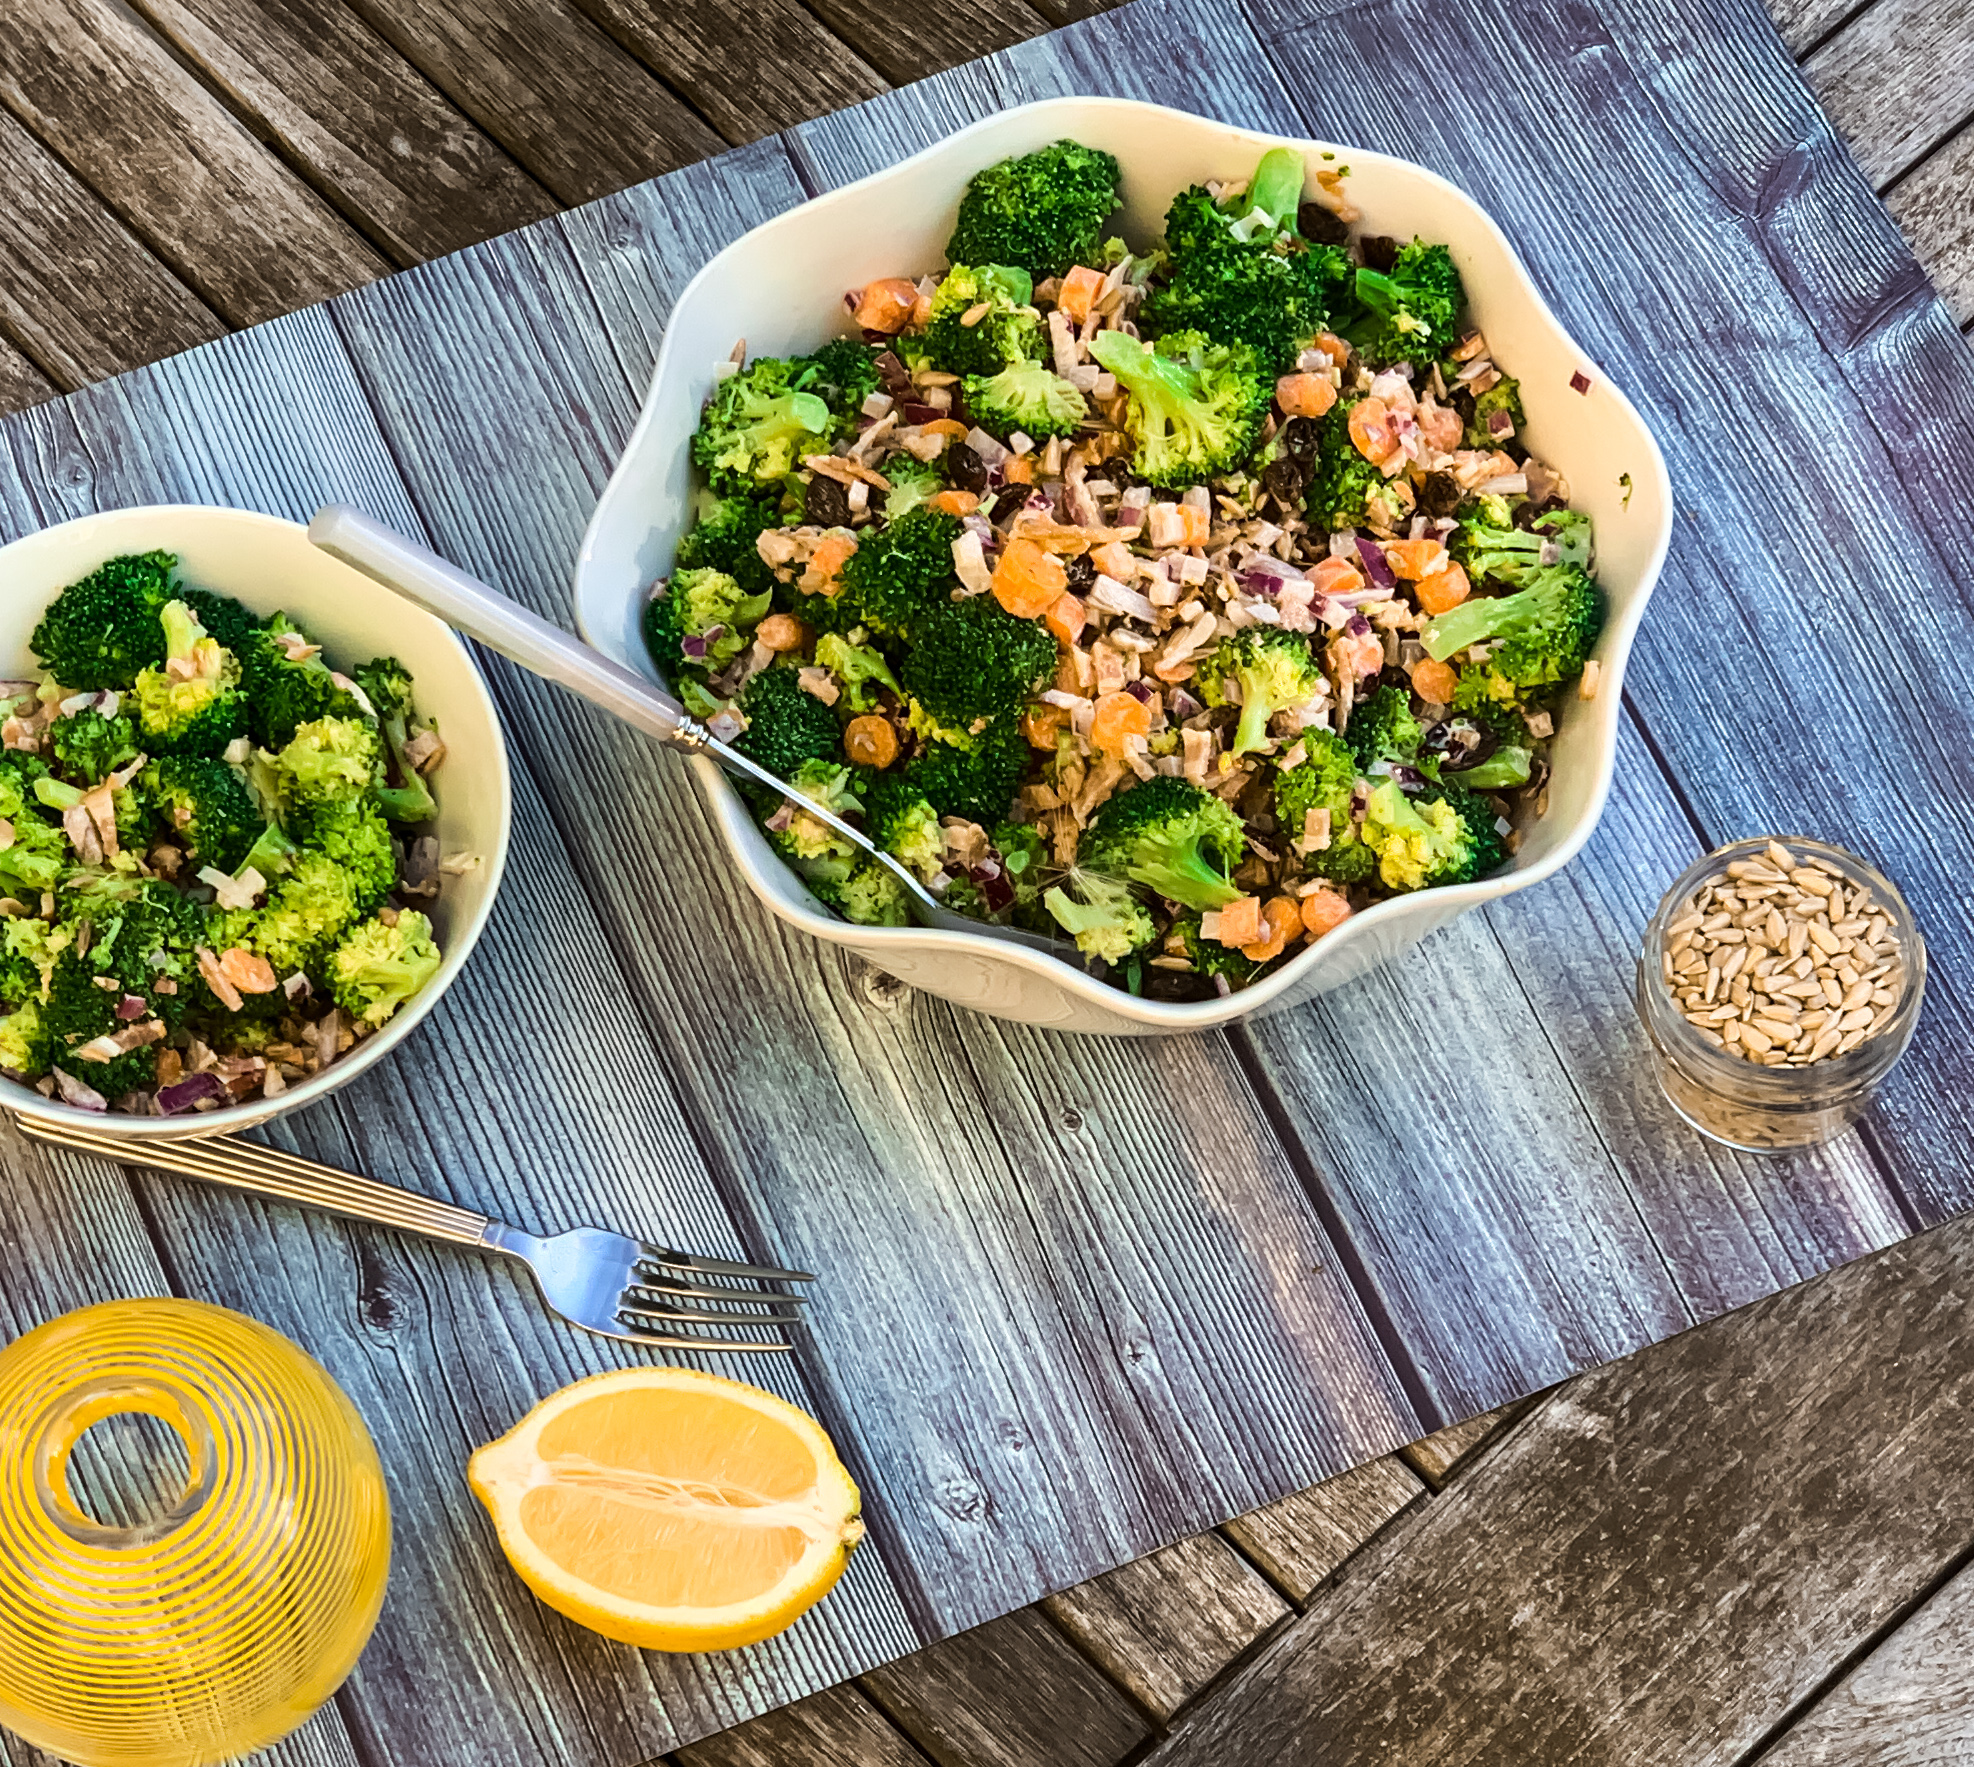
This salad is a wonderful side for any main dish. The red onion adds just the right amount of heat and the raisins add spots of sweetness. Giving this dish a deep, savory flavor is the bacon. The sunflower seeds add a nice texture too, but the dressing is the star of this salad. It is creamy, sweet, and tangy, a perfect topping for a delicious salad.

This recipe is my own and will serve 4 to 6 people who will be sure to eat their veggies at this meal!

Ingredients for Broccoli Salad:

4 cups broccoli florets 
1 lb. bacon, cooked and minced
1/2 cup red onions, minced
1/2 cup sunflower seeds
1 cup raisins 

For the Dressing:

3/4 cups mayonnaise
6 tablespoons greek yogurt
1/3 cup sugar
3 tablespoons fresh lemon juice
3 tablespoons apple cider vinegar
1 teaspoon kosher salt
1/2 teaspoon freshly ground black pepper

Bring a large pot of water to boil.

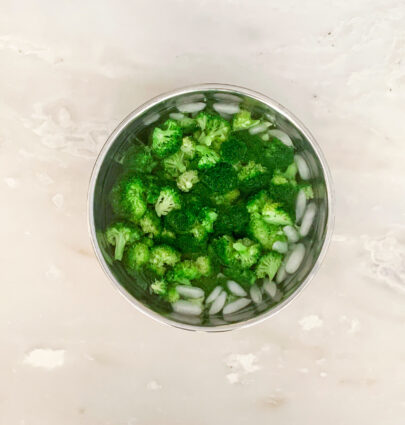
Place broccoli into pot and cook for 2 minutes.

Drain and pour into ice water to stop cooking process.

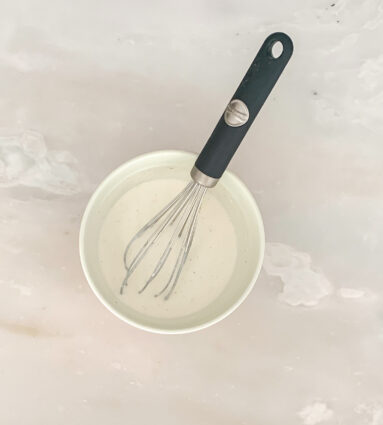
In a small bowl mix together mayonnaise, sugar, lemon juice, apple cider vinegar and salt.

Whisk until smooth.

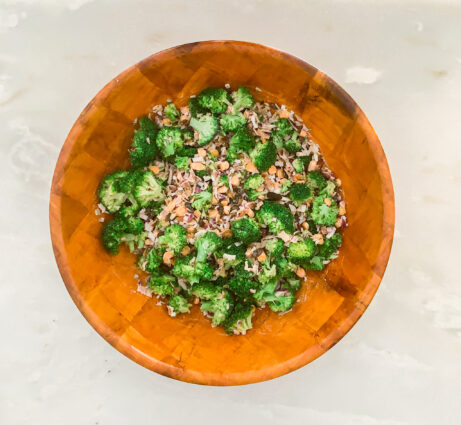
In a large bowl toss together broccoli florets along with bacon, red onions, sunflower seeds, raisins and prepared dressing.

Can be served immediately, but is best when chilled for at least an hour.

It’s that simple!

signature

[recaptcha]