This recipe is a perfect addition to a weeknight meal if you are short on time and need to get dinner on the table quickly.

I am always looking for new ways to prepare vegetables and I think I found it in this dish.

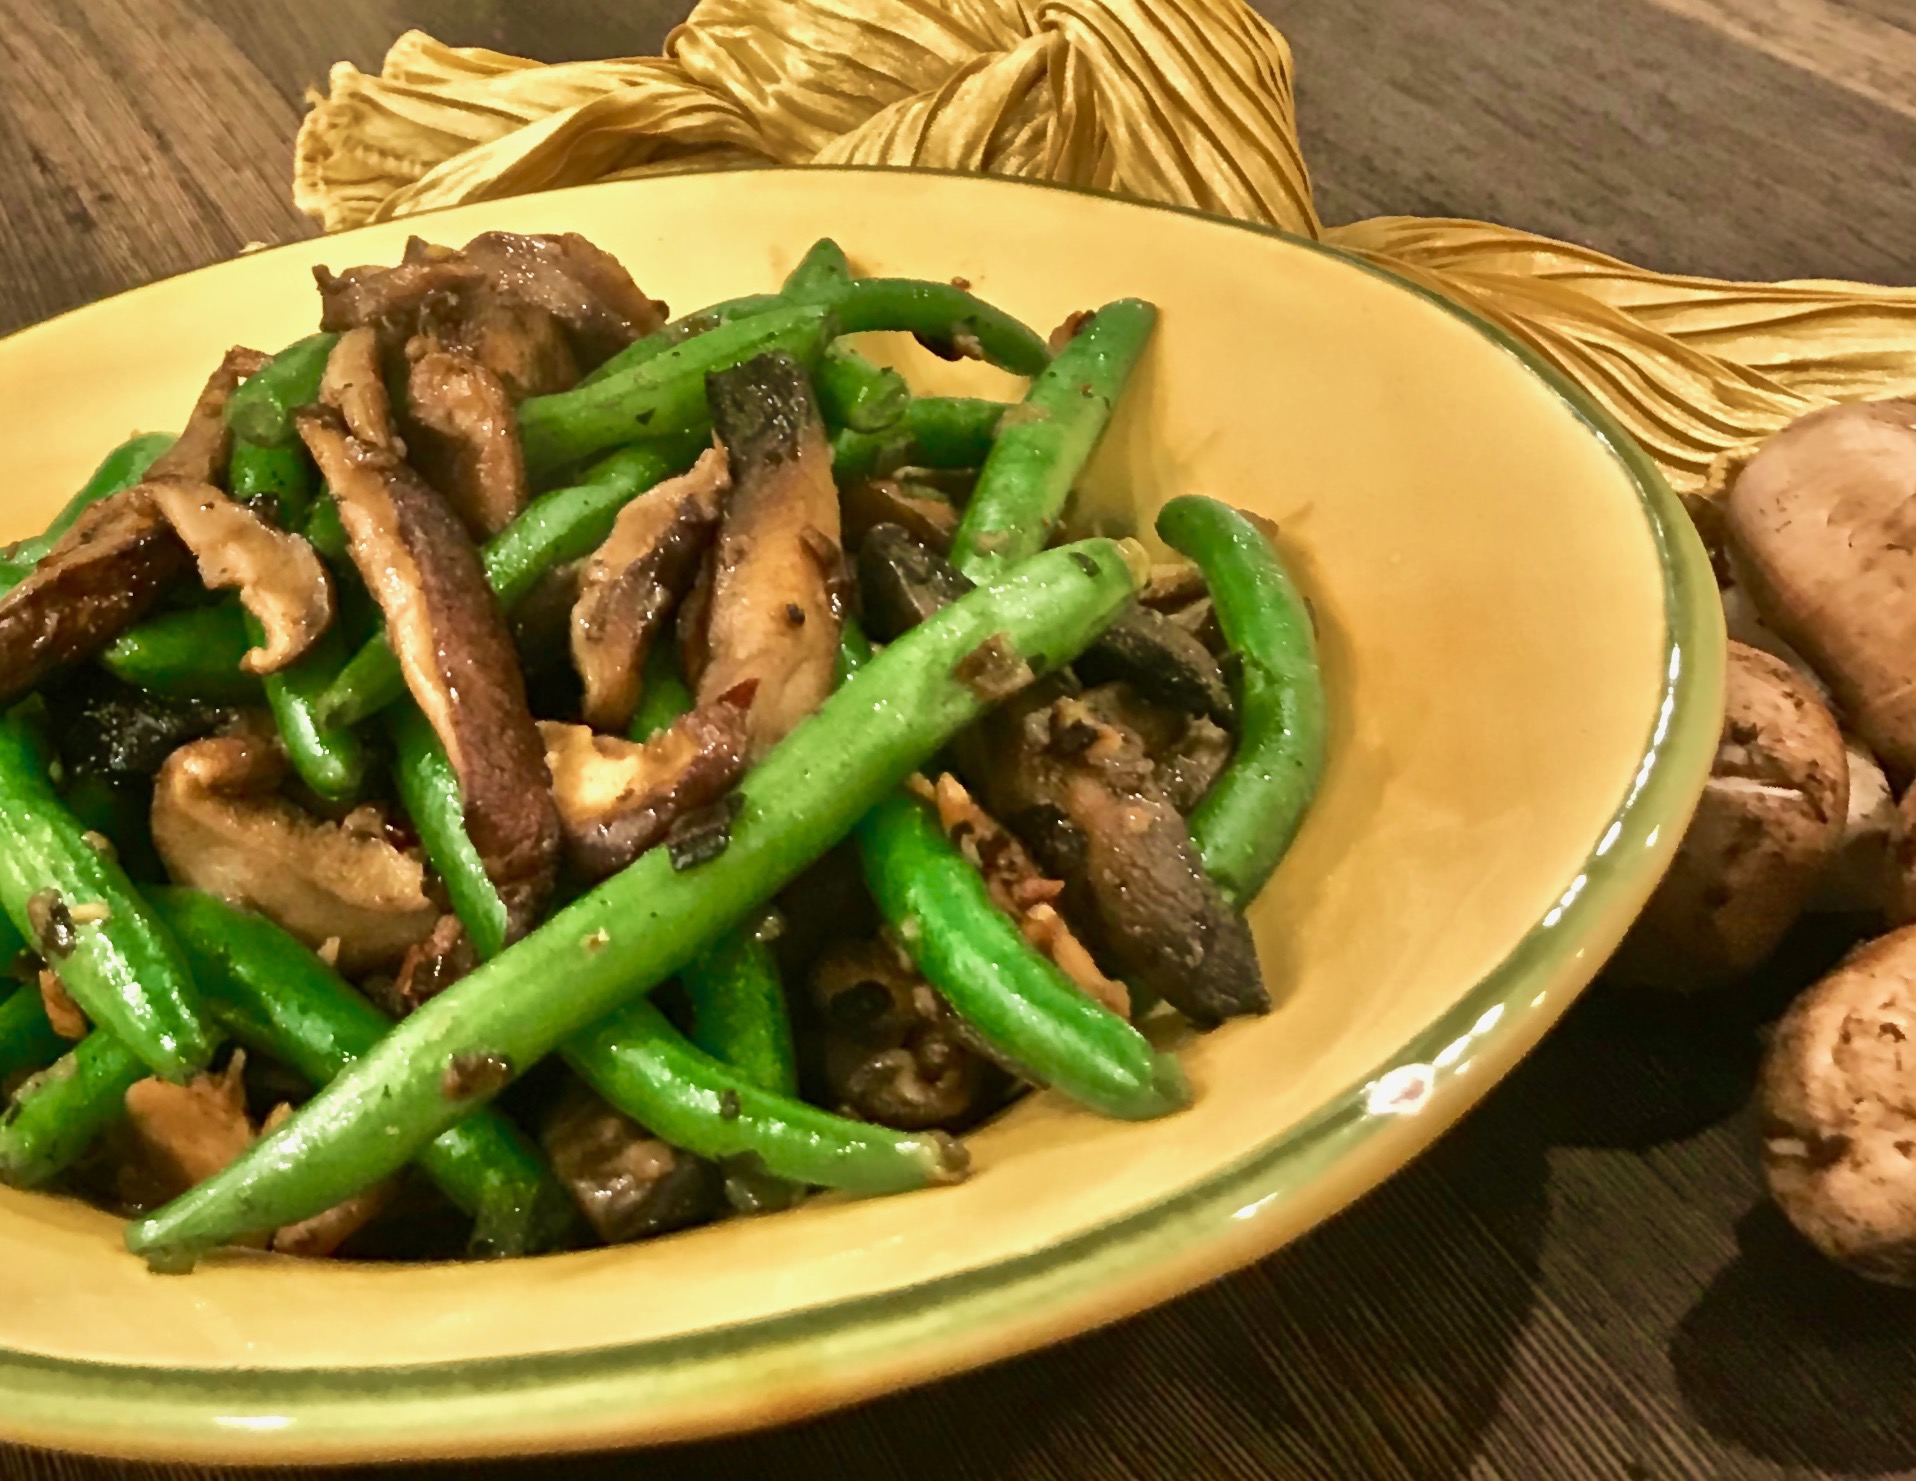
The brown butter in this recipe is what makes the beans so delicious. Both the butter and the mushrooms caramelize to a light brown color, which enhances the flavor of the dish. It tastes like you have been preparing it much longer than you really have. The shallots, garlic and crushed red pepper flakes give it nice “bite”, while the lemon gives it a bit of “tang”. All the flavors in this dish complement each other, making every bite an enticing, savory, mouthful of goodness.

This recipe is a “one-pot” dish that is wonderful and easy to throw together. It will serve 4 people who will enjoy eating these luscious, delightful vegetables.

Ingredients for Green Beans with Browned Butter and Mushrooms

1 pound fresh green beans
1/3 cup shallots, chopped
3/4 pounds assorted fresh mushrooms, sliced
2 cloves garlic, chopped
3 tbsp. butter
Juice of 1/2 lemon
1/4 -1/2 tsp. crushed red pepper flakes
1 tsp. kosher salt
1/2 tsp. freshly ground black pepper

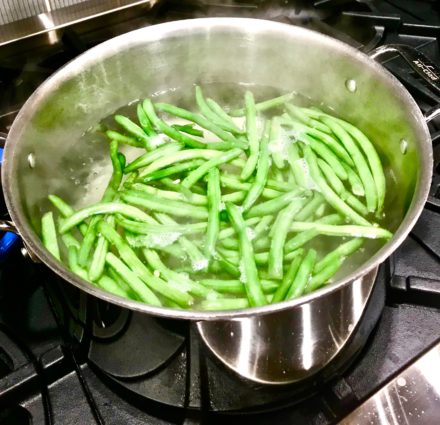
Bring a large pot of water over high heat to a boil on stove.

Place green beans in boiling water, turn heat to medium-high, and let them cook for 3-4 minutes, until they turn bright green.
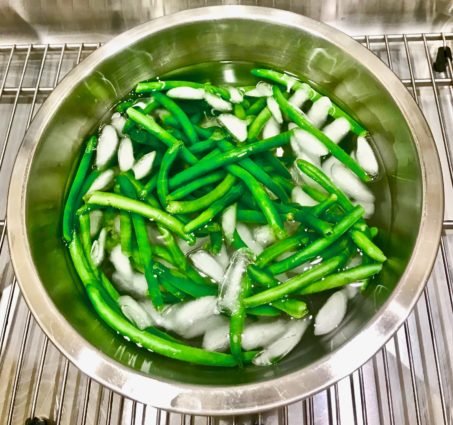
Prepare a bowl of ice water.

Drain the beans, and immediately place in ice water to stop the cooking process.
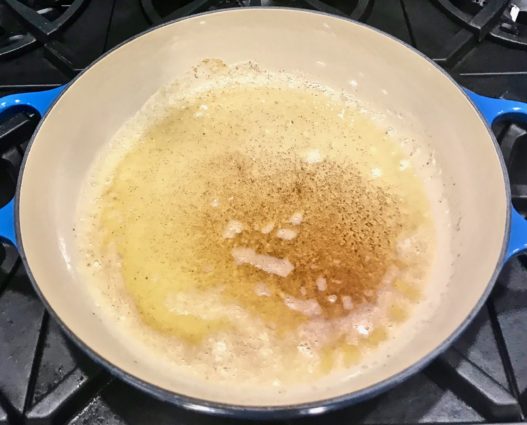
Melt the butter over medium-high heat in a sauce pan on the stove. 

Continue to cook butter until it begins to turn a light, caramel brown.
Add the shallots and cook, stirring occasionally until softened, about 3 minutes.

Toss in the garlic and cook for 1 more minute.

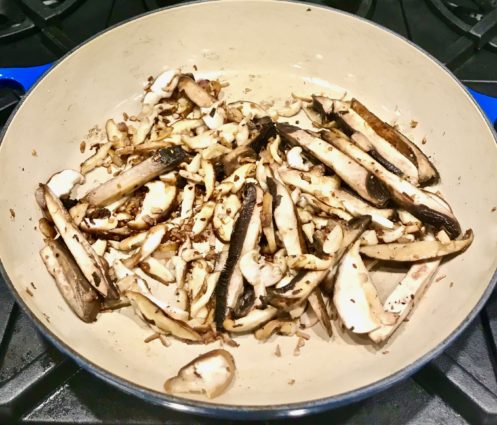
Add in the mushrooms and cook, stirring occasionally, until the water they release has evaporated, and they begin to brown, about 10 minutes.
Stir in the lemon juice, crushed red pepper flakes, salt and pepper.

Toss in the green beans and stir to combine until they rewarm.
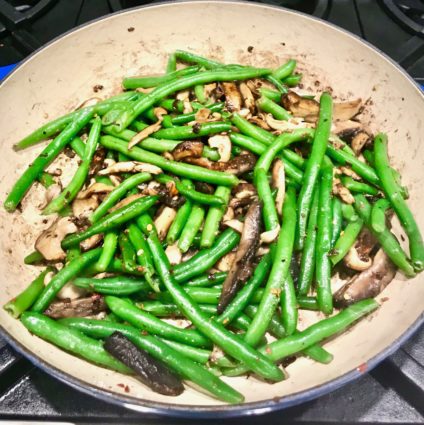
It’s that simple!

signature

[recaptcha]


This recipe is very different from my usual staple recipes because I do not normally choose recipes that have coconut. Although I am not fond of coconut, my family loves it, so I decided to give it a try. 

I always find making rice a little tricky. If the rice to water ratio isn’t exactly correct, it turns out messy. I finally learned how to cook rice perfectly from a Brazilian friend. Even though she knew the recipe from memory, she carefully measured out all the ingredients for me as I used my timer to master the process.

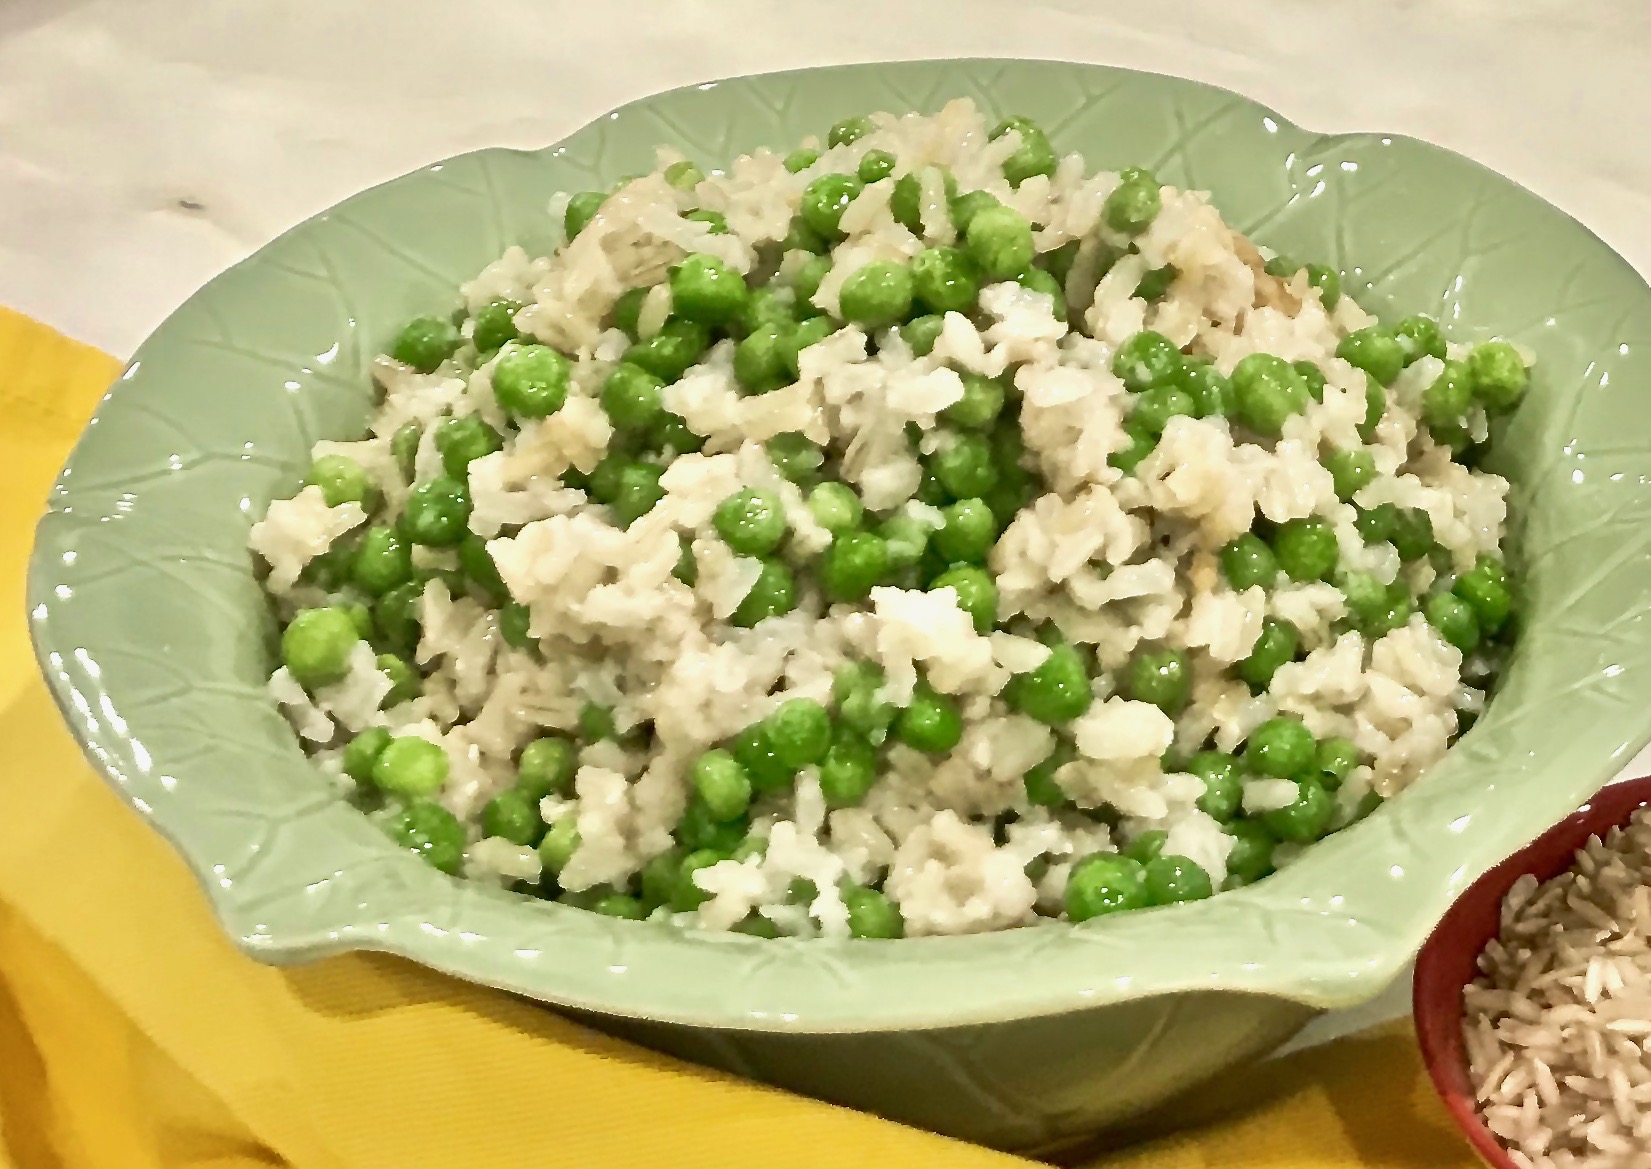
This tasty recipe calls for the rice to simmer in coconut milk, which gives it a rich flavor. Surprisingly, the coconut milk does not make the rice sweet, rather it makes it creamy. If you would like to sweeten it up a bit you could try adding some honey, maple syrup or agave nectar. You can also substitute nuts or raisins for the peas. Any way you alter it, it is going to be delicious. And for someone who does not ordinarily like coconut, I really enjoyed it! I think you will too.

This recipe is courtesy of Cook This Now and will serve 4-6 people who will be craving a second helping!

Ingredients for Coconut Rice and Peas

1 (13.5 – ounce) can coconut milk
1 cup brown rice, rinsed
Large pinch kosher salt
3/4 cup frozen peas (optional)

Pour the coconut milk into a liquid measuring cup. 

Add enough water until the liquid measures 2 cups and pour into a large saucepan with the rice.

Bring the liquid to a boil and add the salt.

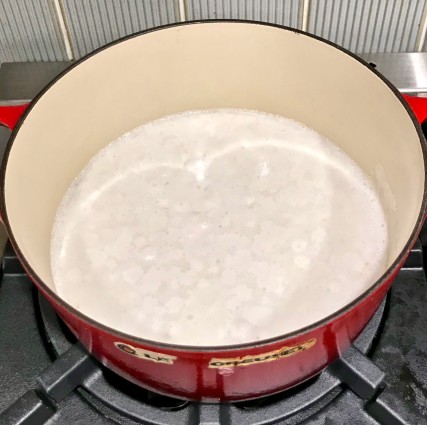
Reduce the heat, cover, and allow the rice to simmer until the liquid has been absorbed and the rice is tender, about 45 minutes to an hour. (set your timer for 45 minutes, take a look and adjust time as needed)

rice and peas rice cooking

Stir in the peas during the last 2 minutes of cooking.

If the rice is tender but there is still liquid in the pan, remover the cover and simmer on high heat until the liquid evaporates. Keep checking it or it may burn. 

Fluff well before serving.

It’s that simple!

signature

[recaptcha]


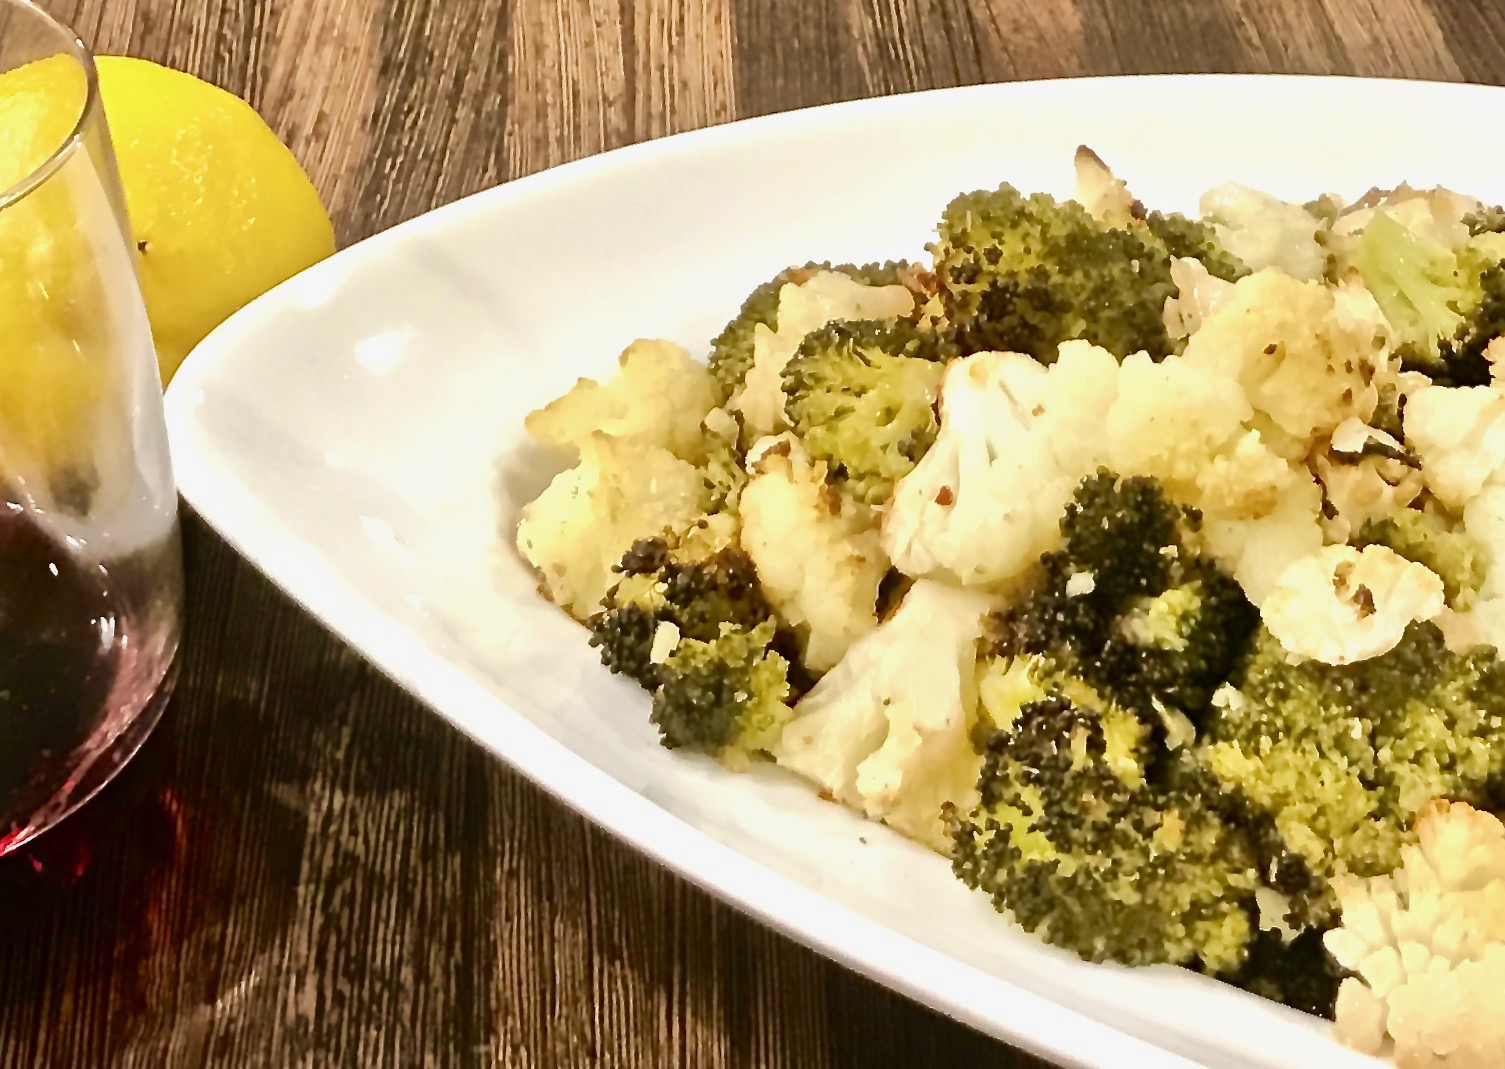
This simple dish of cauliflower and broccoli florets is an excellent go-to side dish that pairs well with anything. The best thing about these vegetables is that they are always available. Most of you probably have them on your weekly grocery list and in your refrigerators.

Cauliflower is not a veggie that many people love. If you are doing a thumbs-down, maybe I can change your mind. This is not the same cauliflower your mother encouraged you to eat. This cauliflower is seasoned and roasted to perfection.

When roasted separately, these veggies are amazing, but when they collaborate, they are delectable. The lemon zest and juice give it a nice “bite” while the garlic and red pepper flakes give a “kick” of spice. It is perfect for a quick weeknight meal, yet sophisticated enough for company.  The ingredients in this recipe can be used on any roasted vegetable. They are always my choice when I am in need of a quick side dish.

This recipe will serve 6-8 people who will learn to love cauliflower and broccoli in a whole new wonderful way!

Ingredients for Roasted Cauliflower and Broccoli

1 small head of cauliflower, cut into florets
2 large stalks of broccoli, cut into florets
2 cloves of garlic, chopped
Zest of 1 lemon
Juice of 1/2 lemon
1/2-1 tsp. red pepper flakes
2 tbsp. olive oil
1 tsp. kosher salt
1/2 tsp. freshly ground black pepper

Preheat oven to 450.

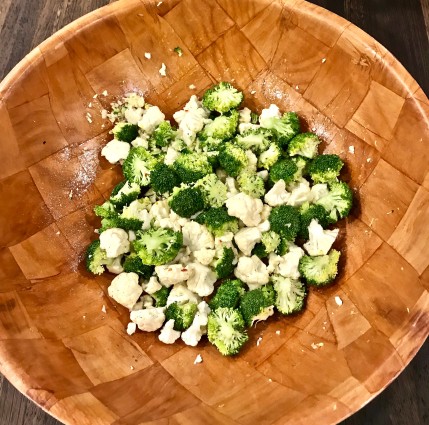
Place cauliflower and broccoli into a large mixing bowl.

Toss in the olive oil, lemon zest and juice, red pepper flakes, salt and pepper. Mix thoroughly.

cauliflower and garlic in bowl

Place into a 9 by 13 inch baking dish (or aluminum pan) .

Bake, uncovered, for 25-30 minutes or until you see the tops of the florets turning brown.

Serve hot.

It’s that simple!

dogs sleeping
signature

[recaptcha]


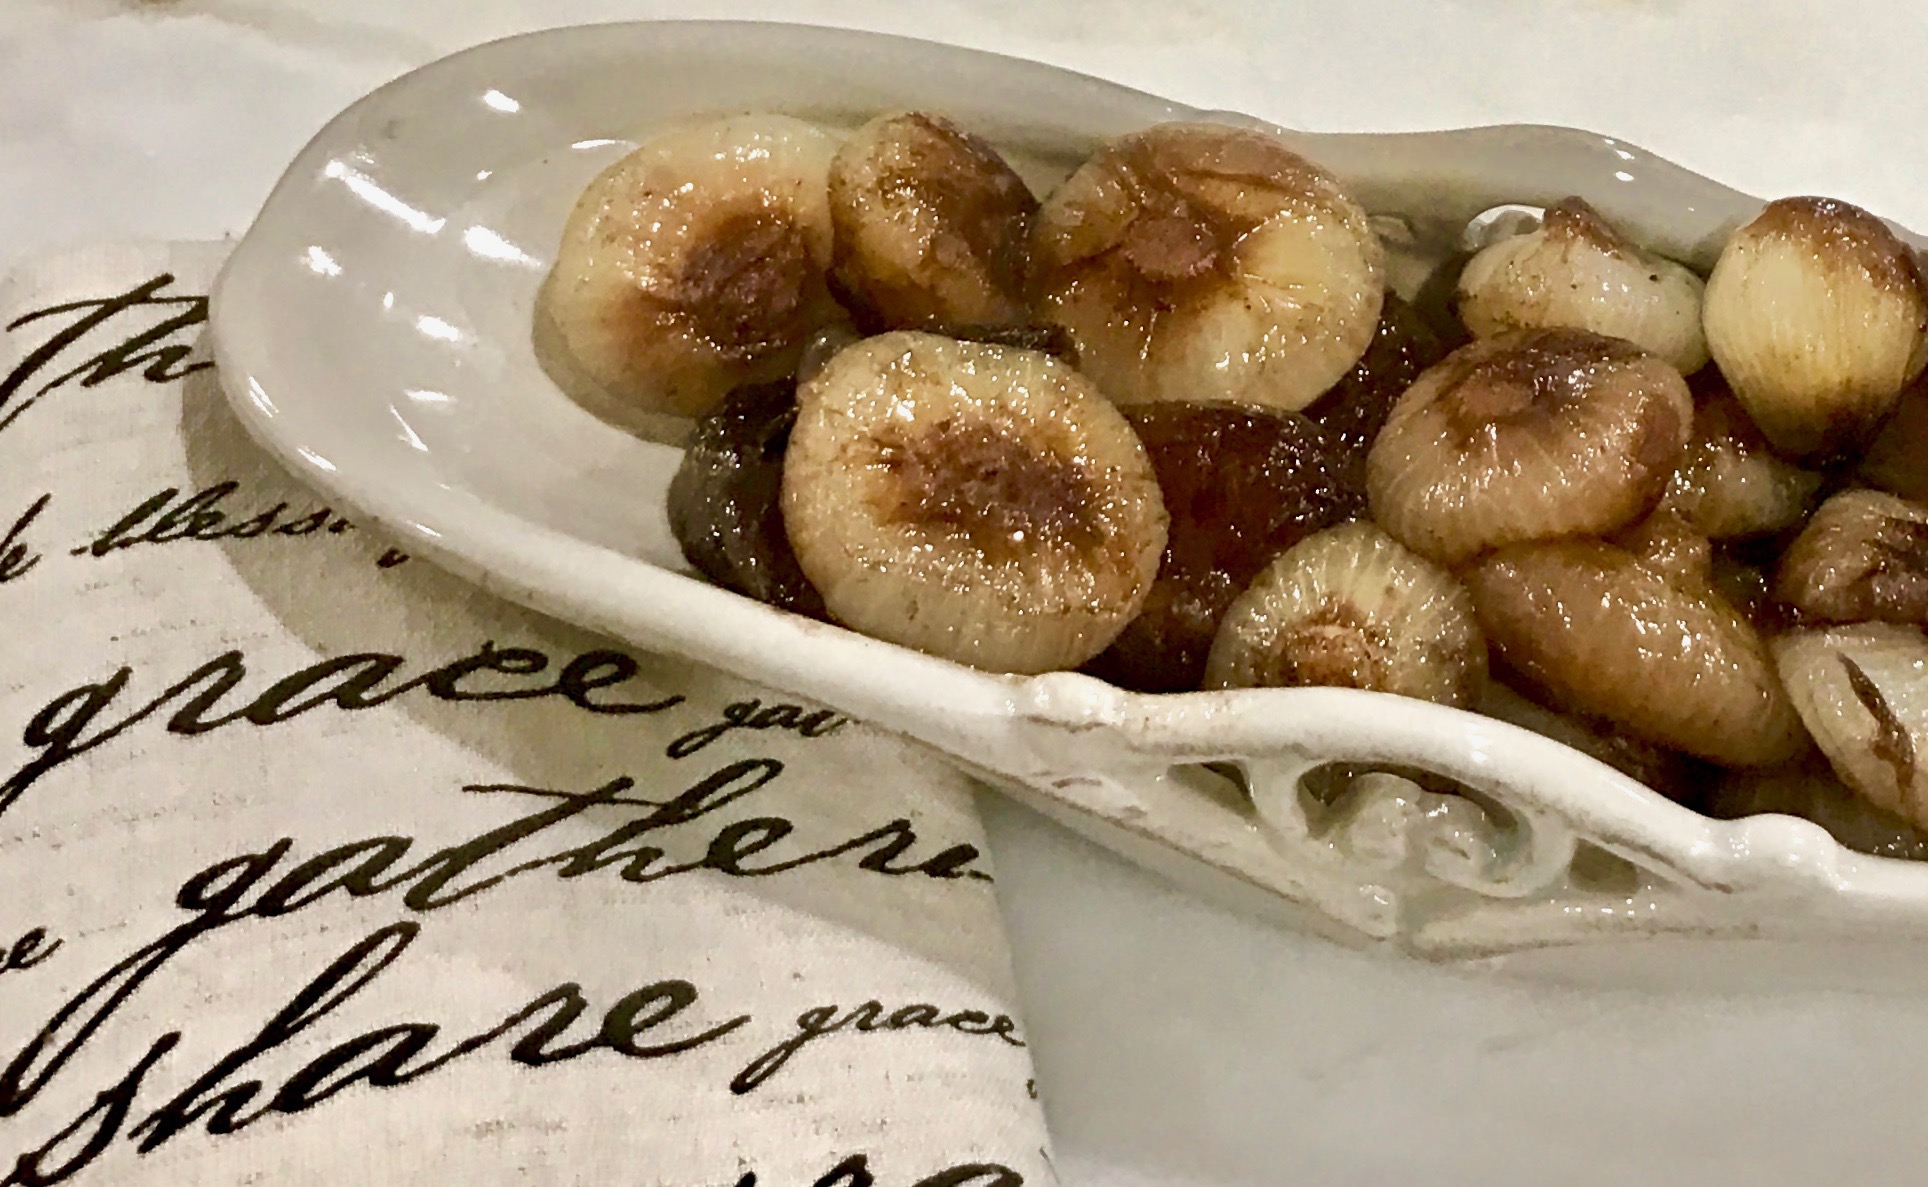
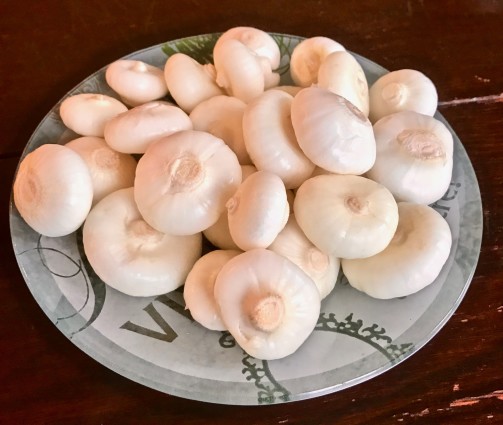
A cipollini, or little onion, is a smaller, flatter and thinner-skinned version of a regular onion. It contains more sugar than the regular variety of white or yellow onions, making it much sweeter in taste. 

In season until December, cipollinis caramelize beautifully when you roast them in the oven or brown them on the stove. As an alternative to a regular white or yellow onion, they make a wonderful addition to any recipe, enhancing the depth and flavor.

The only downside to cipollini onions is that they are very difficult to peel. Usually, you can find them at your supermarket already peeled. If you cannot, try boiling them for a few seconds to loosen the skin, which should make them easier to peel.

This recipe is addicting. The onions are first sautéed in butter, then finished off with a red wine-balsamic vinegar reduction. They have a delectable, deep flavor that will heighten your taste sensation to a whole new limit! Even if you have to peel them, it is well worth the effort.

This recipe is courtesy of Food Network and will serve 6-8 people who will be in love with these tasty little onions!

Ingredients for Cipollini Onions Braised in Red Wine

2 tbsp. butter
2 pounds cipollini onions, peeled
Salt and freshly ground black pepper
1/2 cup red wine
1/4 cup balsamic vinegar

cipollini onions on plate

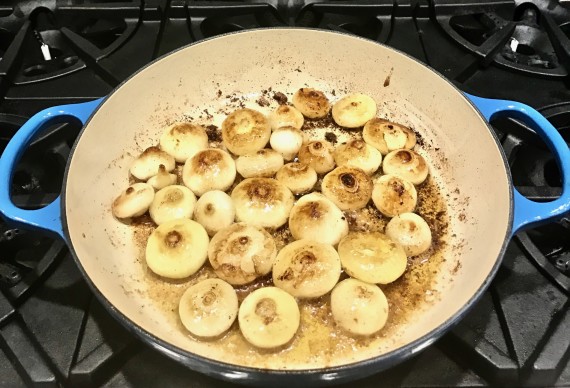
In a large straight-sided sauté pan over medium-high heat, melt butter and add onions.

cipollini onions in pot

Season with salt and pepper to taste.

Sauté until nicely browned.

cipollini onions browning

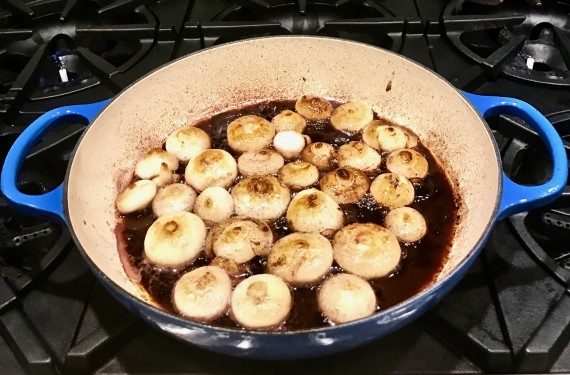
Add the wine and vinegar.

cipollini onions wine and vinegar

Bring to a boil, cover and reduce heat and simmer until onions are completely cooked through and tender, about 15 minutes.

Remove lid, turn heat up and let the liquid reduce and thicken until it forms a glaze and coats the onions well.

It’s that simple!

pictures of dogs
signature

[recaptcha]


I love soup any time of the year, but since we are stepping into autumn, I thought it was a good time for a soup recipe. It is an unusual one, as most people have not yet experienced the joy of eating a parsnip.

A parsnip is a root vegetable, most closely resembling a carrot in its shape and origin. It has a cream colored skin and becomes sweeter the longer it remains in the ground. It is high in dietary fiber, contains antioxidants, anti-inflammatory and antifungal ingredients.  

When roasted, it takes on this magical sweetness that becomes almost addicting. I usually peel and cut it into cubes, mix it with olive oil, salt and pepper, place it on a baking sheet and roast it at 450F for about 40 minutes. The more brown and caramelized it becomes, the sweeter it is.

This soup is as fast and easy as it is wonderful. Combined with the onions and potatoes, the parsnips have a sweet and smoky flavor that is both satisfying and enjoyable.

This recipe is courtesy of Kosher By Design, by Susan Fishbein, and will serve 8-10 people who will love this unusual vegetable.

Ingredients for Parsnip Bisque

2 tbsp. olive oil
1/2 spanish onion, diced
3/4 celery stalk, diced
1-2 garlic cloves, minced
6 medium parsnips, peeled and diced
2 Idaho potatoes, peeled and diced
8 cups chicken or vegetable stock
Salt 
Freshly ground black pepper
Fresh chives, optional

In a large pot, heat the oil over medium heat. 

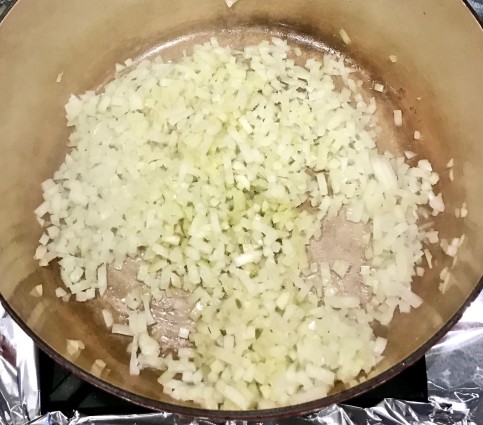
Add the onions and sauté about 6-7 minutes or until translucent. Add the celery, and garlic; sauté 2 minutes longer.

parsnip soup onions

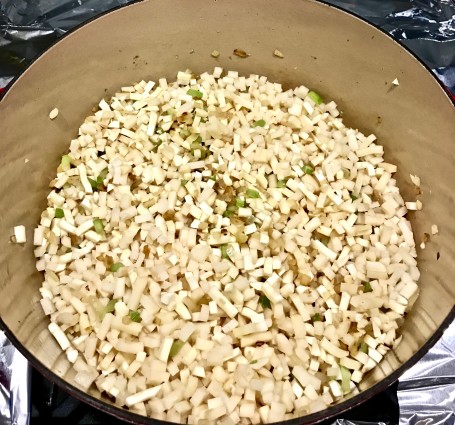
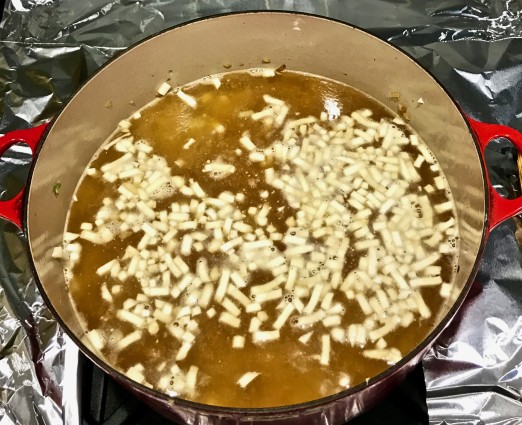
Add the parsnips, potatoes and chicken or vegetable stock. 

parsnip soup parsnips

Bring to a boil. Cover and reduce heat to low; simmer about 30-35 minutes or until the vegetables are very tender.

parnip soup chicken broth

Let cool.

Transfer the soup in batches to a blender and puree. You can also use a handheld immersion blender to puree the mixture until smooth. 

Season with salt and pepper.

For extra smoothness, you can strain the soup through a fine chinois.

Garnish with fresh chives in the center of each bowl, if desired.

It’s that simple!

signature

[recaptcha]