These days, a lot of people do not cook. For working moms, it is hard to come home and see their kids, only to have to go to the kitchen and prepare a meal. However, some people have no excuse.  They just say, “I don’t cook” and leave it at that. Sometimes these people seem proud that they eat out most of the time. Well, good luck with that. It seems to me that they are spending too much money, and are probably not eating healthy.

I wish I could say that my mother taught me to cook, but I learned later in life out of necessity. When I had my first child, I was working full time and couldn’t afford to go out every night. I was aware of the preparations my mother did for dinner the next day, like taking a steak or chicken out of the freezer the night before, or buying produce at the beginning of the week, but I never took part in the cooking.  

The idea that cooking is complicated is a myth.  It is as easy as you make it. During the week, stick with the basics–maybe some pasta, rice, or grilled vegetables that you can serve with the main course. Not only are these options healthy, but they are quick to prepare. 

The easiest way to get started is by learning some tried and true recipes. Buy some cookbooks by Ina Garten or Mark Bittman. Their recipes are simple and to the point.  Begin by learning in small steps and you will be surprised by how much you will pick up as you go. I promise you, dinner won’t be as much of a chore if you keep it streamlined.

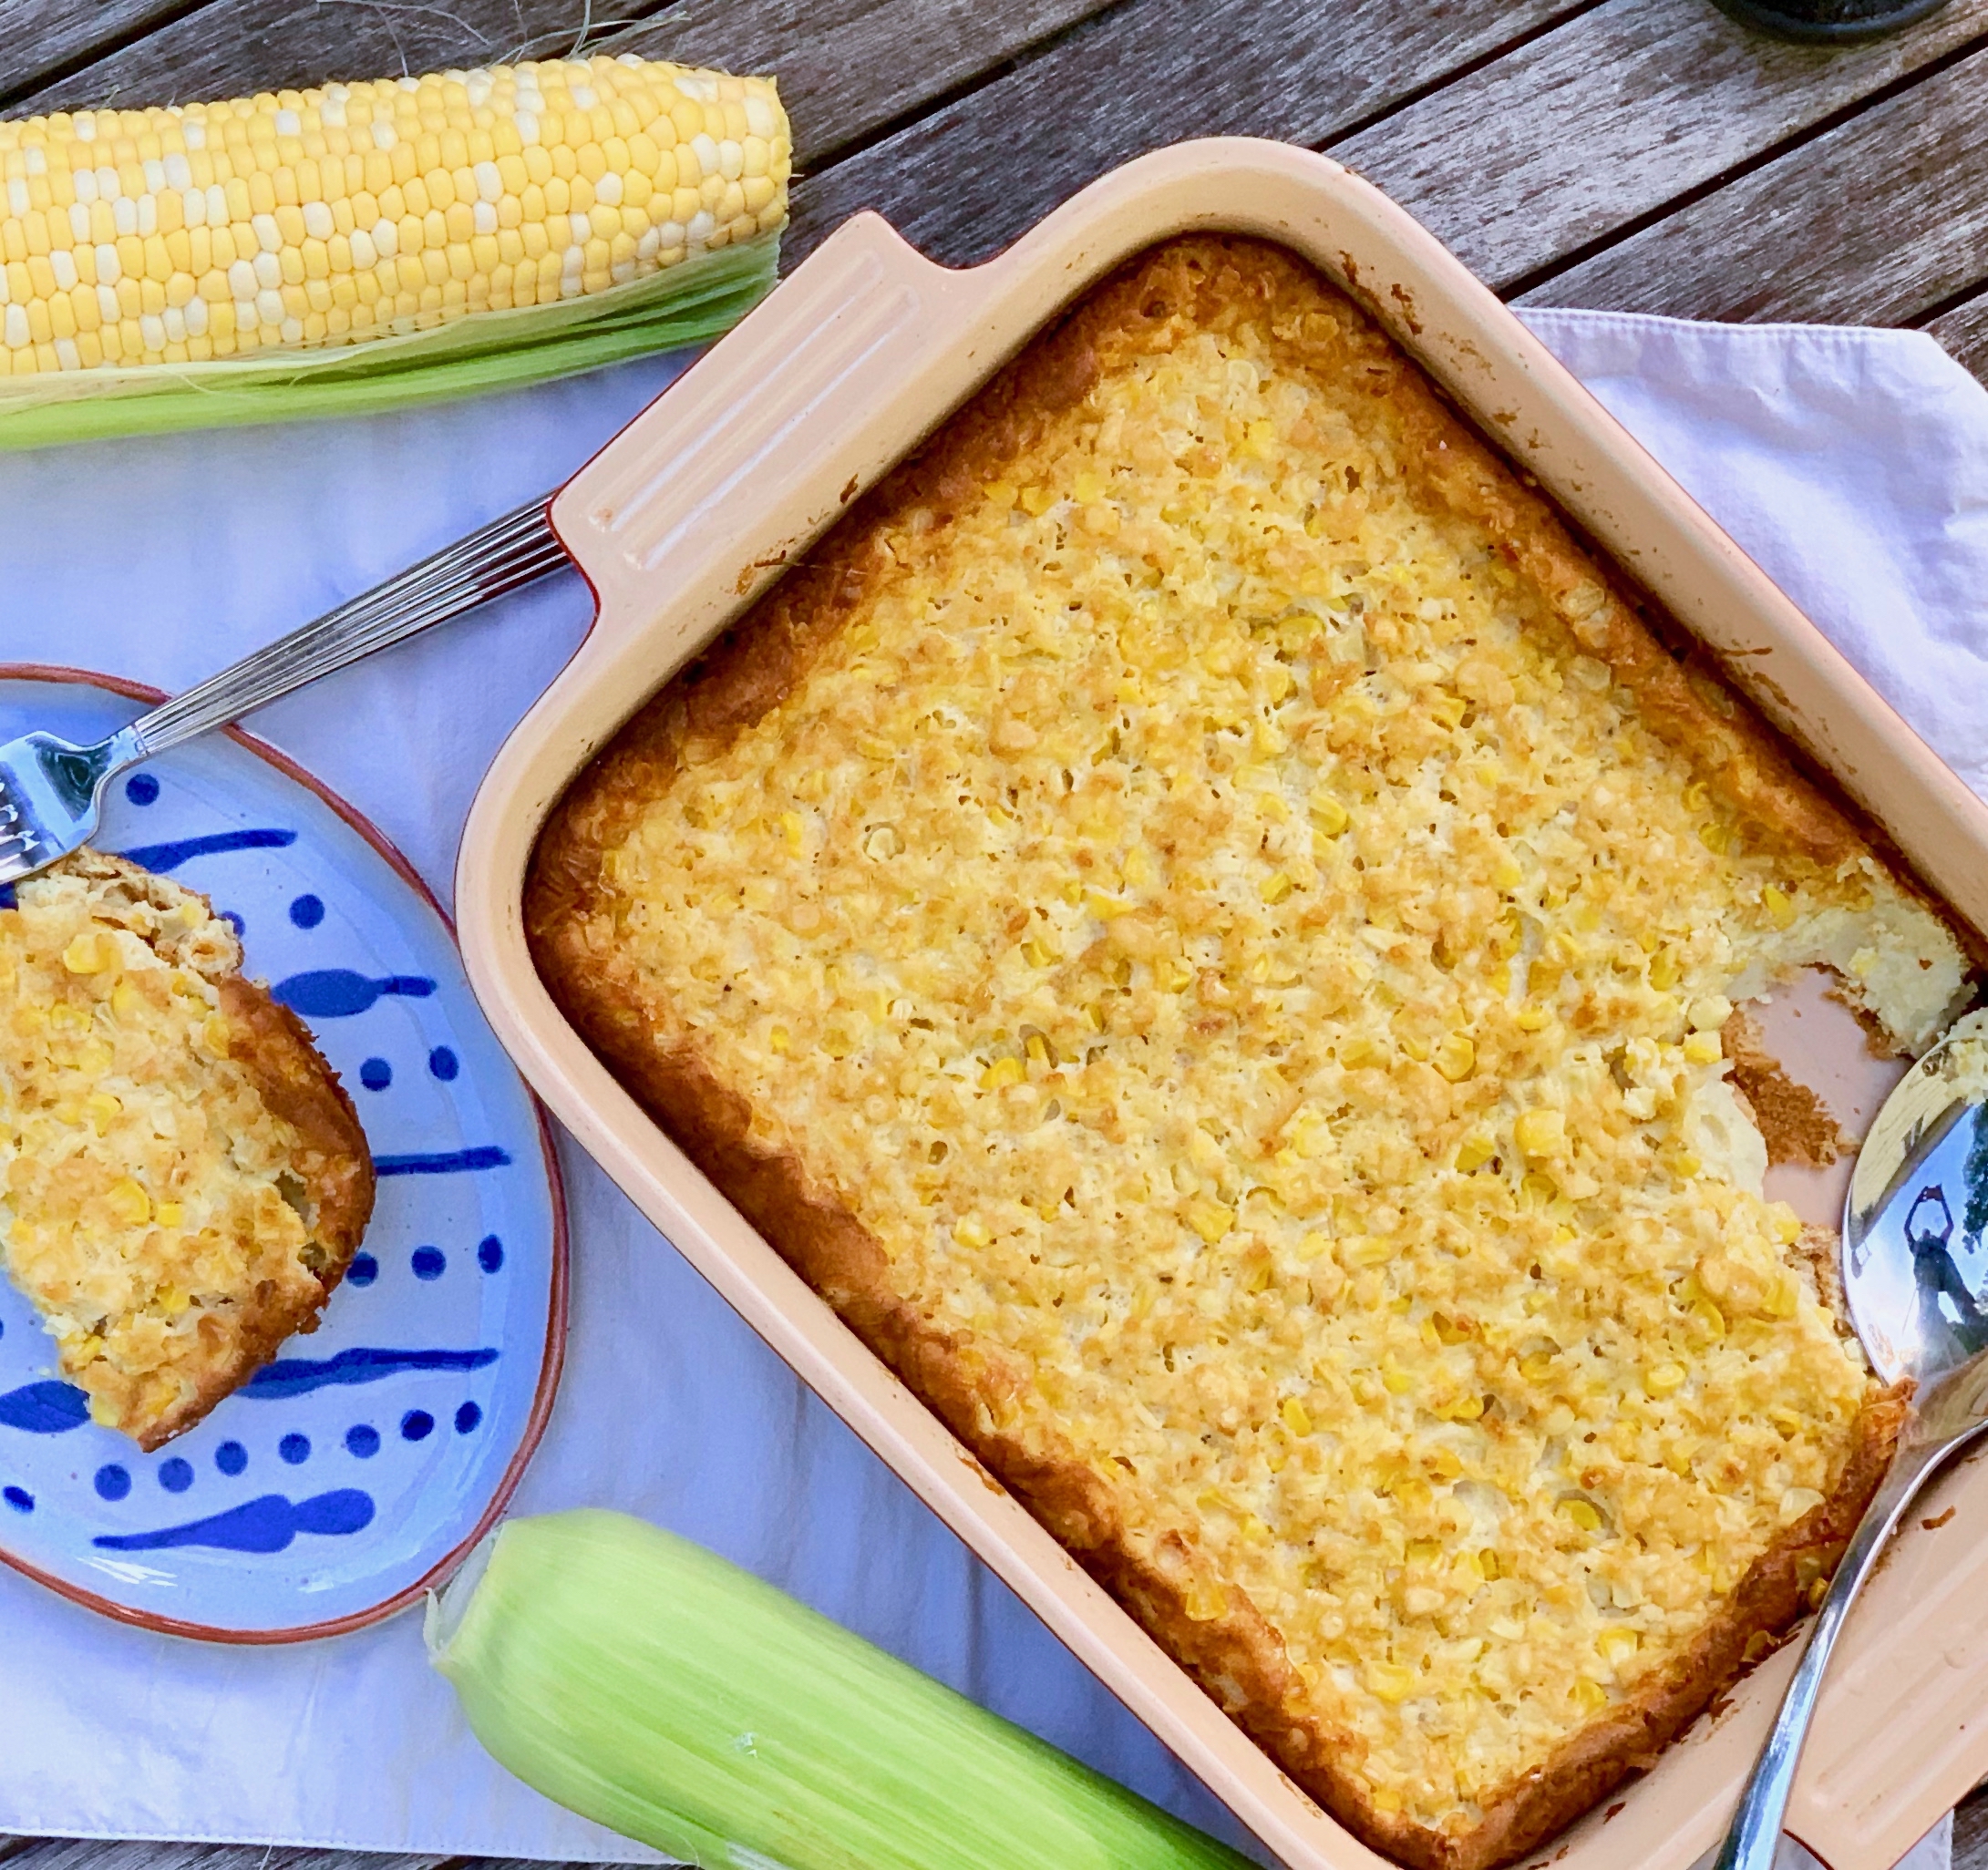
Speaking of simple, this recipe will be near the top of my list of simple and easy main courses. Eight ingredients that you basically mix all together in one bowl and pour it into a baking pan.  It truly doesn’t get better than that. I had some extra corn that I had to use up, found this recipe, and it sure turned out to be a good one. It’s not all that diet-friendly, but hey, once in a while it is okay. 

The fresh corn is the star of this recipe. The flour, milk, and eggs combine together to make this delicious pudding that can be served as a side dish or dessert. It bakes to a beautiful golden brown and makes an elegant presentation. Another one for your “must try” list. Make it now while you can get beautiful fresh corn. If you wait, please substitute frozen, never canned.

This recipe is courtesy of Allrecipes and will serve 6 to 8 people who will also want to learn to prepare this simple (yet delicious!) recipe.

Ingredients for Fresh Corn Pudding:

1/2 cup butter
2 eggs, beaten
2 teaspoons salt
2 tablespoons white sugar
Ground black pepper to taste
2 cups milk
3/4 cups all-purpose flour
2 cups fresh corn

Preheat oven to 350 degrees F.

Chop butter into small pieces and place in a 9 x 13-inch baking pan.

Set it in oven to melt.

In a medium bowl, whisk together the eggs, salt, sugar, pepper, milk and flour.
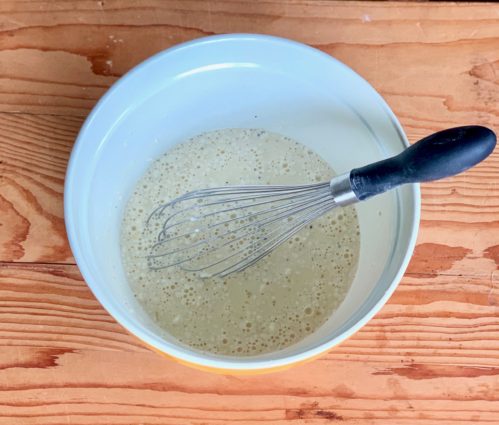
When mixture is smooth, stir in corn.
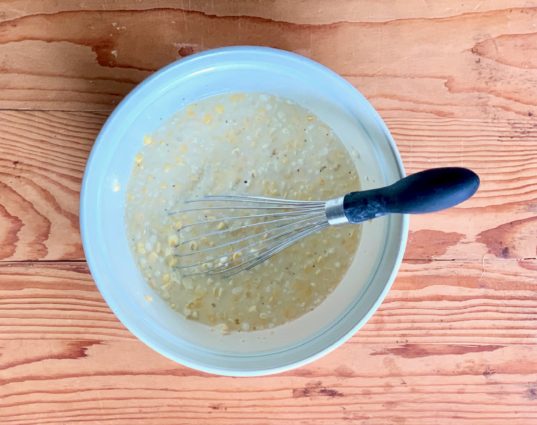
Remove pan from oven when butter is melted.

Pour butter into corn mixture and stir well.

Pour corn mixture into baking pan.

Bake for 1 hour or until set in center and golden brown on top. (I had to cook it a little longer for the top to become golden brown, about 15 minutes longer, so keep your timer set and keep checking.)
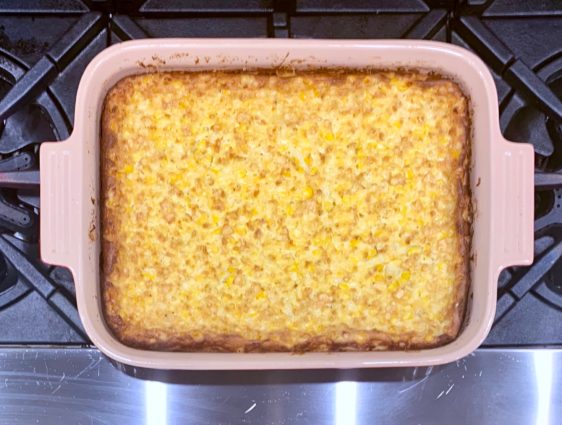
It’s that simple!

signature

[recaptcha]


Have you ever been served a soggy salad? So have I.  The sad, unappealing lettuce haunts my nightmares. Even if you put the lettuce through a salad spinner, it does not dry completely. Some of the water stays on the lettuce, and when you prepare a salad with it, you are adding the water as well. You need to make sure all of the ingredients you wash are dried thoroughly so your salad does not come out mushy. People who do not understand this need to be enlightened.

I prefer to “dress” my salads so that they have a thin coat of dressing that makes the salad bright and glistening. If you overdress, the salad will be goopy and wilted. It will have a heavy, thick liquid, that, when combined with the water, will create a dish that is visually unappealing as well as unappetizing. It is important to add the dressing in small amounts, just until the salad is bright and shiny. You can always place some dressing on the side for the guest who prefers more, but please educate them as you do.

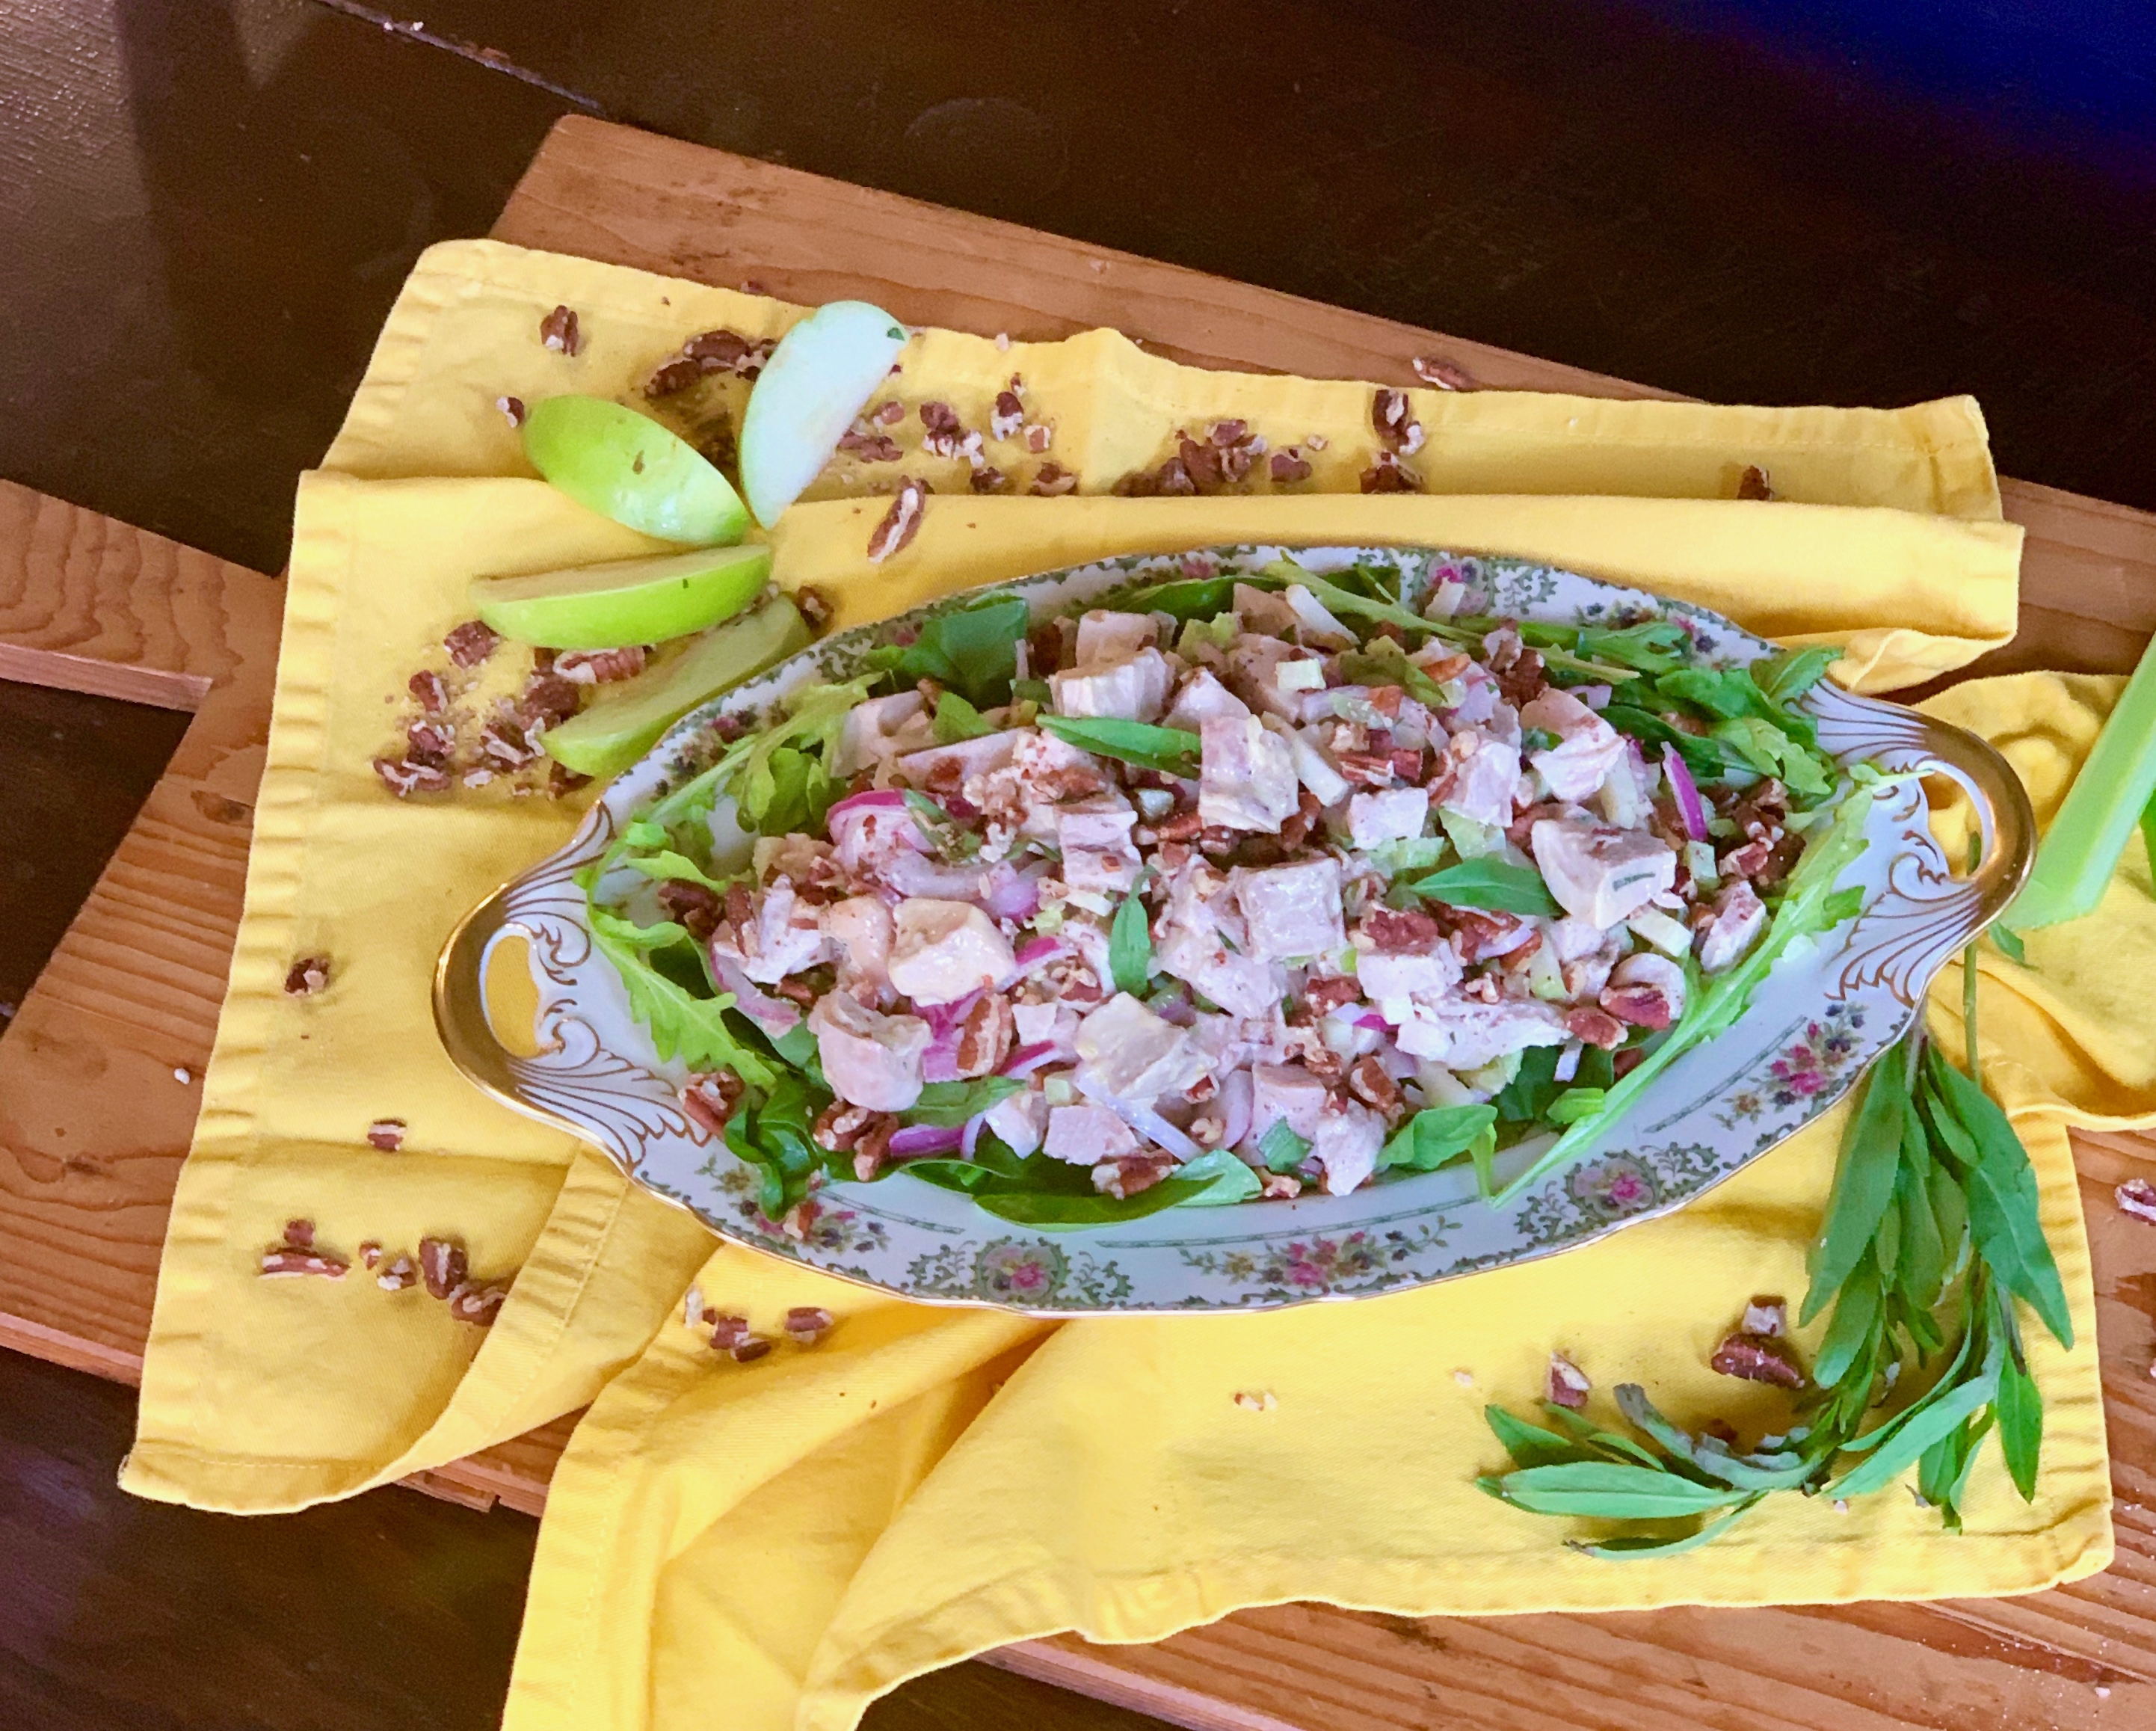
For this salad, I halved the amount of mayonnaise and added some mustard to lighten it up. It still has that creamy goodness, just less of a heavy mayo flavor. I also used chicken thigh meat, because it is more moist and just tastes better than white meat. It is perfect on a bed of lettuce, baguette, or in a sandwich.

This salad has become one of my favorites. It is a classic that combines juicy, tender bites of chicken with ingredients that complement it. The mustard and tarragon give it a savory essence. The onions and celery make every bite crunchy, and the apples complete this salad with a little bit of tang. It is super easy to make, and really is chicken salad perfection.

This recipe will serve 4 to 6 people who will adore every bite of this (not overdressed) salad.

 Ingredients for Tarragon Chicken Salad:

3 cups chopped cooked chicken thighs
1/2 cup red onion, thinly sliced
1 1/2 cup Granny Smith apples, diced
1 cup celery, diced
1/2 cup mayonnaise
1/4 cup whole grain mustard
3 tablespoons fresh tarragon, chopped
1 cup toasted pecans, chopped
2 tablespoons fresh lemon juice
1 teaspoon lemon zest
Kosher salt
Freshly ground black pepper

Preheat oven to 350 degrees F.

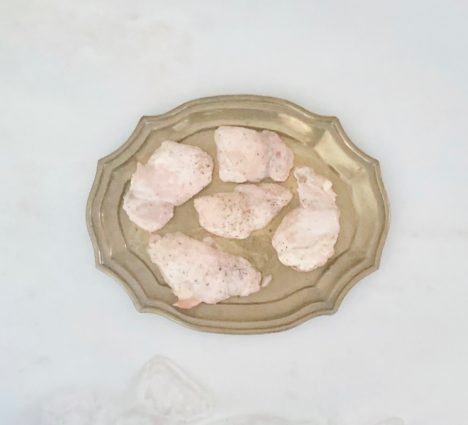
Trim any fat off of chicken thighs.

Line a baking sheet with parchment paper.

Place chicken thighs on baking sheet.

Set timer and bake for 20-25 minutes.

Place chopped pecans on another baking sheet lined with parchment paper (or you could just use a small aluminum pan for easier clean-up).

Set new timer and roast in the same oven as chicken for 5 to 8 minutes. 

Do not forget about the pecans!

When chicken is finished, cut into 1-inch cubes.

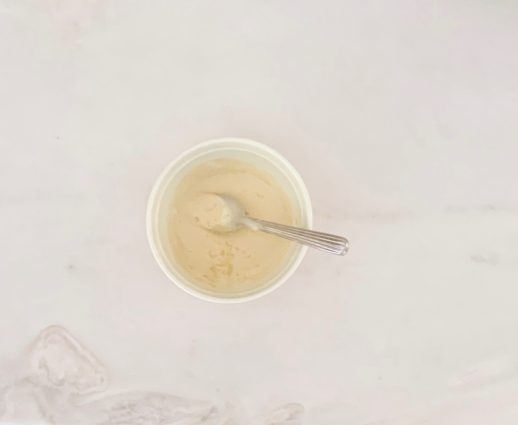
Whisk together the mayonnaise, whole grain mustard, lemon zest, and juice in a small bowl.

Set aside.

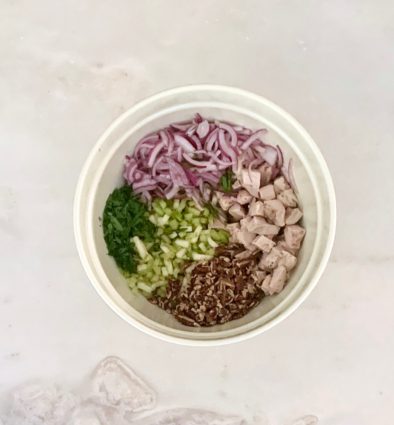
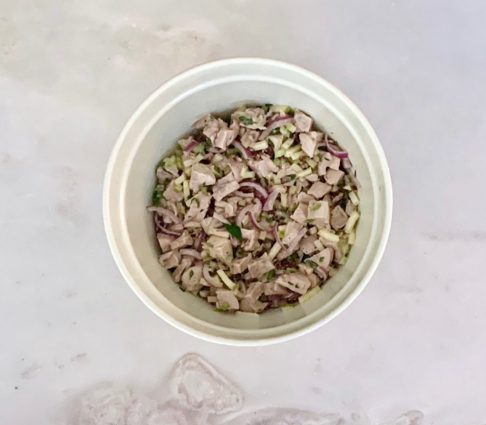
In a large bowl, mix together the chicken, 1/2 cup pecans, celery, onion, tarragon, and apples.

Slowly begin to add the dressing, small amounts at a time, until salad is lightly coated.

Taste, taste, taste!

Add more dressing as needed, bearing in mind that you do not want to overdress.

Now add salt and pepper to taste.

I recommend at least 1 teaspoon or more of the salt, and 1/2 teaspoon of the pepper, but you are the best judge.

Cover and chill for 2 to 24 hours to allow flavors to combine.

Sprinkle with remaining pecans.

It’s that simple!
 

signature

[recaptcha]


It is a truth universally acknowledged that a chef in possession of a good main course must be in want of a side dish.  It is especially difficult in the summer, when one must find something that can pair with beloved summer standards like barbecued chicken or ribs that have a heavy sauce. If you think back to any cookout, you’ll come up with potato salad, coleslaw, baked beans or grilled corn. While there is nothing wrong with any of these quintessential dishes, I think it’s time to mix it up.

Coleslaw and potato salad can be heavy with the mayo. Why not try lightening them by using  less mayo and whole grain mustard or apple cider vinegar? These ingredients will provide a refreshing twist to an otherwise heavy dish. If you do use mayo, remember to put it in the refrigerator before you use it. If not refrigerated, mayonnaise will not keep.  This has nothing to do with bacteria growth, since the acids in lemon juice and vinegar actually make the mayonnaise an unfavorable place for bacteria to grow. Rather, if you leave commercial mayonnaise unrefrigerated, its taste suffers and it will start to turn brown.

For the incredibly health-conscious (or lazy!) among us, another great option is to grill some vegetables with a little olive oil, lemon juice and zest, salt and pepper. Make a vinaigrette to toss it in, and top it off with a little feta, Parmesan, or Asiago cheese. 

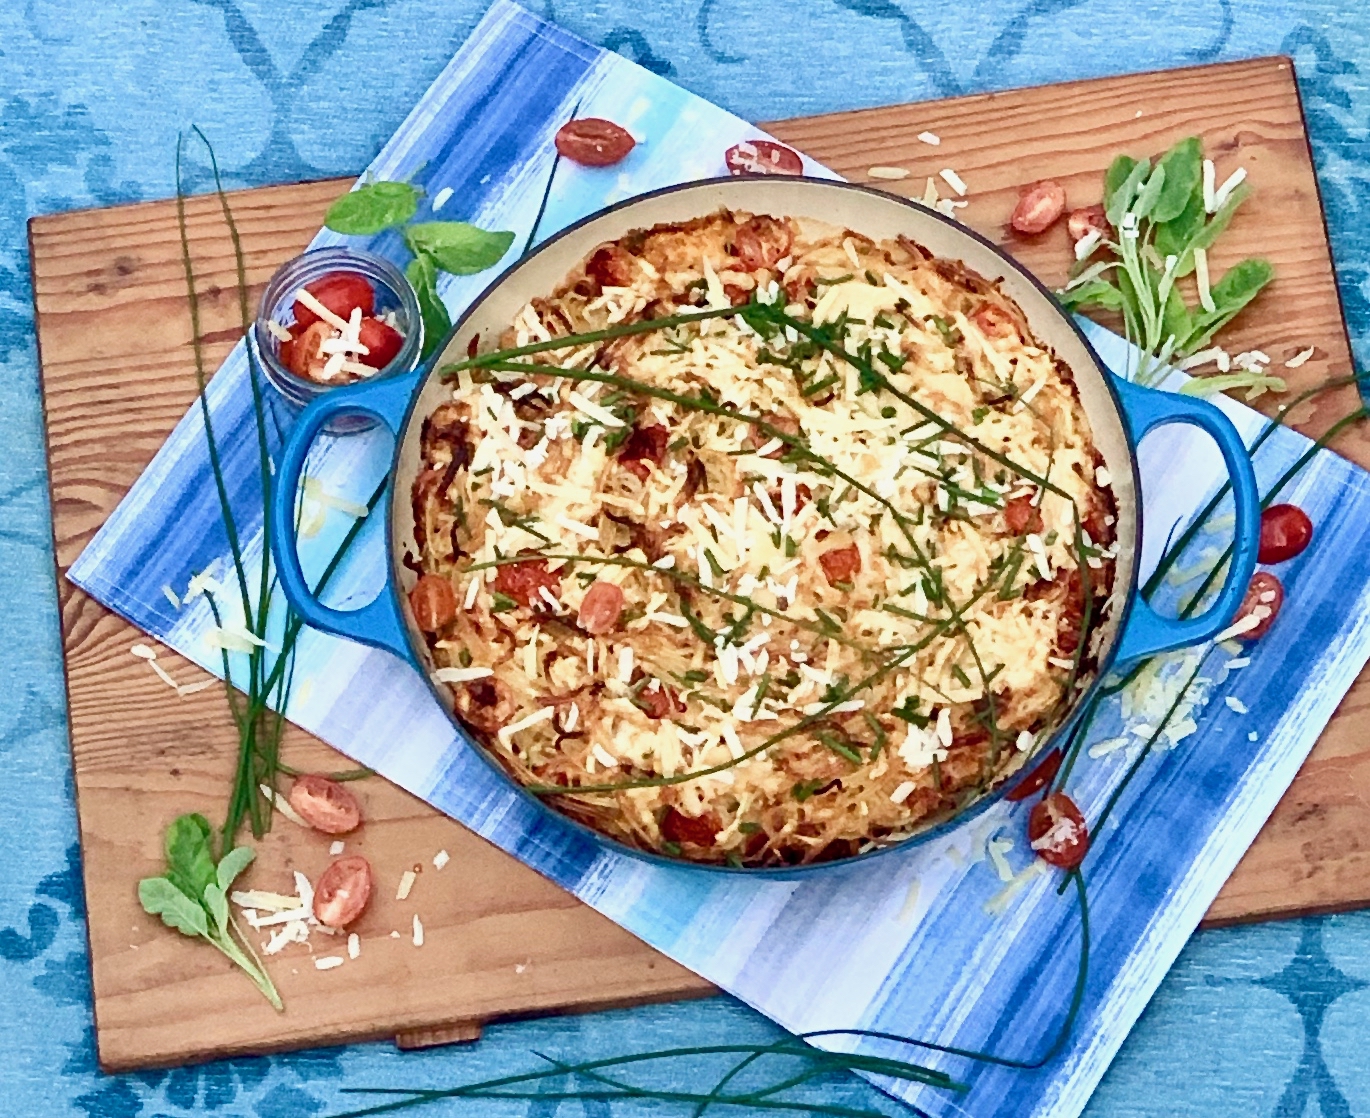
Or you can make this pasta dish because it just THAT good. The three cheeses are really the key to the flavor here. The bacon, sage and chives add that oh-so-good savory depth. The eggs bind it together to make this dish luscious and sensational. This is a “must try” and a keeper. 

This dish is courtesy of Dinner and will serve 6 people who will forgo ribs and barbeque in favor of this cheesy dish.

Ingredients for Pasta Carbonara Torte:

Kosher salt, as needed
1 pound spaghetti
8 ounces pancetta or thick-cut bacon
2 tablespoons minced fresh sage leaves
1 1/2 cups whole milk
7 ounces Gruyere cheese, grated (1 3/4 cups)
7 ounces young pecorino cheese such as Pecorino Toscano, grated (1 3/4 cups)
3 ounces Parmigiano-Reggiano cheese, grated (3/4 cup)
1/2 cup cherry tomatoes, quartered
3 large eggs, beaten
2 1/2 teaspoons freshly ground black pepper
Fresh chopped chives, for garnish

Bring a large pot of heavily salted water to a boil.

Add the spaghetti and cook until it is just shy of al dente, usually about 2 minutes less than the package directions (it should be slightly underdone to your taste because you’ll finish cooking it in the oven).

Drain well.

While pasta is cooking, heat the oven to 425 degrees F.

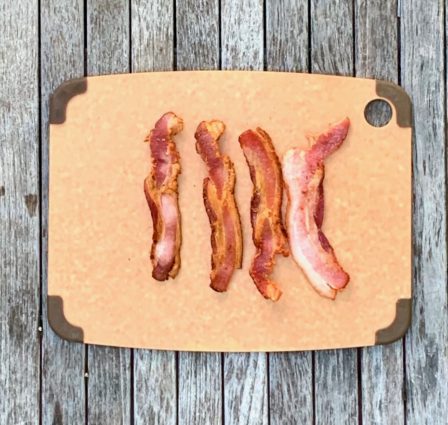
In a 10-inch oven-safe skillet over medium-high heat, cook the pancetta until it is crisp and golden brown, 7 to 10 minutes.

Stir in the sage and cook for another minute.

Take the the skillet off the heat.

Remove the bacon from the skillet.

Set skillet aside.

Crumble bacon in bite size pieces.

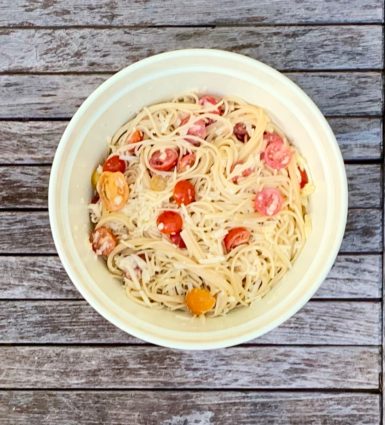
In a largebowl, toss in the pasta, milk, 1 1/2 cups of the Gruyere, 1 1/2 cups of the pecorino, the Parmigiano-Reggiano, and the tomatoes, eggs, pepper, bacon and 2 teaspoons salt.

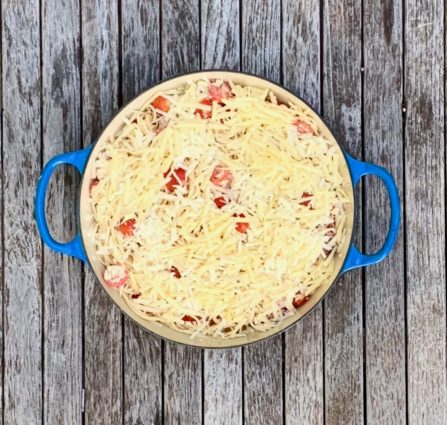
Transfer mixture to the skillet.

Scatter the remaining Gruyere and pecorino over the top.

Transfer the skillet to the oven and bake until the pasta is bubbling and golden brown on top, about 40 minutes.

Let the torte cool slightly before serving.

Garnish with chopped chives.

It’s that simple!
 

signature

[recaptcha]


I love to read cookbooks. When I receive a new cookbook, I read it cover to cover. I have accumulated quite the library through the years (and I mean it is a library). I love to see all the beautiful photography and admire the creativity of both the chefs and food photographers. I mark the recipes I would like to make (there must be hundreds by now!) and star the more important ones.

In addition to all the books I read, I also have subscriptions to the more popular food magazines. Most of my summer reading is getting through all those magazines. I tear out the recipes I want to make and keep those in a basket in my library so I can easily find my favorites. 

Though I have my favorite magazines and books, I am not a recipe snob. As any home cook does, I have my favorite chefs but I will try any recipe no matter its origin. As you all know, some of the best recipes have come from the back of a cereal box or from a box of pasta–the original Tollhouse cookie recipe is a true classic.

But those are also not the only way I find recipes. Sometimes even Real Simple or Better Homes and Gardens has a gem in there somewhere. Some of those recipes are sent in by their readers and who knows, maybe they just have the best omelets around. If a recipe looks good on paper, you can be sure I’ll give it a go. If I test it out and it is good, you can be sure that I will pass it on to you.  

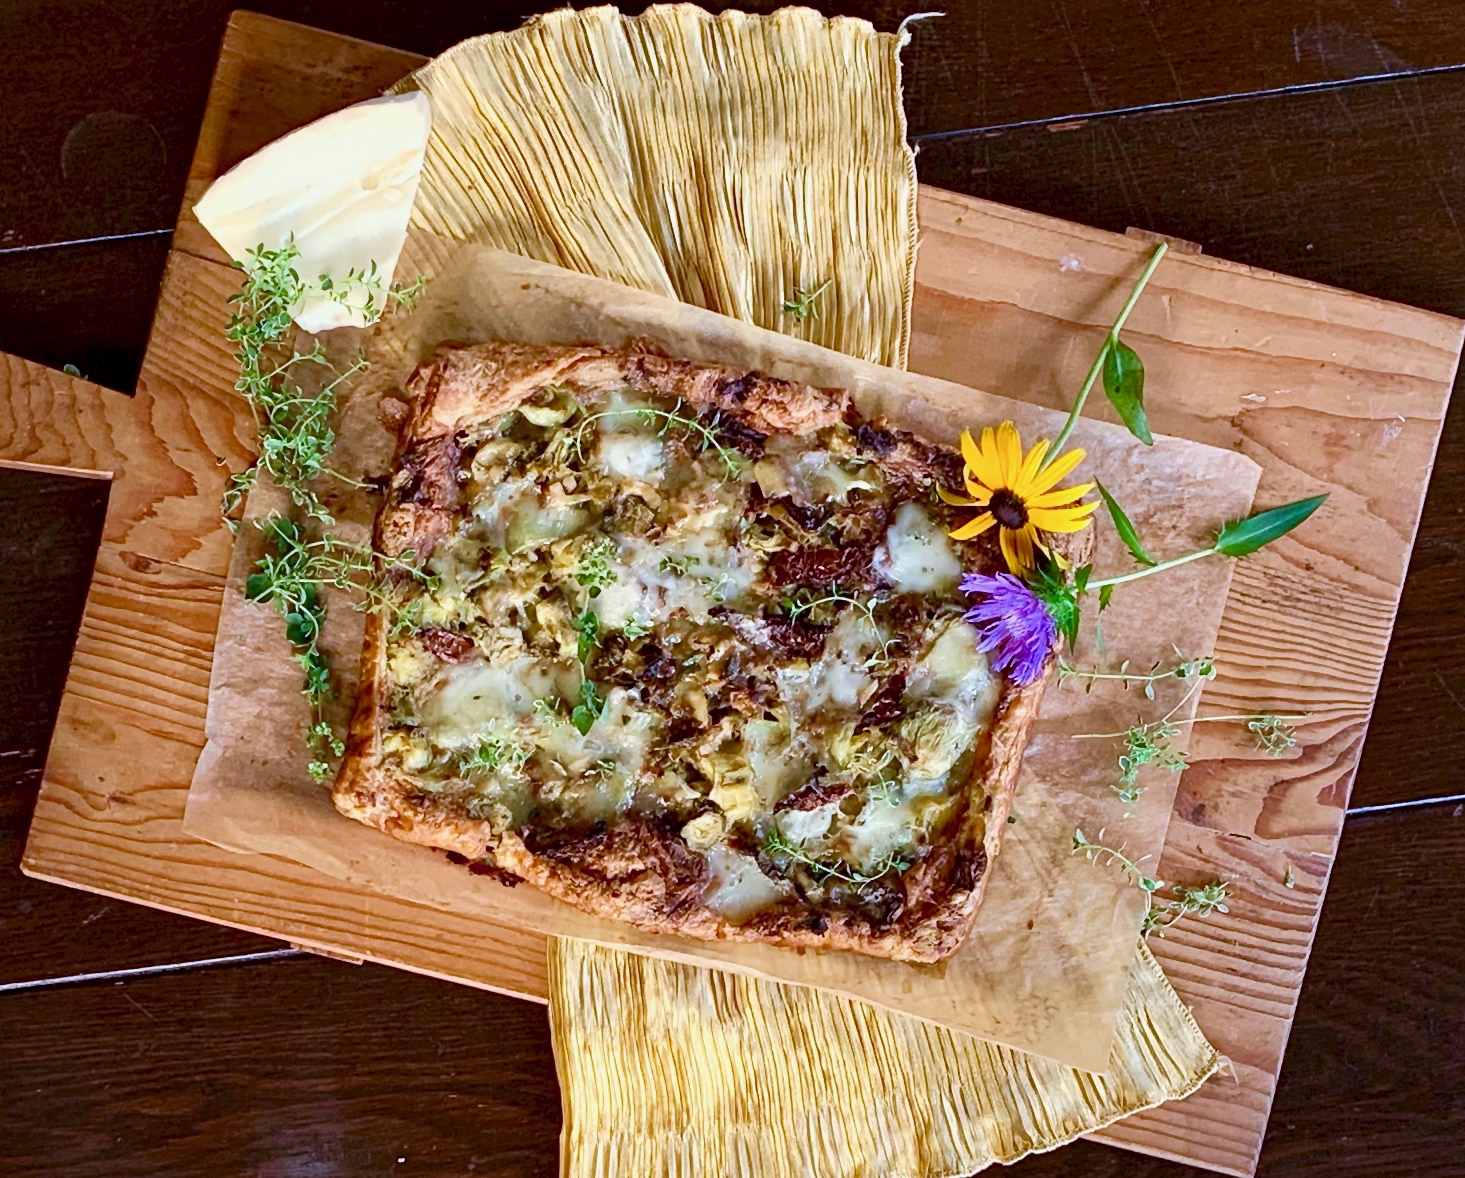
Although this galette does not come from such humble origins, it is definitely blog-worthy. I absolutely love artichokes, so I knew I had to try it. This side dish is packed with flavor. The artichokes, sun-dried tomatoes and cheese combine beautifully into this galette. The brie is the perfect pairing for the veggies, adding creamy gooeyness and savory depth. The bed of puff pastry is light, making each bite a little bit of heaven. Put this on your “must try this summer” list, it is that good.

This recipe is courtesy of Fine Cooking and will serve 4 people who will be happy for your discerning palette.

Ingredients for Herbed Artichoke Galette:

1 Tbs. olive oil
2 large leeks, trimmed and thinly sliced (about 2 cups)
3 large cloves garlic, very thinly sliced
1 14-oz. can quartered artichoke hearts, rinsed and well drained on paper towels
6 large sun-dried tomatoes, cut into thin strips
2 Tbs. chopped fresh flat-leaf parsley
1 Tbs. fresh thyme leaves
Kosher salt and freshly ground black pepper
All-purpose flour
1 sheet frozen puff pastry, preferably Dufour, thawed according to package directions
8 oz. Brie, rind removed

Position a rack in the center of the oven, and heat the oven to 400°f.

Heat the oil in a large nonstick skillet over medium-high heat.

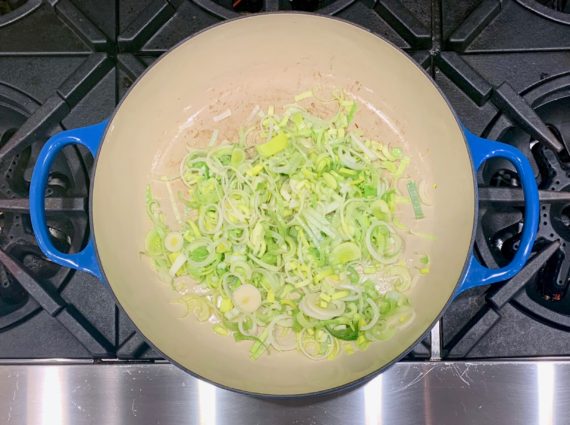
Add the leeks and cook, stirring occasionally, until soft and lightly browned, about 5 minutes.

Add the garlic and cook until aromatic, about 1 minute.

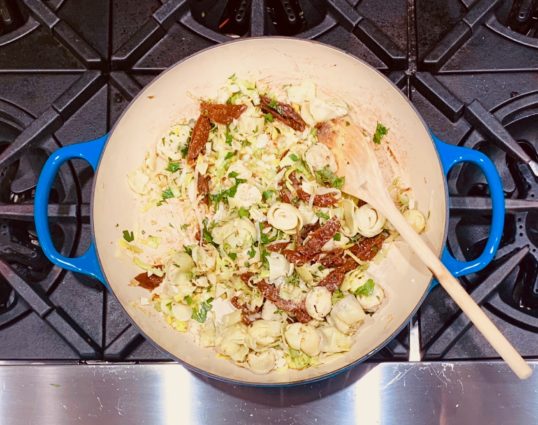
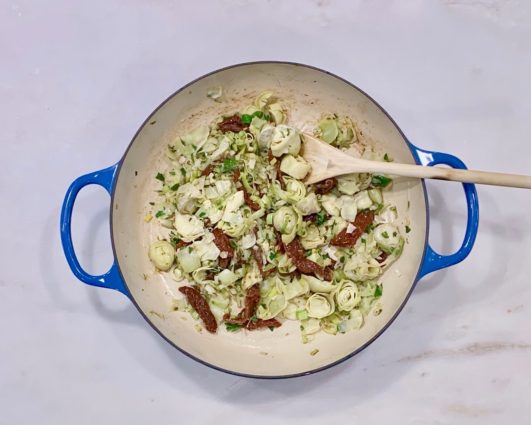
Stir in the artichokes, sun-dried tomatoes, parsley, thyme, 1/4 tsp. salt, and 1/4 tsp. pepper.

Remove from the heat.

Lightly flour a work surface.

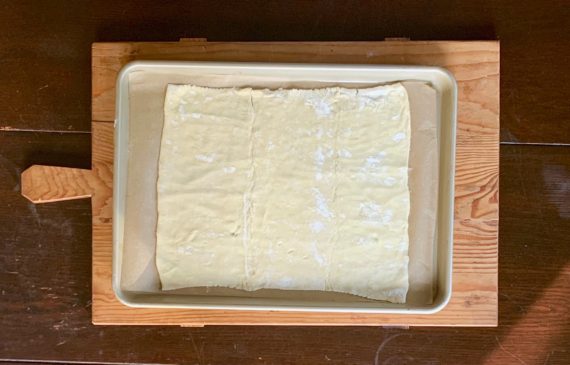
Roll the puff pastry on a sheet of lightly floured parchment and cut into a 12-inch square.

Slide the parchment onto a large rimmed baking sheet.

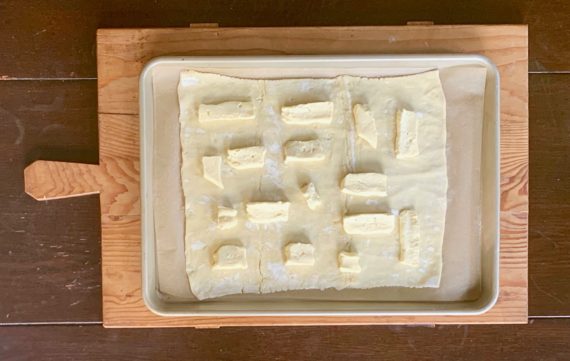
Cut the cheese crosswise into thin slices.

Leaving a 1/2-inch border, scatter three-fourths of the cheese over the pastry.

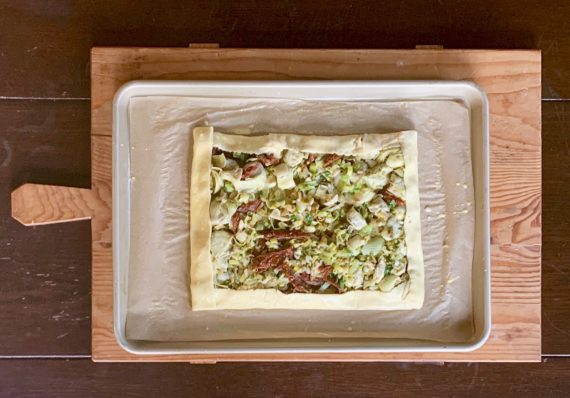
Spoon the leek mixture on top of the cheese.

Brush the pastry edges lightly with water and fold the edges over and onto the filling, pressing down lightly to seal.

Bake until golden brown, about 30 minutes.

Break the remaining cheese into small pieces and dot the top of the galette with the cheese.

Let stand until cheese melts, about 10 minutes.

Slice and serve.

It’s that simple!
signature

[recaptcha]


I am a self-taught cook. My journey has been full of many learning experiences, both successful and disastrous. As with anything, my cooking is a work in progress and I strive to improve by reading, watching professional chefs, and working hard to develop my skills. I try to incorporate new skills and methods into my cooking every day. 

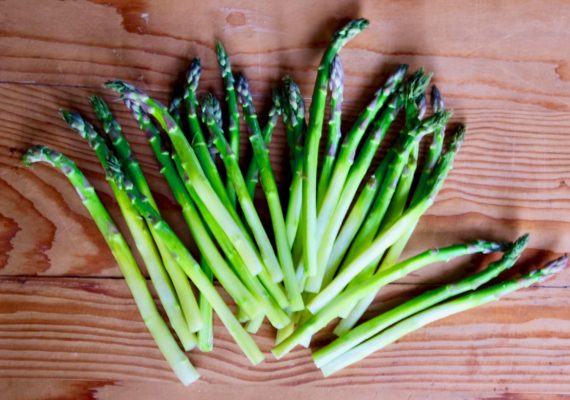
In a recent post, I talked about the importance of peeling asparagus. I am going to go over this again because while it is an agonizing chore, it truly changes the taste and appearance of your asparagus. 

This original recipe instructs you to snap off the ends of the asparagus, but I respectfully disagree. By doing this, you could end up with most of the stalk in the garbage– what a waste! Instead, cut off the ends about 1 to 1 1/2 inches from the bottom and save as much of the stalk as you can.

There are some chefs who think that peeling the asparagus depends on the thickness of the stalk.  My person philosophy? If you have a thick stalk, then it definitely should be peeled, but if you have a very thin stalk, lightly peel it just enough to get those bulky knobs off.

While I’m discussing boring (but useful!) chores, I promised to share with you the best method to peeling eggs. My new trick is to place them in a bowl of ice water for a minute, then take them out and peel them while they are still warm. If you find the shells are sticking, place the egg back into the water, take it out and continue to peel. When you are finished peeling, place it back into the ice bath to stop the cooking process and remove any stray pieces of shell.  In addition, if the egg yolks are even the slightest bit green, they are overcooked. Try to cut down your cooking time by a minute or two.

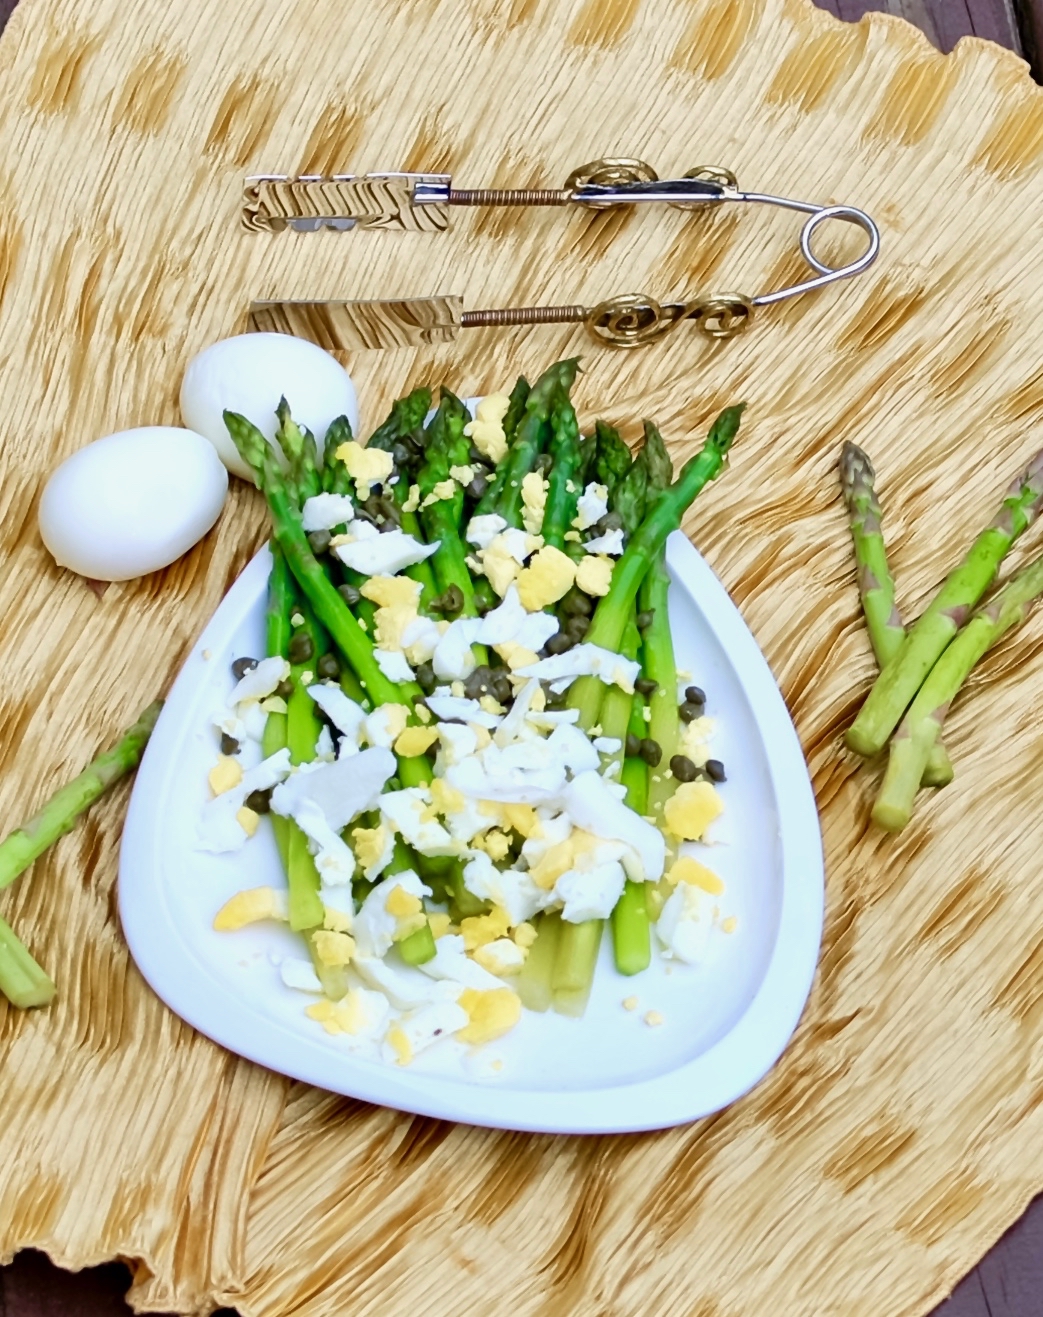
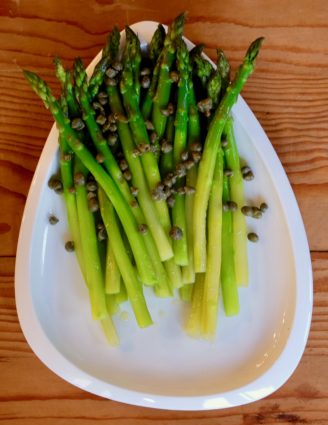
With these two tips, you are fully prepared to make this next dish, so called because the grated egg resembles mimosa flowers. A softer yolk works best, so reduce your cooking time by a minute or two. This elegant side dish is not only delicious, but beautiful too. The asparagus is cooked to perfection, each stalk doubly sweet since removing the harder outer layer. The capers add delicious salty goodness and tang. The eggs are the perfect topping, and they add another depth of flavor and smooth texture. Put this on your “short on time” list– it is a perfect side that will complement any main summer course.

This recipe is courtesy of Ottolenghi and will serve 4 people who will welcome the light, fresh taste of this gorgeous dish.

Ingredients for Asparagus Mimosa:

2 eggs
2 bunches of medium asparagus
2 tablespoons good quality olive oil
2 teaspoons small capers, drained
1 teaspoon Maldon sea salt
Black pepper

Gently place your eggs in a saucepan of boiling water and simmer for 9 minutes.

Remove the eggs from the pan and immerse them in a large bowl of cold water.

After a few minutes, take them out of the water and leave to cool down completely.

Peel the eggs and grate them on a coarse cheese grater.

Cut ends of 1 to 1 1/2 inches.

Gently peel the asaragus to cut off bulky knobs.

Place the spears in a large pot of boiling water and cook for 3 minutes, or until tender.

It may take slightly longer if they are thick.

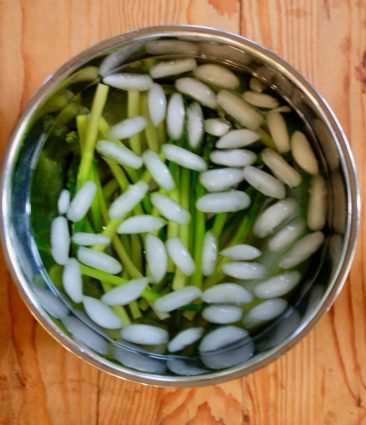
Drain and place into ice water to sstop cooking.

Take asparagus out and let them come to room temperature.

Drizzle the oil over the asparagus and sprinkle with the capers, salt and some pepper.

Top with the grated egg, staying close to the center of the stalks so that the tips and bases remain visible.

It’s that simple!


signature

[recaptcha]