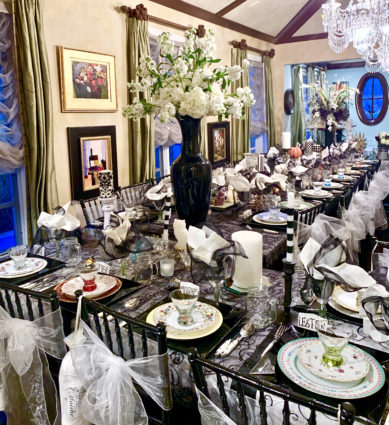
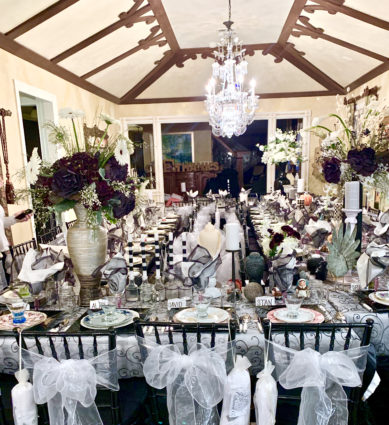
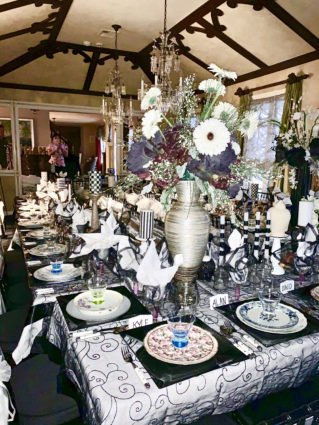
Thanksgiving 2019 was one of the most elegant holidays I have ever done. It was simple, yet classic. Table for 46 please!

I used a black and white theme, and I asked all my guest to wear something black and white as well. This made them all feel that they were an important part of the celebration. And they sure were.

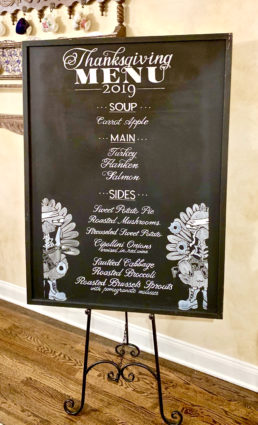
I carefully plan the menu for the evening, and believe the presentation of the menu is almost as important as the presentation of the food. I display it on a large chalkboard and have a calligrapher write the menu on it so everyone would know what was being served.

How fun is this?
The tables had white tablecloths with black overlays. I also ordered black banquet chairs and tied white bows around the back of each chair. 
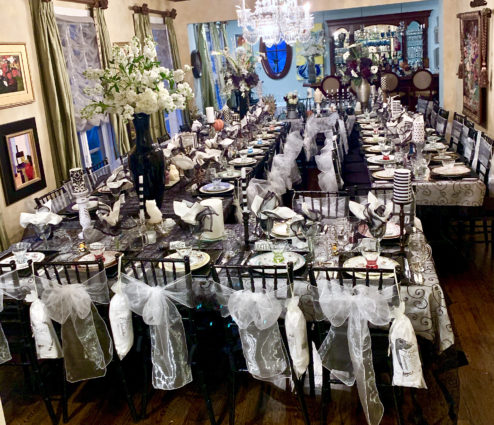
 

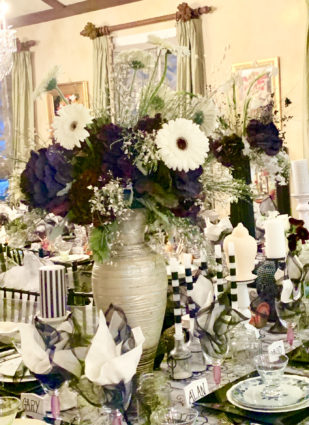
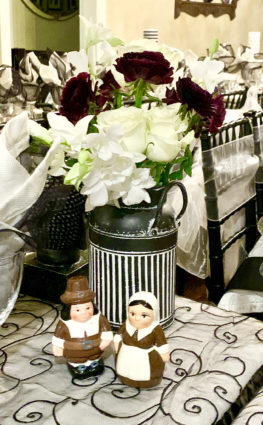
The flowers were especially elegant this year.

Including this beautiful vase on the bar.

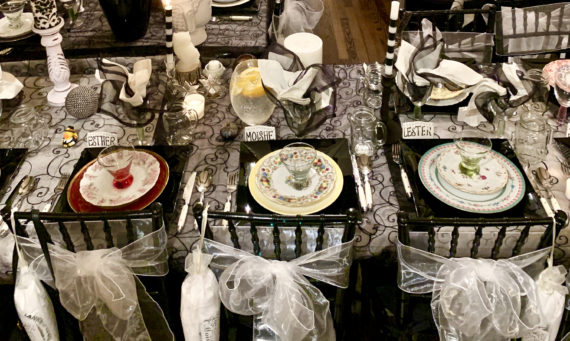
Throughout the years, my husband and I have collected antique china plates, each one with a different pattern. I love setting the table with them each year.
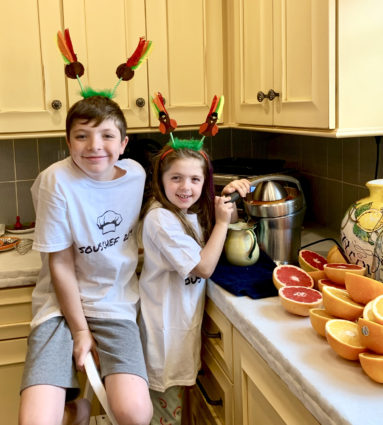
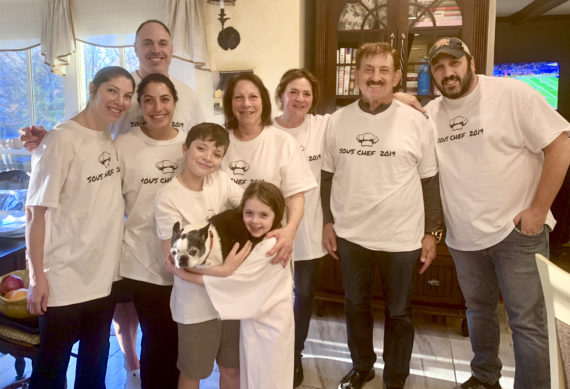
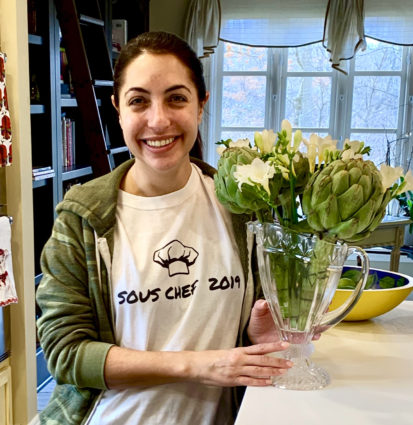
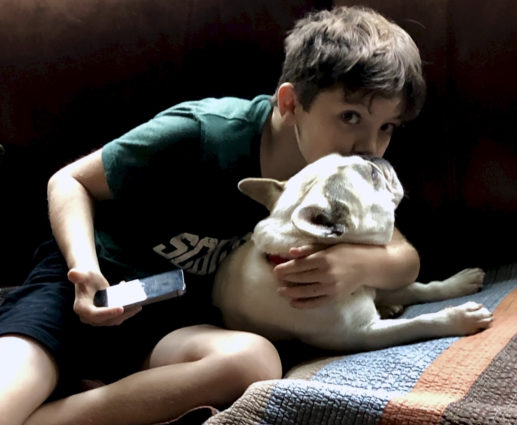
Here are my sous chefs for 2019, without whom this would not be possible. They come the day before and that is when the major cooking (and fun) begins. Thanksgiving morning we wake up early and we get right to work. My great-nephew Aaron, (the small guy in front) and my great-niece Jenna, are very big helpers and here they are holding Macy.
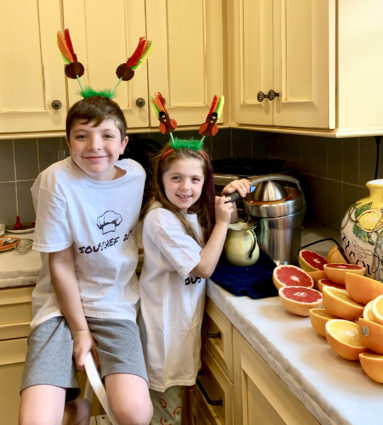
Jenna and Aaron do all the juicing for the bar.
Making the pigs in blankets have become a very important part of our Thanksgiving tradition. They guys have so much fun making them, and they are definitely the favorite appetizer of the night.
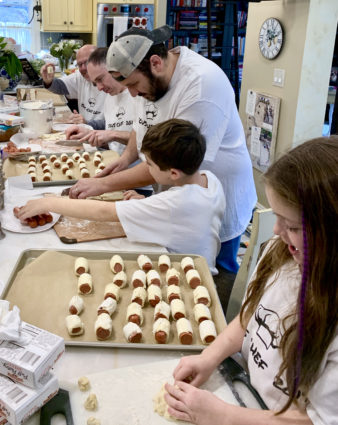
And of course there are a few dough fights!
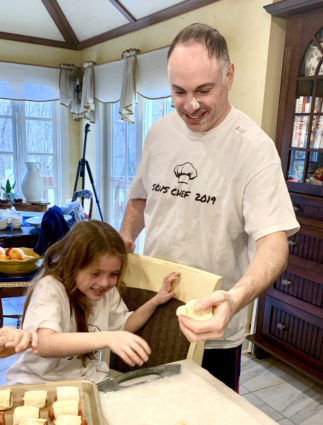
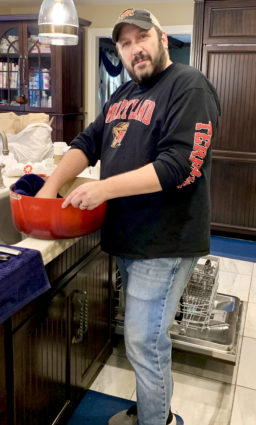
Everyone helps washing and drying the dishes.
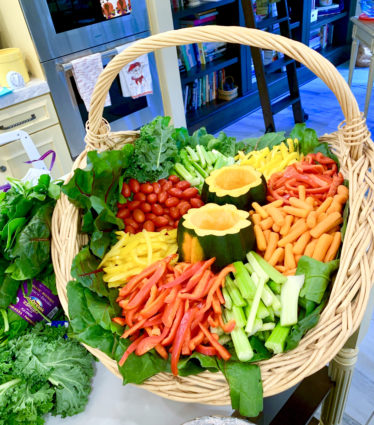
This year I thought the crudite platter my niece Leslie made came out beautiful! I took this picture before everyone came, that’s why there is no dip in it yet.
I found these beautiful artichokes in the grocery store. My niece Lara made a beautiful bouquet with them.
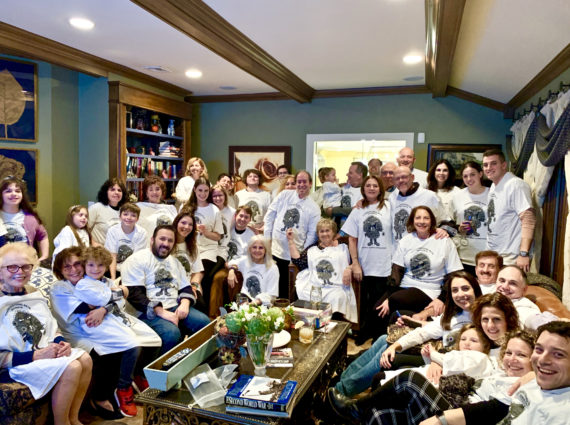
I purchase tee-shirts for everyone who attends that has the logo of the charity on it. My friend and I have so much fun designing it every year. Of course, there is the yearly picture taken of everyone wearing it. It has become a great tradition and all of our friends look forward to seeing it on Facebook.
As always, all the fun comes to an end.

We are already looking forward to next year!

It’s that simple! (uh, not really)
signature

[recaptcha]


And just like that, another wonderful Thanksgiving celebration is done. It takes months of planning, but it is truly a labor of love. The week leading up to this holiday is always stressful, but I forge through it. This year, I had to set the table myself, which is an overwhelming task. Carefully setting a table for 46 people takes a lot of time if you want to make sure it is decorated correctly. My 800 pound dining room table has to be moved, then all the folding tables have to be brought up, tablecloths put on and then the plates and cutlery.  All 46 chargers, plates, salad plates, and soup bowls are placed neatly and correctly. It took six hours of work, but I am so proud of the final product.

Up until the Wednesday before the holiday, I am on my own in the kitchen. Mostly I make appetizers I can freeze like the chicken meatballs, the spinach balls, and the gougere cheeseballs. The sweet potato pie and soup are made and frozen as well. My sister-in-law and her family arrive on Wednesday and the real cooking begins. That’s also when the fun begins. We all have the best time, including my great-nephew and niece, 10 and 7 years old. Of course, there may be a few food fights in between, but that lightens up the mood for adults and children alike. 

On Thursday, the cooking continues in earnest. This year, to my utter shock and fear, we lost power to our home at 3:00pm on Thanksgiving–I had two turkeys in the oven! Thank goodness, my home has a generator that allows electricity to flow as normal. The generator kicked in, but my two electric wall ovens did not come back on. Panic set in. I ran down to check the circuit breakers and they were fine. Finally, after about 10 minutes, the ovens began working again. Turns out, they just needed time to reboot. I am so glad for the generator, because without it, we would have had to cancel Thanksgiving; the power was out in my neighborhood for several hours. 

Thanksgiving truly is my favorite holiday. No wondering if the sweater you bought will fit, or if they’ll like the bracelet you bought for them, just lots of food and love and being all together. It doesn’t get better than that.

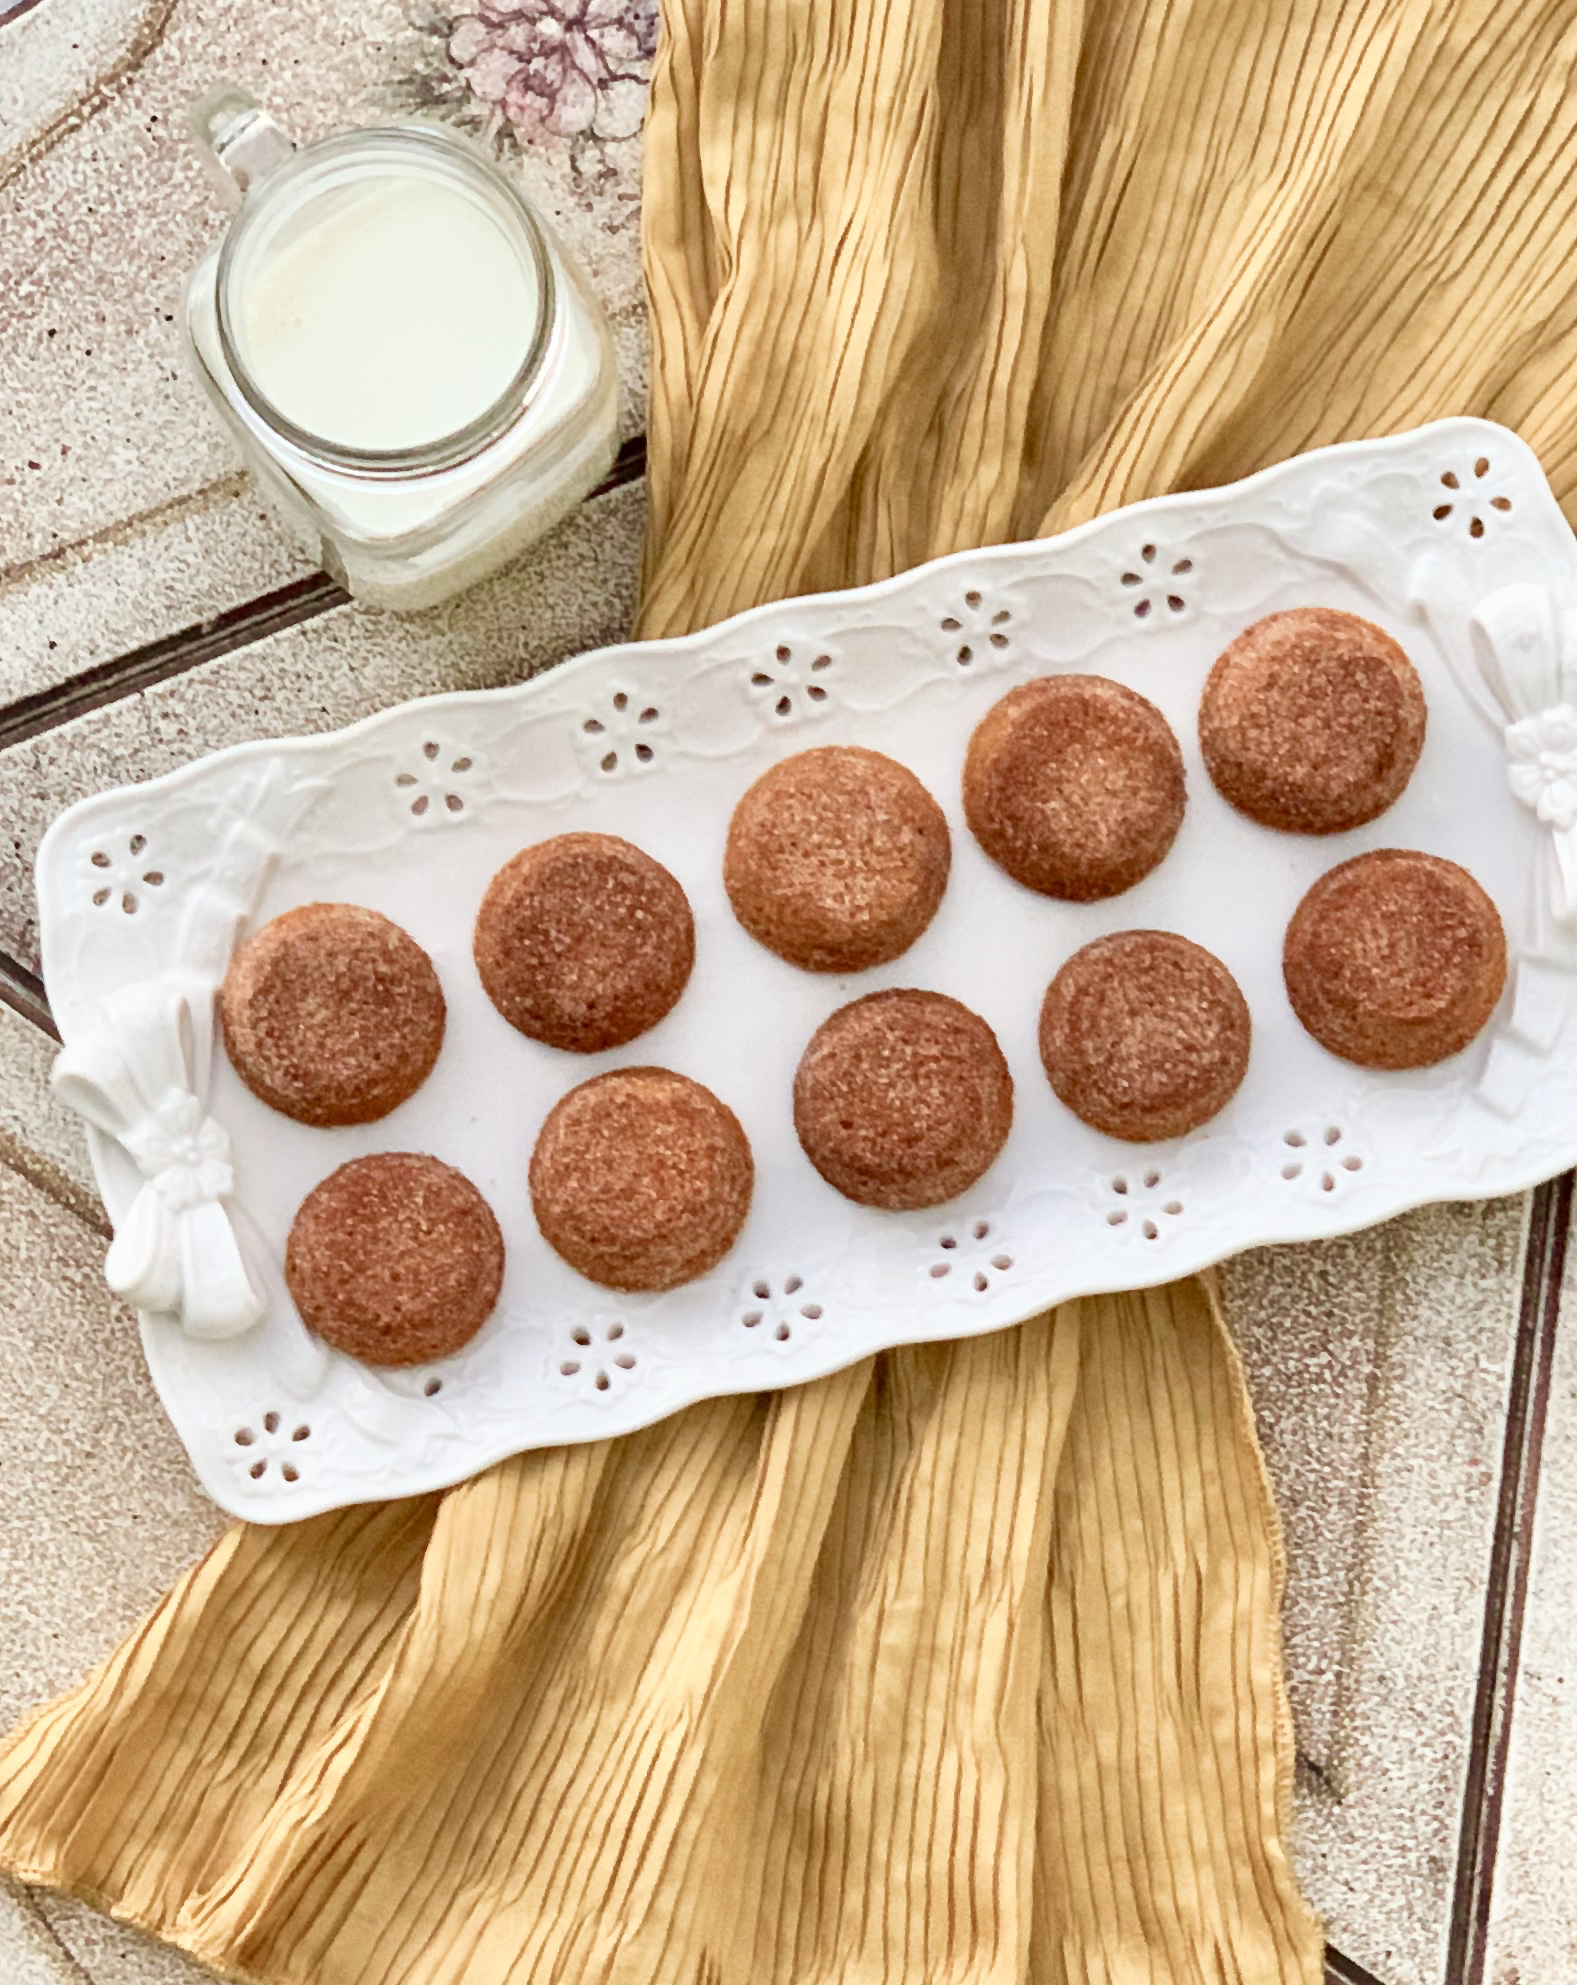
This recipe is one of the desserts that was brought to my home, and they were so good. Once I got the recipe, I knew I had to share it with you. Don’t let the picture fool you. They may look like mini-muffins, but they are definitely cookies. It is a little twist on the classic shortbread cookie. The cornmeal gives them a nutty aroma. They are just the right amount of sweet. The vanilla and cinnamon add that needed savory essence. You are not going to be able to eat just one of these cookies. I would bet on that.

This recipe is courtesy of Martha Stewart and will make 30 cookies that will be gone in a flash.

Ingredients for Brown Sugar-Cornmeal Shortbread Cookies:

1 1/2 cups unbleached all-purpose flour
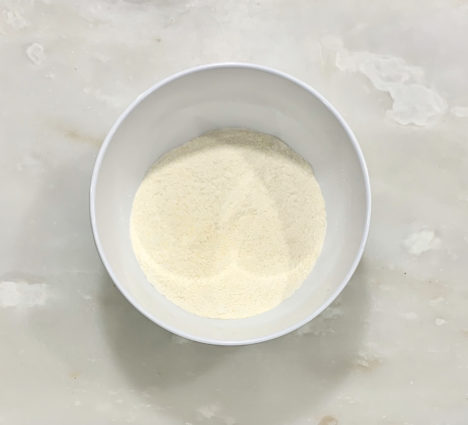
1/2 cup fine yellow or white cornmeal
1 teaspoon kosher salt
2 sticks unsalted butter, room temperature
1/2 cup packed light-brown sugar
2/3 cup granulated sugar, divided
1 large egg, room temperature
1 teaspoon pure vanilla paste or extract
1 teaspoon ground cinnamon, preferably Ceylon

Preheat oven to 300°F.

Whisk together flour, cornmeal, and salt to combine.

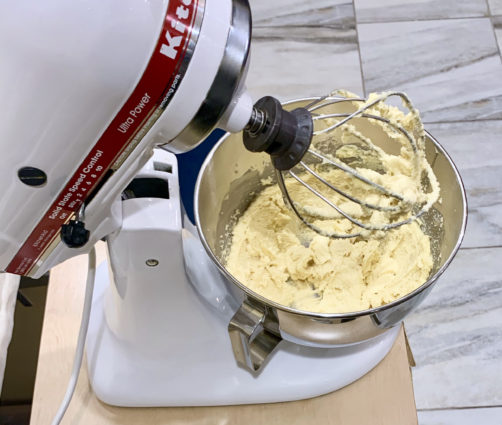
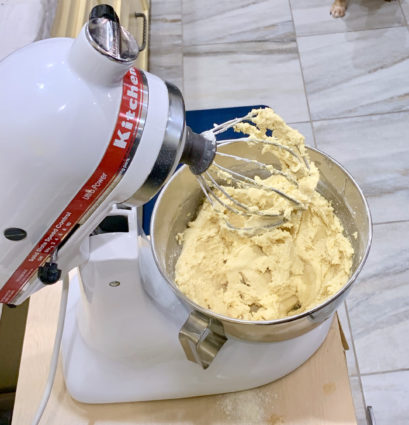
In a mixer fitted with the paddle attachment, beat butter with brown sugar and 1/3 cup granulated sugar on medium speed until light and fluffy, 2 to 3 minutes.

Add egg and vanilla; beat until smooth.

Reduce speed to low and gradually add flour mixture, beating just until combined.

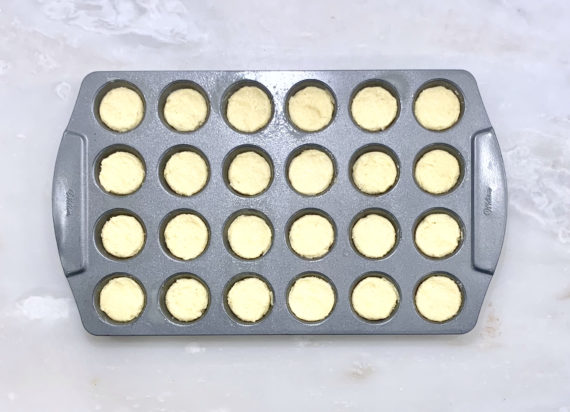
Spoon a scant 2 tablespoons (1 ounce) dough into each cup of a mini muffin tin.

Firmly rap tin against a counter a few times to ensure dough reaches bottom edges of each cup.

Flatten tops with your fingers.

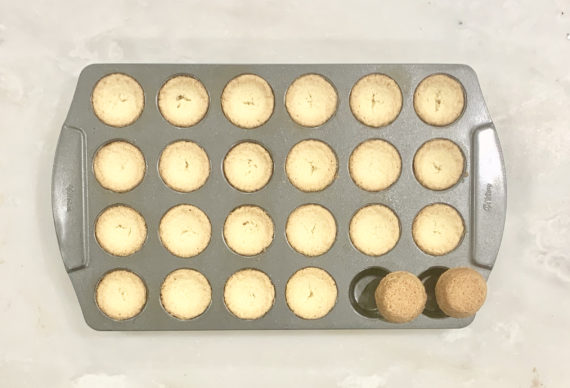
Bake until cookies are golden brown and set, 25 to 30 minutes.

Let cool in tin 5 minutes.

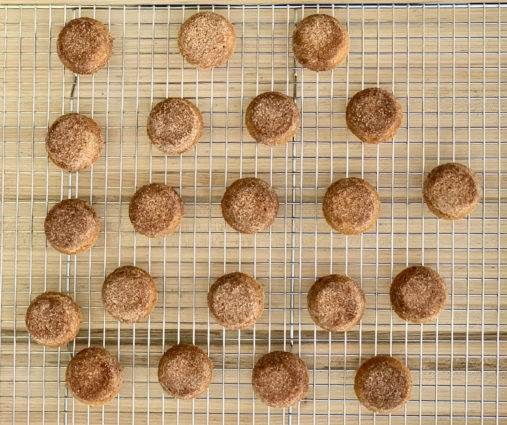
Meanwhile, in a small bowl, stir together remaining 1/3 cup granulated sugar and cinnamon.

Flip cookies out of tin.

Working with a few at a time, toss cookies in cinnamon sugar to evenly coat; transfer to a wire rack and let cool completely. Cookies can be stored in an airtight container at room temperature up to 1 week.

It’s that simple!


Aaron and Jenna juicing

signature

[recaptcha]


In all the years I have had my blog, I have never used the same recipe twice… until now.  I am making an exception here because this recipe has become a family favorite. Out of all the dishes on our Thanksgiving table, this sweet potato side has become a healthy and delicious and a crowd pleaser. This amazing side has all the perfect Thanksgiving flavors, bringing to mind images of a perfect New England feast.  

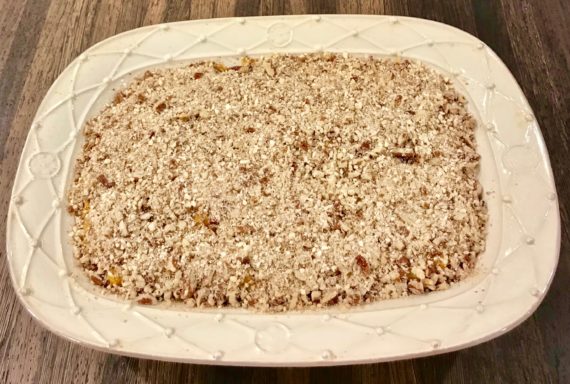
Sweet potatoes topped with marshmallows is yummy, sure, but also overdone.  In this recipe, the sweet potatoes are combined with pecans, giving it a nice, crunchy texture. The rich, buttery taste of the sweet potato filling blends perfectly with the crispy topping. The welcoming aroma of the casserole cooking in the oven is enough to make you fall in love with it. When you taste it, it is so delicious and satisfying, you can’t help but look forward to Thanksgiving.

You can definitely use this as a side dish or dessert on that wonderful holiday (which is right around the corner)! This dish will absolutely be on my menu this Thanksgiving. I hope it will be on yours too. 

I will not be posting on Thanksgiving, as I am preparing my home and my menu for 48 guests this year. With much love and thanks for all your support over the years, I wish you and your family a very happy holiday!

This recipe is courtesy of myrecipes and will serve 18 people who will love this delicious casserole with its crispy, crunchy topping.

Ingredients for Streuseled Sweet Potato Casserole

14 cups (1 – inch) cubed peeled sweet potato (about 5 pounds)
1/2 cup half and half
1/2 cup maple syrup
1 tsp. vanilla extract
3/4 tsp. salt
1 large egg, lightly beaten 
Cooking spray
1/2 cup all-purpose flour
1/2 cup packed brown sugar
1/4 cup chilled butter, cut into small pieces
1 cup chopped pecans

Preheat oven to 375.

Place potato in a Dutch oven, and cover with water. Bring to a boil. Reduce heat, simmer 12 minutes or until tender. 

Drain.

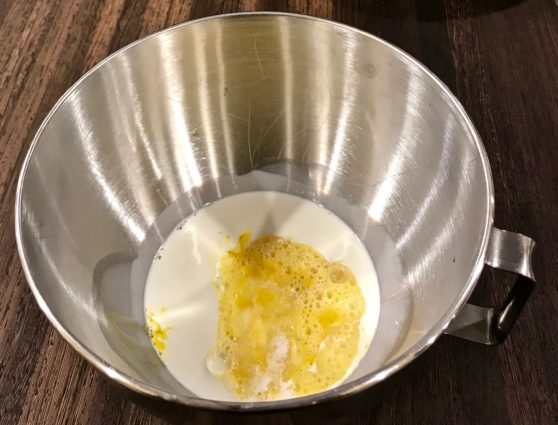
Combine the half-and-half and next four ingredients (half-and-half through egg) in a large bowl.

Whisk ingredients together.

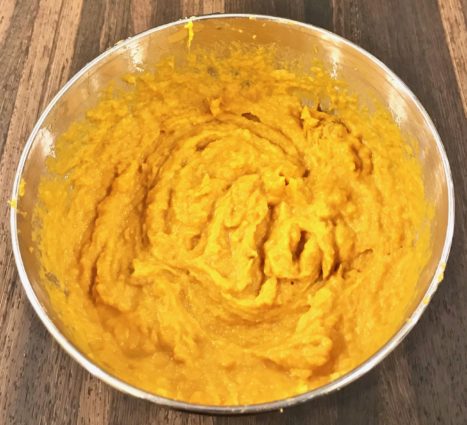
Add potatoes to egg mixture; beat with a mixer at medium speed until smooth.

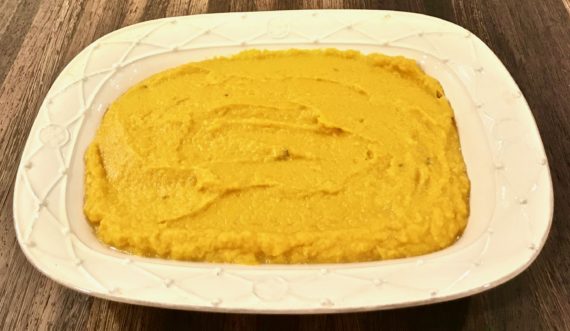
Spoon potato mixture into a 13 x 9 -inch baking dish coated with cooking spray.

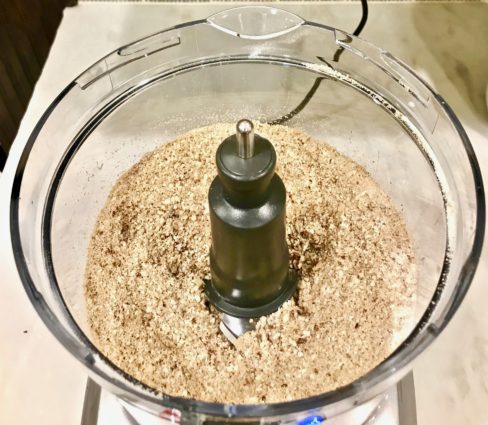
Combine flour and sugar in a food processor; pulse to combine.

Add chilled butter; pulse until mixture resembles coarse meal.

Stir in pecans.

Sprinkle pecan mixture over potato mixture.

Cover and bake for 15 minutes.

Uncover and bake for an additional 25 minutes or until topping is browned and the potatoes are thoroughly heated.

It’s that simple!

signature

[recaptcha]


I am lucky that I have good friends and family who live nearby. Due to the varying tastes of my immediate family, it is hard to please them all.  Many times, the recipes I make for the blog contain ingredients that somebody doesn’t like. It feels ridiculous to make multiple meals at the same time, but if it keeps my family happy, it’s fine by me.  When my experimental dishes aren’t quite crowd-pleasers with my husband or children, it falls to friends and extended family to help out. I bet they just love to see me pulling into their driveway!

As for my immediate family, well, they make concessions too. They are proud of my website, so they don’t mind waiting the extra minute or two if I have to take pictures. By now, they are used to it, and often help me with suggestions on what to place in the photo. If it is a dessert, they will make me a cup of coffee for me to place in the picture. 

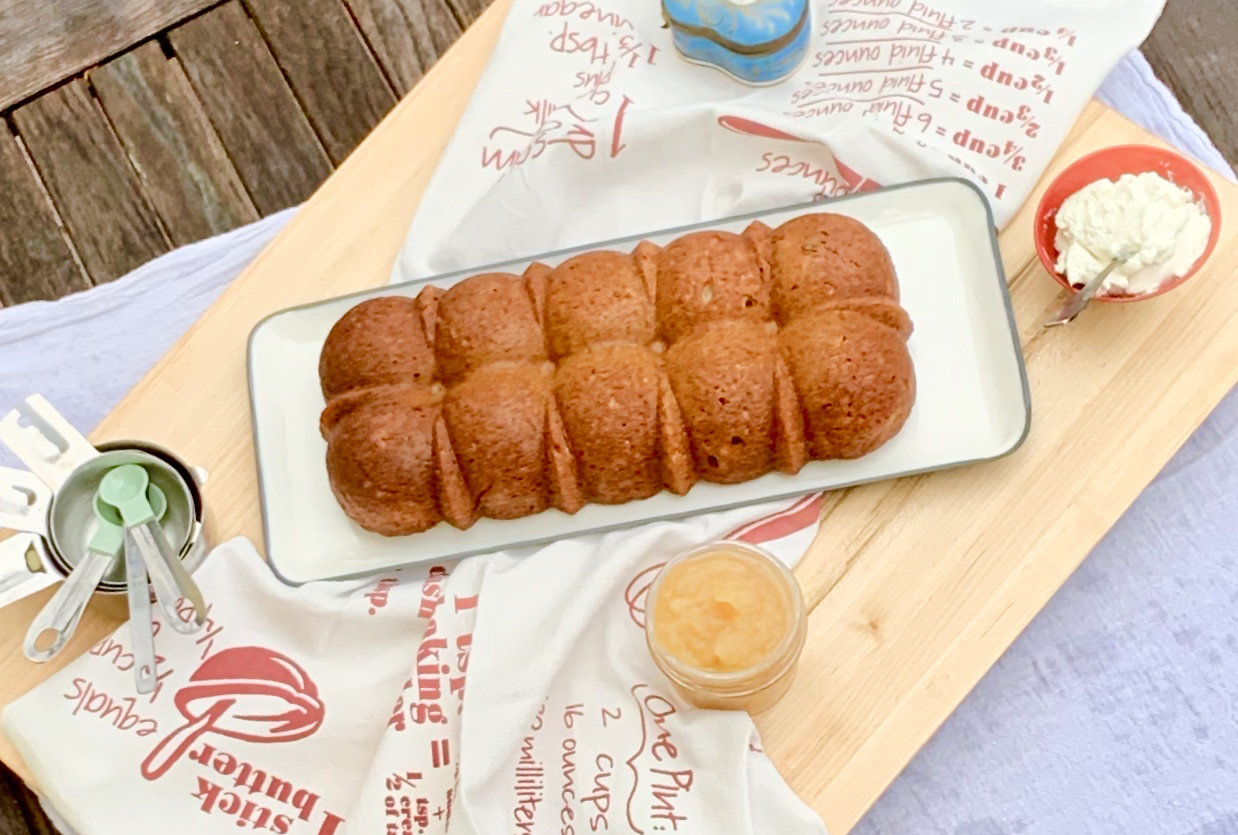
Usually, banana bread goes into the “experimental” category.  I usually don’t have much success in making banana bread- it often comes out too mushy or too dry. I know I have a few on my blog, but I think this one is the best.  Whoever gets to try this banana bread is going to be very happy. The yogurt and applesauce make this bread perfectly moist and gives it a little tang and a deliciously rich flavor. The cinnamon, nutmeg, and cloves add a nice Fall touch. The crunchy texture of the walnuts combines beautifully with the bananas. Perfect for dessert on Thanksgiving.

This recipe is courtesy of Tory Avey and will serve 16 people who will definitely want a taste of this beautiful loaf.

Ingredients for Greek Yogurt Banana Bread:

3/4 cup sugar
1/2 cup brown sugar
2 tbsp unsalted butter, room temperature
2 large eggs, room temperature
1/4 cup applesauce
1 lb very ripe bananas, mashed (about 3)
1 cup Greek yogurt (whole, 2% or nonfat)
1 tsp vanilla
2 1/4 cups flour
1 1/2 tsp baking soda
1 tsp cinnamon
1/4 tsp salt
Dash cloves
Dash nutmeg
1/3 cup chopped walnuts
Nonstick cooking oil spray

Place a rack in the center of the oven and preheat to 325 degrees F. 

Cut the butter into small chunks and place in a large mixing bowl along with the sugar and brown sugar. 

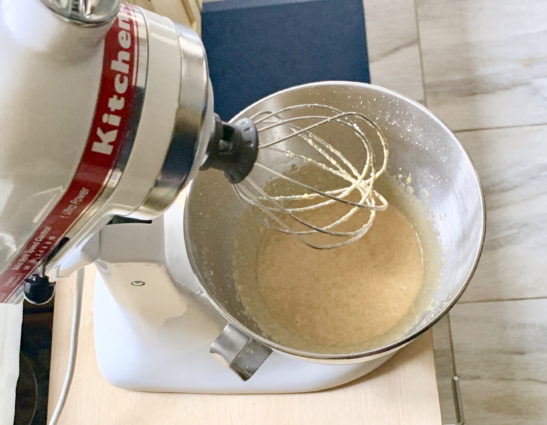
Use an electric mixer to beat together the butter and sugar for a few minutes. 

Make sure the butter is fully integrated into the sugar and the mixture becomes small, even sized crumbs.

Add the eggs and applesauce to the bowl and continue to mix till smooth.

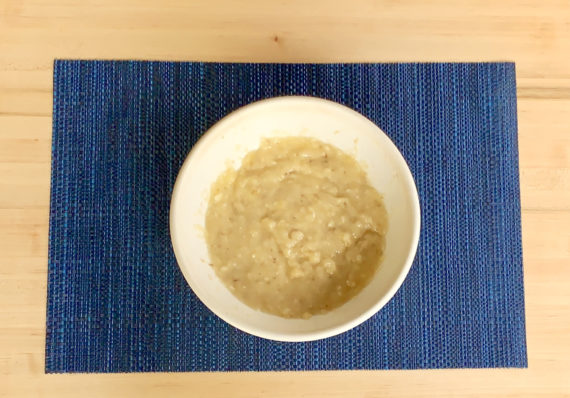
In a small bowl, mash the bananas with a fork till smooth.

Add the mashed bananas, Greek yogurt, and vanilla to the bowl.

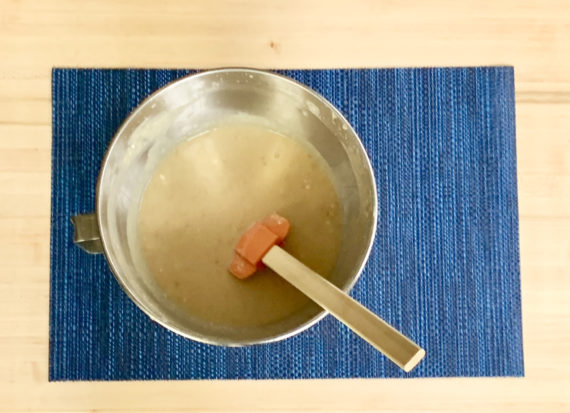
Use a spatula to stir the mixture till smooth.

In a medium bowl, sift together the flour, baking soda, cinnamon, salt, cloves and nutmeg.

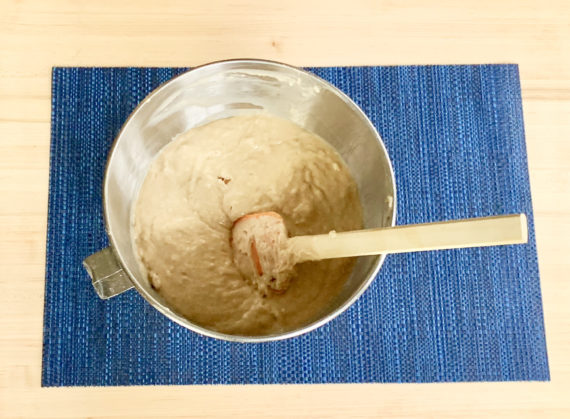
Fold the dry ingredients into the wet to make a thick batter.

Don’t over mix– a few lumps are okay.

Fold in the chopped walnuts.

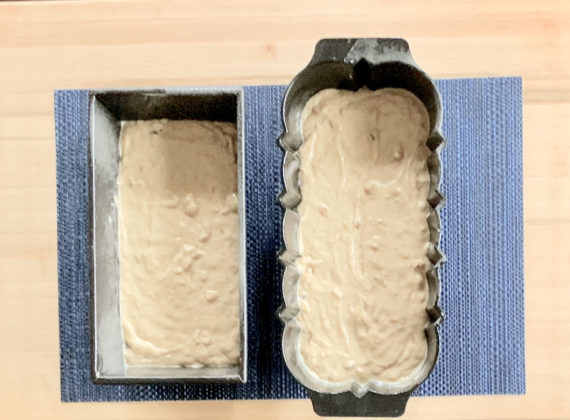
Grease two loaf pans with nonstick cooking oil spray.

Divide the batter evenly between the two pans.

Bake the banana bread for 45-55 minutes, turning once halfway through baking, till the top is golden brown and a toothpick inserted into the center of the loaf comes out clean.

If the top of the bread browns faster than it bakes, cover with foil for the remainder of baking time.

Let the loaves cool for 10 minutes in their pans, then put them on a wire rack to cool completely.

It’s that simple!

Mitzie and her turtle friend

signature

[recaptcha]


I just can’t believe that the three weddings are over, and my niece’s bridal shower is behind me. September and October are gone and November is rushing by.  We are flying towards Thanksgiving, and though I have already done so much, I have a million and one things left to do.

My dining room is ready to be set and this week I will start making all the dishes that can be frozen, like the sweet potato pie and the soup, which I still have to choose. I also have to choose the majority of my menu, though I know for sure I will have some Thanksgiving classics. For this massive production, I order two twenty-pound turkeys, ten turkey thighs (we are dark meat eaters) and 35 short ribs that will have to be browned before they are cooked. I try to change the side dishes every year to build some excitement and keep people interested. I usually pick out 5 to 6 side dishes, which my sister-in-law Shelley, her daughters and I make fresh that morning. If we don’t get to all of them, that’s okay. No guest in my home will go hungry.

The husbands are in charge of putting together the appetizers, which is hilarious to watch. We have years of funny videos of them, but I must admit that each year they get better and more organized. My great-niece and nephew help out too. They juice all the juices we will need for the bar, and help the husbands with the appetizers. For my family, Thanksgiving is the most beloved day of the year. We are all together, cooking, eating, drinking, and having a blast.

From here on out, I am going to pick out recipes (mainly sides and desserts) that might be good for you to have on your menu this year. 

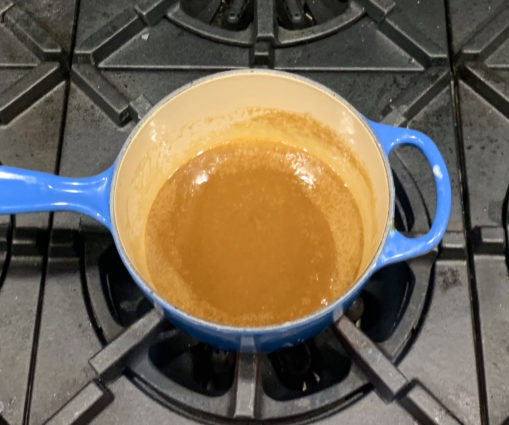
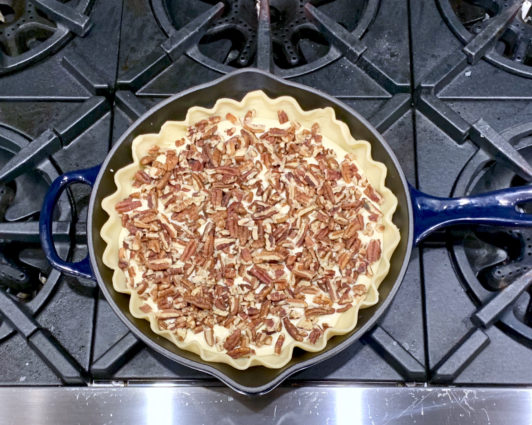
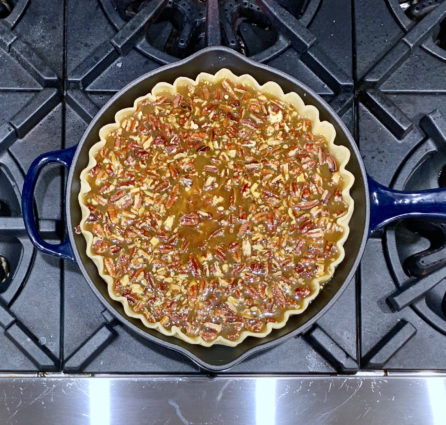
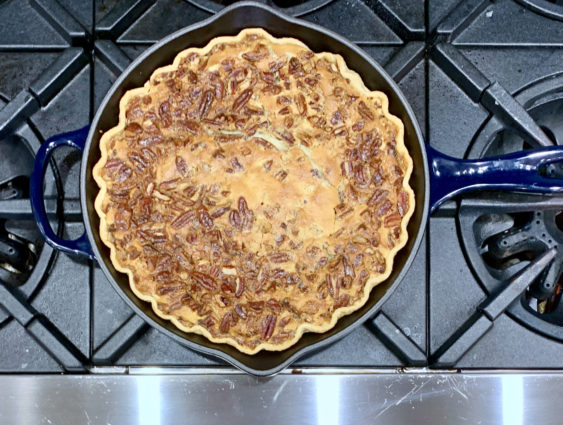
This dessert could not be any easier to prepare–you mix everything together and throw it in the pie shell. The tricky part is making the caramel sauce. If you have an enamel-bottom pot, I would recommend using it. Stirring the caramel often ensures that it becomes smooth and creamy and will not burn. This pie should be prepared the day before and placed in the refrigerator so it sets.

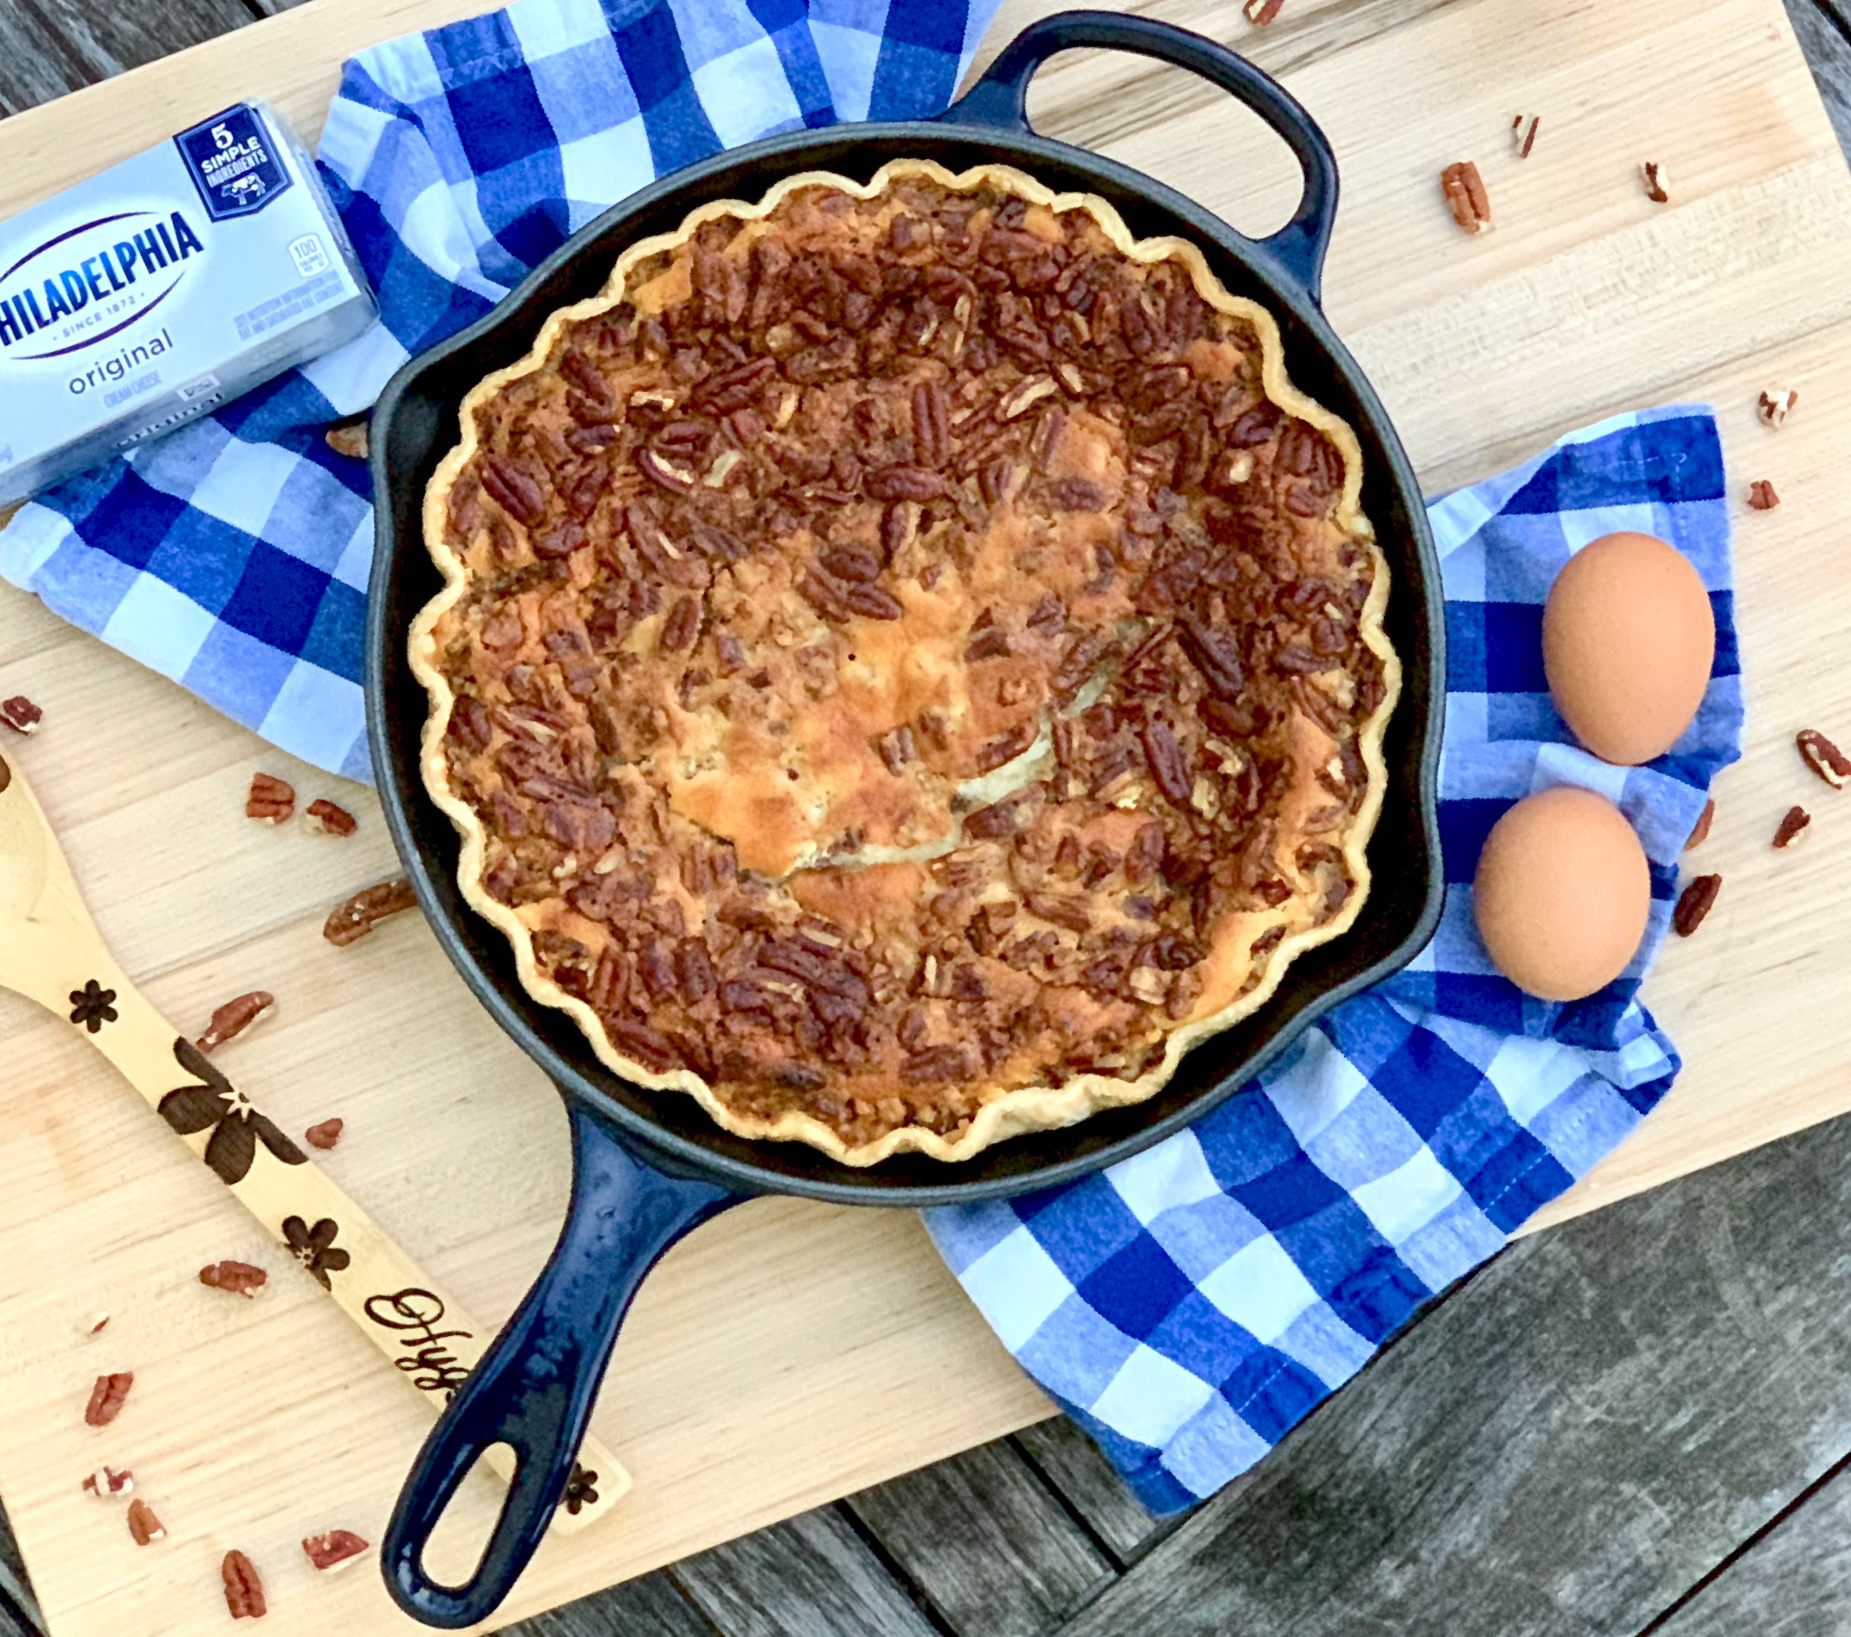
Oh boy, is this one yummy dessert. Who doesn’t like cream cheese skillet pie? The cream cheese and eggs make it velvety and delicious.  The vanilla adds a savory touch. The caramel sauce is additional deliciousness and the pecans give it just the right crunch. It is so easy to make, yet people will think you have been slaving over it all day. This is a perfect Thanksgiving treat, and there is no reason NOT to make it!

This recipe will serve 6 people who will love gathering around your Thanksgiving table.

Ingredients for Caramel Cheesecake Skillet Pie:

For the filling:

1 sheet refrigerated pie crust
1 package (8 ounces) cream cheese, softened
1/2 cup sugar
4 large eggs
1 teaspoon vanilla extract
1-1/4 cups chopped pecans

For the Caramel sauce:

1/2 cup (1 stick) butter
1 cup light brown sugar
1/4 cup half and half
1/2 teaspoon coarse salt

Preheat oven to 375°.

In a deep pot over medium-heat add butter, brown sugar, and half and half.

Cook, stirring occasionally until butter is melted and sugar has dissolved.

Bring to a boil and continue to cook and continuously stirring for about another 2 to 3 minutes. 

Stir in salt.

Take the pot off the heat and set aside.

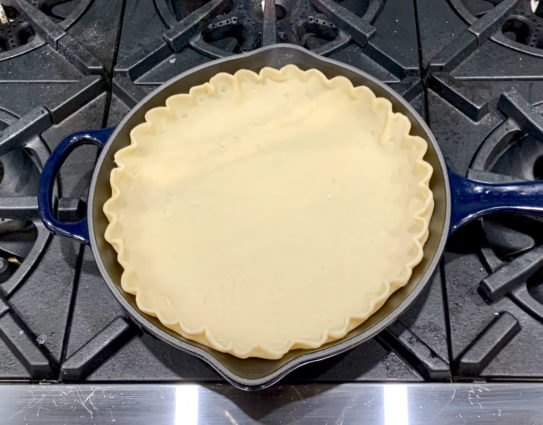
Line a 9-inch deep-dish pie plate or cast-iron skillet with pastry.

Trim and flute edges.

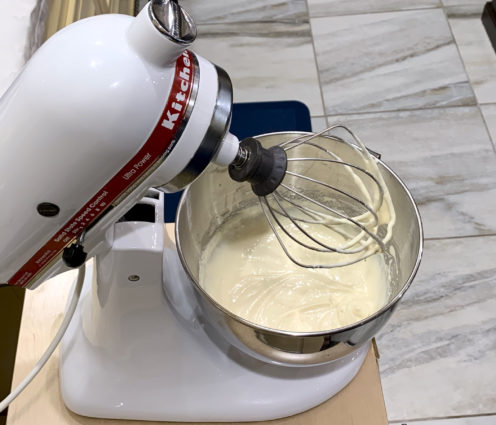
In a small bowl, beat cream cheese, sugar, 1 egg and vanilla until smooth.

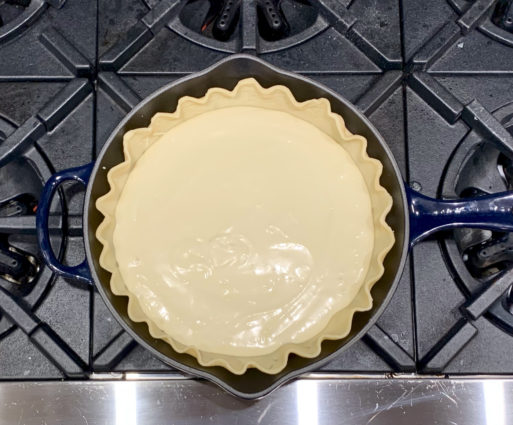
Spread into pastry shell.

Sprinkle with pecans.

In a small bowl, whisk remaining eggs; gradually whisk in caramel until blended.

Pour slowly over pecans.

Bake 35-40 minutes or until lightly browned (loosely cover edges with foil after 20 minutes if pie browns too quickly).

Cool on a wire rack for 1 hour.

Refrigerate 4 hours or overnight before slicing.

It’s that simple!

signature

[recaptcha]