Many people do not like the springtime rain, but I love it because I know it will help my garden grow beautifully. Spring makes us think of sunshine, flowers, and vacations. Most of us, especially during this pandemic, are looking forward to being outdoors, but are often disappointed by frequent rain and random chilly days. There are planned hikes, bicycle rides, and picnics cancelled due to the sudden rain showers and generally poor weather.

While we all love spring, it is the rainiest season of the year in terms of the number of days with precipitation. Clouds are made of water droplets, and when those water droplets combine into one another, they grow. As the water droplets grow and get heavier, they fall to earth as rain. 

All this rain brings nature in an explosion of brilliant colors. After the long, dark, winter months, spring is literally a breath of fresh air. And as the days get longer, the nights get shorter, and it starts to feel warmer, our gardens respond in a big way. There’s nothing quite like the excitement of seeing your first bumblebee or butterfly of the year. They’re one of the feel-good sights that give us a little taste of the summer.

Twenty years ago, my husband and I started a garden around our yard, painstakingly planting flowers and bushes that we love to see come to life during the warm months. Every year we would plant and replant the ones that did not grow back. I would not call us very adept at growing a garden, but every year we put in our due diligence and hope that the perennials will come back healthy and bigger than before. 

While it’s true that tap water can help plants grow healthy, rainwater is actually  much better for your garden. We have noticed that after rain falls, plants take on a greener, cleaner, and more lush appearance. This has to do with the chemical differences between rainwater and tap water. Drops of rain are rich in oxygen, which serves as a safety net in case soil is heavily saturated after heavy rain. Tap water does not have that much oxygen, and when too much of it is poured on plants, root rot occurs as a result of anaerobic soil conditions.

Whatever the reason, my husband and I are very proud of our growing garden. It took a lot of trial and error to get it right, but finally, after all these years, we have a garden that we are very proud of.  We have taught our sons to garden with us and hope that when they have their own home someday, they have the tools to create a beautiful garden for themselves and their families.

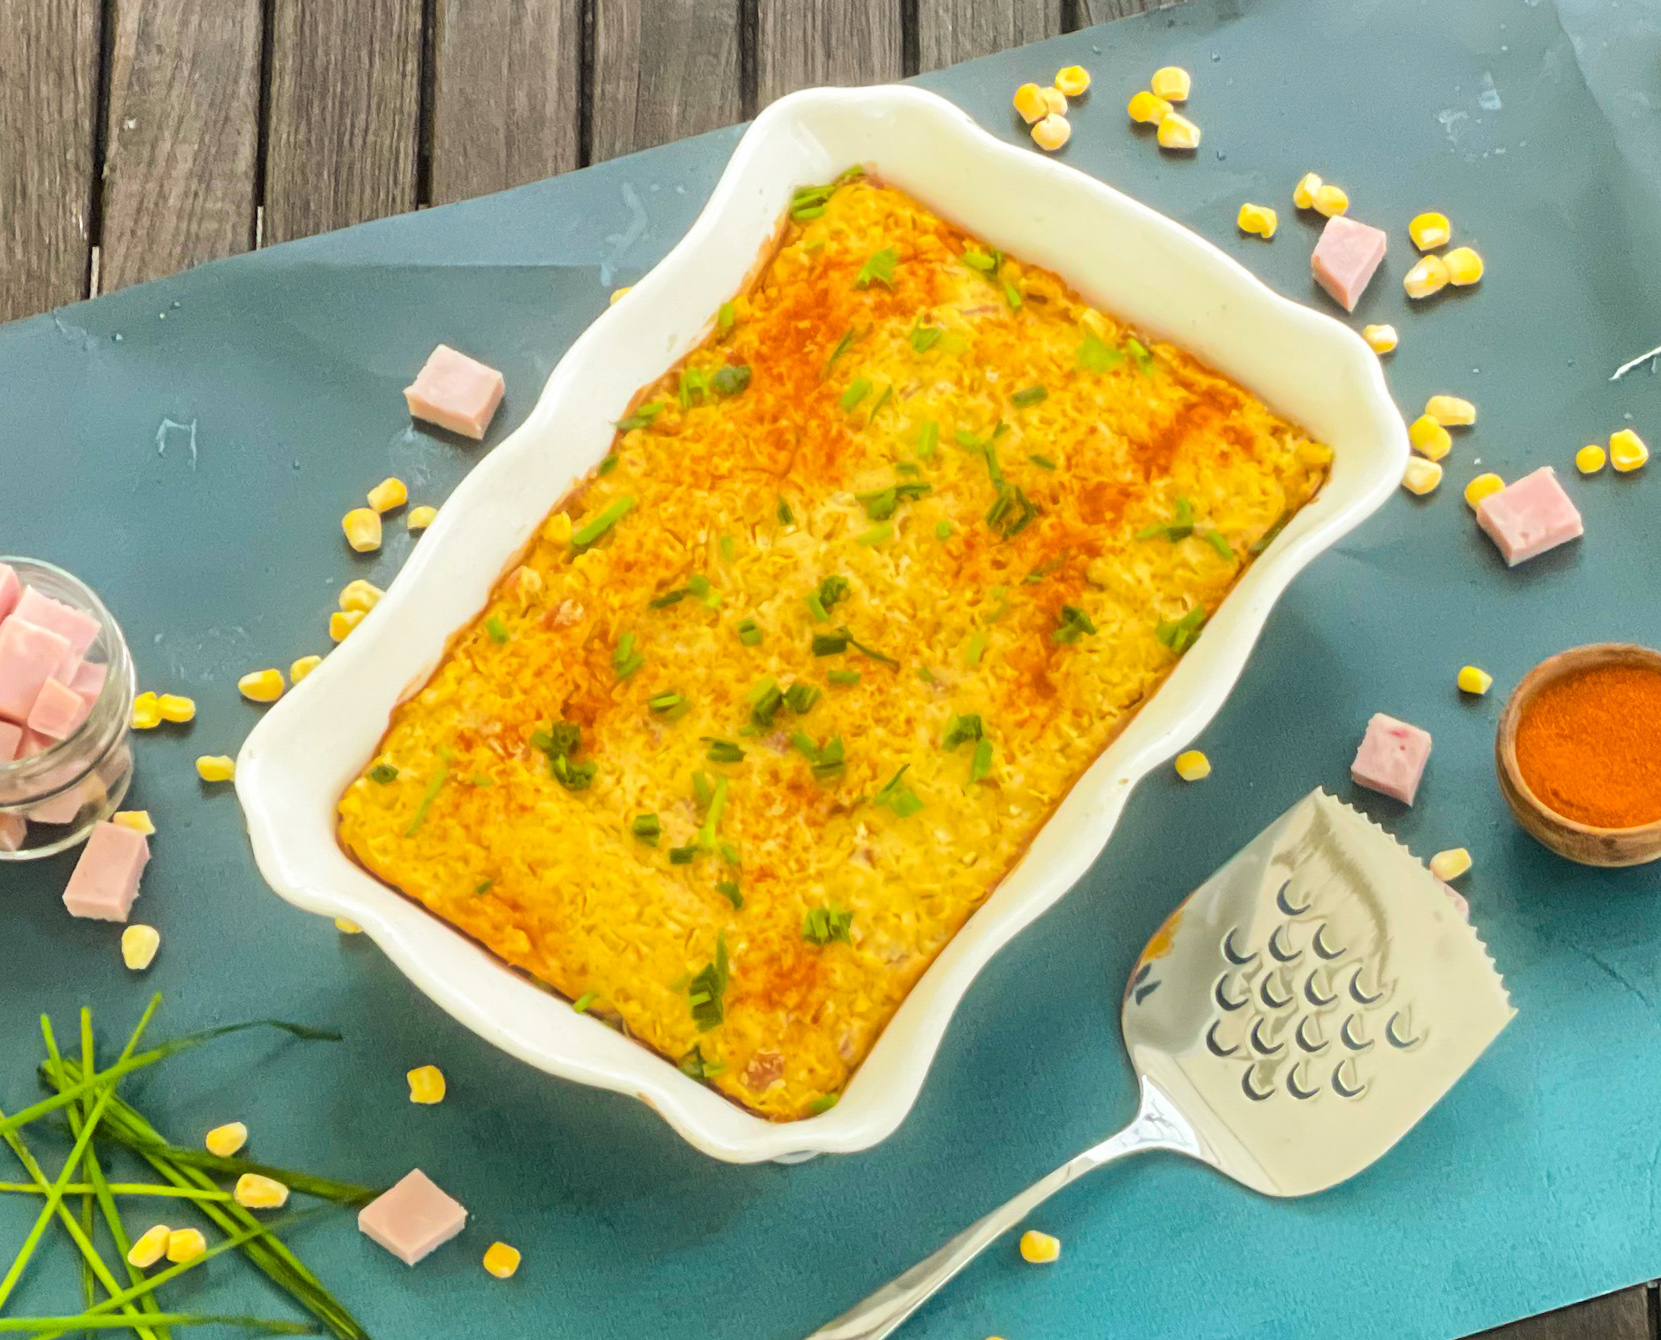
On to our recipe for the day. Cornbread is one of our favorite foods. It is not just a side dish in the fall, it is one recipe that we can serve anytime of the year, sure to make us happy. This recipe calls for boxed corn muffin mix, making preparation a snap. I particularly love using boxed mixes that can be doctored up. The sour cream and cream cheese ensure a moist cake that is perfection in every bite. The garlic, paprika, and chives are the savory in this dish, and the ham, cheese, and corn add additional rich flavor and texture. This dish is crowd pleaser and one I think you will make again and again.  Leftovers reheat incredibly well to boot!

This recipe is courtesy of The Cookie Rookie and will serve 6 people who will surely want seconds!

Ingredients for Loaded Cornbread Casserole:

½ white onion diced
4 oz cream cheese
1 tsp minced garlic
16 oz corn
1 cup diced ham
2 box jiffys corn muffin mix
2 eggs beaten
⅔ cup milk
¼ cup sour cream
½ tsp paprika
1 tsp pepper
½ cup shredded cheddar cheese
2 tbsp chives garnish

Preheat oven to 350*

Dice onion and mince garlic.

Add to a sauce pan and cook to soften about 2 minutes.
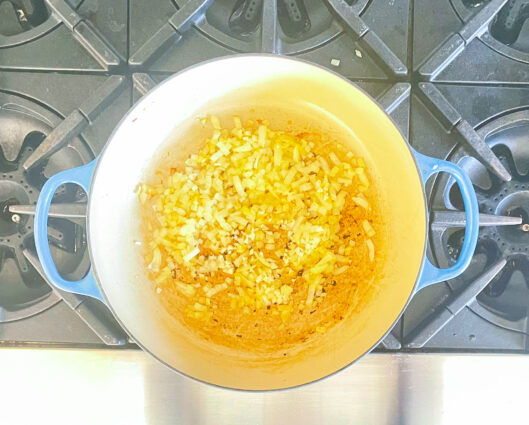
Add cream cheese and stir until melted.
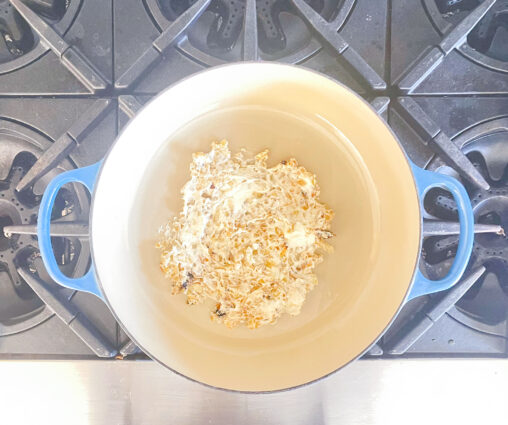
Then, stir in 8 oz of corn.
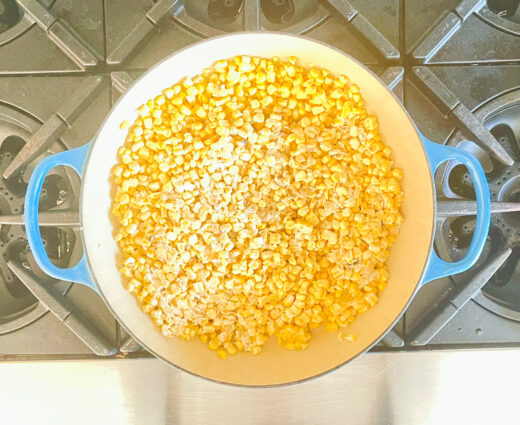
Remove from heat

In a large bowl, mix all ingredients together.
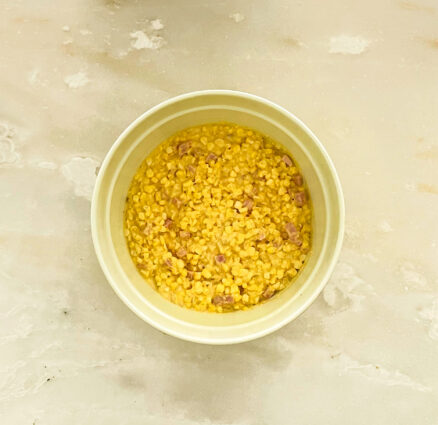
Spread evenly into a 9×13 casserole dish.
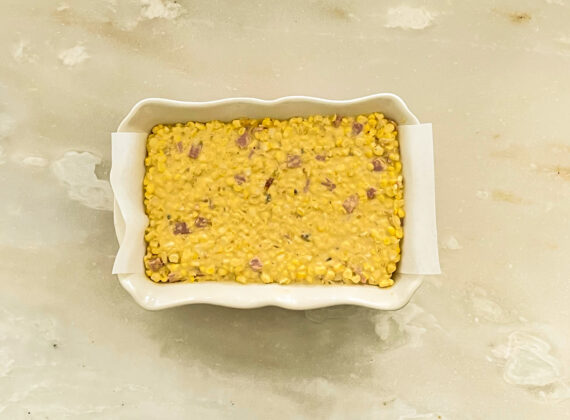
Place into the center rack of the oven and bake for 45-50 minutes, or until edges are golden brown, or for a more “bread-like pudding, leave it in for 60 to 65 minutes.

Garnish with chives and enjoy!

It’s that simple!
 

signature

[recaptcha]


This Sweet Potato Pie recipe has been on my Thanksgiving menu for the past 15 years! It is the most popular side dish and one that has become a staple in my family. Everyone loves it and it has become a holiday tradition. This is my most requested recipe and I am happy to be sharing it with you again.

Most of us will have celebrations this year with a few close friends and family. It may seem different, but remember, it is the love, sharing and caring that makes any festivity special. My Thanksgiving will be very quiet this year, as I know most of yours will too. It will be just my husband and I and our sons and dogs. I am sorry to say that I will not have my usual Thanksgiving pictures. I know you all look forward to them. So do I. I missed organizing and decorating and prepping for my usual big gala. I will miss seeing everyone and catching up with a few drinks. But this year, I think the true meaning of Thanksgiving will be close in all of our hearts.

Whatever you decide to do, you must make this sweet potato pie. It is so decadent and a real crowd pleaser.

If you ask me who gave me the recipe, well that would have to be Shelley of course!

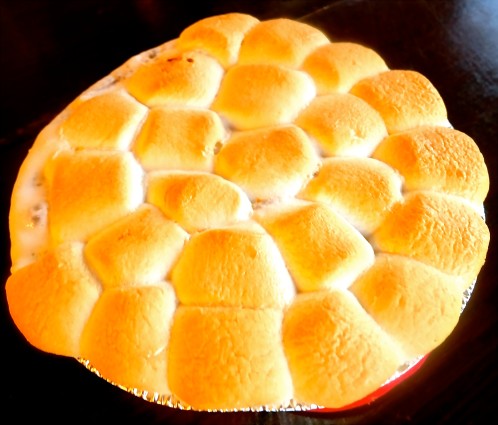
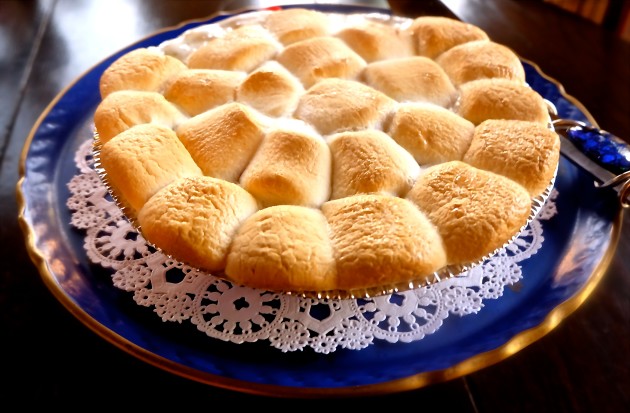
It starts with a graham cracker crust that is filled with sweet potato and a nutmeg flavored mixture. Top it with marshmallows and you have heaven on a plate!

Turn a traditional Thanksgiving dessert into a decadent side dish! This recipe is a MUST for your holiday menu!

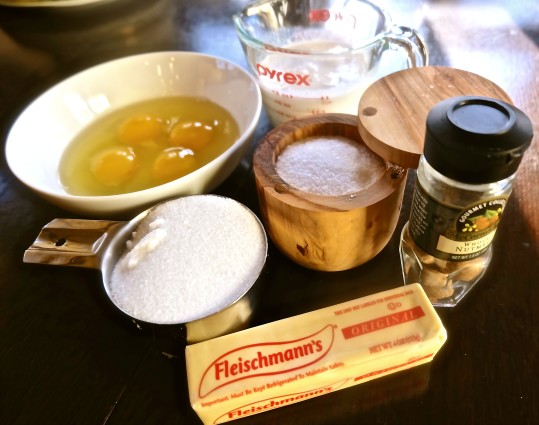
Ingredients for Sweet Potato Pie

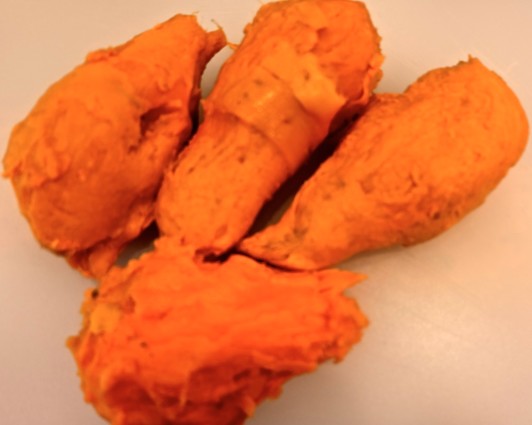
4-6 large sweet potatoes
1/2 cup of margarine (or butter), melted and cooled
1 cup of sugar
4 eggs
1/2 tsp. nutmeg (I always add just a little bit more)
1/2 tsp. salt
1 cup of Coffee Rich (usually in frozen section of supermarket) or any half and half 
4 graham cracker pie crusts
2 bags of marshmallows

DSCF1547

Preheat oven to 425.

Cook potatoes in boiling water until you can easily put a fork through it. Let cool. Take the skins off.

DSCF1542

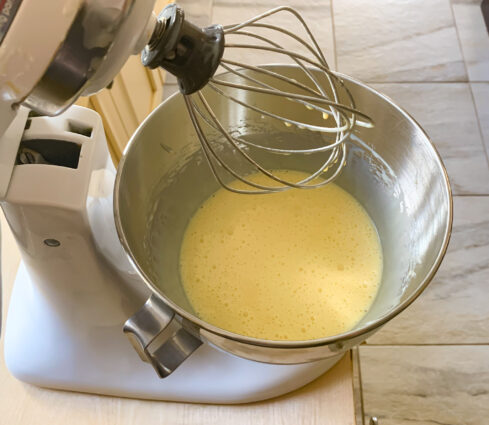
Place in mixer and beat until smooth.

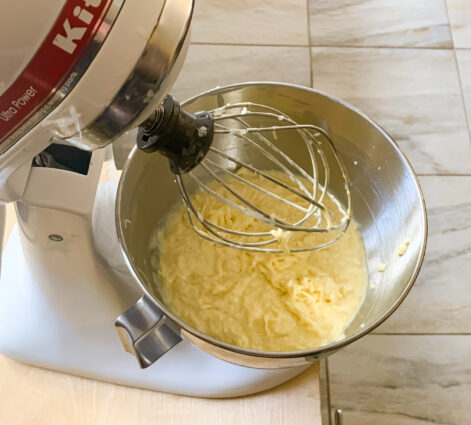
Add margarine (or butter) and sugar.

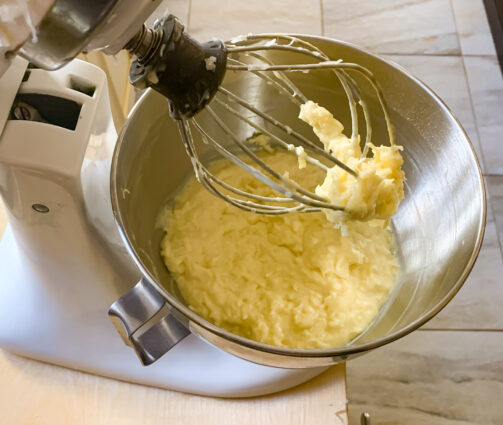
Place one egg in at a time and continue to blend.

Add in nutmeg, salt and coffee rich.

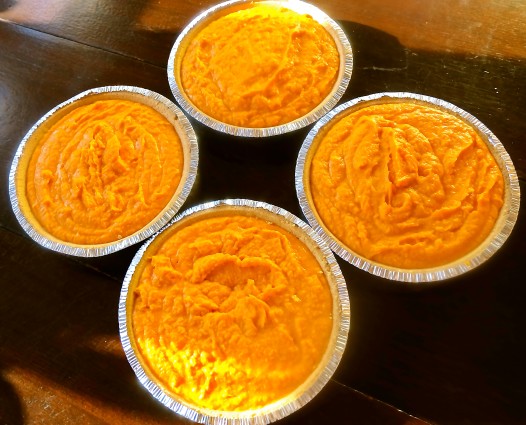
Pour it into unbaked pie crusts.

DSCF1554

Bake it for 20 minutes.

Turn oven down to 325 and continue to bake for 40 minutes or until a toothpick inserted comes out clean.

You can now freeze this recipe for up to two weeks without the marshmallows. What a time-saver!

If you have frozen this, take it out of the freezer in the morning, let it thaw and come to room temperature.

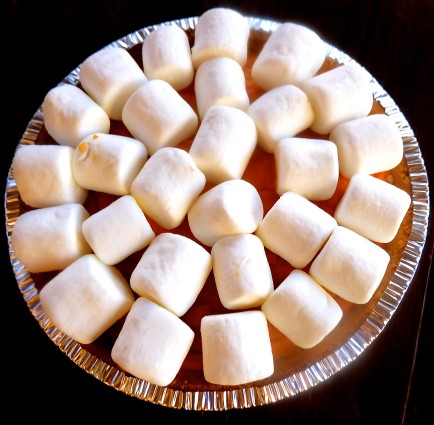
Top with marshmallows.

DSCF1564

Place back into the oven at 325 for about another 10-15 minutes or until marshmallows have melted and tops are golden brown.

DSCF1569

It’s that simple! And so yummy! 


signature

[recaptcha]


Now that the seasonal festivities are getting close, I thought it might be time to talk about how to throw a party that will leave your guests feeling happy, whether it’s a big bash, or a small family gathering.

One of my biggest pet peeves (and I am sure you all are going to agree with me) is when your guests arrive, and, though I’m sure they intend to be polite, come into the kitchen to greet me and end up lingering far too long. My guests would always gather in the kitchen while I prepared the dinner– it’s not that I disliked the company, but in a smaller kitchen, it was hard to move and work efficiently. My dining and living room are always decorated with lights, flowers, appetizers, and music, but for some reason, people drift back to the kitchen. 

You can remodel, make your kitchen bigger, try to change the space to accommodate them. For some reason, this does not really help– the kitchen has a strange gravity that is hard to escape.  People want to be someplace warm and inviting, and in most cases, that would be the kitchen. For a cook, the kitchen is a place where you can relax and focus. No fear of bumping into a table set with candles, and a place where you can put that glass of wine down, without worries of it spilling and staining anything.

Personally, for myself, I always end up in the kitchen during a dinner party or holiday that I have been invited to. The difference is that I roll up my sleeves and help, or I leave if I’m not wanted– I know how it goes, and I’m not offended. I can navigate pretty well in most kitchens, so I can assist in chopping, preparing, washing dishes, or even taking out the trash. Many of my friends are like that as well. If you’ve ever hosted a dinner, you know that no matter how organized you are, there is always room for an extra couple of hands. This is especially true for the clean-up. Don’t just sit there, get up and help! Cleaning up after a party is always a daunting task, so as many hands as you can get to help is a blessing, and it makes the work so much more enjoyable.

As for getting people out of your kitchen, I have no remedy for that. Maybe try turning up the music and putting appetizers in the living room where all the comfy seating and pillows are. You can enlist a friend to try to lure people out of the kitchen as they come in. Remove any comfort from the kitchen, like bar stools or chairs where people would tend to sit. I have a cousin, who, at every holiday would stand right in front of my ovens, which made it very difficult to maneuver my dinner in and out. 

Finally, I just had to ask, sometimes very loudly, to get everyone out of the kitchen. Most listened for a short time, but they were back in there within minutes. So, maybe we have to plan for this to happen at holidays because there doesn’t seem to be a nice way to prevent it. Maybe a sign on the door warning people that the cook bites? I really think most people want to help, so I always give them something to do, even if it’s just cutting up lemons and limes. Have them dress the salad or better yet, make the dressing themselves. Hey, if you can’t get rid of them, try to make them useful.

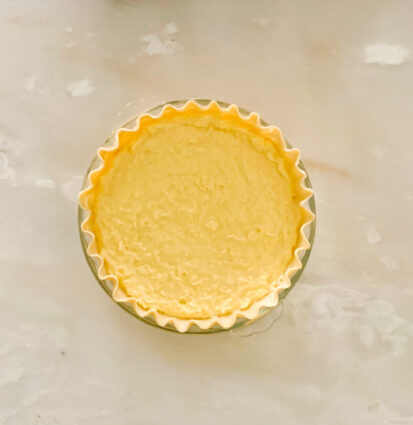
If you are invited as a guest to someone’s home for the holiday this year, this is one dessert I highly suggest that you make and bring over. It’s so rich and decadent– perfect for a holiday gathering. After you manage to get the crust edges to look pretty (this is not an easy task, trust me), the rest of the pie is easily whipped up. The sweetened condensed milk is always a welcome addition to any dessert. It adds a sweet flavor and a gooey texture.  The almond extract offers a rich, savory flavor that combines perfectly with the coconut. I think you’d better make two– it is easy enough to double, and there are definitely going to be people asking for seconds.

This recipe is courtesy of A Taste of Home and will serve 6 to 8 people who will want to be in the kitchen and make this with you.

Ingredients for Coconut Macaroon Pie:

1 sheet refrigerated pie crust
2 large eggs
1 can (14 ounces) sweetened condensed milk
1/4 cup butter, melted
1 teaspoon almond extract
1/4 teaspoon salt
1/4 cup all-purpose flour
1 package (14 ounces) sweetened shredded coconut

 Preheat oven to 350°.

Unroll crust into a 9-in. pie plate; flute edge.

Refrigerate while preparing filling.

In a large bowl, beat eggs, milk, melted butter, extract and salt until blended.

Stir in flour.

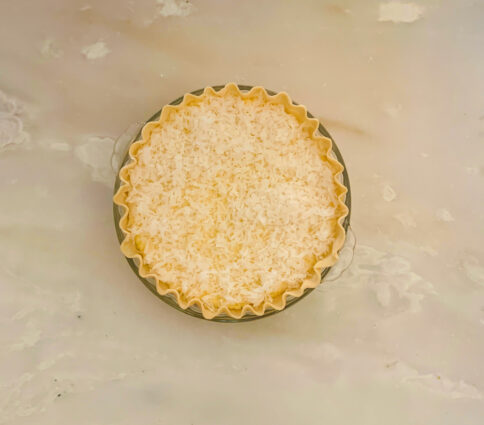
Reserve 1/2 cup coconut; stir remaining coconut into egg mixture.

Transfer to pie crust.

Sprinkle with reserved coconut.

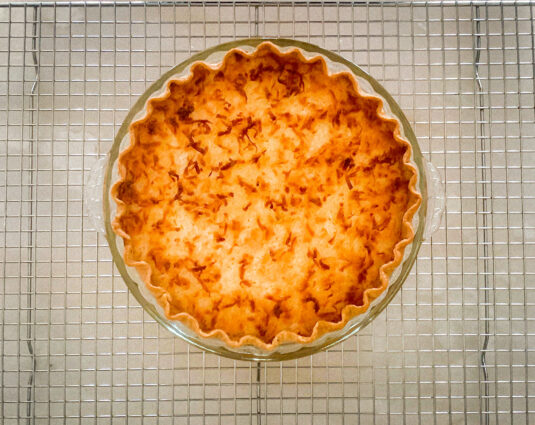
Bake on a lower oven rack until golden brown and filling is set, 35-45 minutes.

Cool on a wire rack.

Refrigerate leftovers.

It’s that simple!

signature

[recaptcha]


I am still wondering what is going to happen this year on Thanksgiving. I know that the people who would normally fly in for the holiday will not be flying this year, and I don’t blame them. Many of them are elderly, and flying is not a good option for them. With this in mind, I have no idea what my normally festive holiday is going to look like. I know so many of you look forward to seeing the pictures, but right now it is not looking like the holiday will be so elaborate and festive. I will keep you all posted.

Today, the weather was actually cool for the first time. I love these days, when the sun is shiny and the days are just a little crisp. Usually, during these months, my husband and I will go antiquing. Over the years, we have accumulated many antique dinner and salad plates for Thanksgiving. When I got married, many moons ago, I had no registry, and fine china was out of the question because it was just too expensive. Looking back on it now, I would not have had china for 50 people, and in all probability, my taste would have changed, and I never would have used it. 

I am lucky to have my mother’s china, but there are not nearly enough plates and I would be too afraid to use it. If I broke a plate, my heart would break with it. I have it beautifully displayed in my kitchen, behind glass door cabinets for everyone to see. I feel comforted when I see it. It is like having a little bit of my mom with me always.

Because the plates are too precious to use, my husband and I made a plan to buy separate pieces of china, each with its own pattern. We had such a fun time, and to my surprise, my husband really enjoyed the hunt and became pretty good at finding the right pieces. It took several years to buy enough to be able to use them for the holidays. Because I was looking for single plates, I often got really good deals on the expensive ones. They discounted them a lot because, let’s face it, not many people are looking for just one plate.

Several years ago, we finally accumulated enough plates to use the entire “set.” What a great accomplishment that was! My husband and I are so proud of our china because we handpicked every plate with love.

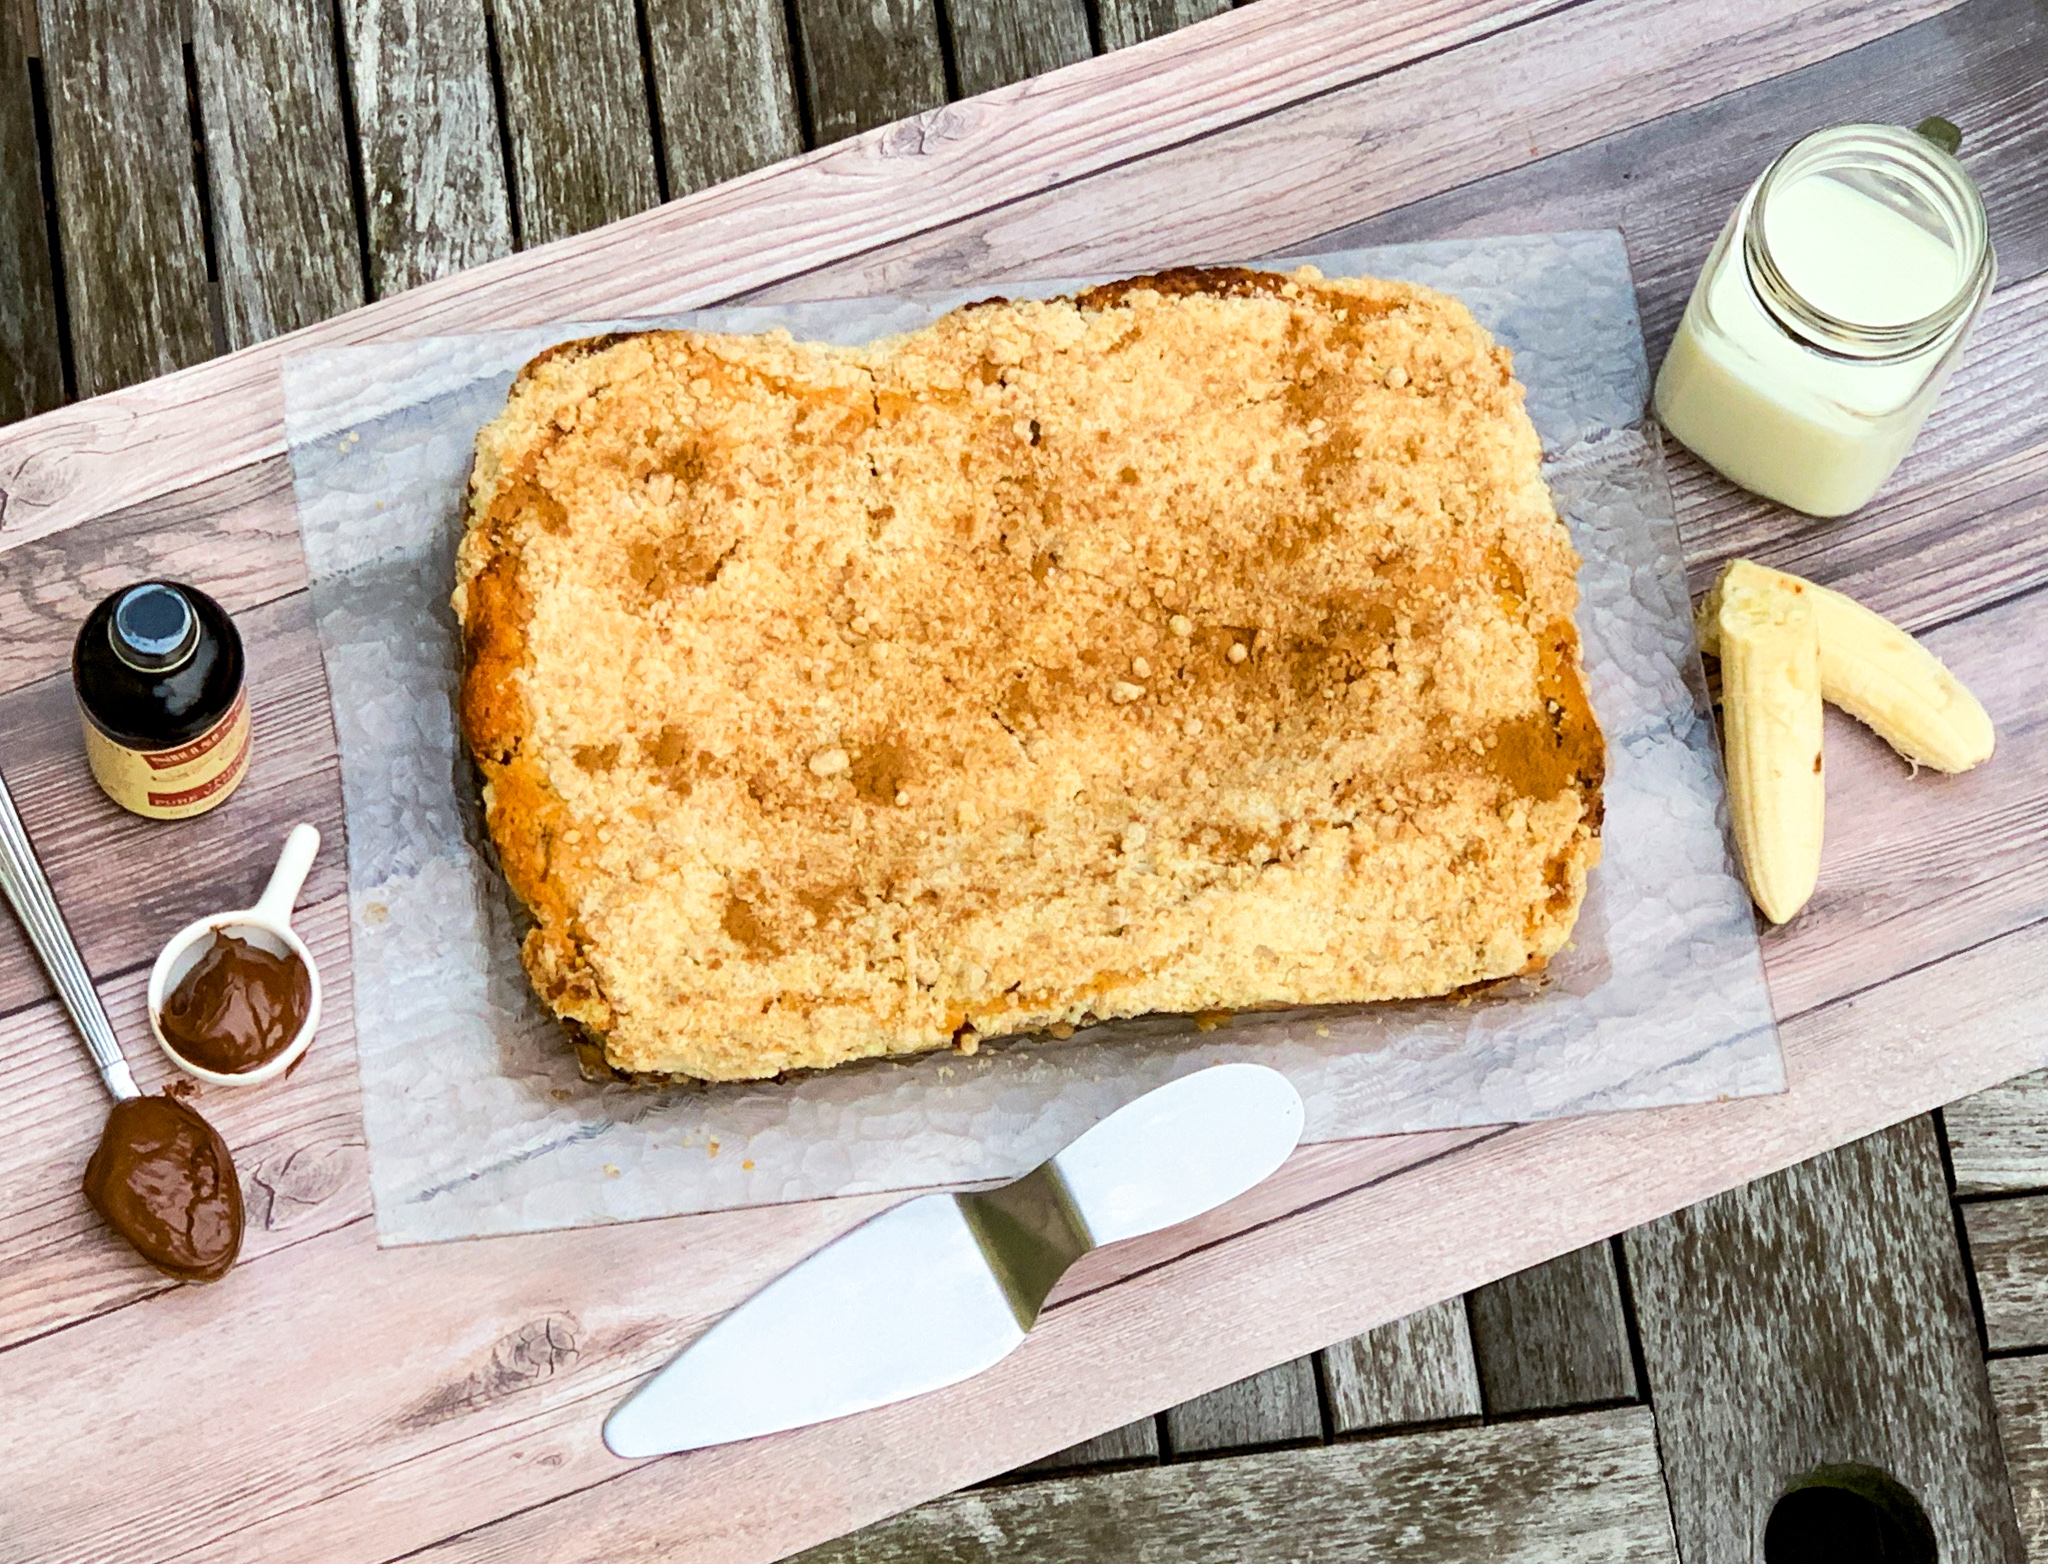
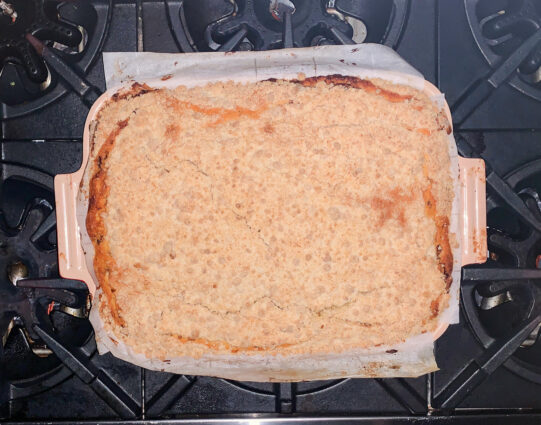
I know Thanksgiving is right around the corner, but you surely do not have to wait until then to make this fabulous cake. The sour cream, eggs and buttermilk ensure that this cake is both moist and fluffy. The vanilla combines beautifully with the bananas, giving it a deeper flavor than a regular banana cake. The Nutella, brown sugar, and banana filling make this cake wonderfully addicting. The topping adds another layer of savory goodness, and the result is a crunchy crumb topping, a heavenly moist cake concealing a luscious layer of banana and of course, Nutella. This is a “must try.”

This cake is courtesy of Ovenly, and will serve 12 people who will love this cake for Thanksgiving, or any other day of the year.

Ingredients for Banana Nutella Coffee Cake:

For the Cake:

1 cup of unsalted butter
3 3/4 cup all-purpose flour
2 cup sugar
1 tablespoon baking powder
1 1/2 teaspoon salt
1/4 teaspoon baking soda
1 cup buttermilk
4 eggs at room temp
1/4 cup sour cream
2 teaspoon vanilla

For the Filling:

2 ripe bananas, peeled and sliced thinly
1/2 cup Nutella spread
1/4 cup brown sugar

For the Topping:

4 tablespoons unsalted butter
1 cup all-purpose flour
3 tablespoons sugar
2 tablespoons brown sugar
1 1/4 teaspoon ginger
1 teaspoon cinnamon

Preheat oven to 350 degrees and grease a 13×9-inch pan.

Melt the 1 C of butter and set aside.

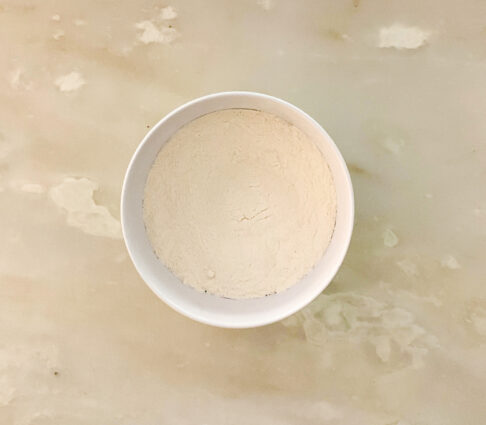
In a large bowl, whisk together the flour, sugar, baking powder, salt and baking soda.

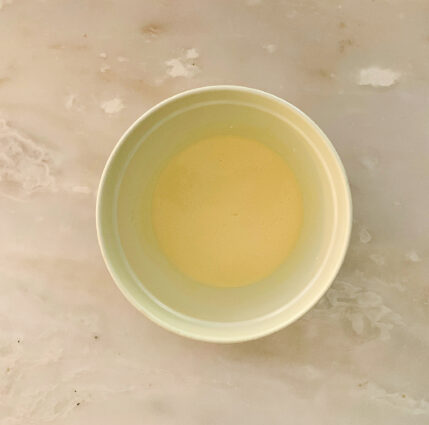
In a separate bowl, whisk together the buttermilk, eggs, sour cream, vanilla, and melted butter.

Using a spatula, mix the dry into the wet until combined.

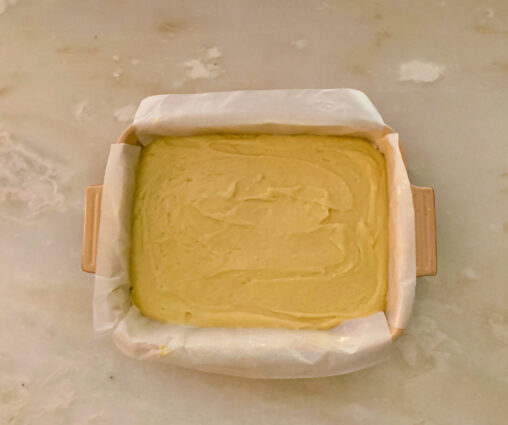
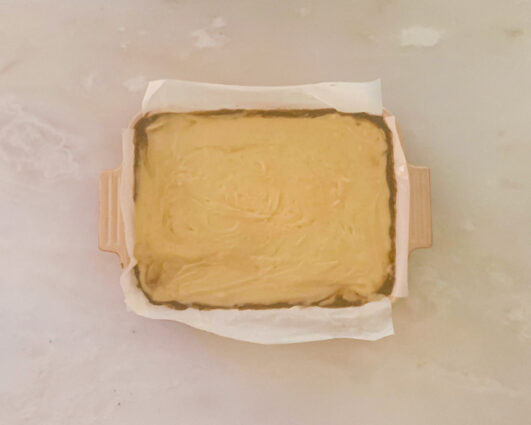
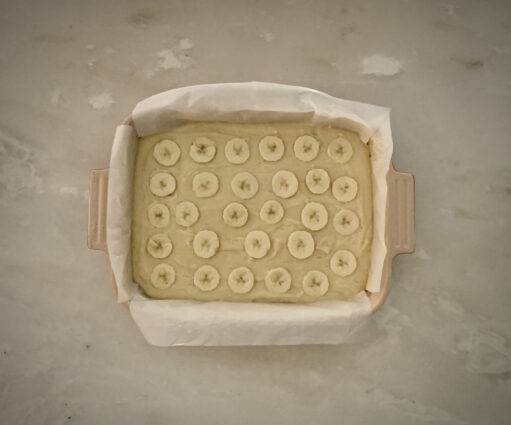
Layer half the batter into the pan.

Lay the sliced bananas on top.

Drizzle on the nutella spread.

You may need to warm the spread to make it thin and pourable.

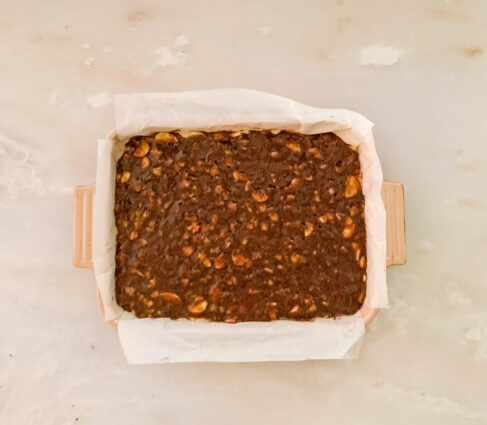
Next, carefully layer the remaining batter on top of the bananas and nutella. I used a spatula to smooth out the batter because it’s really thick.

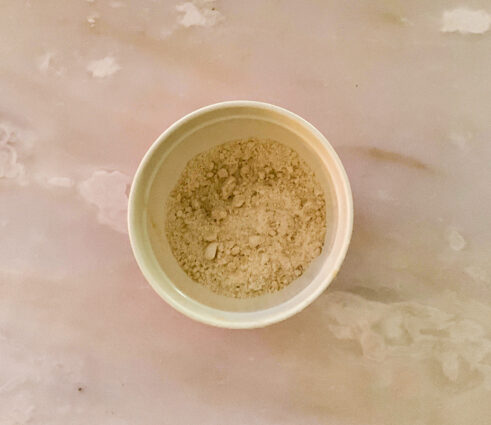
Make crumble topping:

Melt 4 tablespoons of butter and set aside to cool.

Whisk remaining dry ingredients in a small bowl.

Add the melted butter with your hands or a folk and mix until crumbly.

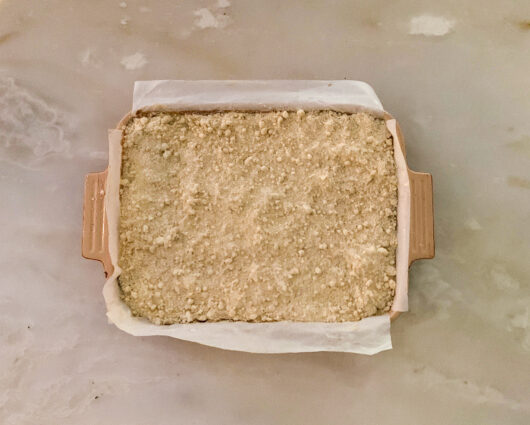
Sprinkle topping over coffee cake batter.

Bake for 50-55 minutes until set when a toothpick inserted comes out clean.

Cool on a wire rack before slicing.

Make 12 generous squares

It’s that simple!


signature

[recaptcha]


As a child, my immediate family celebrated Chanukah, but my friends taught me about the Christmas spirit. They would invite me to decorate their trees, and I would go to midnight mass with them. I always thought the lights on the homes in my neighborhood were so beautiful and festive. The Christmas trees were enchanting, and I knew all the words to every Christmas song. How lucky I was to relive that this year on our vacation, when our hotel lit up the trees that lined their long driveway. What a magical enchanted forest it was!

I really felt like I celebrated both holidays growing up. I still do. Every Christmas I make dinner for my friends and family. My husband invites some colleagues from work and we all get together and celebrate. It’s kind of my Friendsgiving too. I use all the decorations from Thanksgiving and try to make it festive and beautiful. It gives me a chance to show them how much I love them and how important they are.  It also gives my husband his chance at a very important job– bartender!

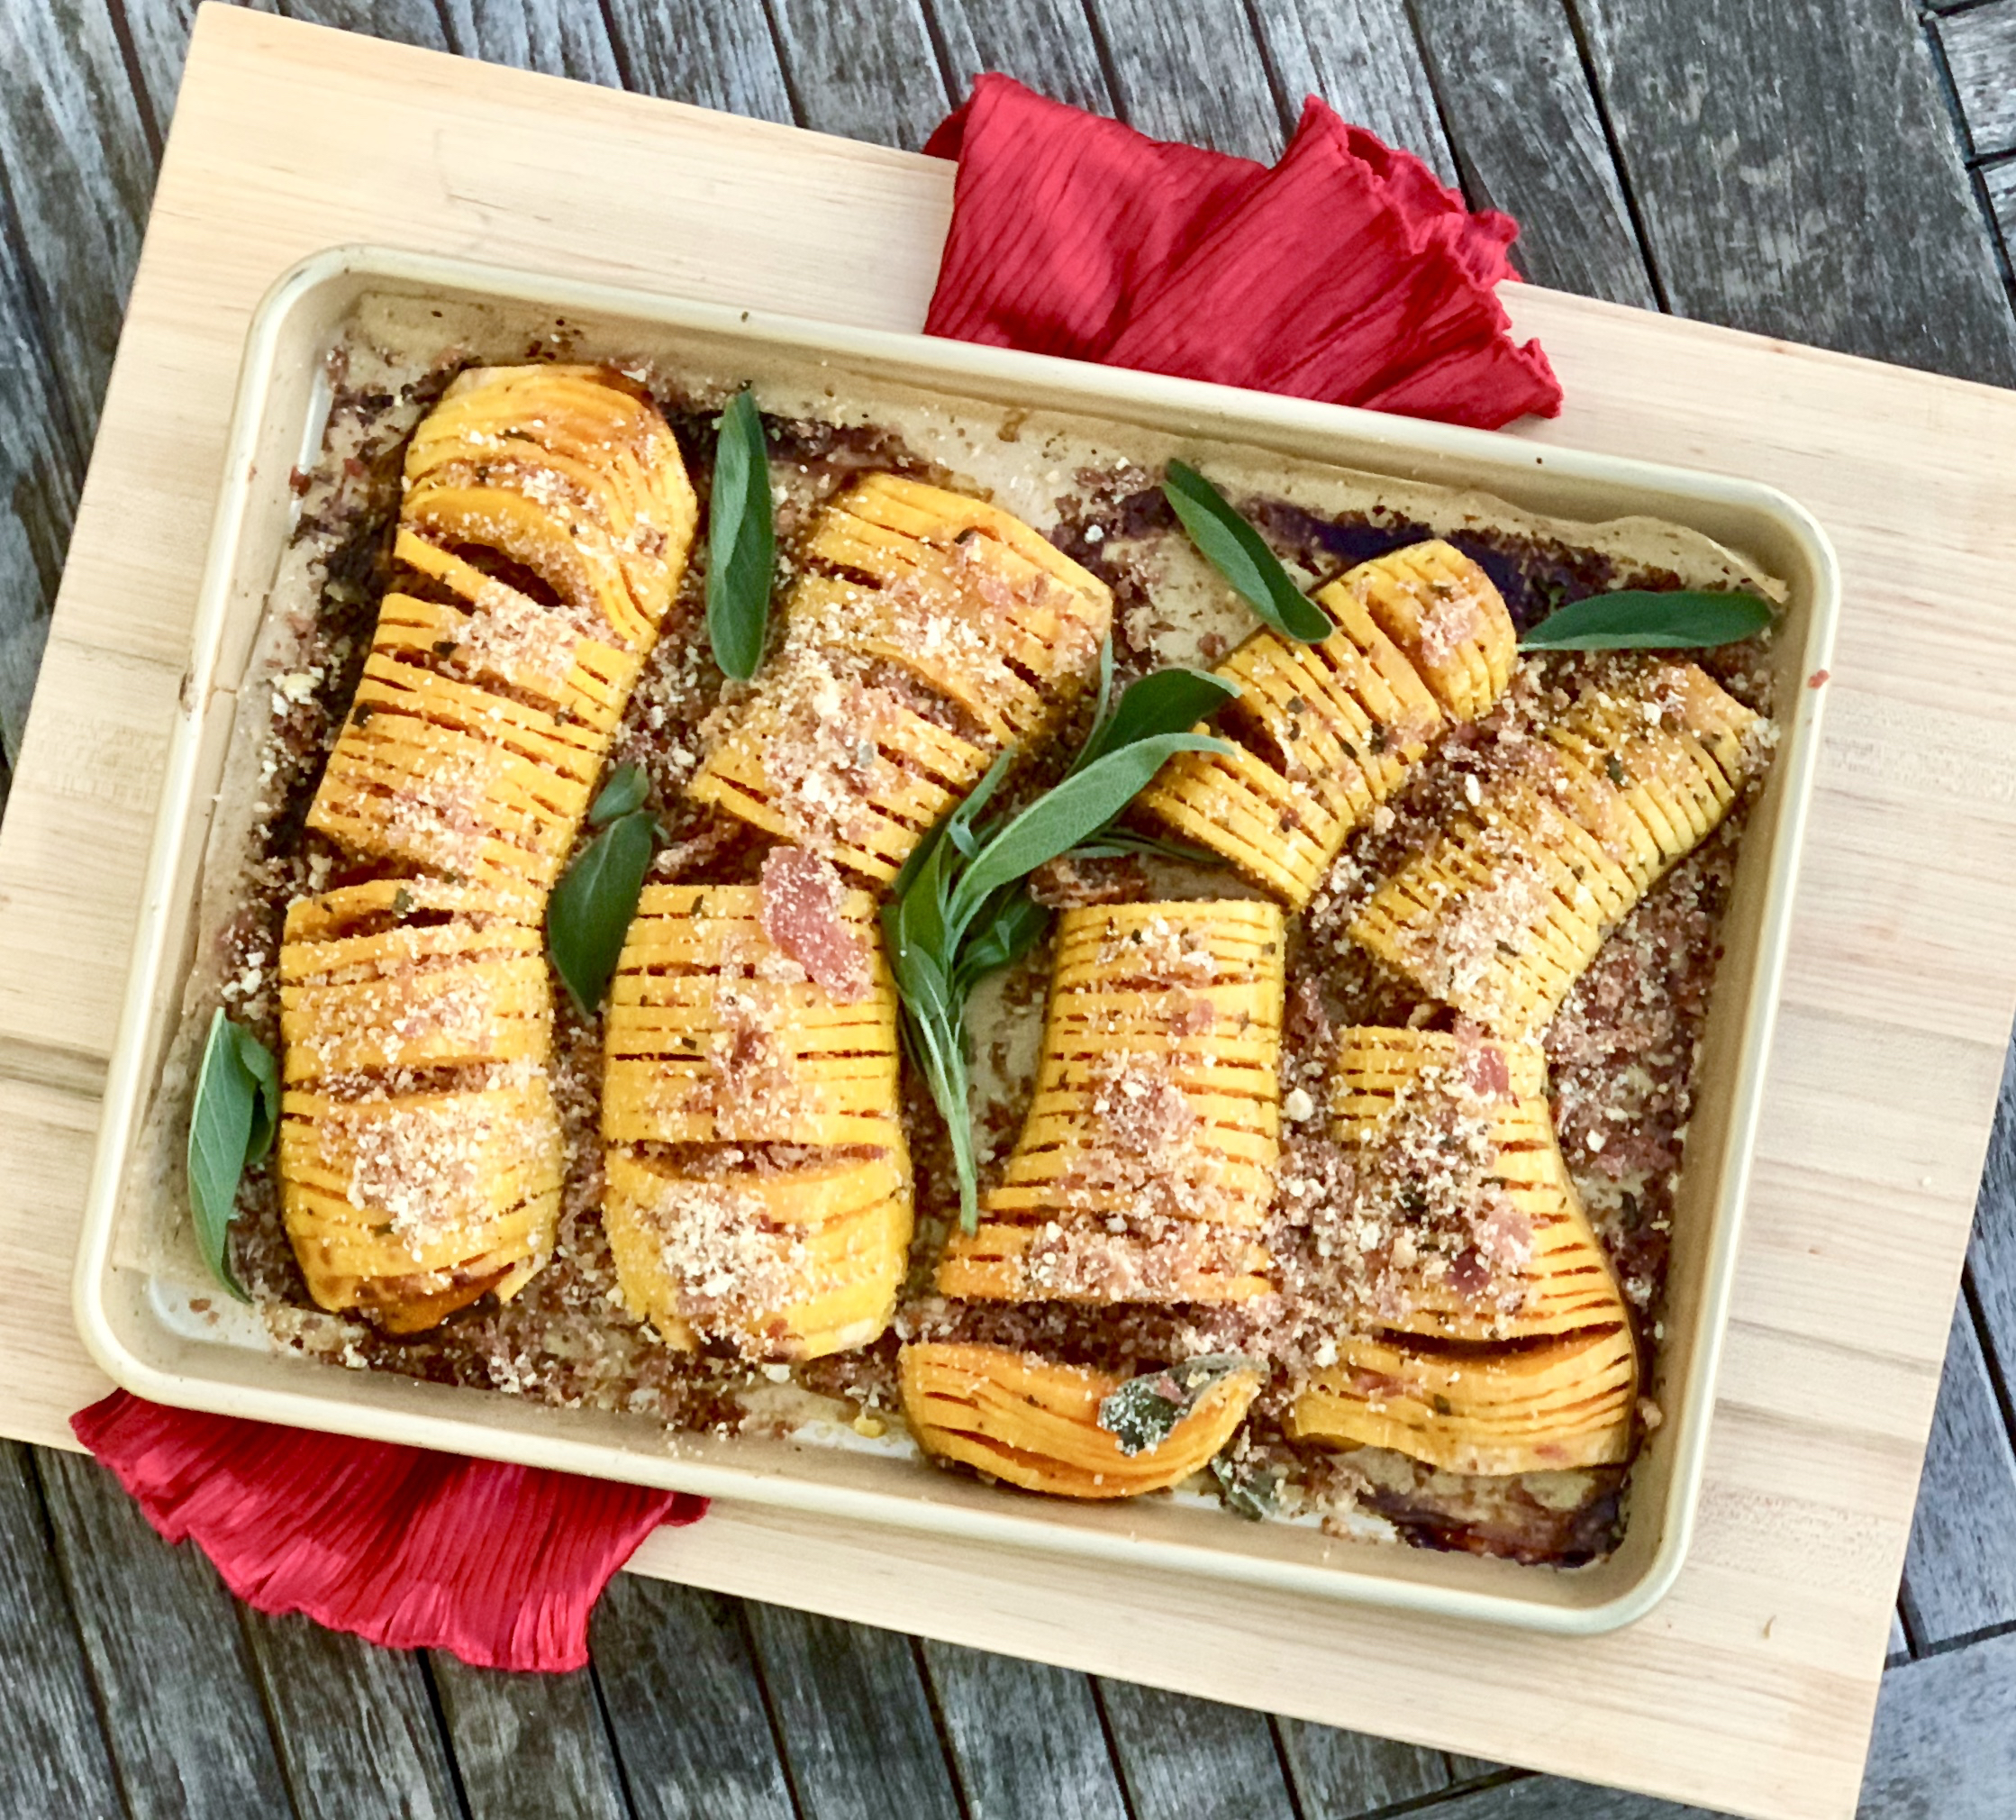
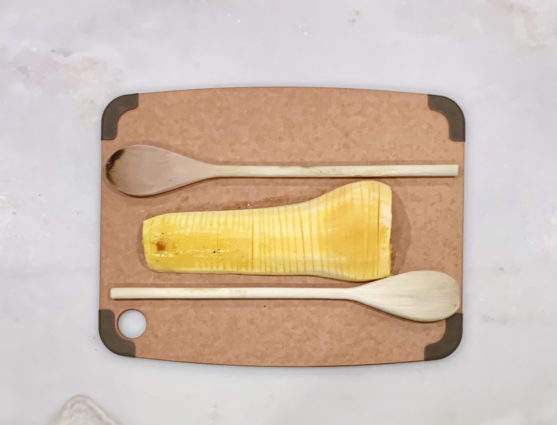
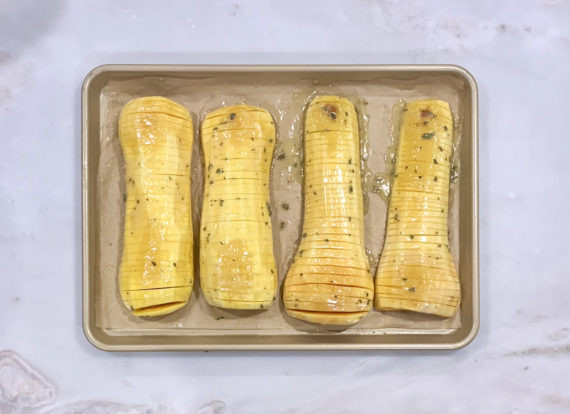
Working on my menu, I found this terrific side dish that looks much harder to prepare than it actually is. Lucky you!  Half Baked Harvest suggests that if you cut the butternut squash in half and take out the seeds, each side will be easier to peel. She also recommends that you put two wooden spoons on each side of the squash so you do not cut through it.

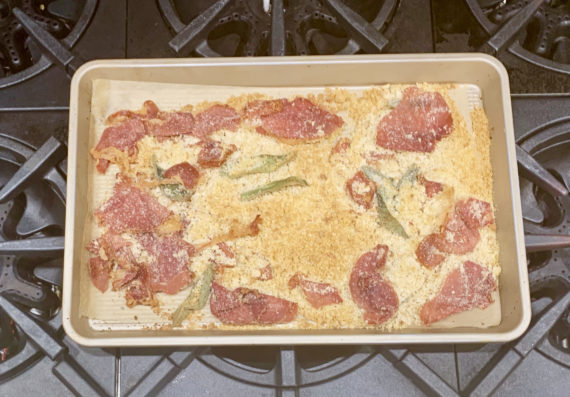
This dish would be perfect for any holiday meal. The squash is roasted to perfection. The butter, maple syrup and chopped sage make a luscious dressing for the squash. Then it is topped off with a perfection combination baked breadcrumbs, sage and prosciutto which give an umami flavor that makes each bite perfection. It makes a beautiful presentation and tastes as good as it looks. 

This recipe is courtesy of Half Baked Harvest and will serve 8 people who will of course want to compliment the chef on this festive and beautiful dish.

Ingredients for Hasselback Butternut Squash Potatoes:

2 small to medium butternut squash
4 tablespoons extra-virgin olive oil
kosher salt and black pepper
1 stick (8 tablespoons) butter, at room temperature
3 tablespoons maple syrup
2 teaspoons chopped fresh sage + 8 sage leaves
1 cup finely torn ciabatta bread (I used fresh breadcrumbs)
3 ounces prosciutto

Preheat the oven to 425 degrees F.

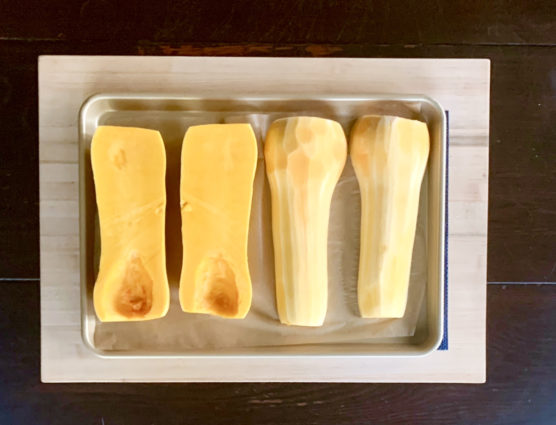
Halve the squash lengthwise and scoop out the seeds with a large spoon. Using a peeler, remove the skin.

Rub with 2 tablespoons olive oil, season with salt and pepper.

Place on a large baking sheet and roast until the squash begins to soften, 15 minutes.

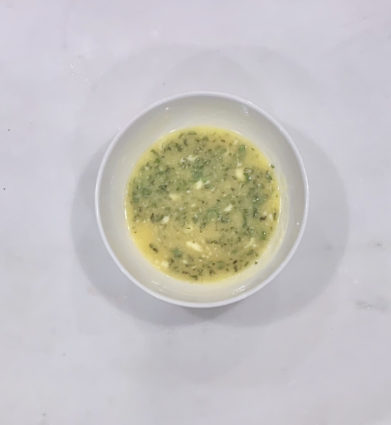
Meanwhile, in a small bowl, stir together the butter, maple syrup, and chopped sage until combined.

Grab the squash from the oven and transfer to a cutting board.

Using a sharp knife, slice through the rounded sides of squash halves, crosswise, going as deep as possible but without cutting all the way through.

Half baked Harvest suggests to position 2 spoons on either side of the squash to help prevent cutting all the way through (see above photo). It worked perfectly!

Return the squash to the baking sheet, scored sides up.

Spread half the maple butter over the squash, allowing it to drip into the slices.

Season with salt and pepper.

Roast the squash for 30 minutes, then spread with the remaining maple butter, spooning any melted butter in the pan over the squash.

Return to the oven and roast another 15-20 minutes, until the squash is tender.

At the same time, toss together the bread, 2 tablespoons olive oil, the sage leaves, and a pinch of salt and pepper on a separate baking sheet.

Lay the prosciutto around the bread.

Transfer to the oven and bake for 10-15 minutes or until toasted.

Crumble the prosciutto into fine crumbs or pulse the mix in a food processor.

Remove the squash from the oven and transfer to a serving plate.

Drizzle over any maple butter left on the pan.

Top with breadcrumbs and sage.

Serve warm!

It’s that simple!
 

signature

[recaptcha]