Writing my blog has been an entirely new and wonderful food journey for me. I had so many recipes that I wanted to share, and that was enough to begin writing. As I began to run out of my own, I learned how to find new recipes to share with you.

It was a learning process, but my intuition as a cook grew as I tried more recipes. Many, many of them ended up in the garbage. Now I have become pretty darn good at picking recipes that I know will be good, and it has saved me a whole lot of time.

During my food journey, I have learned some great things. Reading ingredients is very important.  As I did my research, I learned about which foods are healthy, and I began to use only fresh ingredients. I have also become quite experienced in choosing a restaurant as well. I read the menus carefully, and look for freshly made food that does not have very many ingredients in them. In fact, some of the best restaurants use farm to table produce (I will explain that in my next blog). It tastes so much better because the freshness of the produce offers a more true and intense flavor. 

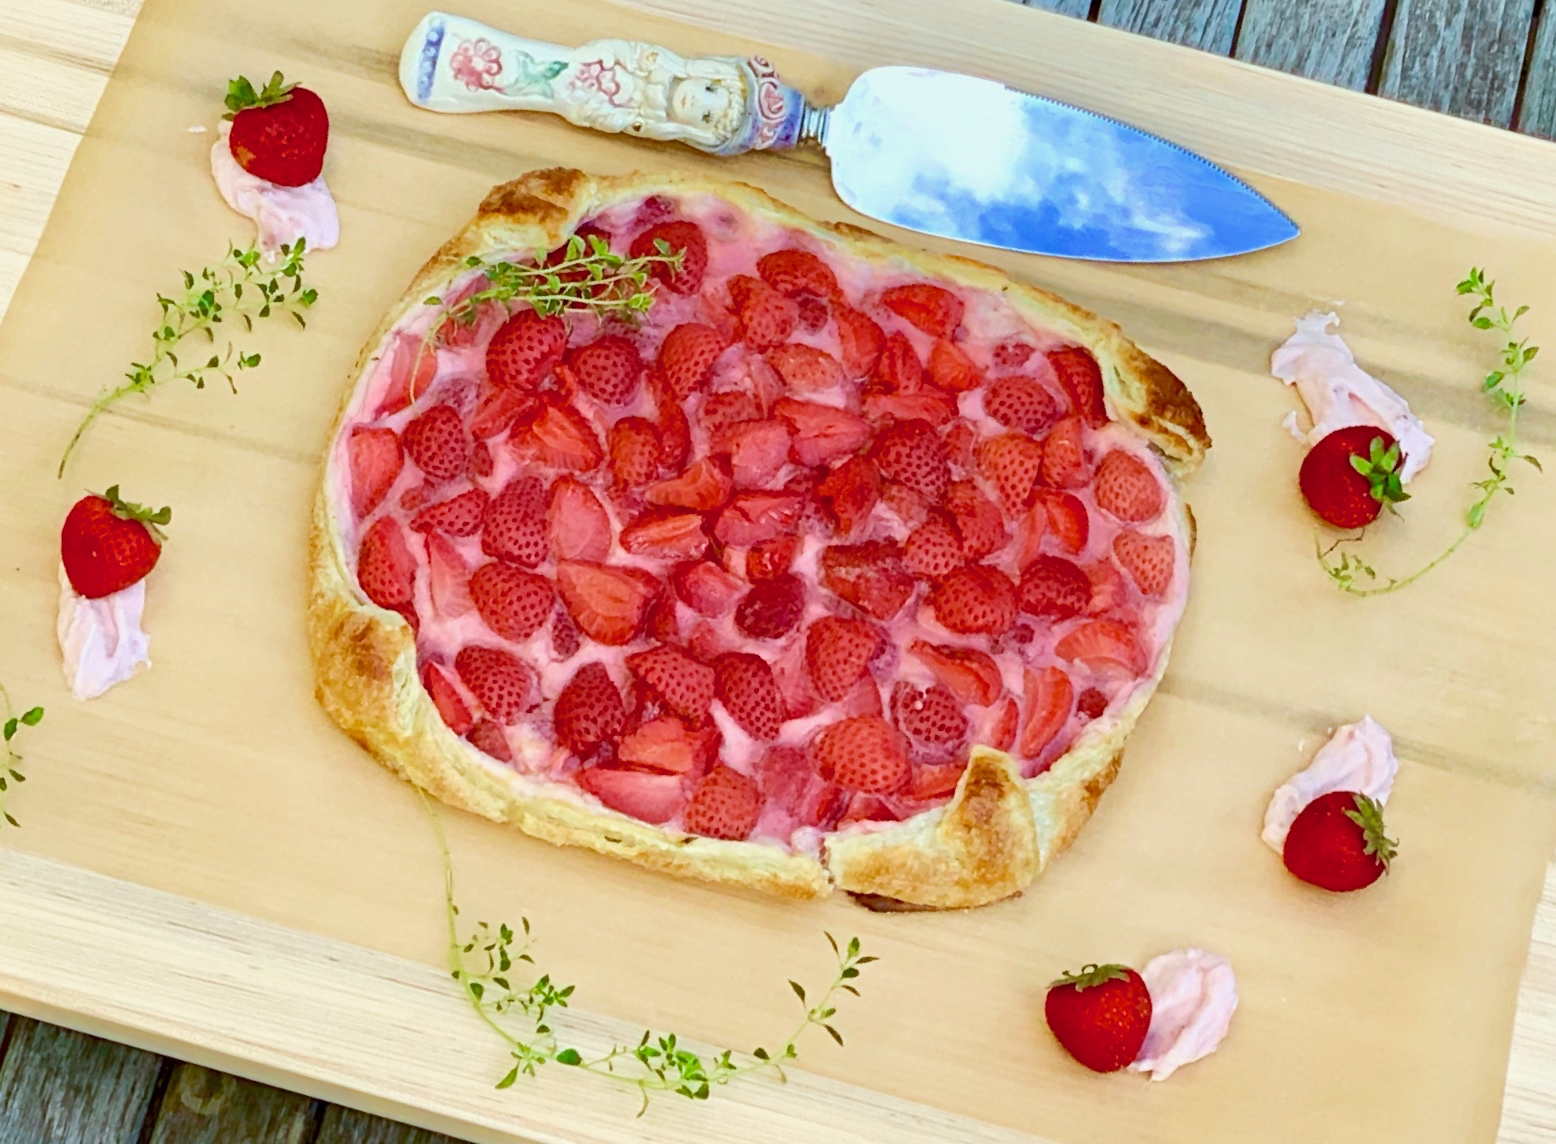
So we live and we learn. Hopefully, we never stop learning. Now onto the recipe, and it’s a good one. This dessert is packed with flavor. It takes sweet and tart to a whole new level. The strawberry mash offers a summery sweetness, and the cream cheese filling is soft and silky– perfect for this rustic tart.

This recipe will serve 6 to 8 people who will come running to the table to try this summer treat.

Ingredients for Strawberry Tart:

For the Strawberry Mash:

1 cup fresh strawberries
3/4 cup sugar
1/2 cup water
3 tablespoons cornstarch
2 tablespoons lemon juice

For the cream cheese filling:

1 package (8 ounces) cream cheese, at room temperature
1/2 cup sugar
1 cup strawberry mash
1 cup whole milk
2 teaspoons vanilla
2 tablespoons butter (at room tempurature)

For the topping:

2 cups fresh strawberries, quarted or halved

For the crust:

1 sheet puff pastry
1 egg, beaten
1 tablespoon water
2 tablespoons sugar

Preheat oven to 450.

Make the Mash:

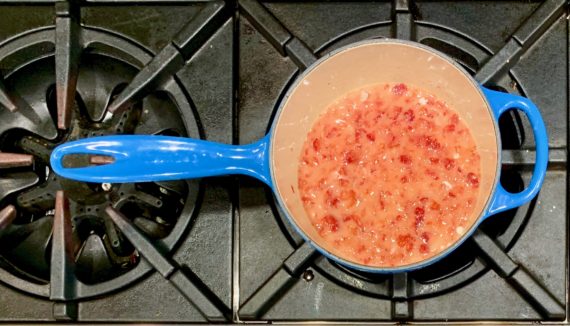
Mash the strawberries until you have 1 cup.

Place into medium saucepan over medium-high heat.

Stir in the sugar, cornstarch, water and lemon juice.

Bring it to a boil.

Cook one more minute until it has thickened.
Make the cream cheese filling:

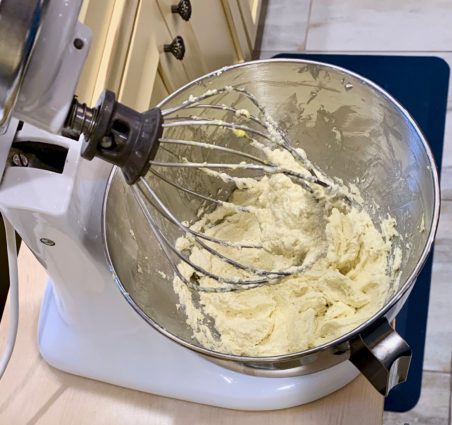
Using a mixer, beat the cream cheese, butter  and sugar.

Pour in milk and vanilla.
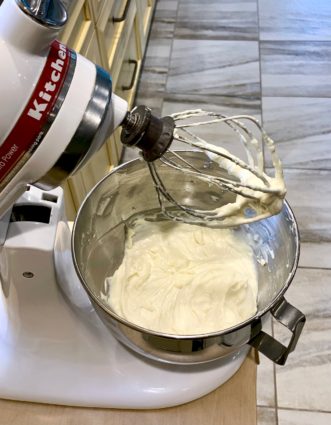
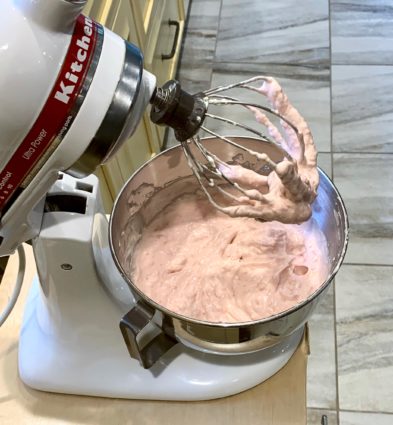
Mix in strawberry mash.
Beat the egg and water in a small dish.

Set aside.

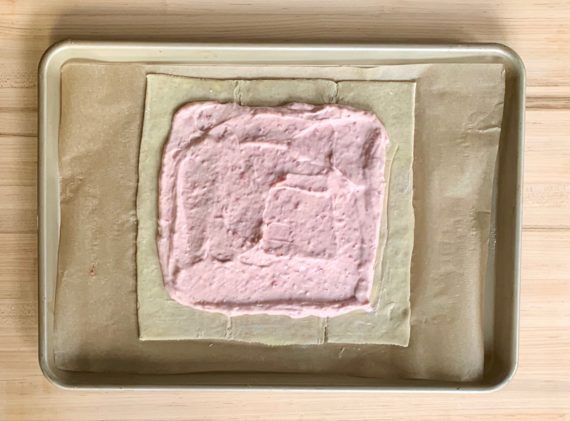
Leaving 1 1/2 inches on all sides, spread the cream cheese filling over the puff pastry.
Place the quarted strawberries on top of the cream cheese mixture.
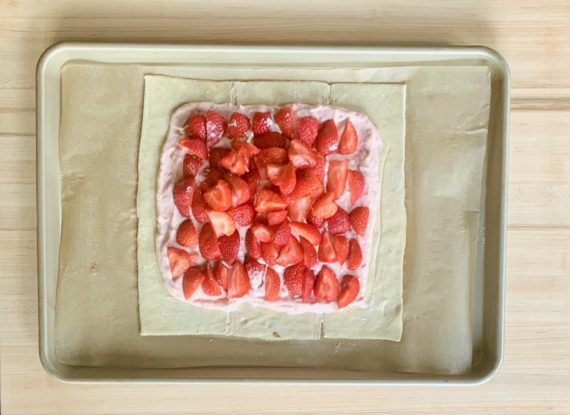
Fold the 1 1/2-inch crust over filling, pleating as you need too.
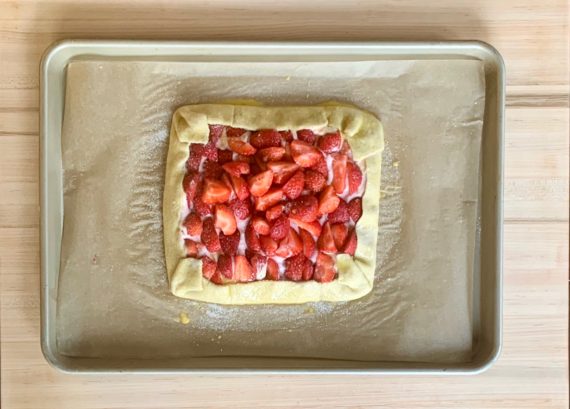
Spread the egg mixture on the sides of the puff pastry that are folded up.

Sprinkle with sugar.

Place in oven and bake for 15 to 20 minutes or until crust is golden brown.
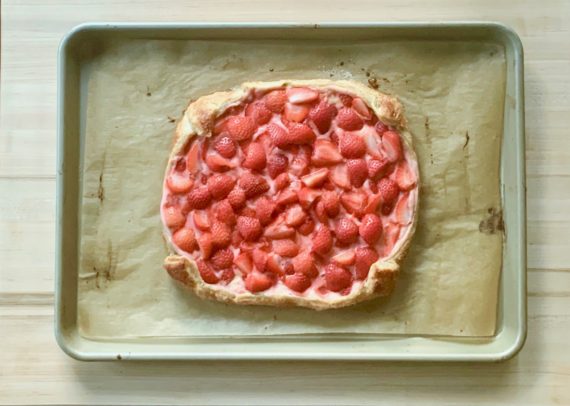
It’s that simple!

signature

[recaptcha]


Every year my husband and I take a week on the beach (I am a New Yorker, so I will never get used to saying “the Shore”). We really love it there, since there is so much to do. I love walking through all the different towns; there are antique stores and dreamy little coffee shops mixed in with upscale boutiques and Mom and Pop bookstores. There are beautiful wineries, vineyards, and food festivals to attend, and tucked amid the mansions are sleepy little cottages and historic homes.

My favorite part, of course, is all the locally grown produce and freshly baked treats that can be found at farm stands. These stands are usually run by the owners of the farms, who, in addition to growing their produce, also make pies and jams. They are so talented, and you can taste the love and care that goes into making these delicious creations.

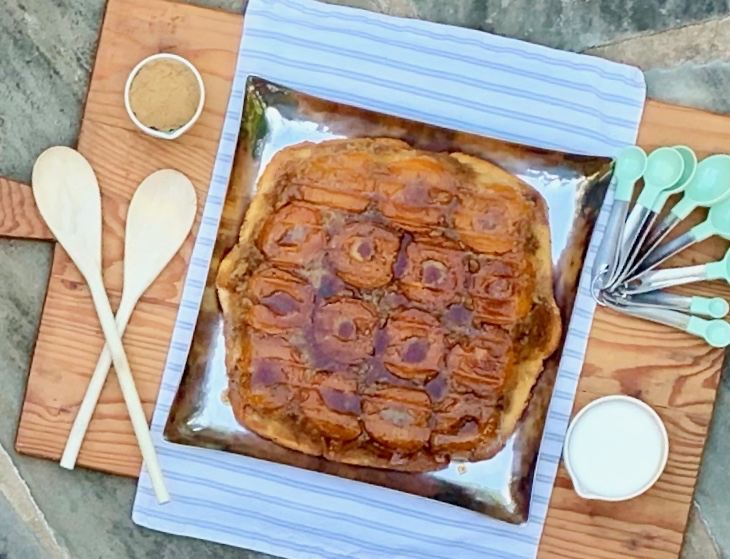
This year, I couldn’t resist picking up some apricots. While I am not a big fan of apricots in general, they looked so beautiful that I knew I would like them if they were cooked up correctly. I looked up some recipes and found this little gem that turned me into an apricot lover pronto. The original called for 10 to 11 small apricots, but I used 8 since mine seemed bigger than usual. The rule here is to use as many as you can tuck into the pan.

The apricots are the true stars of this delicious cake. They add a tangy delight to an otherwise sweet cake. The buttermilk makes it moist and almost creamy, and the vanilla and almond combine happily to create perfect savory goodness. You are going to love this cake, and I betcha can’t eat just one piece. Nope, this is definitely a second-helping treat.

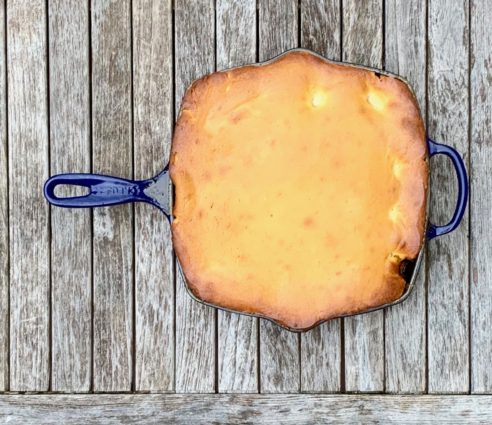
*I didn’t realize I was using a grill pan and not a skillet until I turned over the cake and saw those lines. UGH! Don’t make the same mistake I did. It kind of made the cake look wierd in the picture, but it still tasted awesome.

This recipe is courtesy of Epicurious and will serve 8 people who will want to dive in for a third slice.

For the Topping:

1 stick (1/2 cup) unsalted butter
3/4 cup packed light brown sugar
10 or 11 small (2- to 2 1/4-inch) fresh apricots (1 1/4 lb), halved lengthwise and pitted

For the Cake:

1 3/4 cups all-purpose flour
1 1/2 teaspoons baking powder
1/2 teaspoon baking soda
1/2 teaspoon salt
1 stick (1/2 cup) unsalted butter, softened
3/4 cup granulated sugar
1 1/2 teaspoons vanilla extract
1/4 teaspoon almond extract
2 large eggs at room temperature for 30 minutes
3/4 cup well-shaken buttermilk

Special equipment: a 10-inch well-seasoned cast-iron or heavy nonstick skillet (at least 2 inches deep)

Preheat oven to 375°F.

Make Topping:

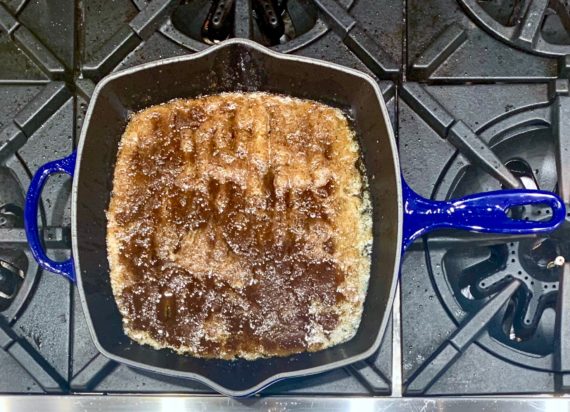
Heat butter in skillet over moderate heat until foam subsides.

Reduce heat to low and sprinkle brown sugar evenly over butter, then cook, undisturbed, 3 minutes (not all of the sugar will melt).

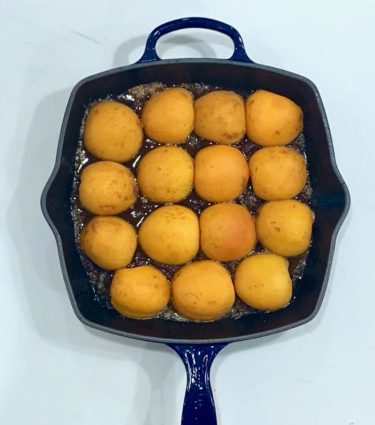
Remove skillet from heat and arrange apricot halves, cut sides down, close together on top of brown sugar.

Make cake batter:

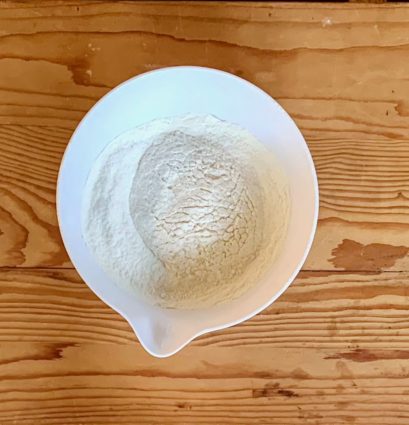
Sift together flour, baking powder and soda, and salt into a small bowl.

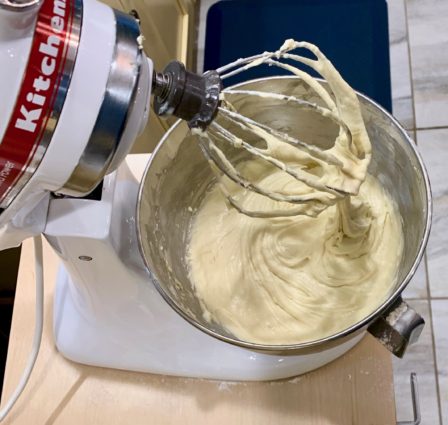
Beat together butter, sugar, and extracts in a large bowl with an electric mixer at medium speed until pale and fluffy, 2 to 3 minutes in a standing mixer or 3 to 4 minutes with a handheld mixer.

Beat in eggs 1 at a time, then beat until mixture is creamy and doubled in volume, 2 to 3 minutes.

Reduce speed to low and add flour mixture in 3 batches alternating with buttermilk, beginning and ending with flour mixture, and beat just until combined.

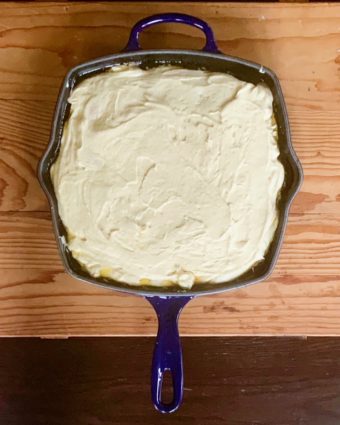
Gently spoon batter over apricots and spread evenly.

Bake cake:

If your skillet isn’t ovenproof, wrap handle with heavy-duty foil (or a double layer of regular foil) before baking.

Bake cake in middle of oven until golden brown and a wooden pick inserted in center comes out clean, 40 to 45 minutes.

Wearing oven mitts, immediately invert a large plate over skillet and, keeping plate and skillet firmly pressed together, invert cake onto plate.

Carefully lift skillet off cake and, if necessary, replace any fruit that is stuck to bottom of skillet.

Cool to warm or room temperature.

It’s that simple!

signature

[recaptcha]


When my kids were young, I would make scrambled eggs for them; it was the one dish my whole family agreed on, and I enjoyed indulging them. If left to my own devices, I would eat just about an egg a day. Scrambled, hard boiled, fried, sunny-side up, poached, or fried.  It doesn’t matter– I love eggs.

Europeans have popularized the use of eggs as an add-on to their dishes. They poach them over vegetables, pasta, or meat. In America, we are finally catching up with the times, and we can find eggs incorporated in entrees in fine restaurants. I delight in ordering those dishes when I see them available.

Nowadays, scrambled eggs have been replaced by hard-boiled eggs. I always have them on hand in my refrigerator. My husband grabs one each morning before his commute to work, and my kids and I have them for snacks. Correct preparation is deceptively difficult. The yolk should be a bright, beautiful yellow when cooked correctly.  Any green means they are overcooked.

Even with my years of egg-sperience (ha!), I still haven’t cracked (sorry!) the secret to peeling an egg. I have done exhaustive research and thus far, nothing seems to work. However, I have a friend who peels her eggs when they are still warm and they peel beautifully. I always throw my eggs into an ice bath to stop the cooking. I have yet to try her way, and when I do, if it works, I will be the first to let you know.

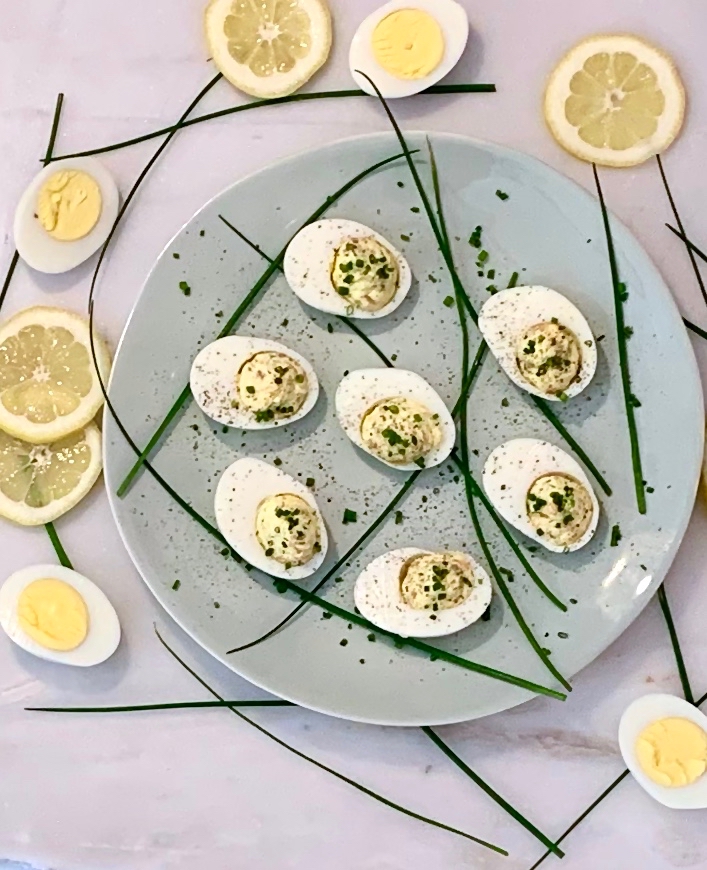
Deviled eggs are one of my favorite way to eat eggs. Everything about this appetizer is delicious. This intriguing preparation using smoked salmon caught my eye. Preparing the eggs this way made them much more sophisticated than the usual way. The salmon, combined with the mayonnaise and dill is so luscious. The lemon juice gives it a citrusy delight, and the cream cheese makes it so smooth. This is a perfect beginning to any meal.

This recipe is adapted from Cooking Light and will serve 8 people who will appreciate an egg-cellent new take on a classic appetizer.

Ingredients for Smoked Salmon Deviled Eggs:

8 large eggs
3 tablespoons canola mayonnaise
2 tablespoons chopped fresh dill
2 teaspoons lemon juice
1 teaspoon Dijon mustard
2 ounces chopped cold smoked salmon
1-ounce cream cheese, softened
1 tablespoon chopped fresh chives
1/2 teaspoon black pepper

Arrange eggs in a saucepan; cover with water.

Bring to a boil.

Cover; remove from heat.

Let stand 10 minutes; drain.

Chill eggs in a bowl filled with ice; drain and peel.

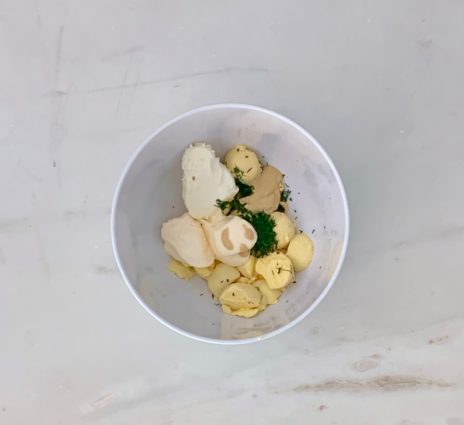
Halve eggs lengthwise; scoop yolks into a bowl.

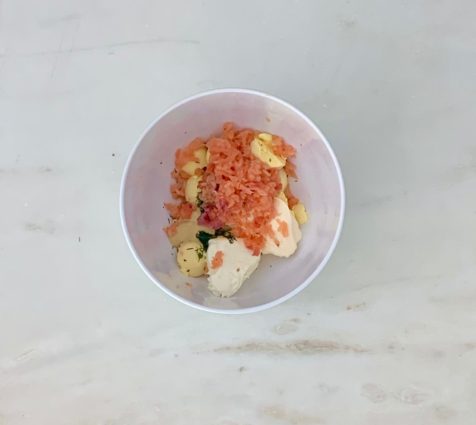
Add the canola mayonnaise, dill, lemon juice, Dijon mustard, and cream cheese; stir until well combined.

Mix in smoked salmon.

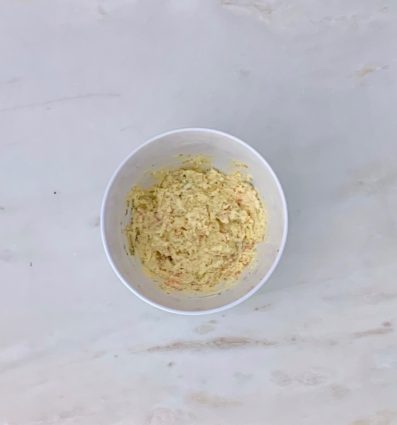
Mix ingredients until well combined. (I used a potato masher for this.)

Spoon yolk mixture evenly into centers of whites. 

Sprinkle eggs evenly with chives and black pepper.

It’s that simple!

signature

[recaptcha]


Isn’t it amazing how children from the same families can have such different personalities? Raised in the same household, yet they can be as different as night and day. 

I was always be surprised at the differences between my little ones. One of them loved sports, the other hated them. My older son was quieter, more serious, and the younger was hysterically funny, always the center of attention. They basically had nothing in common, not even in looks.

Their eating habits too were the exact opposite. My firstborn grew up on a diet of pasta, pizza, French fries, and chicken nuggets with lots of ketchup, of course. I never really worried about it because I knew, someday, he would not be an adult who only ate those four things. I knew there would be far more serious battles ahead in his teenage years, so I let that one slide.

My younger son was an adventurous eater. No chicken nuggets or pizza for him. He preferred seafood and more “adult” foods. When he got his tonsils out at age four, my husband offered to get him ice cream. “No,” he replied. “I want shwimp.”

Now, they are both better eaters, and the one thing they agree on? They both hate coconut! Who knew? When I made this dish, they were very disappointed.

At least they agree on something.

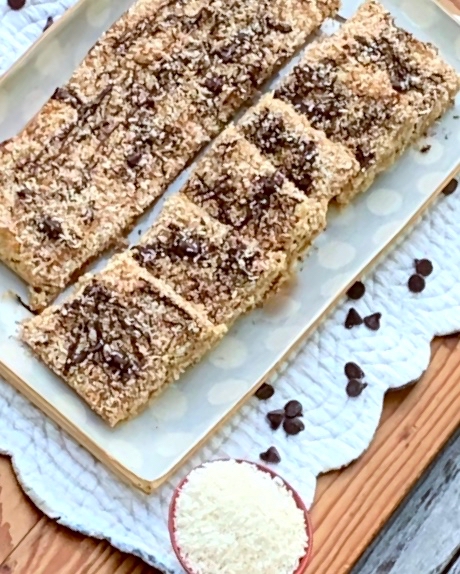
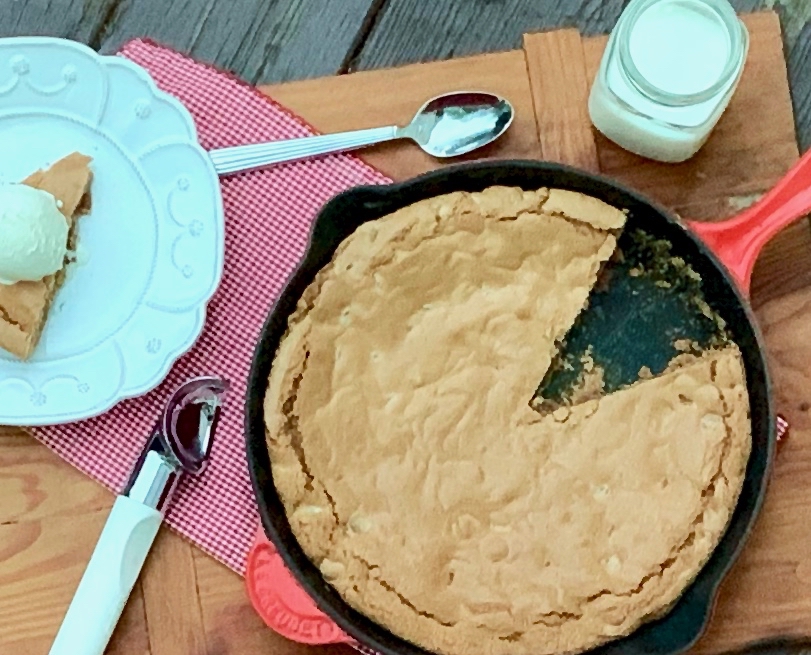
It is truly their loss. This dessert is crazy good. As the author says, “it isn’t too gooey or sweet.” The shortbread bottom is the perfect canvas for the decadent mix of coconut, vanilla, nuts, and just the right amount of sugar. I toasted some extra coconut and melted some chocolate to add on top. Because why not? Baked in a parchment sling, it comes out beautifully and it so easy to remove from the pan. You must make this. I think you’re going to relish every bite.

This recipe is courtesy of Food 52 and will make 12-16 bars that will satisfy the itch for some decadent dessert.

Ingredients for Coconut Dream Bars:

For the Shortbread layer:

1 cup all-purpose flour
1/2 cup unsalted butter, at room temperature
1/2 cup firmly packed light brown sugar

For the Coconut Layer:

2 eggs
1/2 cup firmly packed light brown sugar
1/4 cup all-purpose flour
1/2 teaspoon baking powder
1/4 teaspoon salt
1 1/2 cups unsweetened coconut flakes
1 cup chopped walnuts
1 teaspoon pure vanilla extract

Preheat oven to 350 degrees F.

Butter a 9 1/2 by 12 1/2-inch rectangular baking pan.

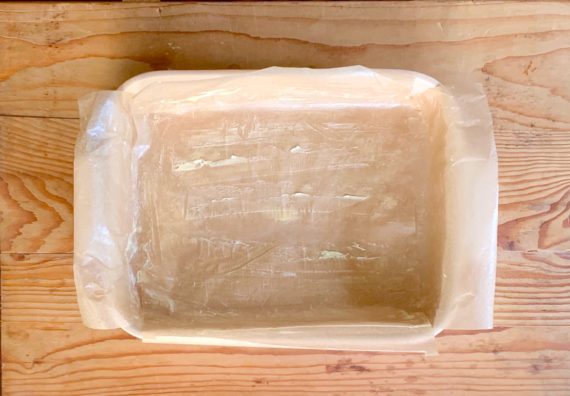
Line the pan with a parchment paper sling and liberally butter the parchment.

(A parchment paper sling stretches across the base and up the opposites sides of the pan, leaving an inch or two excess on both sides so you can use the ends to lift the bars out of the pan) 

Make the Shortbread:

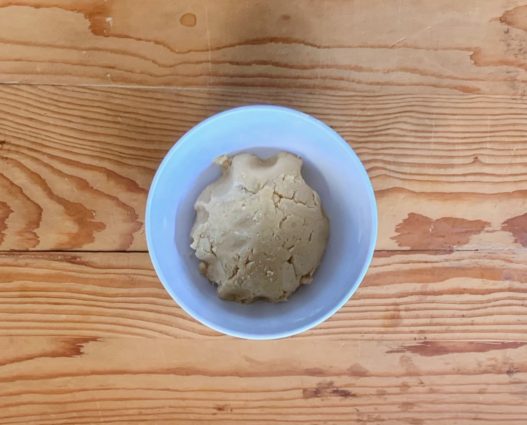
Mash together by hand the flour, butter, and brown sugar in a bowl.

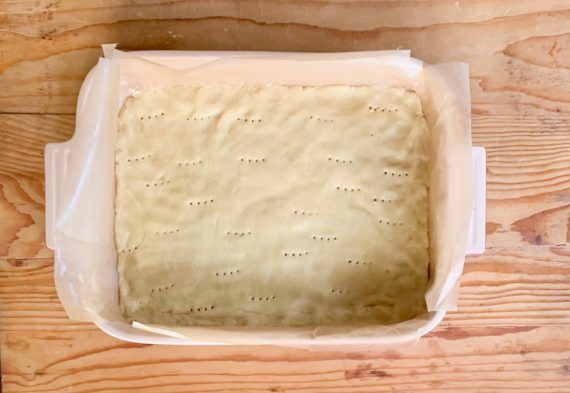
Press the dough evenly into the base of the pan.

Prick the dough in several places with a fork.

Bake until the shortbread is cooked through and golden, about 15 minutes.

Make the Coconut Layer:

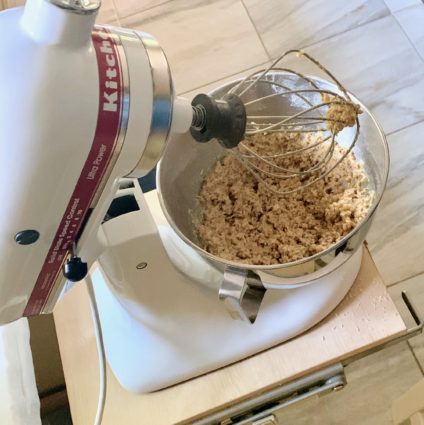
Place the eggs in the bowl of a stand mixer fitted with a whisk attachment and beat on high speed until very pale and fluffy, about 5 minutes.

Add the brown sugar and beat until light and thick, several minutes more.

In a separate bowl, whisk together the flour, baking powder and salt.

Add the dry ingredients to the eggs.

Add the coconut, walnuts, and vanilla.

Stir until thoroughly blended.

Pour the coconut mixture over the shortbread crust.

Bake until lightly golden brown around the edges, about 20 minutes.

Let cool, then remove the bars from the pan using the parchment sling, and cut into squares.

Melt some chocolate and sprinkle over bars (optional)

Store in an airtight container.

It’s that simple!
 

signature

[recaptcha]


Many moons ago, I hosted my younger son’s birthday party in our backyard. At that time, he was in love with oversized chocolate chip cookies like Mrs. Field’s used to make. There was a store in the mall near our home that made a similar cookie, so I decided to surprise him with one, and ordered the smaller of the two sizes they offered.

The morning of the party, I became unsure just how many the smaller cookie would serve, so I called back and ordered the larger one instead. They told me I could rest easy–they would have it for me later that day.

I had two errands to do before the festivities: pick up the balloons, and get the cookie. Since the party was outside, I delayed setting up until the morning of, just in case it rained overnight. Balloons all accounted for, I set out to get the cookie. Once I got there, they informed me that it was not ready, but it wouldn’t take long.  How wrong they were. I don’t even think the cookie was made when I arrived.

Cookie was finally done (they gave me the smaller cookie as well), I raced home to set up. On my way, I stopped short at a light, and the big cookie went flying onto the floor of the car, breaking into a million pieces. I called my friend Beth, hysterical. As she always does, she calmed me down and told me something I have never forgotten. “I know you’re upset right now, but someday you will be laughing aloud about this.” I laughed then and there.  The party was a huge success, and even though I served the smaller cookie, and there was more than enough for all. Lesson learned.

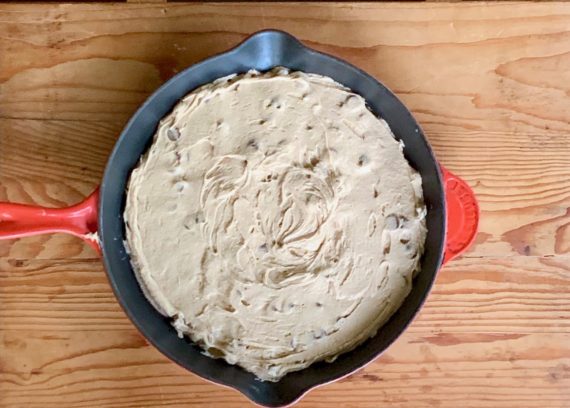
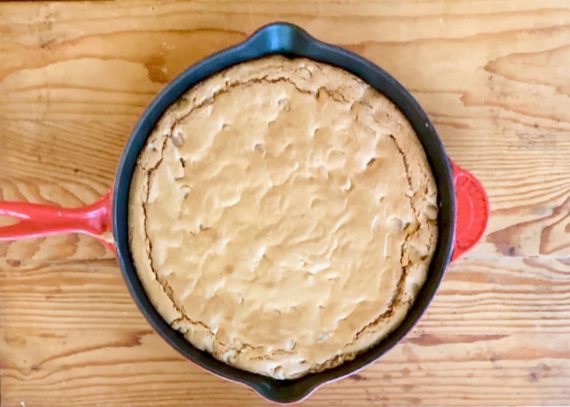
This cookie recipe exceeded my expectations. I could not find espresso powder, so I substituted cocoa powder and it worked perfectly. I also used milk chocolate chips and probably more than 8 ounces (hey, why not?). The cinnamon, cocoa powder, and milk chocolate are the stars here. It is crisp on the outside, and nice and chewy on the inside. Eat it with your favorite ice cream on top!

This recipe is courtesy of Epicurious and will serve 8 to 10 people who will never again waste time on a giant store-bought cookie.

Ingredients for Cinnamon-Chocolate Chunk Skillet Cookie:

1 1/2 cups all-purpose flour
2 teaspoons ground cinnamon
1 teaspoon baking powder
1 teaspoon espresso powder (I used cocoa powder)
1/2 teaspoon baking soda
1/2 teaspoon kosher salt
2 large eggs
1 teaspoon vanilla extract
10 tablespoons unsalted butter, room temperature
3/4 cup granulated sugar
3/4 cup (packed) light brown sugar
8 ounces high-quality milk chocolate, chopped (I used milk chocolate chips)

A heavy (preferably cast-iron) 12-inch skillet

Preheat oven to 375 degrees F.

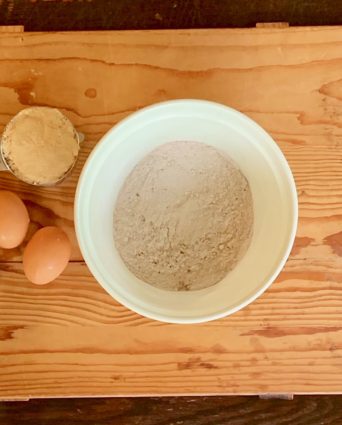
Whisk flour, cinnamon, baking powder, espresso/cocoa powder, baking soda, and salt in a medium bowl.

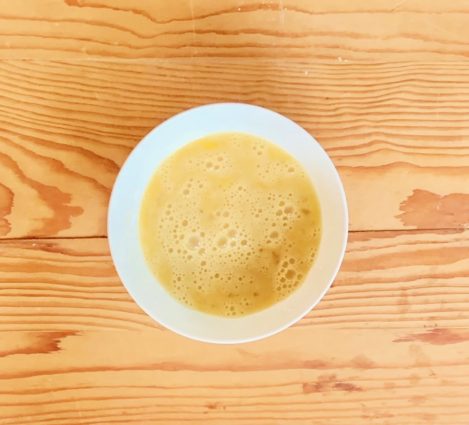
Lightly beat the eggs and vanilla in a small bowl.

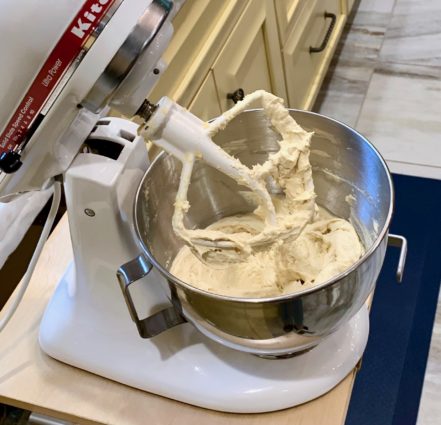
Using an electric mixer on medium speed, beat butter, granulated sugar, and brown sugar in a large bowl until light and fluffy, 3 to 4 minutes.

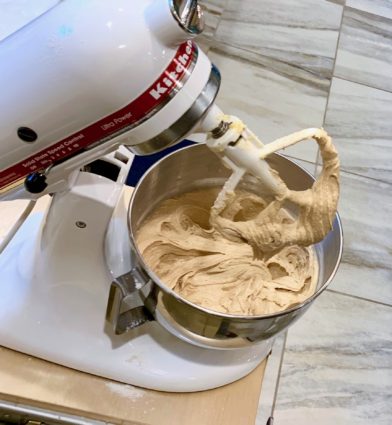
Add egg mixture and beat, occasionally scraping down the sides of the bowl, until mixture is pale and fluffy, 3 to 4 minutes.

Reduce mixer speed to low and gradually add dry ingredients, beating until just incorporated.

Fold in chocolate with a spatula.

Press dough evenly into 12-inch skillet.

Bake cookie until golden brown around the edges and center is still soft, 20 to 25 minutes.

Let cookie cool before slicing.

Cookie can be made up to 3 days ahead; cover and store at room temperature.

It’s that simple!
signature

[recaptcha]