“Preparing food and feeding people brings nourishment not only to our bodies, but to our spirits. Feeding people is a way of loving them, in the same way that feeding ourselves is a way of honoring our own createdness and fragility”. -Shauna Niequist

Recently, I picked up Shauna Nieqist’s book Bread and Wine, a collection of love stories about connecting to others over food. As you might imagine, it hit home with me.  All the cooking I do is for one purpose: to bring people together at my table. I consider it one of the most important things I do.

Cooking, especially when it is done for others, does have some positive psychological effects. Knowing the positive effects may just get more people into the kitchen to cook. Doing something, anything for others, always makes you feel better about yourself. It is a form of altruism, which makes people feel happy and connected to others.

If you are cooking for someone, it definitely brings a sense of closeness in expressing your love and care for them. You may remember watching your grandmother, mother, or father preparing a dinner for you. This was an act of love that you may realize now, but at the time you did not know how much self-giving was attached to. it. We all understand that the greatest payment you can receive for your efforts is seeing the people at your table enjoy your food. Once the main course is served at my Thanksgiving table, I listen for the silence of people eating. And it is there every year. This silence fills my heart greatly, because I know the people at my table are feeling happy, grateful, and loved.

The next time you sit at someone’s table, be thankful for what has been prepared for you with love and care, and know that somebody loves you, and thought about you with every stir of the spoon, every dash of salt and pepper, and every measured spice. Respond to them with love, and even better with words and deeds.

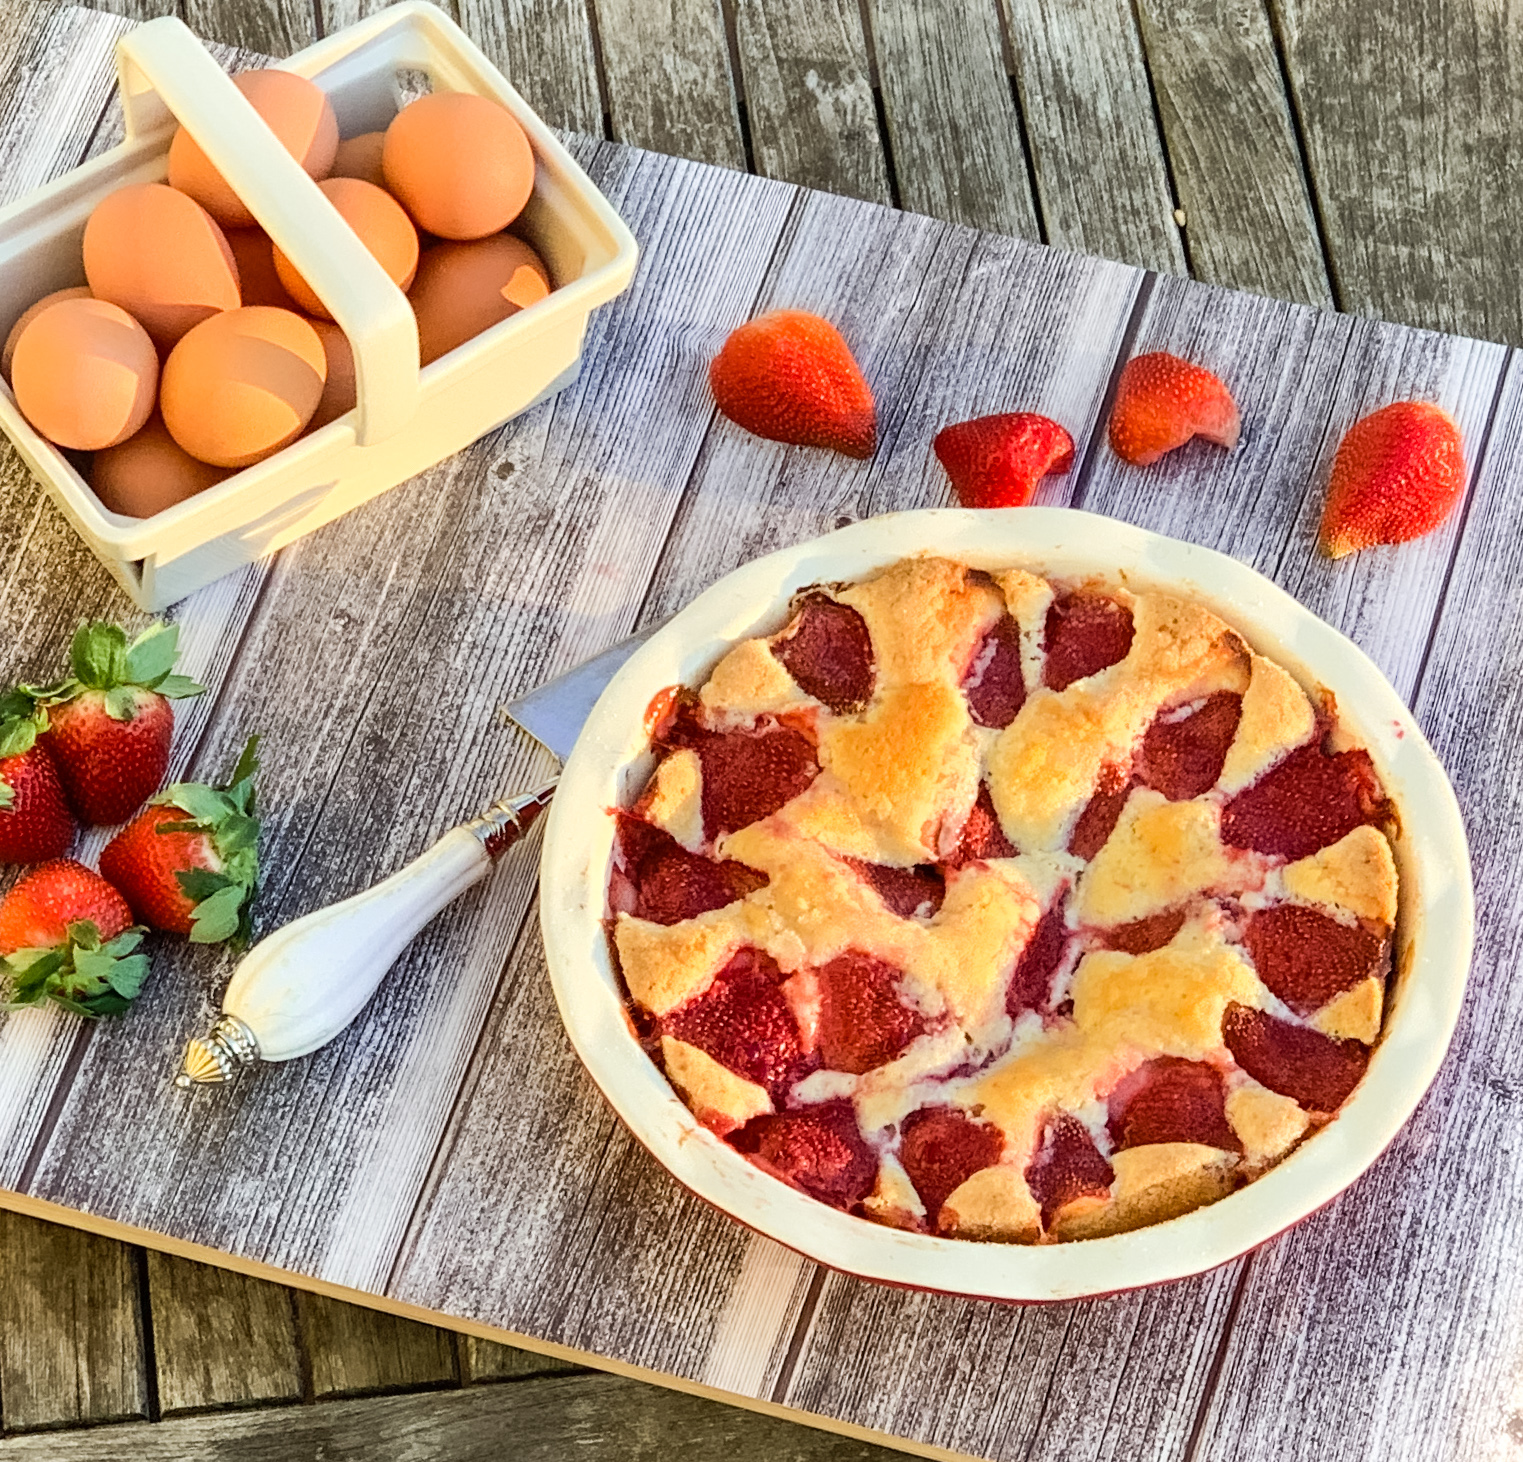
This dessert will definitely show the recipients that you love them. Usually I write my own descriptions, but I think Smitten Kitchen says it best.  This is “a pound of hulled and halved strawberries in a cake that can barely handle it. The strawberries take over. The batter buckles around the receding berries, which dimple like a country quilt. The edges of the cake become faintly crisp. And your apartment will smell like a strawberry patch.” Nuff said.

This recipe is courtesy of Martha Stewart and will serve 8 to 10 people who will feel the love in every bite.

Ingredients for Strawberry Cake:

6 tablespoons unsalted butter, softened, plus more for pie plate
1 1/2 cups all-purpose flour
1 1/2 teaspoons baking powder
1/2 teaspoon salt
1 cup plus 2 tablespoons sugar
1 large egg
1/2 cup milk
1 teaspoon pure vanilla extract
1 pound strawberries, hulled and halved

Preheat oven to 350 degrees.

Butter a 10-inch pie plate.

Sift flour, baking powder, and salt together into a medium bowl.

Put butter and 1 cup sugar in the bowl of an electric mixer fitted with the paddle attachment.

Mix on medium-high speed until pale and fluffy, about 3 minutes.

Reduce speed to medium-low; mix in egg, milk, and vanilla.
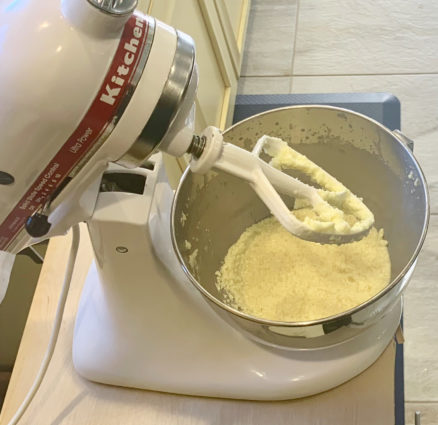
Reduce speed to low; gradually mix in flour mixture.
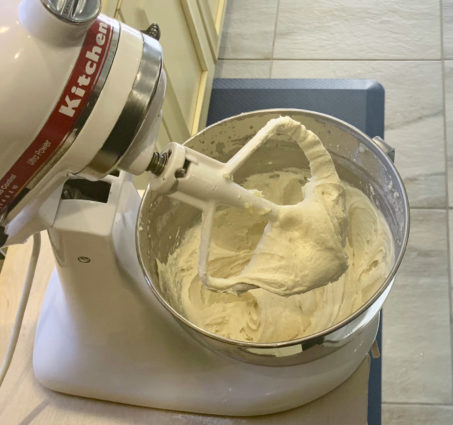
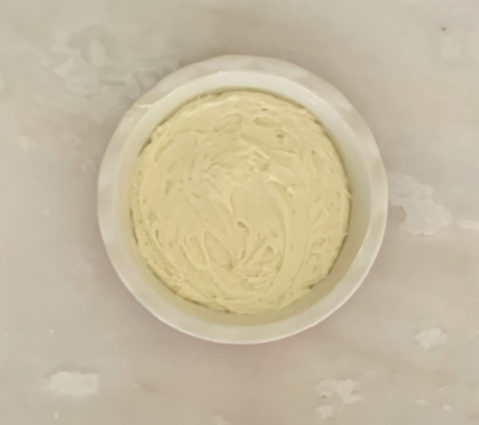
Transfer batter to buttered pie plate.
Arrange strawberries on top of batter, cut sides down and as close together as possible. Sprinkle remaining 2 tablespoons sugar over berries.
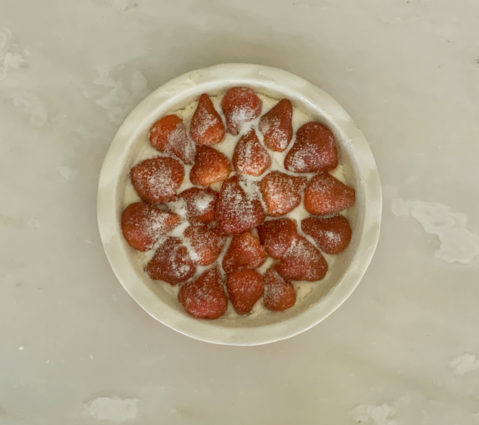
Bake for 10 minutes.

Reduce oven temperature to 325 degrees.

Bake until cake is golden brown and firm to the touch, about 1 hour.
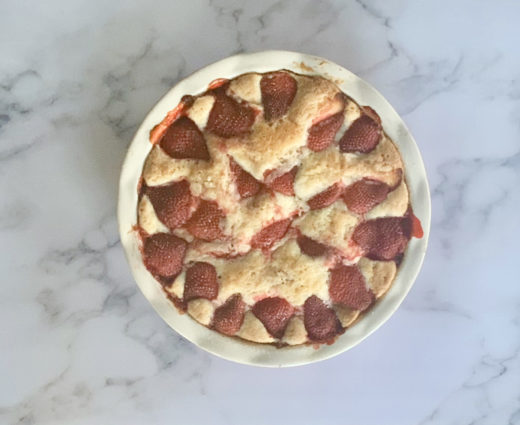
Let cool in pie plate on a wire rack.

Cut into wedges.

It’s that simple!
signature

[recaptcha]


As you might imagine, I am a very organized person. My kitchen is one of the most organized rooms in my home and I am going to share some of my tips with you today. Having a system helps me immensely, and I think it will help you too.  When I entertain, everything has to be in its place during preparation. This cuts my prep time in half, and lets me get to other things like decorating the table or doing a little bit of cleaning in the rooms I am going to be using. The French call this “mise en place,” literally WHATEVER, but I have to call call it SOMETHING.

So, here are a few tips when prepping your food:

Gather the bowls, tools, and machines (i.e. Kitchen Aid, blender, hand mixer) and always have a trash can near you when you are cooking. You can also set up a bowl on the counter for scraps for composting.

Looking good makes you feel good, but not in the kitchen.  It’s best not to wear your favorite clothing, since spills happen, and I recommend an apron too.

Wear gloves when prepping. This will prevent your hands from smelling like garlic or onions. It will also prevent the oil from hot peppers or chilies from getting on your hands and maybe your eyes or mouth.  Reusable gloves are great for this!

Indulge in one very good knife. You will be surprised how much it cuts down your prep time (pun very much intended!).

After chopping food, use the dull side of the knife to scrape up the contents. Knives should be sharpened regularly, but this will help keep them that way.

Read the recipe first. All the way through. This will give you a better understanding of the tools you will need as well as catch important instructions such as “reserve 1 cup of pasta water.” How many times do we forget to do that?

Cut a lemon into four wedges when you need to squeeze them for their juice. The smaller wedges make it so much easier to squeeze.

Dry all foods with towels, meat, poultry, and veggies. Water makes them steam and they will not brown properly. For meat and poultry, paper towels are best, but for veggies, a clean kitchen towel works great.

Taste, taste, taste! You need to make sure all the seasonings in your food taste exactly the way you want it to.

Keep things simple! Now go get yourself a nice glass of wine, you earned it!

I could go on and on and on, but I will stop here and leave the rest for another day. I hope you try these tips, they will really make a big difference in your cooking.

This is a really easy recipe if you want to keep it simple. There are five ingredients in it and it takes no time to whip up. The thing that will take the most time is waiting for the layers to freeze, so be sure to leave that time, otherwise the dessert will not set and the layers will run together. I also keep it refrigerated so it holds its shape. If you are a dark chocolate lover, feel free to use that instead, I just happen to be more of a fan of milk chocolate. If you really want to get fancy, find a recipe for chocolate ganache and put that on top. Wouldn’t that be decadent?

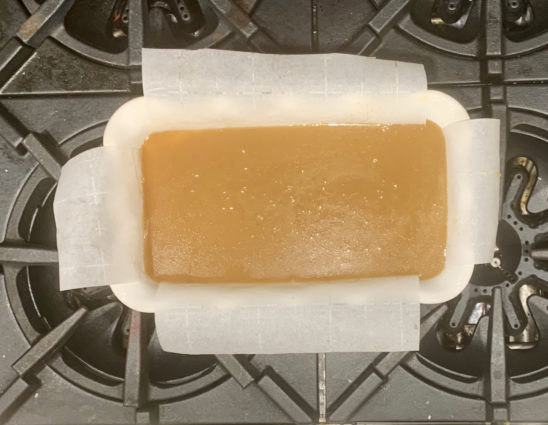
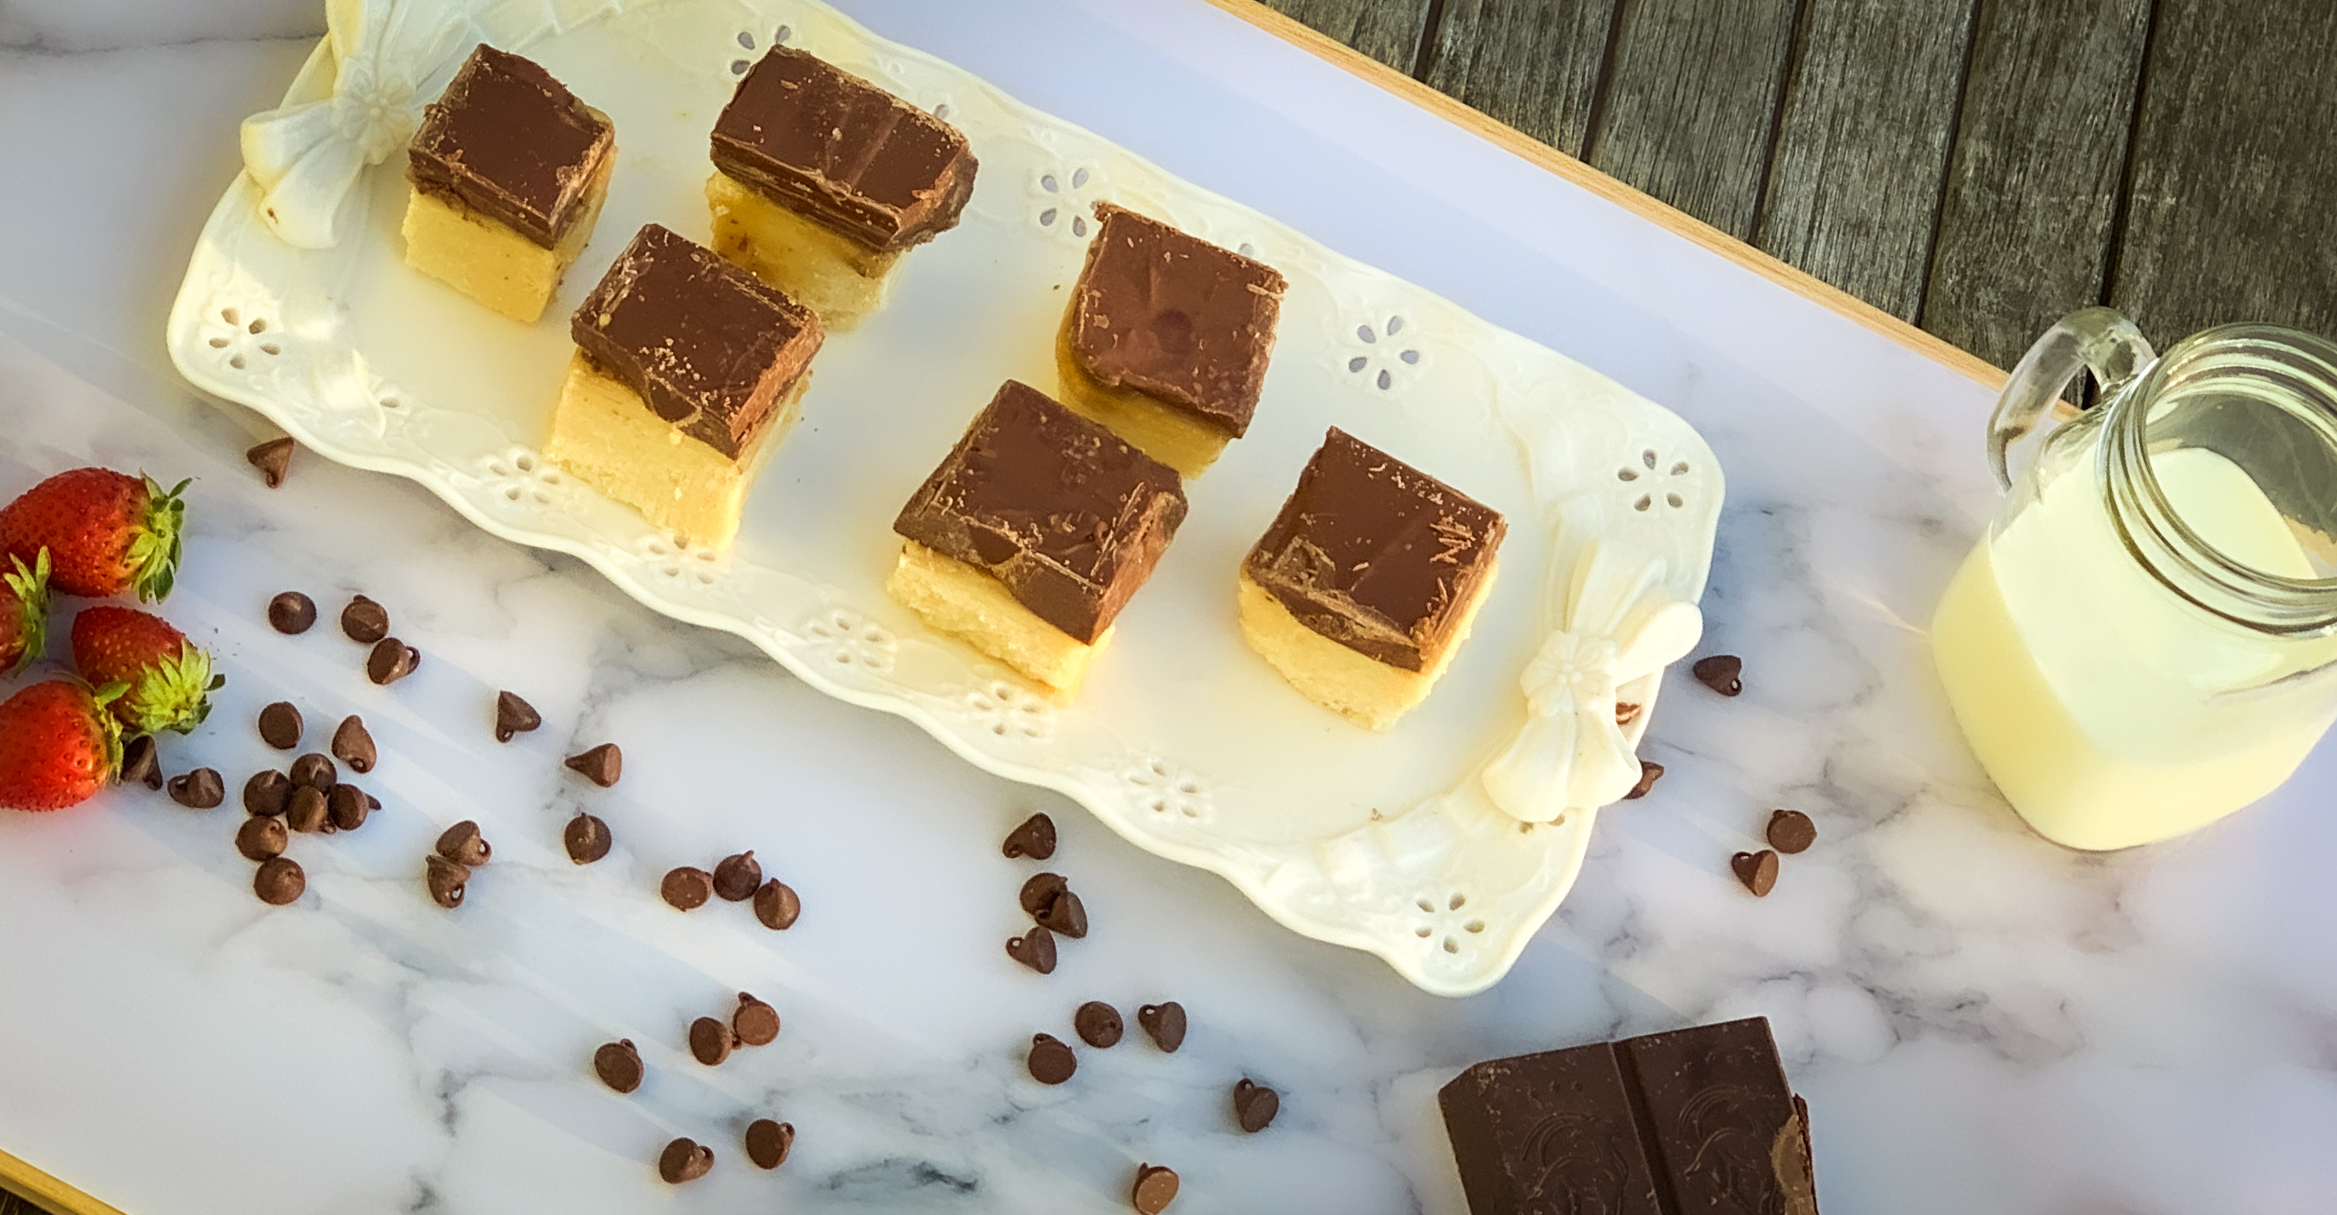
How could you not love millionaire shortbread? A layer of shortbread that serves as the vehicle to hold some chewy caramel (that’s already yummy), and covered with a blanket of chocolate. Topped off with a sprinkle of sea salt and you are in heaven. One bite and you are hooked. It’s a rich dessert (hence the name), so I cut the big squares into smaller ones. This is one dessert that ain’t called Millionaires for nothing! 

This recipe is my own and will make 28 pieces that are sure to surprise and delight your guests.

Ingredients for Millionaire Shortbread:

For the Shortbread:

1 cup (2 sticks) butter, softened
1 cup granulated sugar
1 1/2 teaspoons pure vanilla extract
2 1/4 cup all-purpose flour
1/2 teaspoon kosher salt

For the caramel:

1 cup light brown sugar, packed
4 tablespoons unsalted butter
1 teaspoon sea salt
1/2 cup heavy cream
1 1/2 tablespoons vanilla extract

For the chocolate layer:

2 cups milk chocolate chocolate chips
Sea Salt for garnish

Preheat oven to 300°.

Line a 13″-x-9″ pan with parchment paper and spray with cooking spray.

 Make shortbread layer:

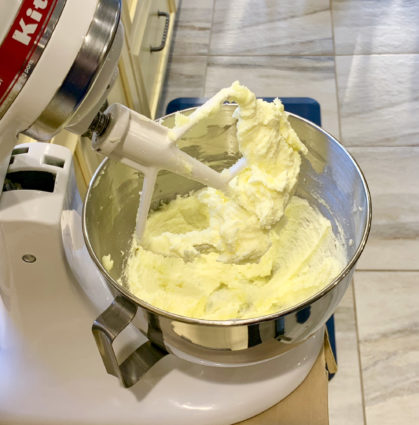
 Cream softened butter with sugar until light and fluffy.

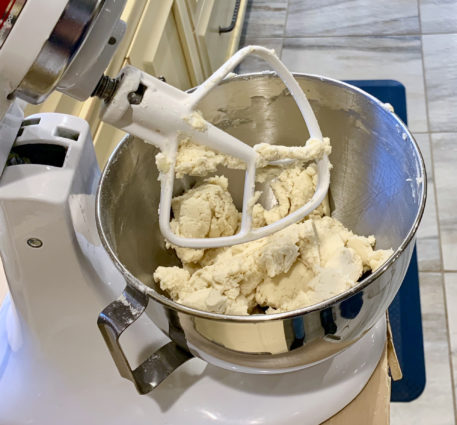
Add flour and vanilla and mix until a bread crumb texture forms.
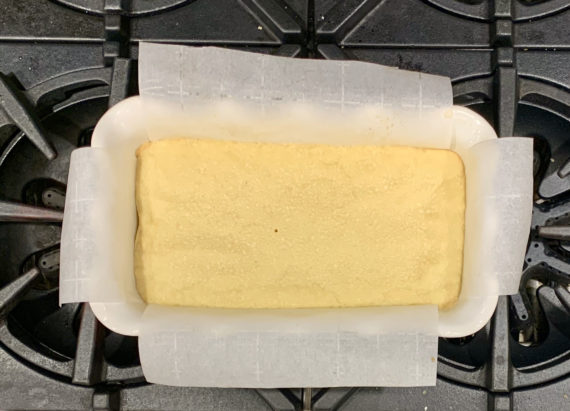
Press mixture into a prepared pan and prick all over with a fork.

Bake until lightly golden, 30 minutes.

Let cool completely.

Make the Caramel Sauce:

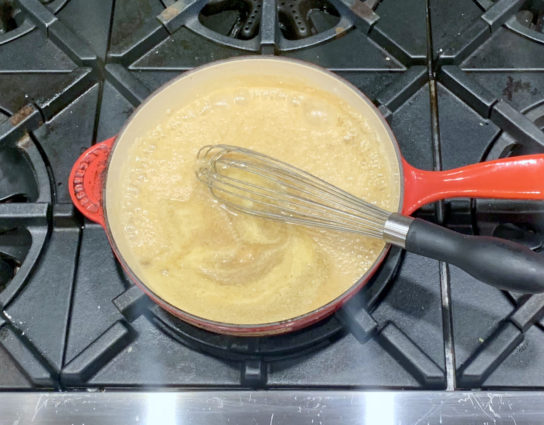
Combine all ingredients in a saucepan and simmer over low heat, whisking constantly or until thickened and no longer watery (6-9 minutes).

Remember, it thickens more as it cools.

Pour over cooled shortbread and place in the freezer for  to 8 hours or overnight.

Make the Chocolate:

Place a small pot filled halfway with water on medium-high heat.

Bring to a boil.

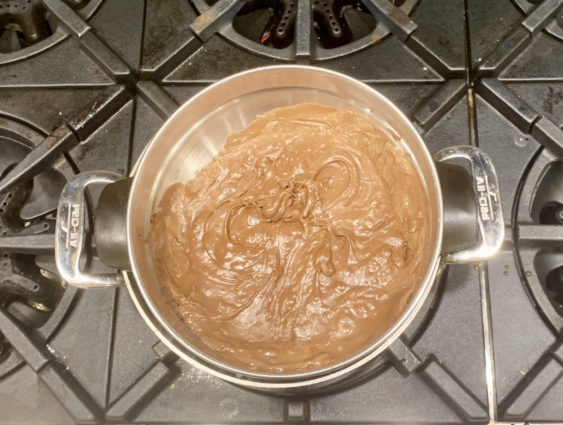
Place chocolate in a double boiler and heat until chocolate is fully melted.

 Take shortbread out of freezer.

 Make sure the caramel is frozen.

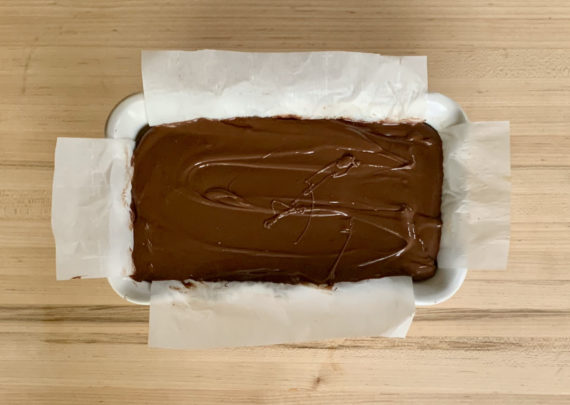
 Pour the melted chocolate over the caramel layer.

Place in freezer for 6 to 8 hours or overnight.

Take shortbread out of freezer and let it come to room temperature.

Slice into bars.

Slice bars into quarters.

Top with sea salt.

It’s that simple!

signature

[recaptcha]


Most folks love apples. They are good any time of the day, from chopped apples in your morning oatmeal, to placing them in between two slices of turkey for lunch, or cutting them into sticks and served in a stir fry for dinner. Eat them raw with peanut butter as a snack, or bake them into a lovely fall dessert.

We know that apples are a healthy treat as well as a delicious one.  The old saying “an apple a day keeps the doctor away” turns out to be based in fact as well. Apples are a great source of vitamin C, potassium, and fiber. They also contain pectin, which becomes food for healthy gut bacteria. As it turns out, they are also are rich in antioxidants and phytonutrients that may reduce the risk of developing cancer, hypertension, diabetes, and heart disease.

But which apples are best to cook for specific recipes? Here are a few recommendations based on the Farmer’s Almanac:

Braeburn: Tart, sweet, aromatic, tall shape, bright color, best for applesauce.

Cortland: Tart, crisp, larger than McIntosh, best for pies, fruit salad, and applesauce.

Fuji: Sweet, juicy, firm red skin, best used for baking.

Gala: Mild, sweet, juicy, crisp, yellow-orange skin with red striping (resembles a peach), best used for cider.

Granny Smith: Moderately sweet, crisp flesh, green skin, best used for baking.

Jonagold: Tangy-sweet, yellow top, red bottom, best used for pies and applesauce.

McIntosh: Juicy, sweet, pinkish-white flesh, red skin, best used for applesauce.

Rome Beauty: Mildly tart, crisp, greenish-white flesh, thick skin, best used for baking and cider.

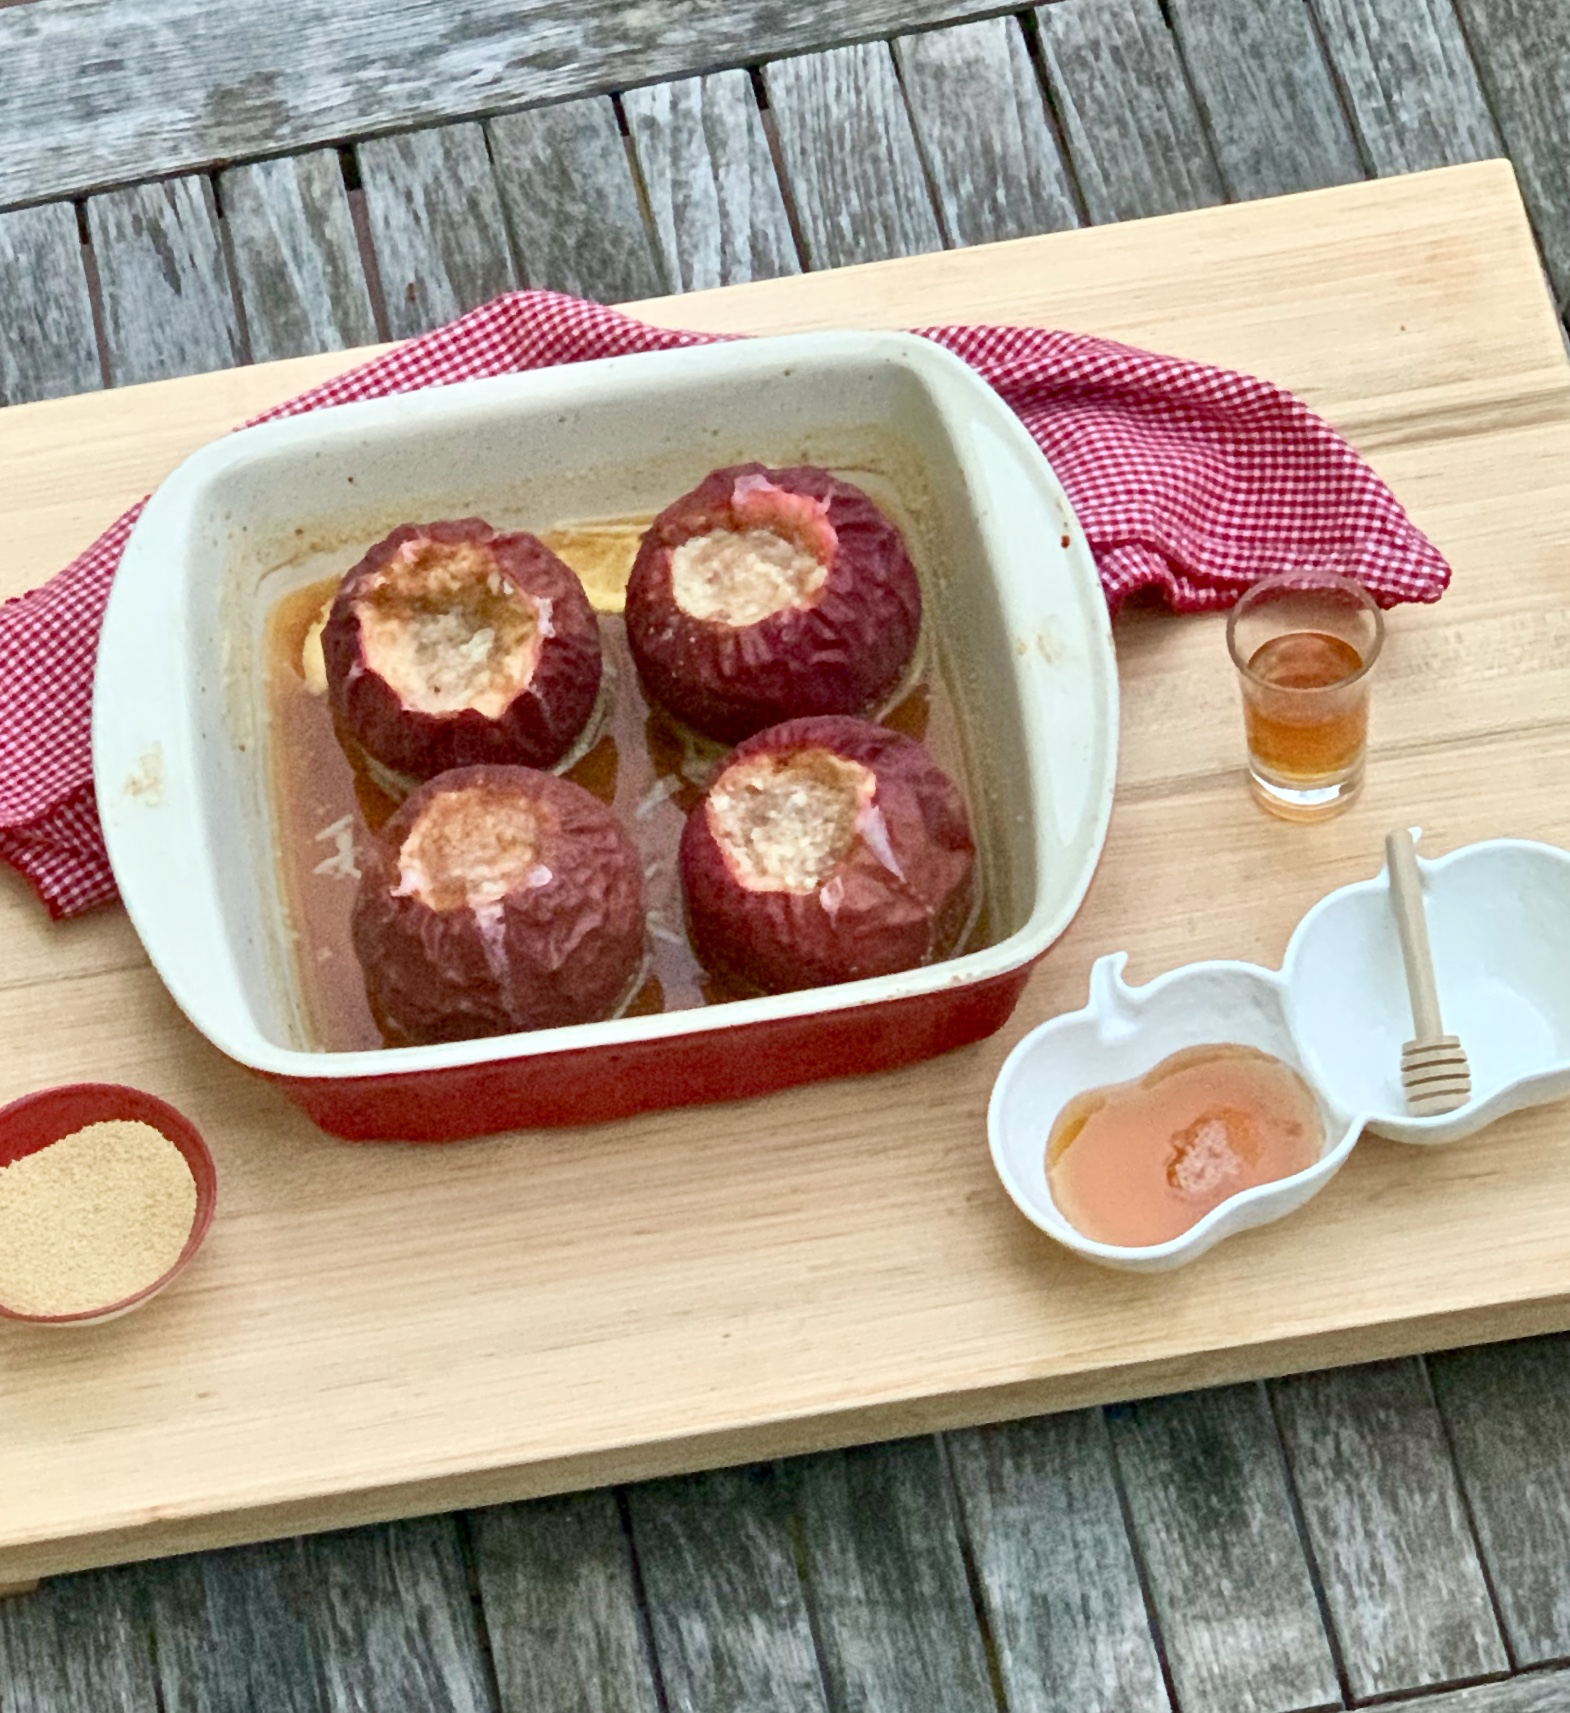
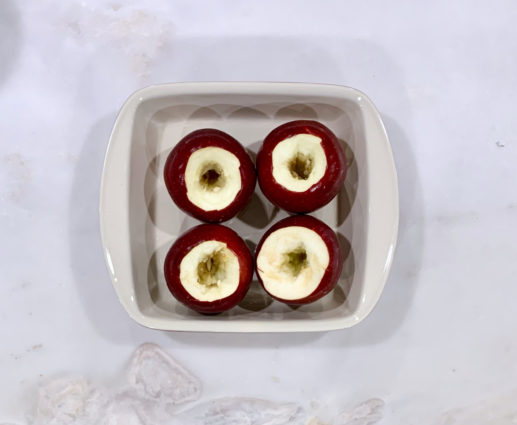
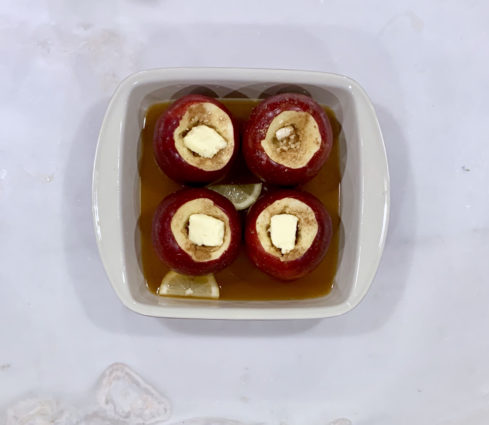
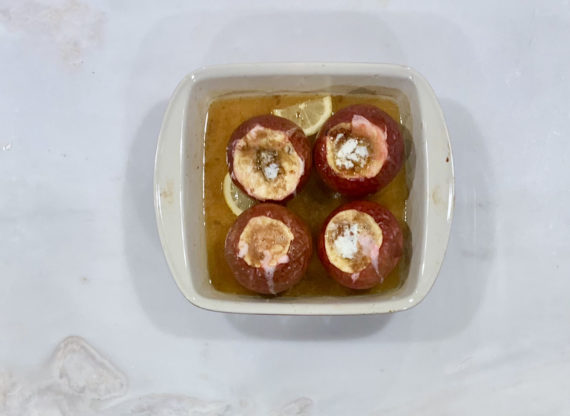
I used beautiful, deep red Rome apples for this recipe. I’m sure a lot of you have your own baked apple recipe, but surely some who do not. I never had one growing up, and it wasn’t until I was married for several years before I even tried one. Now I am hooked.

This sweet treat is rich in savory wholesomeness. It is a very simple, old-fashioned dessert. The sweet honey and brown sugar, combined with the cinnamon and nutmeg make this a delicious, luscious delicacy. Perfect for a cool, fall day— or any other day!

They do not photograph well after baking, hence the feature.  

Better to just eat them.

This recipe will serve 4 people who will feel the fall spirit.

Ingredients for Baked Apples:
4 large baking apples, like Rome Beauty
2 lemon wedges
2 to 3 dried apple rings, cut into bits
1 teaspoons honey for each apple, plus 1-2 more for liquid
A pinch of nutmeg for each apple
A pinch of cinnamon for each apple
1/2 teaspoon brown sugar for each apple
1 tablespoon salted butter
1 cup apple cider or juice
1/4 cup bourbon
Heavy cream, whipped cream or ice cream, for serving (optional)
Cinnamon, for dusting (optional)

Center a rack in the oven and heat to 375.

Line a baking sheet with parchment paper or foil, and set a 9- or 10-inch glass pie dish on top.

Cut a small cap off the top of each apple.

Using a paring knife or corer, core the apples, making sure not to go all the way to the bottom.

Cut away and reserve about 1/2 inch of peel around the tops of the apples.

Rub the peeled portions of the apples with the lemon, squeezing a little juice into each opening.

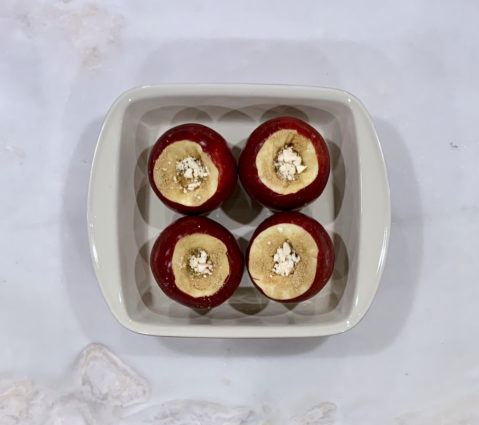
Fill each apple with an equal amount of dried apple, pressing down lightly as needed to push bits into the opening.

Pour 1/2 teaspoon honey and sprinkle brown sugar over the dried fruit in each apple.

Top with a pinch of nutmeg and cinnamon.

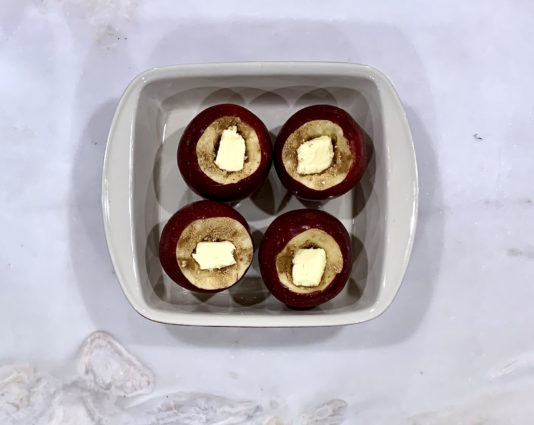
Cut the butter into 4 pieces, and top each apple with a pat. 

Take apples out of dish; set aside.

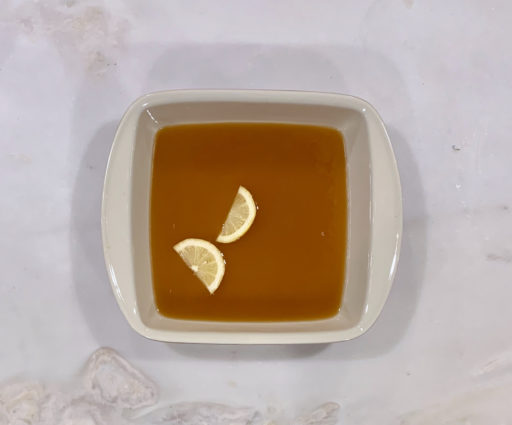
Pour in the cider or juice, bourbon and stir in 1 to 2 teaspoons honey.

Add lemon wedges and a few of the reserved peels into the pie dish. 

(The honey won’t blend evenly into the cider, and that’s fine.)

Add apples back into baking dish.


Bake the apples, basting occasionally with the cider mixture, until you can poke them with a skewer or the tip of a knife and not meet much resistance, 50 to 70 minutes.

Since apples are so variable, check early and often, as you might need more or less time.

It’s that simple!

signature

[recaptcha]


Planning a party means working out everything from the table settings to the main menu.  Somewhere in there, you have to decide on your appetizers. When I was growing up, our dinner parties never included appetizers, only bowls of mixed nuts. Nowadays, the appetizers are given as much thought as the entree.  Are you going to go all the way and serve hors d’oeuvres, which are eaten with a knife and fork? How about canapes, that the guests can enjoy with their fingers? Easier still are crudités, which are usually raw fruits and veggies for dipping.

With all the variables, one thing we do know is that hors d’oeuvres must be on the menu. There are so many options that it should be easy to find a few seasonal dishes. Given the variety of diets, make sure you include a meat option, a vegetable option and if you need to, a gluten-free option. For fall or winter events, warm options like baked brie or pigs-in blankets are good choices. Make them easy to pass around, or if you are serving buffet-style, try artisan cheese platters or vegetable crudites.

For food that requires toothpicks, make sure you have a few receptacles around for disposal– nobody likes stepping on a used toothpick.  You also want to put lots of napkins out so guests can keep their hands clean. More enterprising guests will certainly try to hold everything at once.  To avoid spills, encourage those folks to place the napkin (or two, for larger apps) or plate on top of their glasses; they’ll find it much easier that way.

The best advice I have is that you should make your hors d’ouerves simple. You don’t want to slave away in the kitchen and not be able to enjoy your own gathering. Pick ones that you can make ahead of time and heat up just before your guests arrive so that you’re able to enjoy the party with them. 

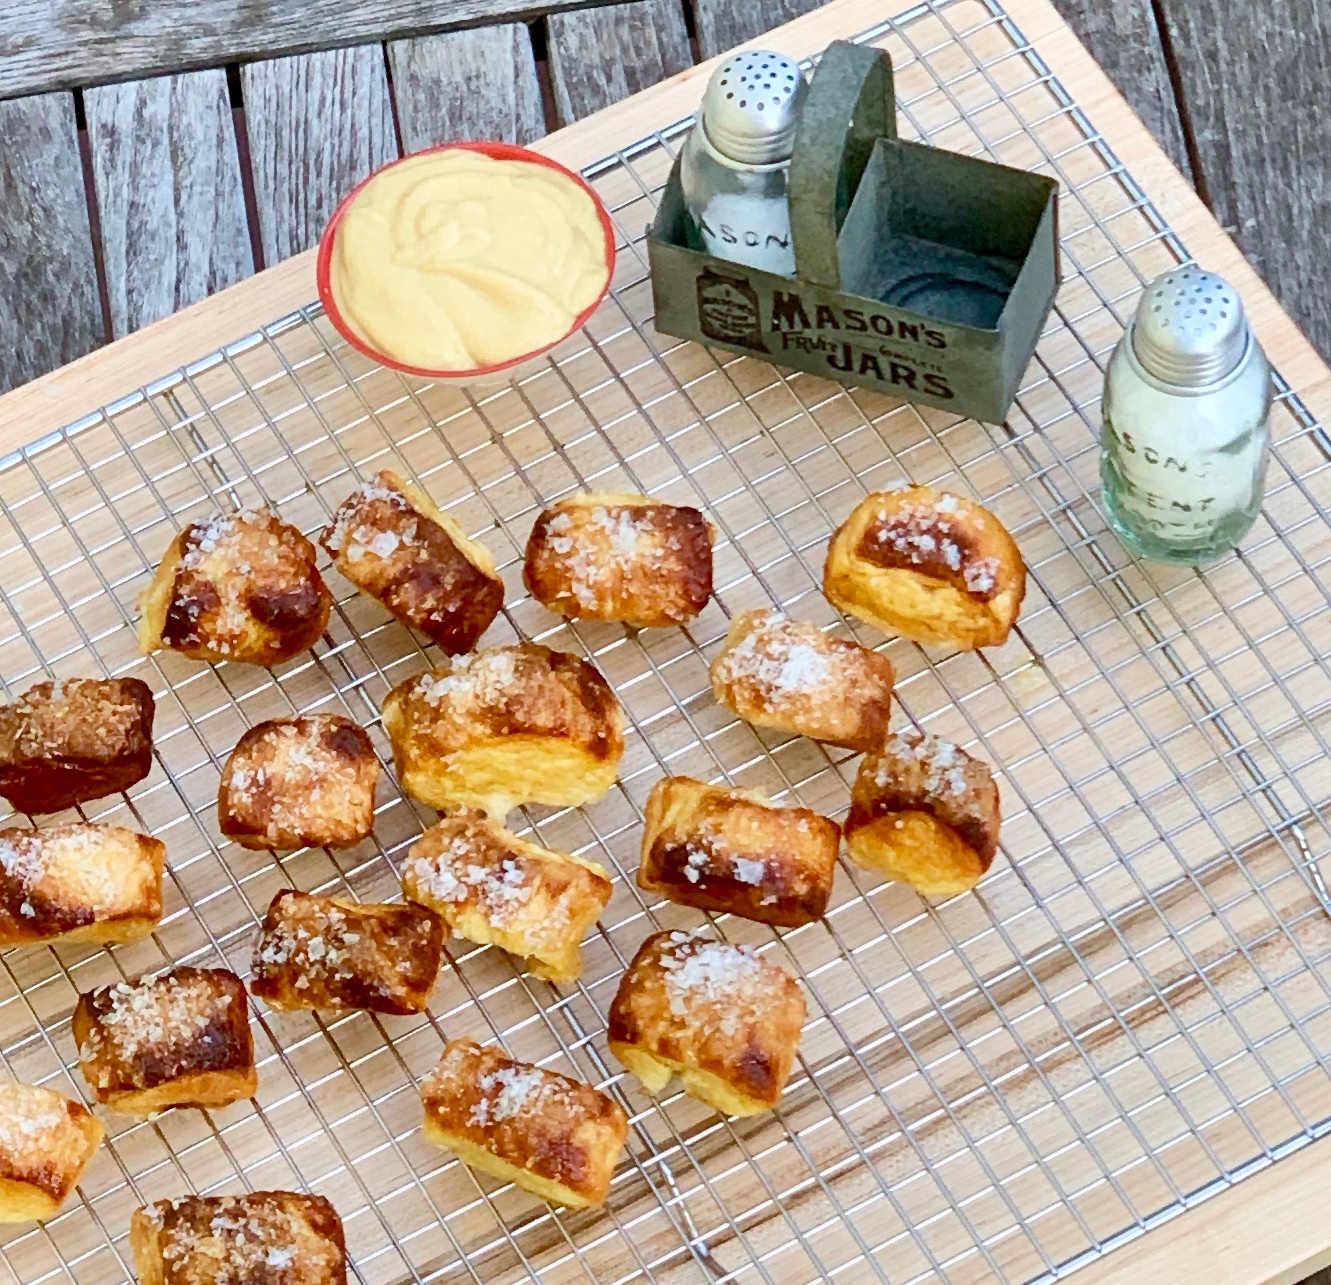
This recipe should do the trick. The author made these pretzel bites with enriched challah dough so the inside would be more flavorful. While you could shape them into mini pretzels, they work better for a party as bite sized pieces. This appetizer is truly special. The outside is beautifully browned and the inside is soft and fluffy. Pop each one into your mouth for a bite of pure joy and delight, on its own or with a dip.

This recipe is courtesy of Food 52 and will make a whole lot of pretzel bites that will delight even the pickiest guest.

Ingredients for Pretzel Bites:

3/4 cups warm water (around 105F)
3/4 tablespoons active dry yeast
3/4 teaspoons salt
2 eggs, beaten
1/4 cup honey
1/4 cup butter, melted
3 1/2 cups all-purpose flour (plus more for dusting surfaces, etc.)
8 cups water
2 tablespoons sugar
1/4 cup baking soda
1 egg white, for egg wash
fleur de sol

In a large bowl stir together the warm water and honey.

Sprinkle with yeast and let stand until the yeast is foamy (about 5 minutes).

Stir in the butter, salt, and eggs.

Stir in the flour until it is entirely incorporated and it comes together in a shaggy ball.

Turn out the dough onto a floured surface and knead it for several minutes, until smooth.

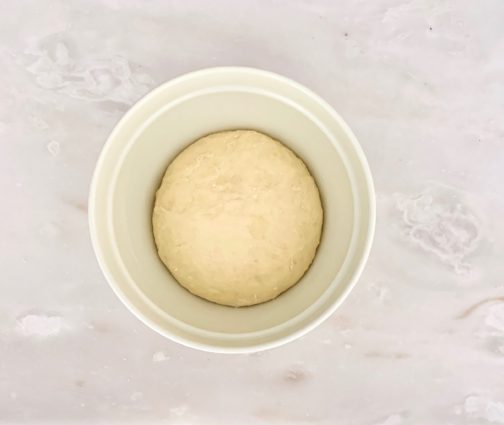
Put in a lightly oiled bowl, cover with a cloth and let rise in a warm place until it rises and collapses (90 minutes – 2 hours)


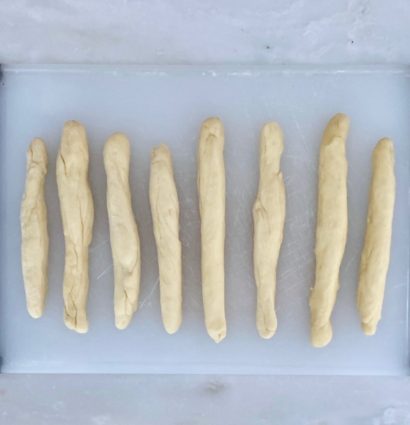
Punch the dough down, and on a floured surface roll it out into 8 ropes, each about 3/4 of an inch wide.

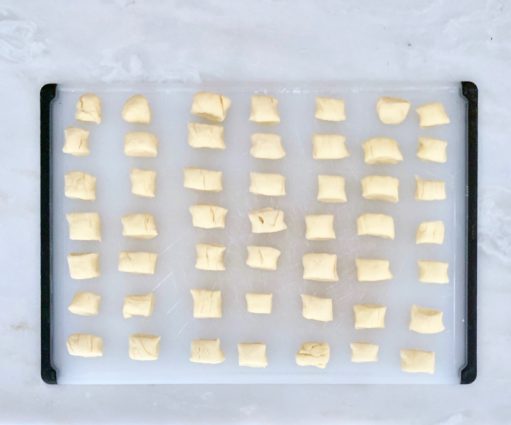
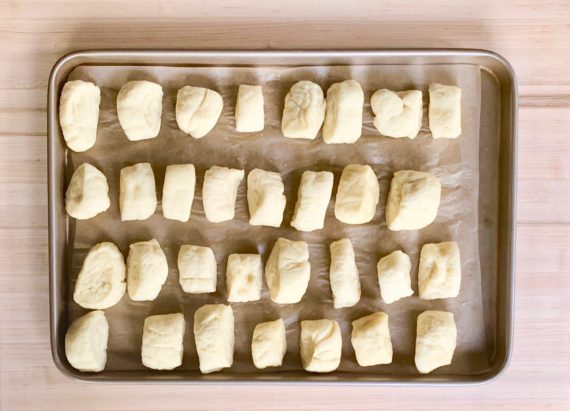
Cut the ropes into 1-inch pieces, separate them from each other placing them on a tray or baking sheet and cover with a towel.

Allow to rise for 30 minutes.

Preheat oven to 425F. Bring a large pot filled with 8 cups of water to a boil.

Once it is boiling, stir in 2 Tbs. sugar and 1/4 cup baking soda.

It will bubble up like crazy! But then it will subside.

Turn the heat down to a high simmer and add your little dough pieces, about ten at a time, making sure they’re not crowding each other.

Let them simmer for about a minute, giving them a couple little stirs during the process to make sure both sides cook.

Remove from water with a slotted spoon and put onto a parchment-lined baking sheet.

Repeat until all the little dough bites have been cooked in the water and have been placed onto baking sheets.

You can squeeze on quite a few per sheet, as long as they have a space between each of them.

Brush the bites with egg white and sprinkle with fleur de sel.

Bake in the oven for about 15 minutes, until they are a deep chestnut brown, make sure you don’t take them out when they’re too pale.

Remove onto cooling racks immediately to cool.

These pretzel bites are best eaten the day they are baked (very best fresh-baked, of course), so I guess you’ll have to do it the morning or afternoon of the party!

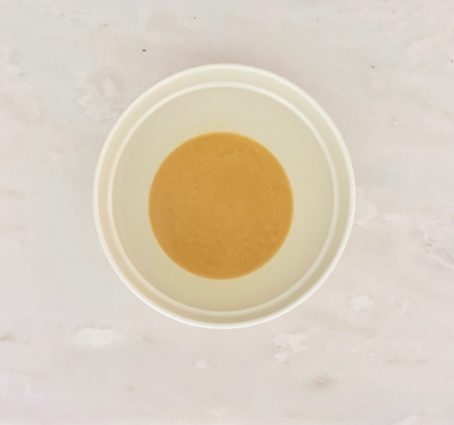
Serve with a little bowl of mustard, blue cheese dip (1 cup crumbled blue cheese whisked with 1/2 cup mascarpone), or chocolate fondue.

It’s that simple!

signature

[recaptcha]


There are so many reasons to be sad when the summer ends. It is nice not to have a schedule and be more leisurely. People miss the flexibility of doing whatever they want: day trips to the beach, long walks, BBQs, ice cream, and afternoons at the pool. No hectic schedules, no packing lunches, no waking up early, and no homework.

On the other hand, September is a landmark month. It is the month that every student dreads, and many moms anticipate the anxiety in their children. School is starting, the weather changes, the days become shorter, and the holiday season begins.  New schedules, new jobs, new school year, and new homework assignments. It can be a hard transition, so let’s look on the bright side.

Autumn weather is perfect. No humidity, and just a touch of cold to make your cheeks pink. It’s nice to break out light jackets, scarves, and boots. The leaves change color and create beautiful blankets of color against a crisp, blue sky. There are so many Fall activities too! Apple and pumpkin picking, football season, Halloween, and Thanksgiving. The Fall season is about making memories with friends and family, old and new. 

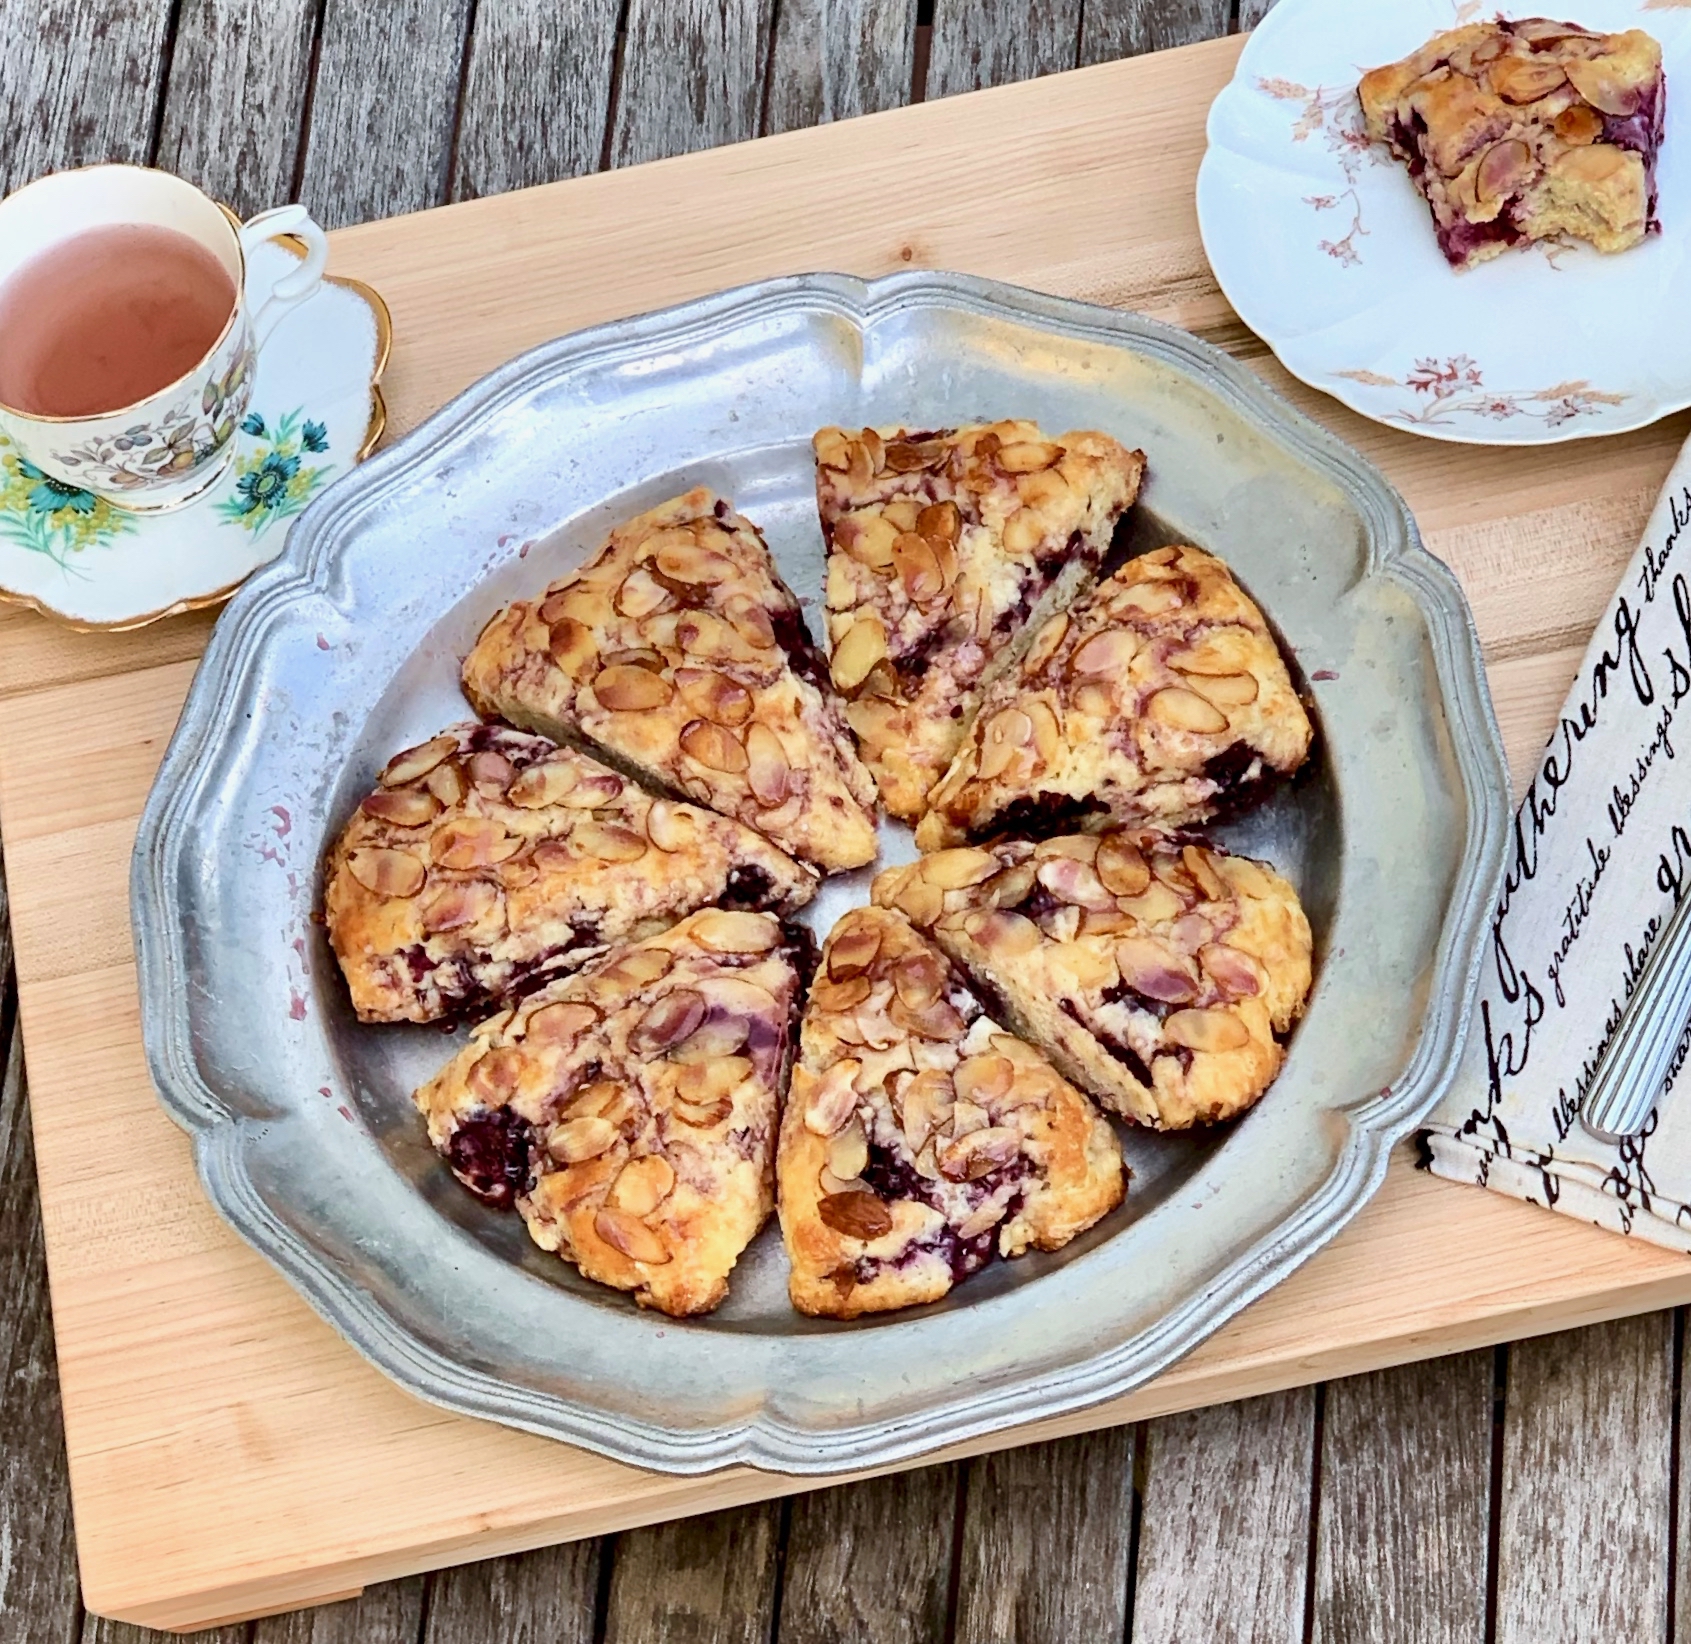
With that said, it’s been a wonderful summer, and it deserves a sweet sendoff featuring one last lovely berry: the humble raspberry. Sweet, tart, or in between, I love them all. This recipe pairs as well with your morning coffee as it does as an after-dinner treat. These scones are so moist and flaky, it feels like you are biting into sweet air. The buttermilk gives it some substance, and the combination of vanilla and almond extract add a savory taste. The raspberries, of course, are the stars of these luscious treats, adding tart and sweet flavors together.

This recipe is courtesy of My Baking Addiction, and will serve 8 people who will enjoy this treat to usher in a beautiful fall.

Ingredients for Raspberry Almond Buttermilk Scone:

2 cups all-purpose flour (spooned & leveled), plus more for hands and work surface
1/2 cup granulated sugar
2 and 1/2 teaspoons baking powder
½ teaspoon salt
1/2 cup unsalted butter, frozen
1/2 cup + 2 tablespoons buttermilk, divided
1 large egg
1 teaspoon pure vanilla extract
1/2 teaspoon almond extract
1 package (6 ounces, or 1 and 1/4 cups) raspberries
1/3 cup sliced almonds

For the Fresh Raspberry Icing:

1/2 package (3 ounces or about 1/2 cup) raspberries
2 teaspoons granulated sugar
1 and 1/2 cups confectioners’ sugar
1 tablespoon cream or milk

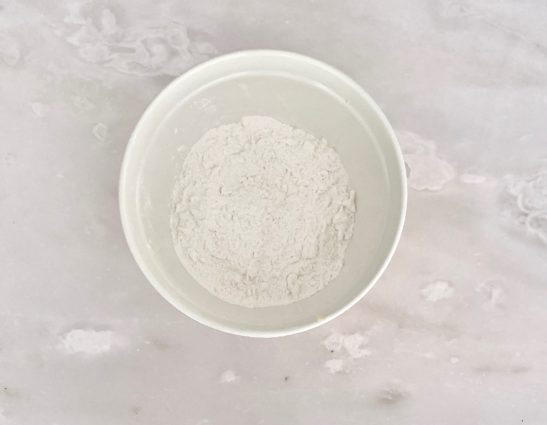
Whisk flour, sugar, baking powder, and salt together in a large bowl.

Grate the frozen butter using a box grater

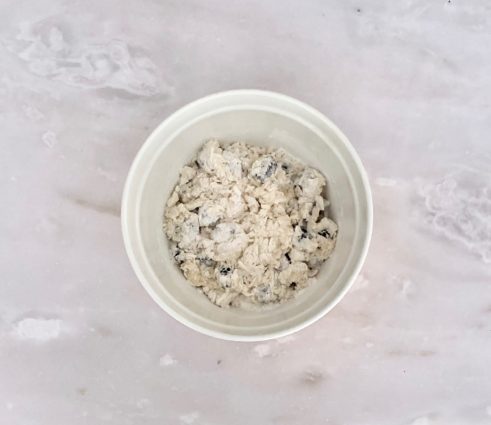
Add it to the flour mixture and combine with a pastry cutter, two forks, or your fingers until the mixture comes together in pea-sized crumbs.

Place in the refrigerator or freezer as you mix the wet ingredients together.

Whisk 1/2 cup buttermilk, egg, vanilla extract, and almond extract together in a small bowl.

Drizzle over the flour mixture, add the raspberries, then mix together until everything appears moistened.

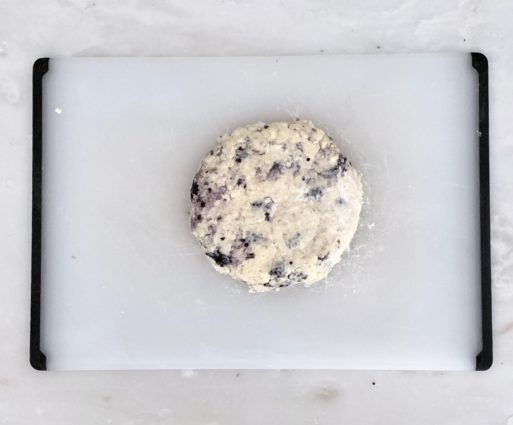
Pour onto the counter and, with floured hands, work dough into a ball as best you can.

Dough will be sticky. If it’s too sticky, add a little more flour.

Press into an 8-inch disc.

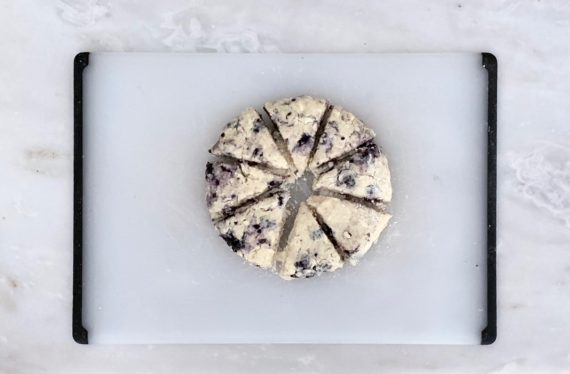
Using a sharp knife or bench scraper, cut into 8 wedges.

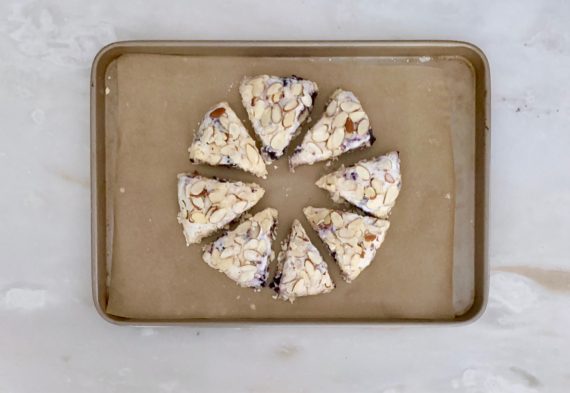
Brush scones with remaining buttermilk and top with sliced almonds. (You can do this before or after refrigerating in the next step.)

Place scones on a plate or lined baking sheet (if your fridge has space!) and refrigerate for at least 15 minutes.

Meanwhile, preheat oven to 400°F (204°C).

Line a large baking sheet with parchment paper or silicone baking mat. After refrigerating, arrange scones 2-3 inches apart on the prepared baking sheet(s).

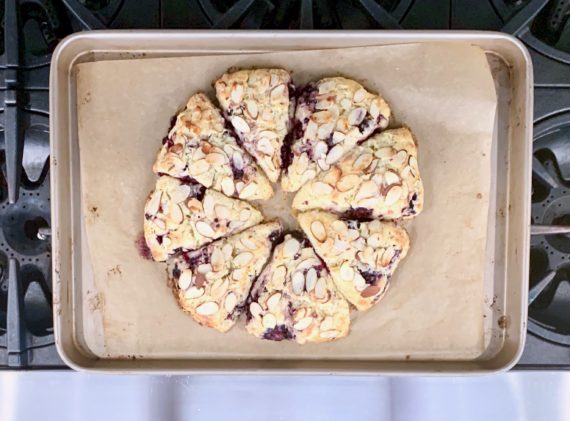
Bake for 22-25 minutes or until golden brown around the edges and lightly browned on top. Remove from the oven and cool for a few minutes as you prepare the icing.

Make the icing:

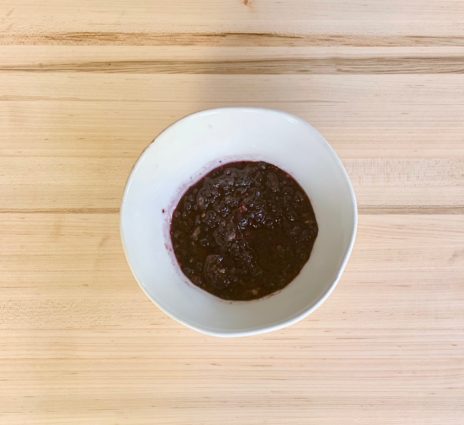
Toss the raspberries and granulated sugar together.

Vigorously stir to break up the raspberries.

Allow to sit for 5 minutes as the raspberries let out their juices.

Strain the raspberries through a fine mesh sieve over a medium bowl.

Use a spoon to press them through, extracting all the juices.

You’ll have about 3 Tablespoons of juice.

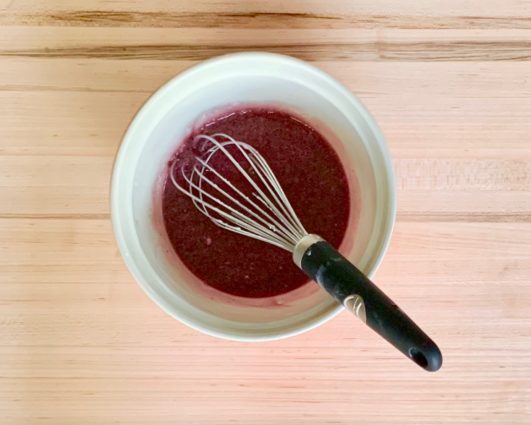
Whisk in the confectioners’ sugar and milk.

Add a little more confectioners’ sugar to thicken or more milk to thin, if desired. Drizzle over warm scones.

Leftover iced or un-iced scones keep well at room temperature for 2 days or in the refrigerator for 5 days.

It’s that simple!
signature

[recaptcha]