Happy Halloween!

The name Halloween comes from “All Hallows Eve,” and falls on the day before All Saints Day, a traditional holy day for Christians. People tried to appease the restless spirits on Halloween, and these practices led to many of today’s holiday traditions.  Parades, pumpkin carving, and trick or treating are the three beloved traditions of the day.

Anoka, Minnesota is believed to be the first city in the United States to put on a Halloween celebration to divert its youngsters from more devious Halloween pranks. When the people of Anoka awoke to find their cows roaming Main Street, windows soaped and outhouses tipped over, they decided something had to be done. But what could they do?

A block party, complete with costumes, food, fun, and parties seemed like the perfect idea.  Halloween became a wonderful distraction for the town for generations to come, and they wouldn’t have it any other way. The crispness of the season, the warmth of comfort food, and the creative costumes are just a few reasons to love the month of October. In 1920, George Green and other Anoka civic leaders suggested the idea of a huge, festive celebration. The idea was adopted by the Anoka Commercial Club and the Anoka Kiwanis Club; both giving their full support.

Anoka’s Halloween celebration continues to this day. Both the night parade and Grande Day parade have grown to include units from all over the Midwest. The original concept of having costumed students parade down Main Street continues on the Friday preceding the Grande Day parade. Anoka residents can watch their grandchildren or great-grandchildren continue what they started so many years ago. And, as you know, the entire country has taken up this tradition too.

Pumpkin carving is another traditional Halloween activity, but why do we carve pumpkins on Halloween? According to Britannica, the origin comes from an Irish myth about Stingy Jack, who tricked the Devil for his own monetary gain. When Jack died, God didn’t allow him into heaven, and the Devil didn’t let him into hell, so Jack was sentenced to roam the earth for eternity. In Ireland, people started to carve demonic faces out of turnips to frighten away Jack’s wandering soul. When Irish immigrants moved to the United States, they began carving jack-o’-lanterns from pumpkins, as these were native to the region.

The most cherished tradition is trick or treating.  Again, according to Britannica, it involved going door-to-door in costume, performing short scenes or parts of plays in exchange for food or drink. The custom of trick or treating on Halloween may come from the belief that supernatural beings, roamed the earth at this time and needed to be appeased.

Here is hoping you a spooky night of boos and chills. I hope you and your friends enjoy the most magical, spooky thrills! May you dance like a ghost and fly like a witch. May you find this year full of your favorite things and good health. It is not my favorite holiday, but if it is yours, I hope you have scary fun with lots of good treats. I just want to remind everyone to be careful and enjoy a safe holiday.

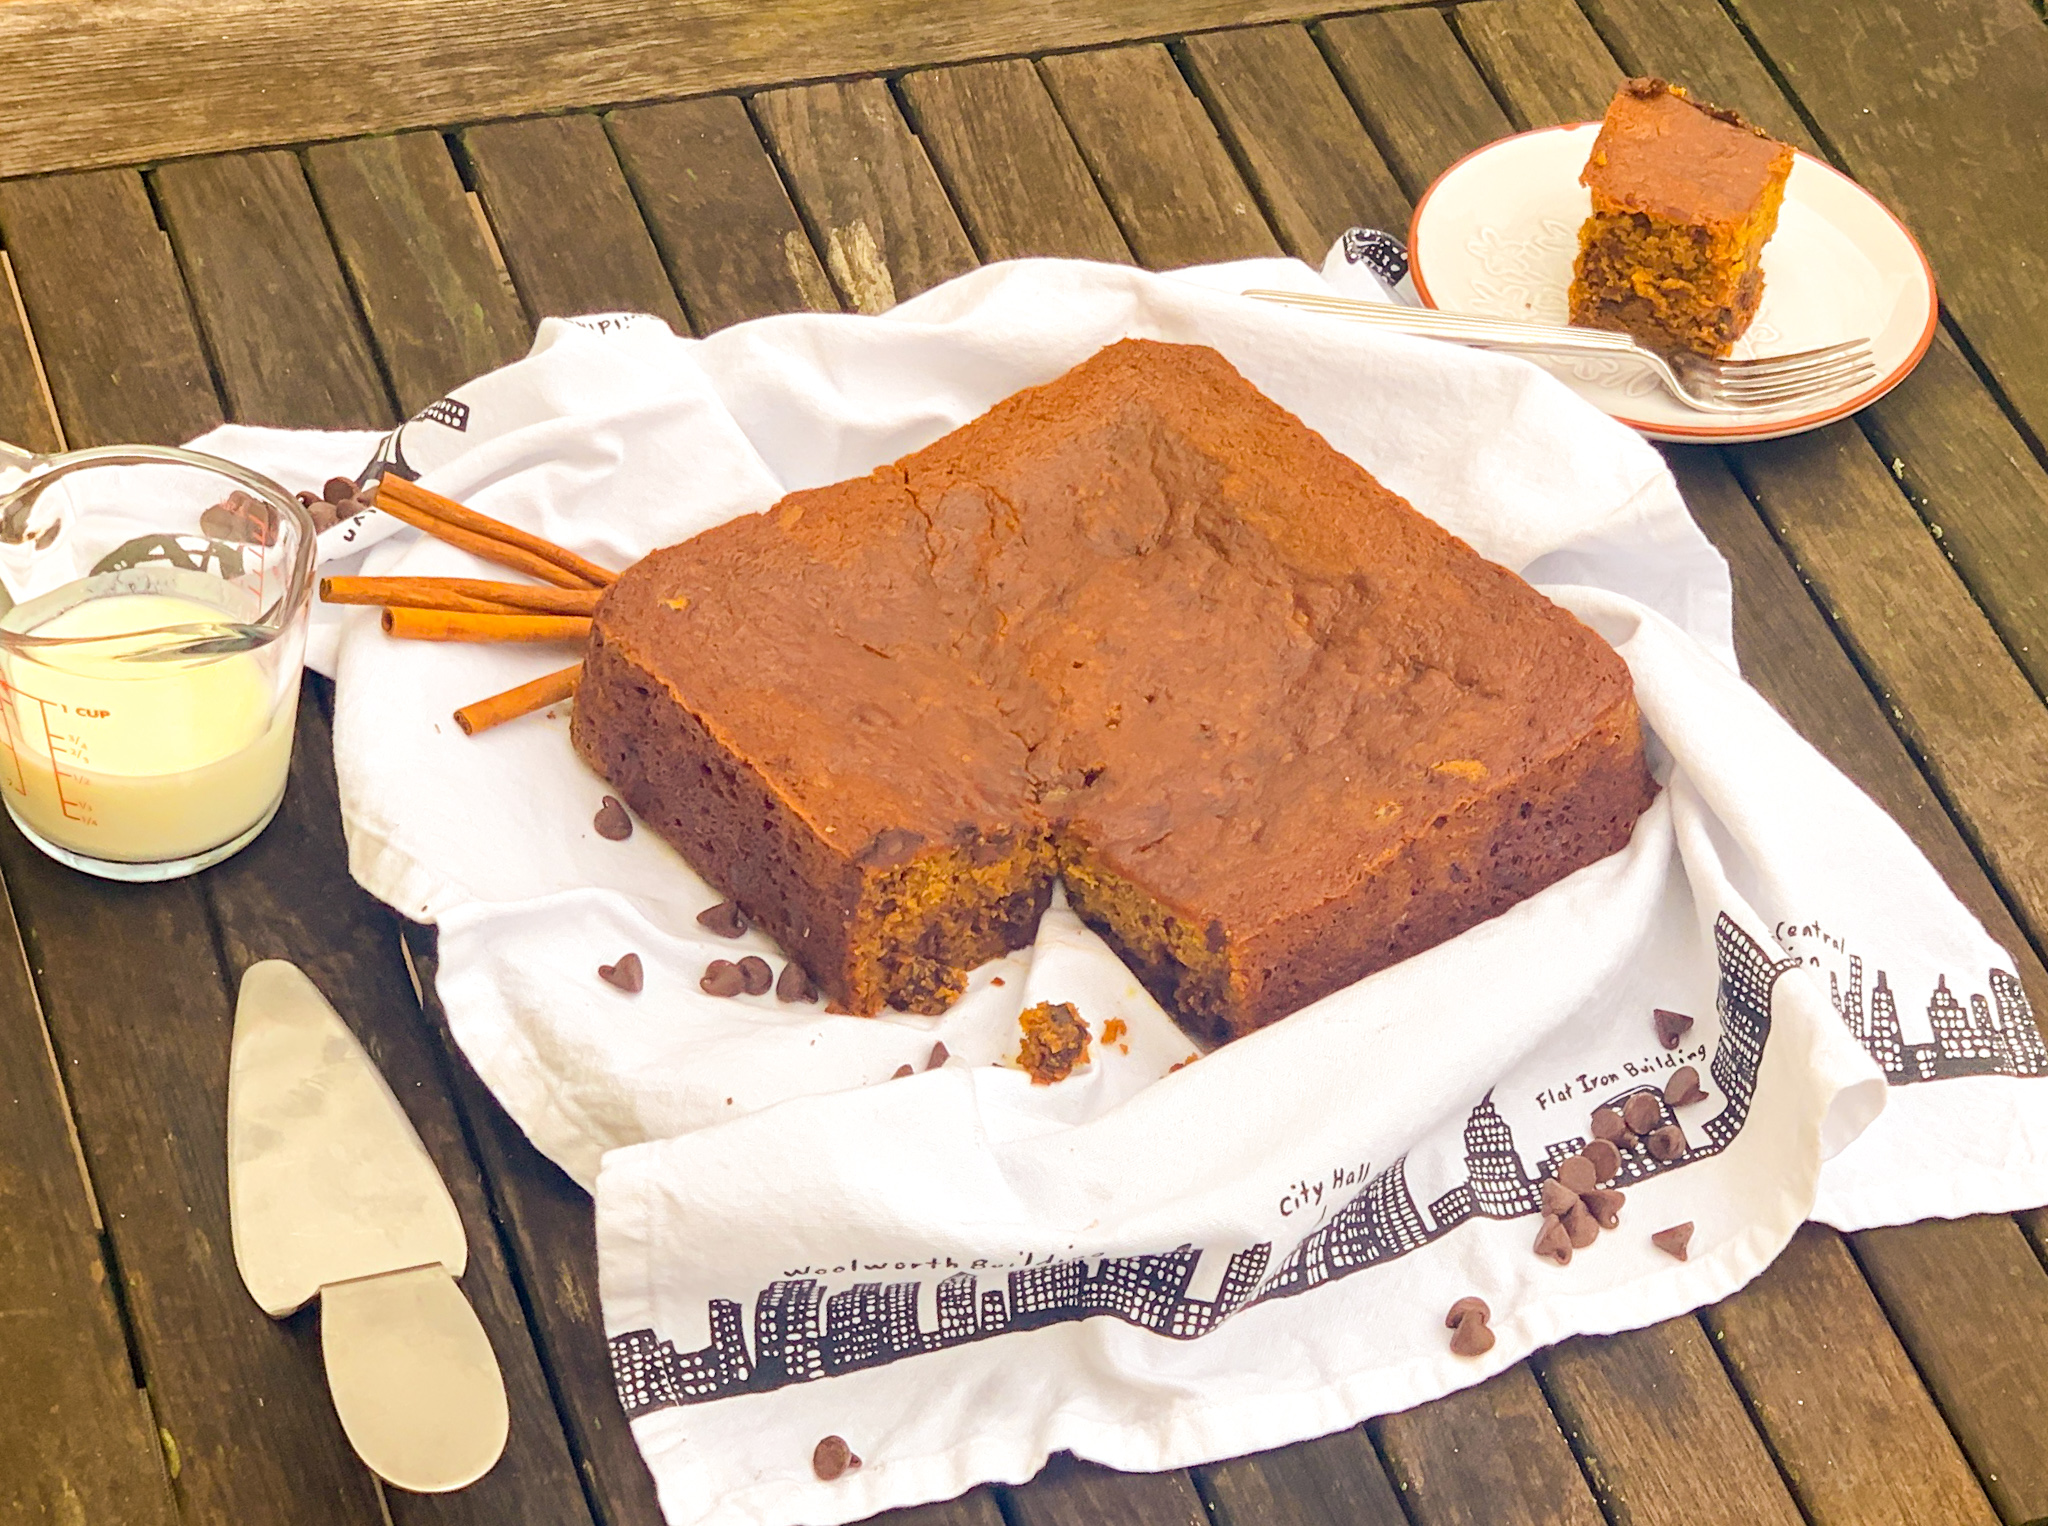
Now this is a perfect treat for your Halloween festivities. The oil, butter, eggs, and buttermilk ensure a rich, moist bread. The chocolate chips add a delicious chocolate flavor that combines beautifully with the pumpkin. The pumpkin puree screams (yes, pun intended) “Halloween” in every bite. The cinnamon and vanilla are the savory here, giving this bread a full depth of flavor. Baking it in a square pan allows the bread to cook evenly and ensures every bite is lusciously addicting. This is a “keeper,” and the best thing is that you do not need to wait for Halloween to make it.

This recipe is courtesy of Danielle Kartes, in her book, Meant to Share. It will serve 8 to 10 people who will love sharing in the spooky frights of the day.

Ingredients for Chocolate Chip Pumpkin Bread:

1/2 cup soft butter, plus more for the pan
3/4 cups all-purpose flour, plus more for the pan
3/4 cups brown sugar
2 tablespoons neutral oil (See Note)
3 eggs, at room temperature
1 cup pumpkin purée
2 teaspoons vanilla extract
1/2 teaspoon ground cinnamon
1 teaspoon kosher salt
1 tablespoon baking powder
1/2 tablespoon baking soda
1 (12 ounce) bag semisweet chocolate chips
1/2 cup full-fat buttermilk

Note: A neutral oil is a cooking oil that has a neutral flavor vegetable or grapeseed. This sets them apart from stronger flavored oils like olive oil and avocado oil. These oils often aren’t used in baking because of their strong flavor.

Heat oven to 350°F.

You can use a loaf pan or a square 9 x 9-inch baking pan. The author recommends the latter.

Generously butter and lightly flour a baking pan and set aside. ( I used parchment paper to line the pan)

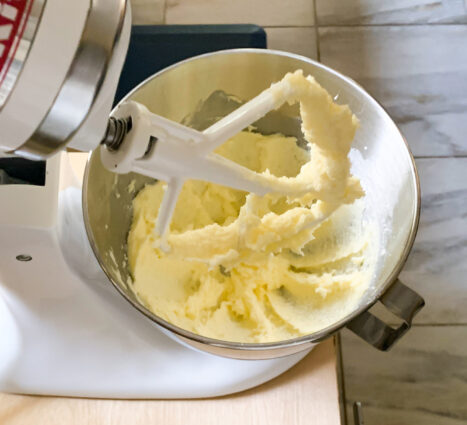
Cream butter and sugar on low speed using a hand or stand mixer.

Add the oil and eggs, one at a time, mixing on low speed after each addition.
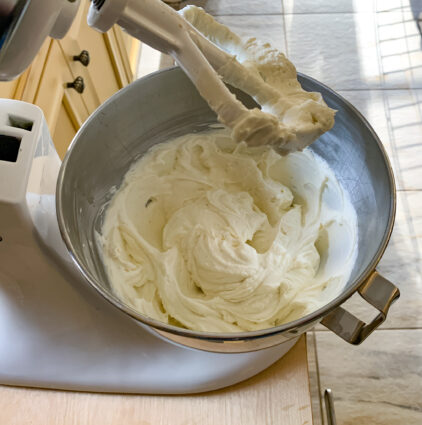
Add the pumpkin, vanilla, cinnamon, and salt.

Mix until just combined.
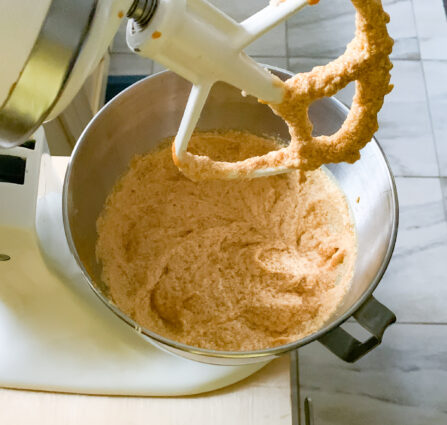
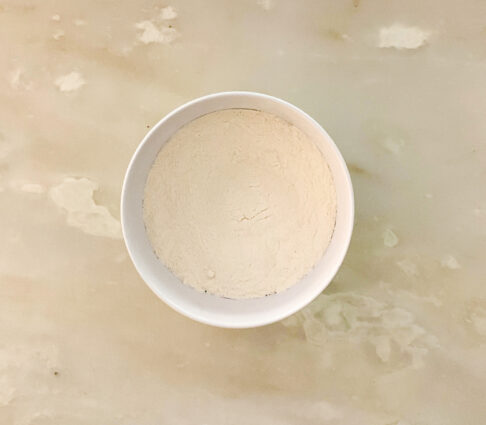
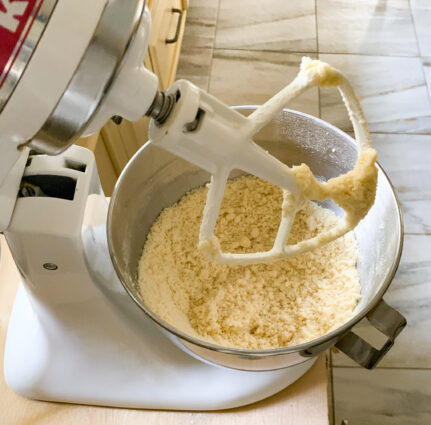
Add the flour, baking powder, baking soda.
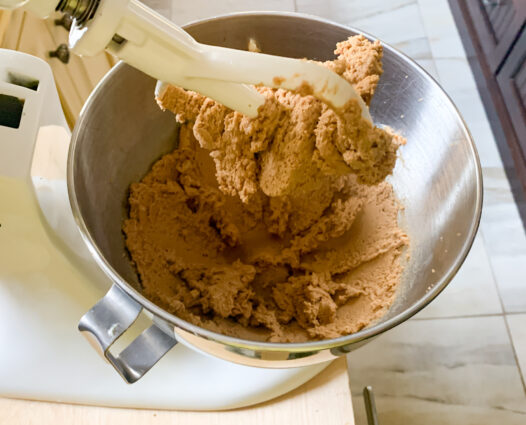
Add chocolate chips, then mix by hand gently until everything is just incorporated.
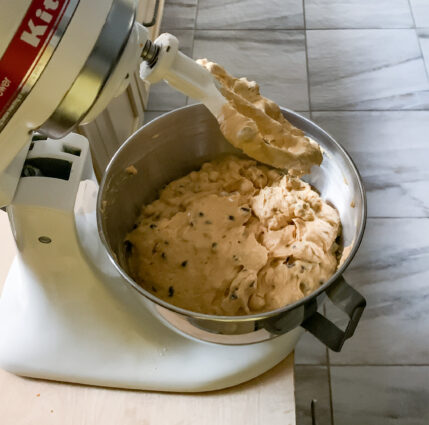
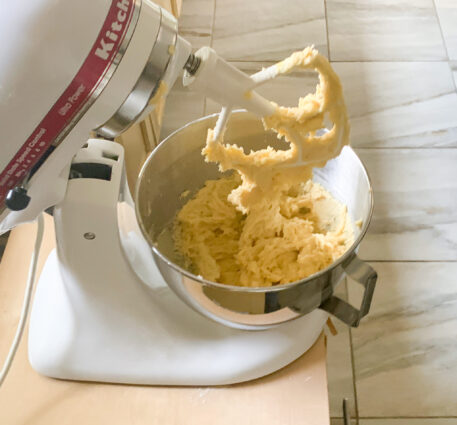
Add the buttermilk last and gently combine. Do not overmix.

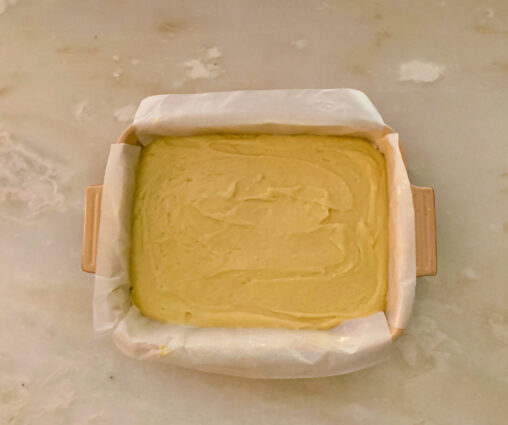
Pour the batter into the prepared baking pan and bake for 25 minutes, then check the cake.
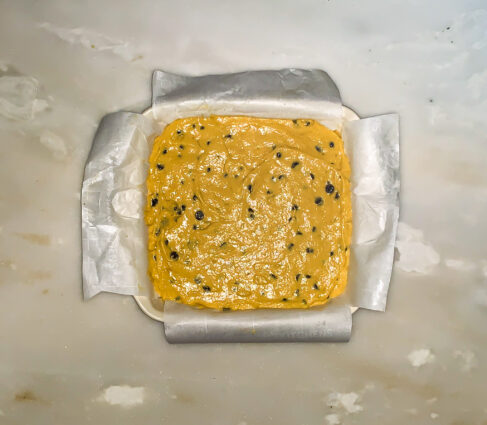
Bake an additional 5 to 10 minutes or until the cake is completely cooked but not overbaked.

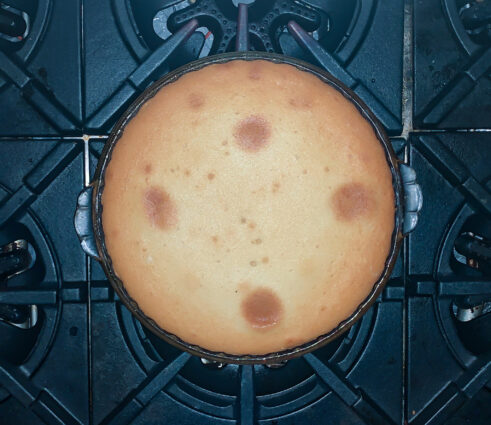
Looks good, right? Wait for it…..
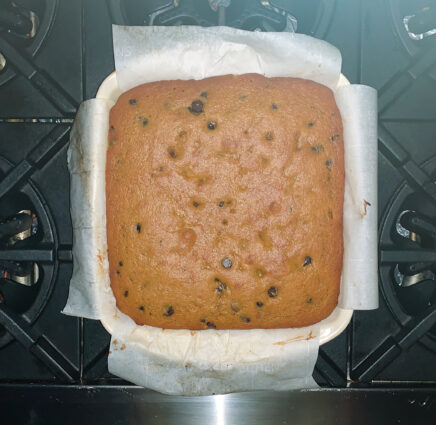
Then, after 10 minutes it will deflate!

No worries, it will taste just as good.

It’s that simple!

BOO!
signature

[recaptcha]


The weather is perfect these days. Autumn is in full swing and because the cool weather is here, I get to go running outdoors.

I have always been an exercise buff. When I entered college, I went to my first aerobic dance class. My sister dragged me to one, and even though I initially resisted, I fell in love with it. I know I am dating myself, but the class was a Jackie Sorenson class. For those Gen X and millennial folks, Jackie was the first person to invent the aerobics class. 

Wikipedia says this: “Jackie Sorenson (born Jacquline Fay Mills; December 10, 1942) is the American originator of aerobic dancing… Inspired by Dr. Kenneth H Cooper’s 1968 book on aerobic exercise, she created for women an aerobic dance routine to music in 1969 in Puerto Rico, teaching U.S. Air Force wives. She expanded this concept into a teaching method and studio franchise, Aerobic Dancing Inc., that rose to 1,500 locations and 4,000 instructors teaching 170,000 students in 1981 at its peak.”   

She hesitated calling it an aerobics class, because she did not think the term would catch on, given its scientific origins.   Aerobic exercise is performed by repeating sequences of light-to-moderate intensity activities for extended periods of time. Aerobic exercise may be better referred to as “solely aerobic,” as it is designed to be low-intensity so that all carbohydrates are aerobically turned into energy.  Jackie felt that “Americans don’t know what fitness is really all about. They’re worrying about the little muscles in their inner thighs, when they should be worrying about the most important muscle – their hearts.”

With that in mind, you can see how this class changed my life– and health– for the better. Soon after I began taking the class, my instructor offered to train me to learn how to become an instructor. This wasn’t an easy task. At that time, we had a weight requirement, had to run a six-minute mile, and teach in front of the other instructors to make sure our form and routines were performed correctly. While I passed all the levels, this period of examination always made me nervous. How was I going to run a 6-minute mile? I had never run before!  I started to train for my instructor requirements on a regular basis so I wouldn’t have to be so nervous during tryouts. It didn’t really help, I was always nervous when the time came to run the time trial.

I ended up teaching aerobics for 12 years and I loved every minute of it. As an instructor for Jackie Sorenson, I got to meet new people every time a new session began. We were required to have our backs to the students in each class so they did not get nervous about doing the exercise perfectly. If a student asked for extra help, I was happy to stay and help them out. Learning to call out the cues for the steps at the exact time during each song also was a challenge, but I was a quick learner, and the cues became easier and easier to learn. 

Though I started exercising and eating right just for the class, I continue to do so today because I care about my health. I have since been a very disciplined person, who lives by these rules. Oh, there are the days when I wanted to run but found every excuse not to, and I have also had my share of decadent desserts and meals. If you stay pretty disciplined, you can cheat every once in a while. Hey, you only get to live once, right? We all have to have our share of “happy moments.” 

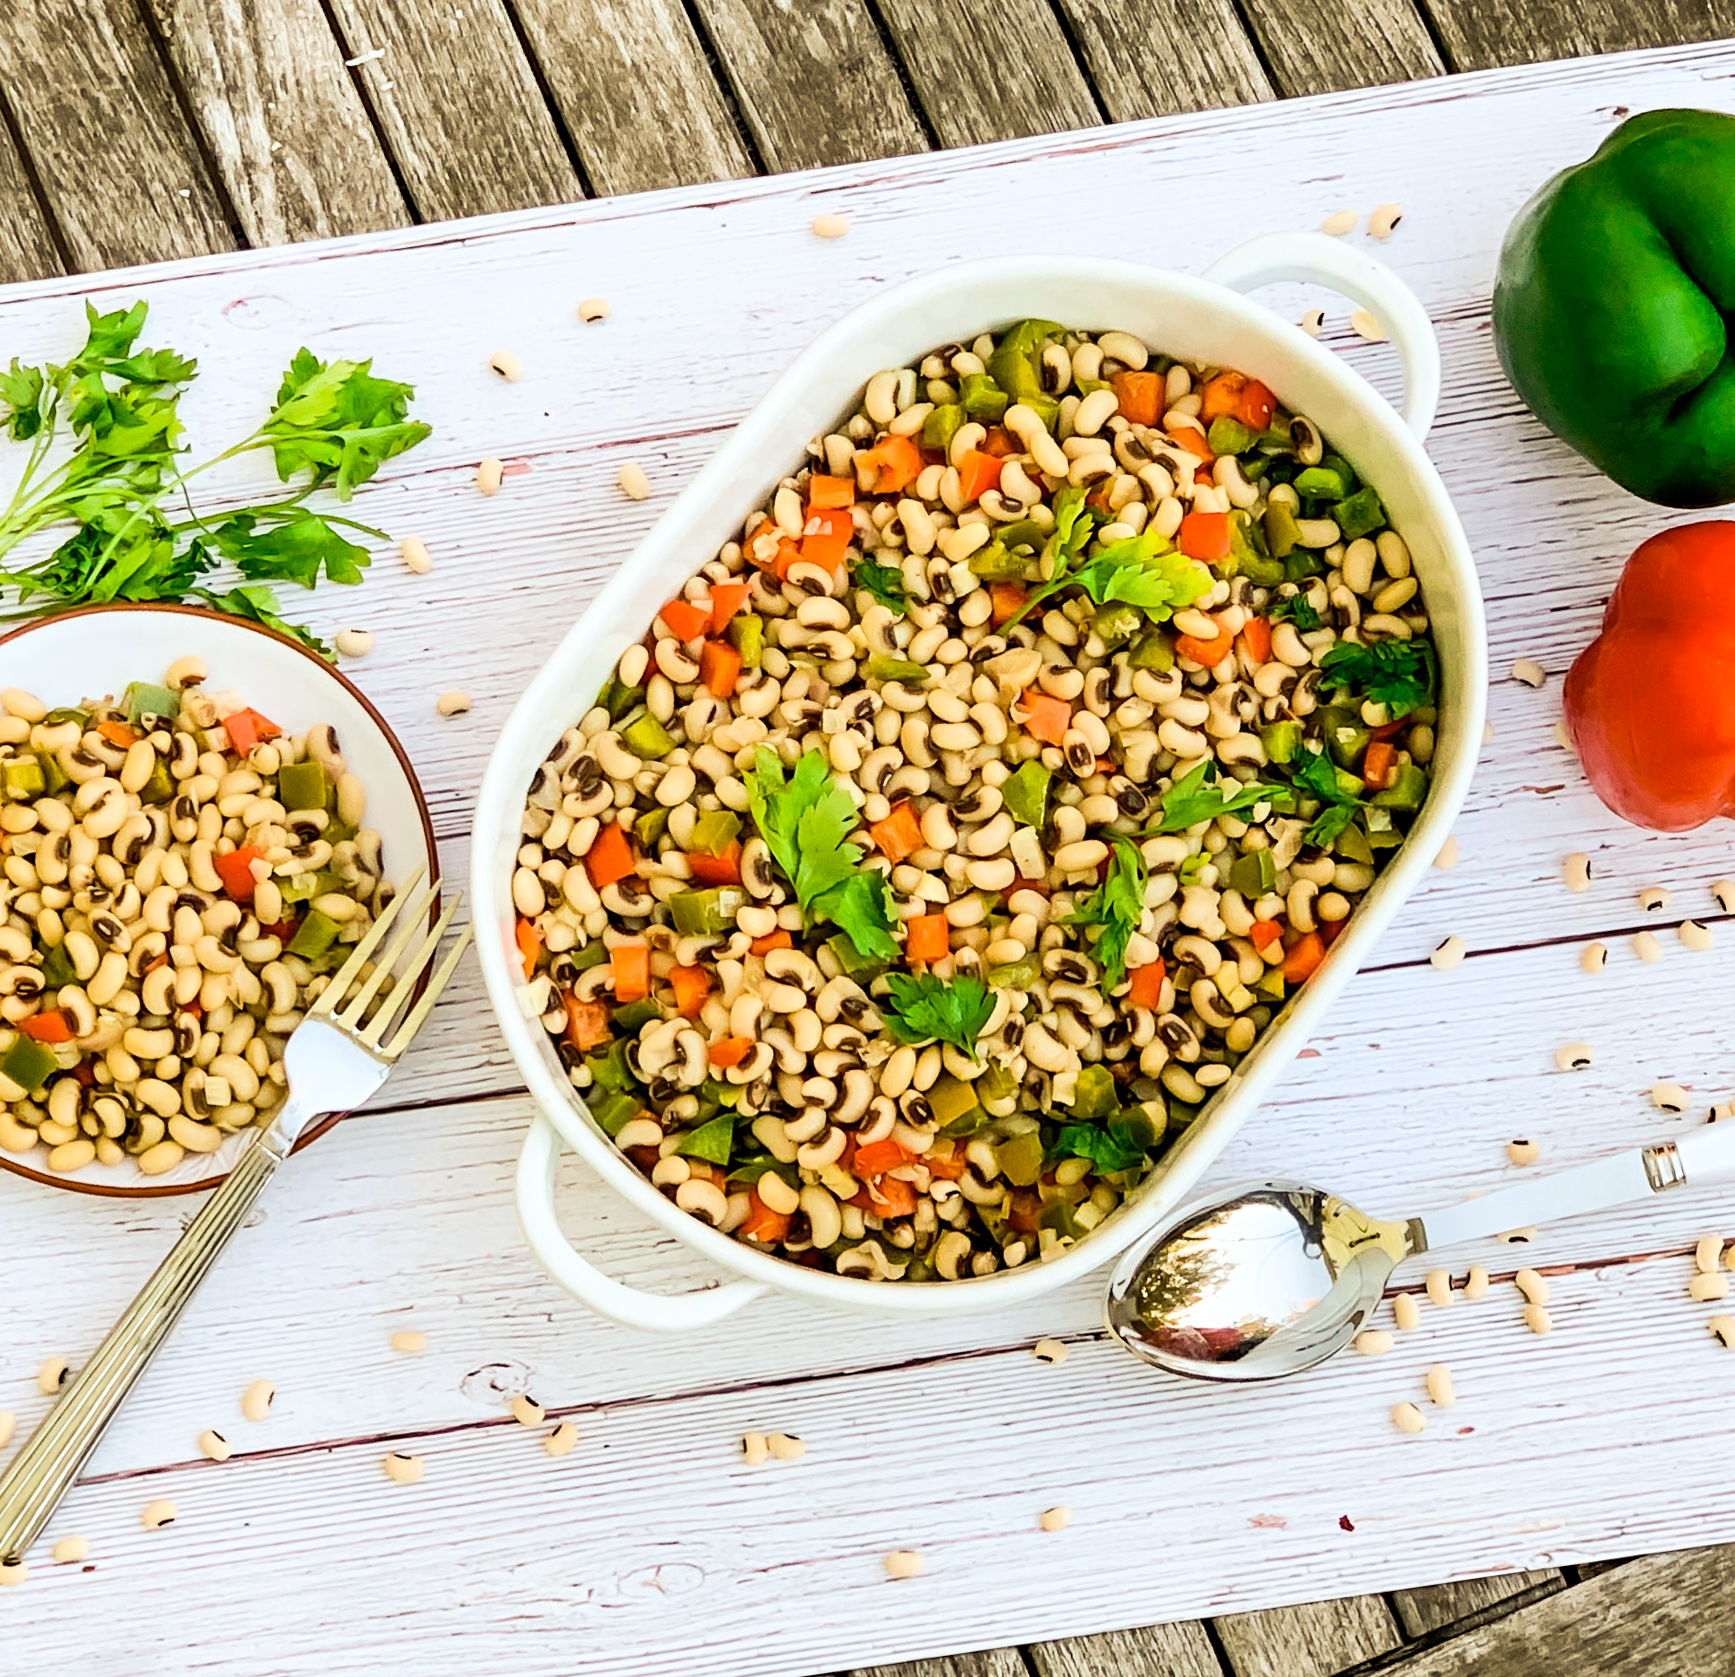
No matter what your daily diet, this is the side or salad for you. It takes some advance planning, but it is worth it. The red and green pepper gives these flavorful beans a nice added crunch. The scallions become sweet and tangy when combined with the vinaigrette. The champagne and apple cider vinegar join together to top this off with a savory goodness. The bacon gives this dish added delectable essence. The bacon is not included in the final dish, but I ate it anyway and so should you!

This recipe is courtesy of 425 magazine and will serve 8 to 10 people who will love this healthy, delicious, and flavorful dish.  

Ingredients for Black Eyed Pea Salad:

2 cups dried black-eyed peas (about 12 oz.)
1 red bell pepper, finely chopped
1 green bell pepper, finely chopped
2 scallions, thinly sliced
1 garlic clove, finely chopped
½ cup olive oil
¼ cup Champagne vinegar or white wine vinegar
¼ cup malt or apple cider vinegar
1 tablespoon chopped fresh flat-leaf parsley
1 tablespoon kosher salt
1½ teaspoon freshly ground black pepper
4 oz. bacon (about 4 slices)
6 cups low-sodium chicken or vegetable broth

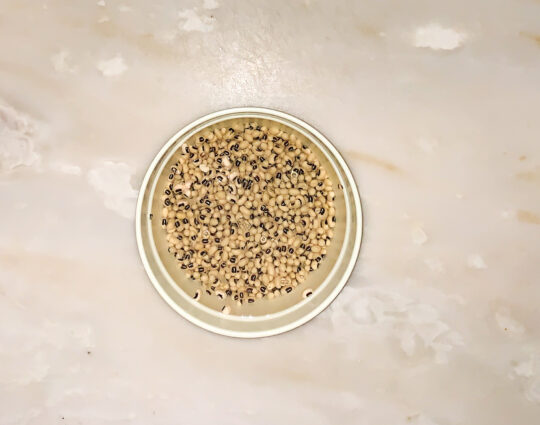
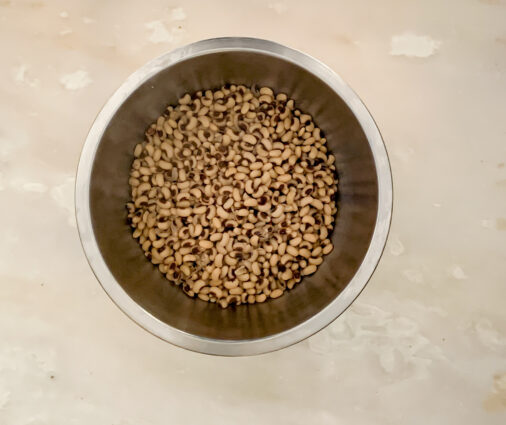
Place black-eyed peas in a bowl and add cold water to cover by 4-inches.

Chill 12 hours, then drain.


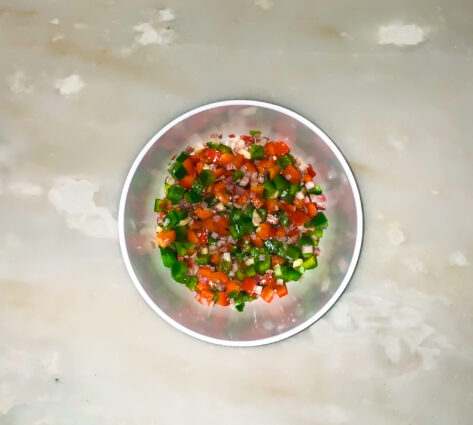
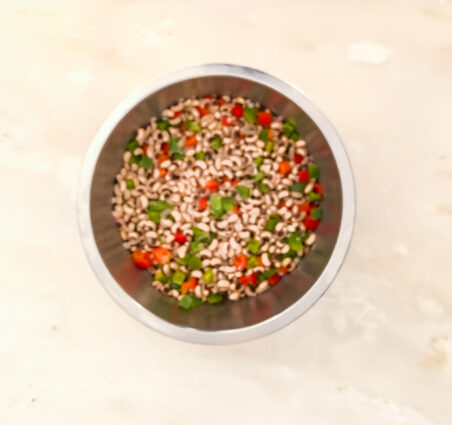
Whisk red and green peppers, scallions, garlic, oil, Champagne vinegar, malt vinegar, parsley, salt, and black pepper in a medium bowl.

Cover and chill vinaigrette at least 4 hours and up to 12 hours.

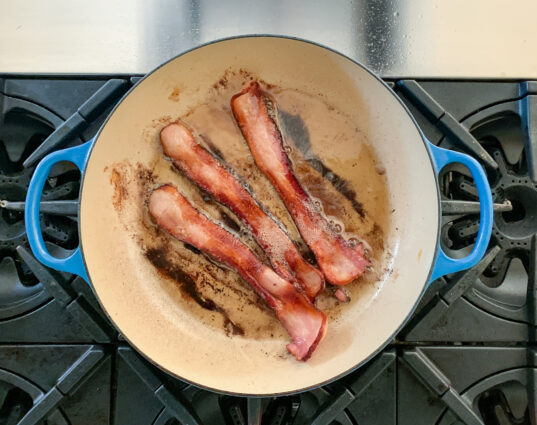
After beans have finished soaking, cook bacon in a large pot over medium heat, turning occasionally, until brown and fat is rendered (bacon shouldn’t be crisp), 5–7 minutes.

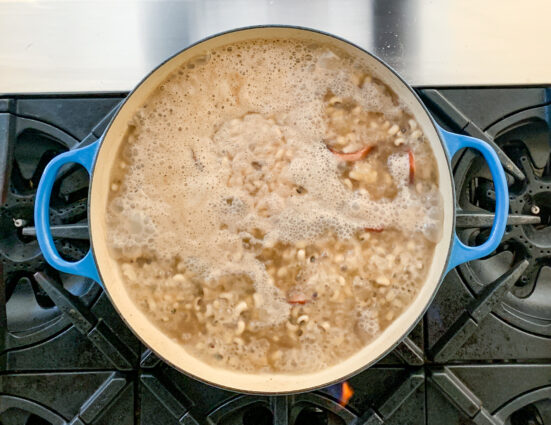
Add beans, then carefully add broth and bring to a boil.

Reduce heat and simmer, stirring occasionally, until beans are tender, 25–30 minutes; remove bacon.

Transfer beans to a large bowl, add vinaigrette, and toss to combine.

Chill, tossing occasionally, until cool, about 1 hour.

Salad can be made 2 days ahead. Cover and keep chilled.

It’s that simple!

signature

[recaptcha]


I am still wondering what is going to happen this year on Thanksgiving. I know that the people who would normally fly in for the holiday will not be flying this year, and I don’t blame them. Many of them are elderly, and flying is not a good option for them. With this in mind, I have no idea what my normally festive holiday is going to look like. I know so many of you look forward to seeing the pictures, but right now it is not looking like the holiday will be so elaborate and festive. I will keep you all posted.

Today, the weather was actually cool for the first time. I love these days, when the sun is shiny and the days are just a little crisp. Usually, during these months, my husband and I will go antiquing. Over the years, we have accumulated many antique dinner and salad plates for Thanksgiving. When I got married, many moons ago, I had no registry, and fine china was out of the question because it was just too expensive. Looking back on it now, I would not have had china for 50 people, and in all probability, my taste would have changed, and I never would have used it. 

I am lucky to have my mother’s china, but there are not nearly enough plates and I would be too afraid to use it. If I broke a plate, my heart would break with it. I have it beautifully displayed in my kitchen, behind glass door cabinets for everyone to see. I feel comforted when I see it. It is like having a little bit of my mom with me always.

Because the plates are too precious to use, my husband and I made a plan to buy separate pieces of china, each with its own pattern. We had such a fun time, and to my surprise, my husband really enjoyed the hunt and became pretty good at finding the right pieces. It took several years to buy enough to be able to use them for the holidays. Because I was looking for single plates, I often got really good deals on the expensive ones. They discounted them a lot because, let’s face it, not many people are looking for just one plate.

Several years ago, we finally accumulated enough plates to use the entire “set.” What a great accomplishment that was! My husband and I are so proud of our china because we handpicked every plate with love.

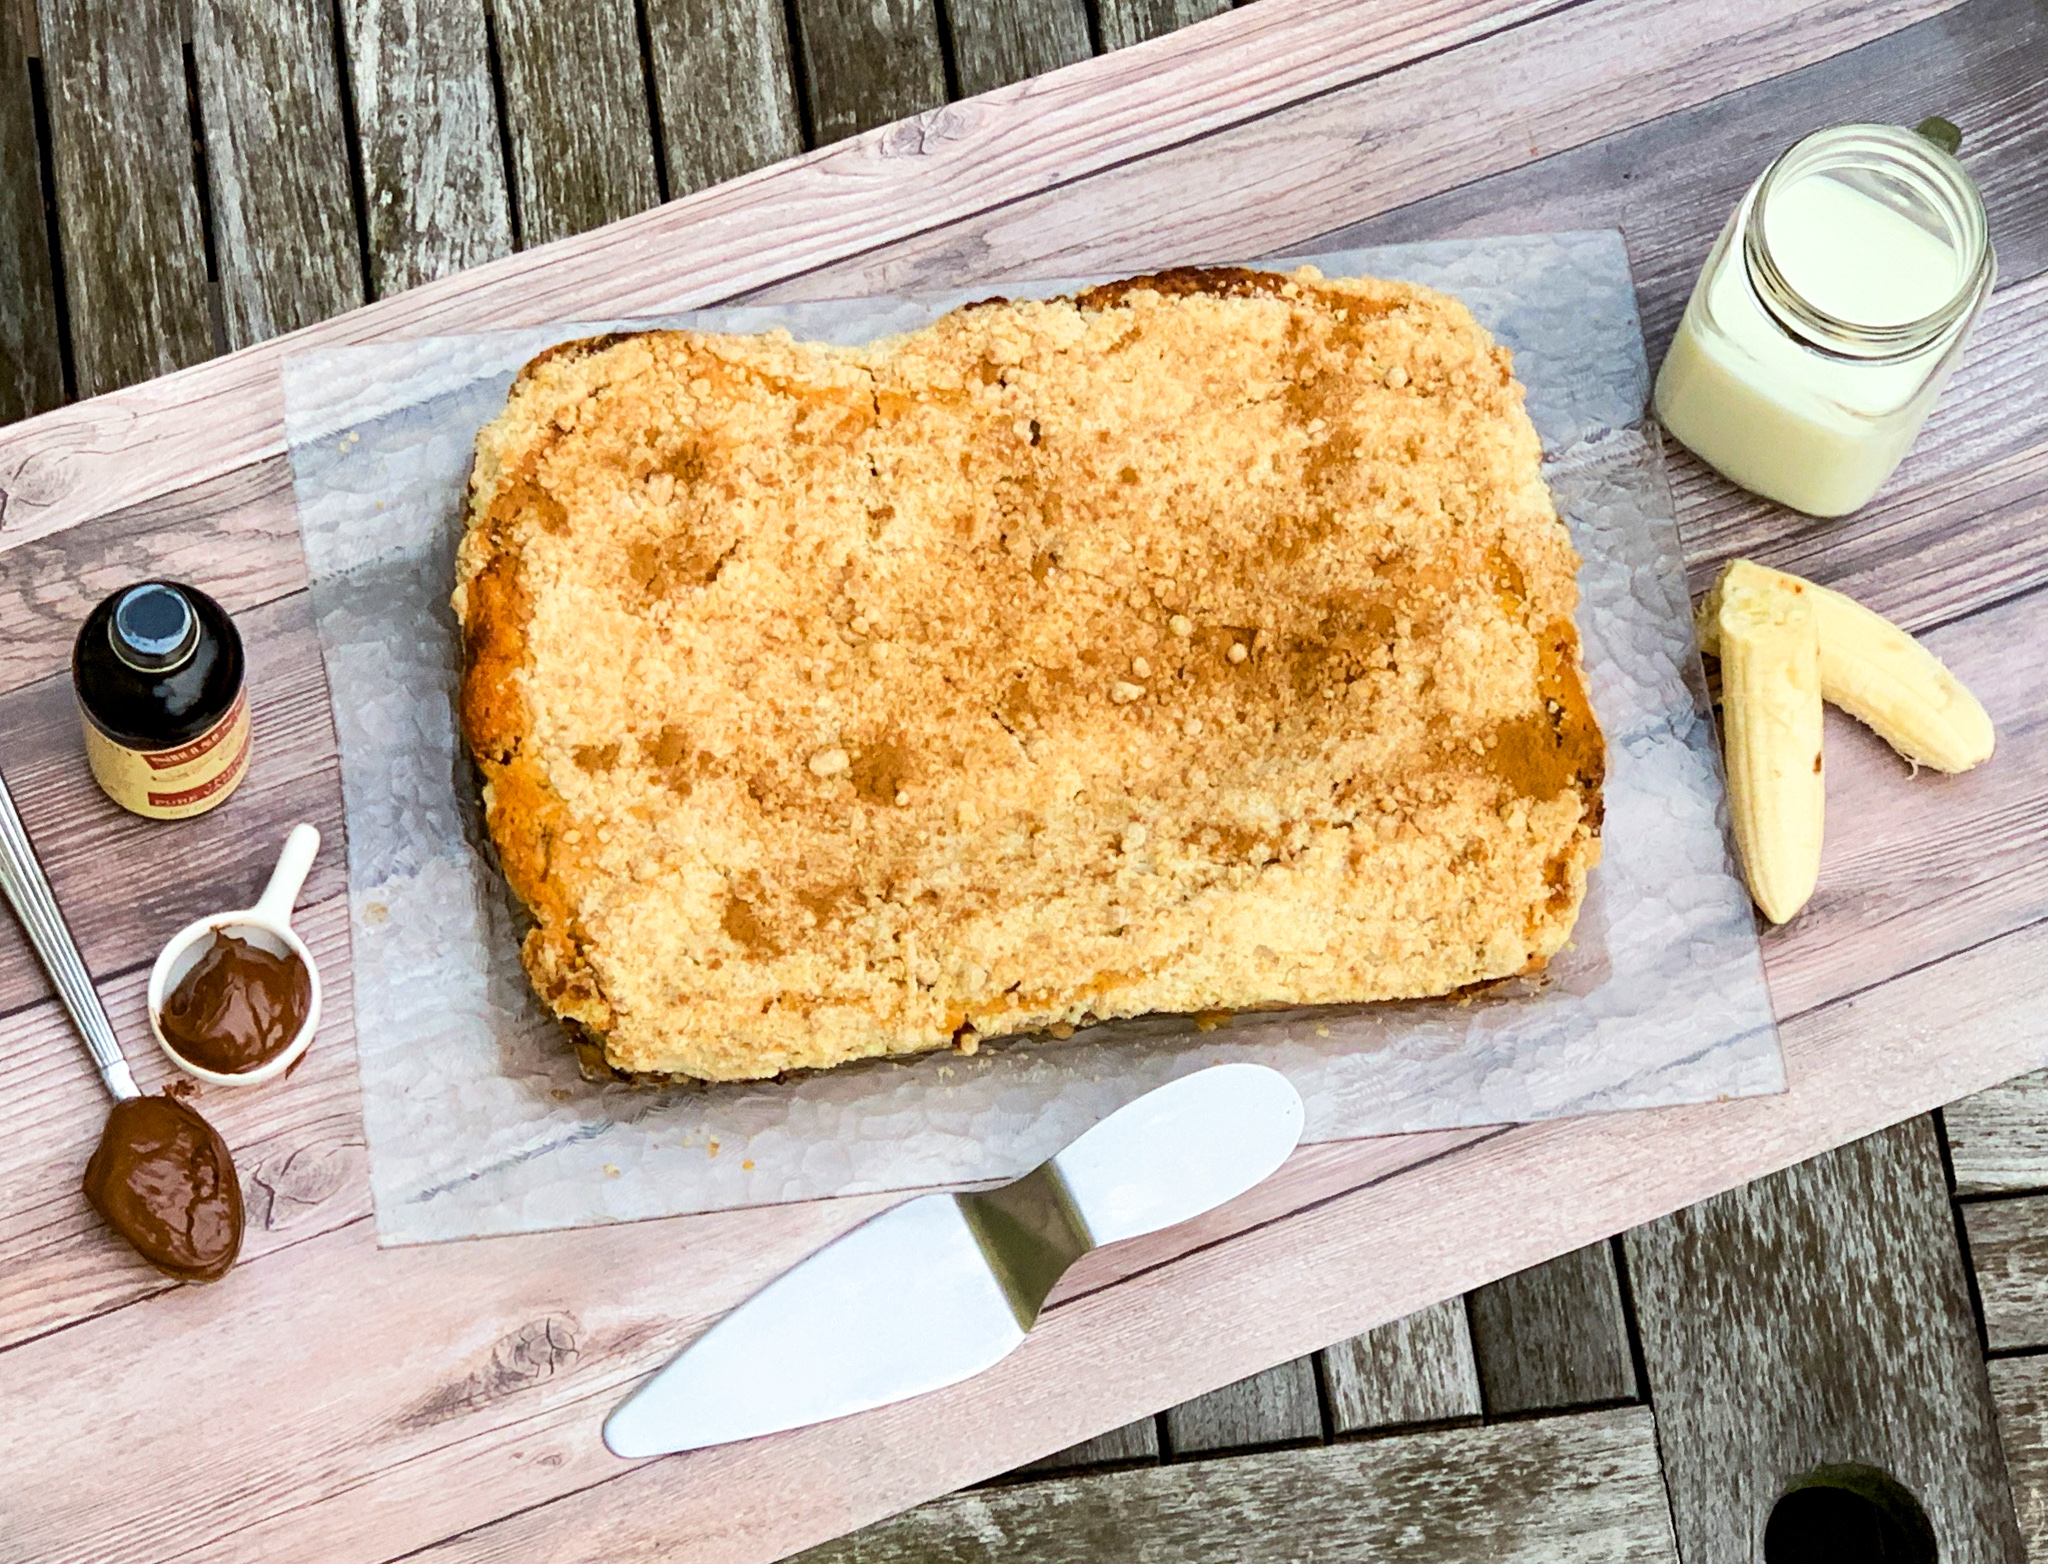
I know Thanksgiving is right around the corner, but you surely do not have to wait until then to make this fabulous cake. The sour cream, eggs and buttermilk ensure that this cake is both moist and fluffy. The vanilla combines beautifully with the bananas, giving it a deeper flavor than a regular banana cake. The Nutella, brown sugar, and banana filling make this cake wonderfully addicting. The topping adds another layer of savory goodness, and the result is a crunchy crumb topping, a heavenly moist cake concealing a luscious layer of banana and of course, Nutella. This is a “must try.”

This cake is courtesy of Ovenly, and will serve 12 people who will love this cake for Thanksgiving, or any other day of the year.

Ingredients for Banana Nutella Coffee Cake:

For the Cake:

1 cup of unsalted butter
3 3/4 cup all-purpose flour
2 cup sugar
1 tablespoon baking powder
1 1/2 teaspoon salt
1/4 teaspoon baking soda
1 cup buttermilk
4 eggs at room temp
1/4 cup sour cream
2 teaspoon vanilla

For the Filling:

2 ripe bananas, peeled and sliced thinly
1/2 cup Nutella spread
1/4 cup brown sugar

For the Topping:

4 tablespoons unsalted butter
1 cup all-purpose flour
3 tablespoons sugar
2 tablespoons brown sugar
1 1/4 teaspoon ginger
1 teaspoon cinnamon

Preheat oven to 350 degrees and grease a 13×9-inch pan.

Melt the 1 C of butter and set aside.

In a large bowl, whisk together the flour, sugar, baking powder, salt and baking soda.

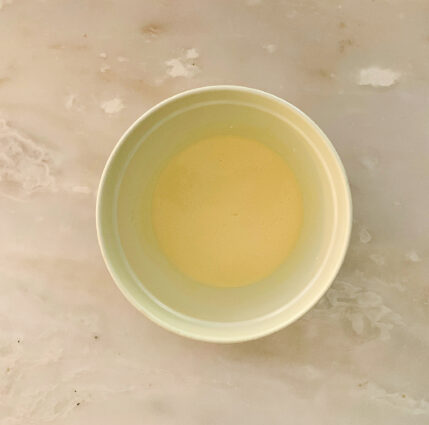
In a separate bowl, whisk together the buttermilk, eggs, sour cream, vanilla, and melted butter.

Using a spatula, mix the dry into the wet until combined.

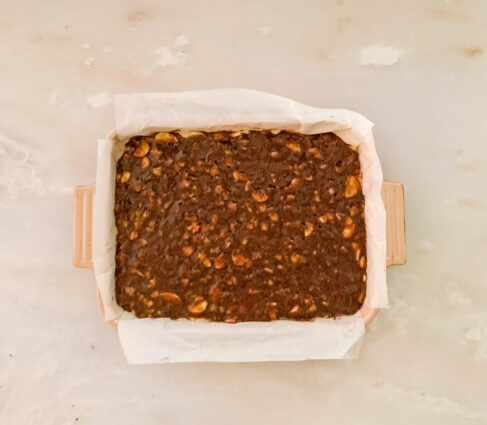
Layer half the batter into the pan.

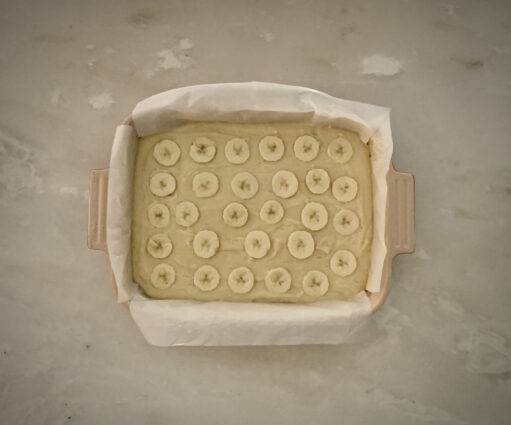
Lay the sliced bananas on top.

Drizzle on the nutella spread.

You may need to warm the spread to make it thin and pourable.

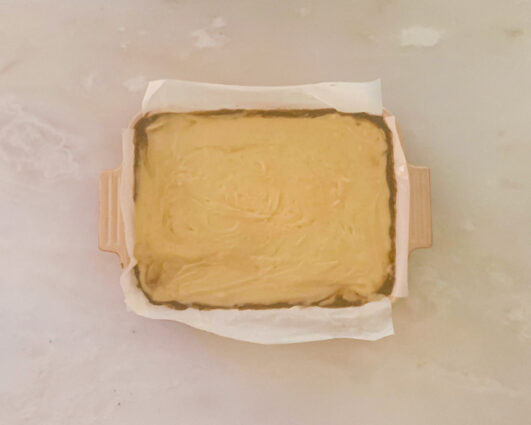
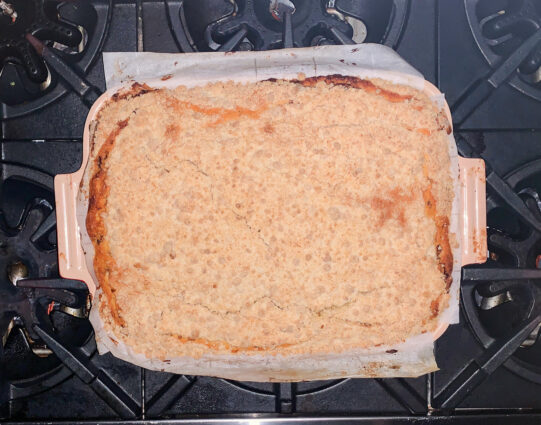
Next, carefully layer the remaining batter on top of the bananas and nutella. I used a spatula to smooth out the batter because it’s really thick.

Make crumble topping:

Melt 4 tablespoons of butter and set aside to cool.

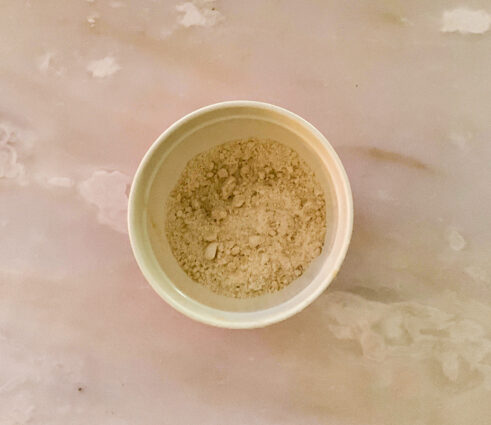
Whisk remaining dry ingredients in a small bowl.

Add the melted butter with your hands or a folk and mix until crumbly.

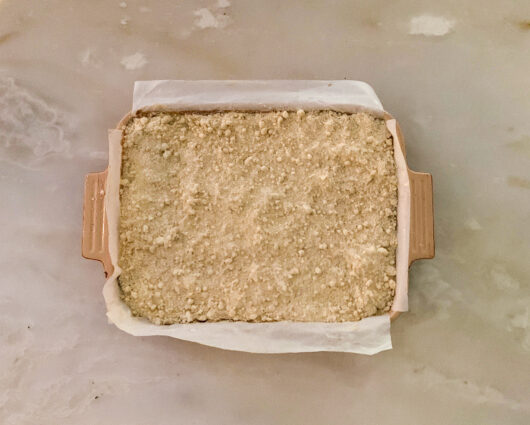
Sprinkle topping over coffee cake batter.

Bake for 50-55 minutes until set when a toothpick inserted comes out clean.

Cool on a wire rack before slicing.

Make 12 generous squares

It’s that simple!


signature

[recaptcha]


I talk a lot about the benefits of vegetables, but I’d like to take a few moments today and talk about fruit.   Though we think of fruit as a treat, fruit is also extremely healthy.  Most of the fruits we eat are naturally low in fat, sodium, and calories, so they’re a great choice for a snack. None of them have cholesterol, so those with dietary restrictions around cholesterol can partake too.

We can also get a large amount of potassium from fruits like bananas, prunes, dried peaches or apricots, cantaloupe, honeydew melon, and orange juice. Be careful of the orange juice that you buy in the store. Some brands have a high level of sugar and preservatives. If you can, squeeze your own orange juice from fresh oranges, or look for fresh squeezed juice at your farmer’s market. This will give you a boost in potassium without the additives.

Fruit has loads of fiber, which we know is essential to dietary health. Fiber helps reduce blood cholesterol levels, and may lower risk of heart disease. It also helps to control constipation and other bowel related problems. When you eat a lot of fiber, it provides a feeling of fullness. Be aware that fiber comes from the actual material of the fruit, so fruit juices contain very little.

Fruits contain high levels of vitamin C. This vitamin helps in growing and repairing body tissues, healing cuts and wounds, and keeping our teeth and gums healthy.

Most important, eating these natural treats will set a good example for your friends and family. With kids especially, it is important to teach good, healthy eating habits when they are young. Start when they are babies and you will create healthy habits that will last a lifetime.  Even for picky adult eaters, there are ways  to incorporate fruits into your diet– including a delicious dessert like this one.

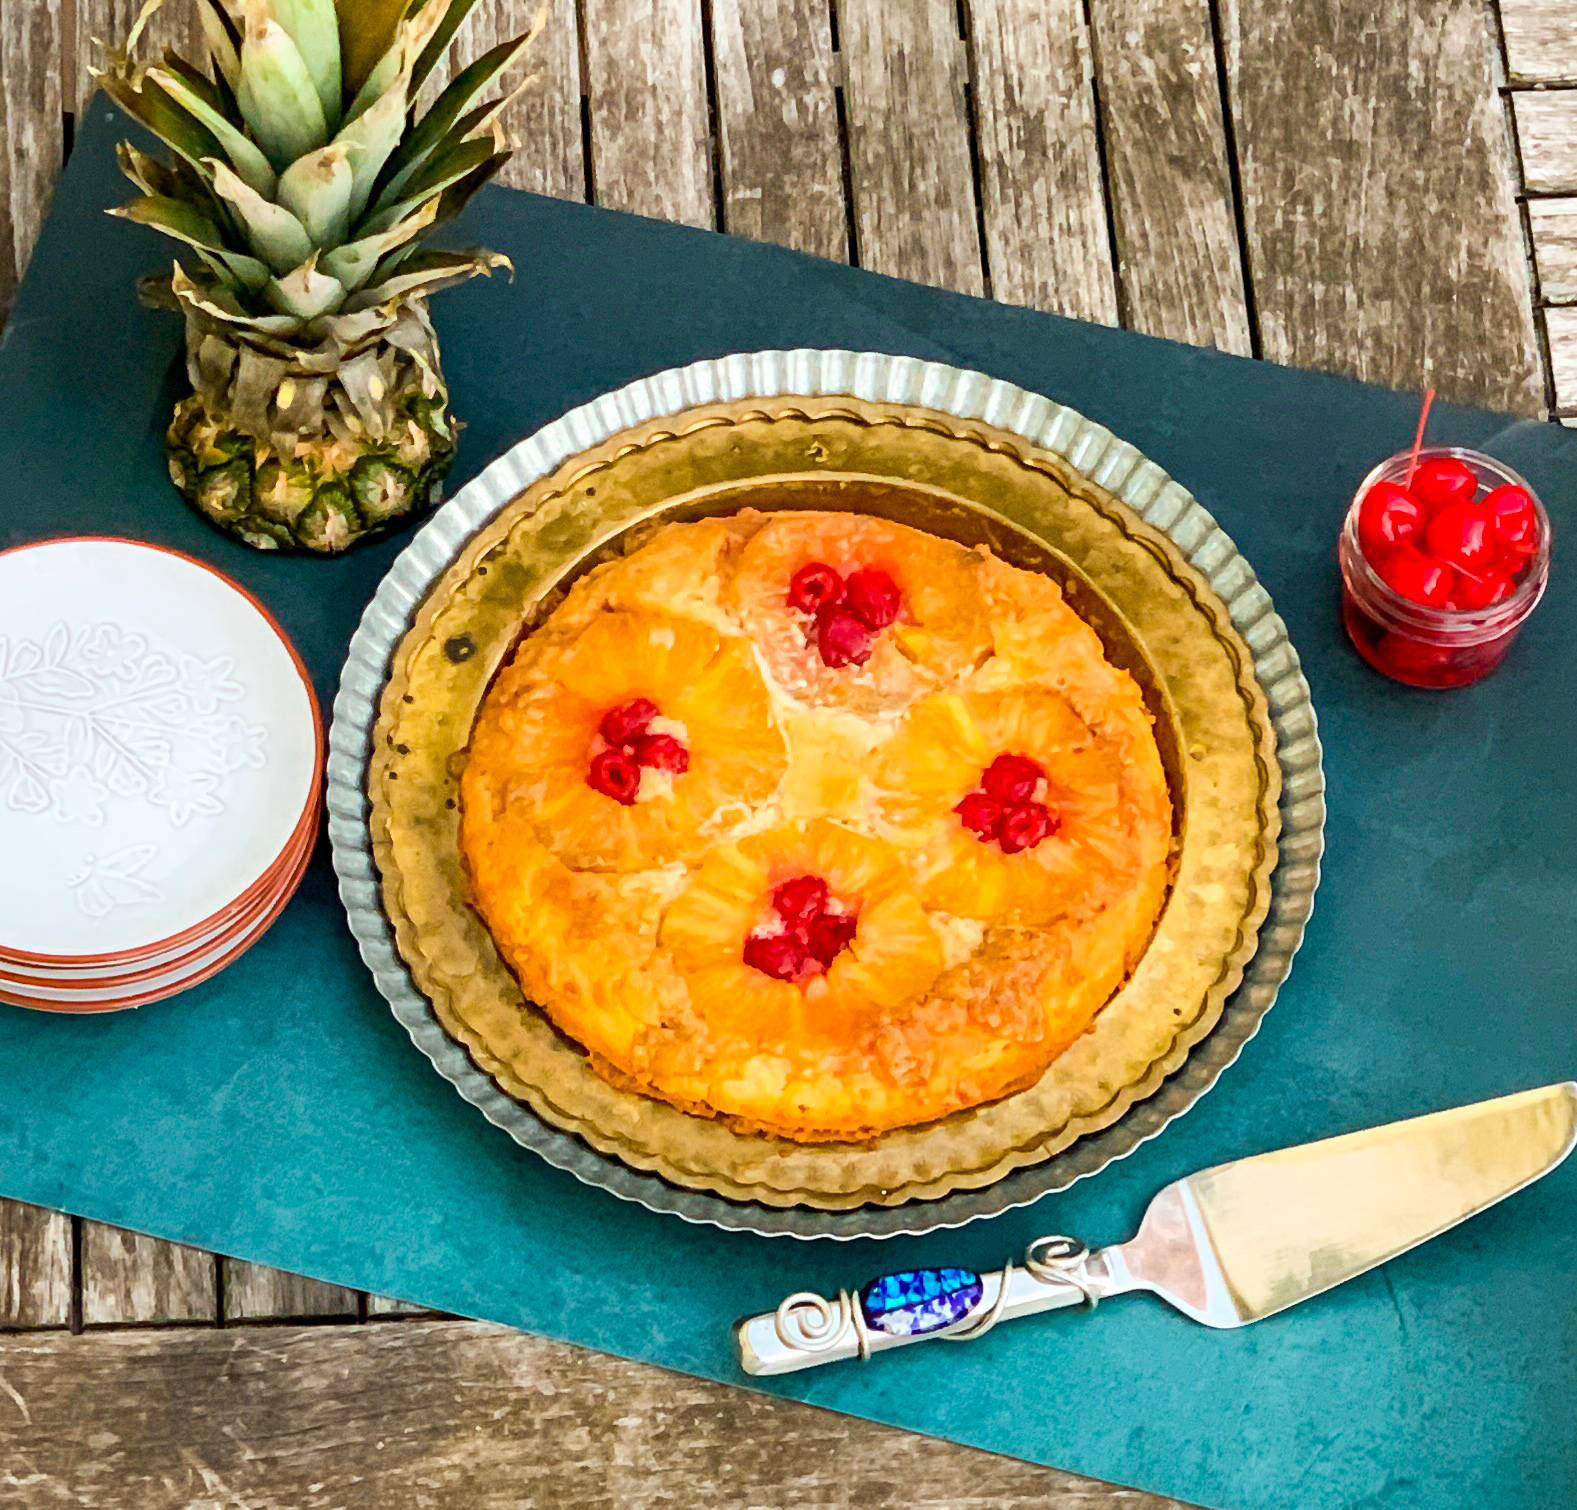
With this special treat, we can have fruit and dessert together. The cream cheese ensures that this treat is creamy and smooth. The pineapple is a sweet delight that combines beautifully with the cream cheese. It is not too sweet, and the graham cracker crust is the perfect home for delicious tidbit. The whipped cream adds even more lovely sweetness.  The perfect ending to any good meal.

This recipe is courtesy of I am Baker and will serve 12 lucky people.

Ingredients for Pineapple Upside Down Cake:

For the Topping:

1/4 cup unsalted butter, melted
1/2 cup packed light or dark brown sugar
810 pineapple slices if using canned pineapple, 3 to 4 slices if using fresh
1520 maraschino cherries

For the cake:

1 and 1/2 cups cake flour (spooned and leveled)
1 teaspoon baking powder
1/4 teaspoon baking soda
1/2 teaspoon salt
6 tablespoons unsalted butter, softened to room temperature
3/4 cup granulated sugar
2 large egg whites, at room temperature
1/3 cup sour cream, at room temperature
1 teaspoon pure vanilla extract
1/3 cup whole milk, at room temperature

 
For the Topping:
 
Pour 1/4 cup melted butter into an ungreased 9×2 inch pie dish or round cake pan. (Make sure the pan is 2 inches deep.
 
Sprinkle brown sugar evenly over butter.
 
Blot any excess liquid off the fruit with a clean towel or paper towel. (The wetter the fruit, the more likely the cake could overflow or the topping could seep over the sides when inverted.)
 
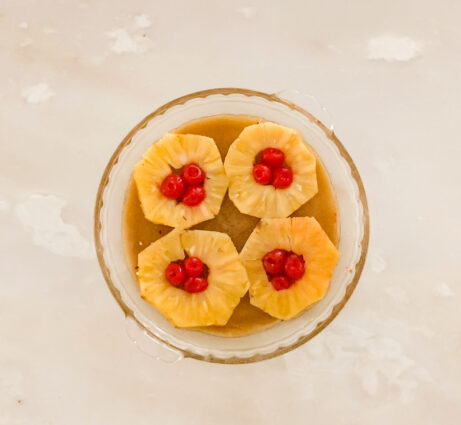
Arrange about 6-7 blotted pineapple slices and all the cherries on top of the brown sugar. 
 
If using fresh pineapple, 3 or 4 slices should do.
 
Place maraschino cherries in the center of pineapple rings.
 
 
Place pan in the refrigerator for a few minutes as you prepare the cake batter.
 
This helps solidify or “set” the topping’s arrangement.
 
Make the cake batter:
 
Whisk the cake flour, baking powder, baking soda, and salt together.
 
Set aside.
 
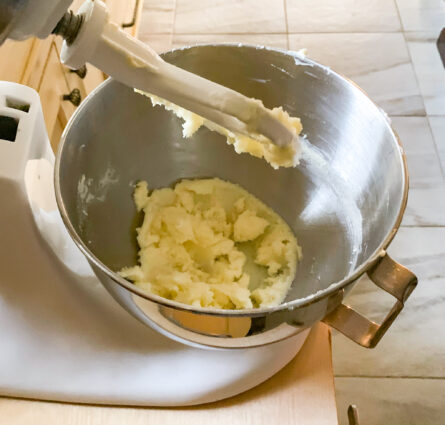
Using a handheld or stand mixer fitted with a paddle or whisk attachment, beat the butter on high speed until smooth and creamy, about 1 minute.
 
Add the sugar and beat on high speed until creamed together, about 1 minute.
 
Scrape down the sides and up the bottom of the bowl with a rubber spatula as needed.
 
 
On high speed, beat in the egg whites until combined, then beat in the sour cream and vanilla extract.
 
Scrape down the sides and up the bottom of the bowl as needed.
 
 
Pour the dry ingredients into the wet ingredients.
 
Turn the mixer onto low speed and as the mixer runs, slowly pour in the milk.
 
Beat on low speed just until all of the ingredients are combined.
 
 
Do not over-mix.
 
You may need to whisk it all by hand to make sure there are no lumps at the bottom of the bowl.
 
The batter will be slightly thick.
 
Remove topping from the refrigerator.
 
Pour and spread cake batter evenly over topping.
 
 
Bake for 43-48 minutes, tenting foil on top of the cake halfway through bake time to prevent the top from over-browning before the center has a chance to fully cook.
 
The cake is done when a toothpick inserted into the center of the cake comes out mostly clean– a couple moist crumbs are OK.
 
Don’t be alarmed if your cake takes longer or if the cake rises up and sticks to the foil. (We serve the cake upside down anyway!)
 
Remove cake from the oven and cool on a wire rack for just 20 minutes.
 
 
Invert the slightly cooled cake onto a cake stand or serving plate.
 
Some of the juices from the topping will seep over the sides– that’s ok.
 
You can slice and serve the cake warm, but the slices will be messy.
 
The author finds it is best to cool the cake completely at room temperature before slicing and serving.
 
Do not refrigerate the cake to speed up the cooling process because it could end up tasting overly dense.
 
Cover leftover slices and store for up to 3 days in the refrigerator or 3 months in the freezer.
 
Thaw at room temperature.
 
The author does not  recommend freezing the cake as a whole because the topping arrangement doesn’t thaw very nicely. 
 
It’s that simple!
 
signature

[recaptcha]


How many of us have been making cookies for, like, forever? I have! Now how many of us have made perfect batches every time?  Well, that’s not me, and I doubt it’s you either.  While you may suspect that it’s bad kitchen juju that messes you up (even though you follow the directions to the letter), according to All Recipes, there are more legitimate reasons. 

If your cookies are not baking evenly, you are trusting your oven too much. All ovens have cold and hot spots– even yours. This will cause some of your cookies to come out perfectly, and others to burn. The simple solution is to rotate your cookies halfway through the cooking process to expose them to different temperatures.  The complicated solution is to get a new oven.

If you cook like me, you use eggs straight out of the refrigerator. Even if the directions do not tell you to use room-temperature eggs, you should. Cold eggs prevent the dough from aerating properly, so you won’t have air pockets to improve the texture of your cookies. If you don’t have time to allow your eggs to reach room temperature naturally, you can place them in a bowl of warm water for several minutes.

Learn to measure your flour correctly. The ole “scoop straight out of the bag” method could actually be packing way too much flour into your measuring cup. Instead, use the “spoon and level” method by spooning flour into a measuring cup and scraping off the excess with the flat side of a knife or straight edge.

You soften your butter too much or too little. Nuking the butter in the microwave can make the butter more liquid than soft. The best way to get perfectly softened butter is to let it sit out at room temperature for about 15 minutes. It should give a little when you press down on it, but it shouldn’t break, crack, or lose its shape.

You are using stale baking powder or baking soda. I’m fairly certain that the vast majority of you are guilty of this. Baking powder and baking soda act as leavening agents and give baked goods their rise. With time, they will become less and less potent, and using stale baking powder or soda will give you dense dough. A good rule of thumb is to switch out opened containers after six months, or check the expiration date before you use them.

You should chill the dough. This will get you cookies that are perfectly crisp on the outside and soft and gooey on the inside.  Chilling cookie dough in plastic wrap for up to 24 hours in the fridge allows the ingredients to mingle. It also keeps your dough from spreading in the oven. 

Your dark baking sheet is causing your cookies to burn. I once had two turkeys in the oven cooking. One in a dark pan, the other in a lighter color pan. I noticed the one in the dark pan was cooking much faster, and the top was burning even though I had it covered. This is true with cookies as well. Dark baking sheets are going to make your cookies bake faster, as they absorb more heat than light ones. So, while you don’t have to replace your baking sheets altogether, you will need to adjust the temperature if you’re using a dark colored baking sheet. Try lowering the temperature by about 25 degrees, and reducing the cooking time by about four minutes. 

Bake the cookies on the correct rack. Using the top rack of the oven (or placing your oven rack too close to the top or your oven) will result in burnt cookies. To get the most even bake, use the middle rack. This is where air is circulating, and heat is most evenly distributed. If you have more than one pan baking at once, be sure to switch them halfway through.

You overgrease your cookie sheet. Unless a recipe specifically calls for you to grease your cookie sheet, don’t do it. A greased pan can cause cookies to spread out even more, resulting in hard, thin cookies and shapeless blobs. Instead of greasing your cookie sheet, line the baking sheet with parchment paper for easy cleanup.

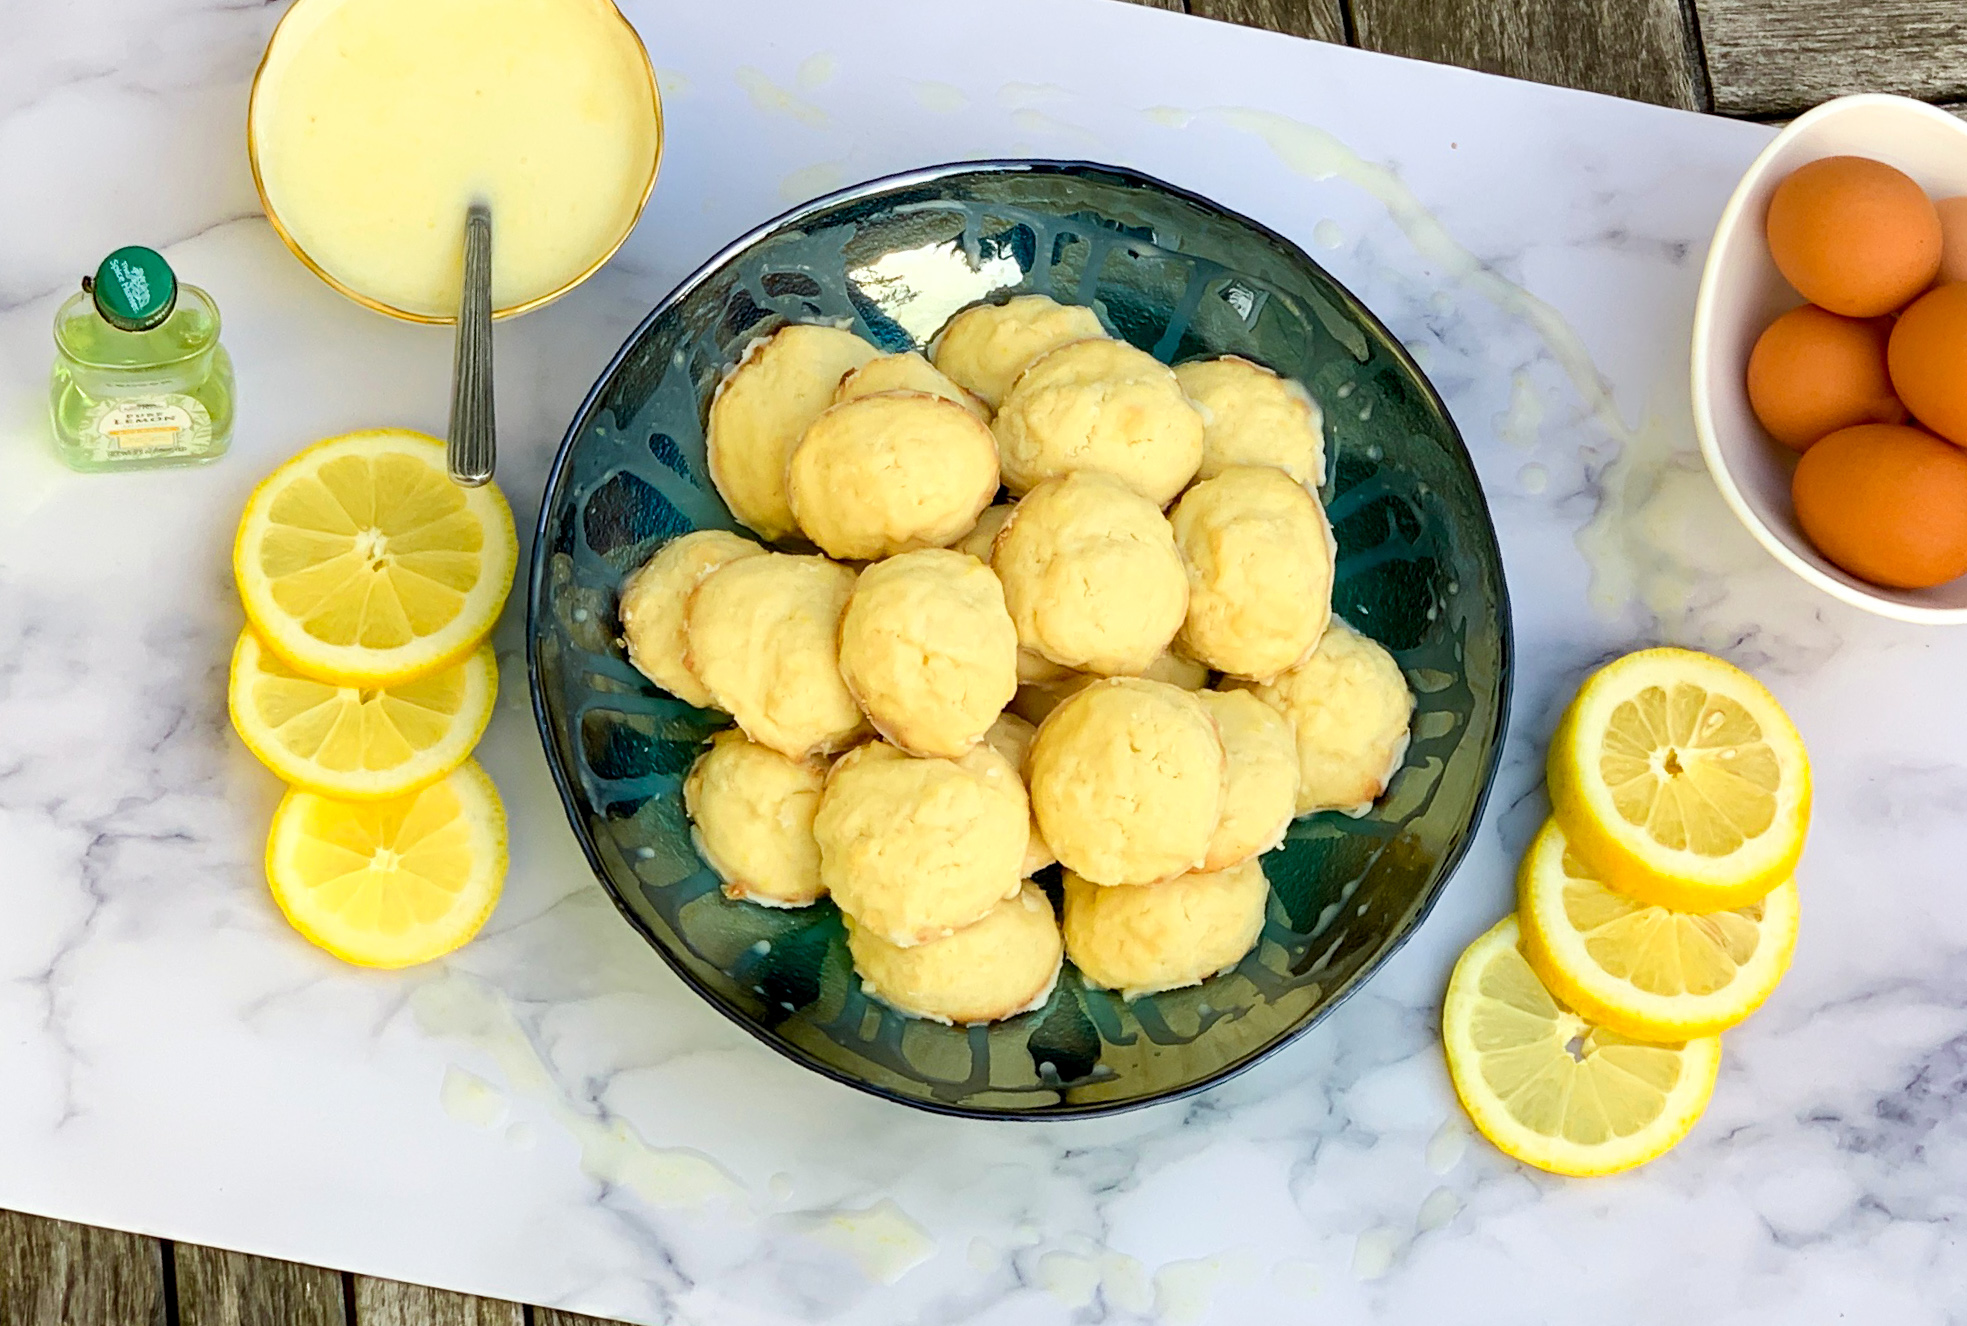
Now that we have cleared that up, let’s make a perfect batch of cookies. These cookies have ingredients you probably have in your pantry, so there is no reason not to make them. The result: deliciously baked buttery cookies with a burst of lemon flavor in every bite. They are crispy on the outside and soft and gooey on the inside. These cookies are a wonderful treat for any meal. They are also splendid for breakfast, a fast snack, or afternoon pick-me-up. They are so easy to make you can make an extra batch and give it to your friends or relatives. You will make everyone happy with these delicious little treats.

This recipe is courtesy of Allrecipes and will make 28 of the most perfect cookies you’ve ever had.

Ingredients for Lemon Cake Pound Cookies:

¾ cup white sugar
⅔ cup salted sweet cream butter, softened
2 cups all-purpose flour
2 teaspoons baking powder
2 large eggs
2 teaspoons lemon extract

For the Glaze:

1 3/4 cups of confectioners’ sugar
1/4 cup of lemon juice
Zest of one lemon (or more!)
1 tsp of salted butter

Make the cookies:

Preheat oven to 400 degrees F (200 degrees C).

Cream sugar and butter together in a bowl using an electric mixer until light and fluffy.

Whisk flour and baking powder together in a separate bowl.

Gradually beat into creamed butter mixture until just combined.

Beat eggs, 1 at a time, into butter-flour mixture until dough is thoroughly mixed; stir in lemon extract.


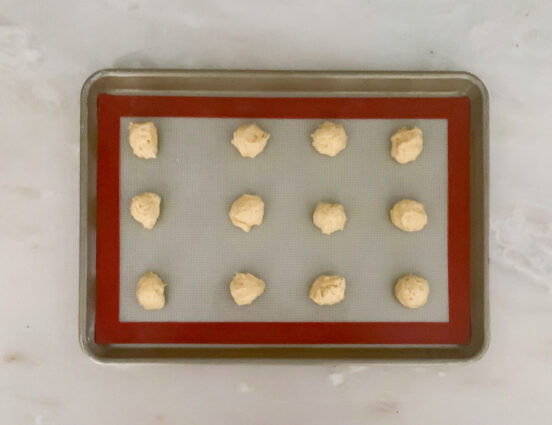
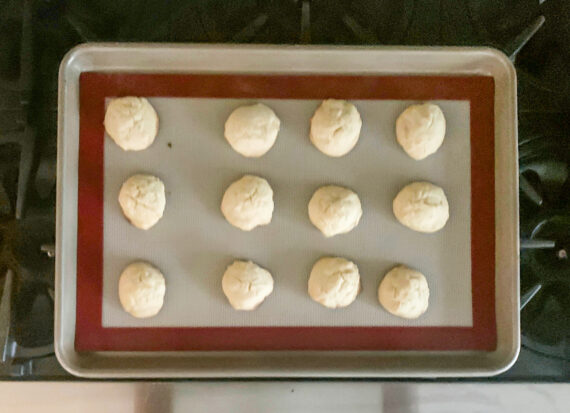
Drop small scoops of dough onto a baking sheet.

Bake in the preheated oven until cookies spring back when touched, 10 to 12 minutes.

Make the Glaze:

In a large Pyrex measuring cup, the 4 cup capacity ones are the best, combine the sugar, lemon juice and lemon zest.

Mix to combine and drizzle over cookies.

It’s that simple!

signature

[recaptcha]