Do you ever get the urge to indulge in a perfect cookie and a tall glass of milk, or a cup of coffee or tea?  I think we all do.  For some, the taste is nostalgic.  For others, it’s just plain delicious.

The portable size makes cookies perfect to bring anywhere you go. Have you ever brought home a piece of cake or some other dessert from a restaurant just to have it crushed and unappetizing?  With a cookie, it is so easy to pack them in a baggie, and you are good to go.  For your lunch, or your children’s lunches, cookies make a delicious, well portioned treat. If you make them just the right size, you’ll be satisfied by the whole thing too!

They are so versatile you can enjoy them for breakfast, a snack or dessert. One of the best things about them is that there are so many varieties and choices. There is the classic chocolate chip, oatmeal raisin, the ever-popular sugar cookie, or newer gourmet macarons. They also come in all shapes and sizes, patterns and colors. You can always find ones that make you smile– and it’s sure to be delicious. There are cookies that have logos, happy faces, holiday themes, or customized with your name. They are relatively easy to make. All you need is ingredients you probably have in your pantry such as sugar, flour, butter and eggs. You can make them fat-free, gluten-free or dairy-free. There is a cookie for everyone. 

While you’re at it, you can easily make an extra batch and bring them a friend. It will make their day, especially with the current situation. Give one to someone and you may make a new friend.

Even raw cookie dough is a special treat for some of us. It may remind us of helping our Mother or Grandmother make them. I know my own son is right behind me when I make cookies, eating the raw dough and licking the spoon clean. It is a comfort food that also satisfies our craving before the real treat is baked. Indulging in the soft gooey dough is easy, and fills us with pure happiness.

There is no dessert that comes in more flavors, textures, sizes and shapes. People are getting more creative in creating the world’s favorite treat. But can you eat just one? I know I can’t. Although everyone’s definition of the perfect cookie is different, one thing we can always agree to love cookies. 

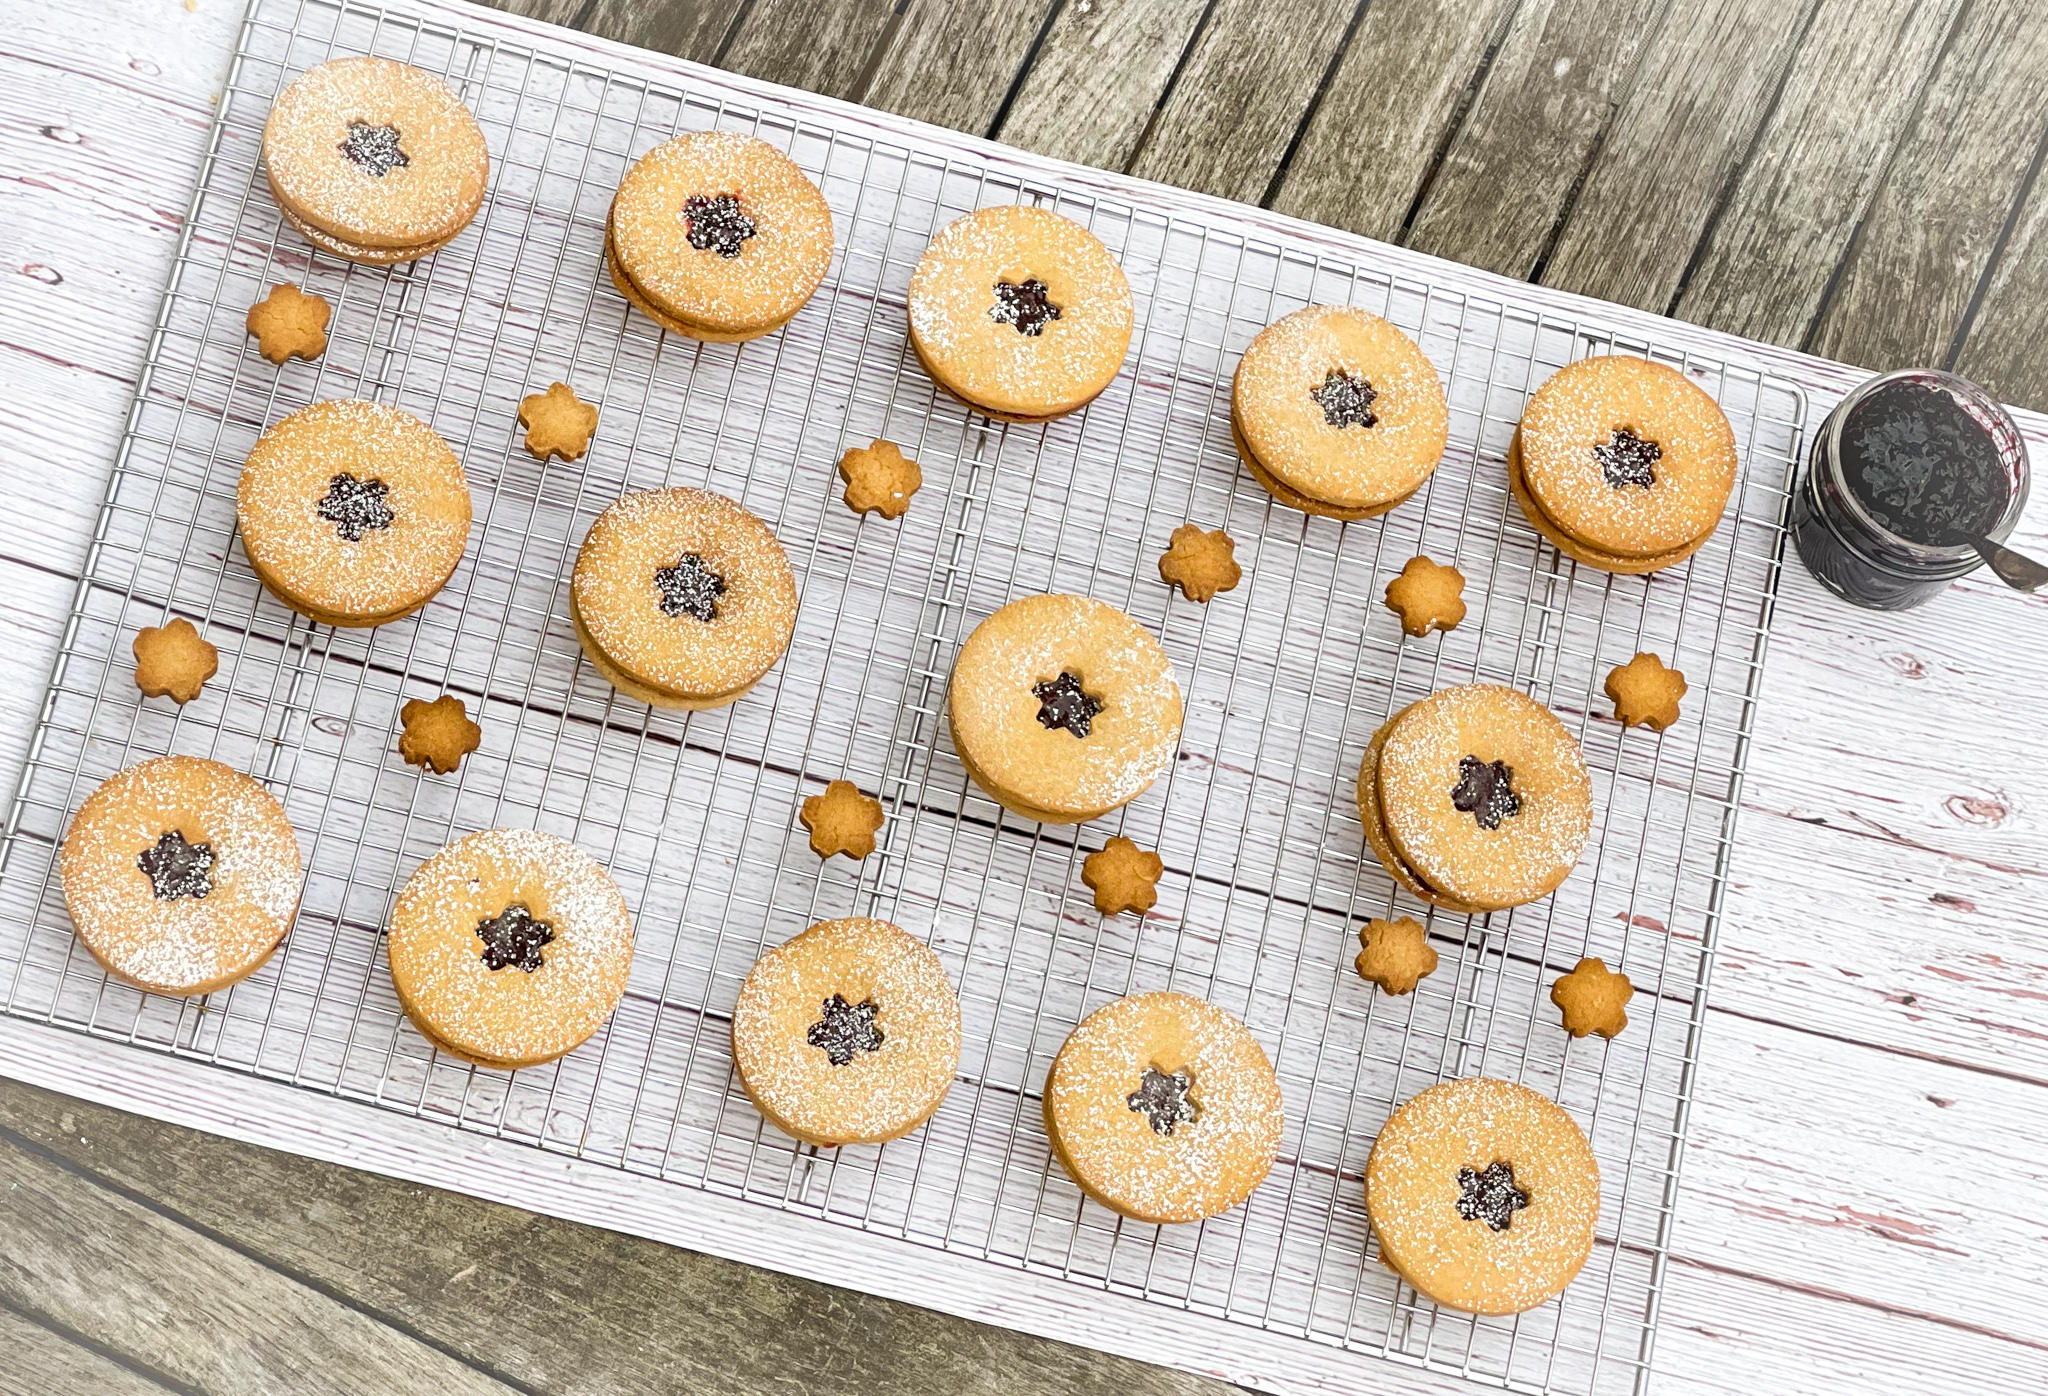
That said, this one cookie I think will please everybody. Linzer cookies are a traditional Austrian pastry, where two shortcake cookies are filled with a filling of your choice– you’ve probably seen them beautifully arranged in cafes. These cookies are even more special with the addition of peanut butter, giving them added flavor and texture. The two kinds of sugar make this sweet, but not too sweet– it is truly a perfect combination. The two cookies are then made into a sandwich with strawberry filling, making them heavenly and each bite is luscious and satisfying. If you don’t like strawberry jam, you can use any flavor you’d like!  They are so easy to make, there is no reason not to. 

This recipe is courtesy of Bake from Scratch and will make 18 finished sandwich cookies for people who will love this little piece of heaven.

Ingredients for Peanut Butter-and-Jelly Linzer Cookies:

1 cup unsalted butter, softened 
½ cup granulated sugar 
½ cup packed light brown sugar 
½ cup creamy peanut butter 
1 large egg yolk 
1 teaspoon vanilla extract 
3 cups all-purpose flour 
½ teaspoon kosher salt 
½ teaspoon baking powder 
½ cup powdered sugar 
½ cup strawberry jam

Preheat oven to 375°F with oven racks in the top third and bottom third of oven.

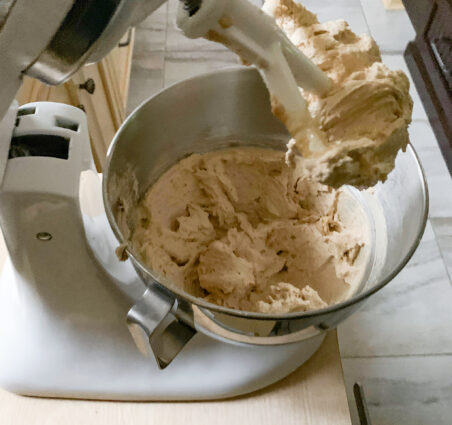
Beat butter, granulated sugar, brown sugar, and peanut butter with an electric mixer on medium speed until smooth, about 1 minute.

Add egg yolk and vanilla, and beat on low speed just until incorporated.
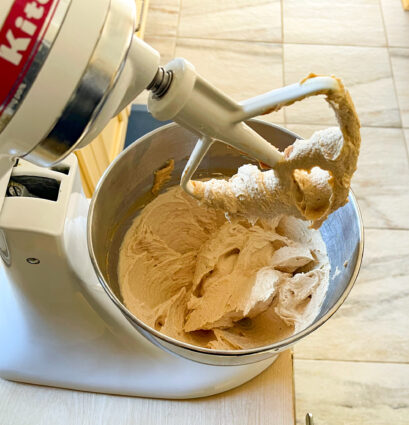
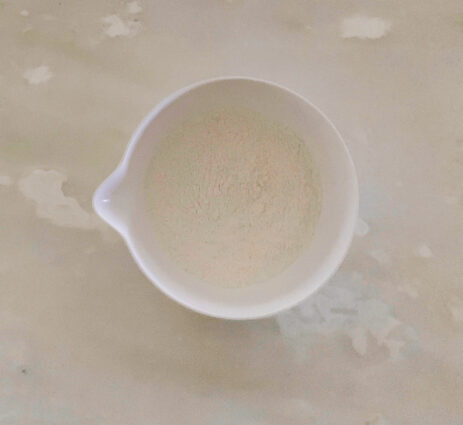
Whisk together flour, salt, and baking powder, and gradually add to butter mixture, beating on low speed just until incorporated. (I found the batter to be very crumbly)
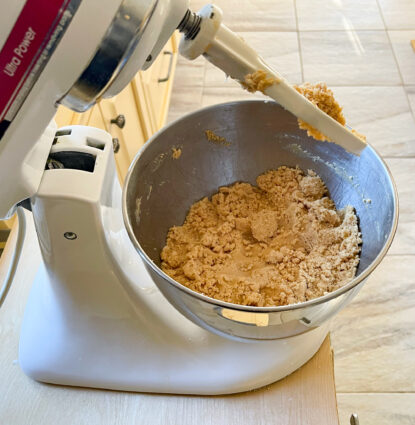
Place dough on a well-floured surface, and roll to 1/4-inch thickness.
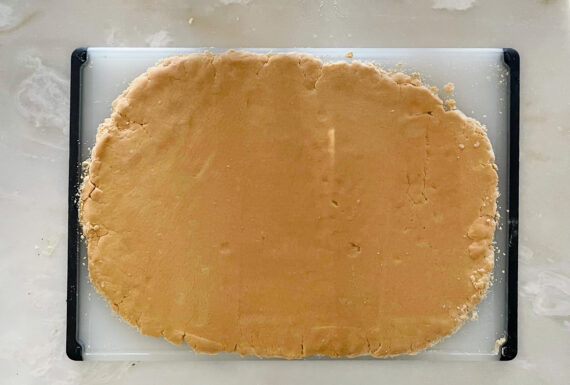
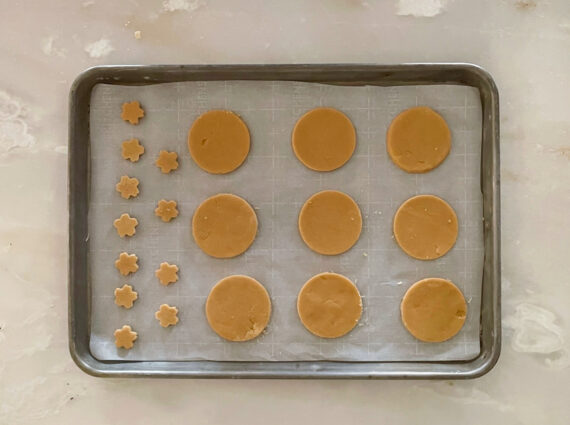
Cut dough with a 2 1/2-inch round cutter.

Gently reroll scraps once, and repeat process with round cutter.

Place half of the dough rounds on parchment paper-lined baking sheets.

Using a 1-inch star-shaped cutter, cut out and remove dough star shapes from the center of the remaining half of dough rounds. (Reserve and bake dough star cutouts for later, if desired.)

Transfer dough rounds with star cutouts removed to lined baking sheets.
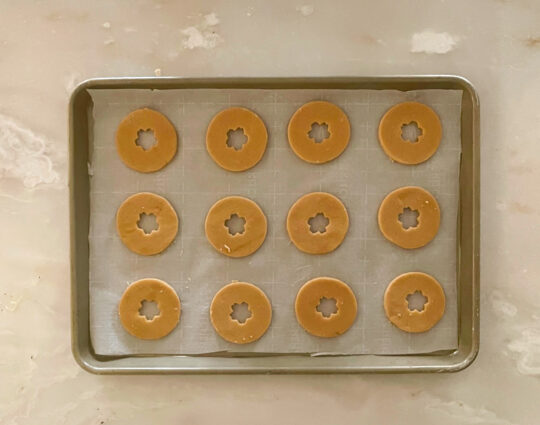
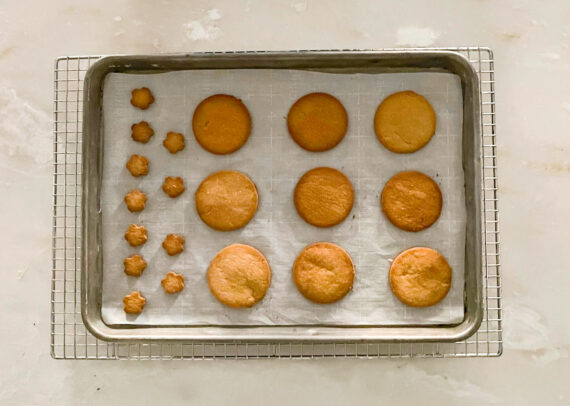
Bake cookies in preheated oven until cookies are set and beginning to brown, 12 to 13 minutes, switching pans top rack to bottom rack halfway through baking.

Transfer pans to wire racks, and cool cookies completely, about 30 minutes.
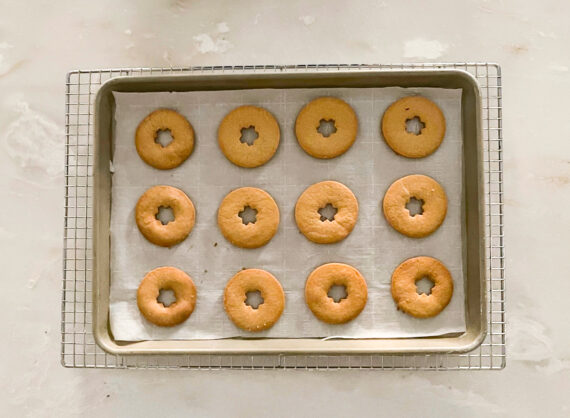
Sift powdered sugar over cookies with star cutouts.

Spread 1 1/2 teaspoons jam on 1 side of remaining cookies.

Place a star cutout cookie, powdered sugar side up, over each jam covered cookie, and gently press.

It’s that simple!
 

signature

[recaptcha]


According to the men who installed my countertops, I’m supposed to clean them with a product called Bar Keeper’s Friend. After doing a little research, I found that not only can it be used to clean countertops beautifully, but it can also be used on stainless steel and enamel pots. What good news that was!  I had some grubby old pots that my mother gave me when I got married. I remember their bright copper bottoms, completely black after years of use. I never really used them anymore, but I kept them for their sentimental value. Rather than get rid of them, I finally decided to clean them with Bar Keeper’s Friend.

Wow! What amazing results! Not only did the black burns come off, the copper bottoms were completely clean. I didn’t even have to scrub that hard! You do have to firmly clean the pot by just continuing to scrub over the same spot several times before it comes off, but that’s a small price for a good-as-new pot. As I scrubbed, the copper slowly started to shine through, and soon enough those old pots looked brand new. If you have a cast-iron skillet, and are confused on how to clean it, Bar Keeper’s Friend is the way to go. This cleaner takes all the mystery out of cleaning old, varnished pots and pans, and cast iron skillets too!

I love to use my cast iron skillet to cook and bake. It distributes the heat evenly, and now, because of Bar Keeper’s Friend, they are easy to clean. Buy this product now. I think you will find yourself on a pot-cleaning binge simply to get all those old pans looking brand-spanking new again.

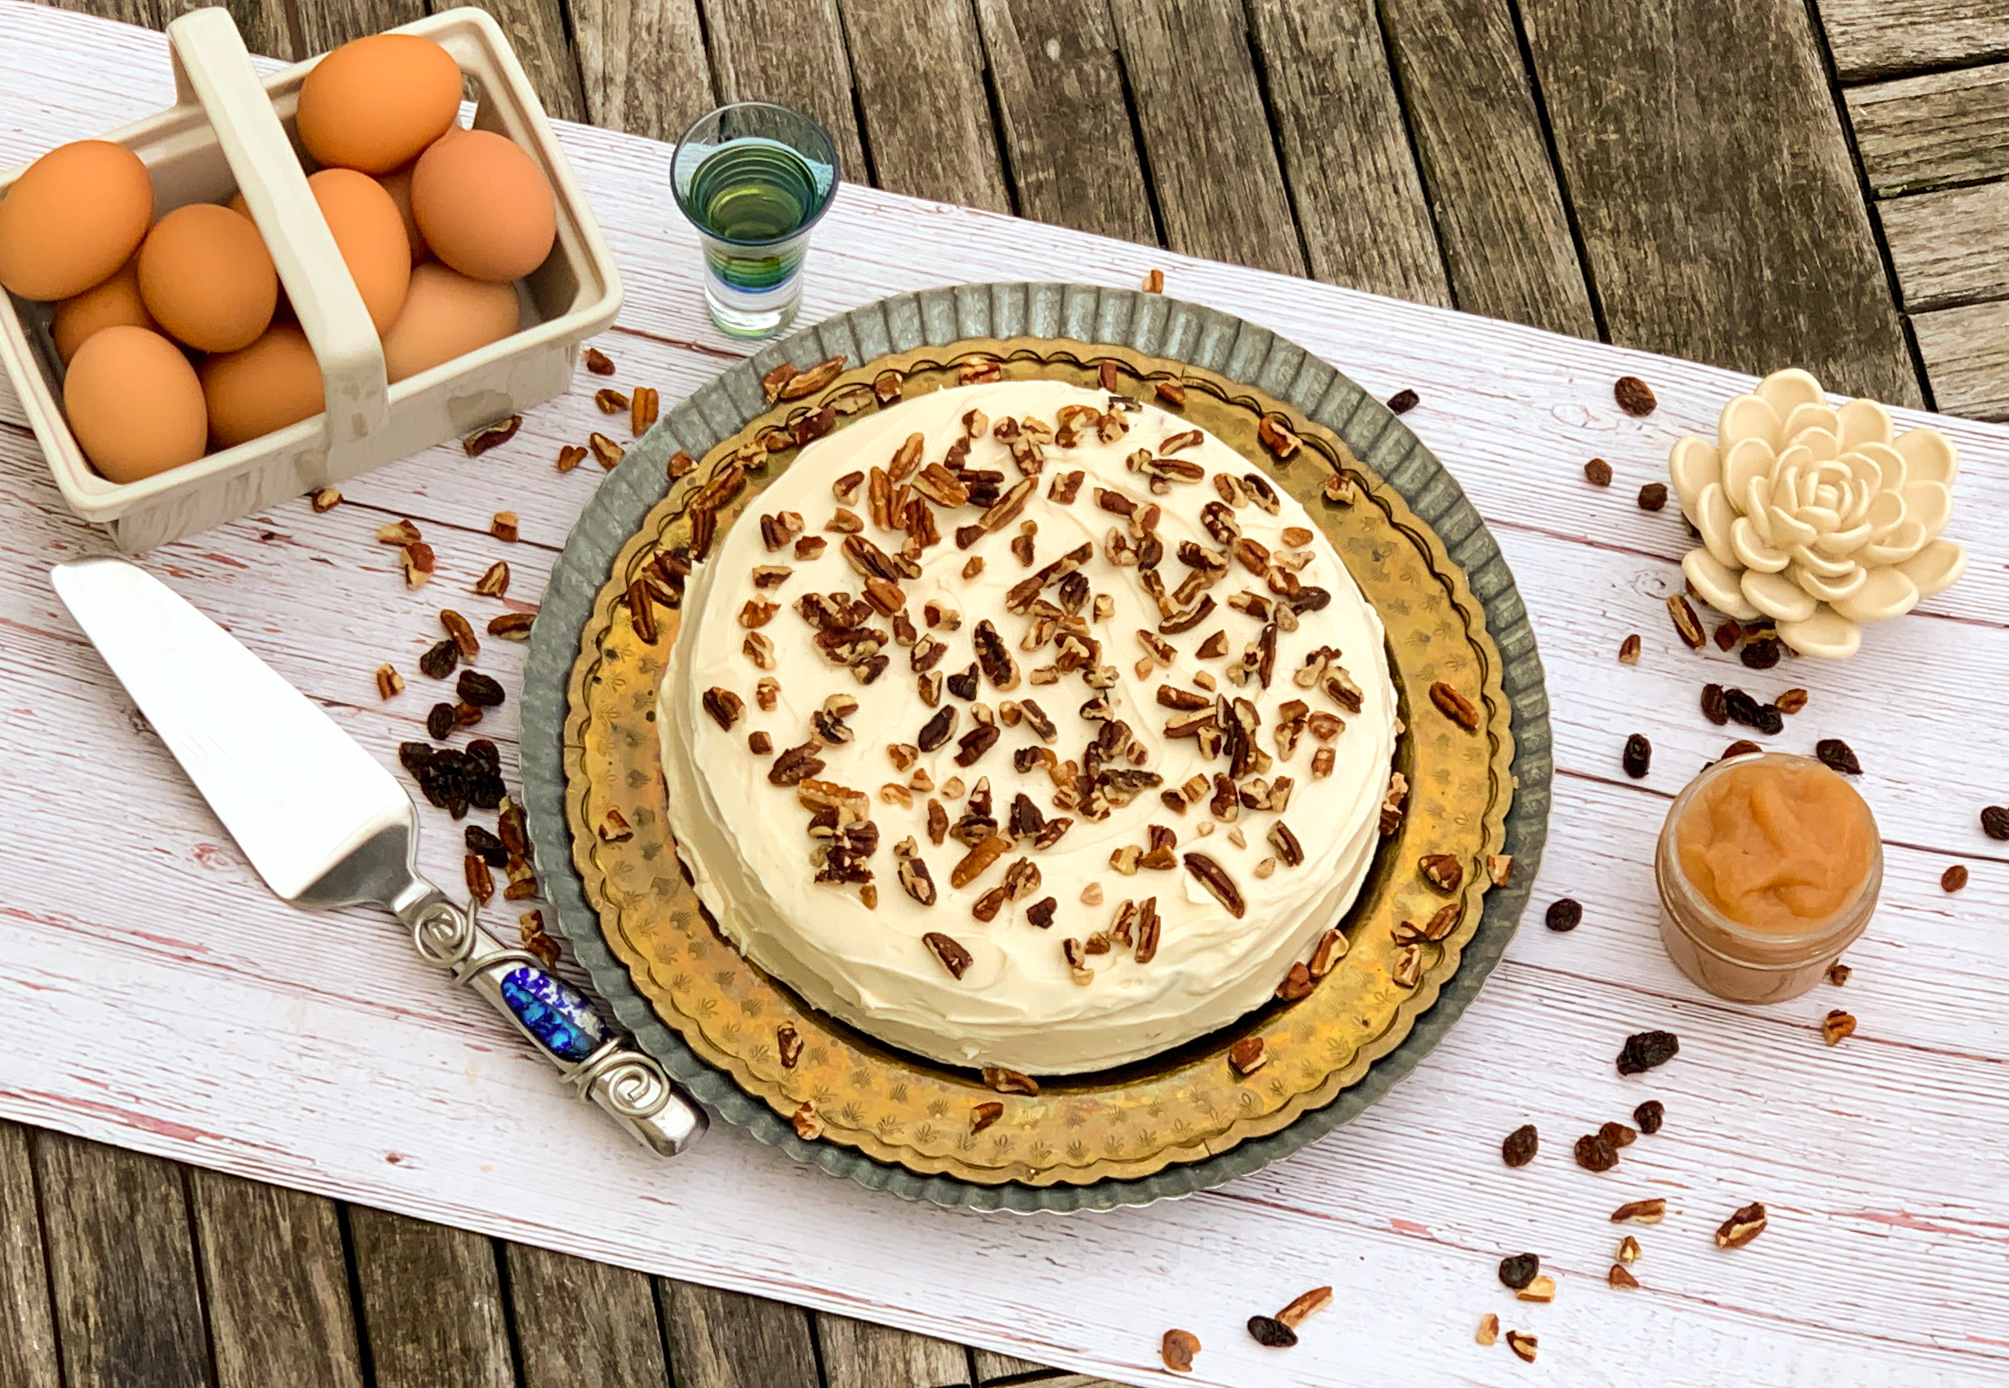
Keep the Bar Keeper’s Friend out, because you are going to want to clean the baking pan you use for this dessert. This dessert is just dreamy, and absolutely perfect for these long winter months. The applesauce ensures a nice, moist, fluffy finish. The raisins and pecans add a perfect blend of gooey goodness and a little crunch. The cinnamon, nutmeg, cloves, and vanilla are all the savory here, making you want just one more bite (but you know that you’ll have more later). The bourbon, when infused with the raisins, and the apples gives this treat a comforting sweetness. It adds a little more depth of flavor, so don’t skimp on it. The cream cheese frosting is the perfect home for this cake, infusing it with a little more bourbon and giving it more warmth and zing. This is the perfect delicacy for breakfast, snack, dessert, or anytime of the day for a little pick-me-up.

This recipe is courtesy of Ina Garten, in her new book, Modern Comfort Food, and will serve 8 people who will love to pick at this cake all through the day.

Ingredients for Applesauce Cake with Bourbon Raisins:

¾ cup golden raisins
2 tablespoons good bourbon, such as Maker’s Mark
10 tablespoons (1¼ sticks) unsalted butter, at room temperature, plus extra to grease the pan
¾ cup granulated sugar
¾ cup light brown sugar, lightly packed
2 teaspoons pure vanilla extract
2 extra-large eggs, at room temperature
1¾ cups all-purpose flour, plus extra for the pan
1½ teaspoons baking soda
1 teaspoon ground cinnamon
¼ teaspoon ground nutmeg
¼ teaspoon ground cloves
1 teaspoon kosher salt
1½ cups unsweetened applesauce, such as Mott’s
½ cup coarsely chopped pecans
Bourbon Cream Cheese Frosting (recipe follows)
Whole pecans halves, for decorating

Preheat the oven to 350 degrees.

Butter a 9 × 2-inch round cake pan, line with parchment paper, then butter and flour the pan.

Tap out the excess flour.

Combine the raisins and bourbon in a small bowl, cover, and microwave for 30 seconds.

Set aside for 15 minutes.

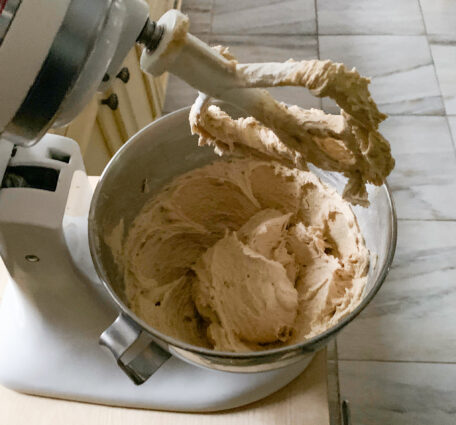
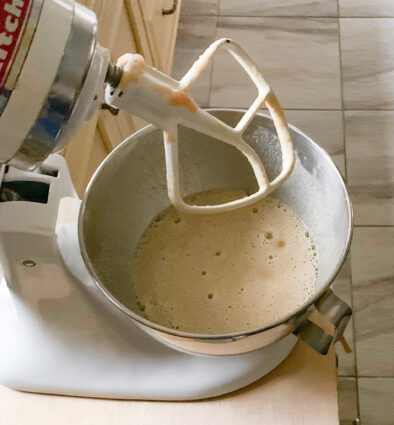
Place the butter, granulated sugar, and brown sugar in the bowl of an electric mixer fitted with the paddle attachment and beat on medium speed for 3 minutes, until light and fluffy.

Scrape down the bowl with a rubber spatula.

With the mixer on medium, add the vanilla and the eggs, one at a time, and mix until smooth.


Meanwhile, in a medium bowl, whisk together the flour, baking soda, cinnamon, nutmeg, cloves, and salt.

With the mixer on low, slowly add the flour mixture to the batter, mixing just until combined.

Stir in the applesauce.

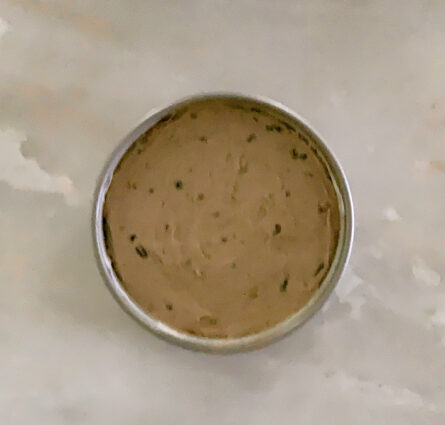
Fold in the raisins (including the liquid) and chopped pecans with a rubber spatula and mix well.

Pour into the prepared pan and smooth the top.

Bake for 40 to 45 minutes, until the top springs back when lightly touched and a cake tester inserted in the middle comes out clean.

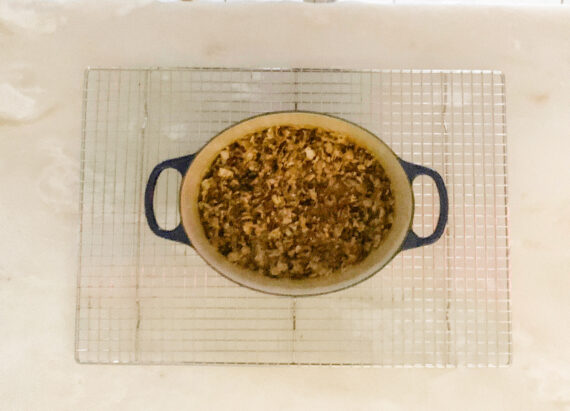
Cool for 30 minutes, turn out onto a cooling rack, rounded side up, and cool completely.

For the Bourbon Cream Cheese Frosting: (Frosts one 9-inch round cake)

6 ounces cream cheese, at room temperature
6 tablespoons (¾ stick) unsalted butter, at room temperature
1 tablespoon good bourbon, such as Maker’s Mark
½ teaspoon pure vanilla extract
½ pound confectioners’ sugar, sifted (see note)

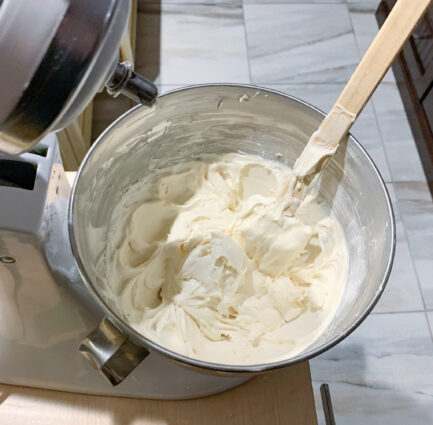
Place the cream cheese, butter, bourbon, and vanilla in the bowl of an electric mixer fitted with the paddle attachment and beat on medium speed until smooth.

With the mixer on low, slowly add the sugar and mix well.

Scrape down the sides and stir well with a rubber spatula.

Spread the Bourbon Cream Cheese Frosting in just the top of the cake (I did frost the sides, because you know more frosting can only make it better!) and artfully place the pecan halves on top.

Serve at room temperature.

It’s that simple!


Peek-a-Boo!

signature

[recaptcha]


Growing up, my grandmother lived with us. My mom worked full time, so my grandmother was there for me when I got home from school, waiting with milk and cookies. I never realized how lucky I was until later on when she moved down to Florida.  She was better off given the warm weather and more laid-back life there, but I missed her terribly.

Although we did not know it at that time, having my grandmother with us was a huge help to everyone in our family, especially my older brother. As I have told you before, we all had our own chores, and one of them was to keep our rooms clean. My brother was terrible about keeping his room clean, no matter how much grief my mother gave him. It was a constant battle. My mother was beside herself. She was very fastidious, and she liked her house to be clean as a whistle. While we hated her rules at that time, I found that when I had a family of my own, I had taken on a lot of my mother’s rules, and a clean house was a priority.

My grandmother hated the arguing that was caused by my brother’s lack of cleanliness. While my mom was working, my grandmother would slip into his room and clean it for him so he would not get into trouble. But there was so much more that she brought to our home than the added help. 

She was always there for me with a big smile on her face and tremendous warmth and love in her heart. I think my favorite memories were the more mundane ones, like eating my cookies and milk and watching General Hospital with her every day. After she moved to Florida, I had all but forgotten I had watched the show with her every day coming home from elementary school. When I moved out to go to college, I suddenly started hearing about this soap opera that had two people, Luke and Laura, getting married. It was a huge deal and everyone on campus was skipping class to watch in the cafeteria. The day that I joined my friends to watch, I was astonished. After so many years had gone by, I realized that I was very much acquainted with all the characters on the TV screen. There was the cast of General Hospital, right in front of my eyes. More than anyone, I treasured watching them get married, because it brought me right back to my childhood, sitting with my grandma. It is the simple memories we cherish most, and this one made me miss my grandmother so much. 

My grandmother basked in the warmth and energy of her grandchildren, and she happily spoiled us. There was nothing she wouldn’t do for us. I think it kept her feeling young and needed. Unlike parents, who tend to discipline you, grandparents want only to see you happy and content. When she left to move down to Florida, she lived alone, and I know she was very lonely. My siblings and I missed her very much. Our busy lives prevented us from going down to see her that much. Thankfully, she had my brother and sister-in-law in the same city, so they did get to see her. My parents had to bring her back up here to live in a nursing home, because she fell and broke her hip. She was devastated to be living in a home. To see her so sad broke our hearts. She passed away at age 95, not long after she moved to the nursing home. I often wish my parents had taken her back to live with them, but she needed so much care and it just wasn’t possible.

Especially during these crazy times, please make sure you are visiting and helping out an elderly person. They all have so many experiences to share and they would be so happy with some company. I wish I could turn time back to talk to my grandmother. There are so many questions I would ask her. I miss her smile and her fried chicken. I miss coming home to someone who is so happy to see me. I hope I become a grandmother soon, my heart is ready for some more unconditional love.

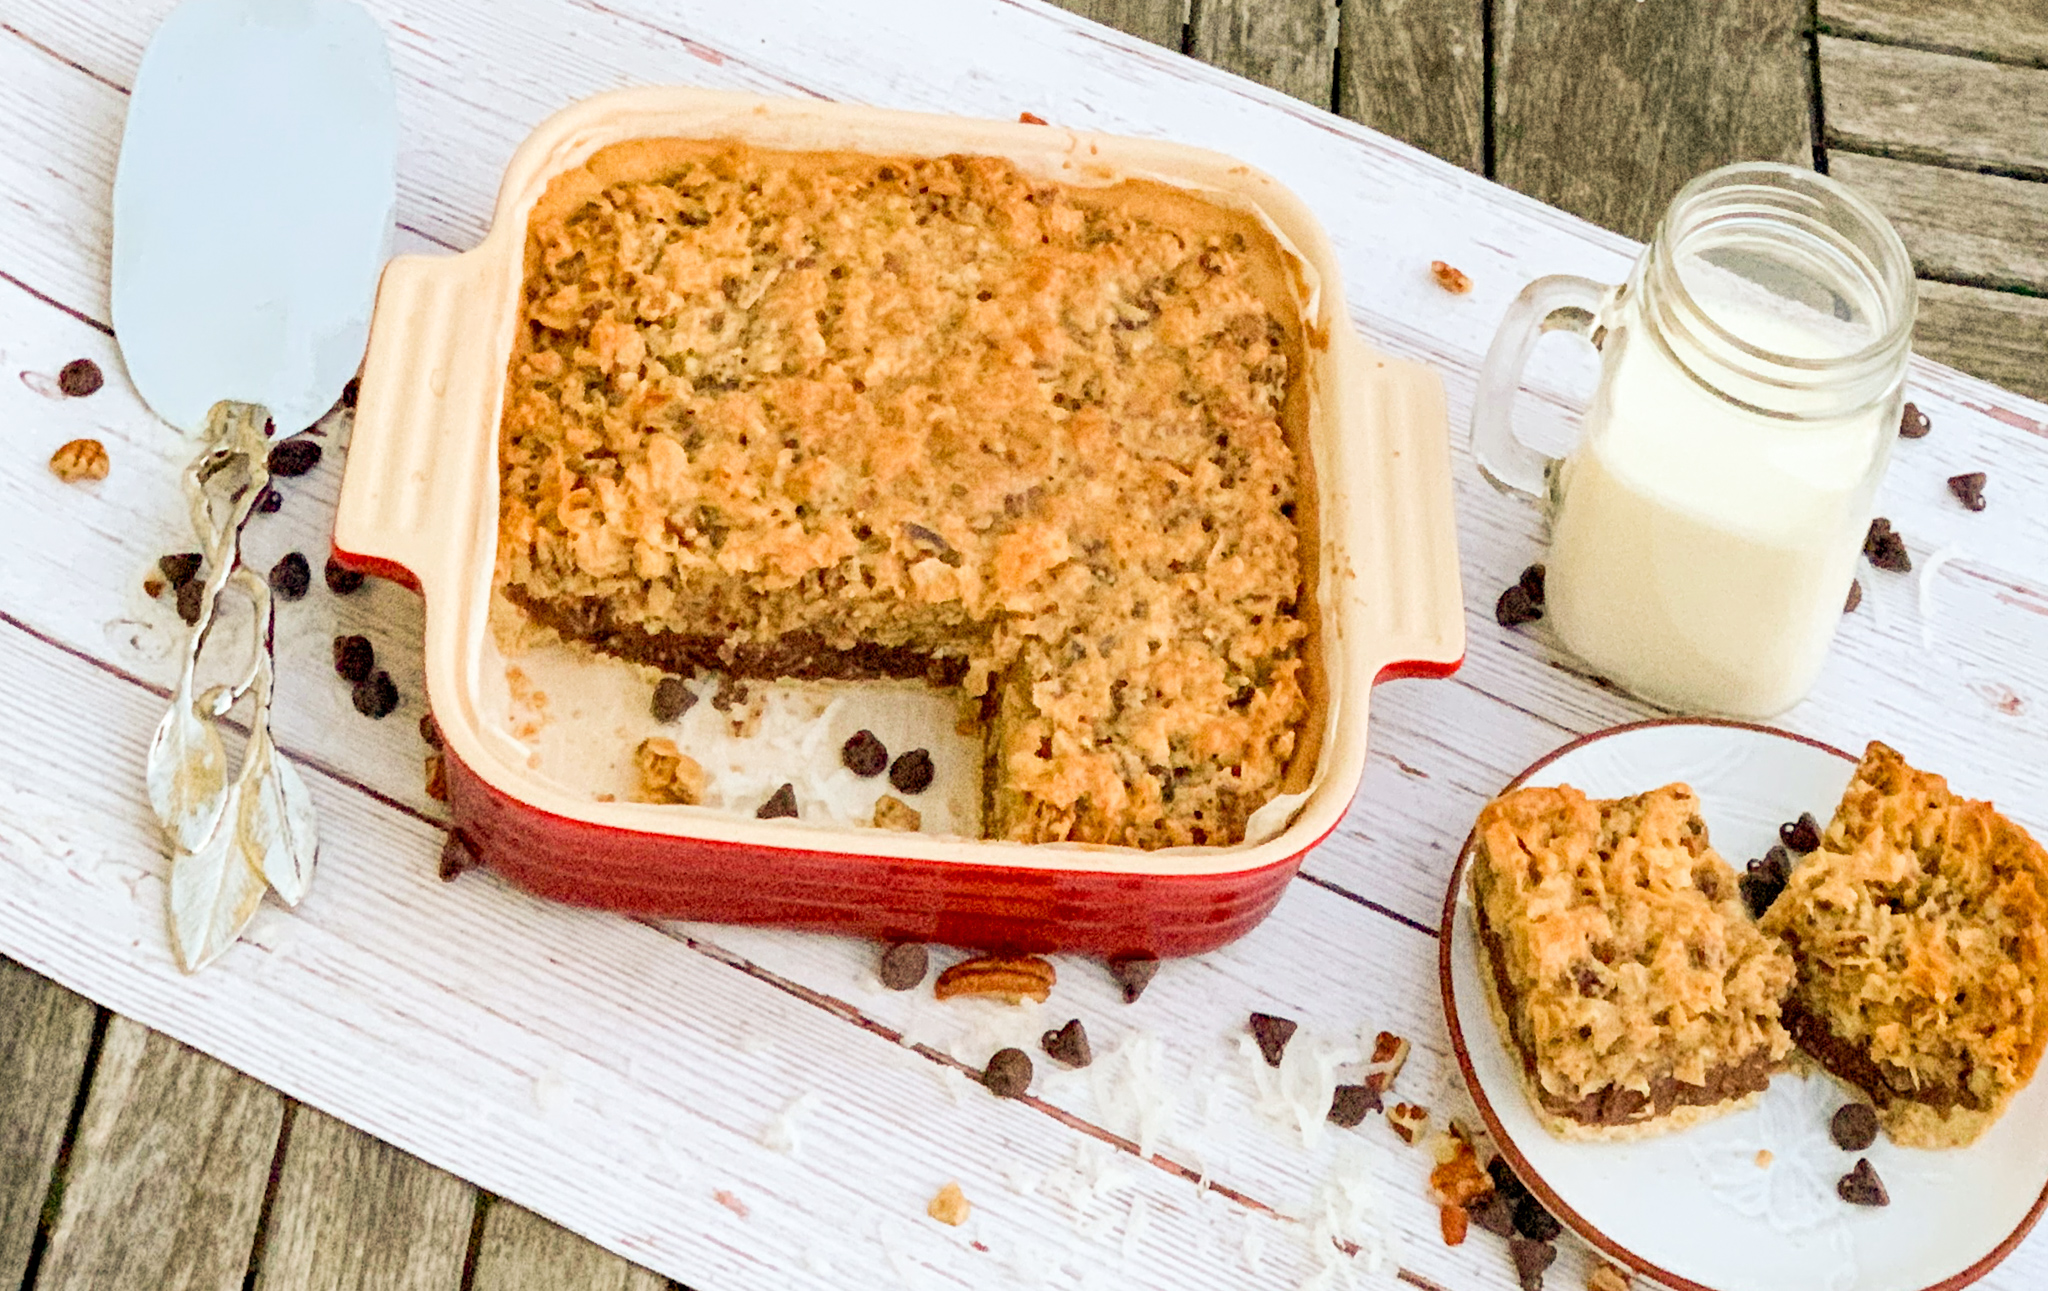
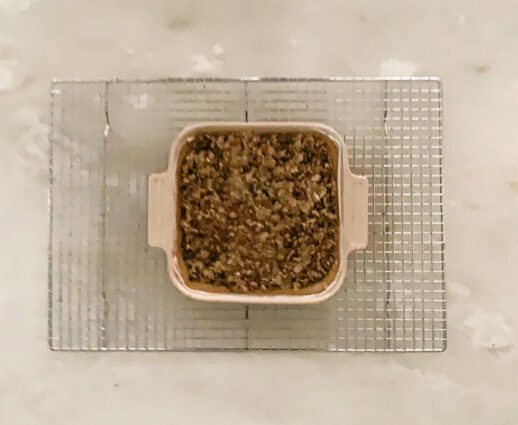
If you go to visit an elderly person or relative, this is the perfect treat to bring them. These bars are addicting. The base of the bar is made with shortbread cookie dough, which just by itself, is delicious. It is then topped with chocolate chips and a coconut pecan sauce that is a lot of gooey goodness.  The chocolate melts over the top, and the sauce is thickened and caramelized. The pecans add crunchy deliciousness in every bite. The coconut browns up beautifully and gives these bars even more crunchy, sweet flavor. They are so easy to make, you can make quite a few bars and give them to the people you love as a special treat.

These bars are courtesy of Super Simple, by Tieghan Gerard and will serve 9 lucky people.

Ingredients for Butter Pecan Bars:

12 tablespoons (1 1/2 sticks) salted butter, at room temperature
1 1/4 cups packed light brown sugar
3 teaspoons pure vanilla extract
1 1/4 cups all-purpose flour
2/3 cup heavy cream
1 1/2 cups roughly chopped pecans
1 1/2 cups shredded unsweetened coconut
2 cups semisweet chocolate chips

Preheat oven to 250 degrees F.

Line an 8 x 8-inch baking dish with parchment paper or grease a 9-inch round pie plate with butter or cooking spray.

Make the dough:

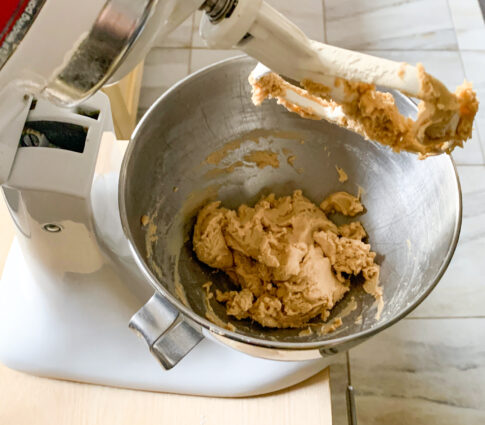
In a stand mixer fitted with the paddle attachment, beat 8 tablespoons of the butter 1/4 cup of the sugar, and 1 teaspoon of the vanilla together until smooth, about 1 minute.

Add the flour and 1 teaspoon of water and beat to combine well, 2 minutes more.

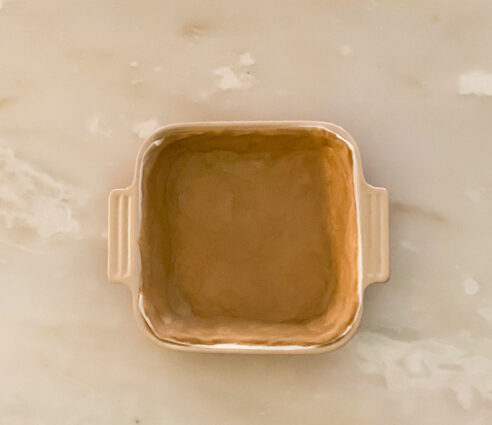
Press the dough into the bottom and up the sides of the prepared baking dish.

Bake until the crust is golden, about 10 minutes.

Remove the pan from the oven, but leave the oven on.

Make the sauce:

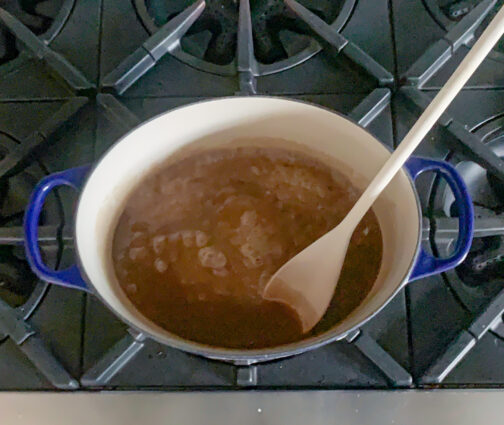
In a medium saucepan, place the remaining 4 tablespoons of butter, the cream, the remaining 1 cup of sugar, and the remaining 2 teaspoons of vanilla.

Bring to a boil over medium heat and cook, stirring often, until the sugar has dissolved and the sauce has thickened slightly, about 5 minutes.

Remove the saucepan from the heat and stir in the pecans and the coconut.

Scatter the chocolate chips evenly over the crust.

Pour the pecan and coconut mixture over the chocolate and, using a spatula, gently spread to distribute evenly.

Bake until the top begins to brown and caramelize.

Allow the bars to col for about 20 minutes, then slice and serve at room temperature.

Store in an airtight container at room temperature for 3 to 4 days.

It’s that simple!
Wishing you all a Happy and Healthy New Year!

signature

[recaptcha]


Well, just when I thought I was safe, I came down with COVID. (UGH, gross, I know). I was feeling pretty bad for over a week, and I was sure I had it, but I took four rapid tests that all came back negative. Intuitively, I isolated myself from my family and went for a fifth test, and sure enough, it came back positive. Even though I suspected it, it is always a shock when you confirm it.  Let that be a lesson: a negative test doesn’t mean you’re covid free.

In talking to my friends and relatives, I found that people have had very different symptoms. Since my symptoms didn’t match exactly what other people have reported, I thought maybe it was just the flu. No such luck. Boy, was I sick. Among other symptoms, the overall fatigue and weakness was the worst. Just getting out of bed and walking to my closet seemed like an insurmountable task. These symptoms lasted the longest, as well as a constant headache. It has been years since I even had a cold, so, needless to say, I was miserable. 

I couldn’t write and I couldn’t cook, so I thought I might have to put the blog on hold. Thank goodness, I am always somewhat ahead of myself for my blog, so I had some recipes that were written and ready to go.

The one thing I was happy about was that it was so cold outside, and I didn’t have to go anywhere. I cannot remember a time when I had no appointments on my calendar. As I got better, I was able to watch TV, but even that became ridiculous and boring. I had run out of shows, so I  started watching the Best British Baking Show. Don’t ask me why, curiosity I guess. I heard the food in England is horrible, though I have never been there myself. As I watched the show, I just could not believe some of the desserts they love in England. They sounded terrible, and even when they were baked, none of them looked good enough to taste. I just kept watching, as my inquiring mind got the best of me. I was hoping to learn something, but the desserts just did not seem appetizing to me at all. I kept watching because I was so amused by the people they chose to participate in the bake off and the methods they used to complete the task.

If you are desperate, like I was, to fill your boredom with something ridiculously stupid, give it a chance. If anything, you will be amused and entertained for a couple of episodes. 

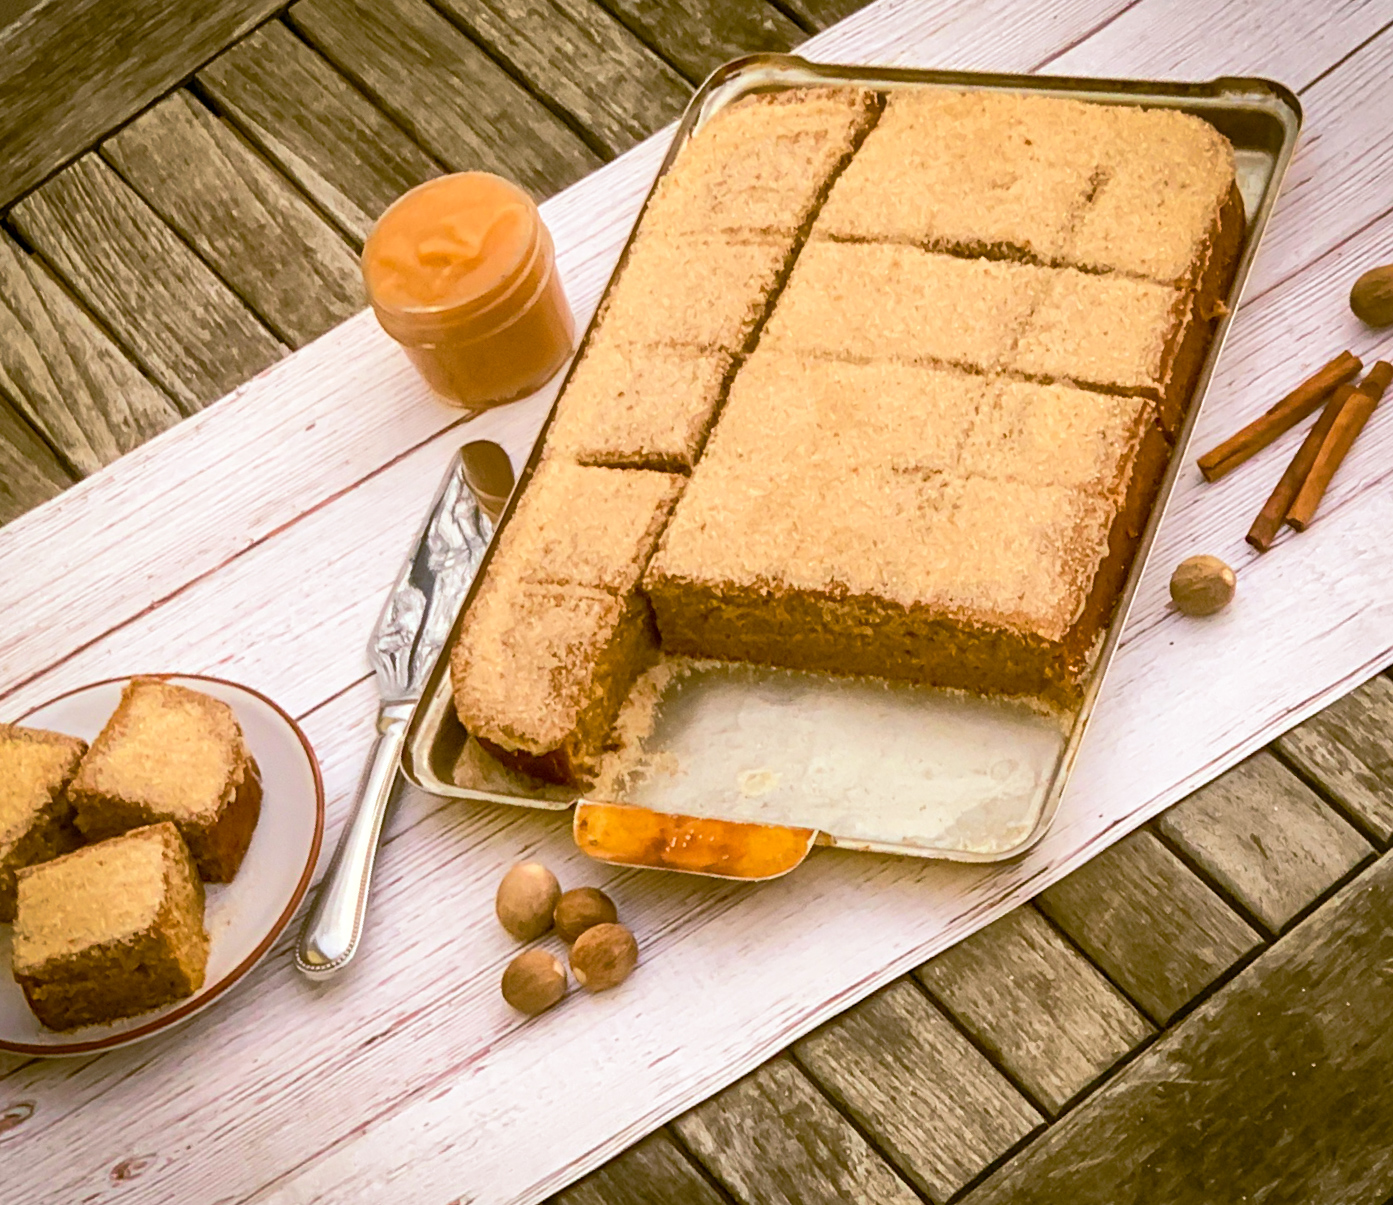
As I felt better, I was in desperate need of some comfort food. What can be better than a warm Cinnamon Spice Cake? The milk and applesauce ensures that this cake is moist and fluffy. It is filled with an array of savory spices, cinnamon, nutmeg, vanilla and orange zest. Just thinking about it makes you want to bake it right away. It is topped with cinnamon sugar that makes this cake just the comfort food you need. Trust me, I would know.  This cake makes the house smell like cider donuts, and seems like just the right treat to have around while trimming a tree, lighting a menorah, or watching the snow fall outside.

From Odette: “This recipe calls for spelt flour but you can use all-purpose flour, whole wheat, spelt or a combination of all three. (The spelt adds a lovely warmth that all-purpose can’t, and whole wheat can be a little full on by itself.) The cake is not overly spiced and keeps for days; in fact, I think it’s better on the second day when the flavors have had time to rest. It is deserving of a pair of slippers, a cardigan, and a cup of tea. Makes one 13-by-9-inch rectangular cake, that is perfect for Christmas or any night”. 

This recipe is courtesy of Simple Cake, by Odette Williams and makes 8 to 12 servings that go perfectly with a good book and a warm fireplace.  

Ingredients for Cinnamon Spice Cake:

For the Cake:

2 1⁄4 cups organic whole-grain spelt flour (or all-purpose flour; see note above)
1 1⁄2 teaspoons baking powder
1⁄2 teaspoon baking soda
1⁄2 teaspoon salt
1 teaspoon ground cinnamon
1⁄2 teaspoon ground nutmeg
3 eggs, at room temperature
1⁄2 cup (120ml) mild-flavored extra-virgin olive oil
1 teaspoon vanilla extract
1 cup unsweetened applesauce
1⁄4 cup honey
1⁄2 cup whole milk
1 tablespoon finely grated orange zest
1 cup light brown sugar, lightly packed

For the Cinnamon Sugar Topping:

1/3 cup cane sugar
1 teaspoon ground cinnamon
3 tablespoons unsalted butter, melted

Make the Cake:

Preheat the oven to 350°F. Grease a 13 by 9-inch rectangular pan with butter, line the bottom and sides of the pan with parchment paper, and grease the paper. (I’ll let you just grease, line the bottom of the pan, and lightly flour the sides if you’re feeling lazy.)

Place a large sifter or a sieve in a large mixing bowl.

Add the flour, baking powder, baking soda, salt, cinnamon and nutmeg and sift.

In another large bowl, whisk the eggs, oil, vanilla, applesauce, honey, milk, zest and brown sugar until smooth.

Gradually add the wet ingredients to the dry ingredients and whisk until there are no lumps and the batter is smooth.

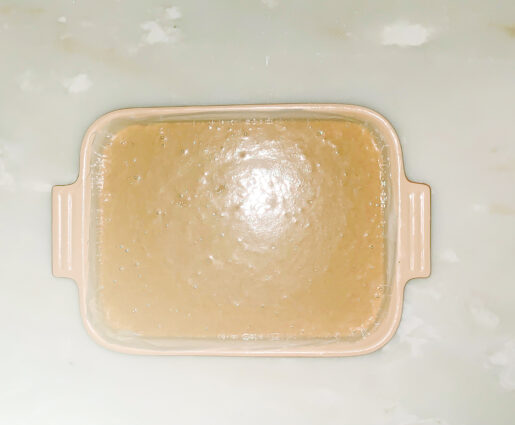
Pour the batter into the prepared pan and smooth the top.

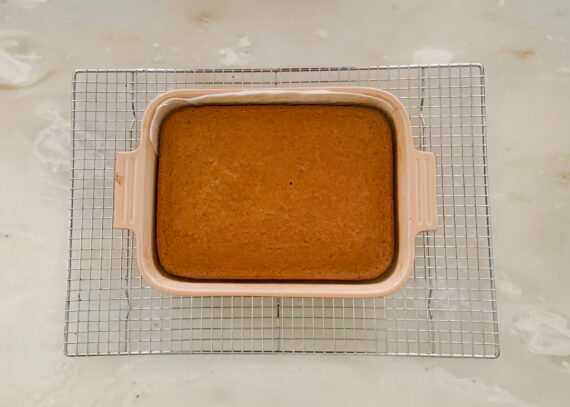
Bake in the center of the oven for 28 to 30 minutes or until a wooden skewer inserted in the center comes out clean, and the cake bounces back when lightly pressed.

Remove the cake from the oven and let it stand for 10 minutes.

Run a butter knife around the cake to gently release.

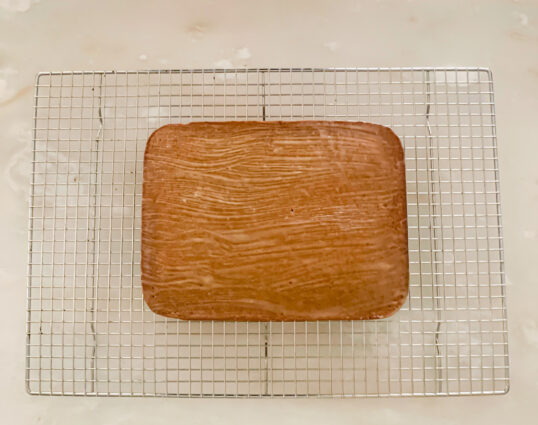
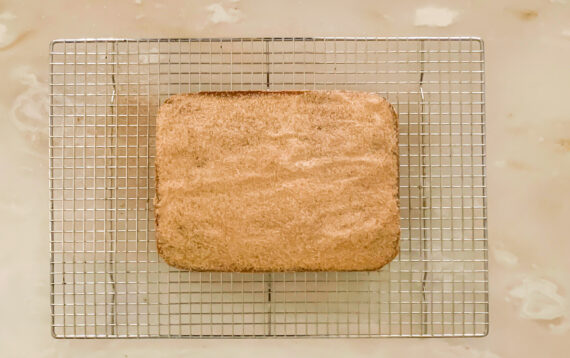
Invert the cake, peel off the parchment paper, and cool on a wire rack.

Make the topping:

Mix the sugar, milk and cinnamon in a small bowl.

 With a large, sharp knife, cut the cake into cubes.

Brush or spoon the melted butter on top of each cake square.

Let it soak into the cake a little before sprinkling on the cinnamon-sugar mix. (If the cake is still warm, the sugar will dissolve.)

It’s that simple!


Happy Snow Day!

signature

[recaptcha]


I recently overheard my son tell my Aunt that although I do not believe so, he thinks I am a great baker. He told her that since I started my blog, my baking has improved far beyond what he thought it would. Just being recognized made me feel accomplished and proud.

That same Aunt always says that if you love to do something enough, you will become good at it. It is not a secret that you must have a passion for anything you wish to succeed in. I often admire a good photographer’s pictures because you can see the passion in them, and marvel at people’s artistic creativity, like painters and sculptors. Even a decorator has a picture in their mind, and they are able to flawlessly bring their vision to life.

I believe perseverance has to work in tandem with passion. If you do something long enough, regardless of how many times you fail, you become more skilled at it. The experimenting I do for this blog has left me with better baking skills, for sure. I still wouldn’t call myself a good baker, but rather a more of a skilled baker. Still, hearing my son tell my Aunt that he thought I was a good baker definitely made me feel good. He scored a lot of brownie points (no pun intended) for that, and I have begun baking for him a lot more now that I know how much he appreciates it.

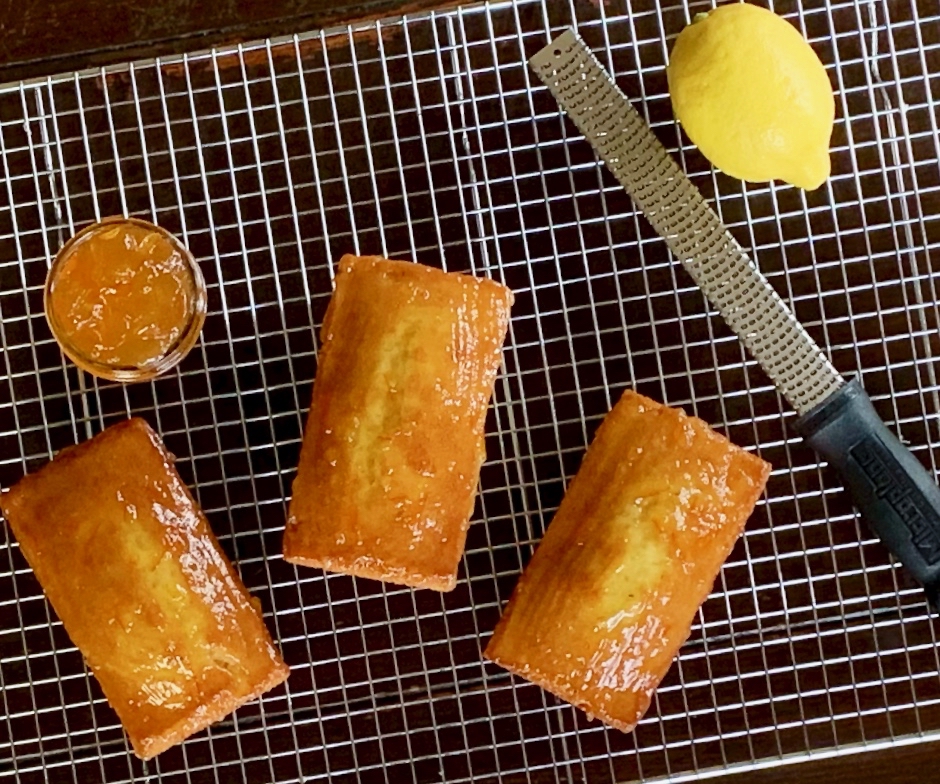
For starters, I made him these cakes, which are so moist and delicious. I love that they are made in mini cake pans! As wonderful as they taste, it makes them so visually appealing as well. The original recipe called for rosemary, but Dorrie suggested switching the rosemary out for thyme or lavender. Since I am not a fan of rosemary, I chose the thyme. The herb contrasts the vanilla extract, adding a savory surprise you normally don’t taste in a cake.The yogurt ensures that these cakes are totally moist and delicious. The lemon zest and orange marmalade provide the yummiest citrus tang imaginable.

This recipe is courtesy of Dorie Greenspan and will serve 12 people who will taste the passion of their baker in every bite.

Ingredients for Lemon-Thyme Mini Loaves

1 1/2 cups all-purpose flour
2 teaspoons baking powder
1/4 teaspoon salt
1 cup sugar
1/2 teaspoon finely minced thyme
Grated zest of 1 lemon
1/2 cup plain yogurt, preferably Greek
3 large eggs
1 teaspoon pure vanilla extract
1/2 cup olive oil
1/2 cup lemon or orange marmalade, for the glaze
1 teaspoon water, for the glaze

Center a rack in the oven; preheat oven to 350°F.

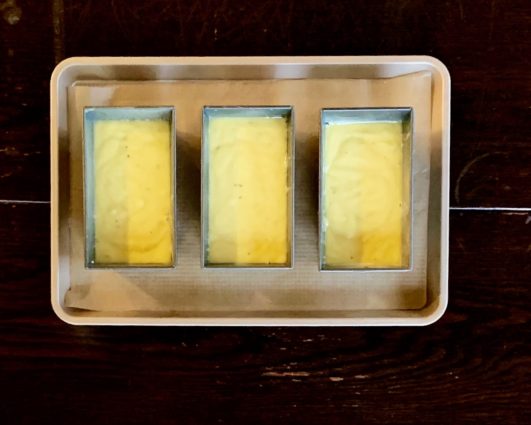
Generously butter three 5×3-inch mini loaf pans (or use baker’s spray) and place them on a baking sheet.

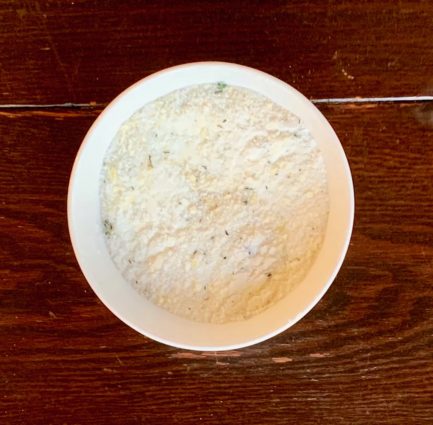
Whisk together the flour, baking soda, and salt.

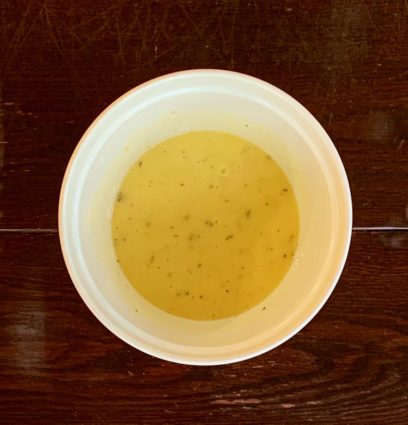
In a medium bowl, rub together the sugar, thyme, and zest until the sugar is moist and aromatic.

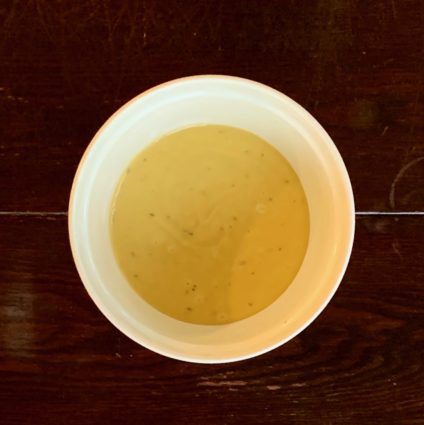
Add the yogurt, eggs, and vanilla; whisk vigorously until the mixture is very well blended.

Still whisking, but less vigorously, add the dry ingredients.

Switch to a large spatula and fold in the oil.

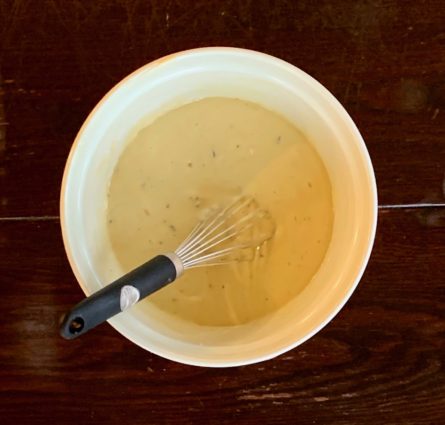
You will have a thick smooth batter with a slight sheen.

Turn the batter into the prepared pans and smooth the tops.

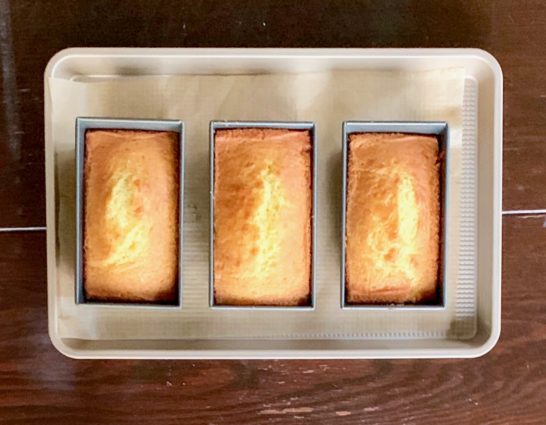
Bake for 32 to 35 minutes or until the cakes begin to come away from the sides of the pans.

They should be golden brown and a tester inserted into the centers will come out clean.

Transfer the cakes to a rack; cool for 5 minutes, then run a table knife between the cakes and the sides of the pan.

Unmold onto racks; cool to room temperature, right sides up.

To make the glaze:

In a small saucepan or microwave-safe bowl, combine the marmalade and the water and heat until the marmalade is hot and liquefied.

Using a pastry brush, gently brush the glaze over the cakes.

Let stand at room temperature to allow the glaze to set.

Wrapped well, the cakes will keep at room temperature for about 3 days.

Because of the glaze, they are not great candidates for freezing.

It’s that simple!

signature

[recaptcha]