Many of us have been cooking a lot during this past year. Back in 2017, Harvard Business Review reported that about 10 percent of Americans actually enjoyed cooking.  Now, during this pandemic, it is hard to avoid cooking. Many restaurants are closed, and cooking has become a necessity as well as a challenge. For those with chronic diseases such as diabetes, crohn’s, or celiac, it’s been an added challenge to find appropriate recipes. Let’s think about ways we can enjoy cooking without it seeming like a huge chore.

Make things simple. Buy your meat fresh and freeze it so that you can simply defrost it the night before. This can be a whole chicken that you roast, a couple of steaks, veal chops, or chicken parts. You can leave them on the counter overnight, just put them back into the refrigerator when you wake up. Remove them at least an hour before you cook them to bring them to room temperature. Yes, even chicken can stay out of the fridge safely for an hour or so.

Choose easy side dishes. Bake some whole potatoes, or cut up some fingerlings and roast them for about 40 minutes. Take out a package of frozen corn, place it on the stove with some butter, basil, red pepper flakes, and lemon, and pan roast until it turns brown and has caramelized. Roast some broccoli or cauliflower with olive oil. It really doesn’t have to be complicated. 

Put on your favorite music while you cook. Studies have shown that listening to music can alter your mood and make you happy. Music can also slow down your heart rate, and reduce blood pressure and anxiety.

Use your favorite foods to prepare recipes that you enjoy. Nobody likes cooking a dish they hate. Try to get other members of your family to help, and make it a family event.  Bonus– you can teach the little ones healthy eating habits.

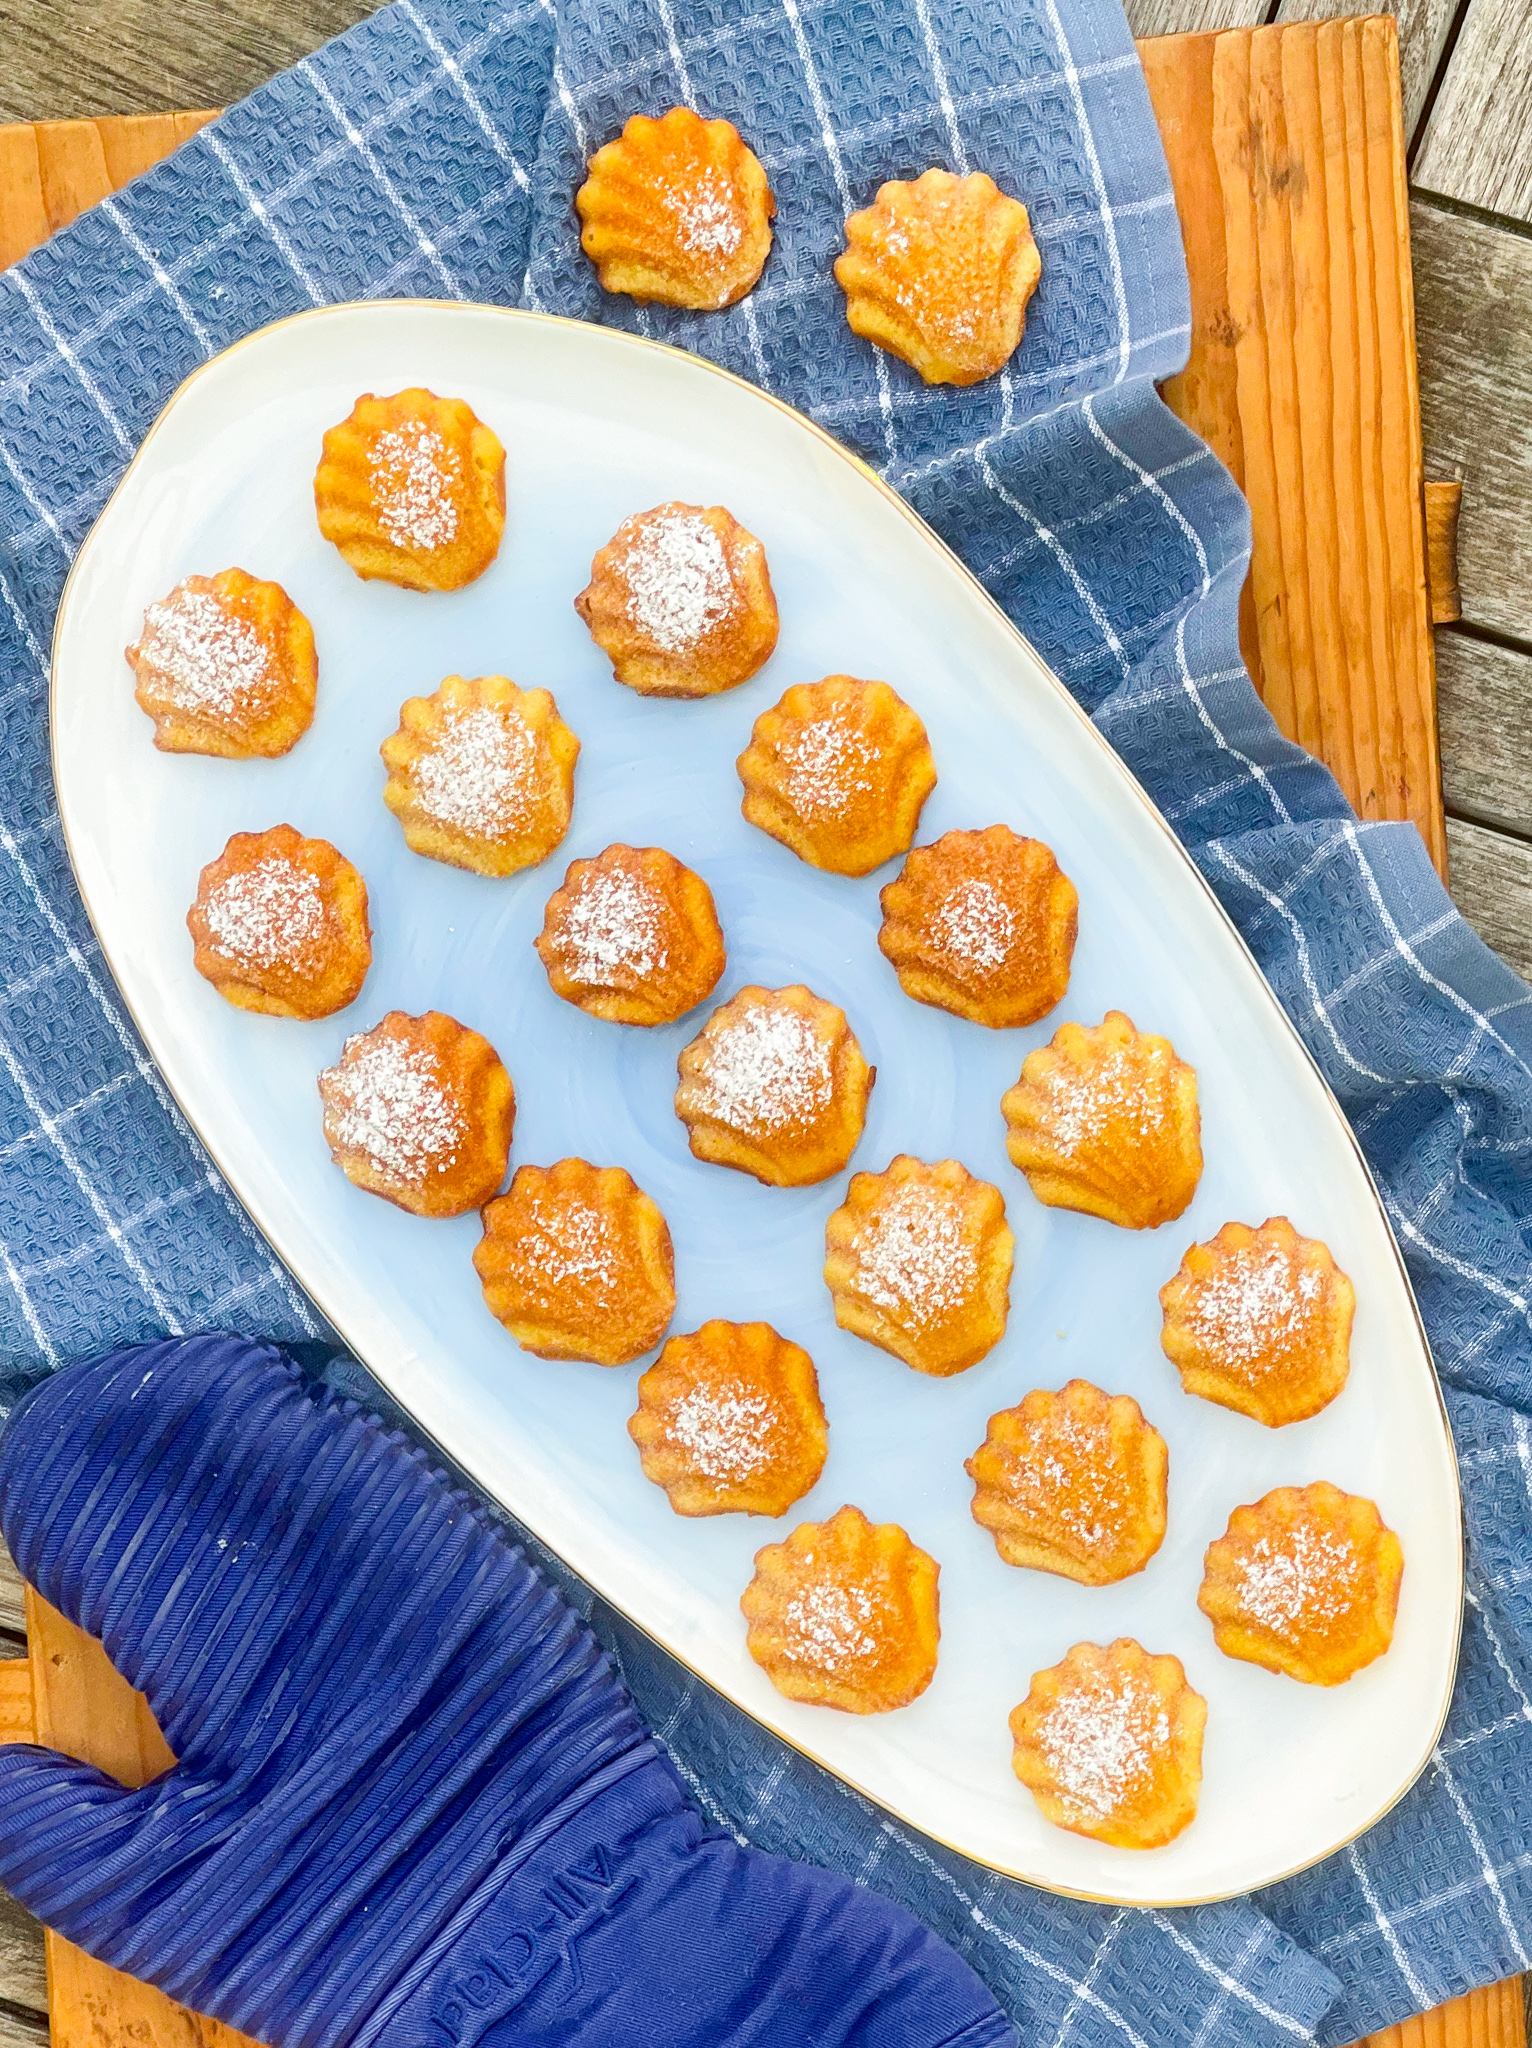
Now this is one recipe that I know you will enjoy making. Madeleines, also known as French butter cakes, are shell-shaped sponge cakes. When the cake was first made in the 18th century, the little bump was the most important feature.  The same is true today.  Though they are little butter cakes, most people refer to them as cookies. They are made with the simplest ingredients, but you have to be careful to ensure the right consistency. It may take a little extra time, but it is well worth it.

Whether you call them cakes or cookies, they should be light and airy, with a melt-in-your mouth exterior. You know the eggs are perfectly whipped when they drip like ribbons from your spoon or beaters. The vanilla extract adds even more delicious flavor, and the lemon zest, (don’t you dare leave it out!) gives these cookies a tang, that is so important to the cookie. You can then dust them with confectioners’ sugar or dip them in some melted chocolate for an even more luscious treat. Perfect for breakfast, a snack, or dessert, everyone will love them.

This recipe is courtesy of Sally’s Baking Addiction and will make 18 to 20 cookies to delight cookie and cake lovers alike.

Ingredients for Madeleines:

1/2 cup (1 stick) unsalted butter (plus another 2 Tbsp for the pan)
2 large eggs, at room temperature
1/2 cup granulated sugar 
2 teaspoons lemon zest
1 teaspoon pure vanilla extract
1 cup sifted all purpose flour, spooned and leveled
1/2 teaspoon baking powder
1/8 teaspoon salt
Optional: confectioners’ sugar for sprinkling on top, or melted chocolate for dipping.

Melt the butter and set aside to slightly cool as you prepare the rest of the batter. You can melt it in the microwave or melt it/brown it on the stovetop.

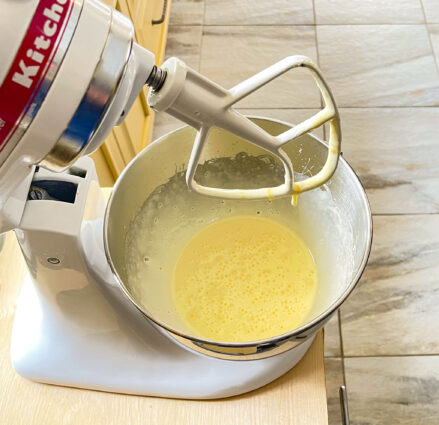
Using a handheld or stand mixer fitted with a whisk attachment (didn’t notice a difference using either one), beat the eggs and sugar together on high speed for at least 8 minutes.

The mixture will be thick, pale, and form ribbons when you lift the beater(s).

Beat in the lemon zest and vanilla extract until combined. (The remaining ingredients are mixed together by hand; you no longer need the mixer.)
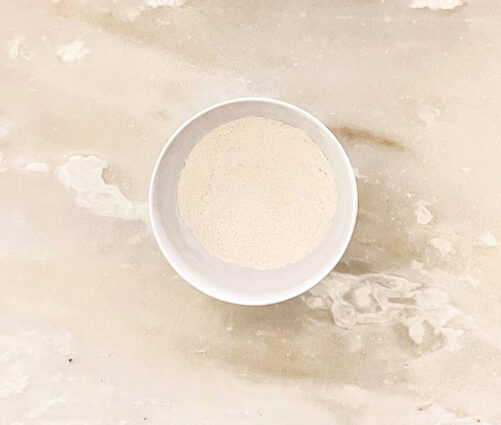
Whisk the flour, baking powder, and salt together in a small bowl.
Using a spatula or wooden spoon, gently fold into egg mixture.

I suggest carefully folding in half of the flour mixture, then folding in the other half. (Instead of dumping it all in at once.) Make sure you’re handling this batter with care. It’s very delicate.
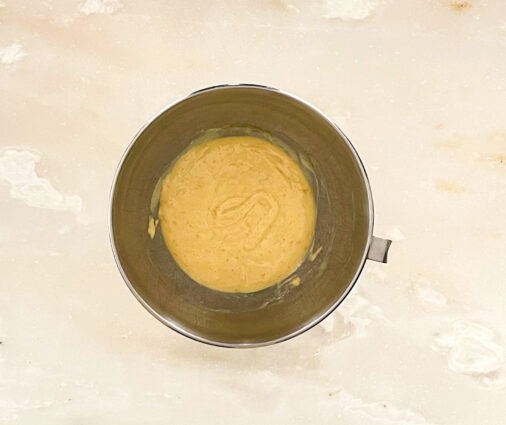
 

Stir 1/4 cup of the batter into the melted butter.

It will take a minute to fully incorporate.

Then stir it all into the rest of the batter.

The batter will be thick, silky, and shiny. Cover the batter and chill in the refrigerator for 30-60 minutes.
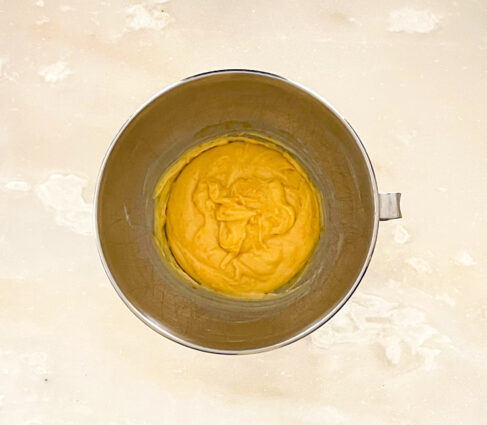
Try not to chill any longer than this as the butter in the batter will begin to solidify.

During the last few minutes of chilling, preheat the oven to 350°F.

Melt the remaining 2 Tablespoons butter.

Using a pastry brush, lightly brush the pan with melted butter.

The author finds that greasing the pan is necessary even if you’re using a nonstick pan.

We want to avoid any chance of sticking.

The batter will be quite airy and spongy after resting. This is good! Do not try to deflate it. 

Spoon 1 generous tablespoon of batter into the center of each scalloped well.

No need to spread it to the edges. Just plop it in the center.

(Cover and refrigerate remaining batter if you do not have 2 madeleine pans to bake the batter all at once.)

Bake for 10-12 minutes.

The madeleines are done when the tops spring back after lightly pressed with your finger. Invert the pan onto the counter.

Transfer the warm madeleines to a wire rack to lightly cool.
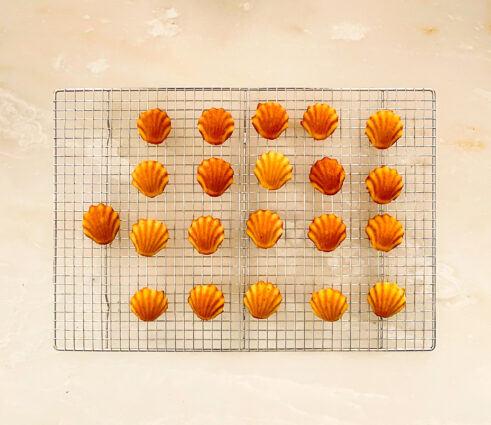
Dust with confectioners’ sugar, if desired, before serving.

Madeleines are best enjoyed right after baking, so the author didn’t have any make-ahead tips.

They dry out very quickly; Sally finds baked and covered madeleines lose their texture even after 1 day!

For this reason, the author doesn’t recommend freezing them either. You’ll lose a lot of texture.

It’s that simple!

signature

[recaptcha]


Do you remember Art Linkletter’s show, “Kids say the funniest things?” It was on in the 40’s and 50’s and continued through to when I was a child (of course much later on). I used to love that show and remember laughing so hard at what the kids would say. At the time, while I would laugh out loud at the antics of other kids, I never realized that having kids of my own would bring this show right into my own living room, except this time, it would be real life.

My younger son was especially amusing.  He is a talker and when he was little, he said some of the funniest things I ever heard. He asked so many questions, and most of the time, I didn’t even know the answers. For example, when my mother died, he asked how my Mom would get to heaven. I hesitated, then he said “is she going to get there in an elevator?” When his older cousins were talking about drinking and getting a hangover, he asked me what an overhang was.  One night, when my extended family were over for dinner, we were talking about what my Mom looked like when she was mad. Right in front of her he said well, “she has the wrinkles all over her face that are there even when she is not mad.”  What am I even supposed to say to that?

I used to take him to the grocery store with me. One day there was a very old lady who was wearing a lot of makeup and dark red lipstick that was unevenly put on her lips, and extended over her lips. When we got to the end of the aisle, he leaned over and whispered to me, “Mommy, there is a witch in this isle.” Another time, my sister-in-law took him to the pharmacy with her. It was my birthday and Shelley asked him how old he thought I was. He replied, “Aunt Shelley, my Mom told me never ever to tell anyone her age, so I can’t tell you.”  I think I taught that kid right. 

There are so many more examples of his hilarious comments. My friends used to tell me to write them down, but I didn’t and oh, how I wish I did. Let that be a lesson to you parents or grandparents out there! Now to the recipe.

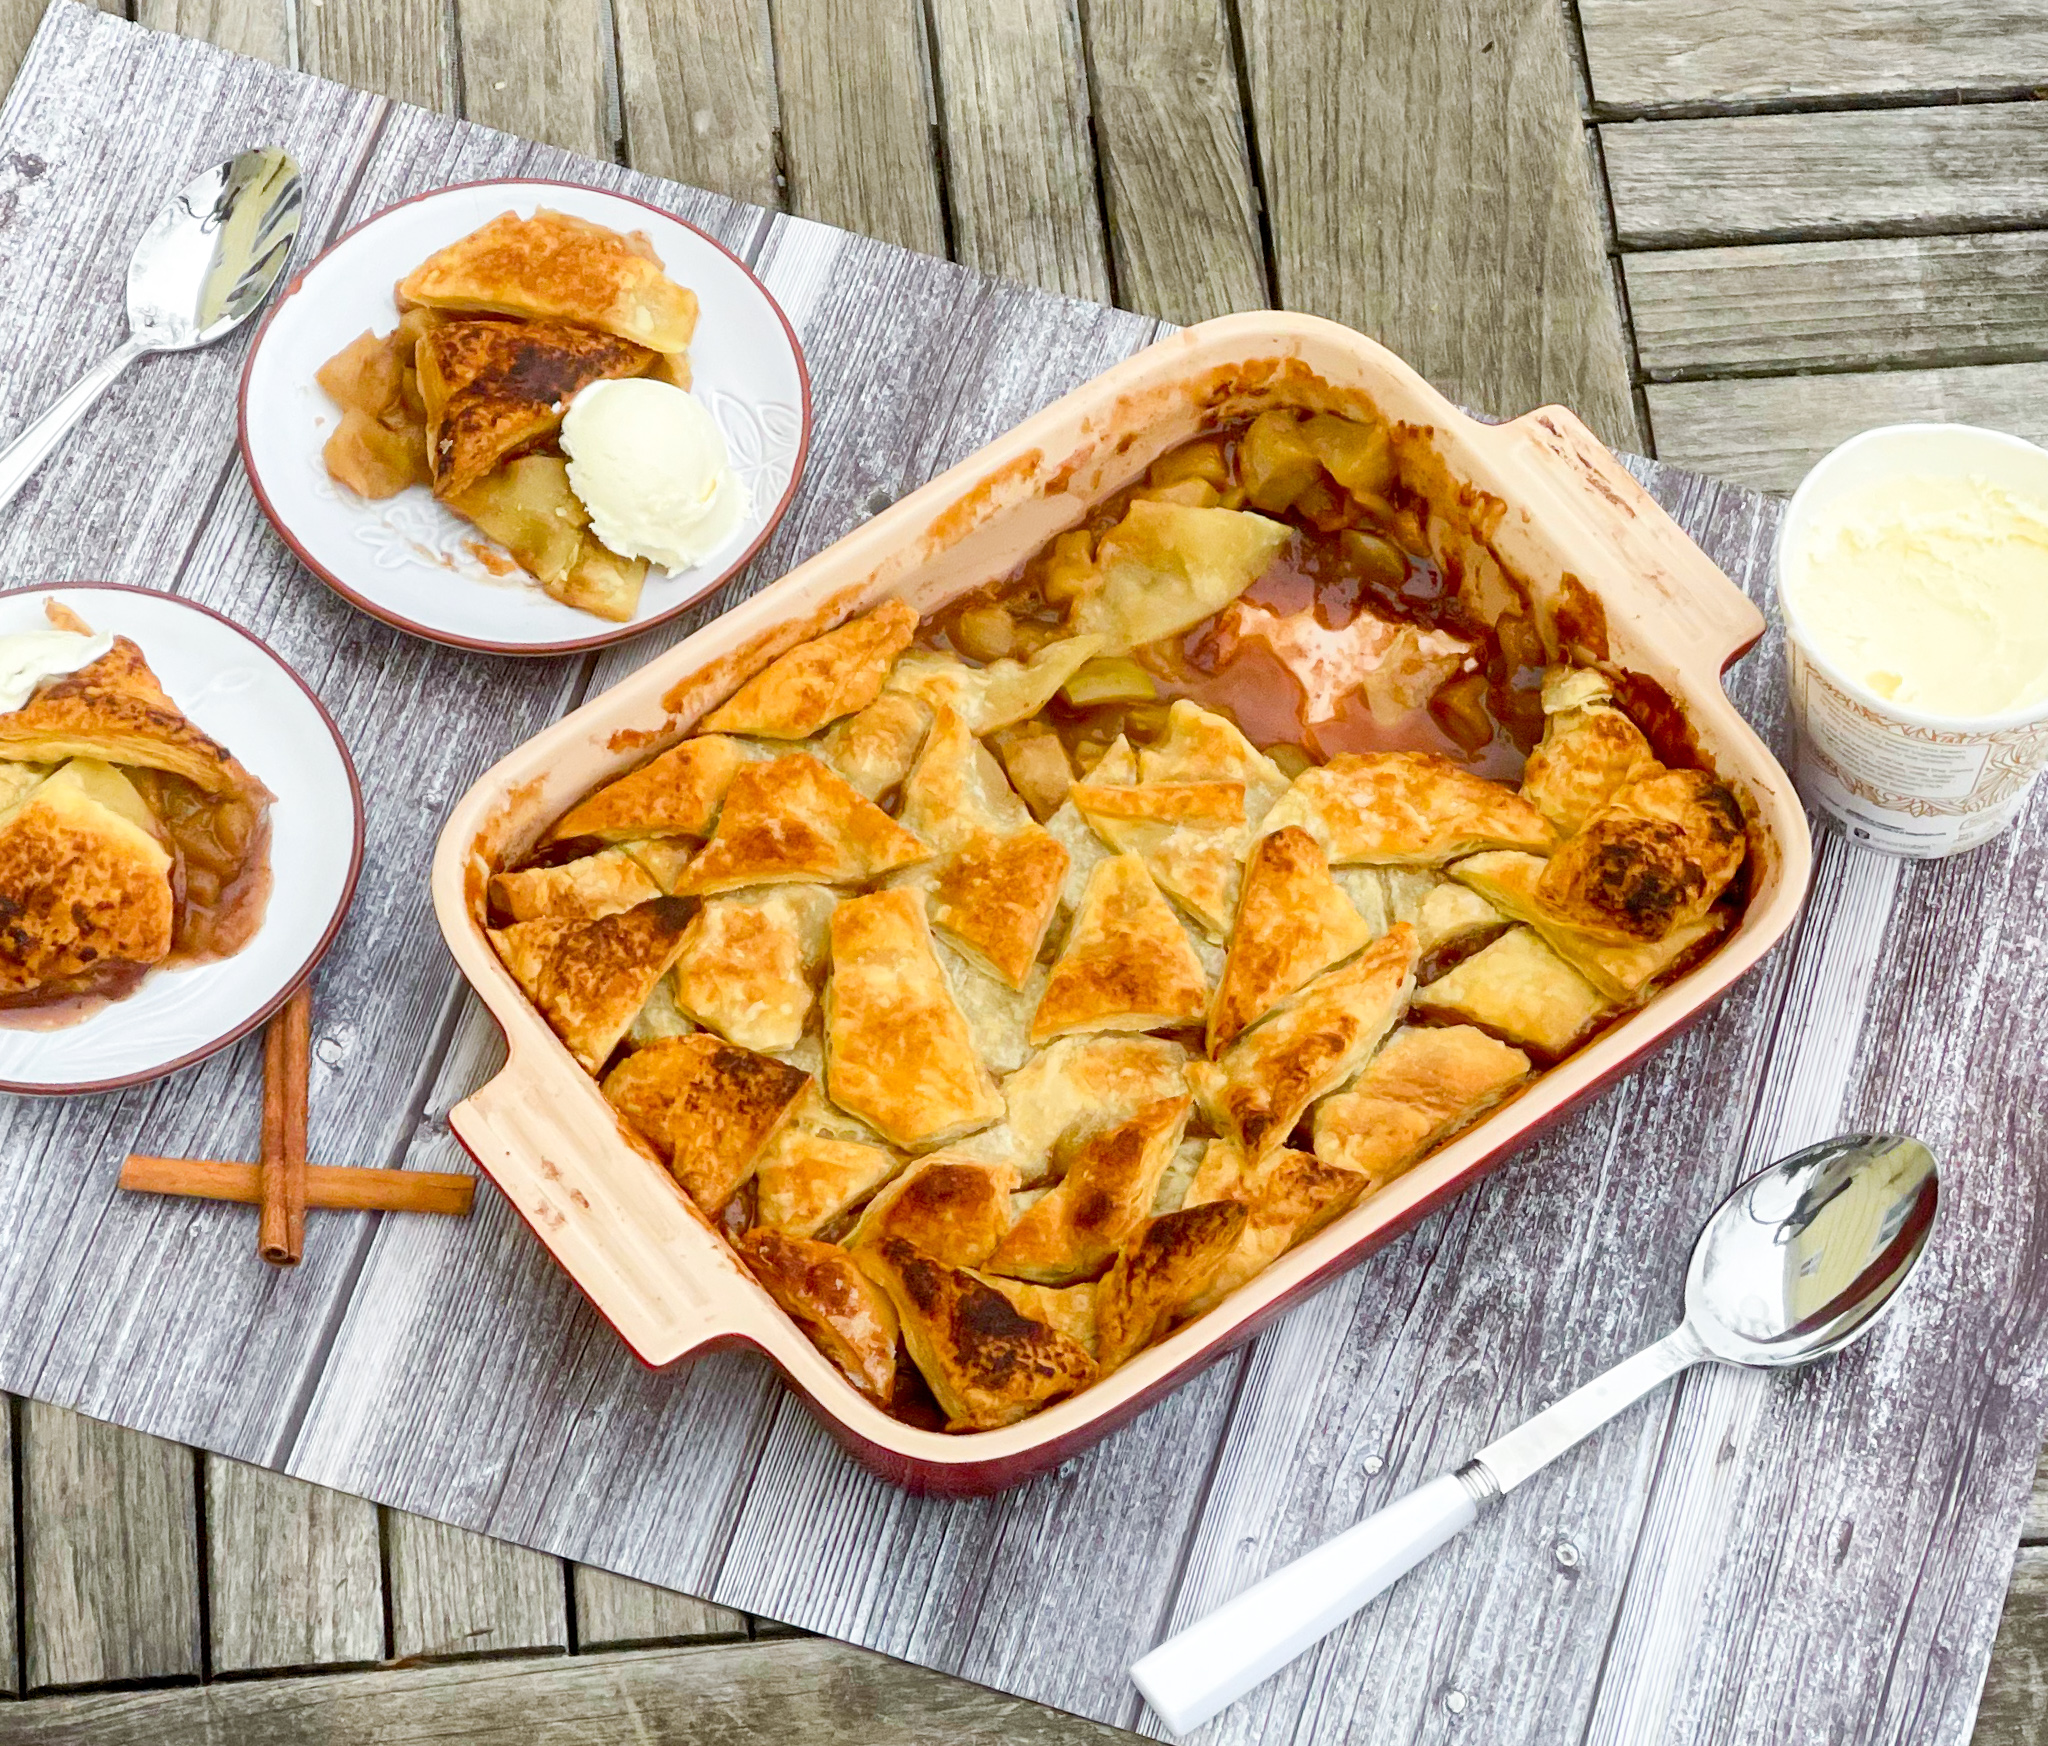
A pandowdy is a spiced apple pie baked in a pie dish. This apple dessert will bring a little comfort and warmth to any home. The smell of this sweet treat baking in your home is just delightful. The apples are dressed with savory goodness, like vanilla, cinnamon, and ginger.  The lemon juice and zest add just the right amount of tanginess. It is then topped with puffed pastry that browns beautifully when it is baked. This pandowdy is just delicious, and even better, it makes the whole house smell so festive. Do not forget the ice cream, it perfects this special treat.

This recipe is courtesy of Bon Appetit and makes 8 servings of this classic American dessert.

Ingredients for Apple Pandowdy:

6 tablespoons unsalted butter
4 pounds Pink Lady and/or Granny Smith apples
2/3 cup (packed) dark brown sugar
3tablespoons all-purpose flour, plus more for surface
1 tablespoon vanilla extract
2 teaspoons ground cinnamon
½ teaspoon kosher salt
1 lemon
1 ½-inch piece ginger
1 package frozen puff pastry, thawed by covering pastry sheet with plastic and leaving at room temperature 30 minutes
Granulated sugar (for sprinkling)
2 pints vanilla ice cream

Preheat oven to 425°.

Cook 6 tablespoons butter in a small saucepan over medium heat, swirling often, until bubbling and golden, about 5 minutes; set aside.

Prepare your apples: Using a vegetable peeler, remove peel from apples.

Stand them upright and slice down along core, working all the way around to remove big lobes of flesh.

Cut lobes lengthwise into 1″ pieces (irregular shapes are fine).

Discard peel and cores.

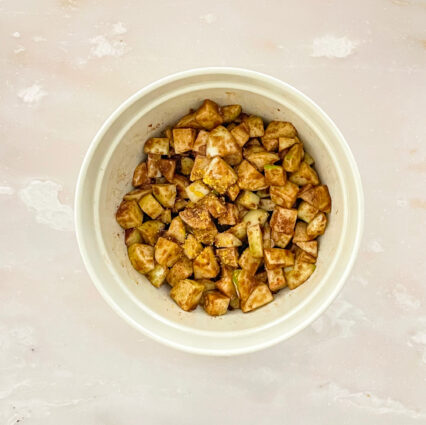
Transfer apples to a large bowl.

Add 2/3 cup dark brown sugar, 3 tablespoons flour, 1 tablespoon vanilla, 2 teaspoon cinnamon, and 1/2 teaspoon salt to bowl with apples.

Using a microplane or fine rasp grater, grate zest of 1/2 lemon over apples.

Cut lemon in half and squeeze juice from zested half over apples, catching any seeds.

Using peeler, remove peel from ginger, then grate over apples.

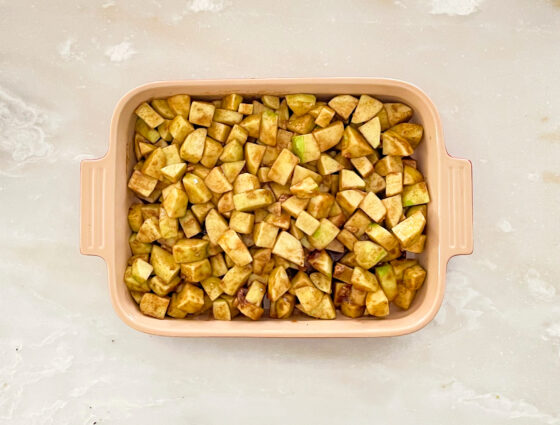
Toss apple mixture until combined, then transfer to a shallow 3-qt. baking dish.

Drizzle all but 2 Tbsp. brown butter over apples.

Dust cutting board with a light coating of flour and unfold puff pastry on floured surface.

Dust top with flour.

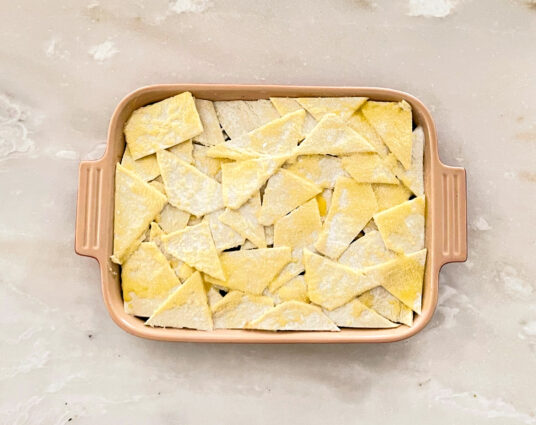
Cut puff pastry into irregular 1″ pieces (any shape is fine).

Arrange pieces of puff pastry over apples, overlapping but spreading to cover almost completely. Brush pastry with remaining brown butter.

Sprinkle with granulated sugar.

Bake pandowdy until pastry is puffed and golden around edges, 25–30 minutes.

Reduce oven temperature to 350° and continue to bake until juices are thick and bubbling and pastry is brown all over, 30–35 minutes longer.

Using a spoon, press pastry down into warm juices (but don’t submerge); let cool slightly.

Serve pandowdy warm with ice cream.

Do Ahead: Pandowdy can be made 1 day ahead. Let cool. Cover loosely with foil and store at room temperature. Reheat uncovered in a 200° oven 20 minutes before serving.

It’s that simple!


signature

[recaptcha]


Things have changed so much since I was a young adult. For one, there were much stricter rules back then– or at least, that’s how it was for me.  I was never allowed to grow my hair long, because my mother believed that only “hippies” had long hair. So, for much of my childhood and teenage years, I had a short, curly haircut that I absolutely hated. When I got to high school, she relaxed a bit, so of course I spent an exorbitant amount of time straightening my hair and blowing it out, as per the style of the day.

I had chores on the weekend (and most weekdays), and was not allowed to go out to football games with my friends until they were all done. There was an upside to this; I got very good at cleaning my room very quickly. Oh, there were times my mom made me re-clean to her satisfaction, but more often than not, I got away with just a cursory clean. 

Strange though it may sound, everyone dressed up to go out. If we went out to dinner, we would all wear our best clothes, especially my mom and dad. We wore formal attire for parties and holidays. People got all decked out to see a show or movie too.  I got new clothes for every holiday, cherishing the day I would finally get to wear them. Thank goodness that life has become more relaxed and informal these days.

As strict as my mom was, she also had a rebellious streak. For example, when I attended elementary school, girls were not allowed to wear pants (am I dating myself here or what?). In defiance, my mom bought me a tweed pair of pants, which I could not wait to wear. I wore them proudly. Once I got to school, they called my mother and told her to take me home to change, or I would not be allowed back. My mom did come to the school to argue, but in the end, the school won out, and I returned to school wearing the proper clothes. Imagine all that over a pair of pants!

Now, fashion is very relaxed and people dress as they please. I don’t mind wearing nice clothing, since it’s fun to dress up once in a while, but I really did hate having to do it so often. Now that we are staying home much more, leggings, t shirts, and comfortable sweatshirts are becoming the norm.

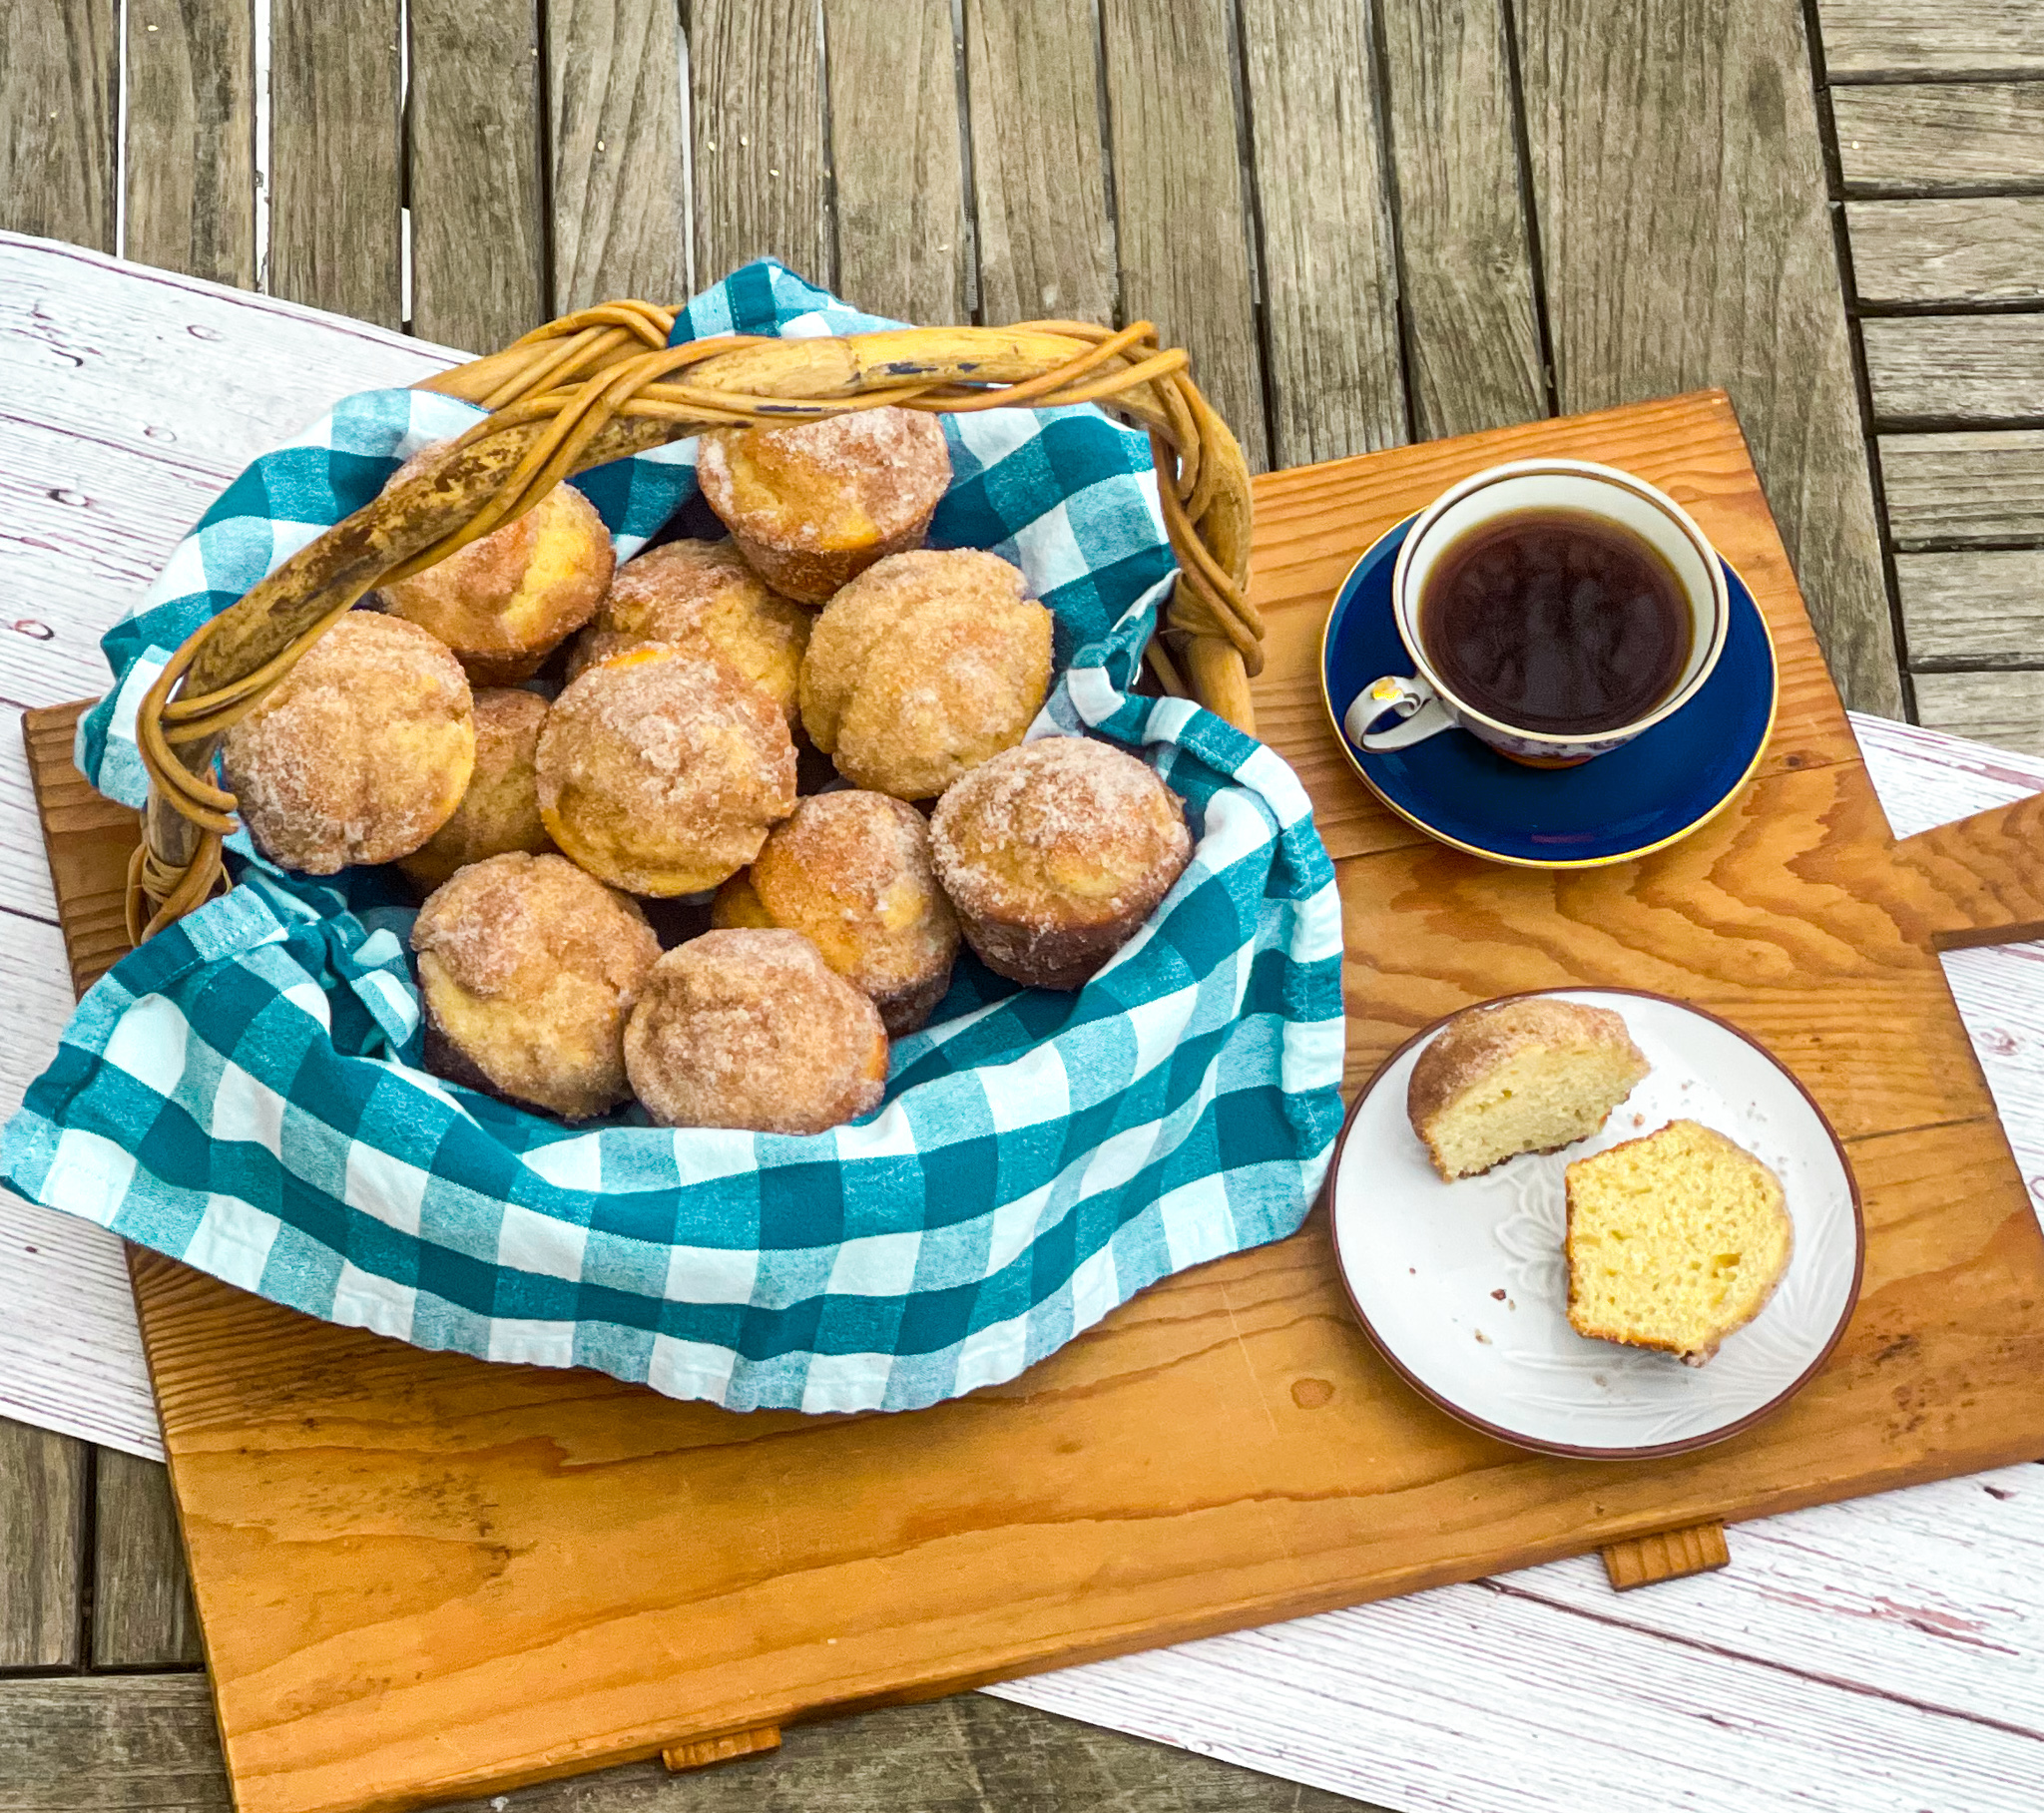
Change is good, and we are seeing it in all things, not only our wardrobe attire. If you are looking for a change in cooking, how about these doughnut-muffins that are not fried, but baked in the oven and served as a muffin?

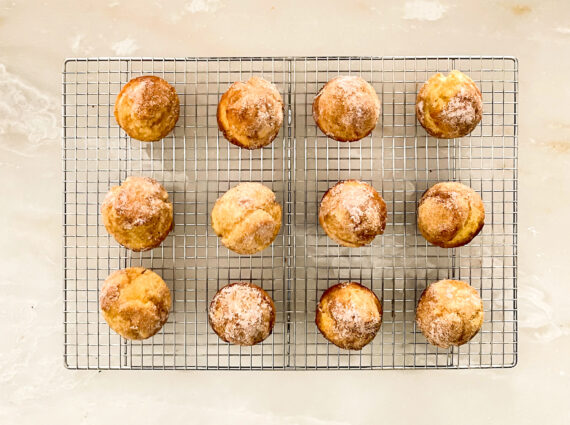
These Muffin Tin Doughnuts are amazing! As the author stated, “they set out to create a muffin that tasted like a doughnut in disguise with a tender crumb, a crisp exterior, and a buttery spiced coating.” And they did it! The buttermilk, butter and egg ensures a rich, yet delicate, cake-like doughnut. The nutmeg adds just the right amount of savory, giving it a little extra delicious flavor. The muffin is then baked at a high temperature to crisp it up and give the exterior a fried flavor. Each muffin is then brushed with butter and coated with a cinnamon sugar. How amazing does that sound? These are the perfect comfort food for breakfast, a snack, or dessert. Make these now: they are a “must try.”

This recipe is courtesy of Cook’s Country Kitchen and will make 12 doughnut muffins for people who will love this innovative twist on your classic muffin.

Ingredients for Muffin Tin Doughnuts:

2 3/4 cups (13 3/4 ounces) all-purpose flour
1 cup (7 ounces) sugar
1/4 cup cornstarch
1 tablespoon baking powder
1 teaspoon salt
1/2 teaspoon ground nutmeg
1 cup buttermilk
8 tablespoons unsalted butter, melted
2 large eggs plus 1 large yolk

For the Coating:

1 cup sugar
2 teaspoons ground cinnamon
8 tablespoons unsalted butter, melted

Adjust oven rack to middle position and heat oven to 400 degrees.

Spray 12-cup muffin tin with vegetable oil spray.

Whisk flour, sugar, cornstarch, baking powder, salt, and nutmeg together in bowl.

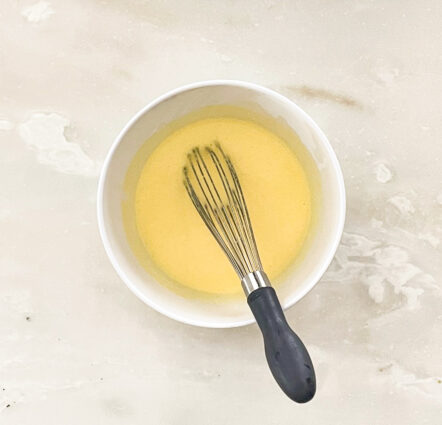
Whisk buttermilk, melted butter, and eggs and yolk together in separate bowl.

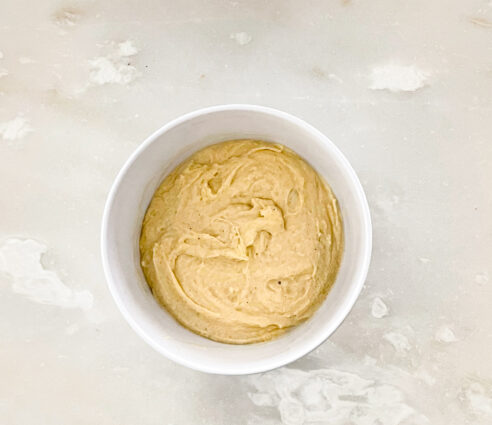
Add wet ingredients to dry ingredients and stir with rubber spatula until just combined.

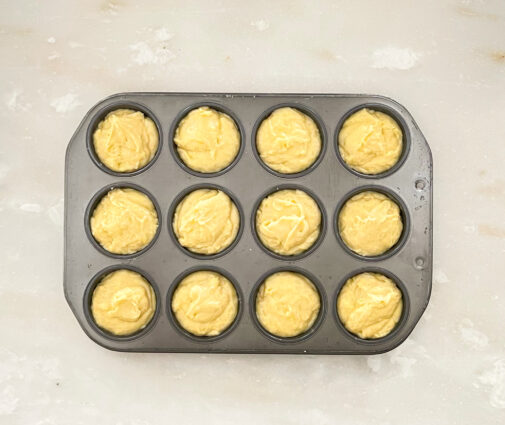
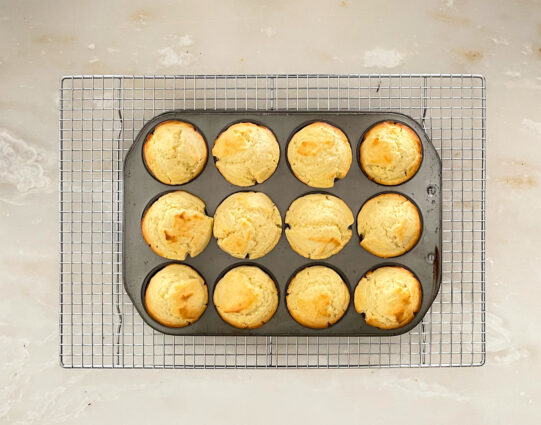
Scoop batter into prepared tin.

Bake until doughnuts are lightly browned and toothpick inserted in center comes out clean, 19 to 22 minutes.

Let doughnuts cool in tin for 5 minutes.

Whisk sugar and cinnamon together in bowl.

Remove doughnuts from tin.

Working with 1 doughnut at a time, brush all over with melted butter, then roll in cinnamon sugar, pressing lightly to adhere.

Transfer to wire rack and let cool for 15 minutes.

Serve.

It’s that simple!
signature

[recaptcha]


Have you ever bought way too much at the grocery store?  You go just for some milk and bread, and come back with Brussels sprouts, a salmon fillet, and a brand new type of fruit that you’ve never seen before? Yeah, me too. For some reason, I always bought two of everything just in case I made a mistake preparing a recipe. I still do this from time to time, although as my cooking skills improved, I try to curb my purchases to only what I need. Sometimes the store still gets the better of me. Oh well.

One thing I have learned is that more ingredients do not mean a better outcome. A lot of cooks out there think that adding all these spices to a dish will make them taste better. Don’t let yourself be fooled by this kind of thinking: quality always wins out over quantity. 

Firstly, you should choose a recipe that lines up with your cooking skills. Read a couple recipes first, and settle upon one that is not too difficult. By looking at more than one recipe, you can also choose the one that suits your tastes the best. A lot of recipes out there on the internet may fall short of your expectations–oftentimes these recipes aren’t tested thoroughly, so they might be impossible to make, even under the best of days.  Of course, if you follow a specific author or blogger who you know is reliable, then go right ahead and stay faithful to them.

Read the reviews of the recipes. People who have made and reviewed the recipe are usually pretty honest about the results, for better or for worse. They may even give new ideas or ingredients that worked for them. If you can find a recipe with an outpouring of positive reviews, then you should definitely go with that one.

Taking the time to try new recipes can be intimidating for a lot of us. If the outcome of a new recipe was disappointing, don’t worry too much. You can use the things you have learned and improve upon it the next time around. I cannot tell you how many times I have prepared two or three times and it still did not come out accurately–it’s just part of life.  Most of the authors I work from are pretty reliable and I still can’t get it right. Before you start thinking it’s something you have done, know that these things happen, and stop raking yourself over the coals. Move forward with courage, because this is how you learn best. And hey, it may not even be your fault, the error may be caused by the author of the recipe, or even the weather!

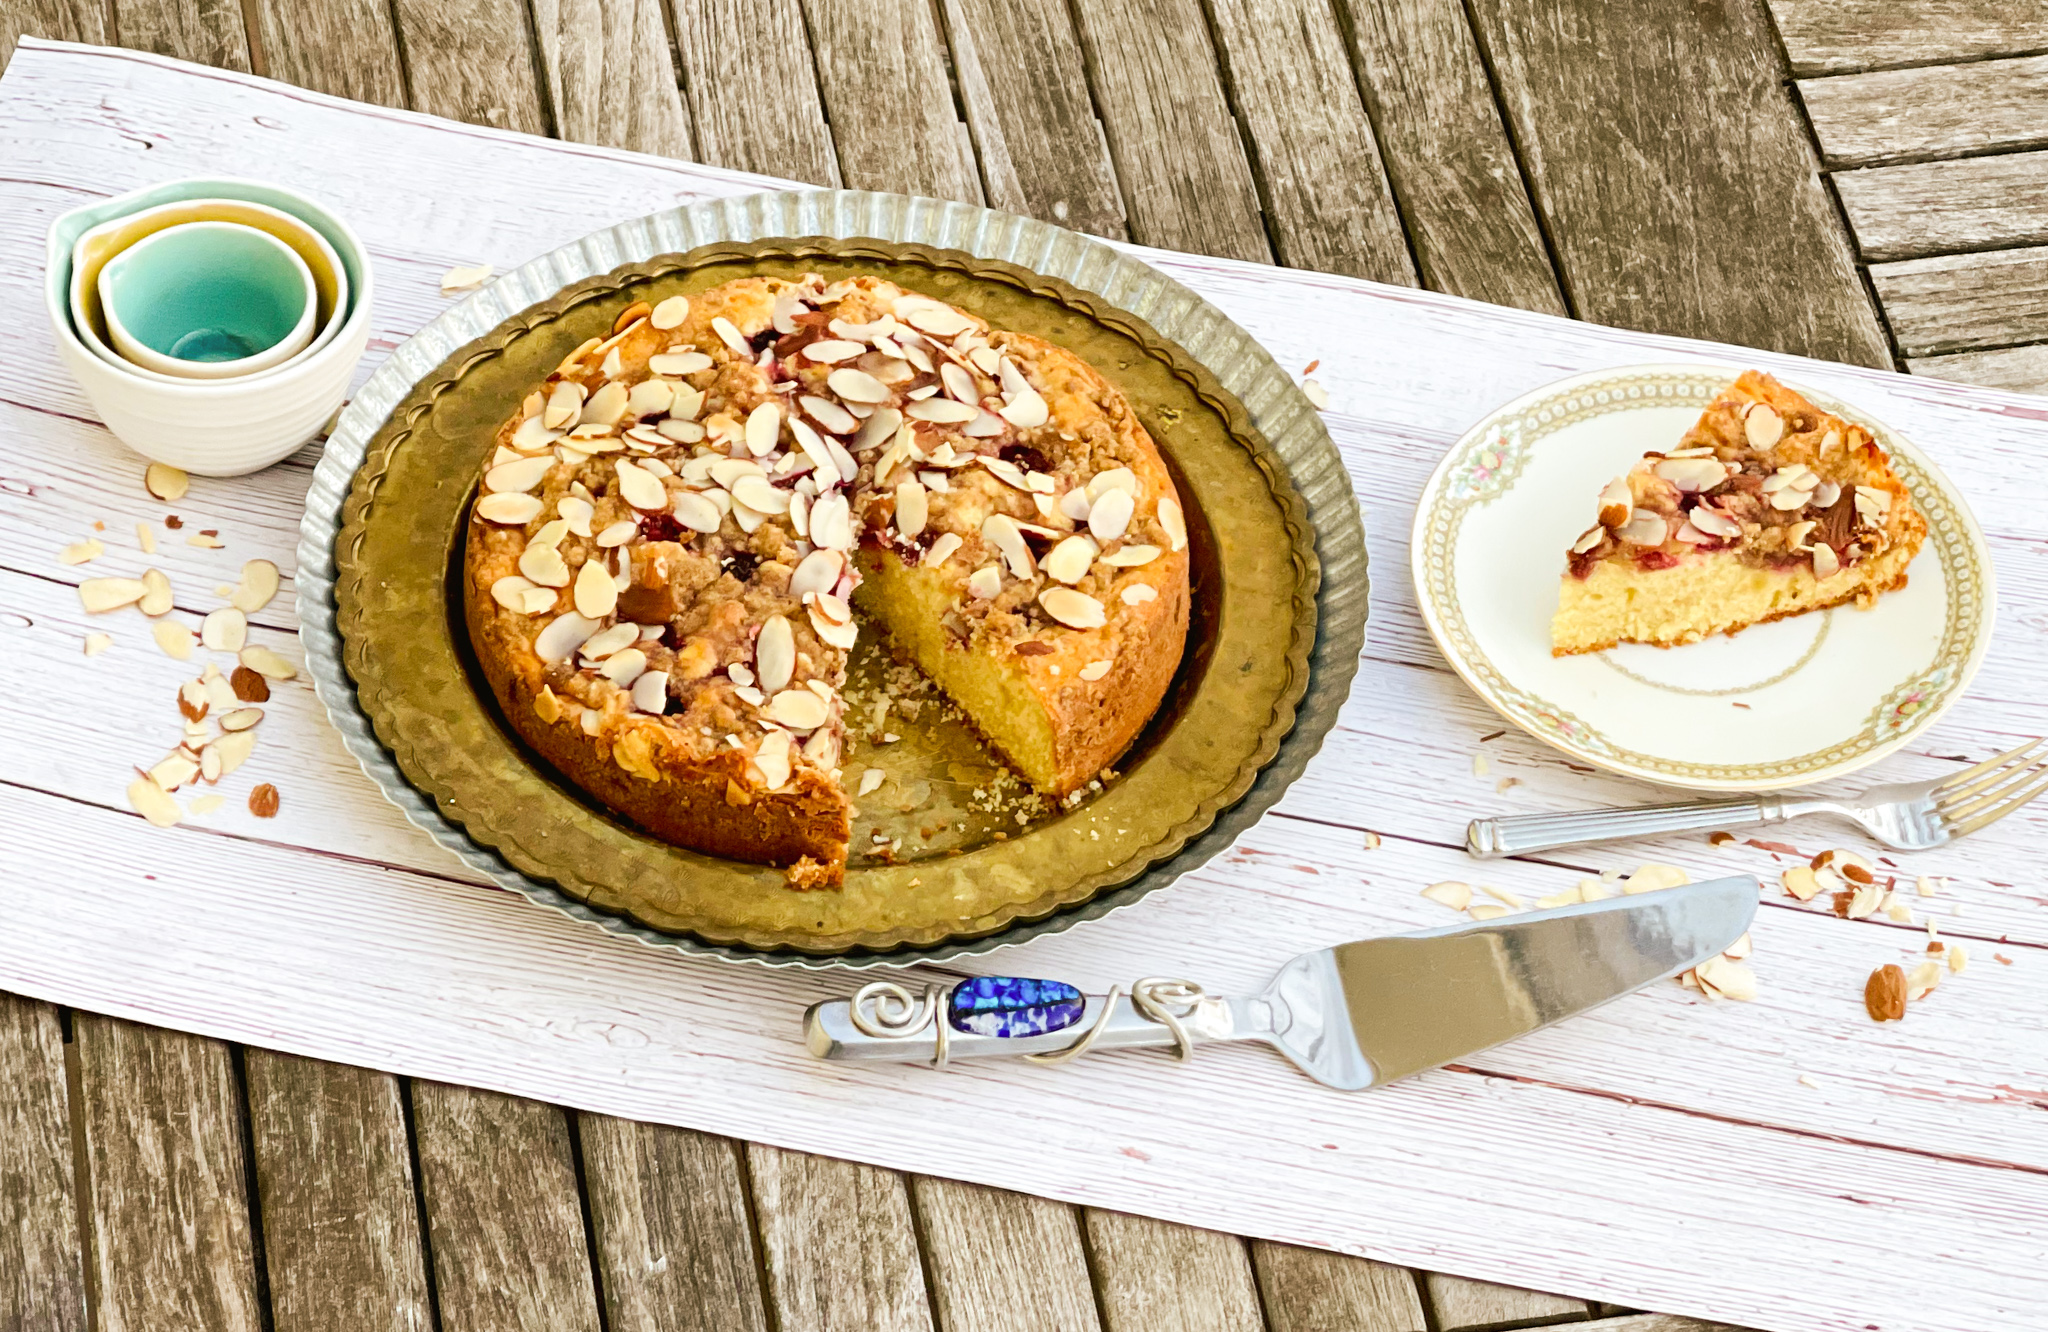
If you are looking for something fun, easy, and reliable, then this is the dessert for you. The sour cream ensures a moist, fluffy finish. The combination of the vanilla and almond extract combines beautifully, giving it a nice savory flavor. The cinnamon adds a little tang and sweetness. It is then topped with almonds, which adds crunchy goodness, and the raspberries are a sweet finish to this delicious dessert. This is the perfect delicacy for breakfast, snack, dessert, or anytime of the day for a little pick-me-up.

This recipe is courtesy of Sally’s Baking Addiction and will serve 8 people who will definitely want a second slice of this beautiful little cake.

Ingredients for Raspberry Almond Crumb Cake:

1 and 1/3 cups all-purpose flour (spooned and leveled)
1 teaspoon baking powder
1/4 teaspoon baking soda
1/4 teaspoon salt
1/2 cup unsalted butter, softened to room temperature
3/4 cup granulated sugar
2 large eggs, at room temperature
1/2 cup full-fat sour cream, at room temperature
1 teaspoon pure vanilla extract
3/4 teaspoon almond extract

For the Topping:

1/4 cup all-purpose flour
1/4 cup packed light or dark brown sugar
1/4 teaspoon ground cinnamon
2 tablespoons unsalted butter, melted
1 heaping cup frozen raspberries (do not thaw)
3/4 cup sliced almonds

Optional: confectioners’ sugar for dusting

Preheat the oven to 350°F. 

Grease and lightly flour a 9-inch springform pan.

Make the Cake:

Whisk the flour, baking powder, baking soda, and salt together.

Set aside.

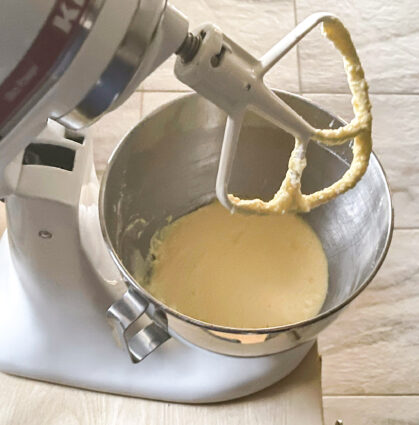
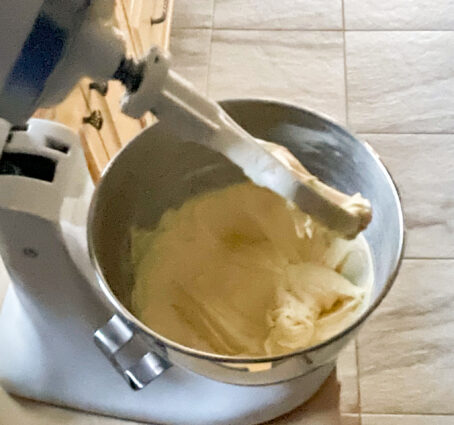
In a large bowl using a hand mixer or stand mixer fitted with a paddle or whisk attachment, beat the butter and granulated sugar together on high speed until smooth and creamy, about 2 minutes.

Scrape down the sides and up the bottom of the bowl with a rubber spatula as needed.

 Add the eggs, sour cream, vanilla extract, and almond extract.

Beat on medium-high speed until combined.

The mixture may look curdled; that’s ok.

Scrape down the sides and up the bottom of the bowl as needed.

With the mixer on low speed, mix in the dry ingredients until smooth.

Do not overmix.

The batter will be thick.

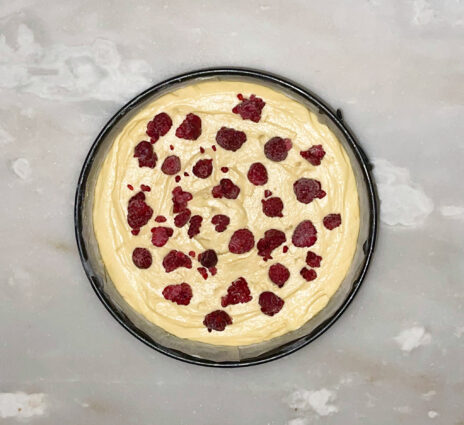
Spread into prepared pan.

Set aside.

Make the Topping:

With a fork, mix the flour, brown sugar, and cinnamon together.

Stir in the melted butter until crumbs form.

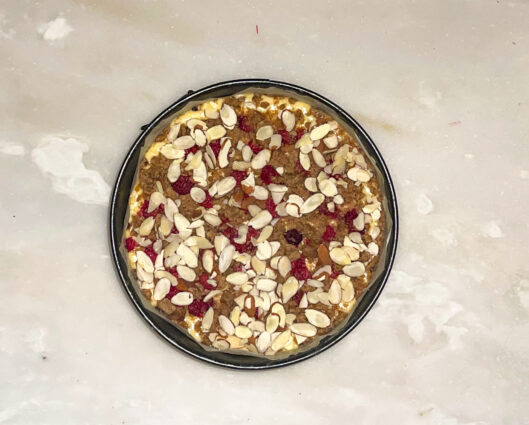
Dot raspberries all over the top of the cake batter.

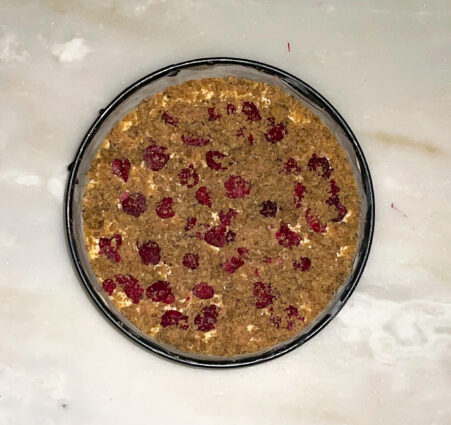
Sprinkle crumbs on top.

Add almonds.

Bake for 35-40 minutes.

Baking times vary, so keep an eye on yours.

The cake is done when a toothpick inserted in the center comes out clean.

If you find the top of the cake is browning too quickly in the oven, loosely cover it with aluminum foil.

Remove the cake from the oven and set on a wire rack.

Allow to slightly cool for a few minutes before slicing.

Sally suggests serving with a dusting of confectioners’ sugar!

It’s that simple!
signature

[recaptcha]


During this pandemic, and especially during the lockdown, a lot of people decided to adopt or foster a dog. I think this is an amazing idea, because dogs really are a person’s best friend. I should know– I’ve had a few, and I would love nothing more than to tell you why you should get one too.

Dogs are one of the most common domestic animals in the world. This is because they are so sweet, expressive, and friendly. They are always there for you when you need them, and they will always take the love you give to them and return it back tenfold. 

Dogs give you a reason to get outside and walk. They need this for their health and it will make you healthier as well. Walking a dog daily gets both your heart rates up and helps you de-stress. According to Sykesville Veterinary Clinic, walking your dog 20 minutes a day can help reduce your risk of heart disease.  How convenient is that?

They are always happy. Dogs get excited when they see a treat, their favorite toy, or their favorite person. Their happiness is infectious and it is always good to have someone happy to see you when you get home (especially if you have teenage children, lol).

They make you laugh. Dogs can be downright hilarious.  Whether they sleep in funny positions, roll off the couch, scarf down some people food, or insist they sit on your lap no matter what, you’re sure to get a belly laugh. It gives us pleasure to see them enjoying running after a ball or just dashing around your house for no reason. 

They are very intelligent. Of all the pets out there, dogs can be some of the smartest. They have a very good understanding of things that other animals do not. This makes it easy for them to understand you and your feelings because of their keen senses of sight, smell, and hearing. 

Some breeds  make excellent watchdogs. They innately know when something bad is coming your way.  Their barking will stop potential burglars and are very good at alerting you to something that is going on that is odd or suspicious.  With proper training, a guard dog could be a huge asset to your family.

No matter what, you will have an incredible bond with your dog. These magical, euphoric feels that emerge that are not just in your imagination. Locking eyes with your furry friend and watching him gaze back at you so lovingly increases the release of oxytocin, which is our “feel good drug.”

If you rescued a dog, I would love to hear from you!  How did you find your pet?  What was their situation like before?  Did you adopt a puppy or adult dog?  What’s your favorite thing about them?

On to the recipe for today. 

These tarts are so delicious. They have very few ingredients and are so easy to make. The honey and sugar really brings out the sweetness of the pears as they bake. They are housed in a light and fluffy pastry, which combines beautifully with the fruit. There is pure deliciousness in every bite, and although you didn’t have to work so hard to make them, they taste as if you have been baking all day. What a win!  Though it sounds strange, don’t skimp on the salt in this recipe, it really brightens the entire taste of these yummy tarts.

Just a few notes, I used pears for these tarts, although there are several different fruits you can choose to use, including plums, apricots, and peaches. I also used more like 4 tablespoons of honey, because I really wanted the pears coated completely– so delicious!

This recipe is my own and will make six personal tarts for people who will enjoy this fancy looking dessert.

Ingredients for Pear Tarts with Honey:

1 sheet frozen puff pastry, thawed according to package directions
1 pound pears (or any fruit of your choice) cut into ½” wedges
¼ cup sugar
2 tablespoons of ground cinnamon
2 tablespoons of ground nutmeg
Freshly ground black pepper
2 tablespoon honey
Flaky sea salt (such as Maldon)

Preheat oven to 425°.

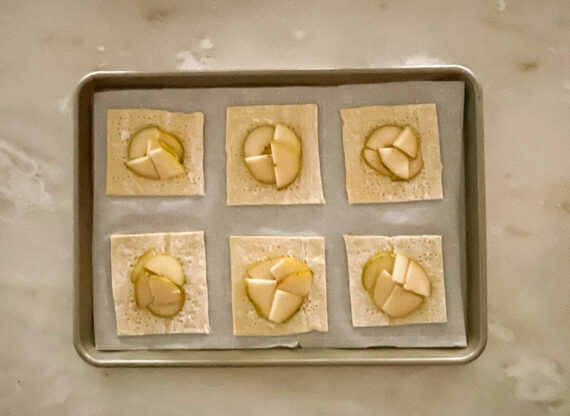
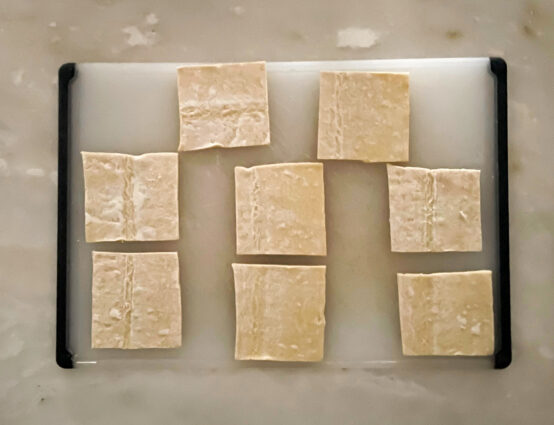
Cut pastry into six or eight 4” squares, place on a parchment-lined baking sheet, and prick all over with a fork.

Top with plums, leaving a ½” border.

Mix the cinnamon and nutmeg together in a bowl.

Sprinkle with sugar and honey; season with the cinnamon and nutmeg and a few grinds of pepper.

Bake tarts, rotating pan halfway through, until edges of pastry are puffed and golden brown, 25–30 minutes.

Drizzle with honey and sprinkle with salt just before serving.

You can also try sprinkling on a little goat cheese to boost the flavor too!

It’s that simple! 
Mazel

signature

[recaptcha]