Cabbage is a controversial food in many homes. To most people, cooked cabbage is not appealing. The fact remains that very few of us are born cabbage lovers, but as we get older, our taste buds increase and most of us were willing to give it another try. 

Even still, this vegetable is not one of the more exciting ones. Many of us associate it with that dreaded cabbage soup we eat to lose weight. Its 15 minutes of fame comes around St. Patrick’s Day, when it is paired with corned beef. Then, of course, once the holiday has come and gone, we forget about it. Many of our mothers and grandmothers have made stuffed cabbage, but did anyone really enjoy it as a kid? Personally, I would not have gone anywhere near it. 

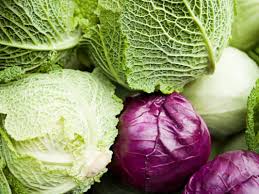
These days, you can find beautiful, fresh, locally grown cabbage in most farmer’s markets. It comes in a variety of shapes and colors, including red, purple, white, and green, and its leaves can be either crinkled or smooth. While it may look a lot like lettuce, it actually belongs to the Brassica genus of vegetables, which includes broccoli, cauliflower, and kale. Now I can eat it raw, roasted, steamed or in soup. Red or green, I am not picky. I love a good coleslaw and have even posted a few cabbage recipes in the past. You can enjoy cabbage when it is roasted, with some butter, salt, and pepper. This time, this unpopular vegetable is roasted with cheese, which always makes any dish more appealing. 

Cabbage is rich in vitamin B6 and folate, both of which are essential. In addition, cabbage is high in fiber and contains powerful antioxidants, including polyphenols and sulfur compounds. Cabbage is especially high in vitamin C, a potent antioxidant that may protect against heart disease, certain cancers, and vision loss. 

Cruciferous vegetables like cabbage contain antioxidants that have been shown to reduce chronic inflammation as well. Eating more cabbage is an excellent way to keep your digestive system healthy and happy. Cabbage contains more than 36 different kinds of potent anthocyanins, making it an excellent choice for heart health too. 

I hope I have convinced you to try it, you won’t be sorry, especially in this delectable side dish. This gratin is rich with flavor. The shallots, garlic and thyme are the savory touch in this dish and the cream gives it a lush texture that is so hard to pass up. The cabbage becomes beautifully caramelized, giving it a sweet, addicting flavor. The cheeses add gooey deliciousness and the result is a scrumptious side dish that is so appetizing, it may make you fall in love with cabbage all over again.

This recipe is courtesy of Bon Appetit and will serve 8 people who will be amazed at how cabbage can be transformed.

Ingredients for Cheesy Cabbage Gratin:

1 medium head of green or savoy cabbage (about 3½ lb. total), cut through core into 8 wedges
2 Tbsp. extra-virgin olive oil
1½ tsp. kosher salt, plus more
1 tsp. freshly ground black pepper, plus more
2 medium shallots, quartered through root end
4 garlic cloves
2 cups heavy cream
1 Tbsp. thyme leaves, plus more for serving
1 Tbsp. unsalted butter
3 oz. Gruyère, grated (about 1½ cups)
½ oz. Parmesan, finely grated (about ½ cup)

Place oven racks in upper third and middle of oven; preheat to 350°.

Place cabbage on a rimmed baking sheet and drizzle with oil; season lightly with salt and pepper.
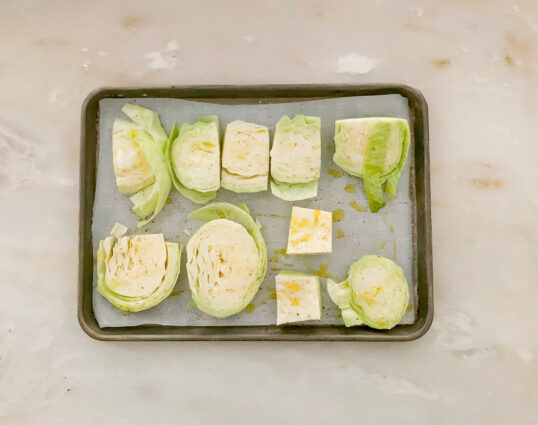
Roast until tender and edges are golden, 40–45 minutes. (This is an essential first step: It draws out the excess moisture, ensuring that the cream mixture doesn’t get watery.)
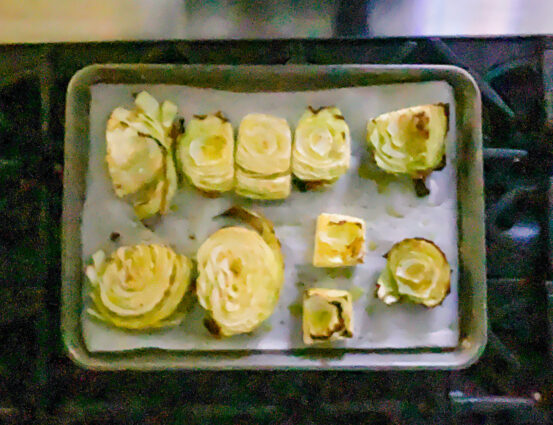
Meanwhile, bring shallots, garlic, cream, 1 Tbsp. thyme, 1½ tsp. salt, and 1 tsp. pepper to a simmer in a small saucepan over low heat.

Cook, stirring occasionally, until shallots and garlic are very soft, 15–20 minutes.

Let cool slightly.
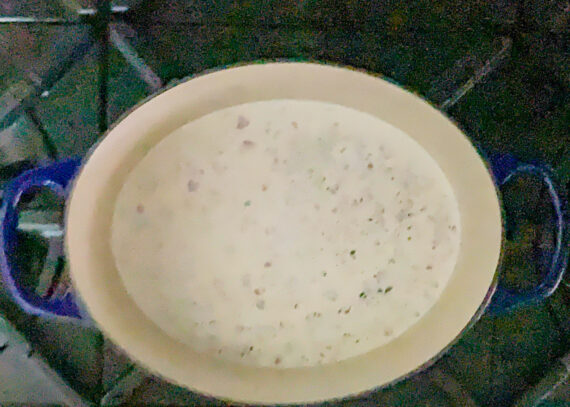
Transfer to a blender; blend until smooth.

Rub the inside of a 3-qt. shallow baking dish with butter.

Arrange cabbage in dish so wedges are lying on a cut side.
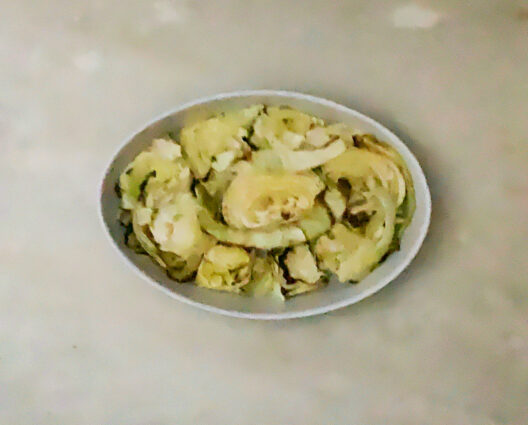
Pour cream mixture over.
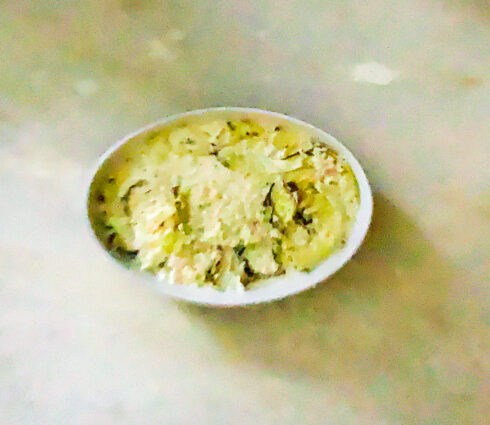
Bake on middle rack, uncovered, until cream thickens, 30–40 minutes.

Let cool 30 minutes.

Heat broiler.

Sprinkle Gruyère and Parmesan evenly over cabbage.
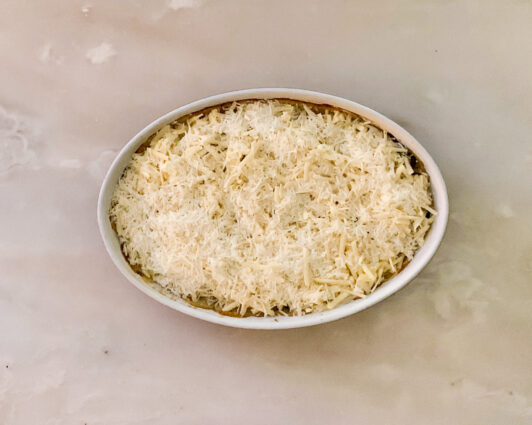
Broil until cheese is bubbling and gratin is deeply browned, about 4 minutes.

Top with more thyme.

Do Ahead: Gratin (without cheese) can be baked 1 day ahead. Cover and chill. Bring to room temperature before sprinkling with cheese and broiling.

It’s that simple!
Come on, give it another try!
signature

[recaptcha]


This week, I’ve been musing on talents.  From clothing designers to home decorators to artists and chefs, I always wonder how some people can see things in their head and bring them to life.  Highly creative people tend to think for themselves, and are not easily influenced or swayed by others. They can, unlike most people, easily think outside the proverbial box. What distinguishes the “highly creative” folks from the rest of us is their ability to follow through on their creative ideas.  Who among us has not had some incredible idea?  I’m sure we all have.  Now who of us has gone and made that a reality?  That pool is far smaller than the first one.

When people say they are not creative, it can be a self-fulling prophecy. We assume that creativity is an innate quality, so we never try to create anything, so we never get better at it, which discourages us from ever trying.  See what I mean?  

I know there is a lot of anxiety around the first brushstroke, note, or word.  Beginning is really difficult, but with enough practice, we can learn how to get around that paralysis and just start. Part of that is understanding that not everything we make has to be perfect.  Before every masterpiece came hours of practice and imperfections.  For me, this blog made me believe that maybe, just maybe, I could create something of my own. I had to overcome the self-deprecating thoughts in my head and just go for it. 

And so here I am, doing just that.  If I can do something like this, I think you can too. Don’t let your fears stop you. After I received so many encouraging comments about my blog, I began to feel better about my own creativity. Sure, there were problems with it, but it was the support of others that helped me to continue until it became easier to write.  Of course, I will never be the next Ralph Lauren or Tory Birch, but this is good enough for me. Now, in what ways are you creative? I am sure there are some thoughts you can act on– maybe a drawing, painting, half finished dance, or neglected instrument?  If not, I’ve got a recipe for you to try.  Let go of your inhibitions, and give it a shot.

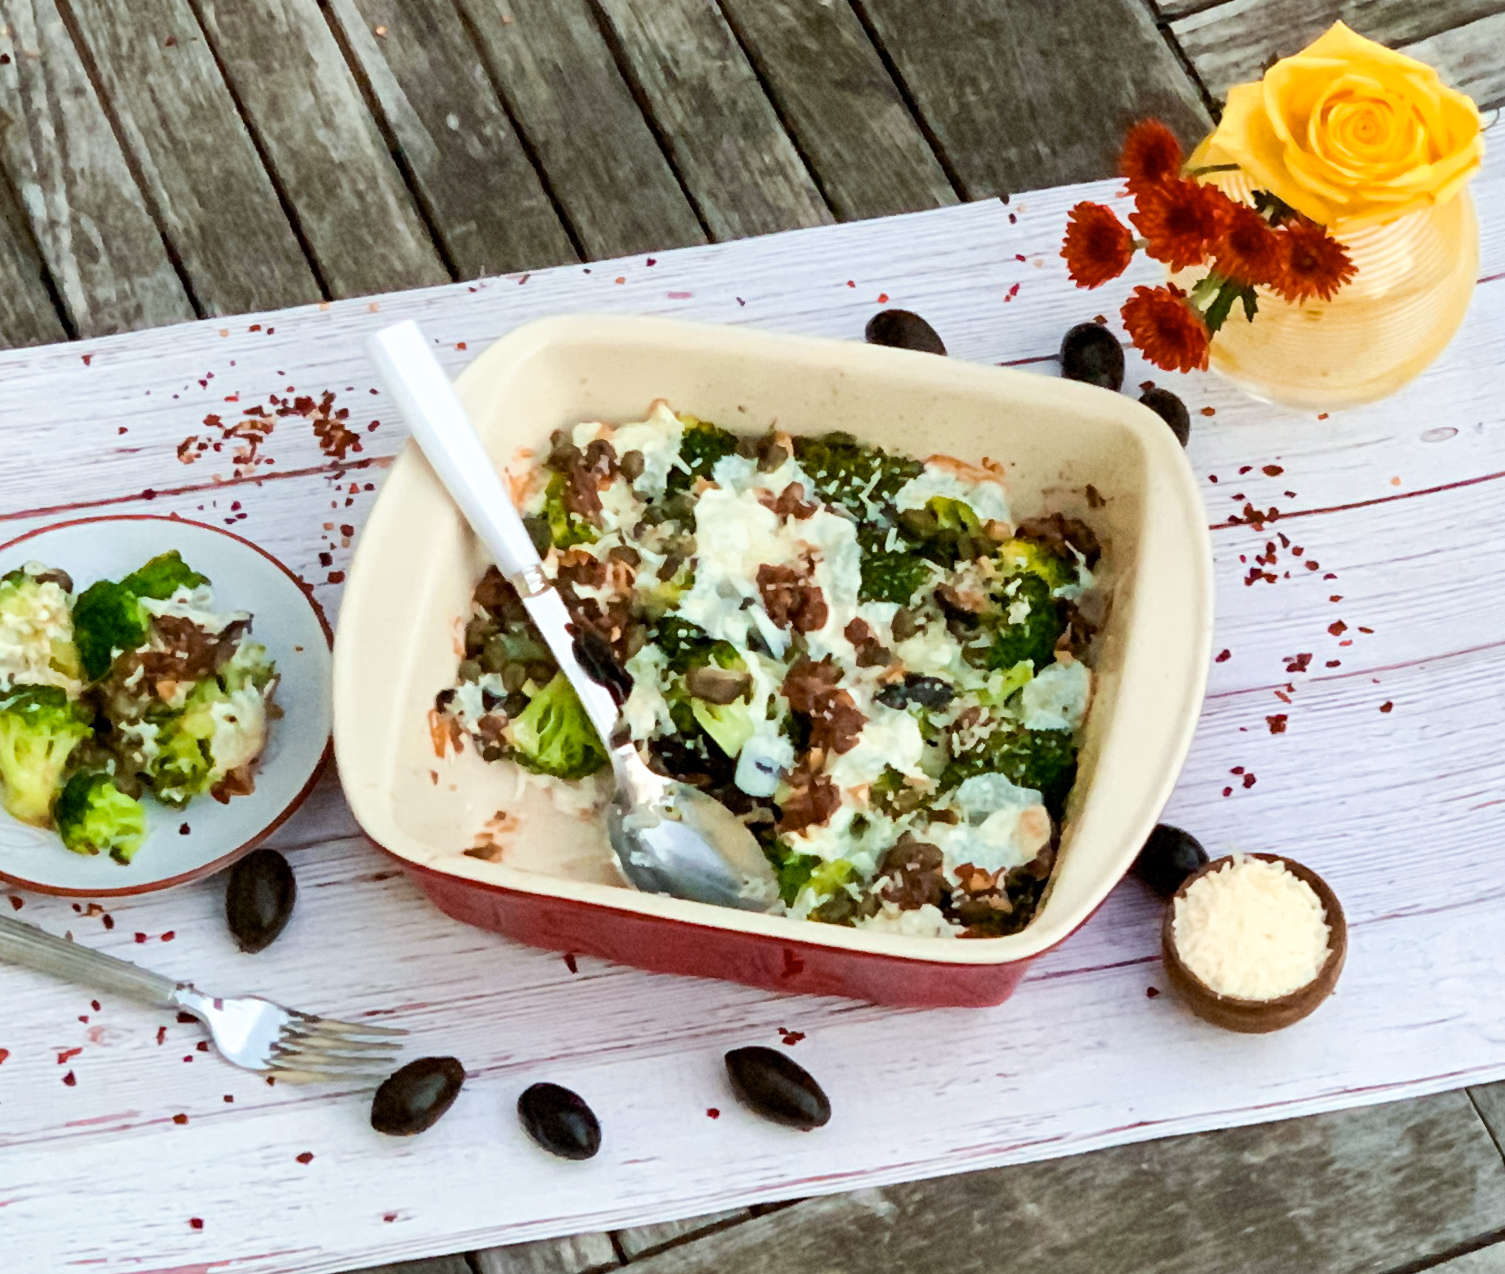
I had a lot of left-over broccoli from the holidays, and wanted to find a new and unusual way to use it. The olives are a savory twist on ordinary broccoli and they combine deliciously. The red pepper flakes add just a touch of heat. The two cheeses are baked to bubbly, delightful goodness that makes every bite a mouthful of scrumptious satisfaction. Don’t miss this one. It will definitely be a crowd pleaser.

This recipe is loosely adapted from the New York Times and will serve 8 to 10 people who will not want to pass this up. 

(There were several ingredients missing in the recipe, so I added them with the amounts I thought appropriate for this dish.)

Ingredients for Baked Romanesco Broccoli with Mozzarella and Olives:

2 or 3 medium heads Romanesco broccoli (about 3 pounds)
3 tablespoons extra-virgin olive oil, plus more for baking dish
1-pound fresh mozzarella, sliced
1 cup grated pecorino or Parmesan (about 2 ounces)
1 dozen soft black oil-cured olives, or another type of black olive, pitted
2 garlic cloves, chopped
8 anchovies, chopped
1/4 cup capers, drained and dried
½ teaspoon crushed red pepper, or to taste
4 sprigs oregano, leaves trimmed and chopped

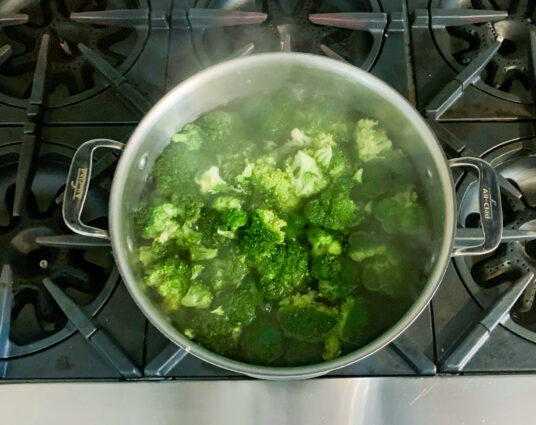
Put a large pot of well-salted water over high heat and bring to a boil.

Heat oven to 375 degrees.

Cut broccoli into quarters and trim away the core and any tough bits.

Chop quarters into rough 2-inch cubes.

Transfer to boiling water and cook for 2 minutes.

Drain and rinse with cool water.

Lightly oil an earthenware baking dish.

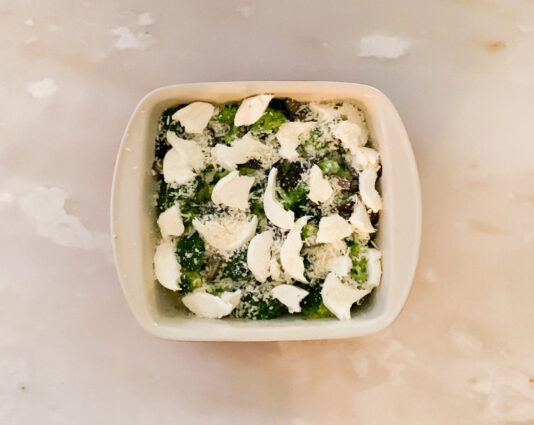
Arrange blanched broccoli in one layer.

Season lightly with salt and pepper.

Tear mozzarella slices and scatter over the top, then sprinkle with pecorino.

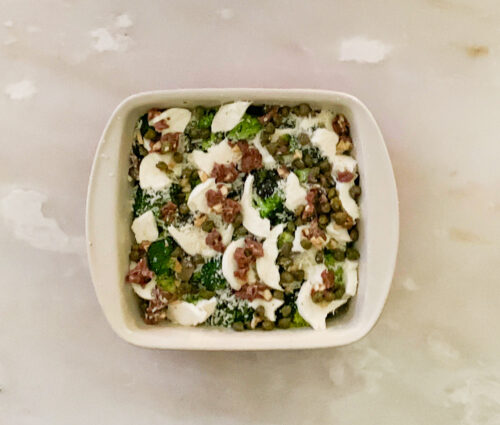
Arrange olives here and there.

In a small bowl, stir together capers, anchovy, garlic, red pepper and 3 tablespoons olive oil.

Drizzle mixture evenly over the top.

Bake for about 30 minutes, until cheese has browned a bit and broccoli is tender when pierced with a fork.

Let rest 10 to 15 minutes before serving.

Sprinkle with a good pinch of dried oregano.

It’s that simple!

Why don’t more people like me?

signature

[recaptcha]


The most beautiful food is prepared with the simplest ingredients. Roasting any vegetable in a hot oven with a little olive oil, salt,  pepper, and lemon juice will yield the most amazing results. There are a lot of ways you can cook vegetables, but for me, hands down, roasting is the way to go. Everything from broccoli to hearty root vegetables tastes best when you prepare them this way. 

Roasting is so easy.  You don’t even need a recipe or any ingredients beyond good cooking oil and salt. Roasting also adds a savory depth of flavor one can only achieve once a bit of caramelization has occurred, and the veggies have delightful crispy edges. The result is a textured and tasty treat.

Remember when our mothers would cook vegetables?  I certainly remember the mushy, bland, and offensively odorous sensations of boiled veggies.  In contrast, roasting makes the vegetables charred and sweet, with wonderful little crispy leaves that provide texture and a bit of bitterness. I actually can’t think of a single vegetable that doesn’t benefit from roasting. Even salad greens like romaine can be roasted and transformed into a more flavorful version of their often-bland selves.

When cheese is involved, it puts any dish over the top. I would venture to say that even your kids would eat veggies roasted with cheese. Take any roasted vegetable and top it off with melted cheese (parmesan and gruyere are great options), and it is doubly delicious.

This tuna casserole is no exception. The mushrooms are roasted until they are caramelized and exquisitely sweet. The cream and cream cheese ensures a savory taste, and the tuna and peas add a smooth texture and delicate crunch. The cheese is gooey deliciousness and the crackers are the perfect topping to this delectable dish. Please try to buy the Italian tuna in water. It is a little bit pricier, but well worth it. 

This recipe is courtesy of Food Network and will serve 8 to 10 people who will look forward to this easy and flavorful dish.

Ingredients for Sheet Pan Tuna Noodle Casserole:

Nonstick cooking spray
Kosher salt
One 12-ounce package wide egg noodles
1/4 cup olive oil
8 ounces cremini mushrooms, thinly sliced
2 cups half-and-half
8 ounces cream cheese, cubed and at room temperature
8 ounces mild Cheddar, shredded on the large holes of a box grater
1 tablespoon Dijon mustard
1/4 teaspoon cayenne
Two 5-ounce cans white albacore tuna, drained and flaked
1 cup frozen peas, thawed
1 cup crushed butter crackers, such as Ritz (about 26 crackers)
1/2 cup panko bread crumbs

Preheat the oven to 450 degrees F and lightly spray a rimmed baking sheet with nonstick spray.

Bring a large pot of water to a boil over high heat and season generously with salt.

Add the noodles and cook, stirring occasionally, until just al dente according to package directions, about 5 minutes.

Reserve 1 cup of pasta water, then drain well. Set the noodles aside and return the pot to medium-high heat.

Add 2 tablespoons of the olive oil, the mushrooms and 1/4 teaspoon salt.

Cook until the mushrooms are tender and starting to brown in spots, stirring occasionally, about 5 minutes.

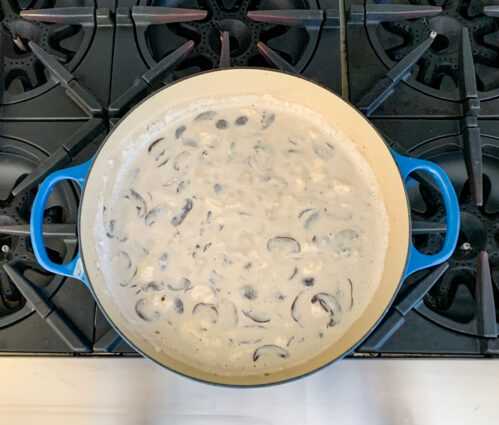
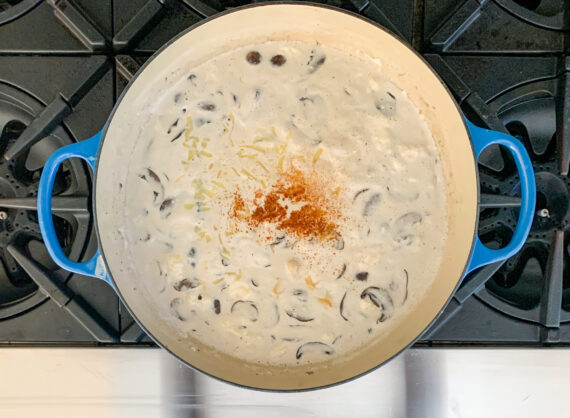
Whisk in the half-and-half, cream cheese and reserved pasta water, then continue to cook until smooth and slightly thickened, stirring frequently, about 2 minutes more.

Reduce the heat to low, then whisk in the Cheddar, Dijon, cayenne and 1/2 teaspoon salt until all the cheese has melted and the sauce is smooth.

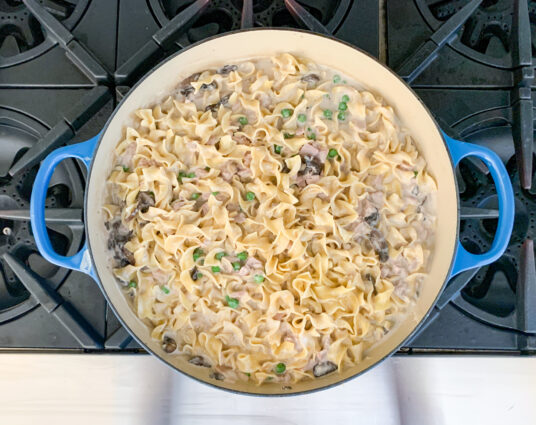
Stir in the reserved cooked noodles, tuna and peas until evenly combined (the mixture should be saucy; it will thicken as it bakes).

Taste and adjust the seasoning with more salt and pepper.

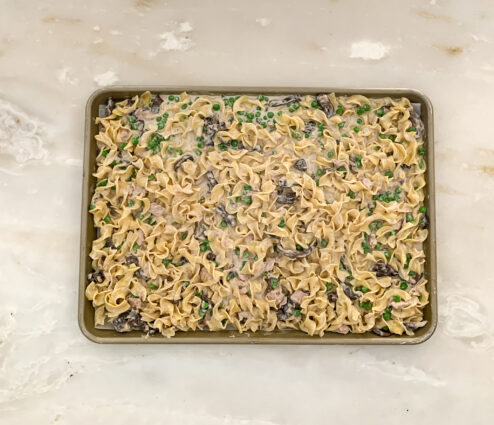
Transfer to the prepared baking sheet.

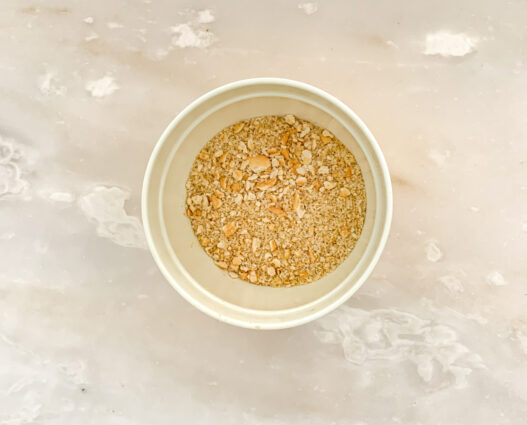
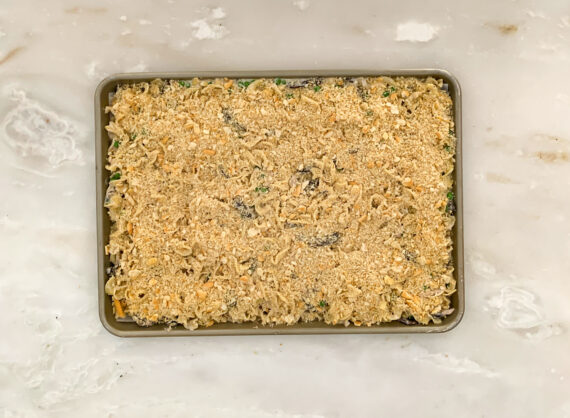
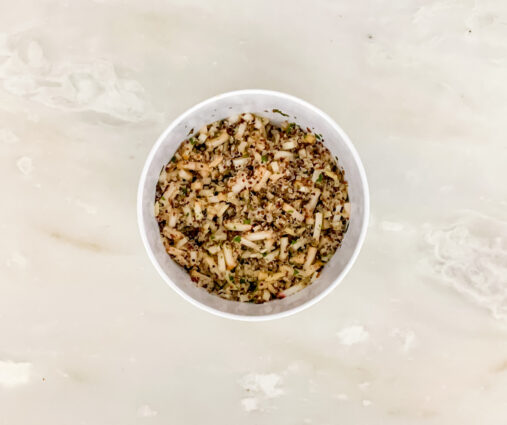
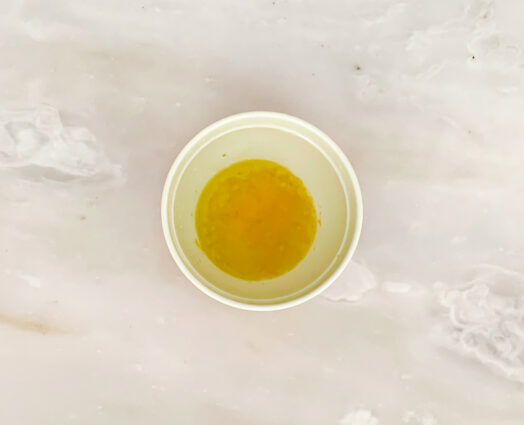
Mix the crushed butter crackers, panko and remaining 2 tablespoons of olive oil in a medium bowl until well combined.

Then sprinkle evenly over the tuna-noodle mixture.

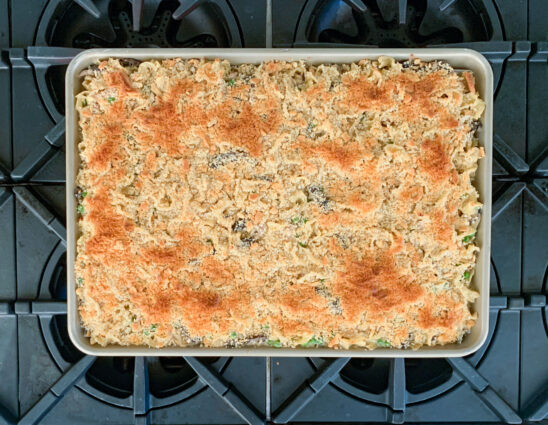
Bake until the topping is well browned and the sauce is bubbling at the edges, about 10 minutes.

Let sit 5 minutes before serving.

It’s that simple!

signature

[recaptcha]


I can’t believe how fast this summer has gone. I had a whole list of things I wanted to do, and somehow, it just passed by…. along with half of what I wanted to get done. There were closets to clean, rugs that needed to be shaken out, and so many other things that I never got the chance to do.  I know we still have a little bit of summer left, so I am hoping I can accomplish something in the next month or so. 

Even still, there is a lot to look forward to–beautiful, warm days and cool, enjoyable evenings. September also brings changing leaves, the excitement of going apple picking, and never knowing what the weather will be.  Each day of the month feels like a different temperature, and that unpredictability allows us to wear our favorite fall clothes.

As the fall approaches, I find myself thinking forward to the holidays.  I imagine that so many things will be different.  The Jewish holidays will be held virtually, as it will not be safe to hold any formal synagogue meetings. Labor Day will be celebrated with small gatherings of family. Who knows what Halloween will bring? Will there be any trick-or-treaters? I do not think so, but I remain optimistic that things will be back to normal soon.

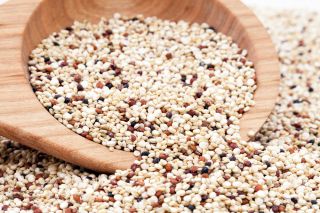
Anyway, I figured we might as well savor summer fruits while they’re still in season.  The delicious quinoa is combined with the summer fruit of your choice. Of course, the fruit is the star of this recipe, and it is enhanced by the addition of yummy nuts, (I used almonds, as I could not find hazelnuts), which gives it an additional depth of flavor, and a nice, crunchy texture. The parsley is the savory touch that this dish needs, and the lemon dressing is a bright finish. This is a side dish that will go with any main, though it is just as enjoyable by itself as a snack or lunch.

This recipe is courtesy of Good Food and will serve 4 people who will love every last bite of delicious summer fruit.

 Ingredients for Summer Fruit Quinoa Salad:

1/2 cup quinoa
3 peaches or nectarines, or 6 apricots, diced
3 1/2 tablespoons toasted hazelnut, roughly chopped (I used almonds, I couldn’t find hazelnuts)
Handful mint, roughly chopped
Handful parsley, roughly chopped
2 tablespoons olive oil
Zest and juice 1 lemon

Put the quinoa in a medium saucepan and cover with 1 1/4 cups water.

Bring to the boil and simmer for 20 mins or until the quinoa is tender.

Drain off any excess liquid and set aside to cool.

Add the fruit, almonds, herbs and seasoning to the cooled quinoa.

Whisk together the olive oil, lemon zest and juice.

Pour over the salad and mix thoroughly.

It’s that simple!


signature

[recaptcha]


The end of summer is creeping ever closer. The days are slowly getting shorter, and though the evenings are still warm, you can feel the cold already.  Even though the temperatures are still high, you know, somehow, that fall is just around the corner. 

The best thing we can do these days is to savor every last drop of sunlight we can get, and revel in the final weeks of a beautiful, albeit strange, summer.  Spend some time pool-side, take a walk in a local park, or write some goals for the upcoming months. Look forward to the beautiful change of color that autumn brings, and the perfect outdoor temperature that is neither too hot nor too cold.  Perhaps you can take out all your favorite scarves, hats, gloves, and cozy sweaters too, and remember just how much you actually do like wearing more than a light t-shirt and shorts.  Fall is a good time to take up baking and fill your kitchen with smells like vanilla, pumpkin, caramel, and fresh bread.

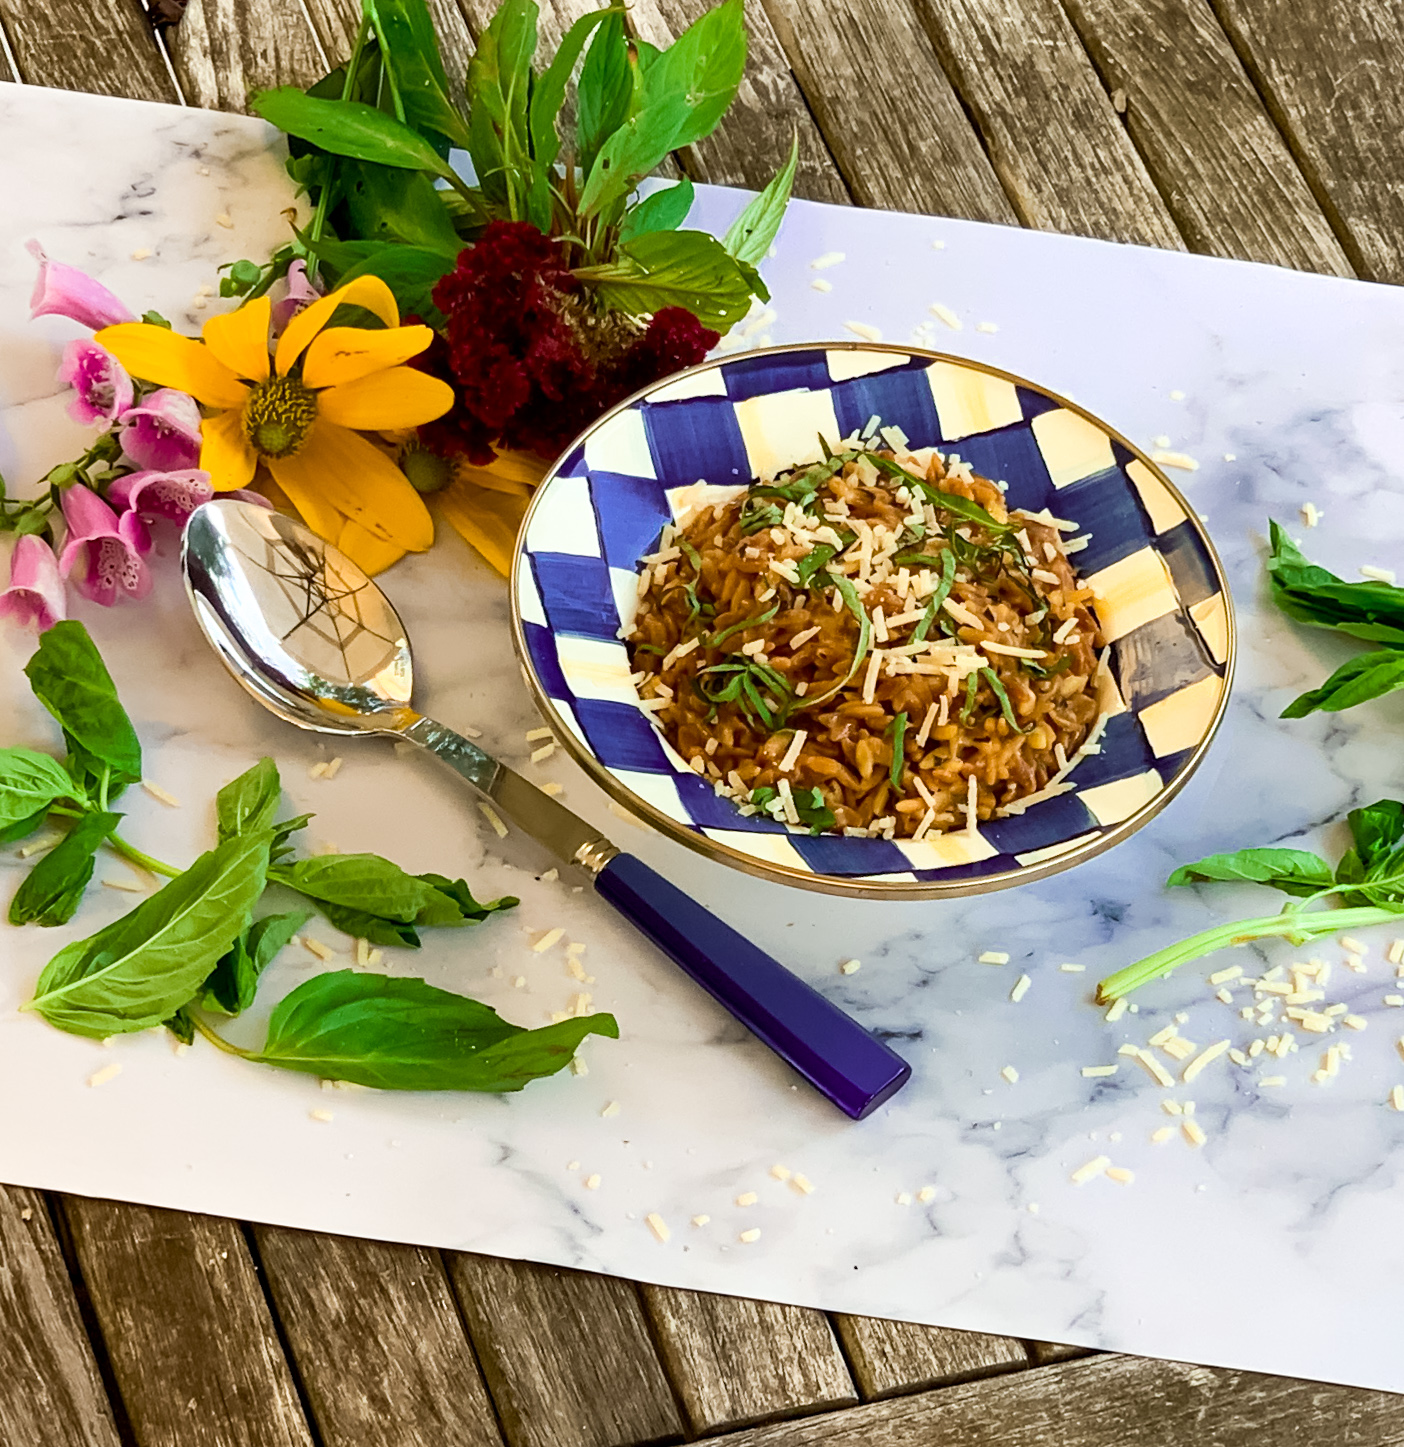
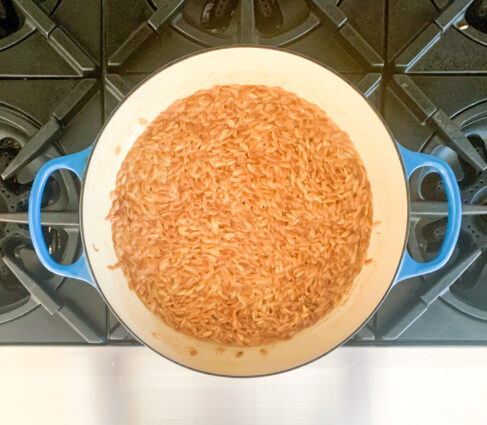
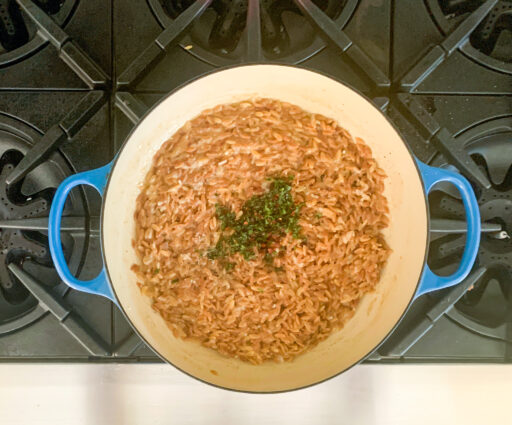
Colder temps mean that we can start using the oven without considering that we’ll have to stand in front of it for hours.  We can make our favorite stick-to-your-ribs comfort foods and eat them without feeling guilty. This is definitely one of those dishes. “Orzo” is Italian for barley, because of how much this rice-shaped pasta resembles the grain. This dish does not disappoint in the comfort-food category. Feel free to add chicken and vegetables to make it a hearty main course, or serve it as written for a side dish along with chicken or fish.  The butter makes a luscious, creamy sauce that combines smoothly with the chicken-flavored broth. The red pepper flakes give it the perfect amount of heat and the Parmesan and basil add even more delicious, savory goodness.

This recipe is my own and can be shared among 4 to 6 people.

Ingredients for Orzo with Parmesan and Basil:

1 cup uncooked orzo pasta or pearl couscous
2 tablespoons butter
1 can (14-1/2 ounces) chicken broth
1/2 cup grated Parmesan cheese
2 teaspoons dried basil
1/8 teaspoon crushed red pepper flakes
Thinly sliced fresh basil, optional

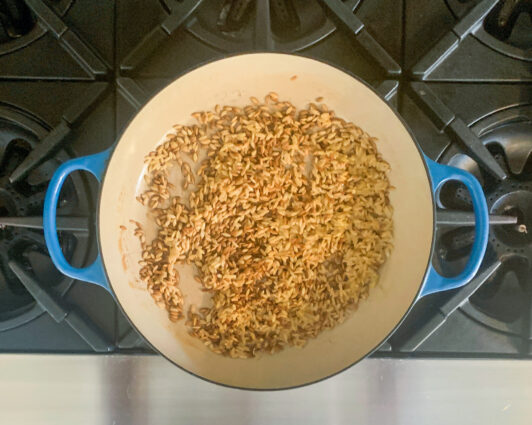
In a large cast-iron or other heavy skillet, sauté orzo in butter until lightly browned, 3-5 minutes.

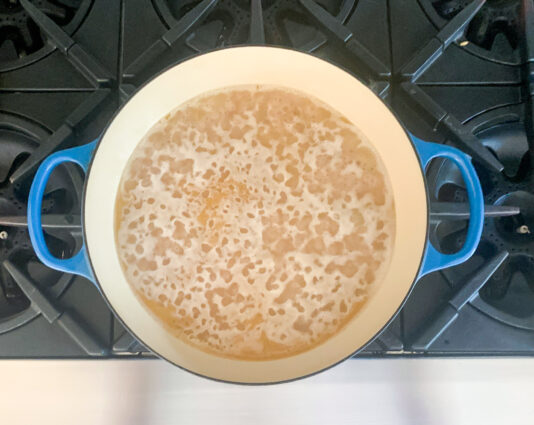
Stir in broth.

Bring to a boil.

Reduce heat; cover and simmer until liquid is absorbed.

Reduce heat; cover and simmer until liquid is absorbed and orzo is tender, 10-15 minutes.

Stir in the cheese, red pepper flakes, basil and pepper.

If desired, top with some more fresh basil. (Hey, why not?)

It’s that simple!


signature

[recaptcha]