Roasted vegetables are always a staple in my home for busy weeknight meals. Roasting is a process that brings out the wonderful flavors of the vegetables. All you need to do is toss your vegetable with olive oil, salt and pepper and roast it until it is just browned on the top.

I am always looking for a new “twist” when preparing my vegetables. There are so many ingredients you can add to them to enhance the depth of the flavor. This particular recipe caught my eye because of the asiago cheese and the almonds, two ingredients I have never used when roasting vegetables.

This recipe is really special. Both the asiago cheese and the almonds added a delicious flavor and texture to the broccoli. I couldn’t get enough of that cheesy goodness combined with the garlic, lemon and almonds. This will definitely be a new “go to” dish for me. I know it will be for you as well. This is a “must try” for sure!

This recipe is courtesy of Healthyseasonalrecipes.com and will serve 4 people who be elated to be eating this yummy broccoli dish!

Ingredients for Roasted Broccoli

1 1/2 pounds broccoli, cut into small florets
3 tbsp. extra-virgin olive oil
2-3 garlic cloves, sliced thin
1/2 tsp. kosher salt
1/4 tsp. pepper
Juice of 1 lemon
3 tbsp. toasted slivered almonds
1/4 cup freshly grated Asiago cheese

Pre-heat oven to 425.

Line a baking sheet with aluminum foil (or just use an aluminum pan, like I did)

In a large bowl, toss the broccoli, oil, garlic, salt, and pepper.
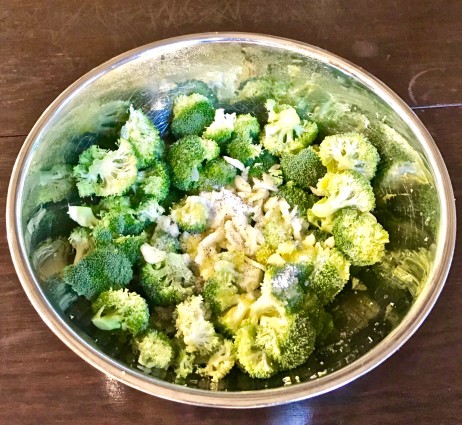
brocooli with cheese in bowl

Spread evenly on the pan, drizzling any excess oil on top, and roast in the oven for 20 to 25 minutes, or until the broccoli florets are crispy and caramelized, but still a little tender.

Check the broccoli after 15 minutes to see how it is cooking. You may have to adjust your timer.

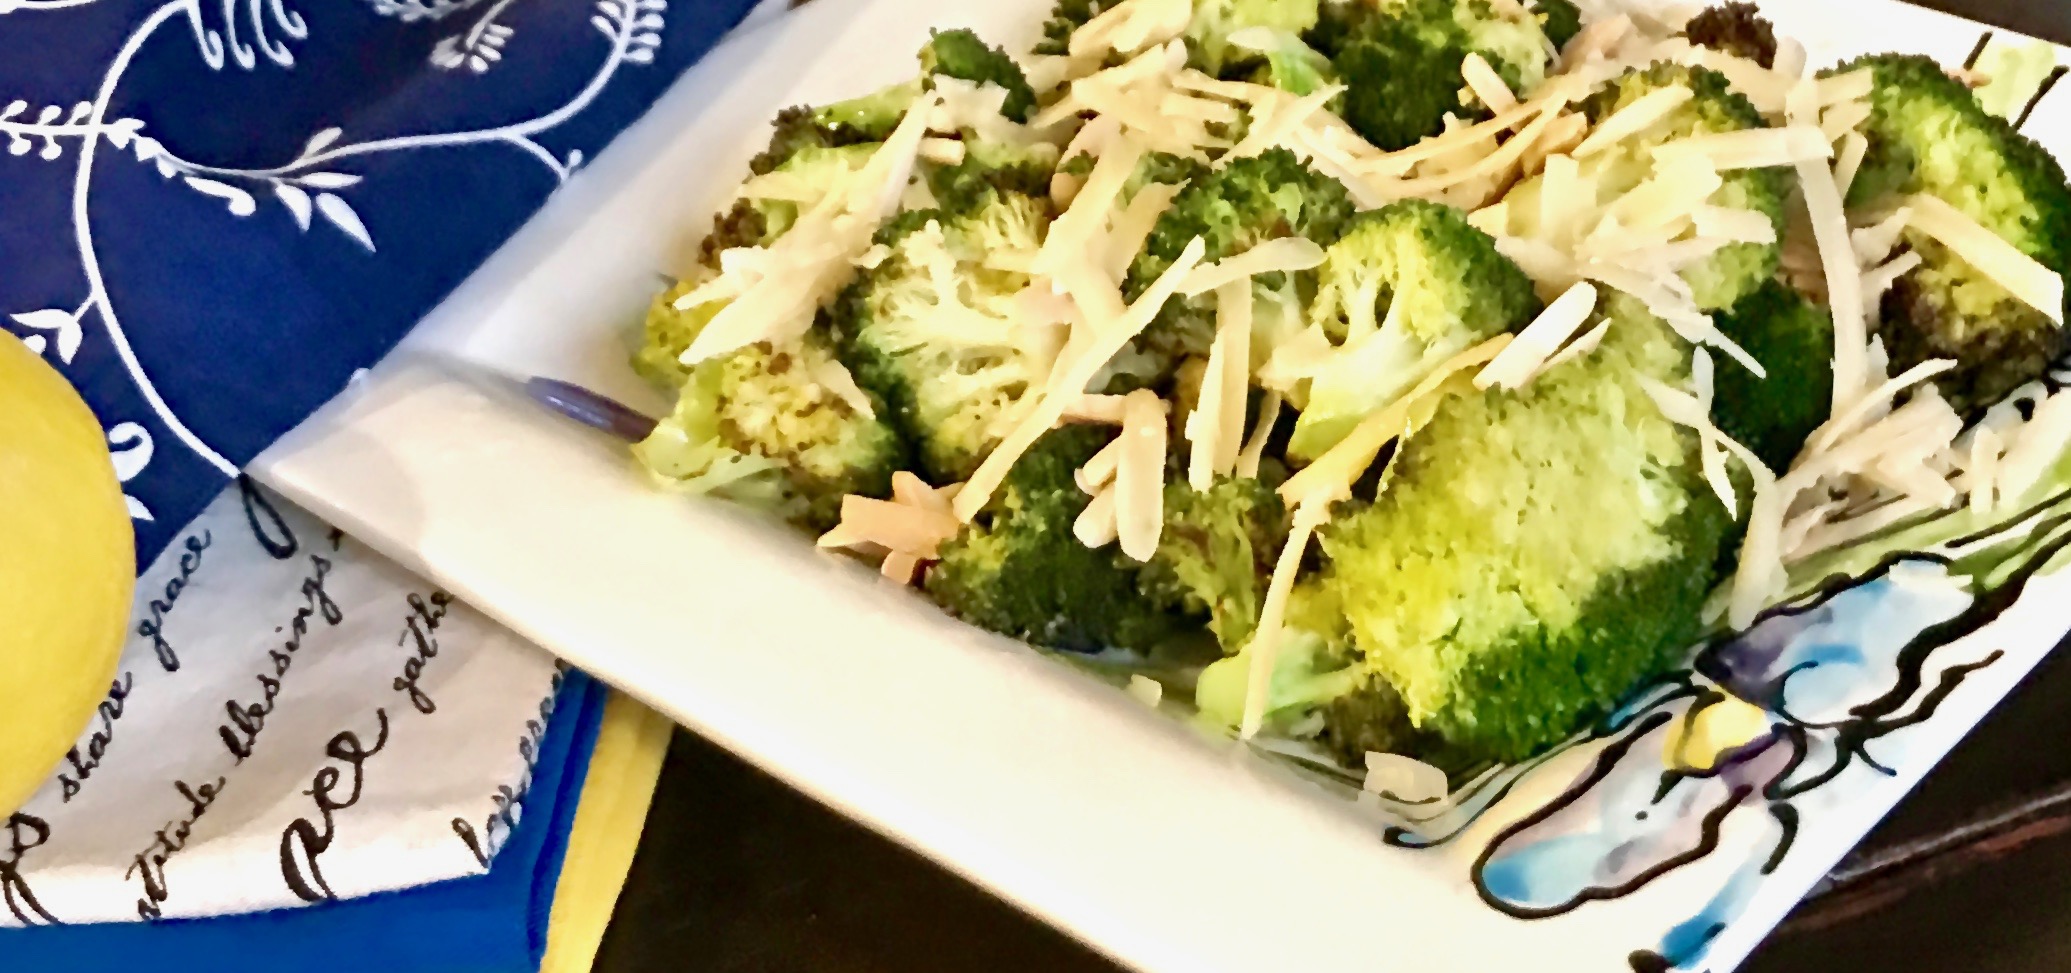
Squeeze the lemon over the broccoli and top with the almonds and cheese. 

Serve hot.

It’s that simple!
signature

[recaptcha]


Now that we are in the middle of summer (can you believe it?!), I hope we find ourselves spending time outdoors barbecuing. Are you making hamburgers, ribs or steaks? Maybe you are trying to eat healthier and are making chicken or fish? Don’t stop there!

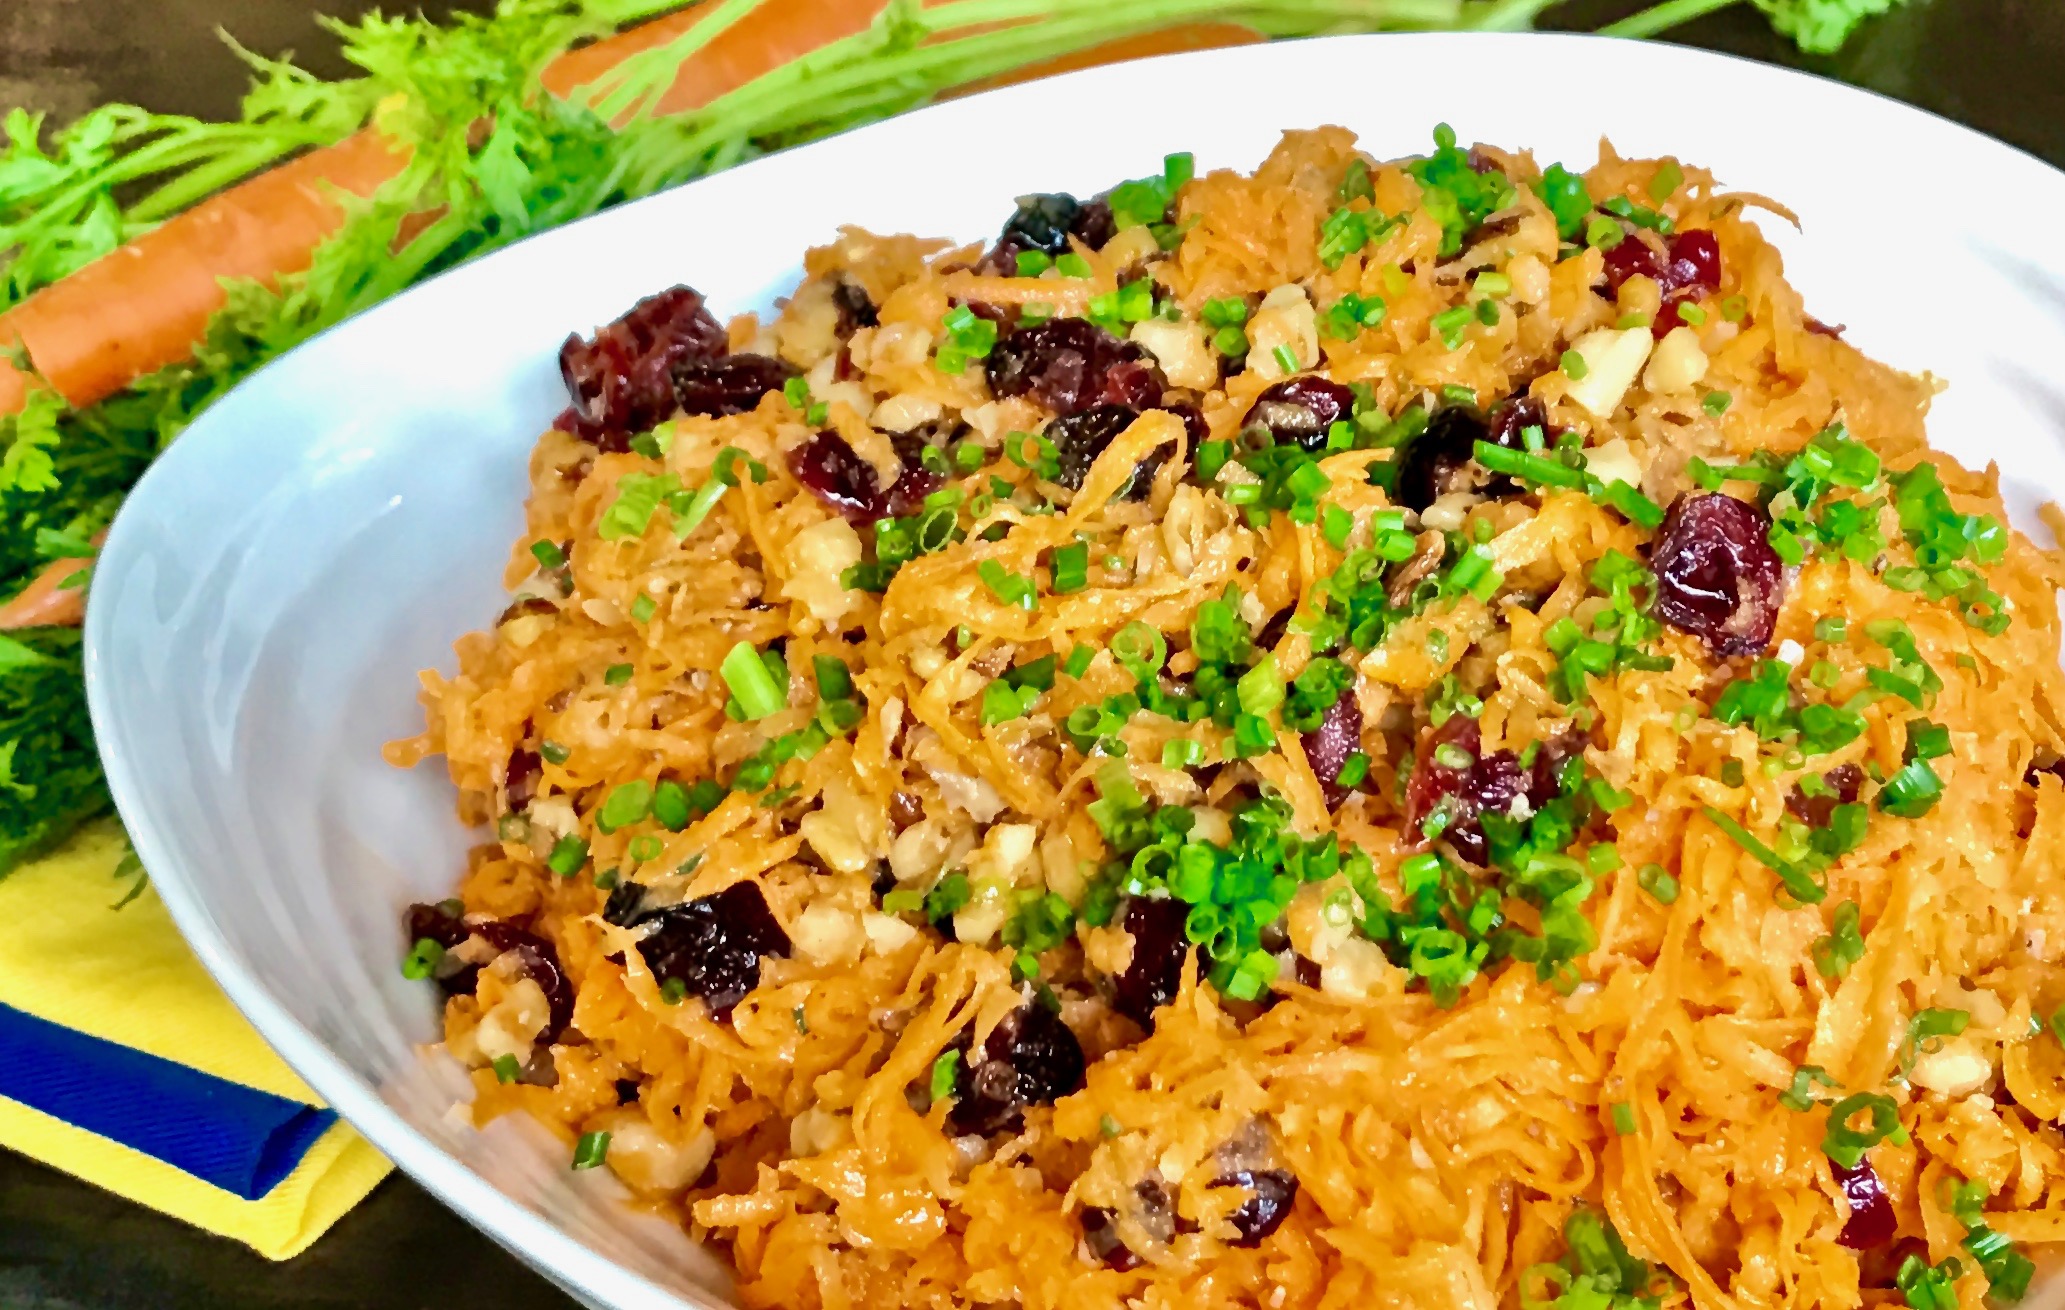
Summer is all about the delicious, fresh vegetables and herbs you can use to make salads. This carrot salad is the perfect side to complement any meal.  It is one way of getting your veggies and eating healthy at the same time. Each of these wonderful ingredients can be eaten with no guilt attached. When combined, they are heaven! I don’t even like walnuts and I went “nuts” for this salad. I could not stop taking forkful after forkful. Don’t forget to put in the fresh chives, as they add wonderful flavor and color.

You can be creative. Try adding some baby kale or lettuce. Whatever you decide, please make this recipe. It is a great dish to bring to a dinner, family gathering or barbecue. It is not only tasty, it is easy to make as well (and addicting).

This recipe is courtesy of fine cooking.com and will serve six people who will be so happy you did!

Ingredients for Carrot Salad

1 1/2 lb. carrots, peeled and grated on the medium holes of a box grater
1 cup walnuts, toasted and chopped
1/2 cup dried currants
1 orange, juiced (about 1/3 cup)
3 tbsp. apple-cider vinegar
1 tbsp. honey
3 tbsp. untoasted walnut oil
Kosher salt
Freshly ground black pepper
2 1/2 tbsp. chives, finely chopped

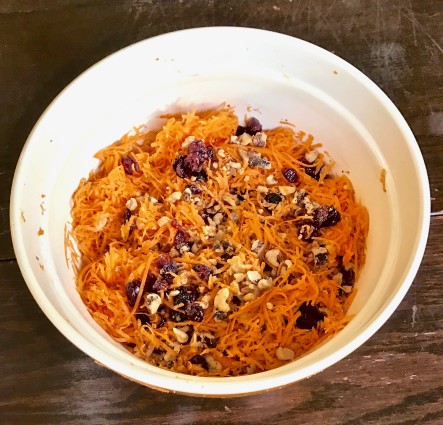
Combine the grated carrots, walnuts, and currants in a medium serving bowl.

Carrot salad carrots, walnuts and currants in bowl

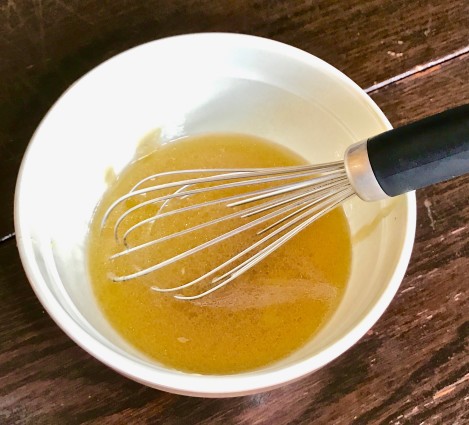
Ina small bowl, whisk together the orange juice, cider vinegar, and honey.

Slowly whisk in the walnut oil.

carrot salad oj, vinegar and honey

Season with salt and pepper to taste.

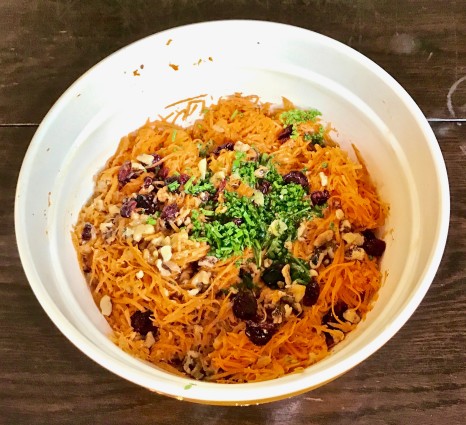
Toss the carrot mixture with the vinaigrette and 2 tablespoons of the chives. 

carrot salad all ingredients

Adjust the seasoning to taste.

You can serve the salad immediately, but it will taste even better if you let it stand at room temperature for 15 to 20 minutes.

Sprinkle with remaining chives right before serving.

It’s that simple!

New purple flower
signature

[recaptcha]


My choice of cookware is enameled pots. I started using them many years ago. They can be pricey, but they are so worth it. You can now find them in stores like Home Goods at more reasonable prices. I started my collection slowly, buying one or two pots a year, and now I am hooked. I rarely use my stainless steel pots anymore for a number of reasons.

They burn easily and are very difficult to clean.

The enamel pots, on the other hand, clean easily, and rarely require overnight soaking.

In addition, enamel pots are made from a cast-iron or steel base and then coated with porcelain enamel to give the pan a smooth, non-stick surface. This coating is made from natural clay that has been baked and glazed to make it very hard and durable.

I have found that stainless steel pans are a poor conductor of heat, and, as a result, food tends to cook unevenly. They also contain some elements that may interfere with the taste of the food.

Enamel pots, however, combine the heat distribution benefits of iron with the non-stick properties of enamel. Foods cook more evenly and do not contain properties that interfere with the taste of the food.

Buy one for yourself. I know you will notice the tremendous differences between the stainless steel and the enameled pot. I think you are going to be hooked too!

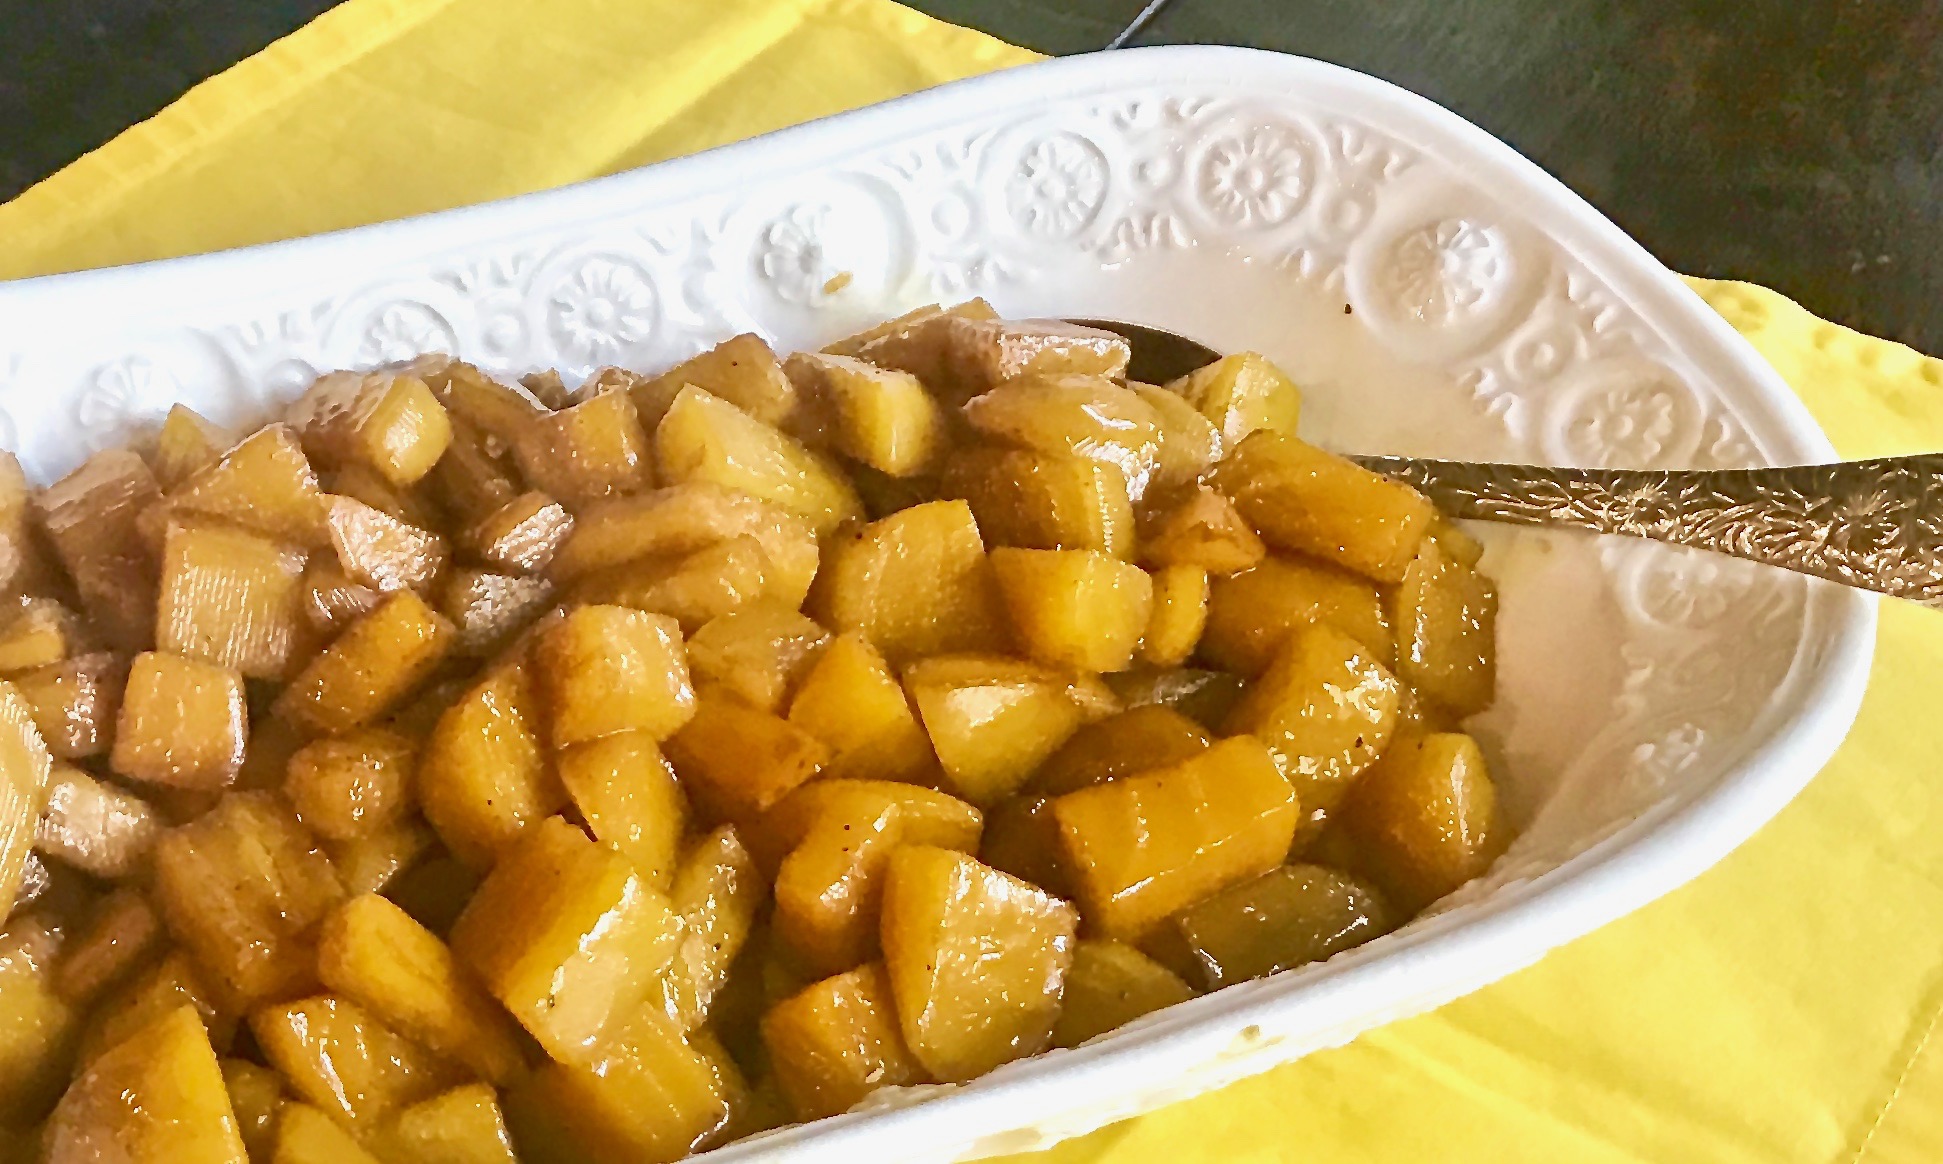
This recipe has turned a beet-hater like me into someone who actually enjoys them. The sweetness of the dark brown sugar combined with the tartness of the orange juice makes the beets as wonderful as popping a piece of candy in your mouth. I used golden beets for this recipe, but you can use the red ones as well. 

I hate to peel beets (don’t forget to put on gloves), but I love this recipe enough that I would gladly peel them again. It is scrumptious and worth every minute. Peeling and steaming the beets take the majority of the time required  for this recipe. Once the beets are done, the process goes quickly. Take a look at this recipe; how is that for short and simple? 

This recipe is courtesy of eating well.com and will serve 6 people who will be popping them into their mouths like bonbons!

Ingredients for Brown Sugar-Glazed Beets

3 cups peeled, steamed cubed beets, 1/2 to 1-inch cubes
3 tbsp. dark brown sugar
2 tbsp. orange juice
1 tbsp. unsalted butter
1/4 tsp. kosher salt
1/4 tsp. freshly ground black pepper

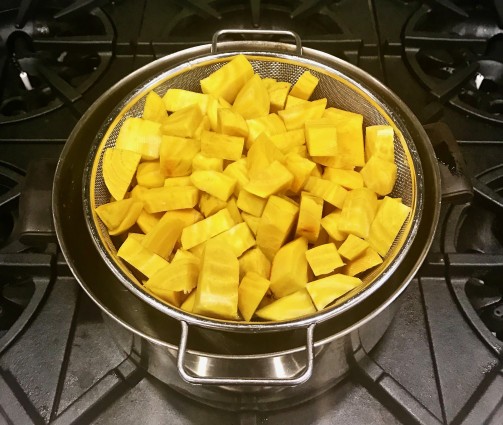
Place beets in a steamer in a pot with 2 inches of water. Steam on high heat for 15-20 minutes. 

Brown Sugar Beets in pan steaming

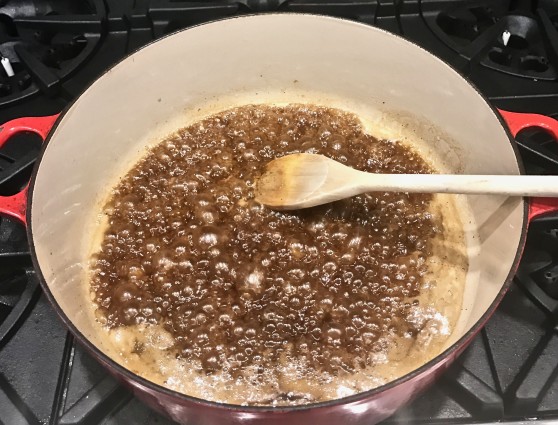
Combine brown sugar, orange juice, butter, kosher salt and pepper in a large nonstick skillet.

Brown Sugar beets sugar and orange juice

Cook over medium heat until the sugar and butter are melted and starting to bubble.

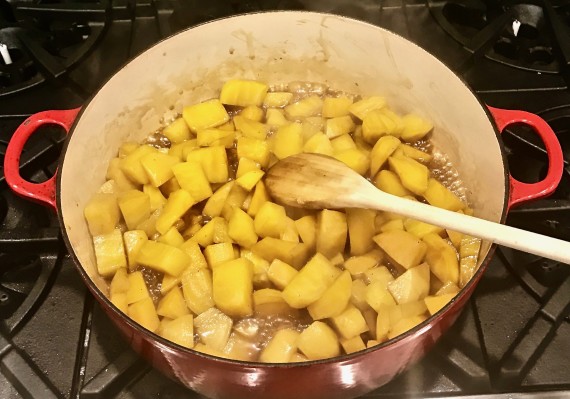
Stir in the beets and cook until most of the liquid has evaporated and the beets are coated with glaze, about 6-8 minutes.

Brown Sugar Beets in pan with brwon suagr and orange juice

Serve warm.

It’s that simple!

Jenna eating corn
signature

[recaptcha]


I love the long, lazy days of summer which lend themselves to spending more time outdoors and less time in the kitchen. I don’t find myself cooking that much lately, and when I do, I look for quick, simple dishes. 

This is one of those recipes I find myself making over and over. It is a new and delicious way to enjoy mashed potatoes. The addition of the peas, chives, and dill make it really unique. I love taking a simple dish like mashed potatoes and doctoring it up until it becomes something special. It is like taking a winter recipe and turning it into a summer delight. What could be better than that?

The majority of time in this recipe is spent boiling the potatoes. You can save time by boiling them ahead. Just to note: these potatoes are intended to be slightly lumpy, which is why they are mashed by hand, along with the peas.

The combination of flavors in this recipe truly makes it special. And you already know what I think about the lemon zest! These potatoes make a beautiful presentation. They are elegant and so perfect for a weeknight summertime side dish. You are going to be overjoyed when you try this recipe!  (You can let me know what you think of it by dropping me an email; I would love to hear from you)!

This recipe is courtesy of Finecooking.com. It will serve 4 people who will love this new twist to mashed potatoes!

Ingredients for Smashed Potatoes

1 1/2 lb. of Yukon Gold potatoes
1 clove garlic, chopped
6 oz. (1 heaping cup) thawed, frozen peas
1/3 cup of olive oil
1/4 cup scallions, finely chopped
3 tbsp. dill, finely chopped
2 tbsp. chives, finely sliced
2 tsp. lemon zest
Kosher salt and Pepper to taste

Bring 1 1/2 peeled and quartered Yukon Gold potatoes and 1 clove garlic to a boil in water well seasoned with kosher salt. (I did not even peel the potatoes!)

Cook until tender, 15 to 20 minutes.

Just before draining add the peas and cook until heated through, about 1 minute.

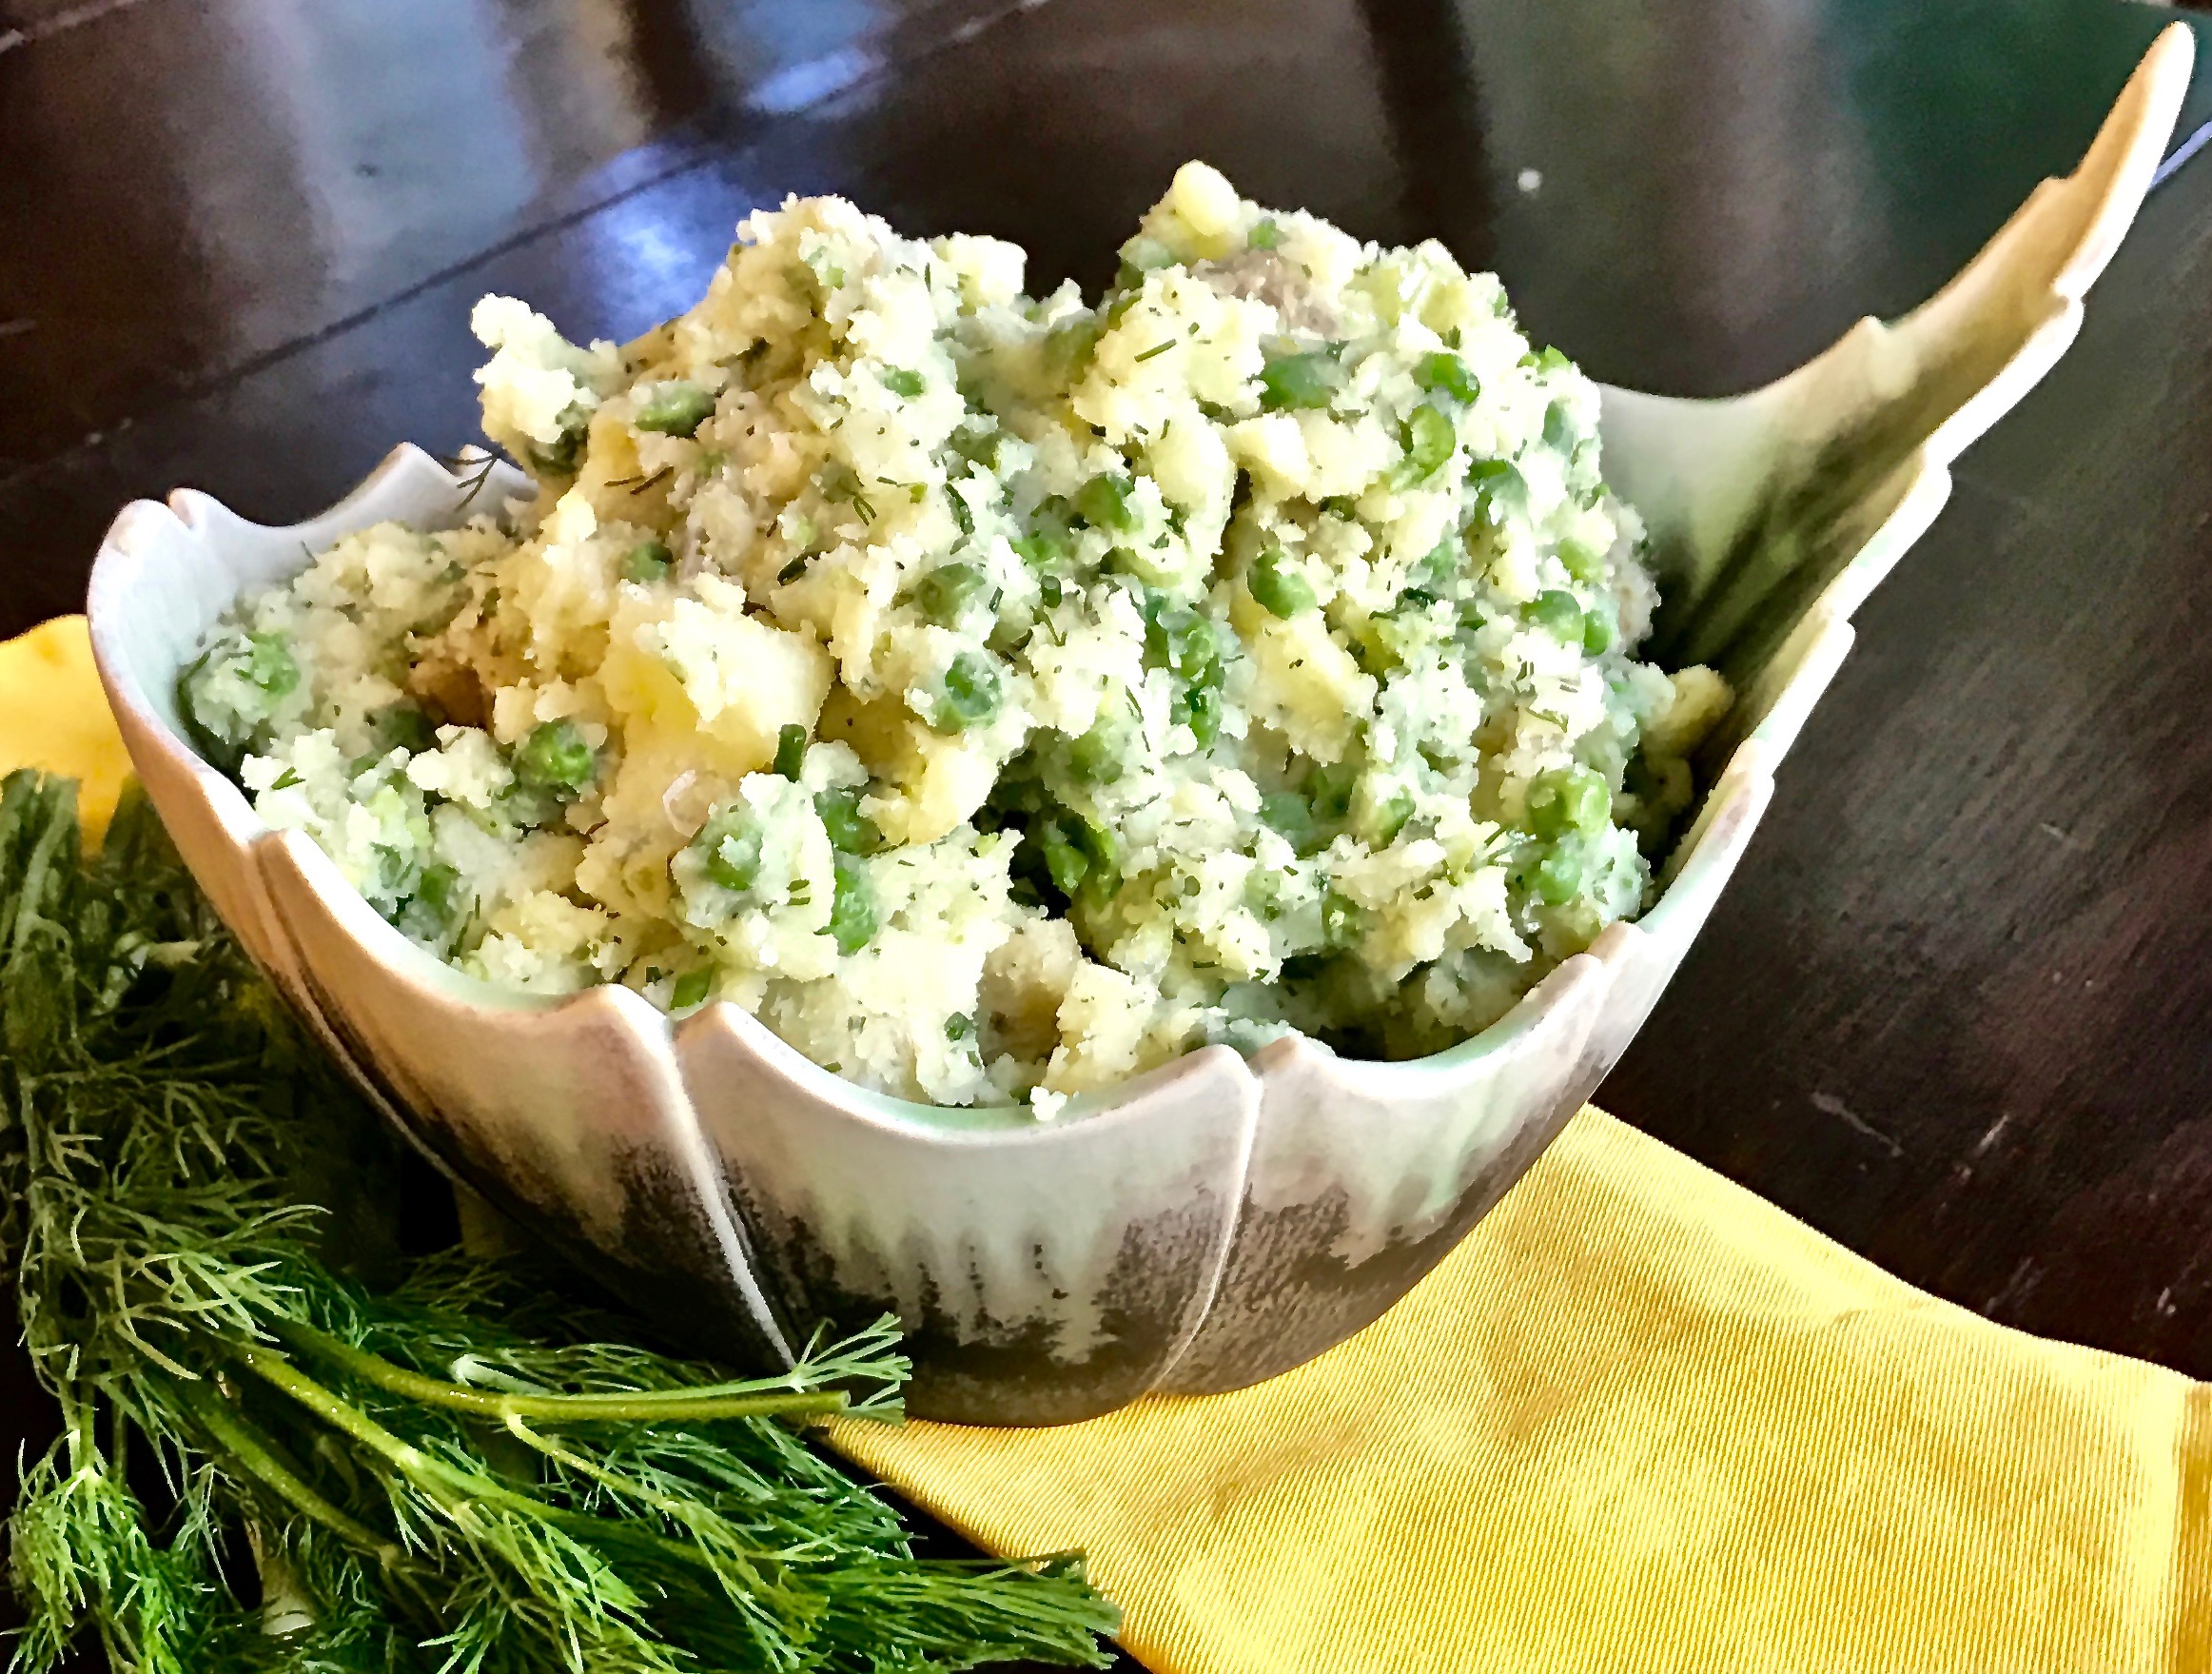
Drain, return to the pot and coarsely mash. Stir in 1/3 cup of olive oil, scallions, dill, chives and lemon zest.

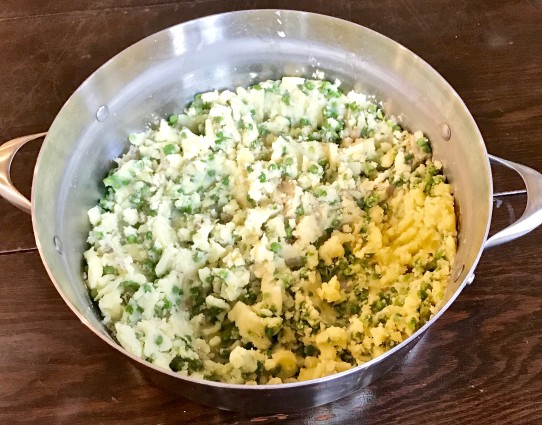
Smashed peas and potatoes in pot

Season to taste with salt and pepper.

It’s that simple! (It really is, isn’t it?)

large planter in yard
signature

[recaptcha]


I have just the recipe for all of you cheese lovers out there. And who doesn’t love pasta with their cheese? You are all going to love this one!

It’s a scrumptious Four Cheese Mac & Cheese. This savory recipe combines the flavors of gruyere, asiago, fontina and sharp cheddar cheese. These four kinds of cheeses blend beautifully to give this dish a distinctive richness and creaminess. 

The flour and milk produce a wonderful golden “bechamel” sauce, also known as a white sauce. It is frequently used as a base for lasagne, scalloped potatoes, gratins and baked ziti among others. In this dish, they add onion powder, nutmeg and a bit of cayenne pepper to the bechamel, which give it a spicy “kick” that is just perfect. 

Since it is baked in the oven, it develops a crisp, delicious top of breadcrumbs that are browned to perfection. The recipe calls for rotelle pasta, but you can use any pasta of your choice. I would suggest a large pasta with ridges which will allow the sauce to permeate into the macaroni and explode with flavor.

This should be in everyone’s cooking repertoire. It is perfect as a main dish or as a side for any kind of meal. It is even better as a leftover. Make a batch and freeze it for a quick weeknight dinner. Take it for lunch. Whatever you do, make sure you do not miss this one. It is a “keeper” for sure! 

This recipe is courtesy of The_Swedish_Chef. It will serve about 8 people who will be dreaming about it forever!

Ingredients for Four-Cheese Macaroni and Cheese

1 lb. rotelle pasta (or any pasta of your choice)
3/4 lb. sharp cheddar cheese, shredded
1/2 lb. gruyere cheese, shredded
1/2 cup asiago cheese, shredded
1/2 cup Fontina cheese, shredded
3 tbsp. unsalted butter
3 tbsp. all-purpose flour
2 cups milk
1 tsp. onion powder
1/2 tsp. salt
1/4 tsp. dried mustard
1/4 tsp. ground nutmeg
1/4 tsp. ground cayenne pepper
1 cup panko breadcrumbs (Japanese Bread Crumbs)

Note: This is a baked macaroni and cheese; therefore, it will not have a lot of extra cheesy sauce as it is absorbed into the pasta while baking. If you require extra saucy mac & cheese, just reduce the amount of pasta you place in the dish or make more sauce so it is creamier.

Heat oven to 350.

Coat a 3-quart rectangular baking dish with non-stick spray. 

Bring a large pot of salted water to boiling.

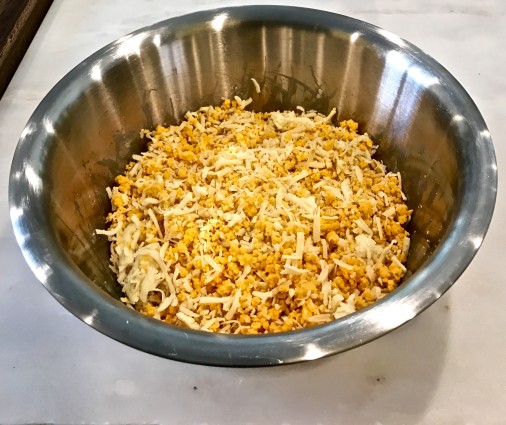
Toss all the shredded cheeses together in a large bowl. Set aside.

Macaroni 4cheeses

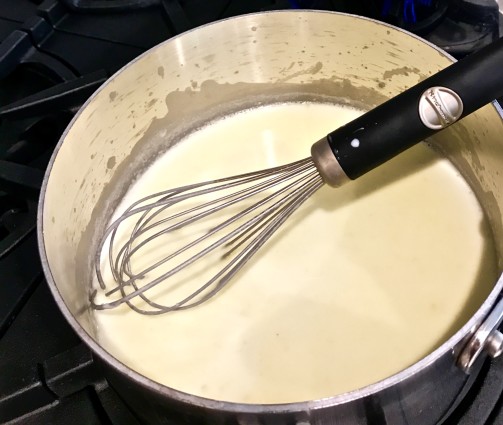
Melt butter in a medium-sized saucepan over medium heat.

Whisk in the flour until smooth and slightly bubbly.

macaroni butter, flour


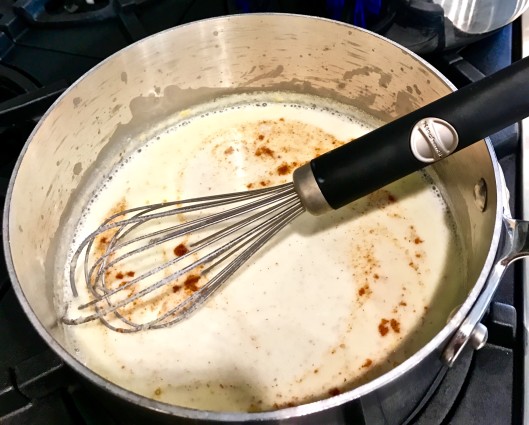
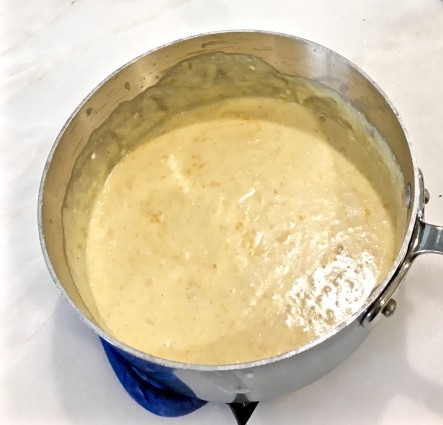
In a thin stream, whisk in the milk. 

Stir in the onion powder, salt, nutmeg, dried mustard, and cayenne.

macaroni milk

Bring to a boil over medium-high heat. Reduce heat and simmer 3 minutes. 

Remove from heat; whisk in 2 1/2 cups of the cheese mixture and stir until smooth. Cover to retain the heat.

Macaroni cheese melted

Once water boils, add pasta. Cook until your consistency, then drain. 

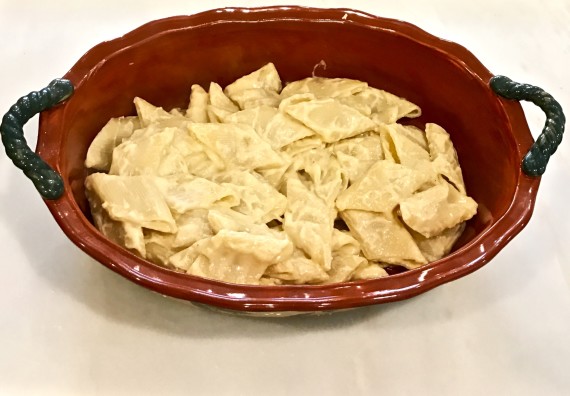
In the pasta container, stir together the cooked pasta and cheese sauce.

Pour half of the mixture into the prepared dish. 

macaroni first layer noodles

Sprinkle with a generous cup of the reserved cheese. 

macaroni 1st cheese layer

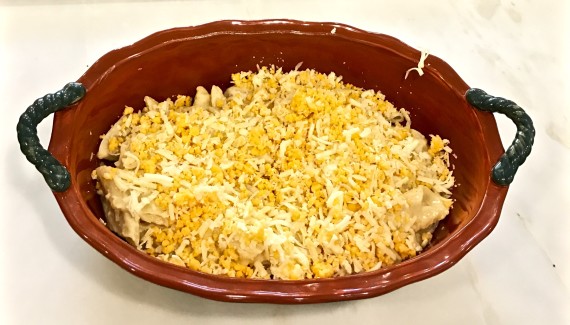
Spoon remaining cheese-covered pasta into the dish and top with the remaining cheese.

Add 1 cup of Japanese Panko Bread crumbs to the top of the mixture.

Bake at 350 degrees for 30 minutes or until the Panko crumbs are lightly browned and the cheese is bubbly.

Cool slightly before serving.

It’s that simple! (And oh so Yummy)!

Macy and Mitzie on bed
signature

[recaptcha]