Finally, warmer days are here! It has been such a cold winter, and we all have had our fair share of take-out. This pandemic has made us look at winter a little differently. In the winters before covid, we would hibernate and stay indoors doing our usual chores and working out at our gyms.

But it is different now. Many of us have been eating outdoors at restaurants to get a change of scenery, and to avoid the tedious chore of cooking for just one day. I see people sitting in the freezing cold outside restaurants, in their warmest clothes and blankets for their legs, trying to stay warm and have a nice dinner at the same time. Yurts, greenhouses, igloos, tents and all kinds of partly open outdoor structures have popped up at restaurants around the country. To serve customers on patios or sidewalks, restaurant owners are coming up with creative adaptations that can make dining possible in the frigid depths of winter.

In the interest of the not freezing part and not getting COVID-19, if you decide to visit a restaurant, you need to do some planning– find an outdoor setup that offers some shelter, plan an outfit to battle the elements, choose dishes that won’t get cold as soon as it hits the table (or plan to eat cold dishes). Getting a table used to be the main concern, but now you have to think about wind chill and the chance of snow.

Some eateries are attempting to extend outdoor dining into the colder winter months, setting up heated tents that might allow patrons to enjoy a meal without fear of contracting the novel coronavirus. Not all outdoor dining structures are created equally, says Richard Corsi, an air quality expert and dean of engineering and computer science at Portland State University in Oregon. “There’s a wide spectrum,” Corsi says. “The safest that we’re talking about is no walls — a roof. And then the worst is fully enclosed — which is essentially an indoor tent — especially if it doesn’t have really good ventilation and good physical distancing.”

We really longed to get out of the house, even if it was a little on the cold side just to get some relief from cabin fever. Even my husband, who is not an avid gym rat, has been taking walks, sometimes on very cold days because he needed the fresh air. Working all day in the office and having to be home on the weekends has transformed him into a walker willing to brave the cold just to be outside. I too, have found myself going out for a run in temperatures that would have had me bundled up in front of the fireplace. Getting outside has been essential to our health these days.

Hopefully, the warm weather may be here to stay, but don’t get too excited about it. I hear that we have more cold weather and some more snow (oh, no!) coming in the months ahead. I have noticed through the years that it usually snows sometime around Easter, so I am ready for it. But let’s face it, we could use a break and maybe the warm weather will return a little earlier this year. Remember, even our definition of cold has changed, and what we thought was freezing before may just be perfect for dining outside. Here ‘s hoping for a warm spring, we deserve it.

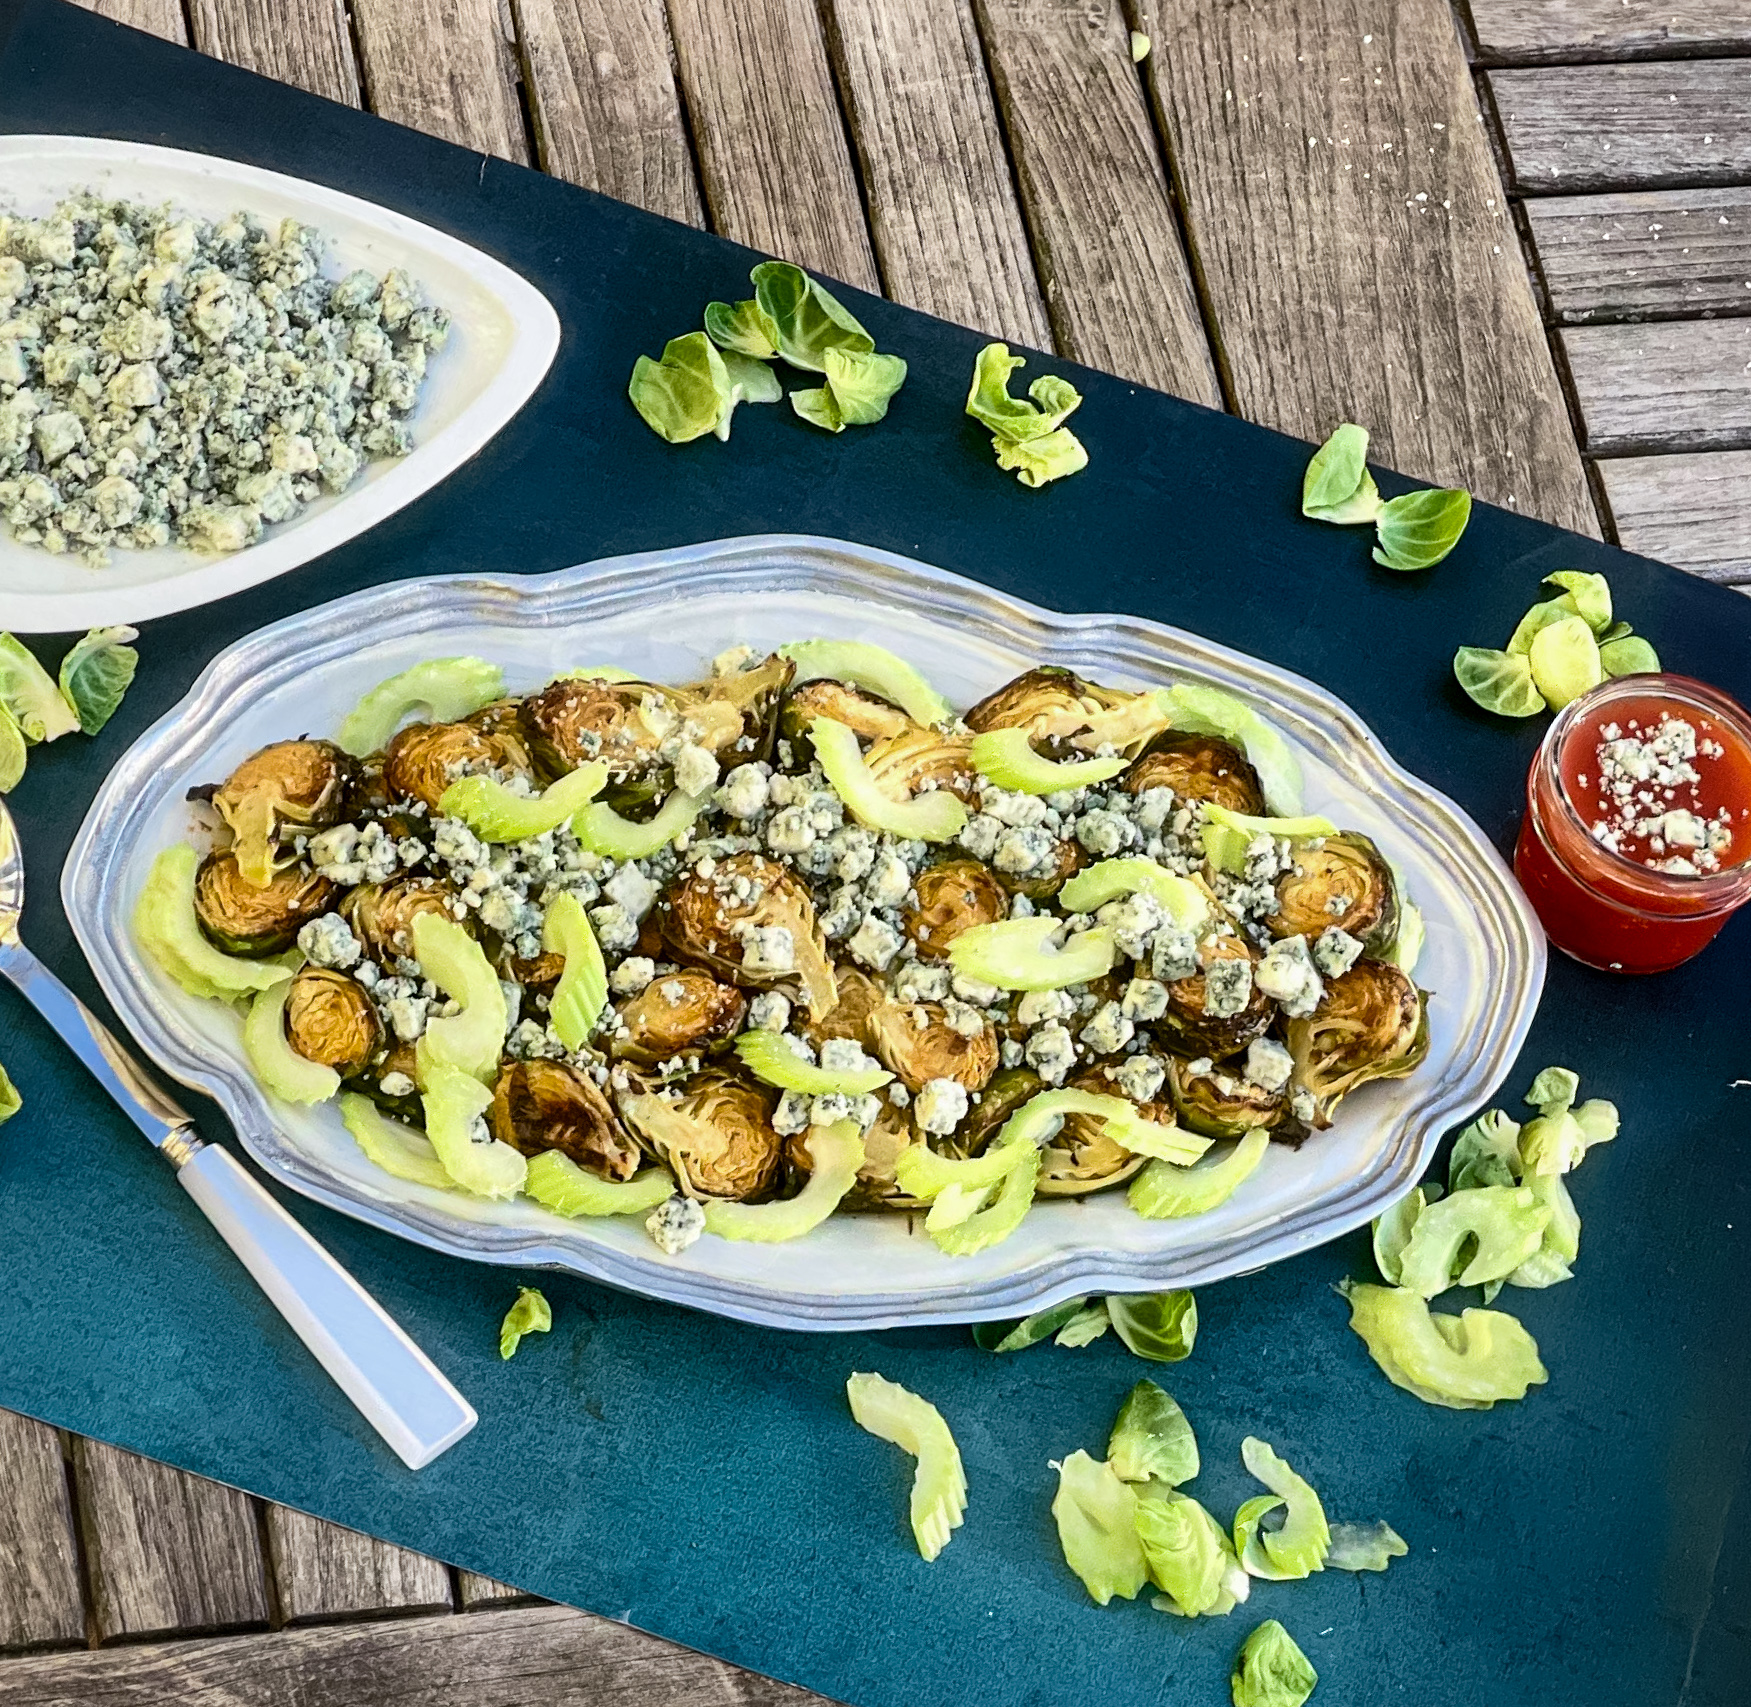
Now this is a recipe that is perfect for any cold, winter day, but you’re going to want to make it all year long. It takes Brussels sprouts to a whole new level– they are transformed into a wonderful, delicious side dish.  They are roasted to caramelized perfection in the oven, then coated in a combination of butter and hot sauce, making them appealing to even the worst Brussels sprout hater. The result is a side dish (or you could even use them as an appetizer) that even your kids will enjoy and so will you. I loved this dish because anything with hot sauce is a winner for me!

This dish is courtesy of Simply Julia, by Julia Tursten and will serve 4 people who can’t help going back for seconds.

Ingredients for Buffalo Brussels Sprouts:

1 1/2 pounds Brussels sprouts, tough outer leaves trimmed
3 tablespoons extra-virgin olive oil
1/2 teaspoon kosher salt, plus more if needed
3 tablespoons unsalted butter, melted
2 tablespoon hot sauce
1/3 cup crumbled Gorgonzola cheese
1 large celery stalk, thinly sliced on the diagonal, plus a few celery leaves for garnish

Preheat your oven to 450 degrees F.

Place the Brussels sprouts on a sheet pan.

Drizzle with the olive oil, sprinkle with salt, and mix with your hands.
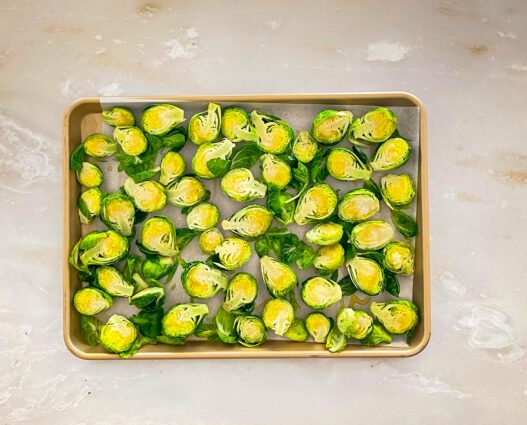
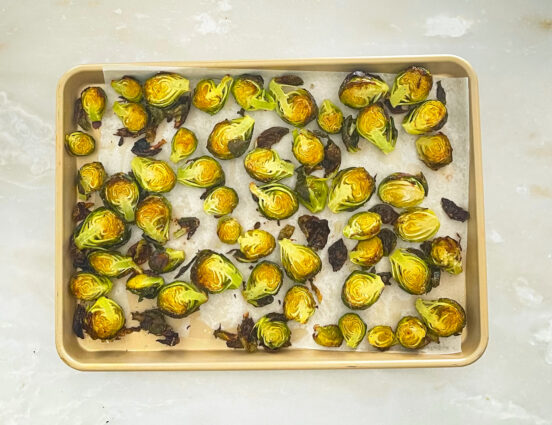
Roast the Brussels sprouts, stirring them once or twice while they cook, until they are softened (test with a paring knife) and also dark brown and crispy, about 20 minutes.
Meanwhile, place the melted butter and hot sauce in a large bowl and stir well to combine.
Transfer the hot Brussels sprouts to the butter mixture and toss well to combine. 

Season the sprouts to taste with additional salt if needed.

Transfer the sprouts to a serving platter.

Sprinkle evenly with cheese, celery, and celery leaves.

Serve hot.

It’s that simple! 
signature

[recaptcha]


Every day, it seems like there’s a new cooking tool.  So many things I didn’t even know I needed– garlic choppers!  Warming butter knife!  Potato press!  With all these devices for specific uses, it’s hard to remember that a kitchen really only needs a few basic tools. Here are a few that I know I cannot live without:

Wooden spoons: I hate the sound of a metal spoon scraping the pan. It drives me crazy. Not only that, but I worry about scratching the pan as well. I switched over to wooden spoons years ago, and never looked back. I only use the large metal spoons to move the food from the skillet to the plate because it is bigger than the wooden spoons. I also put my wooden spoons in the dishwasher (I find that it cleans them better). When they’re done in the dishwasher, I leave them on a towel overnight to make sure that they are dry before I put them away.

Large Dutch oven: They come in a range of sizes, but I recommend that you have at least a 7 to 8-quart size. They clean up so much easier than the stainless-steel pots (don’t forget the barkeepers friend!). They also conduct heat more evenly, so get a reliable result. The best thing about them is that you can cook a wide variety of recipes from vegetables to a small pot roast. They easily transfer to the oven, (okay, so they may be a little heavy) but they are so convenient when you have to put a meal on the table fast.

Rimmed baking sheets: These are incredibly useful for a variety of cooking, roasting, or baking. They can be a little tough to clean up, so I always line them with pre-cut parchment paper. It made my cooking time so much faster.

Microplane grater: Zest any kind of fruit to add a little extra to your dish. It really compliments any dish you are preparing and makes the flavor really pop. You can also use it for cheeses, garlic and whole spices like nutmeg or cinnamon. 

Mixing bowls: I have a ton of them and use so many when I cook. Buy the lightweight ones that you can easily move around the kitchen.  It can help to have a few with handles too!

Cutting boards: Many people recommend the wooden ones, but I find that they are heavy.  I need more than one at a time, so I have a combination of plastic and bamboo, which is lightweight and easy to clean.

Salt box: Whether you are using a pinch of salt or measuring out a specific amount, this is a great way to keep salt at hand. 

Spatula: I have accumulated so many throughout the years. I have all different sizes and use them for everything. Make sure the spatulas you buy are heat resistant, otherwise they can melt on your stovetop!

There you have it. At least some of the important ones. There are so many, I couldn’t possibly put them all in one blog. Stay tuned for more to come!

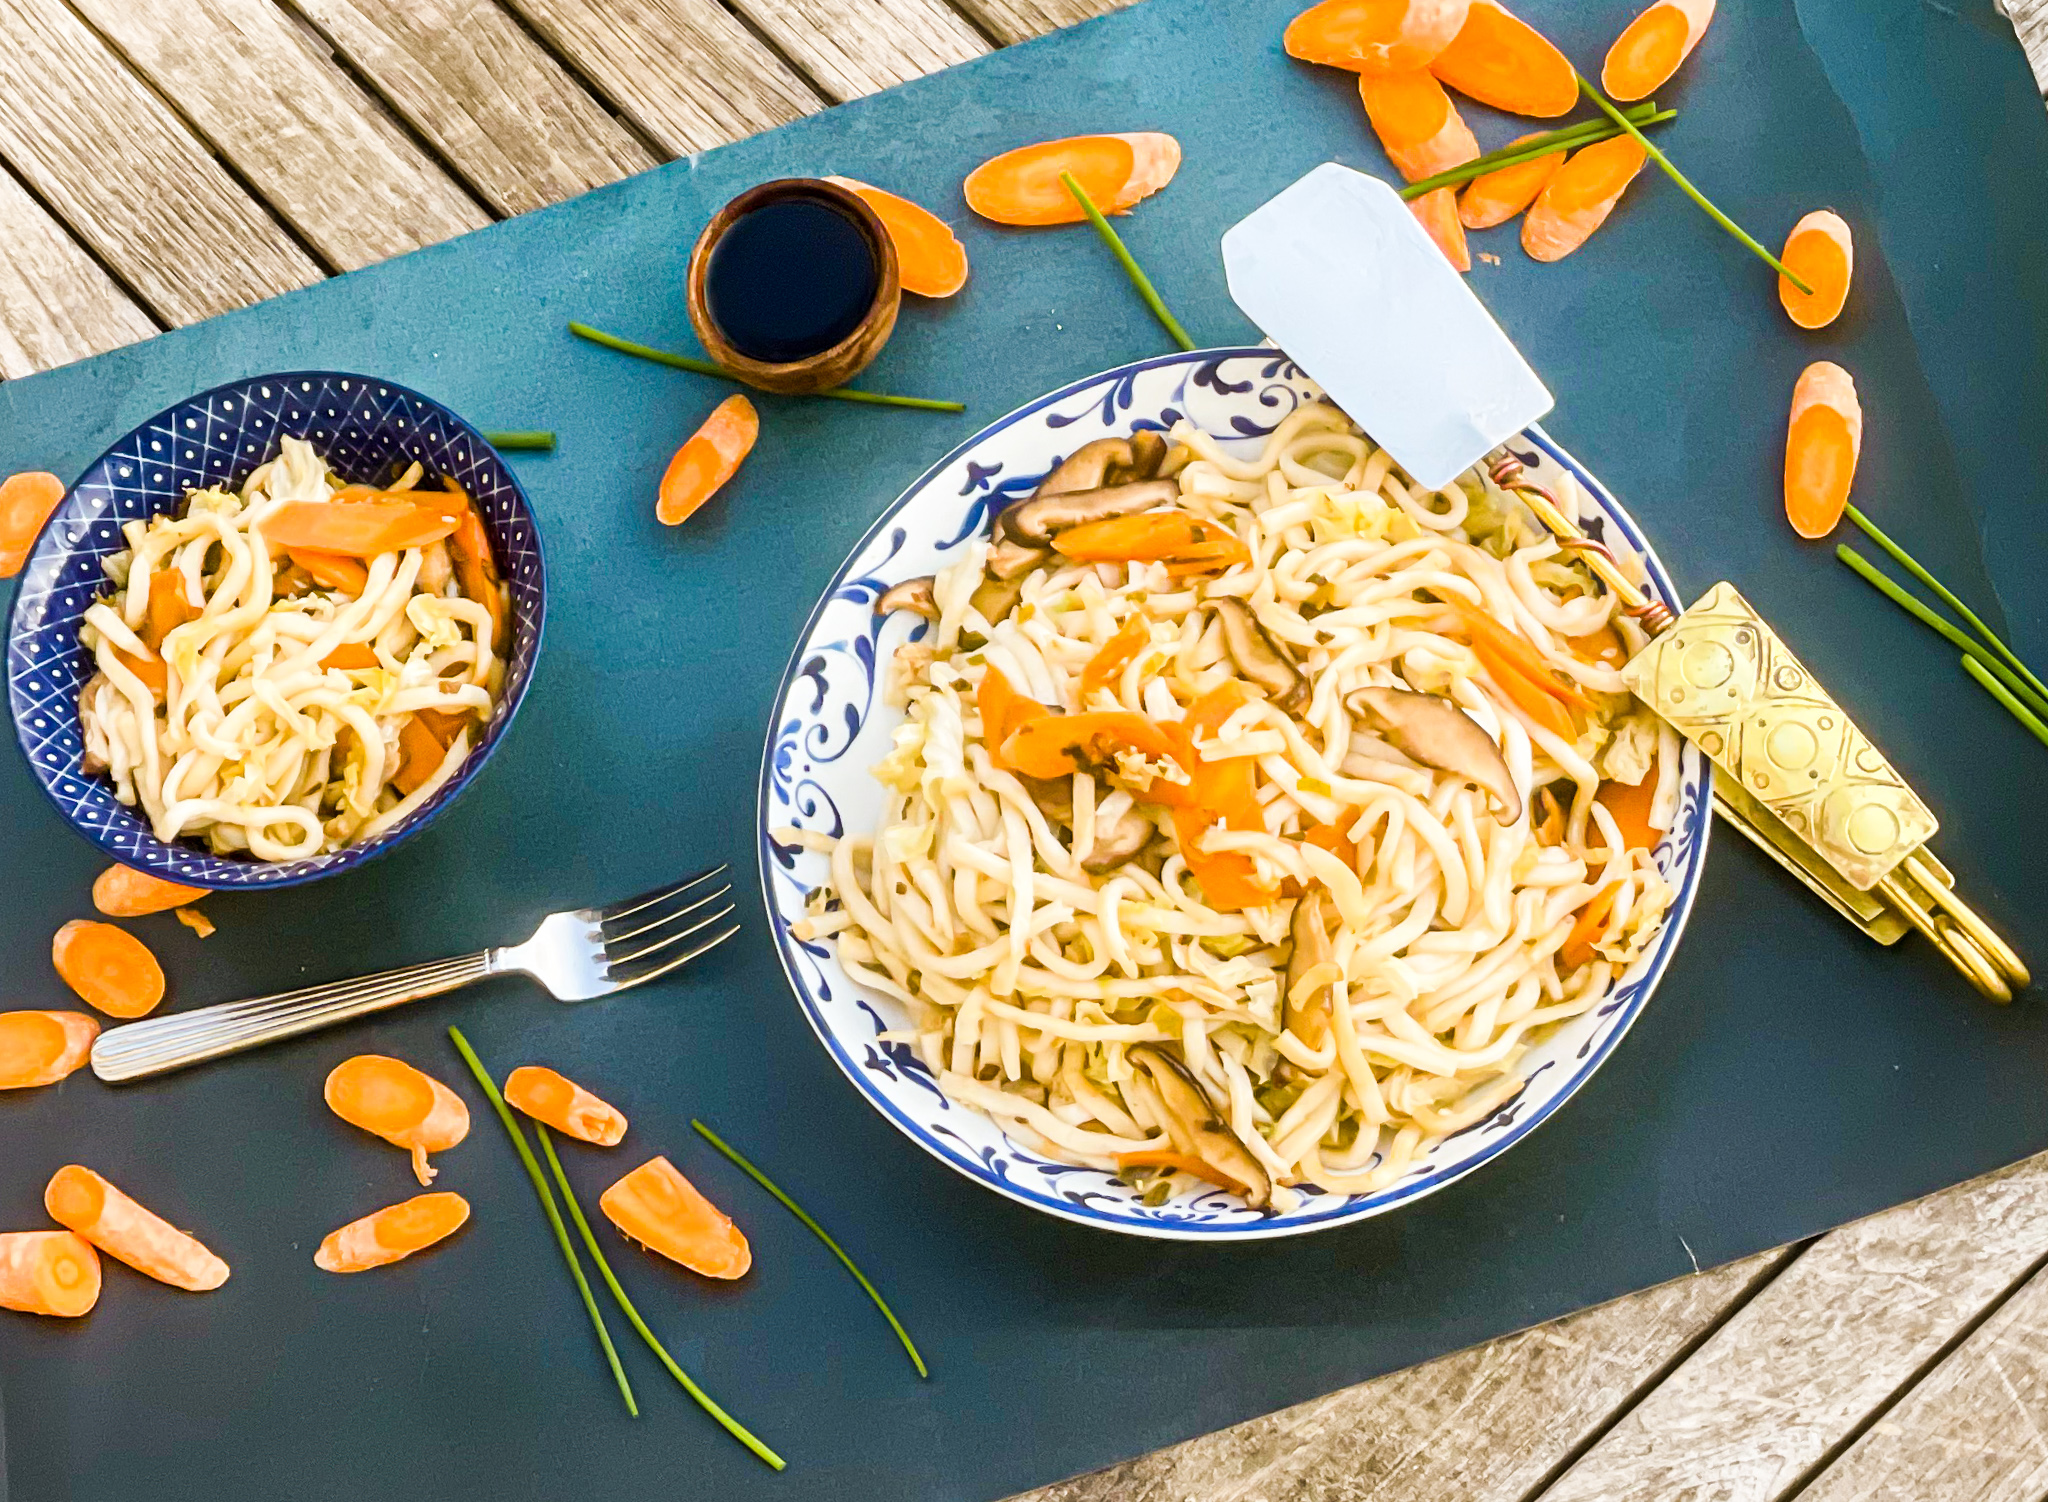
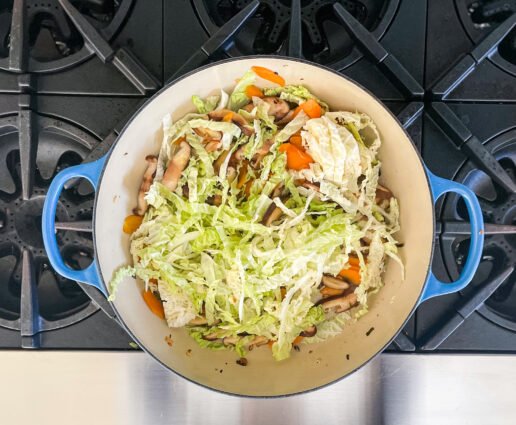
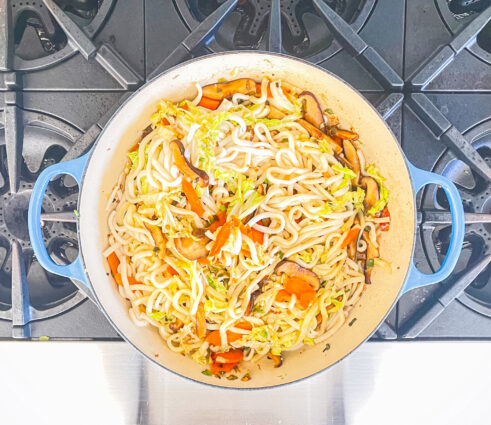
If you already have some of the items listed above, you can put them to use with this dish.  I’ve been favoring Asian-inspired dishes lately, since they are relatively easy to make and my picky family agrees that the flavors are delicious! This dish is jam packed with so much flavor. The two different oils blend perfectly together, while the scallions, garlic, and ginger make this a hearty, savory dish. The jalapeno adds just the right amount of heat for a cold evening. The cabbage and mushrooms add an additional depth of flavor and the peanuts are the perfect topping for these noodles. This versatile dish can be a side or main, depending on what you need. Do not miss making this one. 

This dish is courtesy of Anne Burrell, one of my favorite chefs, and will serve 4 people who will savor the gentle heat of this comforting dish.

Ingredients for Stir-Fry Noodles with Jalapenos and Peanuts:

1 pound fresh noodles
1 teaspoon sesame oil
1 teaspoon peanut oil
3 scallions, white and green parts separated and sliced on the bias 
2 cloves garlic, smashed and finely chopped
One 1-inch piece fresh ginger, peeled and finely grated 
1/2 jalapeno, seeded and cut into brunoise
2 medium carrots, julienned 
4 ounces shiitake mushrooms, stemmed and sliced
1 cup napa cabbage, chiffonade 
2 tablespoons soy sauce
2 tablespoons rice wine vinegar
1/4 cup peanuts, coarsely chopped

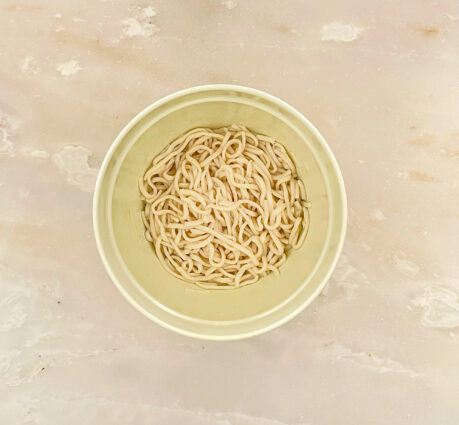
Bring a large pot of salted water to a boil.

Toss in the noodles, swishing them around with a pair of tongs so they don’t stick together, and cook until soft, 5 to 6 minutes.

Strain and immediately rinse with cold water, and then transfer to a bowl and toss with the sesame oil.

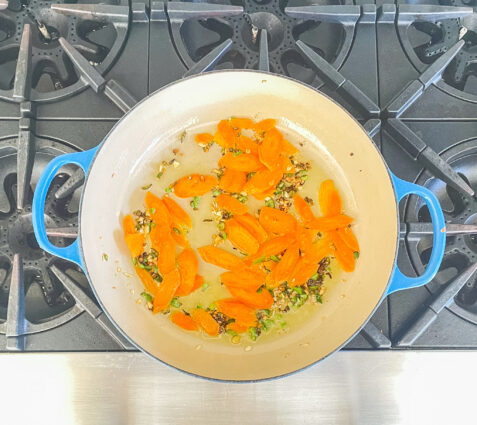
Coat a large straight-sided saute pan with the peanut oil and toss in the white scallions, the garlic, ginger and jalapenos.

Cook over medium heat, 1 to 2 minutes.

Toss in the carrots and cook until softened, about 2 minutes.

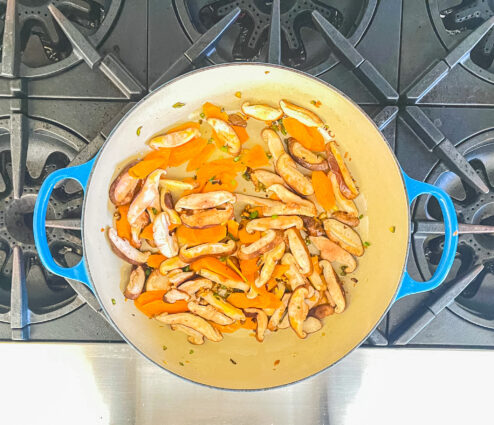
Toss in the mushrooms and cook until softened, 2 to 3 minutes.

Add cabbage and cook 1 minute longer.

Sprinkle in the green scallions.

Stir in the soy and rice wine vinegar.

Toss in the cooked noodles, stir to combine and cook until the noodles are hot and nicely coated.

Transfer to a serving dish and sprinkle with the peanuts.

It’s that simple!

signature

[recaptcha]


When I first began cooking, I learned by watching cooking shows (so many, too much to recall them all), and reading cookbooks. I would make many recipes over and over again, trying to get them absolutely perfect. During those years, I learned the importance of owning a very sharp knife, finely tuning my knife skills, and making a beautifully plated dish.

These skills proved to be well-worth the trouble when Thanksgiving rolled around. I was able to present pretty platters of food that my guests not only loved to look at… and to eat. Does a wonderful looking platter make the food taste better? Maybe, maybe not. I think it helps. The simple fact is that we first eat with our eyes. An artful presentation allows us to anticipate the flavors of the dish even before you take the first bite. 

First you must choose a plate or bowl that will make the food look appetizing. It takes practice to arrange the food so it looks better. I try to look for plates that will make the colors of the food pop. I use plates and shallow bowls that have a little bit of color, or a color that will contrast the colors of the food. If all else fails, use a white dish and you won’t go wrong. I usually use white platters and bowls or natural muted colors like pastel or blue or a muted charcoal. Bold, bright colors can compete with the food. 

After spending so much money on expensive dishes, I was always broken-hearted when they chipped or broke. I learned that lesson very early. Now, I purchase mine at Bed Bath and Beyond, Home Goods, or antique stores that have all shapes and sizes that are inexpensive so I don’t mind if they chip or beak. You can even try your local thrift shops!

Once you have your plate, your best bet is to arrange the food on the plate so the platter looks very full and plentiful. Using an overly large bowl for a small amount of food will make your food look skimpy. If the plate is too big, it will look lost. When you are placing the food on the platter, leave some room around the edges. If you are using a bowl, place the food so it is mounded in the center. 

The secrets of beautiful plating aren’t just for top chefs or stylists. The elegant plating of food can be so satisfying and appealing and it is part of your education as a cook. Knowing a few simple techniques can help you put together plates that look as wonderful as they taste. 

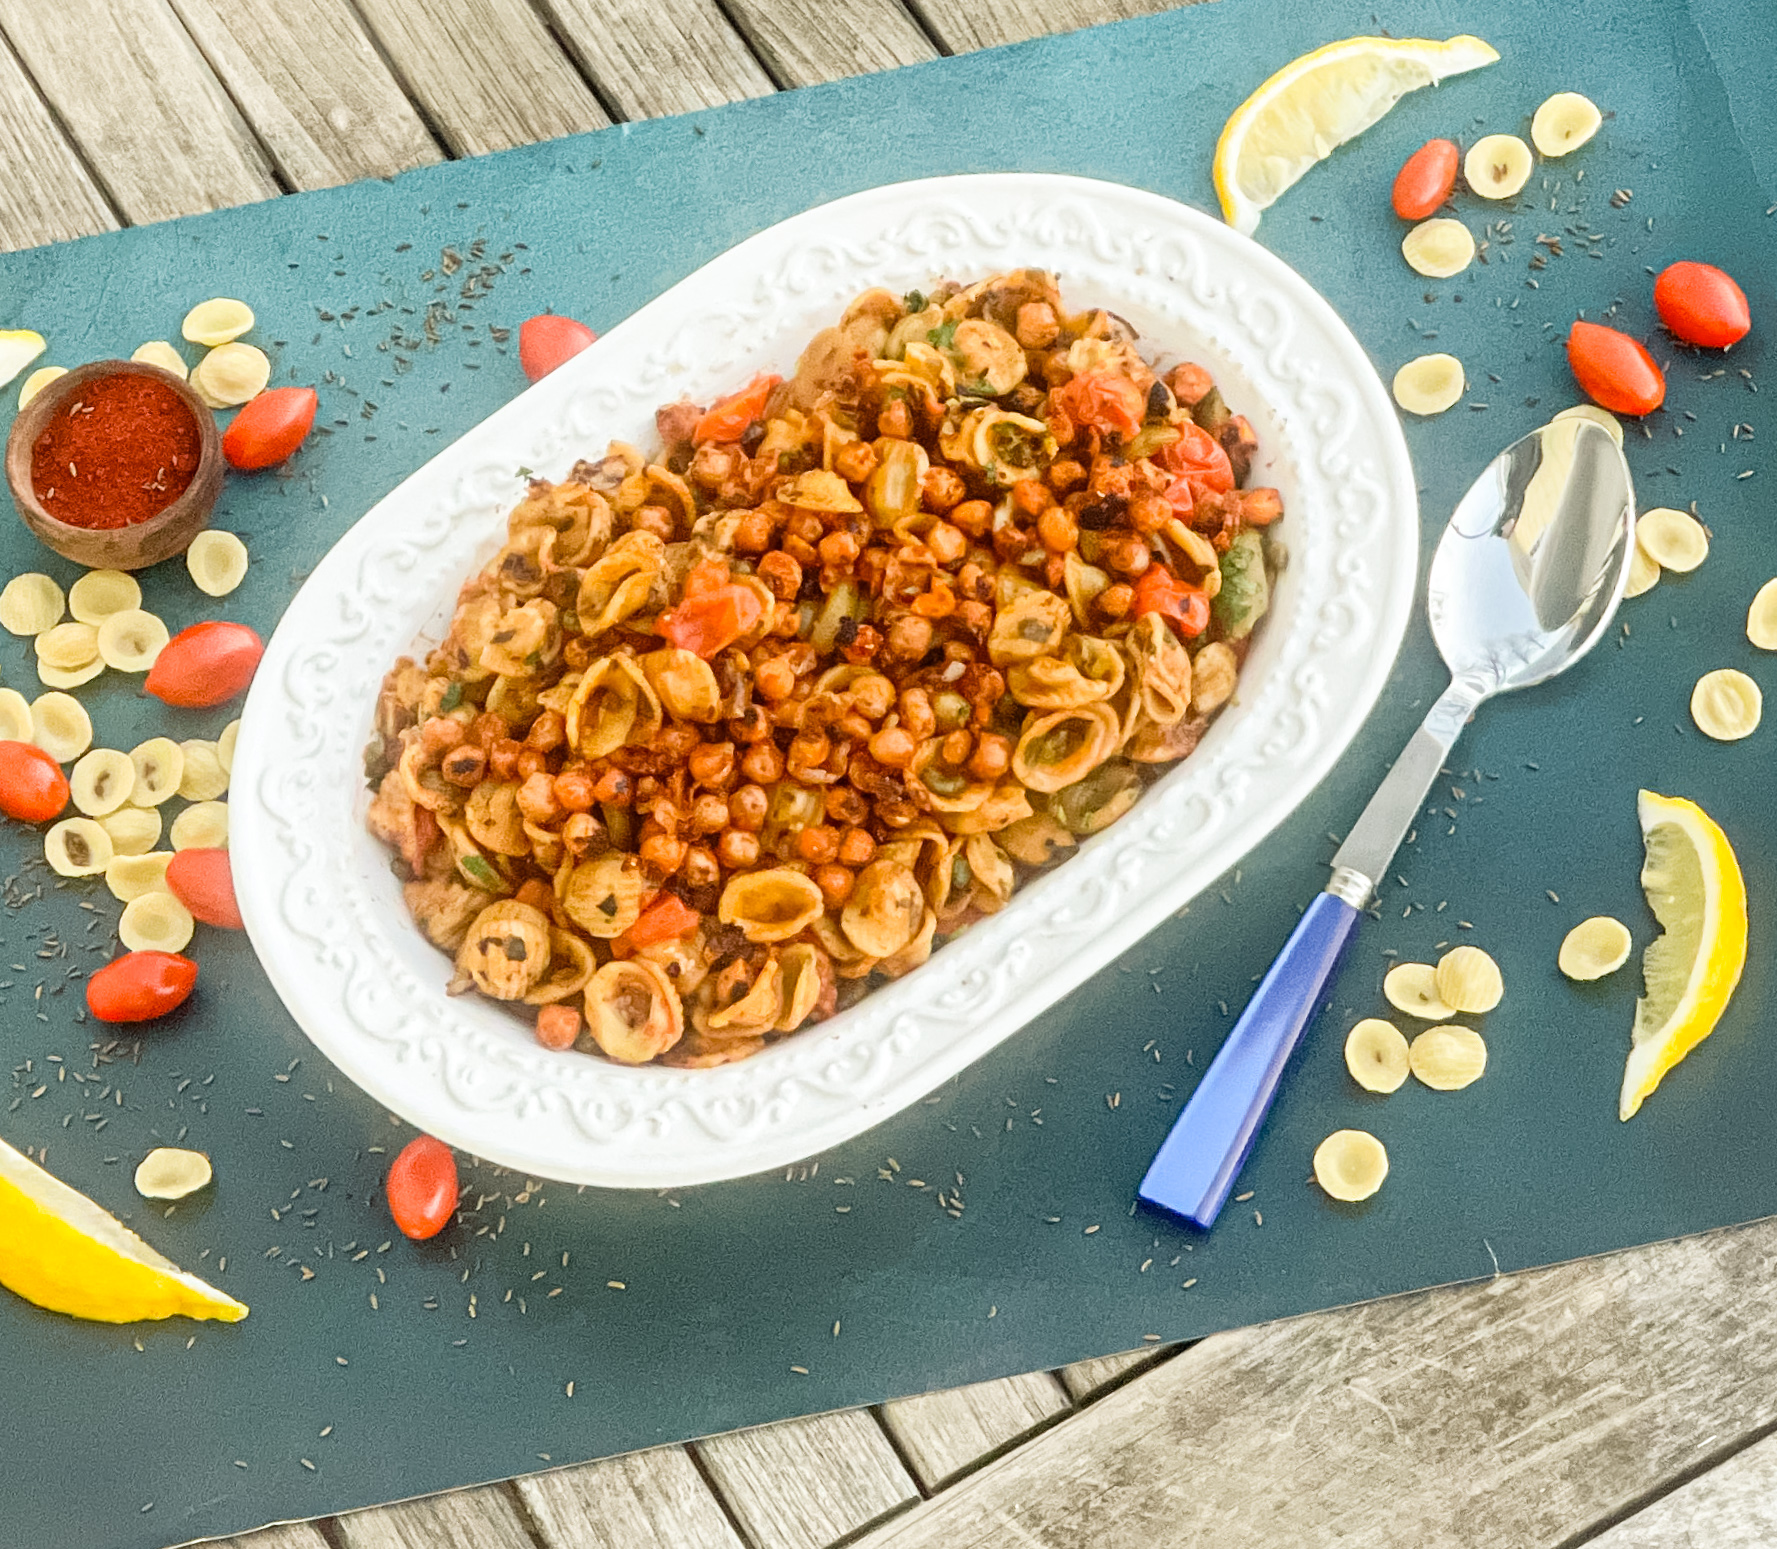
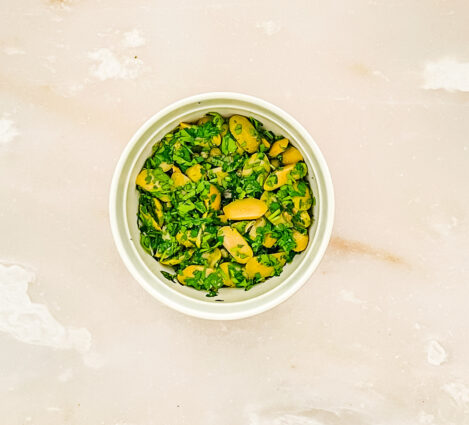
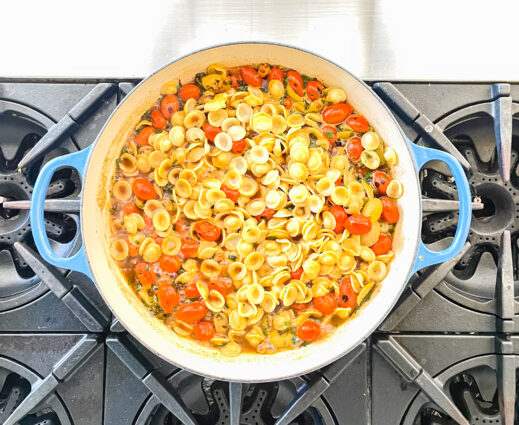
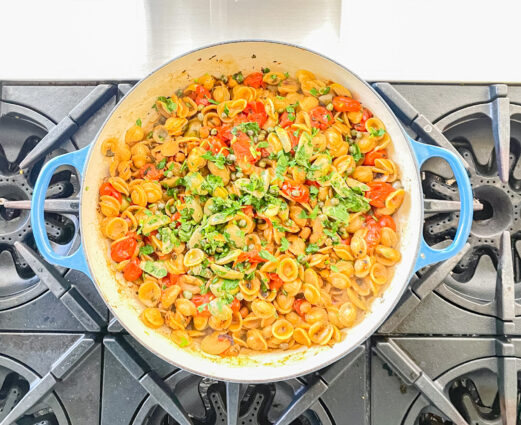
Give your skills a test with this dish! Ottolenghi takes this simple side dish to new levels. He is well known for finding obscure ingredients that make the food have that “mmm, so good’ taste. For this recipe, he just used simple ingredients that you have in your pantry and can easily make any time of the week. Between the smoked paprika, cumin, tomato paste, caraway seeds, and garlic, there is so much savory going on in this recipe. The chickpeas and olives combine beautifully to give this pasta a bold, flavorful taste. The tomatoes are tiny bursts of deliciousness, and the lemon adds lip puckering tang. The result is a bold, delightful side dish that is perfect for a family meal, or holiday dinner.

This recipe is courtesy of Yotam Ottolenghi and will serve 6 to 8 people who will adore this beautifully plated side dish.

Ingredients for Ottolenghi’s One-Pan Orecchiette Puttanesca:

5 tablespoons olive oil
6 garlic cloves, crushed
1 15-ounce can chickpeas, drained well and patted dry
2 teaspoons hot smoked paprika
2 teaspoons ground cumin
2 teaspoons tomato paste
2 cups parsley, roughly chopped
2 teaspoons lemon zest
3 tablespoons baby capers
¾ cup Nocellara olives (or other green olive), pitted and roughly chopped in half
9 ounces small, sweet cherry tomatoes
2 teaspoons superfine sugar
1½ teaspoons caraway seeds, lightly toasted and crushed
9 ounces dried orecchiette pasta
2 cups vegetable or chicken stock
¾ cup plus 2 tablespoons water
Salt and black pepper

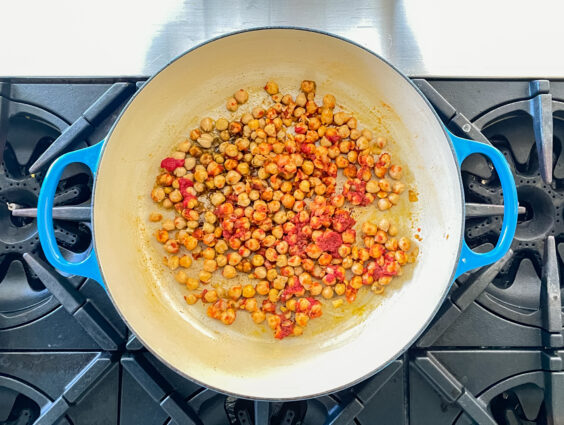
In a large sauté pan, for which you have a lid, combine 3 tablespoons of the olive oil, the garlic, chickpeas, paprika, cumin, tomato paste, and a half teaspoon salt and place on medium-high heat.

Fry for 12 minutes, uncovered, stirring every now and then, until the chickpeas are slightly crisp; you may need to decrease the heat if they start to color too much.

Remove one-third of the chickpeas and set aside.

In a small bowl, combine the parsley, lemon zest, capers and olives.

Add two-thirds of the parsley mixture to the sauté pan, along with the cherry tomatoes, sugar and caraway seeds, and cook for 2 minutes on medium-high heat, stirring often.

Add the pasta, stock, water and three-quarter teaspoon salt and bring to a simmer.

Decrease the heat to medium, cover and cook for 12 to 14 minutes or until the pasta is al dente.

Stir the remaining parsley mixture into the pan, drizzle with the remaining 2 tablespoons olive oil and garnish with the reserved fried chickpeas and a good grind of pepper.

Serve at once.

It’s that simple!


signature

[recaptcha]


We had a very mild winter last year. It wasn’t that cold, and we didn’t have much snow. I certainly didn’t mind, but I missed the snow days. For me, watching the snow fall, catching on the branches of the trees, and lighting up the landscape to a beautiful white, is a perfect day, especially when I have some freshly baked treats.

When I was younger, I remember wishing for snow days. Cancelling school meant going outside with my friends, building snowmen, and riding the sled down some steep hills near my home. They were happy days for me. I also remember having to shovel, which was definitely not fun. We had elderly neighbors on both sides of the house, so my parents insisted that I shovel our house and theirs too. My parents were very kind, and cared about others. They taught me a great lesson, which I have carried to this day and instilled in my own children. I hated having to be out there in the cold for so long, but I knew I was doing something good, and that inspired me to carry on.

As the years went by I went to college and lived on campus. The college was close to my home. My mother, being very old fashioned, did not believe girls should go far away to school. She wanted me to live at home and commute. I wanted to have more of an independent life. When I told her I wanted to move into the dorms, she was dead set against it. If I wanted to move in the dorms, I would have to get a job and pay for it myself. She thought this would deter me but it did not. I got a job, and moved into a small room in the dormitory. It was my first taste of being independent and I loved every minute of it.

But, being the youngest child (and the closest one to home as my parents got older), I felt responsible for them. My dad was much older than my mom and when it snowed, I would worry about him being out there shoveling the heavy snow for our house, and for the neighbors as well. So whenever I heard it was going to snow, I would sleep at home so I could be there to shovel for my dad. Those were the days when I truly dreaded the snow.

But now, I feel at peace when it snows. When my kids were growing up, after they were out sledding, I loved to make them hot chocolate, and a sweet treat to go with it. I loved seeing their little red faces light up with joy when they would come in to get their treats. Snow falling silently through the day and night gives me time to catch up with my thoughts and calm myself. Even during our most stressful moments, especially during this pandemic, the snow has the power to calm us down.

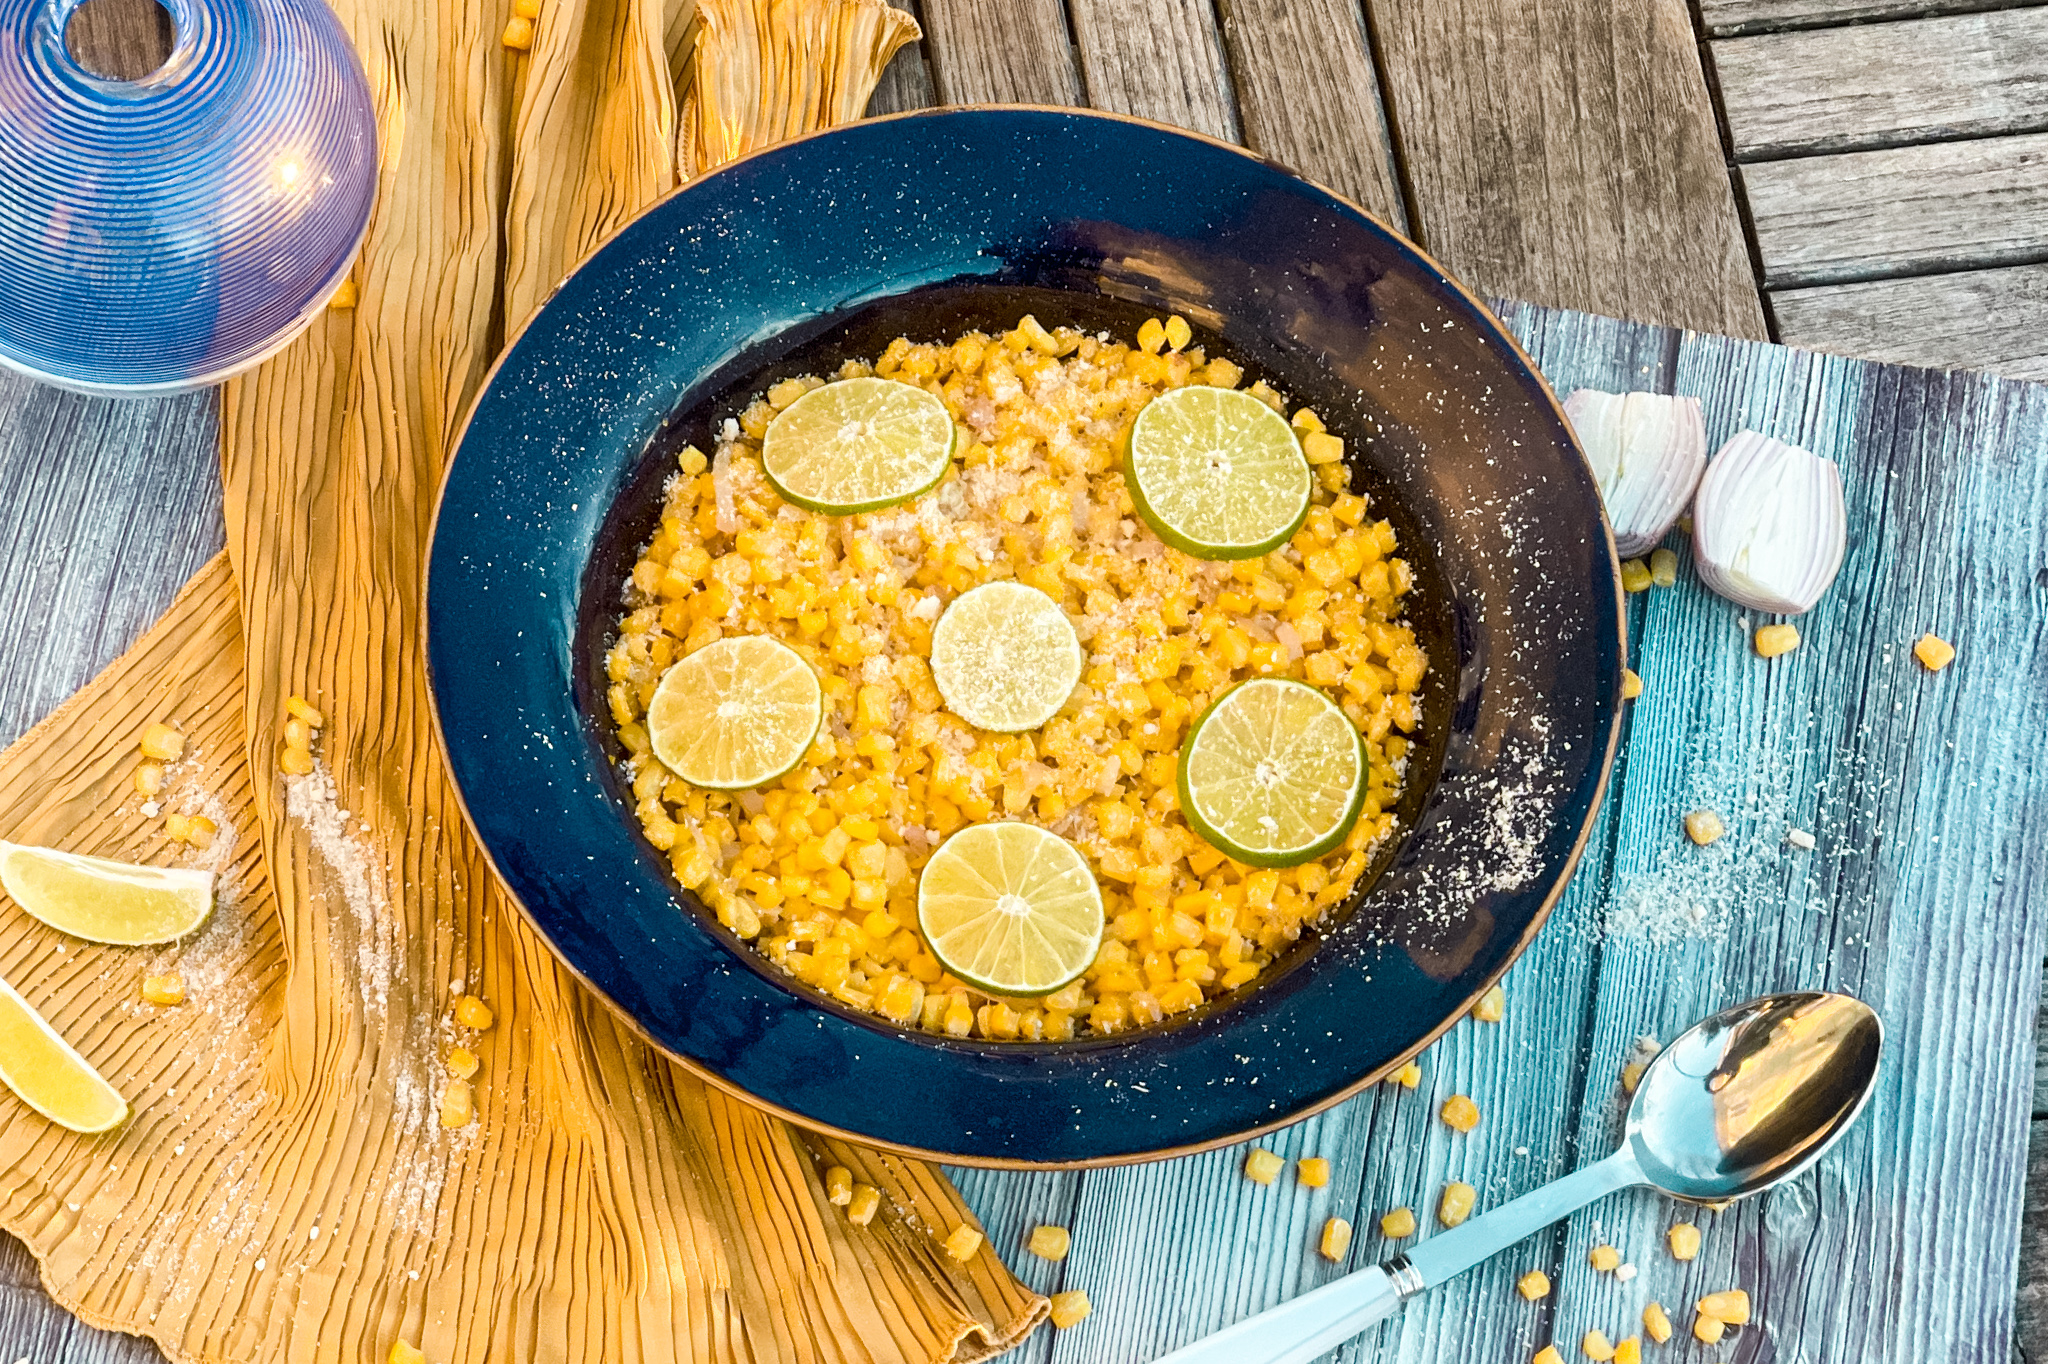
What to do when you are home on a snow day? There are tons of choices, but of course, I cook. Again, Ina Garten comes through for me. This is a side dish that she makes in the summer, when she gets fresh corn from the farmsteads near her home in the Hamptons. Now, I know this is not the season for corn, so I used frozen corn and believe me, it was still terrific. The sweet kernels are combined with savory shallots that adds even more deliciousness to this dish. The chili powder gives it a nice spicy kick. I also love the lime. The tangy flavor adds a whole new dimension and the creamy Parmesan makes this dish perfect for a cold, snowy day.

This recipe is courtesy of Ina Garten and will serve 6 to 8 people who will be thrilled to come in from the snow to this inviting dish.

Ingredients for Chipotle Parmesan Sweet Corn:

6 tablespoons (¾ stick) unsalted butter
1 cup shallots, halved lengthwise, peeled, and thinly sliced crosswise (3 shallots)
8 cups white or yellow corn kernels (8 to 12 ears)
¼ teaspoon chipotle chile powder
Kosher salt and freshly ground black pepper
2 tablespoons freshly squeezed lime juice
1 tablespoon freshly grated Italian Parmesan cheese

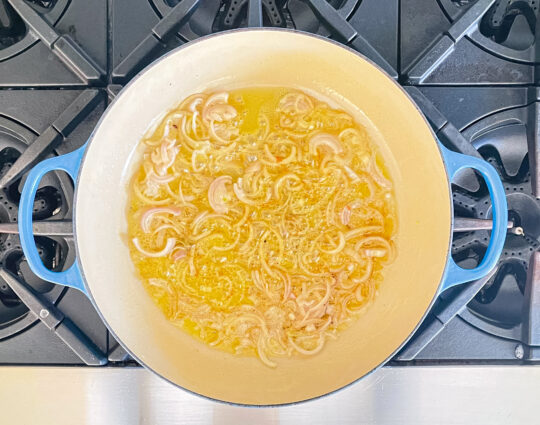
Heat the butter in a large (12-inch) sauté pan over medium heat, add the shallots, and cook for about 5 minutes, until tender and fragrant.

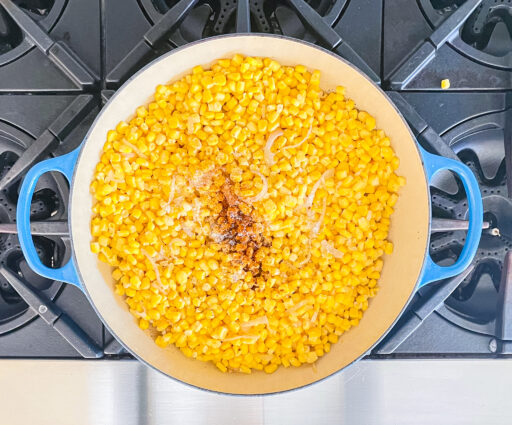
Add the corn, chipotle powder, 2 teaspoons salt, and 1 teaspoon pepper.

Raise the heat to medium high and cook for 10 to 12 minutes, stirring occasionally to allow the corn to brown lightly, until the corn is tender but still firm.

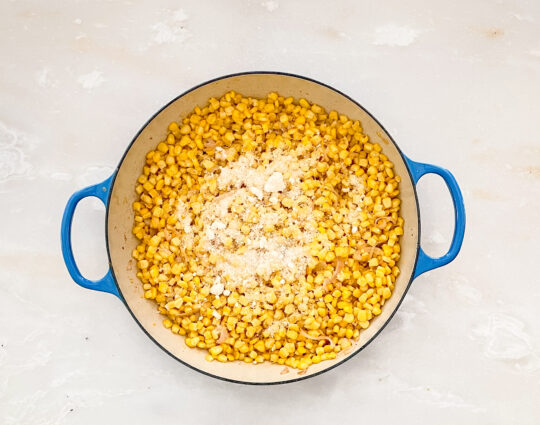
Off the heat, stir in the lime juice and Parmesan.

Taste for seasonings and transfer to a large shallow serving bowl.

Serve hot.

It’s that simple!
signature

[recaptcha]


If I were to ask readers of a certain age what their least favorite childhood food was, I would probably hear a resounding chorus of “brussels sprouts.”  To most people, Brussels sprouts are just not appealing. There’s definitely some leftover feelings from childhood: When Mom cooked them, they looked mushy and so unappealing, and just plain gross.

Even now, there are so many people who chose to avoid them, remembering them from their childhood.  And that’s totally fair!  But for some of us, Brussels sprouts are no longer the food our mothers tried to force us to eat. We have found that as we get older, our taste buds changed, and those mushy veggies are actually delicious! 

If you are not a lover, maybe you can try just one more time. Brussels sprouts are not only full of wonderful flavor, they have so many health benefits that might change your mind. According to Groovy Green Living here are quite a few reasons to give them another shot:

Brussels sprouts lower your cholesterol. Steaming them allows their fiber to bind to bile acids in your digestive system more effectively, which allows those bile acids to exit the body as waste.

They boost your immune system. They are filled with vitamins C, E, and A. They also contain manganese, a mineral that promotes a healthy immune system. The vitamin C in one serving of Brussels sprouts is 50 percent of what men need each day, and about 65 percent of what women need on a daily basis.

They promote good bone health: they are high in vitamin K which helps with bone health and prevents calcification of the body’s tissues.

Brussels sprouts help with eye health. They contain vitamin A, which is good for the proper functioning of the retina. It also helps prevent night blindness by helping the eye to adapt between bright light and darkness, helps reduce the risk of age-related macular degeneration and the forming of cataract

These pretty green veggies are good for your heart. They contain a compound called isothiocyanate sulforaphane, which aides in preventing inflammation in our cardiovascular system and can also prevent (and possibly reverse) blood vessel damage. 

They prevent high blood pressure. They are filled with potassium, which helps lower blood pressure and maybe even cholesterol.

With all this in mind, brussels sprouts really have gotten a bad rap. Like I said, I get it.  I really do.  It’s time to put your big kid pants on and give them another try.  Come on, they are extremely healthy and really delicious when they are prepared properly. Try this recipe and I promise, you’ll be surprised.

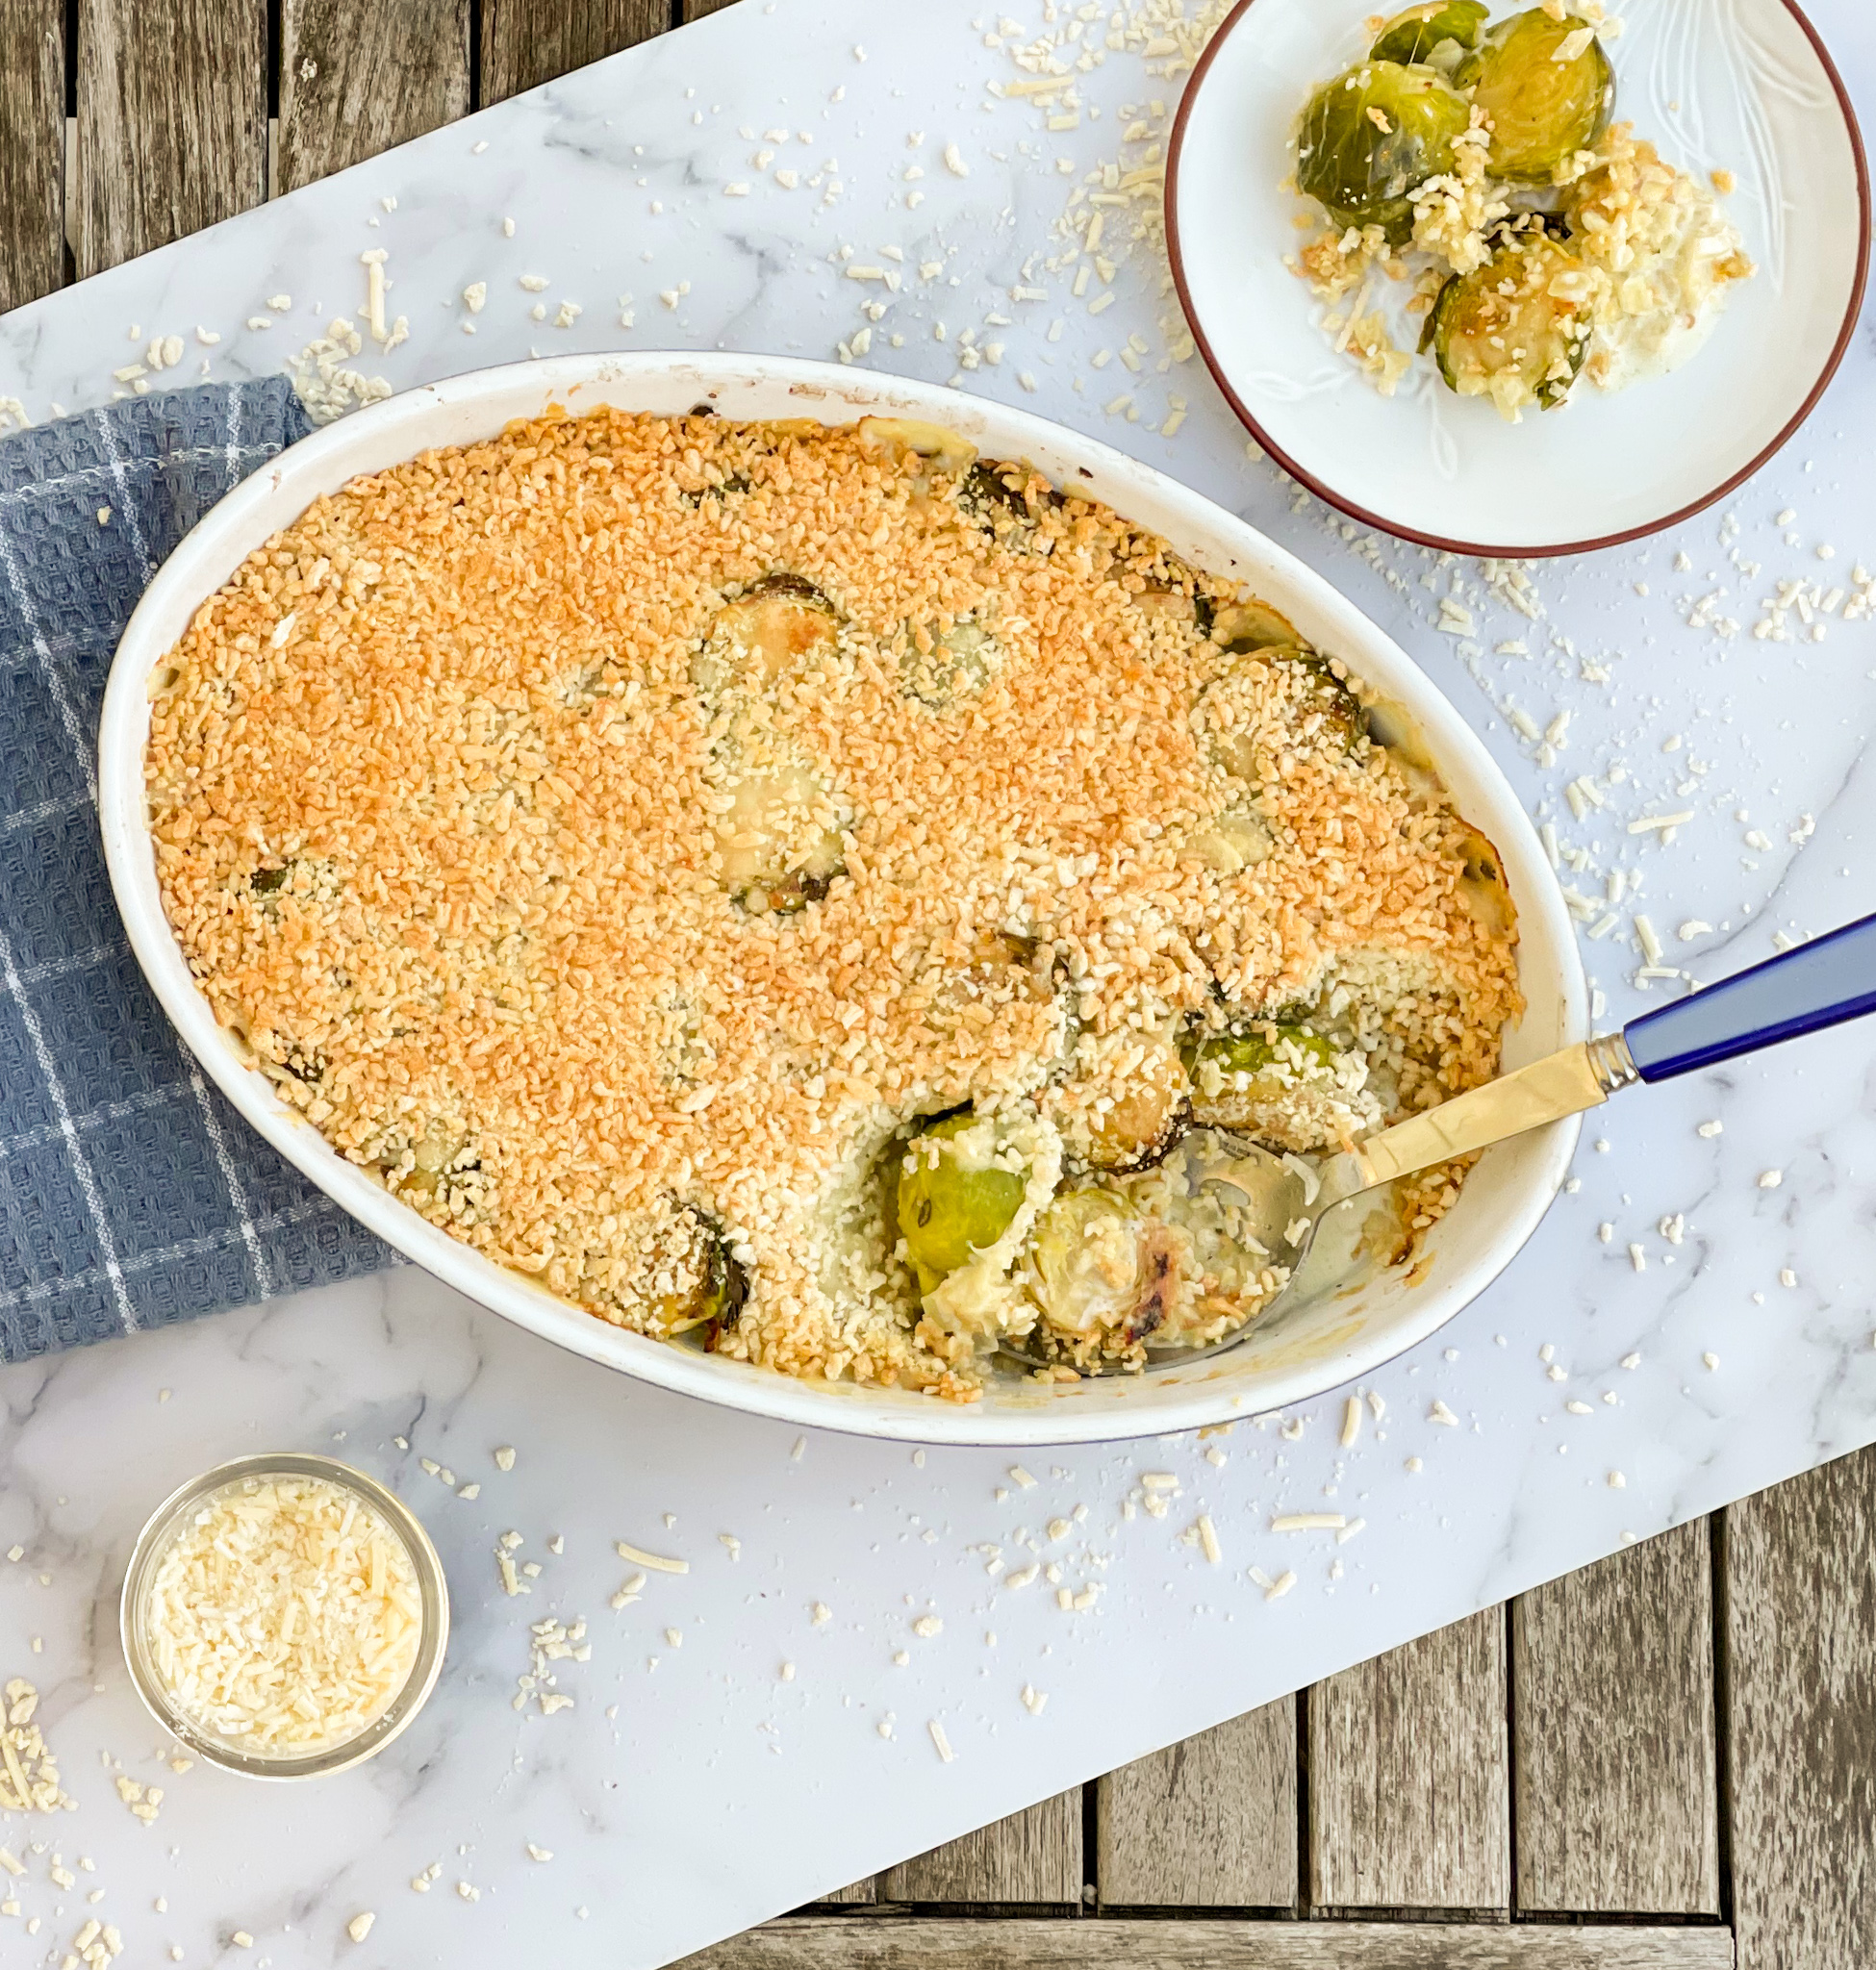
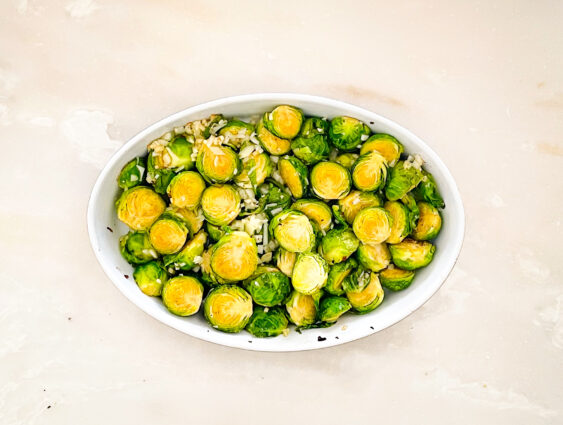
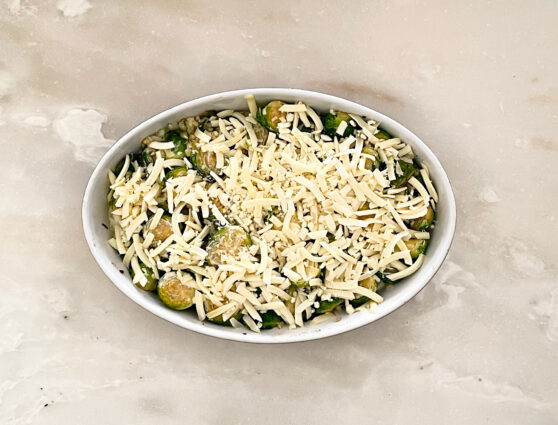
This beautiful green vegetable is combined with shallots and garlic, giving them a nice boost of delectable flavor. Brussels sprouts alone don’t have much of a taste, so it’s up to the additional ingredients on this one.  The sprouts are then cooked in a creamy sauce and topped with breadcrumbs that add nice texture and crunch. The Gruyere gives it gooey cheesy goodness that takes this gratin to Brussels sprouts perfection. Mushy? That’s all in the past. This recipe is simply delicious.

This recipe is courtesy of Alison Roman and will serve 6 people who will be amazed at the radical transformation of this powerful little vegetable.

Ingredients for Brussels Sprouts Gratin:

1 1/2 lbs. Brussels sprouts, ends trimmed and halved lengthwise
2 large shallots, peeled and quartered lengthwise
2 cloves garlic, peeled and thinly sliced
5 Tbsp. olive oil
Kosher salt and black pepper
1 1/2 cups coarse breadcrumbs or panko
3/4 cup heavy cream
1 cup grated Gruyere (about 3 ounces

Heat oven to 425 degrees.

Toss together Brussels sprouts, shallots, garlic and 2 tablespoons olive oil in a 9-by-13-inch baking dish.

Season with salt and pepper and roast, tossing occasionally until sprouts are bright green and just tender (think al dente), 12 to 15 minutes.

Meanwhile, combine breadcrumbs with remaining 3 tablespoons olive oil and season with salt and pepper.

Set aside.

Pour cream and scatter Gruyere over sprouts and toss to coat.

Continue to roast until cream is reduced by about half and sprouts are beginning to brown, another 12 to 15 minutes.

Scatter breadcrumbs over sprouts and return to oven until golden brown and crisp, 5 to 8 minutes.

Let sit 1 to 2 minutes at room temperature before serving.

It’s that simple!
signature

[recaptcha]