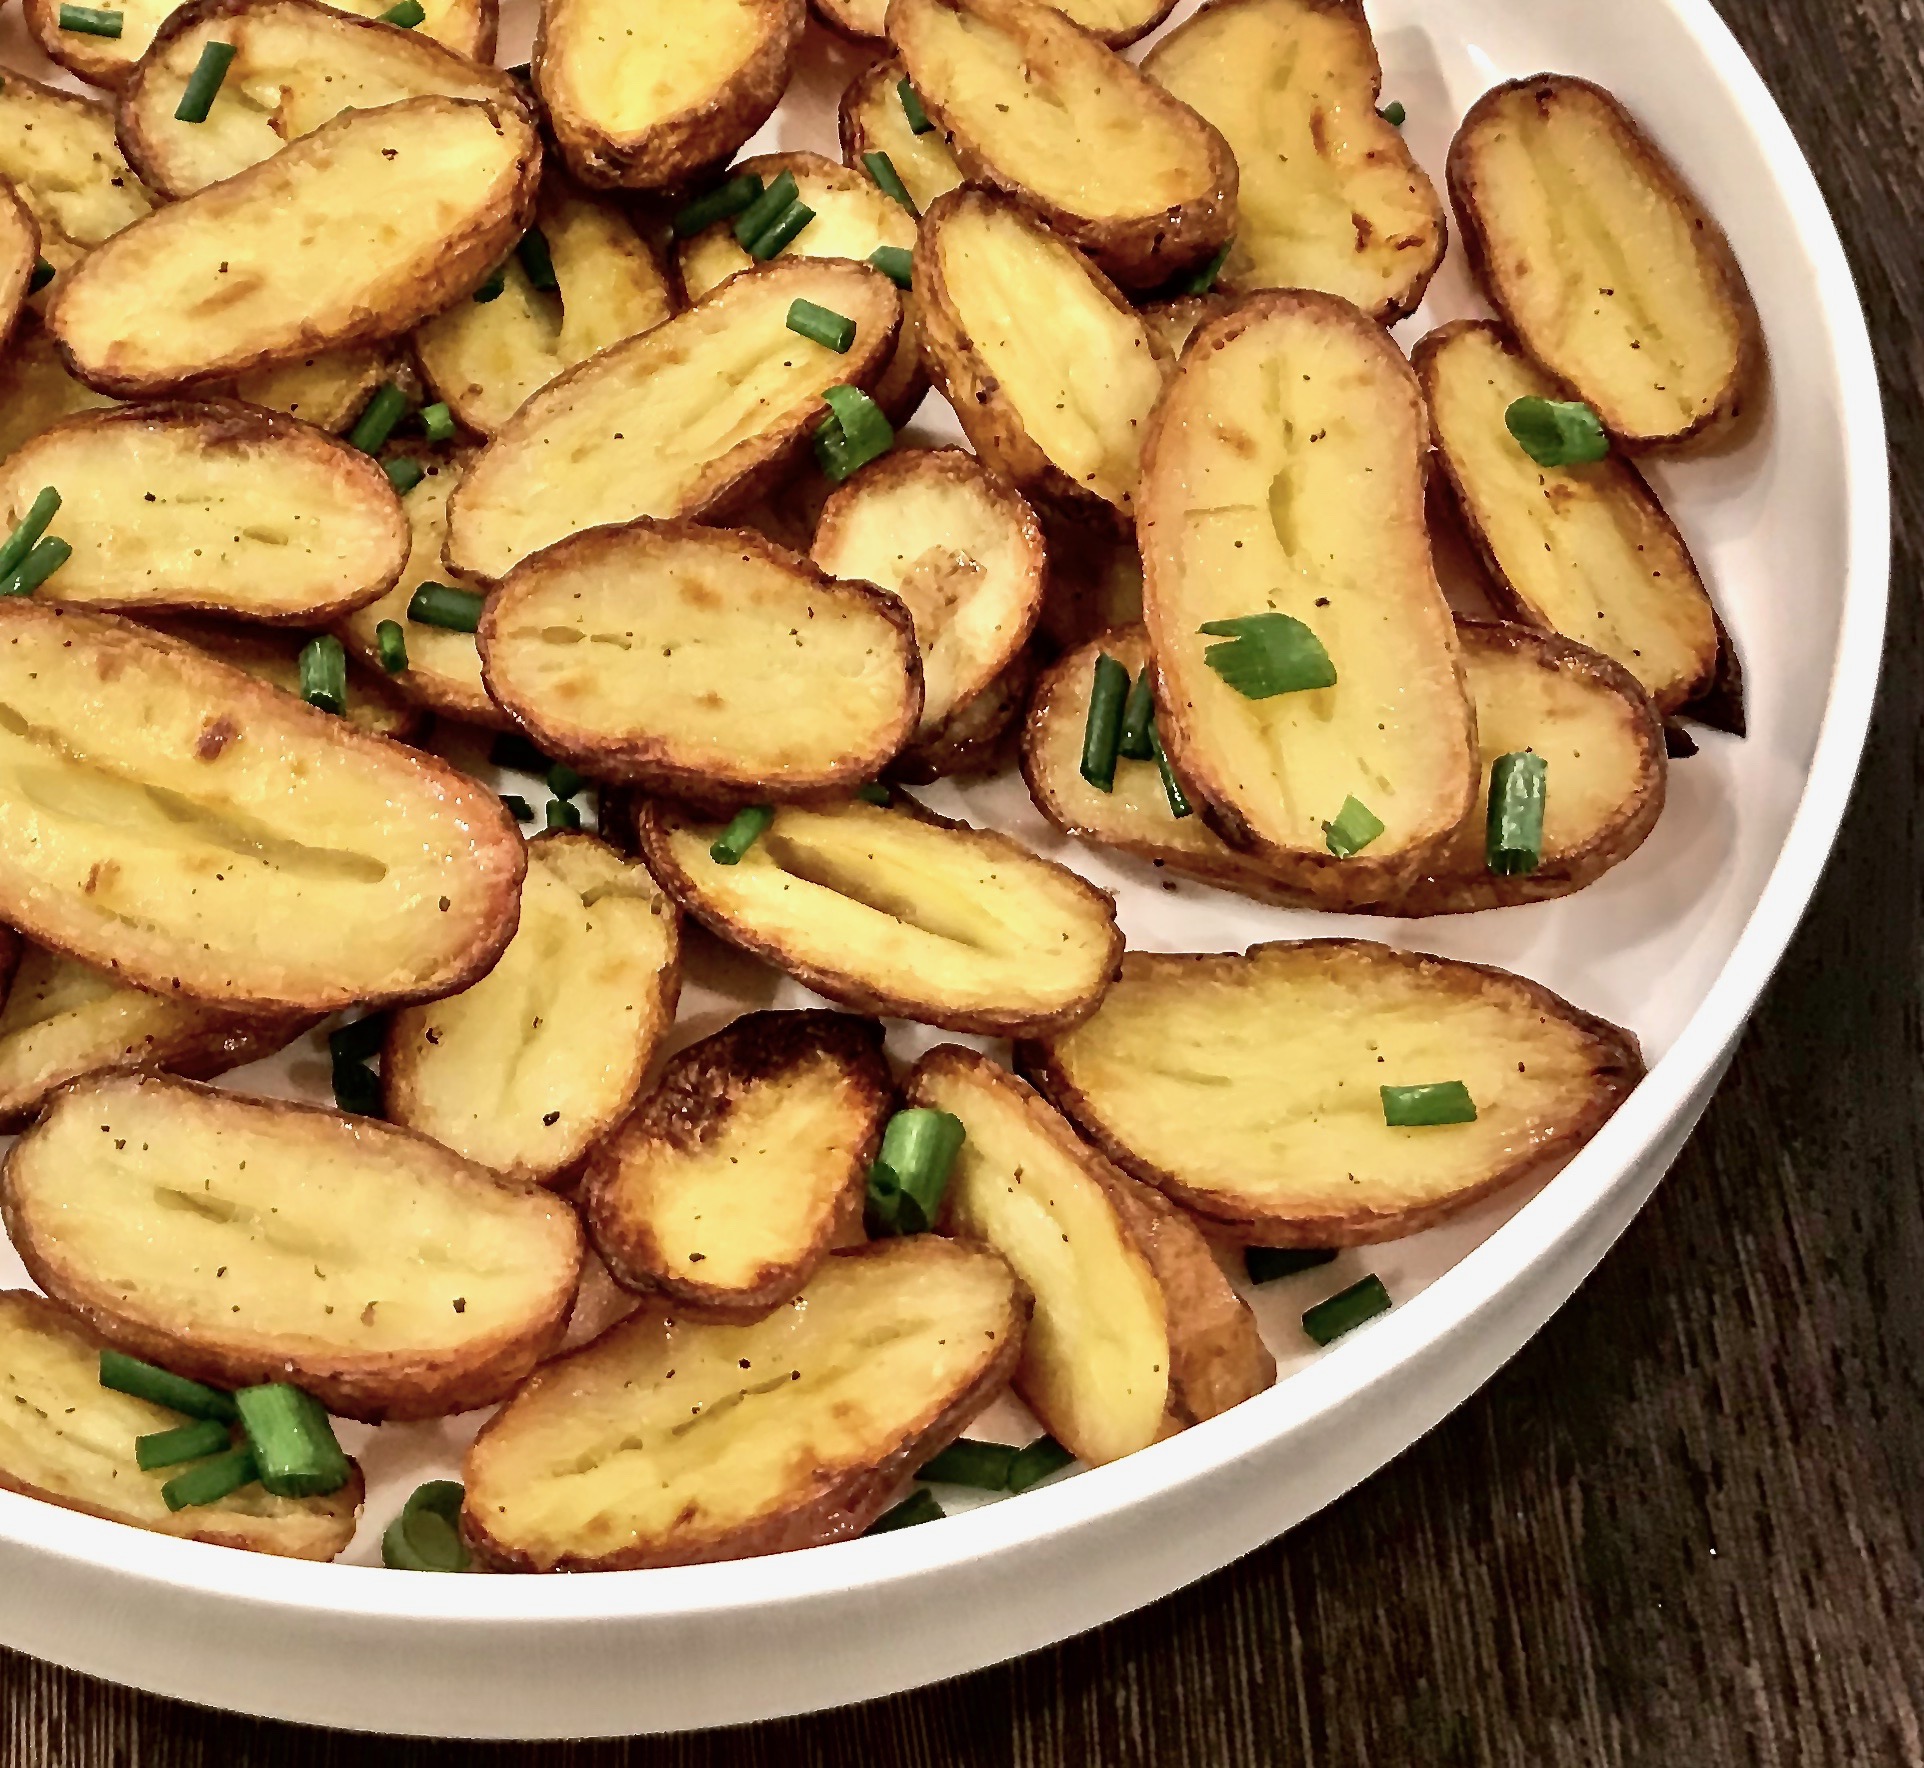
I am addicted to salt and vinegar potato chips, so when I found a recipe for baked potatoes with salt and vinegar, I knew it would be a winner.

And as I expected, it was. The potatoes absorbed the salt and vinegar during the boiling process, and turned deliciously crispy after they were baked and broiled. Some advice: when you turn your oven to “broil”, you must check the potatoes every 1-2 minutes to prevent them from burning. Take them out of the oven when they reach your desired level of brown.

I will be making these delectable potatoes again and again. They were so sinfully good.

This recipe is adapted from Bon Appetit, and will serve 4 people who will become serious salt and vinegar potato addicts.

Ingredients for Crispy Salt-and-Vinegar Potatoes

2 pounds baby Yukon Gold or Fingerling Potatoes, halved
1 cup plus 2 tbsp. distilled white vinegar
2 tbsp. kosher salt plus 1/2 tsp. set aside
1/2 tsp. freshly ground black pepper
2 tbsp. (good) olive oil
2 tbsp. chopped fresh chives
Flaky sea salt, (such as Maldon)

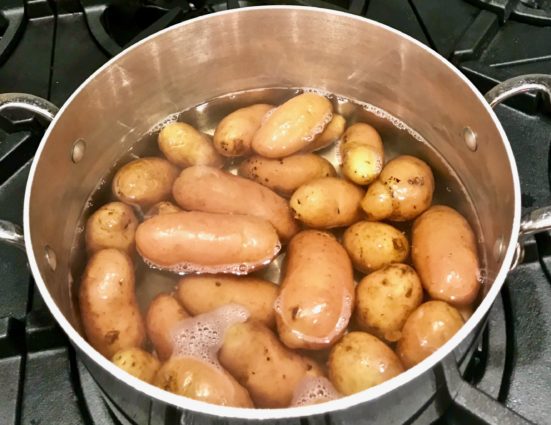
Add the halved potatoes, 2 tablespoons kosher salt, and 1 cup vinegar to a large pot. 

Add enough water to cover potatoes by 1 inch and bring to a boil. Boil for 25 to 30 minutes or until fork-tender.
Preheat oven to 425.

Drain potatoes.

Pat them dry with paper towels.

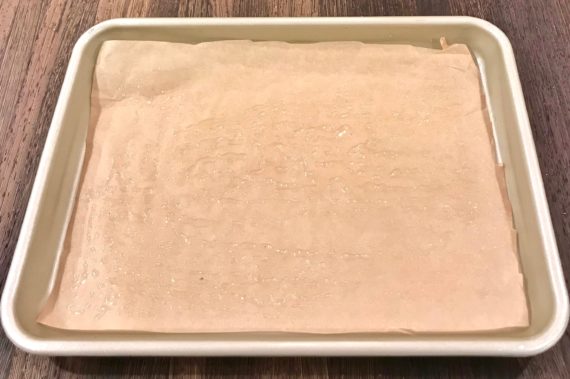
Line a baking sheet with parchment paper.
Mix the potatoes with olive oil, 1/2 teaspoon of salt and pepper and remaining 2 tbsp. vinegar until generously coated.

Evenly spread the potatoes into the prepared baking sheet.
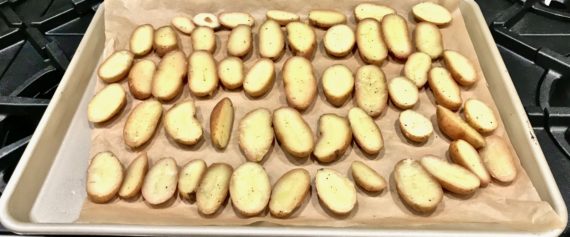
Bake for 25 minutes.

After 25 minutes, broil the potatoes until they are crispy, checking every 1-2 minutes to ensure that they do not burn. 

Allow them to brown to your liking—-this may take anywhere from 5 to 10 minutes. 

Once they are crispy, remove them from the oven.

Season with additional salt to taste.

Sprinkle with chives.

It’s that simple!

signature

[recaptcha]


This recipe is a perfect addition to a weeknight meal if you are short on time and need to get dinner on the table quickly.

I am always looking for new ways to prepare vegetables and I think I found it in this dish.

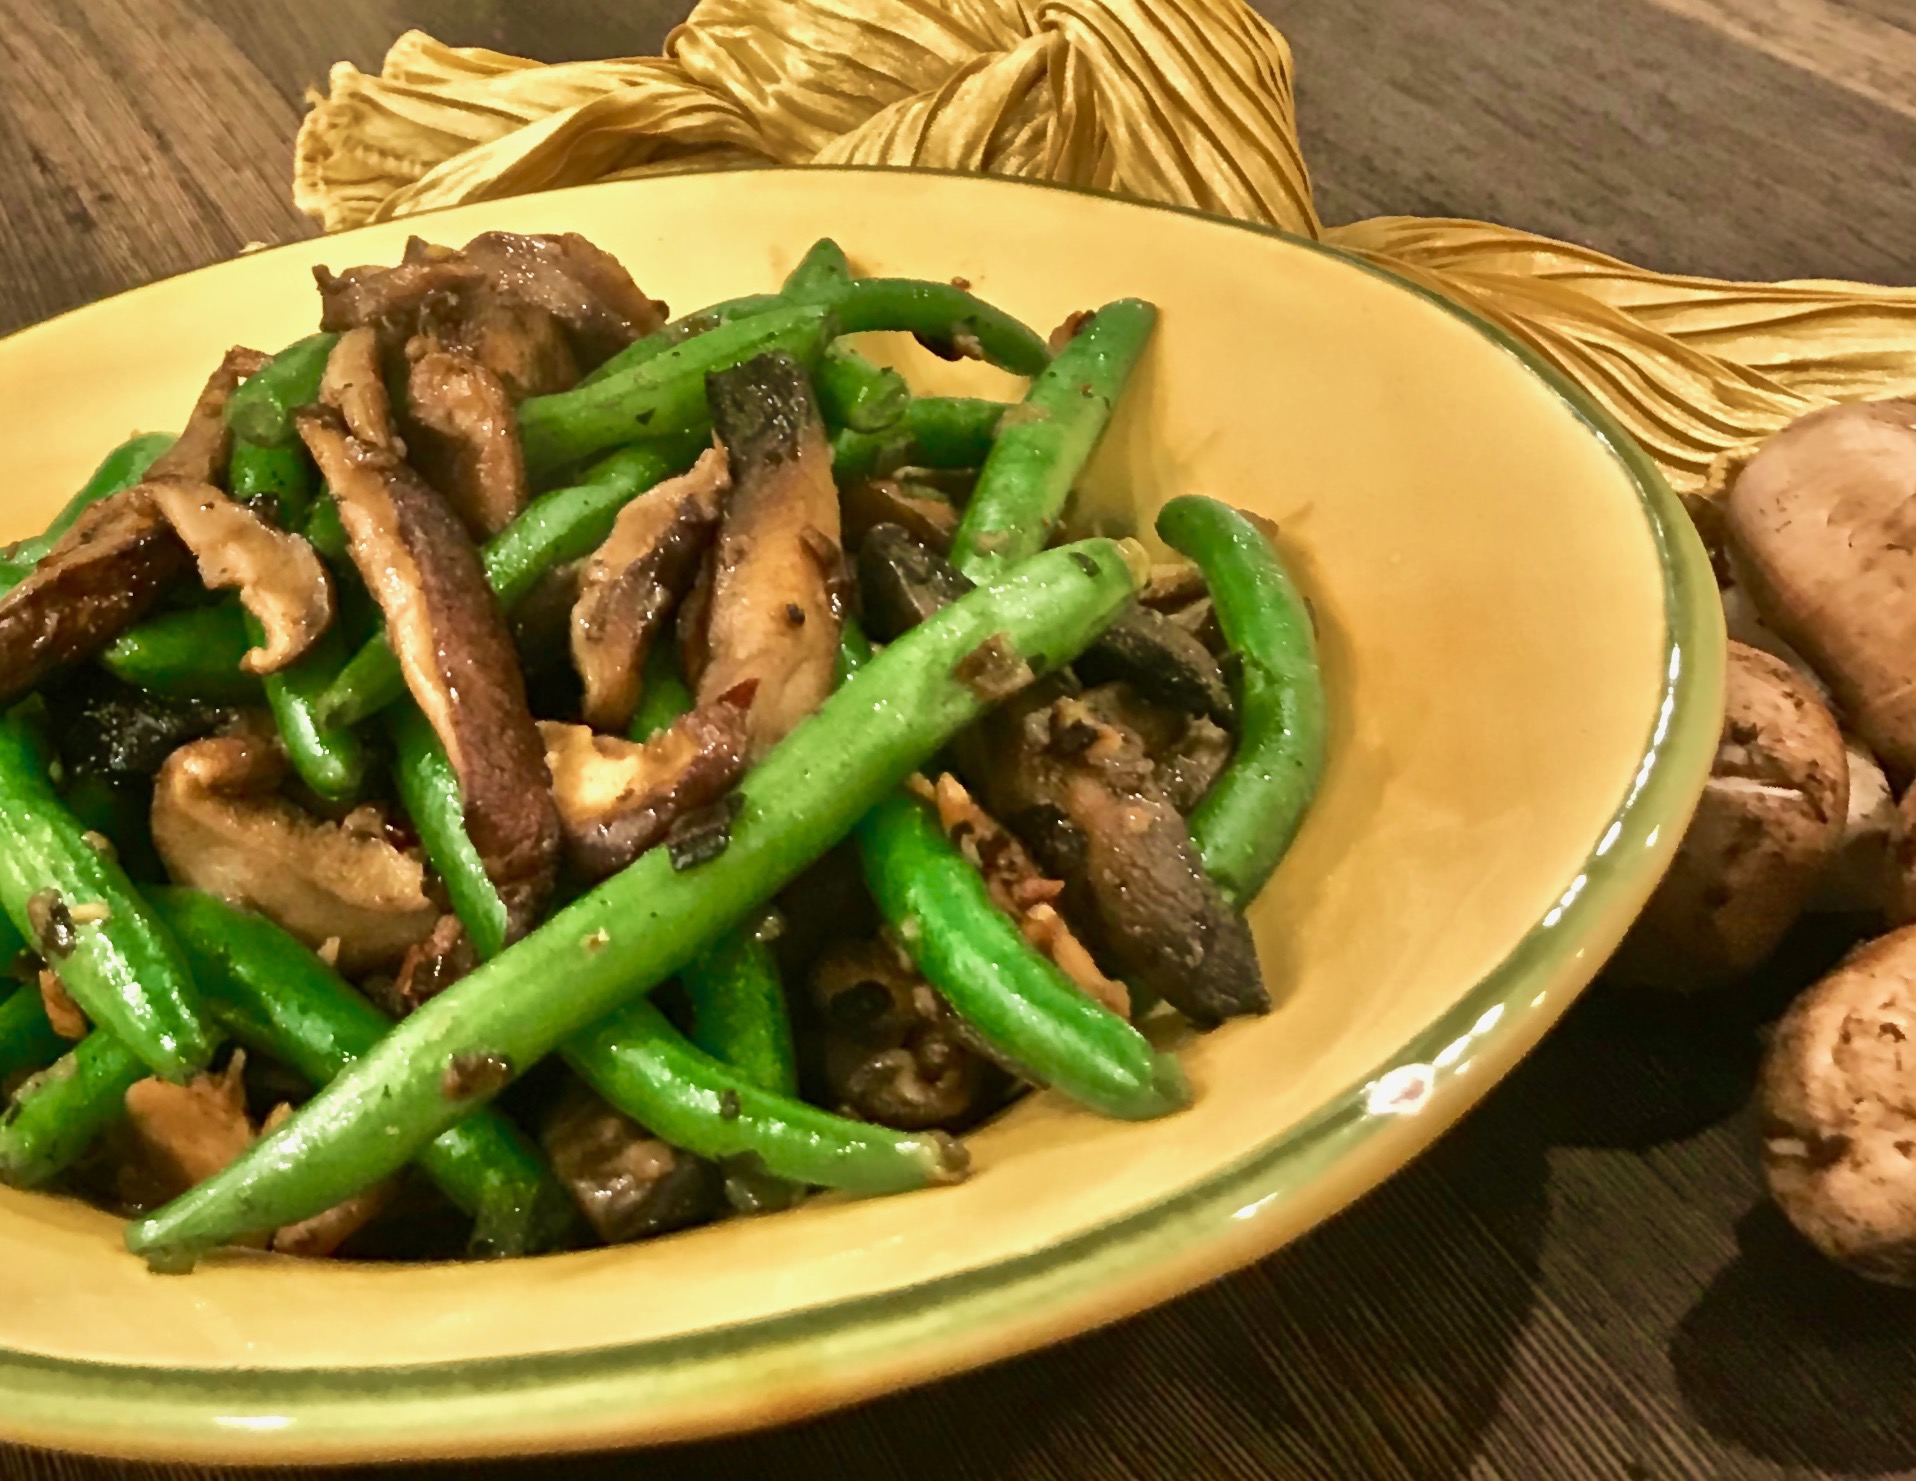
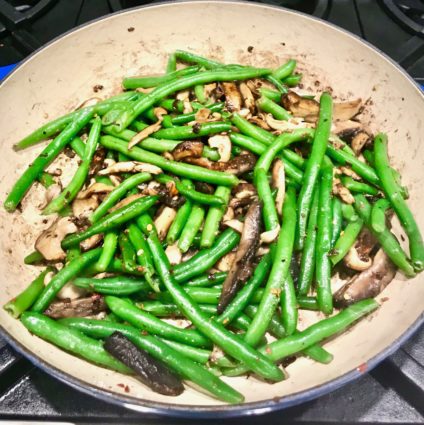
The brown butter in this recipe is what makes the beans so delicious. Both the butter and the mushrooms caramelize to a light brown color, which enhances the flavor of the dish. It tastes like you have been preparing it much longer than you really have. The shallots, garlic and crushed red pepper flakes give it nice “bite”, while the lemon gives it a bit of “tang”. All the flavors in this dish complement each other, making every bite an enticing, savory, mouthful of goodness.

This recipe is a “one-pot” dish that is wonderful and easy to throw together. It will serve 4 people who will enjoy eating these luscious, delightful vegetables.

Ingredients for Green Beans with Browned Butter and Mushrooms

1 pound fresh green beans
1/3 cup shallots, chopped
3/4 pounds assorted fresh mushrooms, sliced
2 cloves garlic, chopped
3 tbsp. butter
Juice of 1/2 lemon
1/4 -1/2 tsp. crushed red pepper flakes
1 tsp. kosher salt
1/2 tsp. freshly ground black pepper

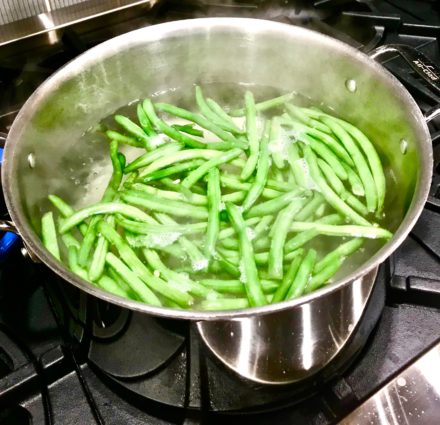
Bring a large pot of water over high heat to a boil on stove.

Place green beans in boiling water, turn heat to medium-high, and let them cook for 3-4 minutes, until they turn bright green.

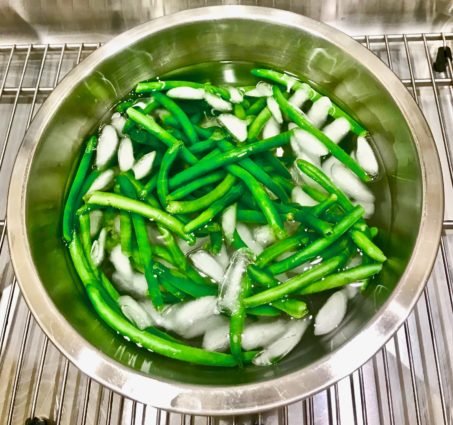
Prepare a bowl of ice water.

Drain the beans, and immediately place in ice water to stop the cooking process.

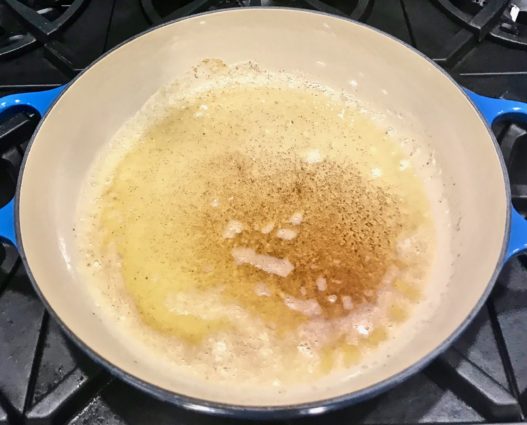
Melt the butter over medium-high heat in a sauce pan on the stove. 

Continue to cook butter until it begins to turn a light, caramel brown.

Add the shallots and cook, stirring occasionally until softened, about 3 minutes.

Toss in the garlic and cook for 1 more minute.

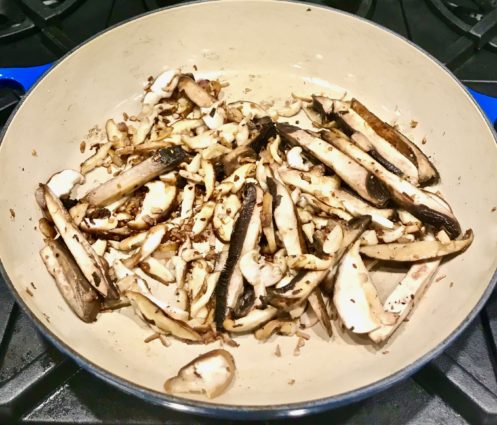
Add in the mushrooms and cook, stirring occasionally, until the water they release has evaporated, and they begin to brown, about 10 minutes.

Stir in the lemon juice, crushed red pepper flakes, salt and pepper.

Toss in the green beans and stir to combine until they rewarm.

It’s that simple!

signature

[recaptcha]


Although the title of this recipe may sound unappealing, the combination of bananas and chocolate chips make this bread truly delicious.

The author suggests that you let the bananas get so ripe that “you can smell them the minute you walk through the door”.  I did not wait quite that long, and the banana bread was still delicious.

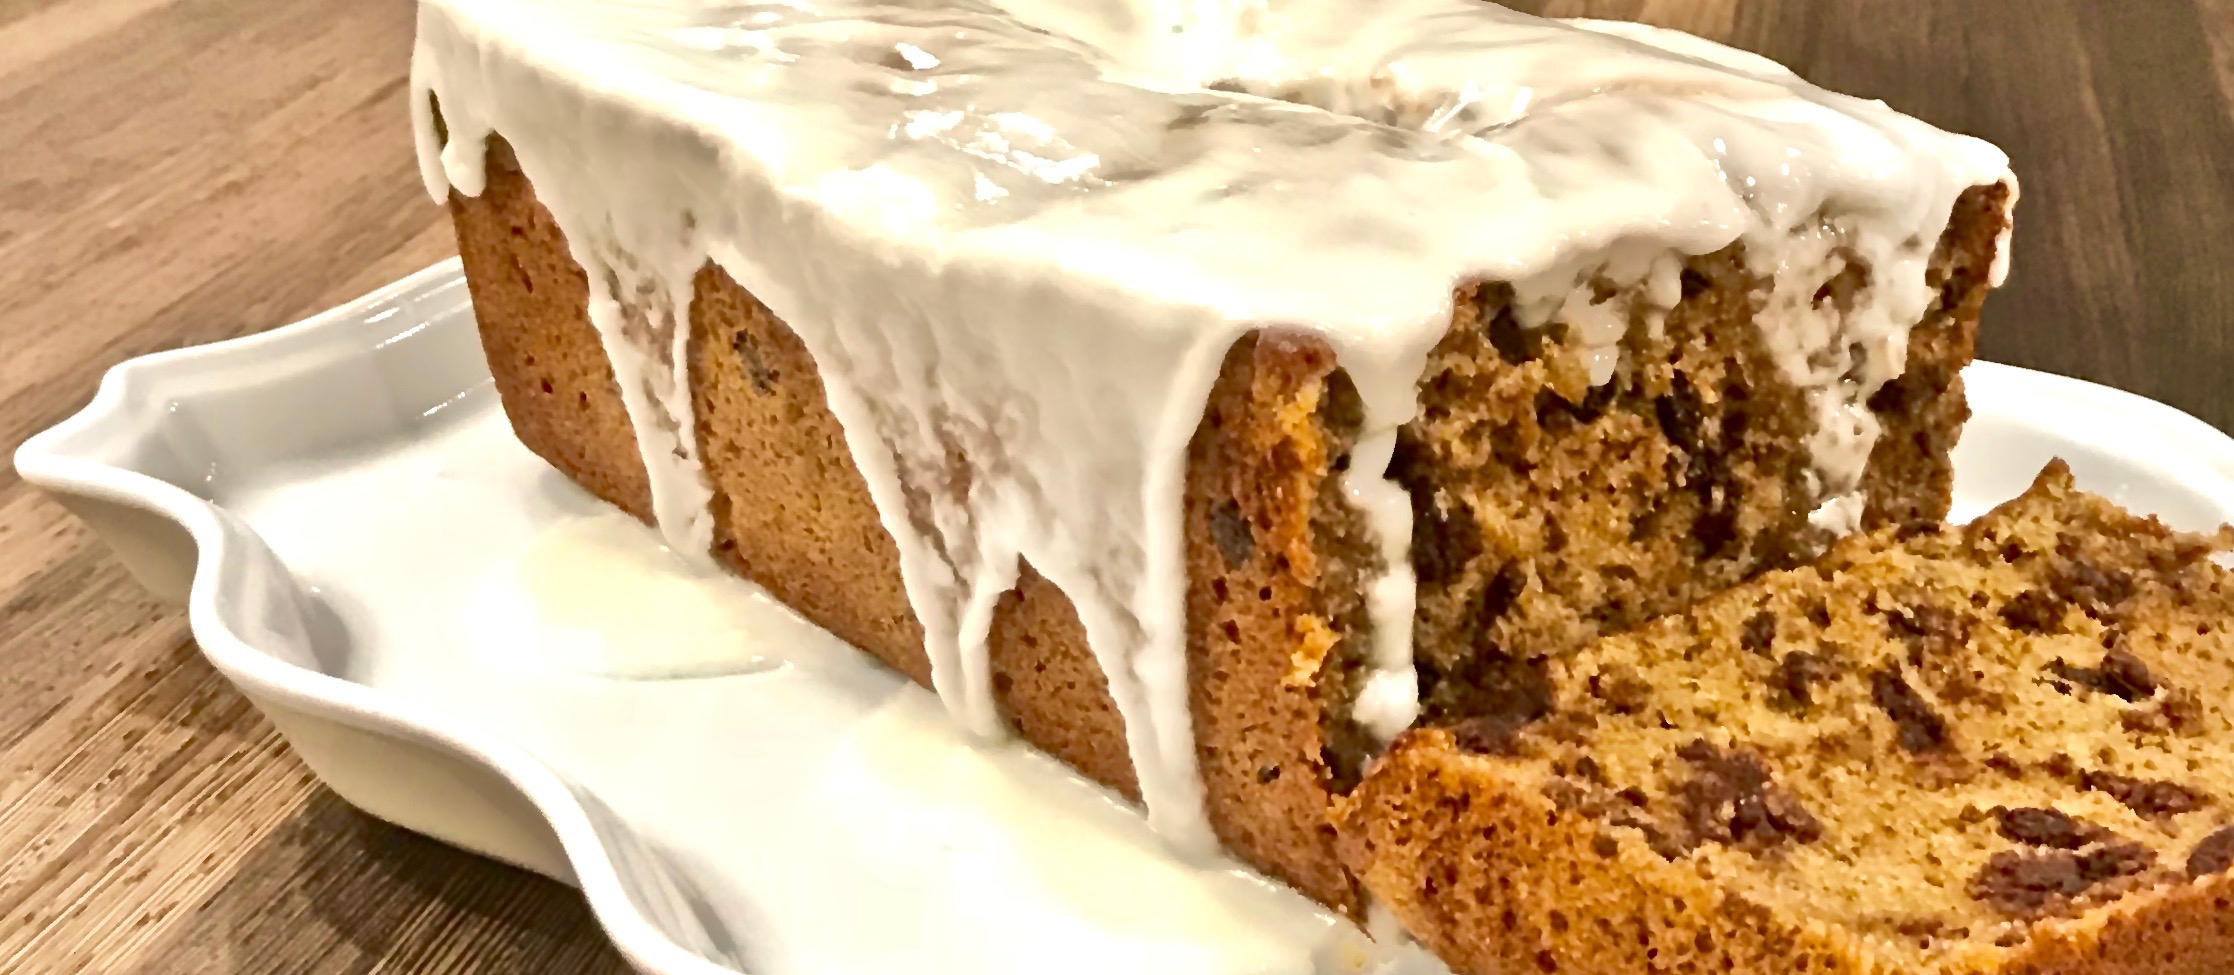
This recipe was both quick and easy. After I set up my mis-in-place (and you should too) this bread whipped up in no time. If you love bananas, you will adore this recipe. The mixture of the bananas and the sour cream gave this bread a wonderful, smooth texture that made each bite divine. The very ripe bananas gave it a nice caramelized flavor and the bittersweet chocolate added the perfect amount of sweetness. Of course, the lemony glaze was the perfect topping for me. You can eat it for dessert, breakfast or just for a snack. It is delicious no matter when you eat it.

This recipe is courtesy of Cook This Now and will serve 8-10 people who will go “bananas” for this bread. 

Ingredients for Lemony Olive Oil Banana Bread with Chocolate Chips

1 cup all-purpose flour
1 cup whole wheat flour
3/4 cup dark brown sugar
3/4 tsp. baking soda
1/2 tsp. kosher salt
1 cup coarsely chopped bittersweet chocolate
1/3 cup extra-virgin olive oil
2 large eggs, lightly beaten
1 1 /2 cups mashed, VERY ripe bananas (3-4 bananas)
1/4 cup sour cream or plain whole milk yogurt
1 tsp. freshly grated lemon zest
1 tsp. vanilla extract

For the glaze:

1 cup confectioners sugar
4 tsp. freshly squeezed orange juice

Preheat oven to 350.

Grease a 9 x 13-inch loaf pan.

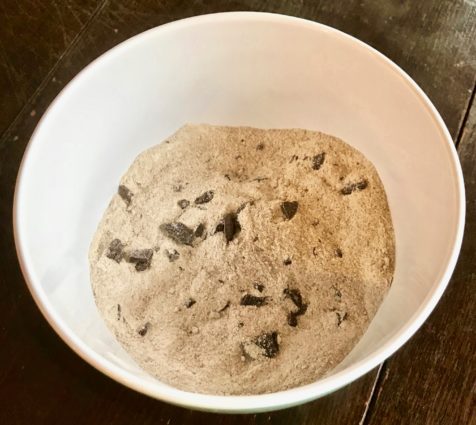
In a large bowl, whisk together the flours, brown sugar, baking soda, and salt.

Add the chocolate pieces and combine well.

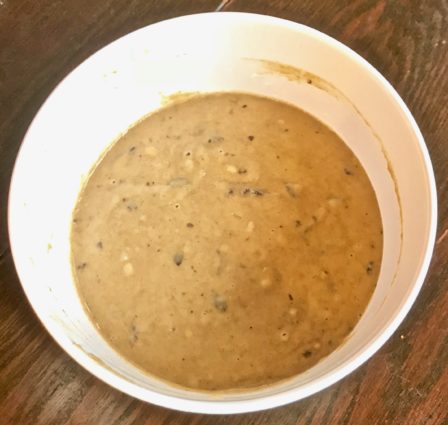
In a separate bowl, mix together the olive oil, eggs, mashed bananas, sour cream or yogurt, lemon zest and vanilla.

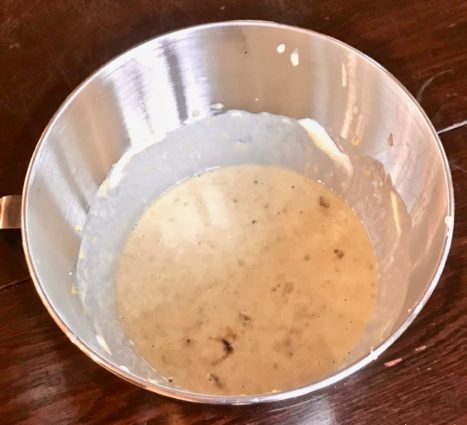
Pour the banana mixture into the flour mixture and fold with a spatula until just combined.

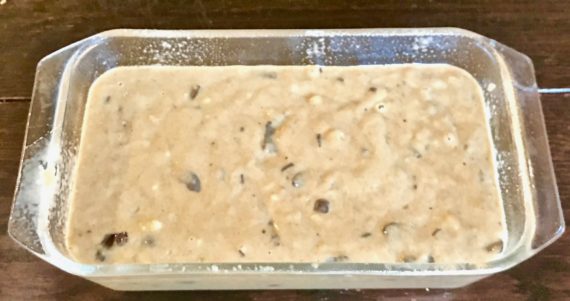
Scrape the batter into the prepared pan.

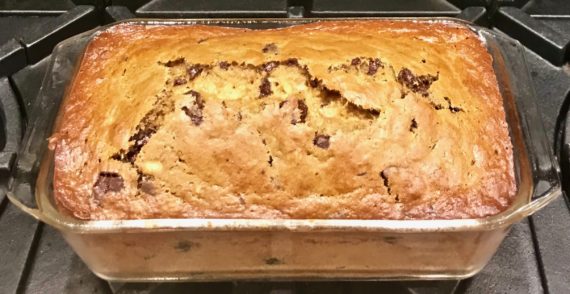
Bake until dark golden brown and a tester inserted into the middle of the loaf comes out clean, about 50 minutes to 1 hour.

Transfer the pan to a wire rack over a rimmed baking sheet to cool in the pan for 10 minutes, then turn the loaf out of the pan completely.

While the cake is almost cool, prepare the glaze.

In a bowl, whisk together the confectioners sugar and lemon juice until smooth. 

Drizzle the glaze on top of the cake, spreading it with a spatula to cover.

It’s that simple!

signature

[recaptcha]


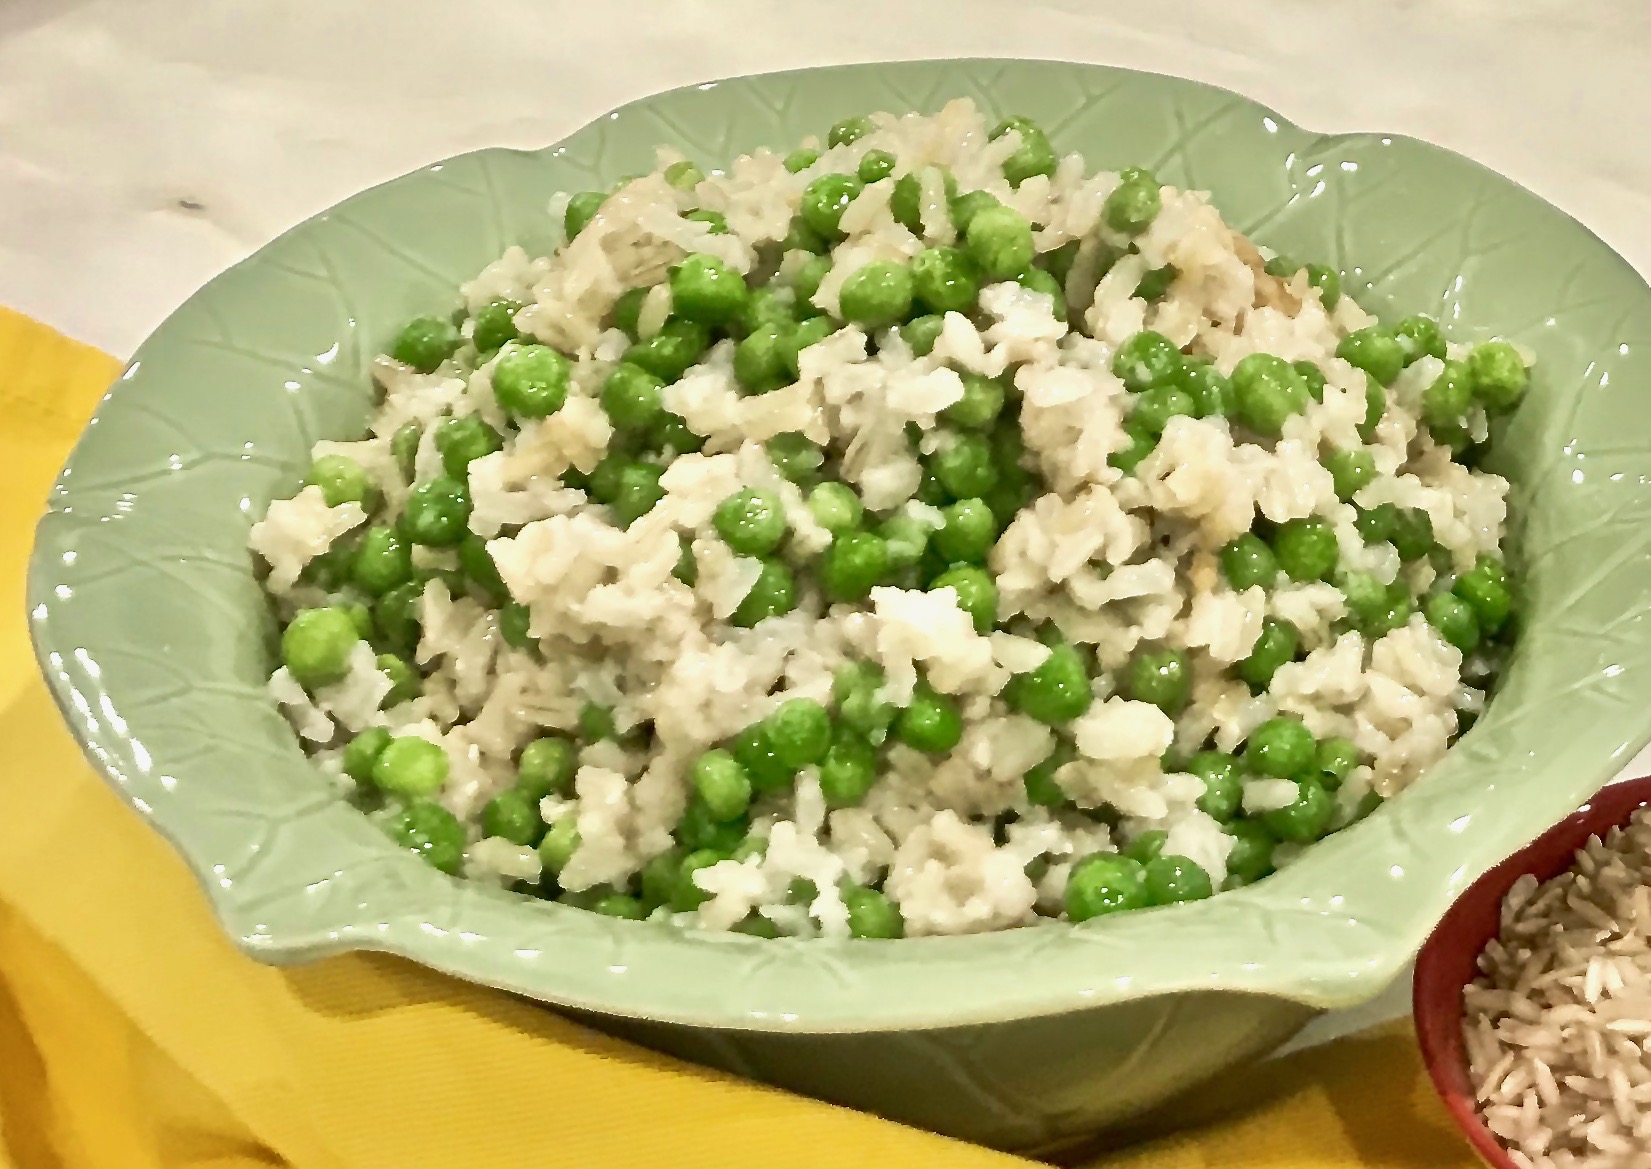
This recipe is very different from my usual staple recipes because I do not normally choose recipes that have coconut. Although I am not fond of coconut, my family loves it, so I decided to give it a try. 

I always find making rice a little tricky. If the rice to water ratio isn’t exactly correct, it turns out messy. I finally learned how to cook rice perfectly from a Brazilian friend. Even though she knew the recipe from memory, she carefully measured out all the ingredients for me as I used my timer to master the process.

This tasty recipe calls for the rice to simmer in coconut milk, which gives it a rich flavor. Surprisingly, the coconut milk does not make the rice sweet, rather it makes it creamy. If you would like to sweeten it up a bit you could try adding some honey, maple syrup or agave nectar. You can also substitute nuts or raisins for the peas. Any way you alter it, it is going to be delicious. And for someone who does not ordinarily like coconut, I really enjoyed it! I think you will too.

This recipe is courtesy of Cook This Now and will serve 4-6 people who will be craving a second helping!

Ingredients for Coconut Rice and Peas

1 (13.5 – ounce) can coconut milk
1 cup brown rice, rinsed
Large pinch kosher salt
3/4 cup frozen peas (optional)

Pour the coconut milk into a liquid measuring cup. 

Add enough water until the liquid measures 2 cups and pour into a large saucepan with the rice.

Bring the liquid to a boil and add the salt.

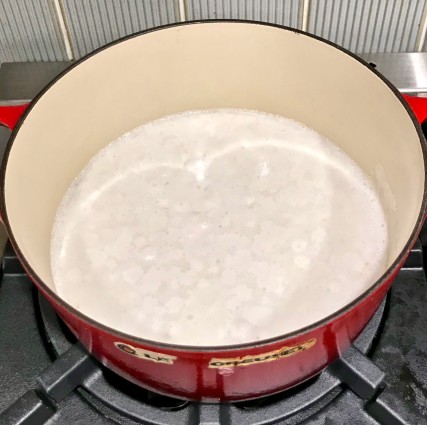
Reduce the heat, cover, and allow the rice to simmer until the liquid has been absorbed and the rice is tender, about 45 minutes to an hour. (set your timer for 45 minutes, take a look and adjust time as needed)

rice and peas rice cooking

Stir in the peas during the last 2 minutes of cooking.

If the rice is tender but there is still liquid in the pan, remover the cover and simmer on high heat until the liquid evaporates. Keep checking it or it may burn. 

Fluff well before serving.

It’s that simple!

signature

[recaptcha]


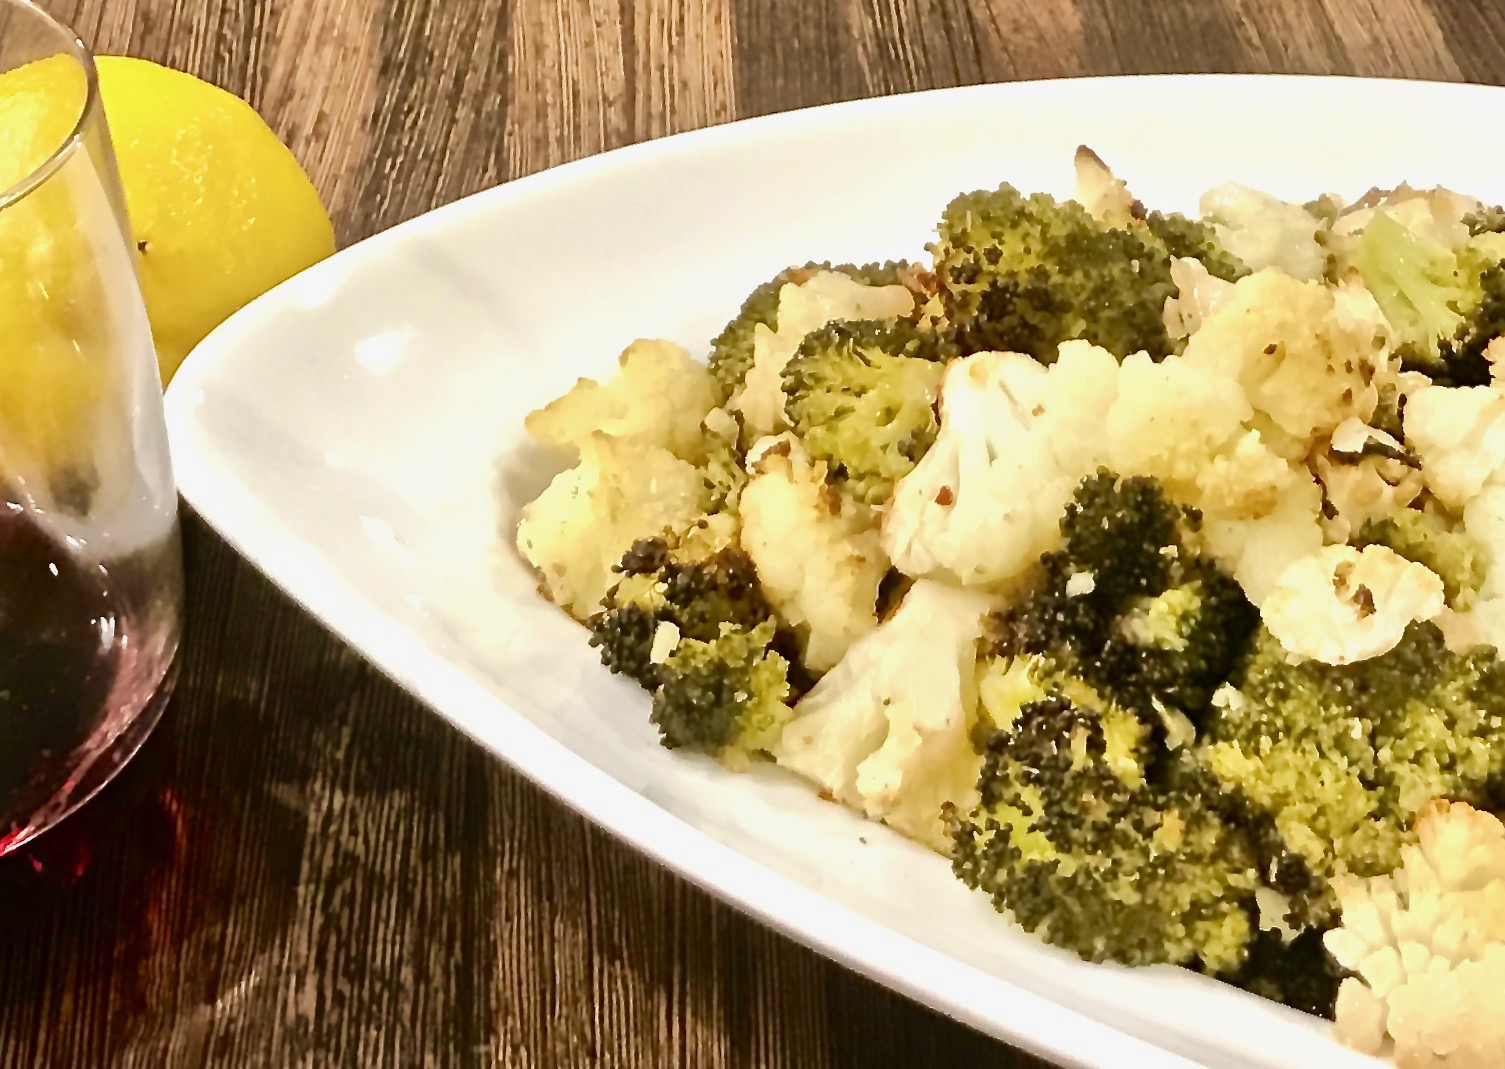
This simple dish of cauliflower and broccoli florets is an excellent go-to side dish that pairs well with anything. The best thing about these vegetables is that they are always available. Most of you probably have them on your weekly grocery list and in your refrigerators.

Cauliflower is not a veggie that many people love. If you are doing a thumbs-down, maybe I can change your mind. This is not the same cauliflower your mother encouraged you to eat. This cauliflower is seasoned and roasted to perfection.

When roasted separately, these veggies are amazing, but when they collaborate, they are delectable. The lemon zest and juice give it a nice “bite” while the garlic and red pepper flakes give a “kick” of spice. It is perfect for a quick weeknight meal, yet sophisticated enough for company.  The ingredients in this recipe can be used on any roasted vegetable. They are always my choice when I am in need of a quick side dish.

This recipe will serve 6-8 people who will learn to love cauliflower and broccoli in a whole new wonderful way!

Ingredients for Roasted Cauliflower and Broccoli

1 small head of cauliflower, cut into florets
2 large stalks of broccoli, cut into florets
2 cloves of garlic, chopped
Zest of 1 lemon
Juice of 1/2 lemon
1/2-1 tsp. red pepper flakes
2 tbsp. olive oil
1 tsp. kosher salt
1/2 tsp. freshly ground black pepper

Preheat oven to 450.

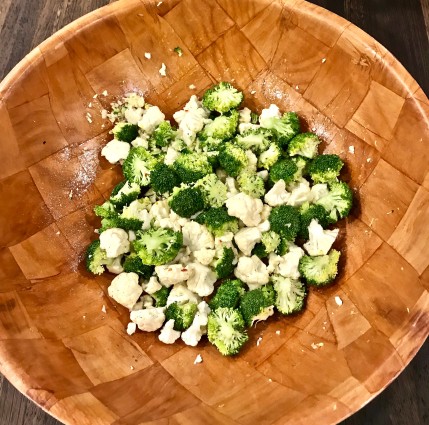
Place cauliflower and broccoli into a large mixing bowl.

Toss in the olive oil, lemon zest and juice, red pepper flakes, salt and pepper. Mix thoroughly.

cauliflower and garlic in bowl

Place into a 9 by 13 inch baking dish (or aluminum pan) .

Bake, uncovered, for 25-30 minutes or until you see the tops of the florets turning brown.

Serve hot.

It’s that simple!

dogs sleeping
signature

[recaptcha]