When I look to see how many people have liked one of my blog posts, I notice that the healthy dishes do not do as well. The desserts and pasta recipes? Tons of likes. With healthy living and clean eating trending now more than ever, I wonder why.

Turns out, I need not look further than my own home. When I made this dish, I threw a couple of potatoes in the oven”just in case”, and I was smart to do so. When it came time to eat, they all turned up their noses at this amazing side and chowed down on the potatoes. Finally, at the end of the meal, I made my husband taste it. Hey Mikey! He liked it! He even packed some up to bring for lunch the next day.

I have some rules to live by, and I’ll share this one with you: when you are having company over, stick to your “oldie-but-goodie” recipes. There may not be as many people out there itching to try your new wheatberry recipe. That being said, there is nothing wrong with trying new dishes at your leisure, or when you have more adventurous people around your table.

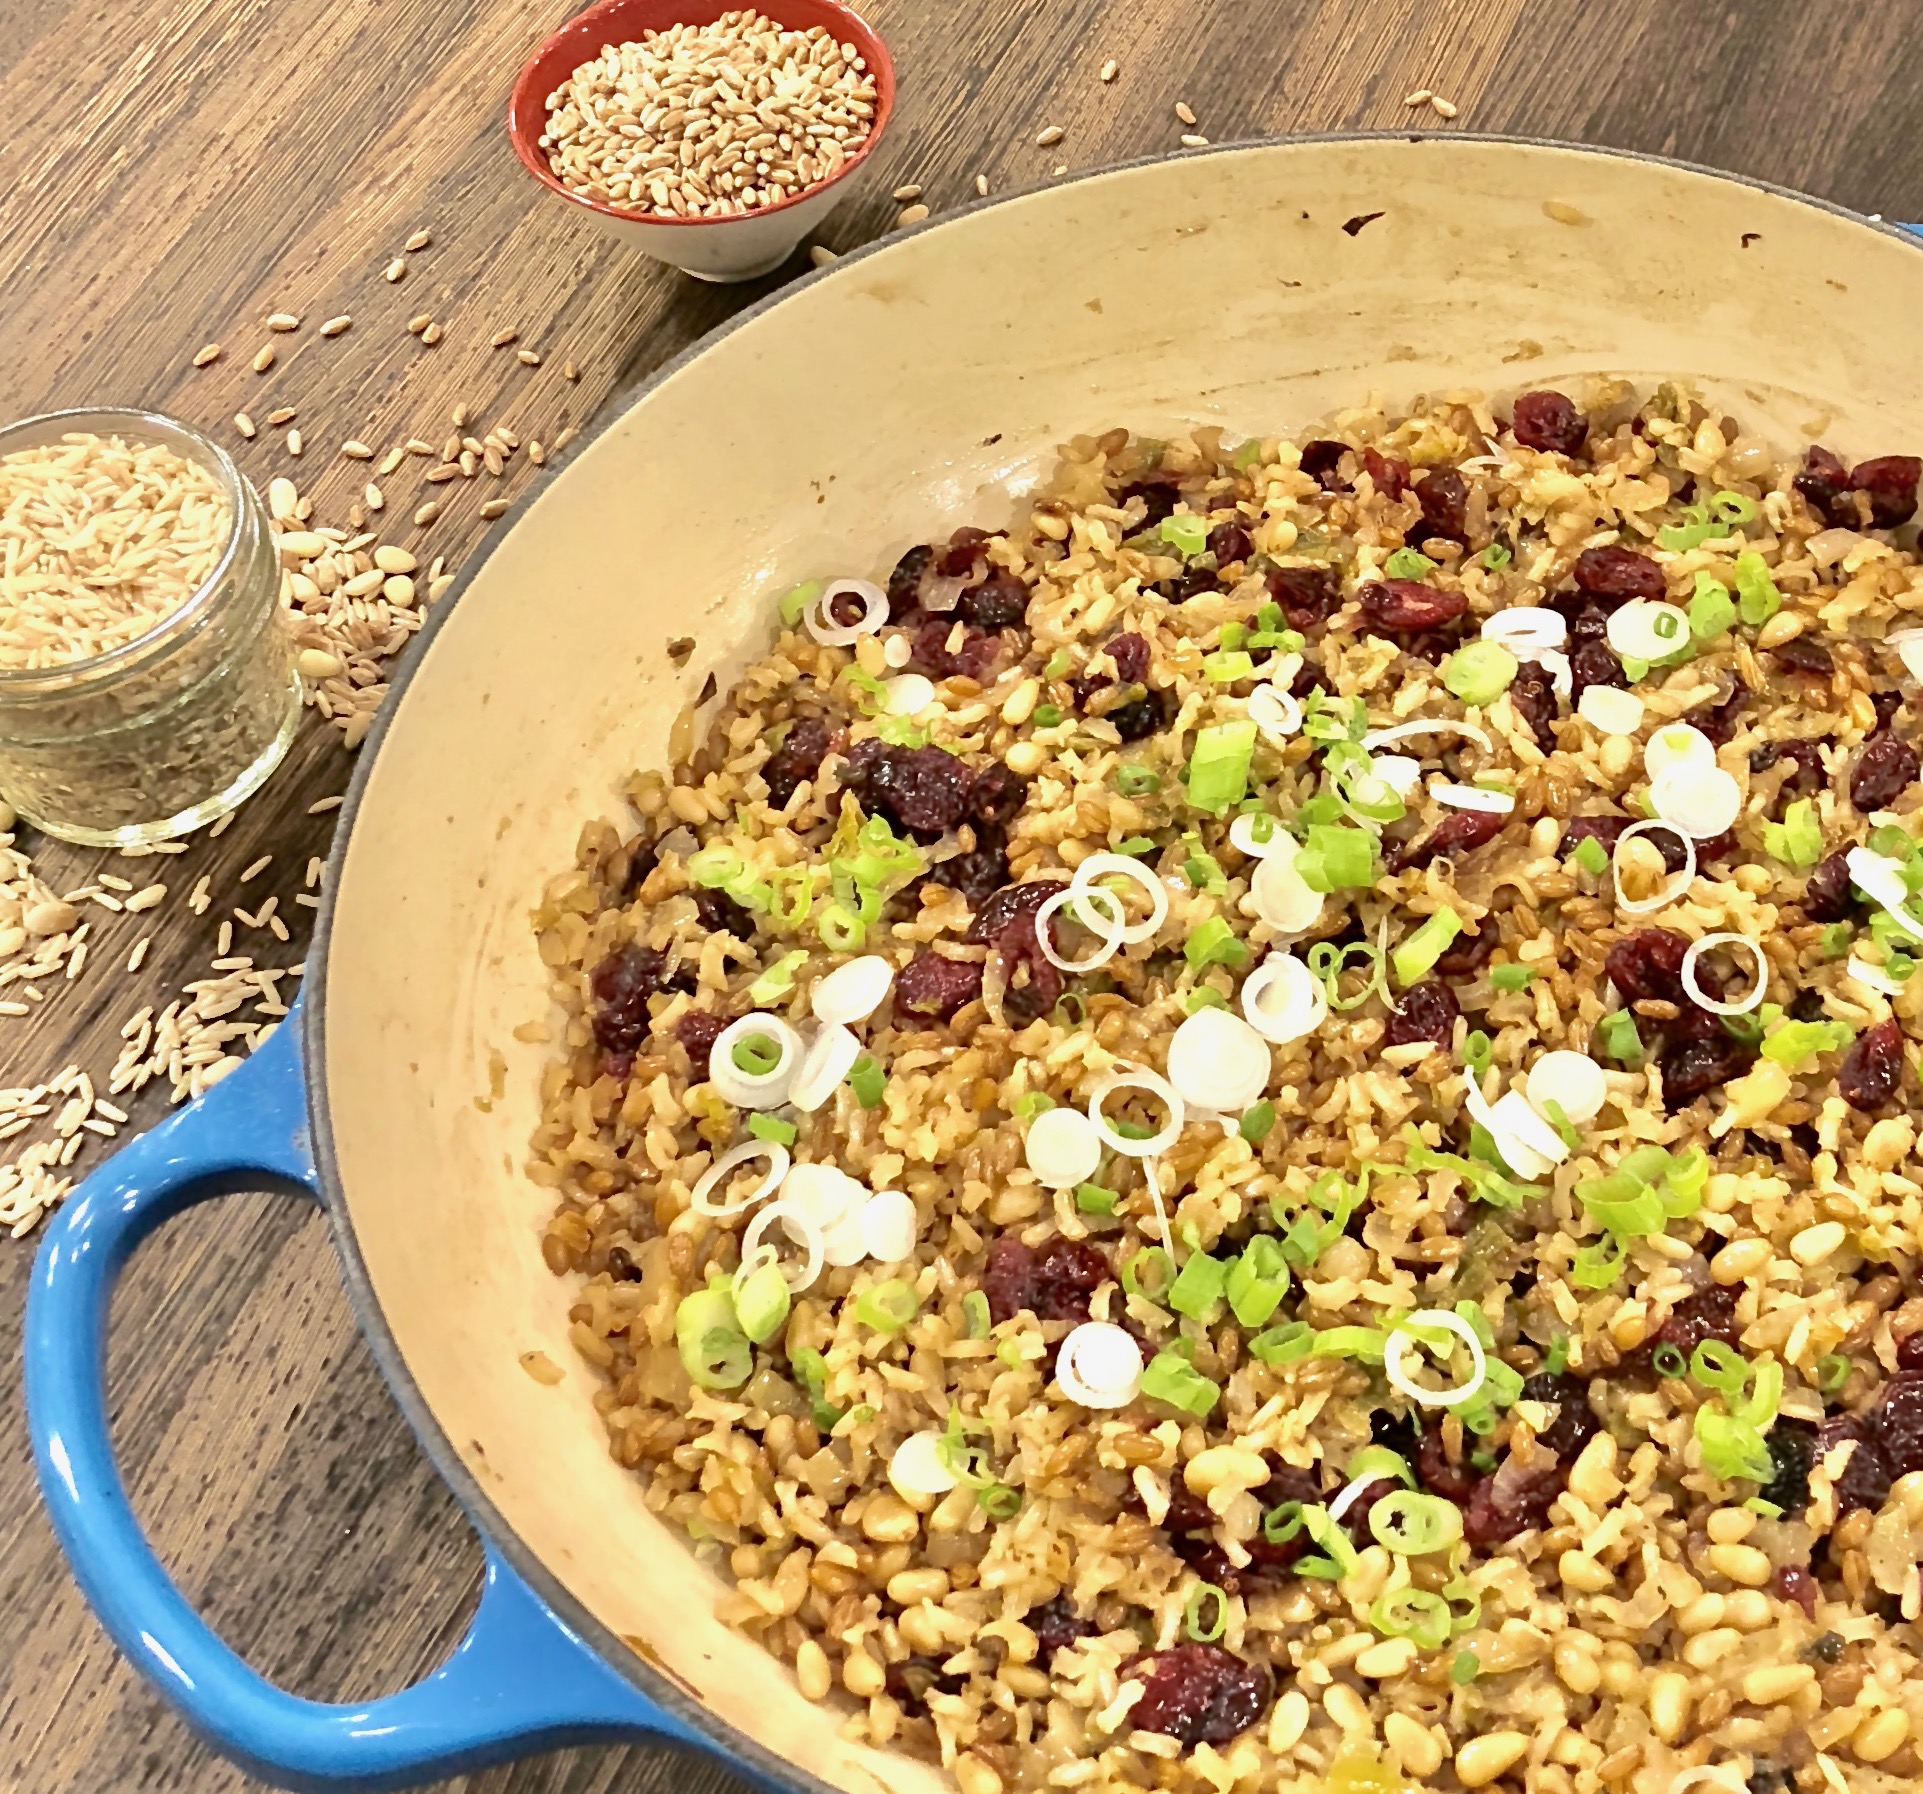
Most people have never even heard of a wheatberry. They are a whole wheat kernel, FYI. They are made up of bran, germ, and endosperm ( I know that doesn’t sound good, but they are really tasty). There are two kinds, a tan whole wheatberry, and a red wheatberry. For this recipe, I used the red ones.  

This side dish not only makes a beautiful presentation, it also packs in outstanding taste. The wheatberries and rice take on the flavor of the chicken broth and blend perfectly with the sautéed onions. The pine nuts give it a nice crunch, and the scallions add lovely color. This recipe is a must try, it is definitely going on my Thanksgiving menu this year. And who knows, maybe some naysayers will dig into it!

This recipe is courtesy of Ina Garten and will serve 6 people who just might change their minds about eating healthy food.

Ingredients for Brown Rice and Wheatberries

2 tbsp. unsalted butter
2 tbsp. good olive oil
1 1/2 cup chopped yellow onion (1 large)
1 cup brown rice
1/2 cup hard red winter wheatberries
1 cup thinly sliced scallions, white and green parts (6 scallions), plus extra for garnish
1/4 cup toasted pine nuts
3 1/2 cups chicken stock
Kosher salt and freshly ground black pepper
1/2 cup dried cranberries

Preheat the oven to 275°F.

Heat the butter and oil in a large pot or Dutch oven, such as Le Creuset.

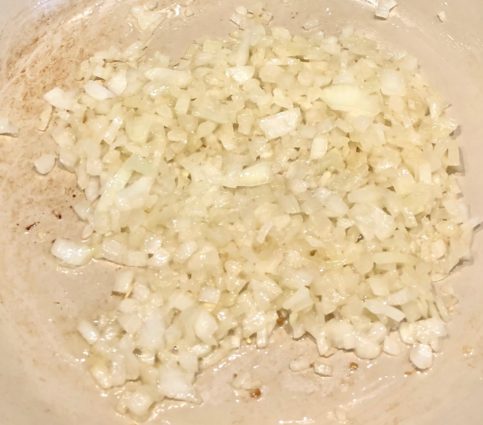
Add the onion and sauté over medium heat for 8 minutes, until translucent but not browned.

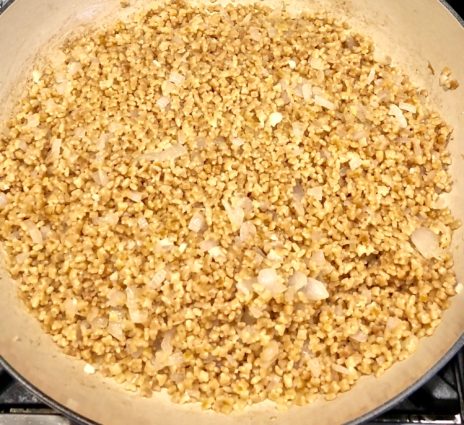
Add the rice and wheatberries and continue to cook, stirring occasionally, for 5 minutes.
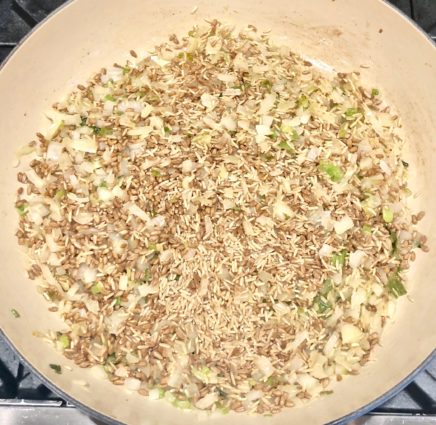
Stir in scallions, pine nuts.
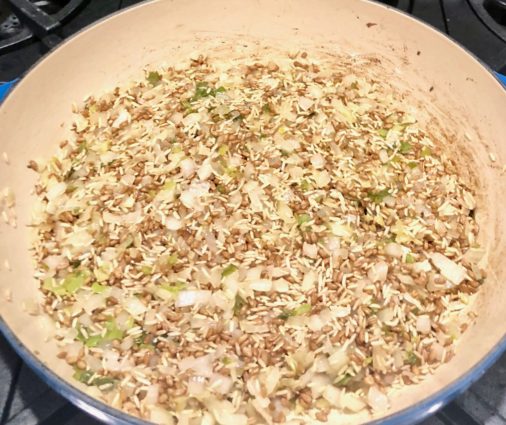
Pour in chicken stock, 2 teaspoons salt and 1 teaspoon pepper and bring to a boil.
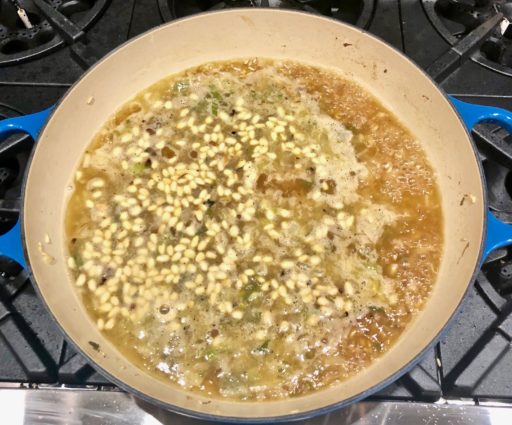
 

Stir, reduce the heat to a simmer, cover, and bake for 50 minutes.

Stir in the dried cranberries, cover again, and set aside for 15 to 20 minutes, until the grains are tender and most of the liquid has been absorbed.
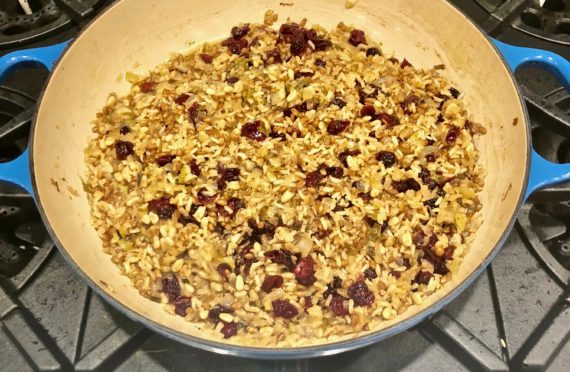
Depending on the saltiness of the stock, add 1 teaspoon of salt and 1/2 teaspoon black pepper to taste, sprinkle with sliced scallions.

Serve hot.

It’s that simple!
signature

[recaptcha]


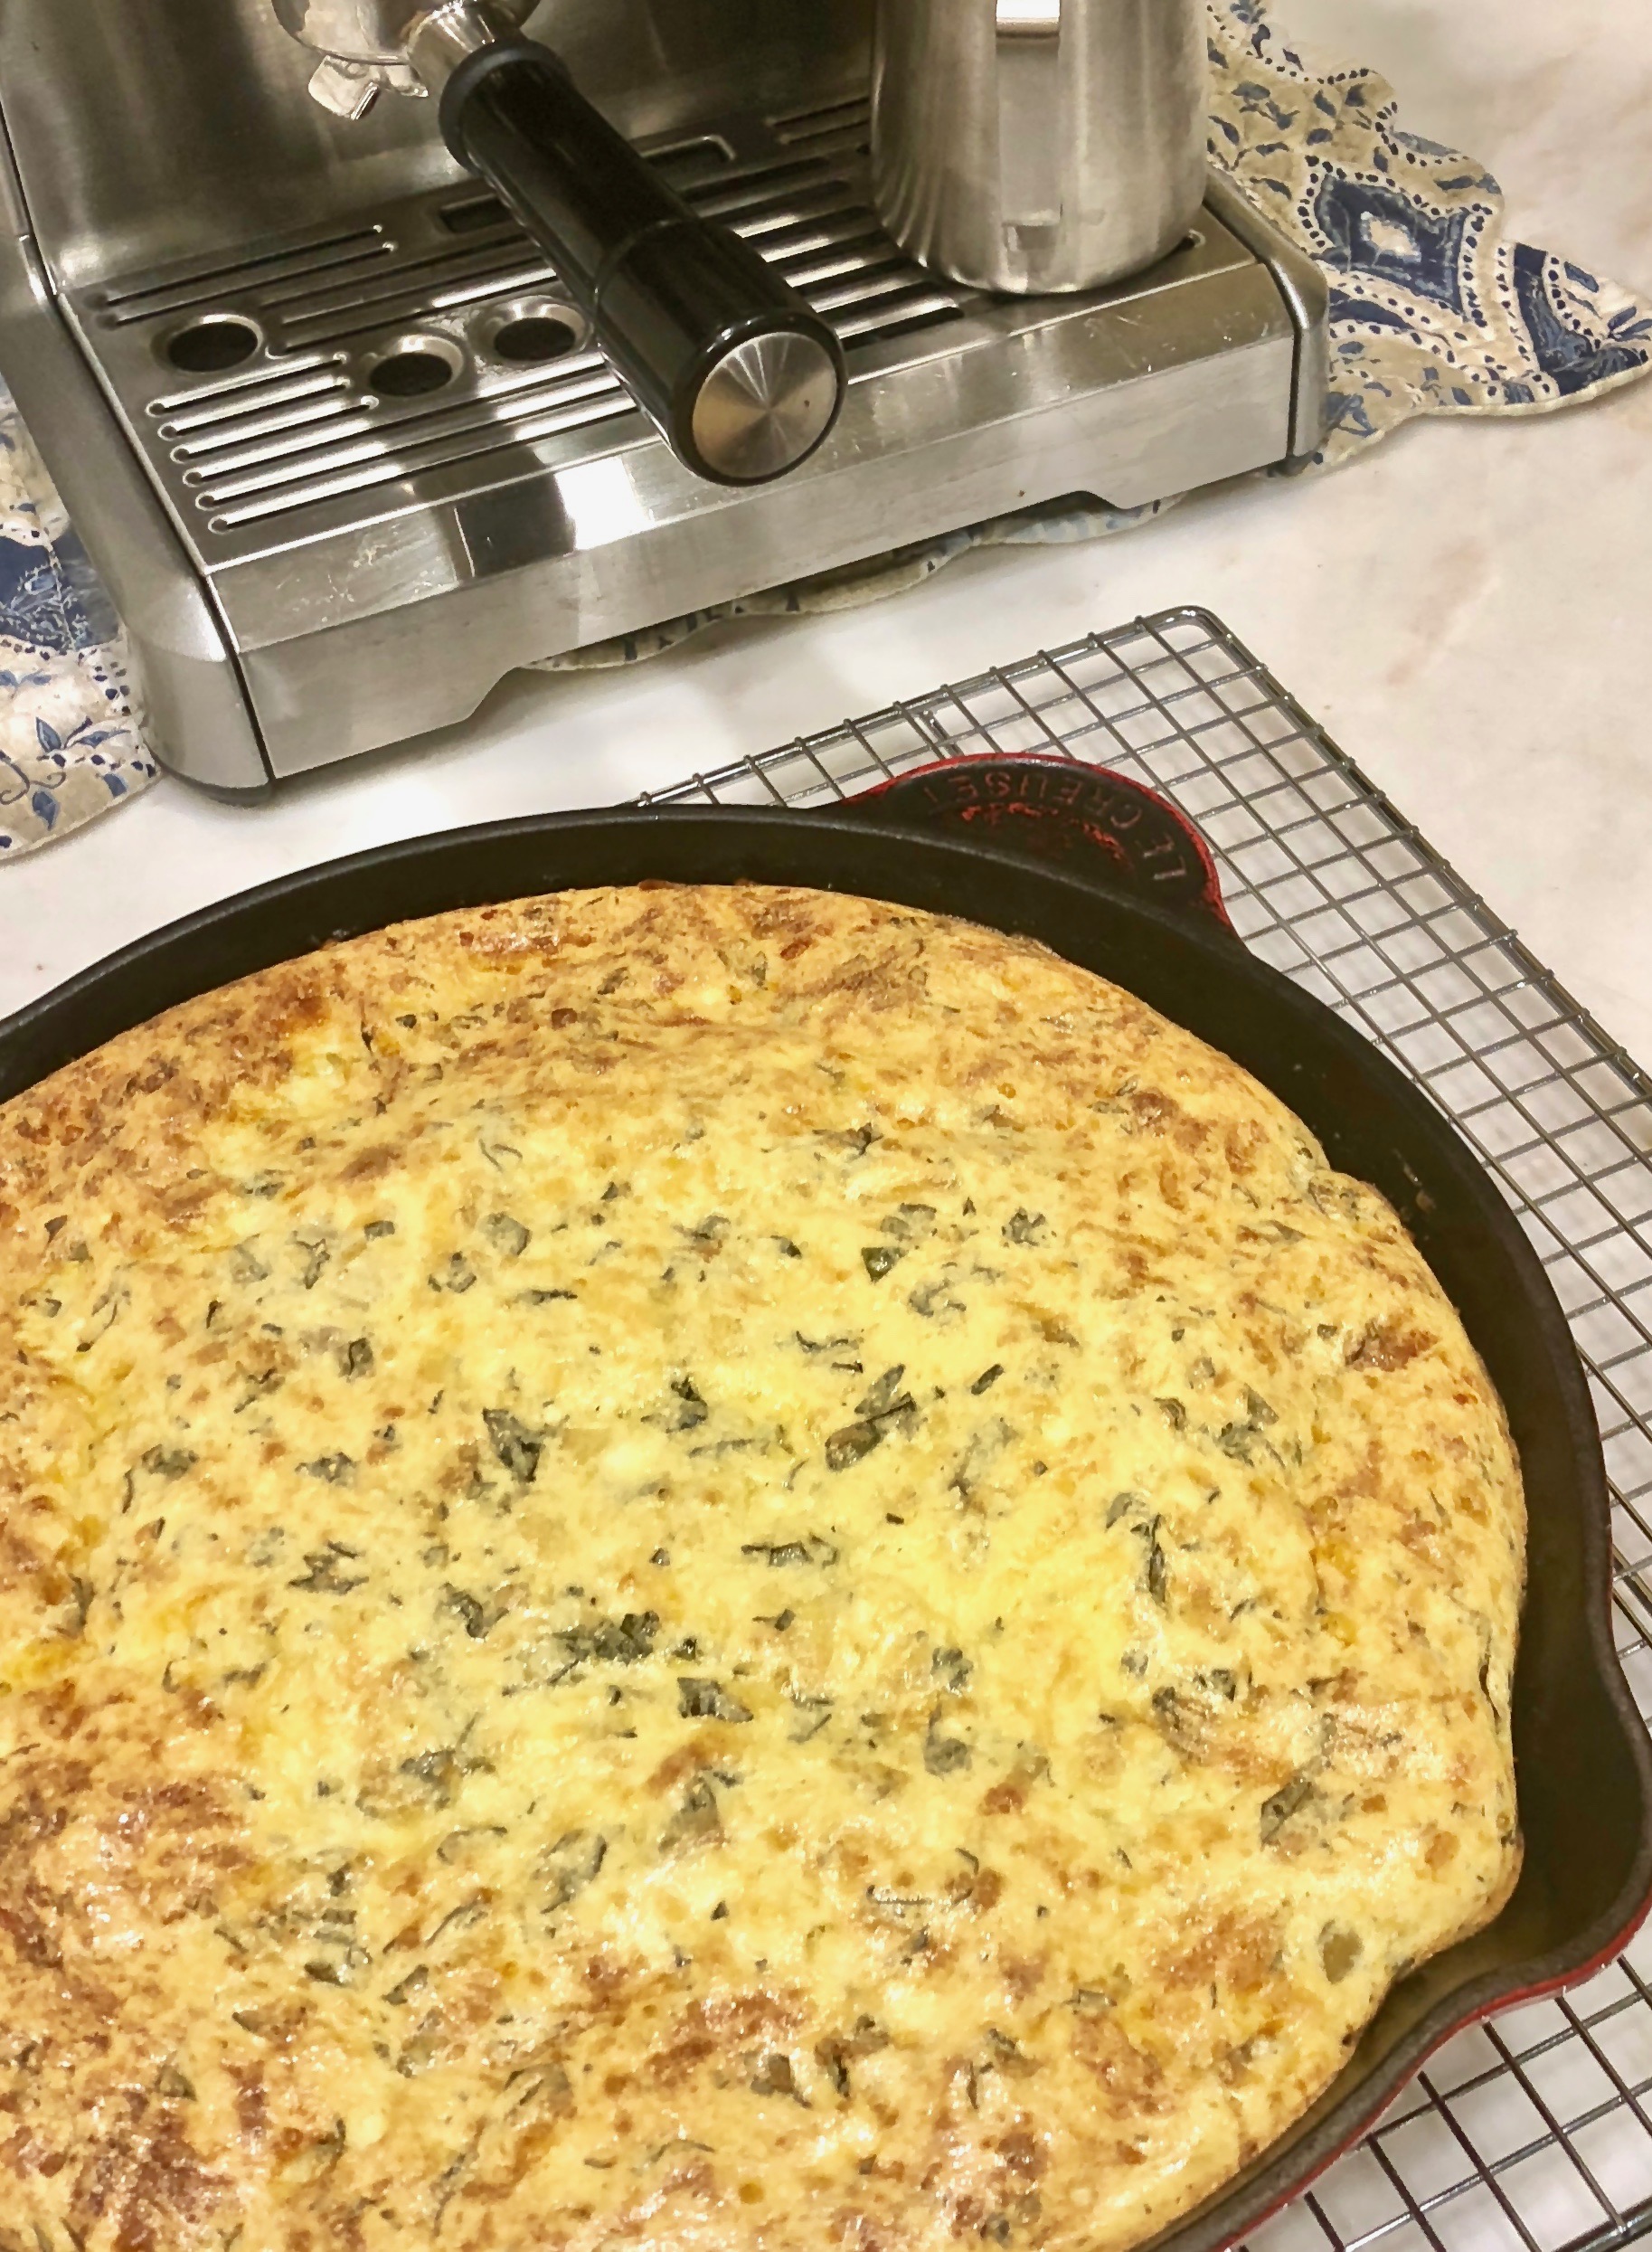
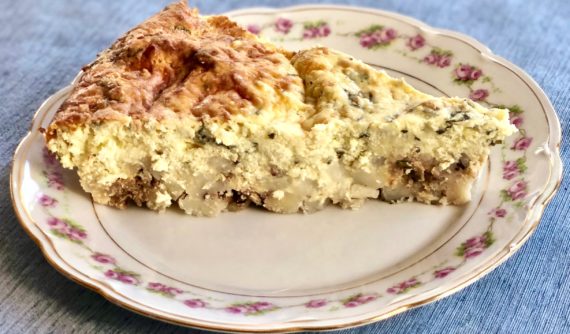
If you don’t know, a frittata is a delicious egg-based dish with an Italian origin. It is similar to an omelet or a crustless quiche. Whether you make it with vegetables, cheeses or meats, a frittata is superbly delicious! It usually resembles a thick pancake and it can be eaten for breakfast, brunch, lunch or dinner. They are commonly served hot, but I think they are good no matter the temperature.

When I saw this recipe, I knew I had to make it because it was by Ina Garten and her frittata recipes are the best, hands down. The ingredients in the dish are surprising, as frittatas are not always made with potatoes.

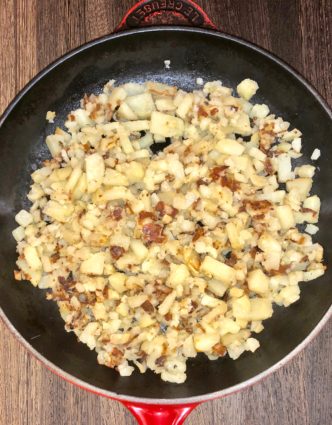
To prepare this egg-based meal, you need either a round cast iron skillet or a Dutch pan that can be transferred from the stove to the oven. Though the recipe does not call for it, I transferred the potatoes into a clean skillet after frying because I wasn’t sure if the potatoes sticking to the bottom of the pan would burn in the oven.

Once this dish is done, you’ll marvel at the combination of the potatoes and cheese. The aromatic taste of basil really made this recipe unique and wonderful. Ina did not disappoint me, this dish is truly outstanding.

I made this as a side dish, however, it could easily be served as a main dish. I think it is perfect for any brunch or holiday meal. I will definitely put it on my menu for Mother’s day and so should you!

This recipe will serve 8 people who will love the fluffy egg and cheese filled goodness!

Ingredients for Potato Basil Frittata

8 tbsp. (1 stick) unsalted butter, divided
2 cups peeled and 1/2-inch-diced potatoes (4 potatoes)
8 extra-large eggs
15 ounces ricotta cheese
3/4 pound Gruyere cheese, grated
1/2 tsp. kosher salt
1/2 tsp. freshly ground black pepper
3/4 cup chopped fresh basil leaves
1/3 cup all-purpose flour
3/4 tsp. baking powder

Preheat the oven to 350°F.

Melt 3 tablespoons of the butter in a 10-inch ovenproof omelet pan over medium-low heat.

Add potatoes and fry them until cooked through, turning often, 10 to 15 minutes.

Melt the remaining 5 tablespoons of butter in a small dish in the microwave.

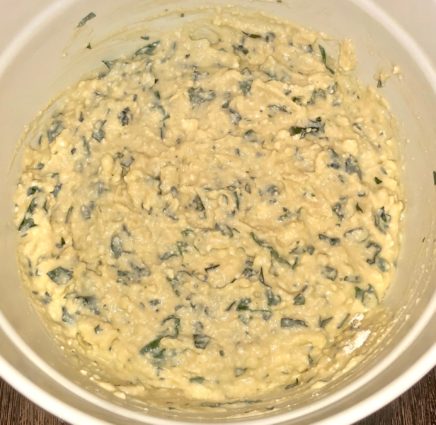
Meanwhile, whisk the eggs in a large bowl, then stir in the ricotta, Gruyere, melted butter, salt, pepper, and basil.

Sprinkle on the flour and baking powder and stir into egg mixture.

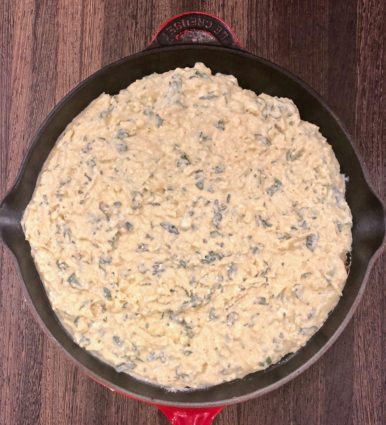
Pour the egg mixture over the potatoes and place the pan in the center of the oven.

Bake the frittata until it is browned and puffed, 50 minutes to an hour.

It will be rounded and firm in the middle, a knife inserted in the middle should come out clean.

Serve hot.

It’s that simple!

signature

[recaptcha]


The weather has finally been sunny and warm here. I think it is time to lighten the menu up a bit!

Quinoa (pronounced keen-wah) is an ancient crop that has been eaten by the South American people for 5,000 years. It means “mother grain” in the Inca language. While some people refer to it as a grain, it is actually a seed. It is gluten-free, comes in different colors and is just plain delicious!

This hardy little seed looks a little bit like couscous, but is smaller in size and crunchier in texture. Quinoa has many health benefits. It is rich in lysine, which promotes tissue growth throughout the body, has a very high range of anti-inflammatory benefits and is rich in nutrients such as iron, magnesium, vitamin-E, potassium and fiber. Have I convinced you to try it yet?

Quinoa is also a very versatile food. It can be used in soups, salads, side dishes, and stuffing. I loved this recipe for so many reasons. One of which is, I love the book, The Home Cook, by Alex Guarnaschelli. I have been a huge fan of her for years. The book is really written for a home cook, because the recipes are simple, yet have bold depths of flavor to them. I think I copied about 15 recipes that I plan to make in the future. So you will be seeing a lot of Alex’s recipes coming soon.

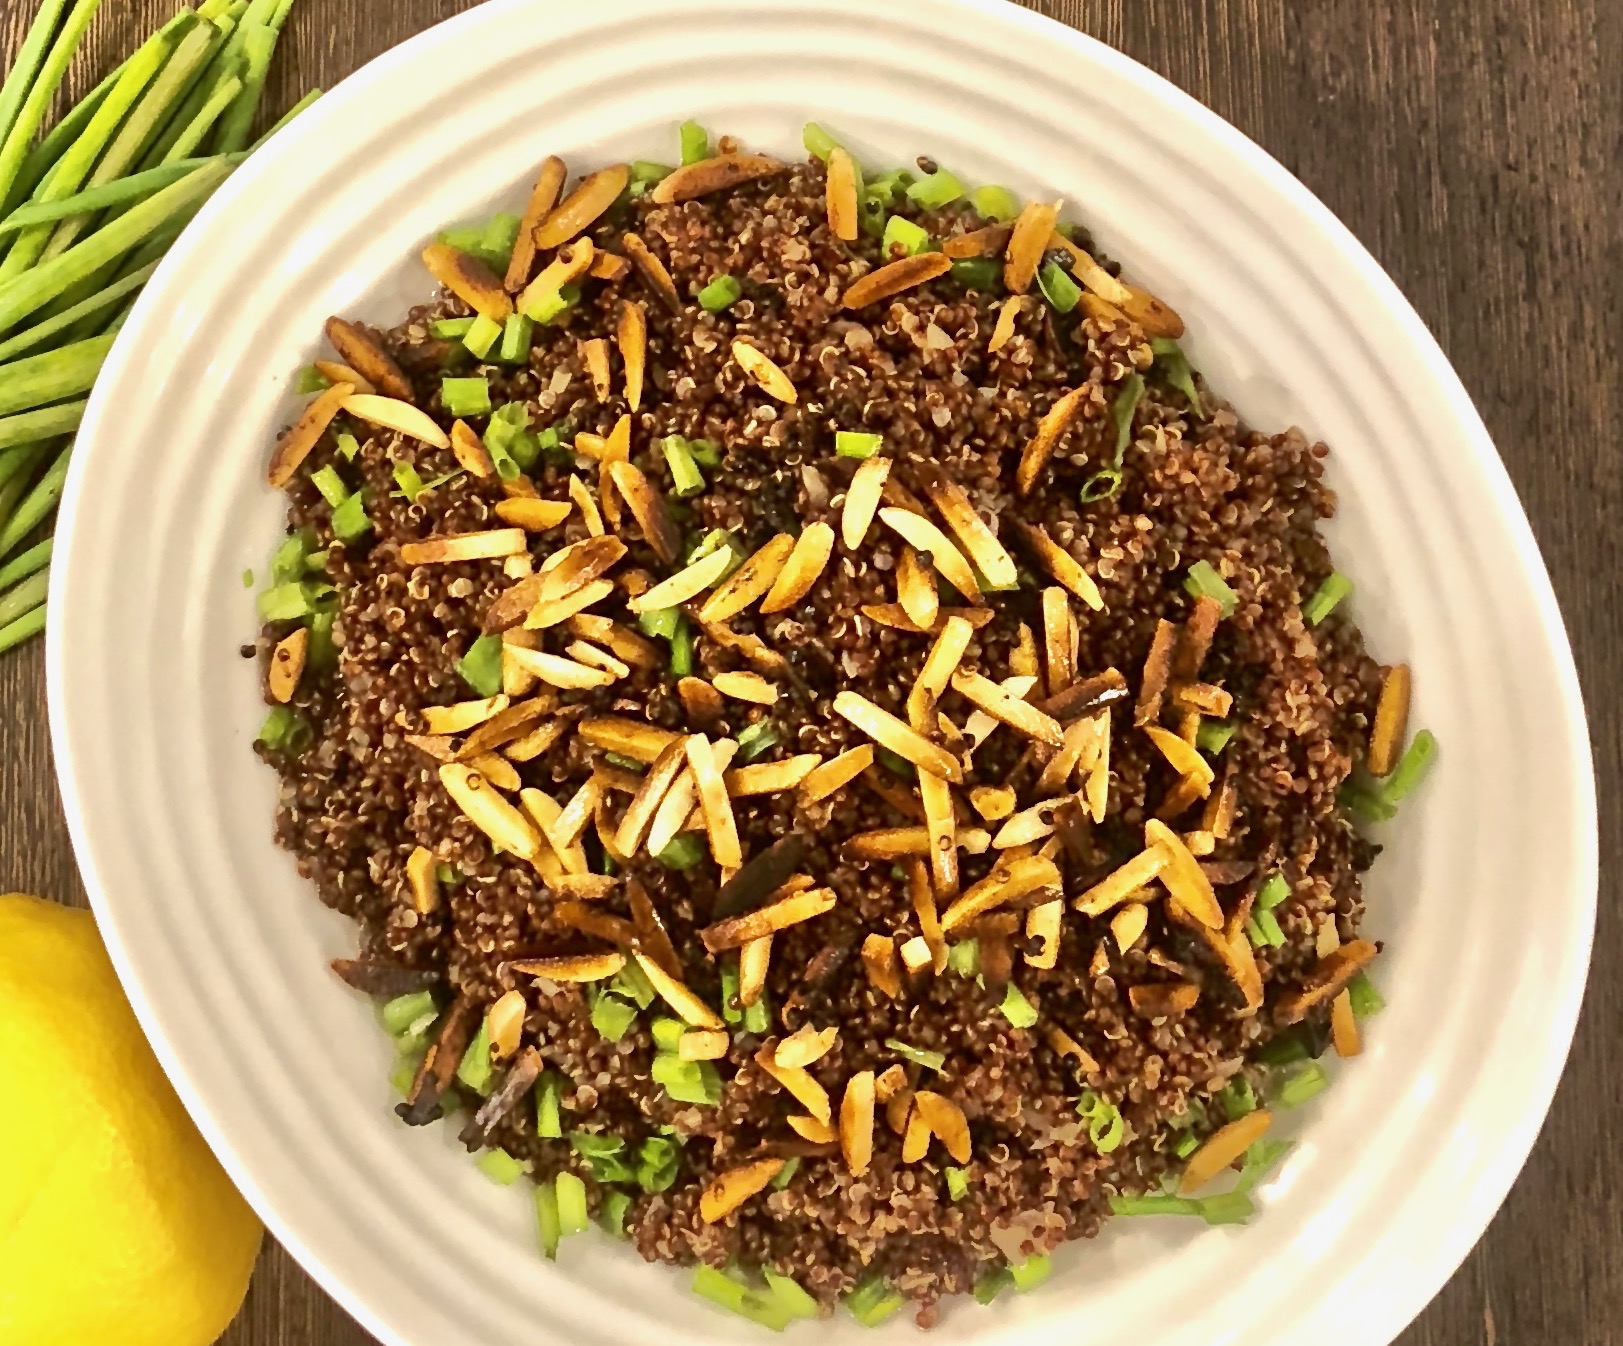
This recipe is perfect for a spring or summer day. It is filled with ingredients that blend together perfectly. The toasted quinoa gives this dish a wonderful nutty-like crunch. The vinaigrette is light and fresh. As always, the combination of lemon and honey are delightful. The toasted almonds top it off to give it some saltiness and make this a perfect side dish.

This is an absolute “must try”. Put it at the top of your list.

This recipe will serve 6 to 8 people who will love this refreshing salad with a lovely, mouthwatering \dressing.

Ingredients for Quinoa Salad

4 tbsp. (1/2 stick) unsalted butter
2 medium shallots, minced
1 medium garlic clove, minced
Kosher salt
1 1/2 cups red quinoa
1/4 cup fresh lemon juice (from 2 medium lemons)
1 tsp. honey
1/2 cup extra-virgin olive oil
2 tbsp. canola oil
1/2 cup slivered blanched almonds
1/2 cup minced fresh chives

Heat a medium sauté pan over medium heat, add 2 tablespoons of the butter.

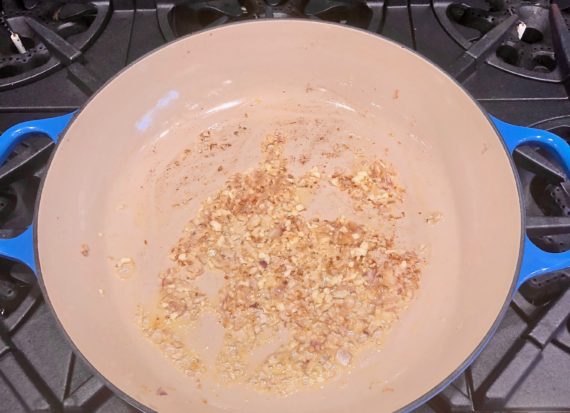
Toss in the shallots and garlic.

Season with 1 tablespoon salt and cook until the shallots become translucent, but not brown, about 3-5 minutes.

Stir in the quinoa and cook until you hear it crackling, about 2 minutes.

Add 5 cups water and stir gently.

Season with 1 tablespoon salt and bring to a simmer.

Simmer over low heat until the quinoa is tender, 25 to 30 minutes.

Remove the pan from the heat, transfer the quinoa to a bowl, and keep it warm.

In a large bowl, whisk the lemon juice, with 1 teaspoon of salt and the honey.

Gradually whisk in the olive oil and canola oil.

Taste for seasoning.

Wipe out the sauté pan you used to cook the quinoa and add the remaining 2 tablespoons butter.

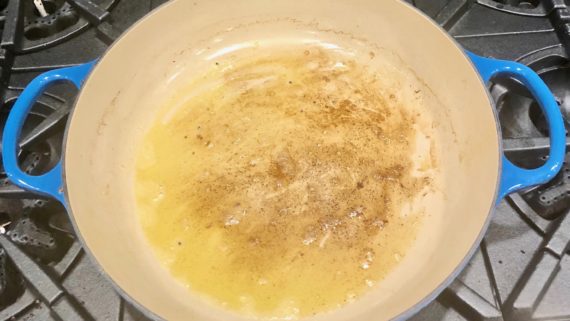
Heat the butter over medium heat until it melts and starts to brown slightly.

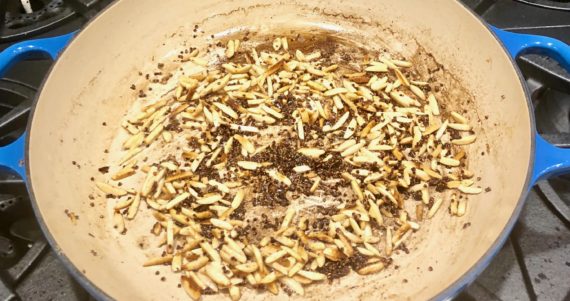
Add a few tablespoons of the cooked quinoa and the almonds and sauté until they become brown and crispy, 5 minutes.

Season with 1 teaspoon salt.

In the bowl containing the vinaigrette, stir in the cooked quinoa, 1 teaspoon salt, and the chives.

Top with the crisped quinoa and almonds.

Taste for seasoning, and serve.

It’s that simple!
signature

[recaptcha]


Give me any recipe with the combination of anchovies and lemons and I am hooked! Those are my two favorite ingredients to add to anything, pasta, salads or roasted vegetables.

Upon coming across this recipe, I looked all over for farro pasta. I had never even heard of it before but thought it might be nice to try. I was not successful, but the author of this recipe noted that if you couldn’t find it, you could substitute with whole wheat pasta. So I compromised, but I will still be on the lookout for farro pasta.

I have always cooked with anchovies, but when my sons were younger I would keep it a secret from them, knowing they would reject the delicious salt-water fish without giving it a chance. After they tried a dish or two like this, I asked them if they liked anchovies. Just as I expected, they responded with a sour face and a loud “no”. That is when I finally told them they do like anchovies, and they had just enjoyed them for dinner! From that day forward, whenever they had friends over for dinner, my sons would mimic my playful deception. They would wait until dinner was over and ask their friends if they liked it, when the reply was yes, my sons would burst out laughing and tell them they just ate and enjoyed anchovies! We laugh about it to this day.

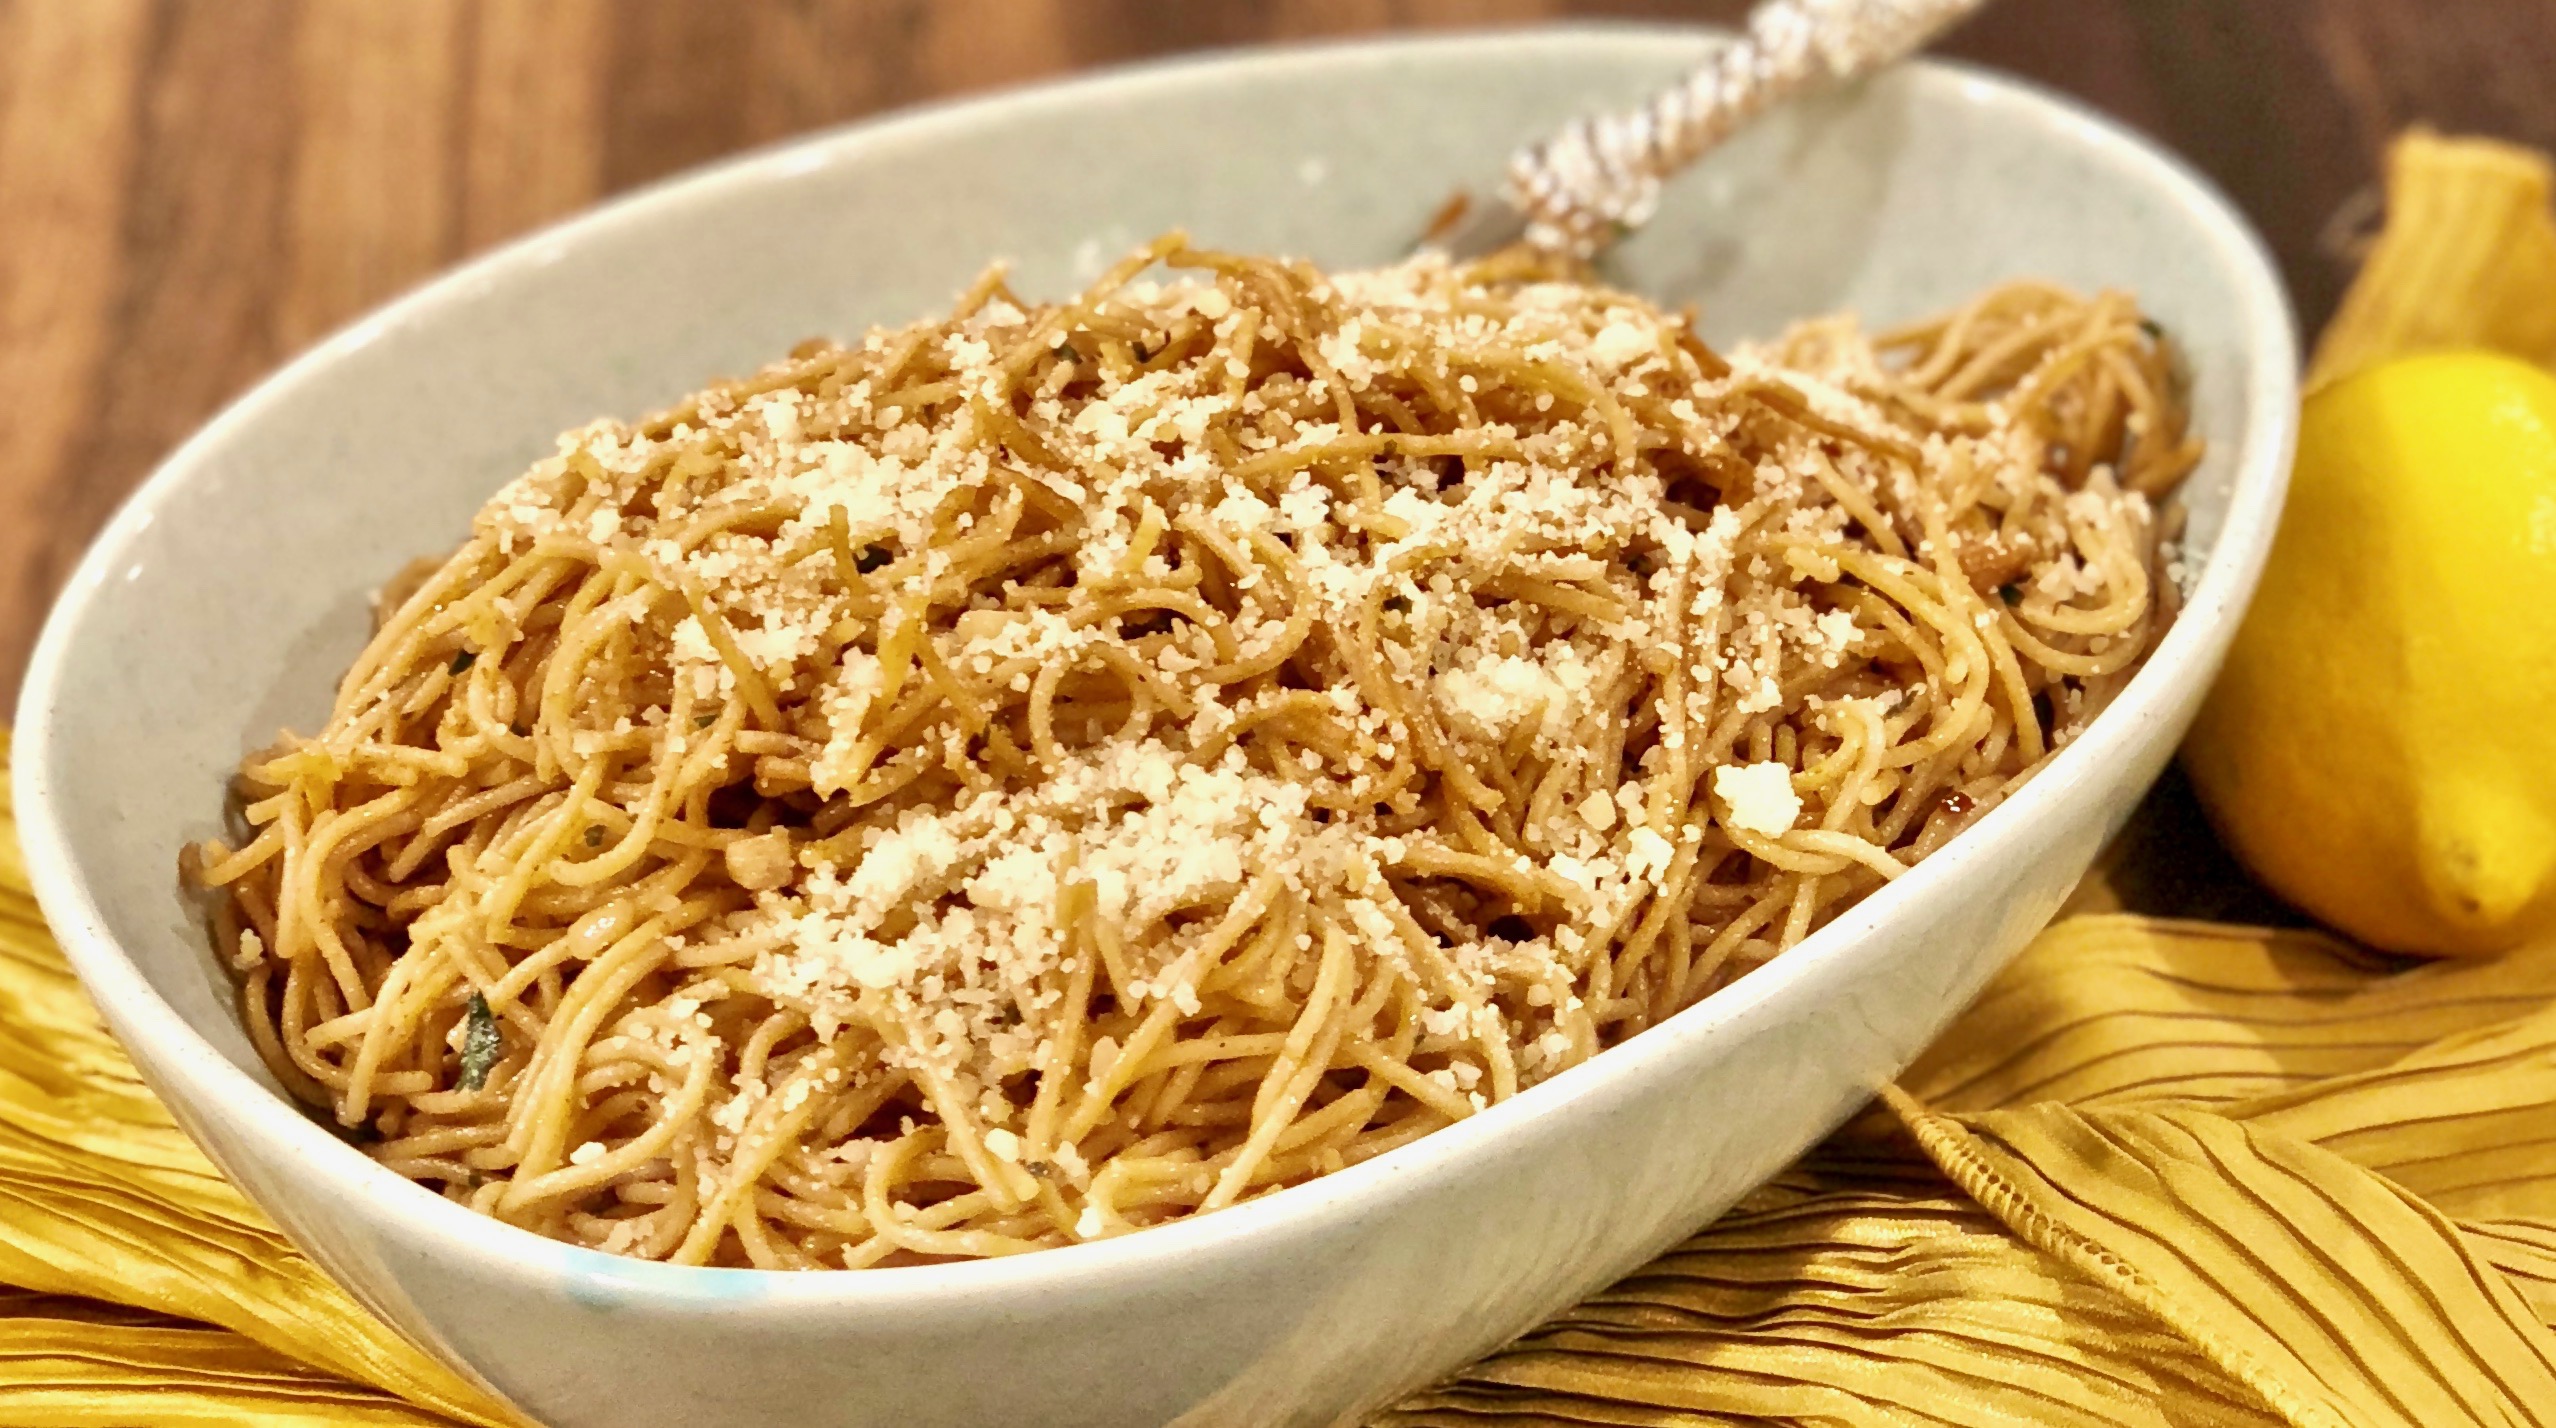
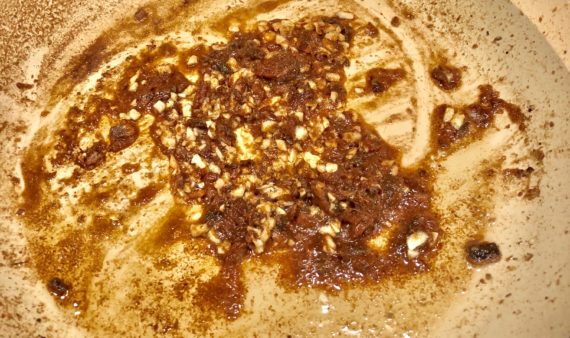
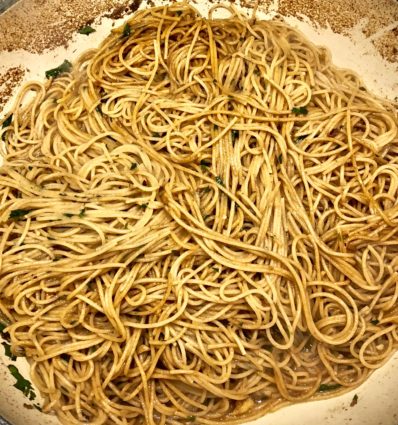
This dish is really special. It has simple, but flavor-packed ingredients that are oh-so-satisfying. It is really easy to prepare, just make sure to cover the burners you are not using (I cover mine with aluminum foil – you should too), because the anchovies make a big mess while they are melting away.

The addition of the olive oil and the cheese at the end makes this dish cozy and comforting, while the chili flakes give it just the right amount of heat.

This recipe is courtesy of Franny’s Simple Seasonal Kitchen which I love and highly recommend! It will serve 4 people who will savor every bite!

Ingredients for Farro Spaghetti with Anchovies, Chilies, and Garlic

1/2 cup extra-virgin olive oil, plus more for drizzling
8 garlic cloves, smashed and peeled
10 anchovy fillets
1/2 tsp. chili flakes
1 pound spaghetti
1/3 cup flat-leaf parsley, chopped
1/4 tsp. freshly cracked black pepper
Juice of 1/2 lemon
2-3 tbsp. finely grated Pecorino Romano

In a very large skillet (or Dutch oven), heat the olive oil over medium-high heat. 

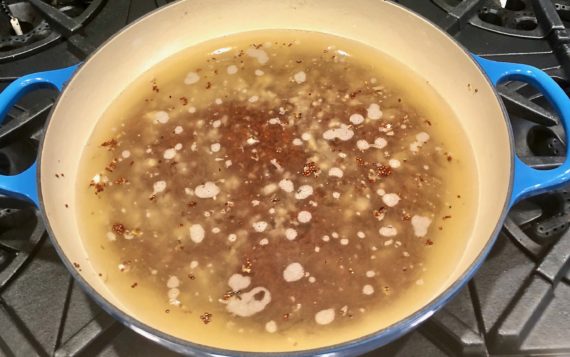
Add the anchovies and garlic and cook until the anchovies are dissolved and the garlic is beginning to color about 2-3 minutes. 

Add the chili flakes and cook for about 30 seconds.

Add 2 tablespoons water to the pan.

Remove from the heat.

In a large pot of well-salted boiling water, cook the pasta according to the package instructions until 2 minutes shy of al dente; drain.

Toss the spaghetti into the skillet with the garlic-anchovy mixture, parsley, and pepper.

Cook over medium heat until the pasta is al dente, 1 to 2 minutes.

Stir in the lemon juice and a little more water if the pasta seems dry.

Sprinkle each plate with the Pecorino Romano and a drizzle of olive oil.

It’s that simple!
signature

[recaptcha]


For the past two days, the weather has been absolutely perfect! Finally, maybe Spring is here, but I don’t want to jinx it! I enjoyed the sunny days by taking my dogs for a walk and going for a run on a local trail. When the weather is this superb, I must get myself outside to enjoy it.

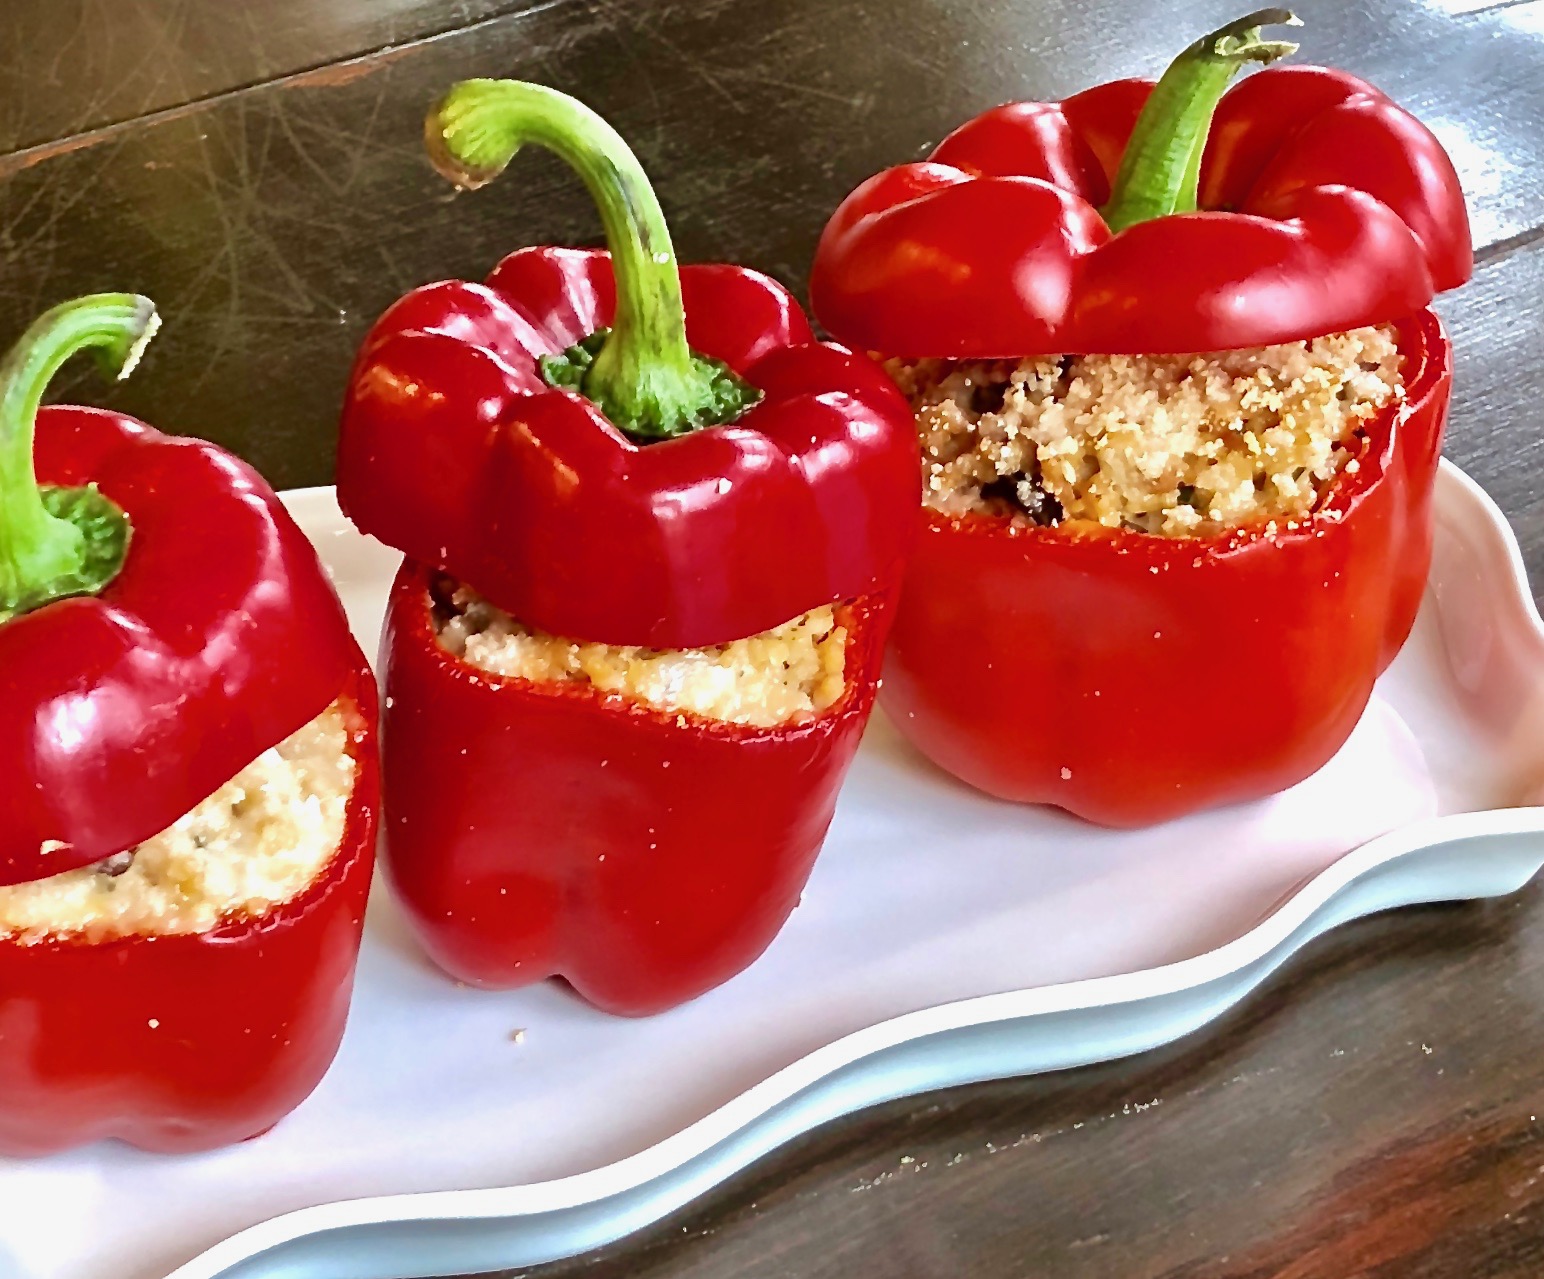
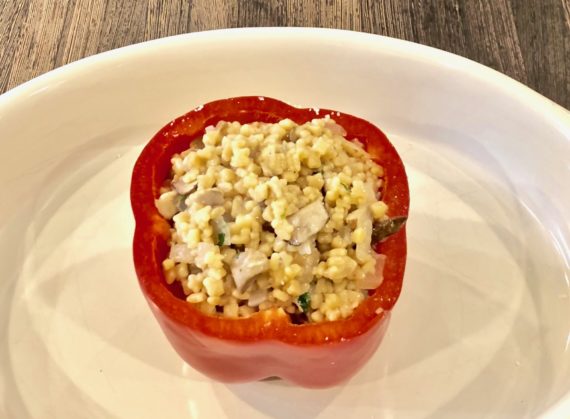
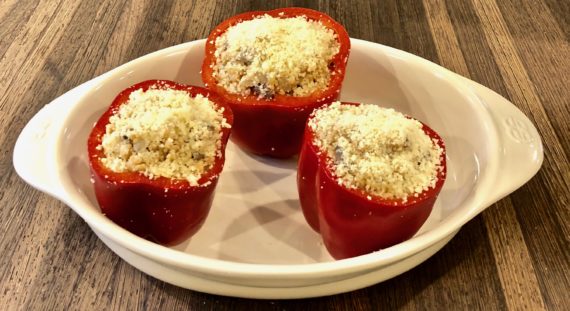
I took a break from soaking in the nice weather and tended to some errands. I was at my local supermarket and saw these big, beautiful bell peppers. Their vibrant color made me think of Spring and I started to daydream about how delicious they might be if I stuffed them. I adapted this recipe from one I saw on Vegetariantimes.com. I changed the vegetarian broth to a chicken broth, but feel free to use whichever you would like. I also simplified the way they baked them!

This is a uniquely versatile recipe because you can use any grain you have in your pantry. You don’t have barley? Try substituting couscous, farro, oats, quinoa or rice. You can also add any kind of vegetable. Just dice them and throw them in the mix after you cook the garlic. In my opinion, red bell pepper, zucchini, eggplant or carrots would add another depth of flavor that would be scrumptious.

Don’t be fooled, this dish really cooks up fast, even though it may look like a lot of steps.  It is so delicious and makes a bold and beautiful presentation. I had some extra filling, so you could easily stuff four or five peppers with it.

This recipe will serve 3 people who will relish this delicious twist on roasted peppers!

Ingredients for Stuffed Red Peppers

3 large red bell peppers
1 cup toasted barley (I use Manischewitz)
3 cups vegetable or chicken broth
2 tbsp. olive oil
1 large onion, peeled and diced
2 cloves garlic, peeled and chopped
6 ounces baby portabella mushrooms, loosely cut
1/2 cup Parmesan-Reggiano cheese, finely grated and divided
Juice of 1/2 lemon
1 tsp. hot pepper sauce
1/3 cup flat leaf parsley, chopped

Preheat oven to 350°F.

Bring chicken broth to a boil and add barley.

Reduce heat to medium-low.

Cook 2 minutes less than instructions.

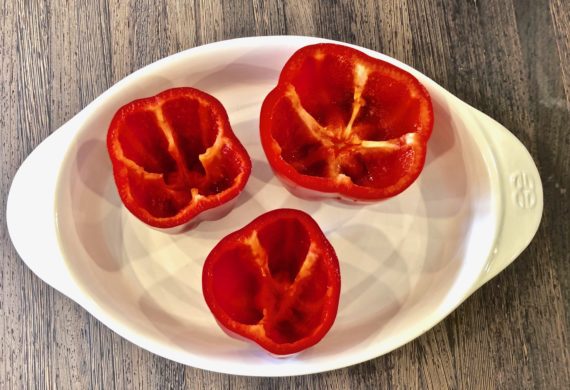
Slice tops off of the red peppers.

Remove seeds and inner membranes.

Reserve tops for later use.

Set aside.

Heat olive oil in large skillet over medium-heat until hot.

Add onion and cook until it becomes translucent, about 5 minutes. 

Stir in garlic and cook for 1 minute.

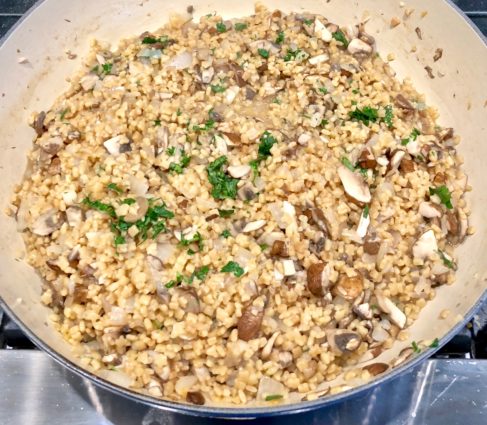
Add barley and any remaining cooking liquid.

Stir until grains are incorporated.

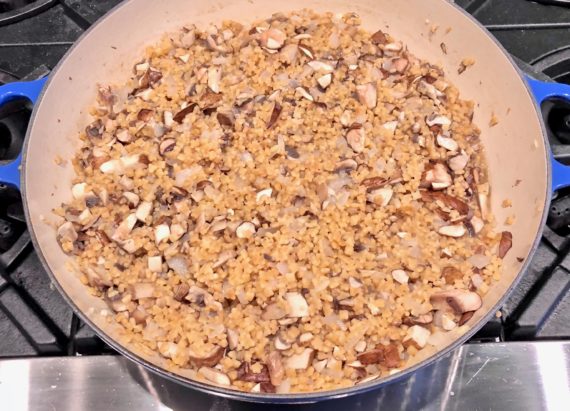
Add mushrooms and remaining 1 cup of vegetable broth and cook until mushrooms soften and liquid is absorbed.

Stir in half of the Parmesan cheese, lemon juice, parsley, hot pepper sauce, salt, and pepper.

Remove from heat.

Stand peppers upright and spoon barley mixture into them.

Place peppers in a casserole dish. cover with foil and bake for 30 minutes.

After 30 minutes, remove the foil and continue to cook until heated through, 15 minutes.

Top with remaining Parmesan cheese.

Place pepper tops back on top for full presentation.

It’s that simple!
signature

[recaptcha]