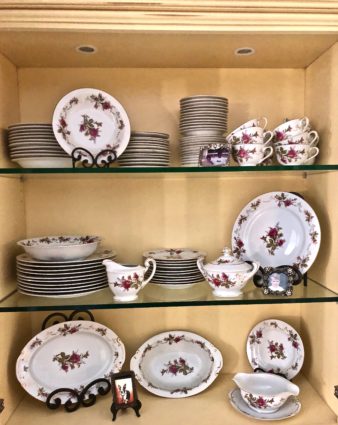
Across all seasons, one of my favorite activities is antiquing. My husband and I go quite frequently, and throughout the years have collected antique china plates. When we got married, we did not have a registry, and fine china was out of the question for me. I never regretted it, and in all probability my taste would have changed and I would not have ended up using it. Also, I wouldn’t have had enough pieces to feed my ever-growing family anyway. I have my mother’s china but I am too afraid to use it. It is beautifully displayed in my glass door cabinets in my kitchen. For years I used glass plates to serve during Thanksgiving because it was affordable and I could easily add on when I needed to.

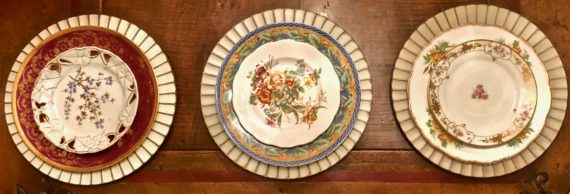
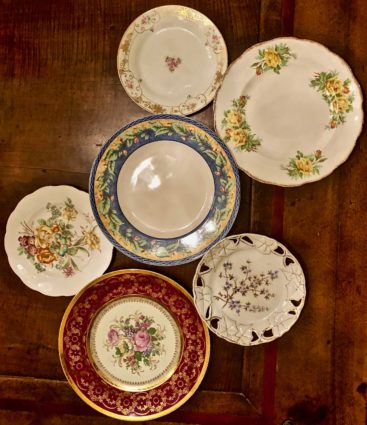
One day I decided I wanted good china, but I did not want it all to have the same pattern. How was I to afford a 60-piece place setting?  There was no replacement.coms where I could buy only one piece. So, whenever my husband and I went antiquing, we would look for one-piece dinner and salad plates, looking for ones that did not have to match. It was fun (and yes, my husband really enjoyed finding them with me) and it took us several years to buy enough so I could use them for holiday dinners. Because I was looking for only one plate, I often got really good deals on expensive plates, because not too many people were out there looking for one piece and not a “set” of plates.

Several years ago, we finally had enough to set our Thanksgiving table with. What a great accomplishment! My husband and I are proud of our china now because we handpicked every plate with love. 
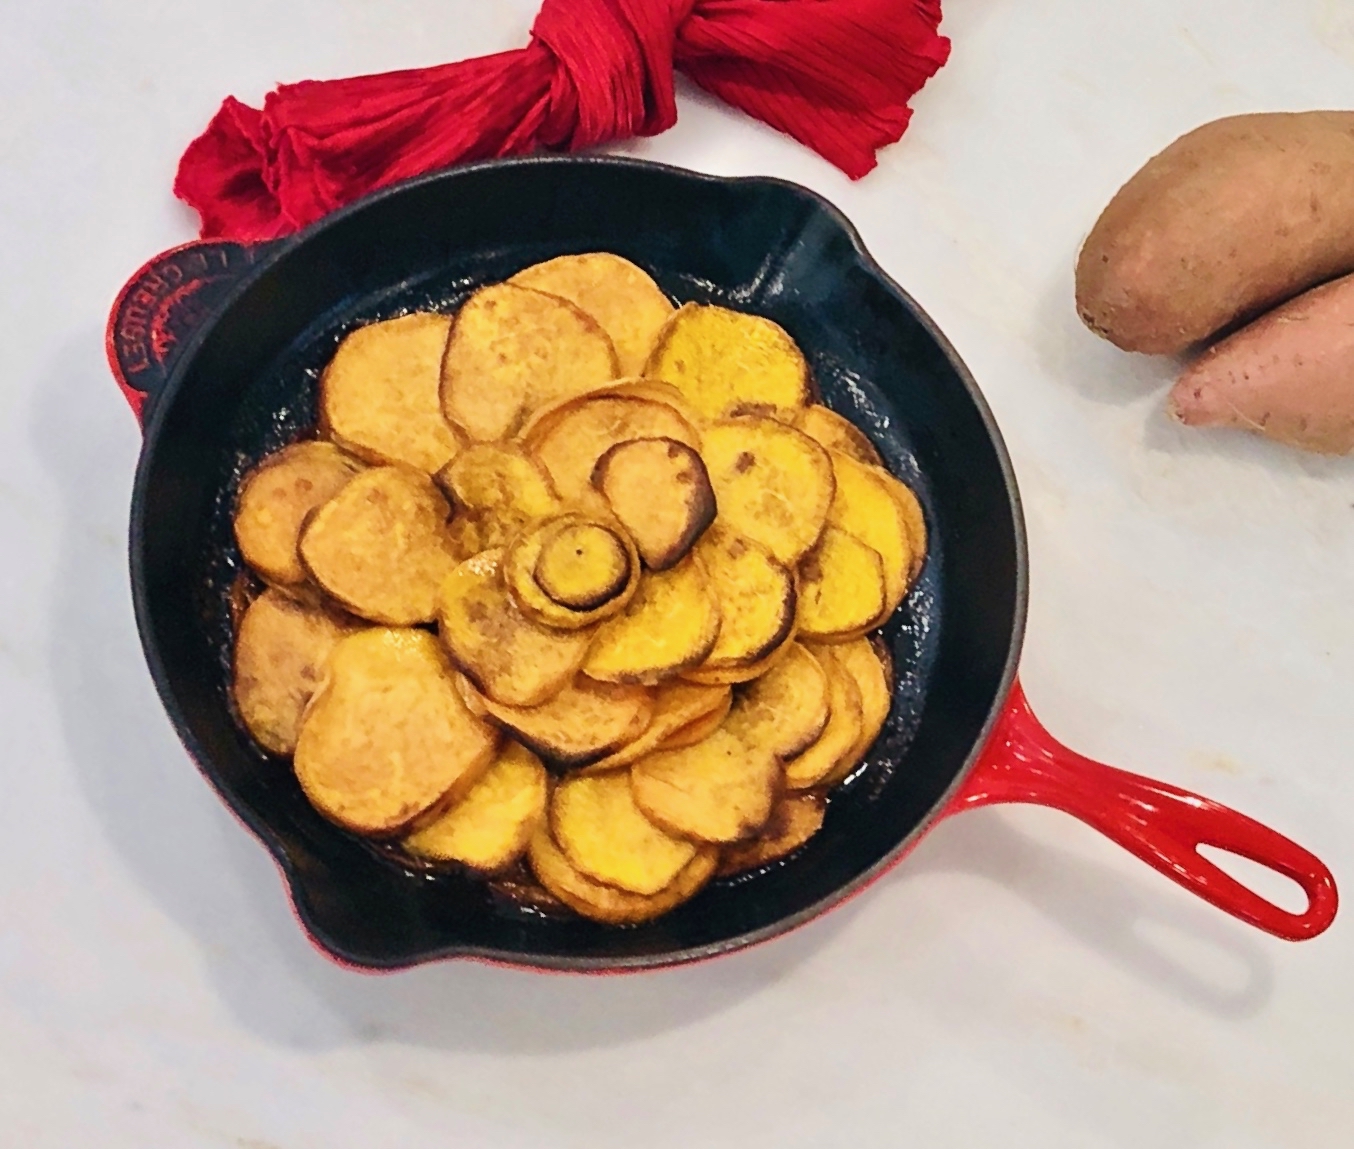
As I promised you, this is another great recipe to make for Thanksgiving. This sweet potato dish is so easy to make, and it makes a beautiful presentation. The author notes, “this is a casserole that is elevated by a nineteenth-century French recipe”. The thinly sliced potatoes become crunchy on the outside and tender on the inside. The five-spice powder combined with the butter and brown sugar enhance the flavor of the sweet potatoes perfectly. Of course, I did not have an oval cast-iron pan, so I used a round one and it came out just as delicious. I also recommend that you use 3-4 sweet potatoes to really make it beautiful. I used two, and it wasn’t enough. I love this recipe for any holiday or Sunday dinner.

This recipe is courtesy of the book Staub, which is chock full of wonderful recipes. It will serve 4 to 6 people who will want to emulate this beautiful dish everytime they entertain.

Ingredients for Sweet Potatoes Pomme Anna:

2 pounds sweet potatoes, peeled and thinly sliced
1/2 cup unsalted butter
2 tbsp. brown sugar
1/2 tsp. five spice powder
1 tsp. salt, plus more for sprinkling
Pinch of freshly ground black pepper

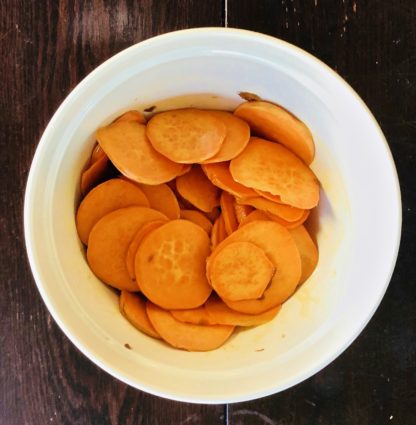
Using a knife or a mandoline, thinly slice the sweet potatoes 1/8-inch thick.
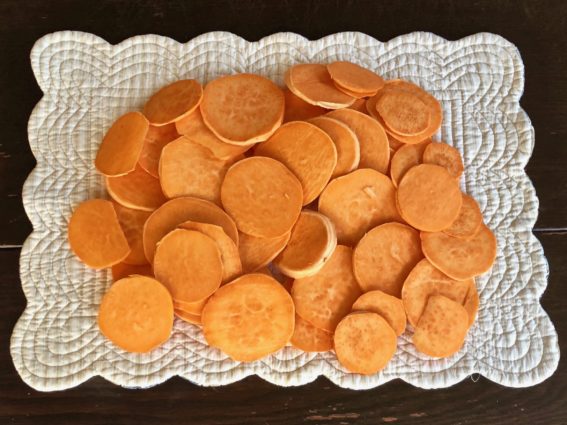
Place slices in a large bowl.
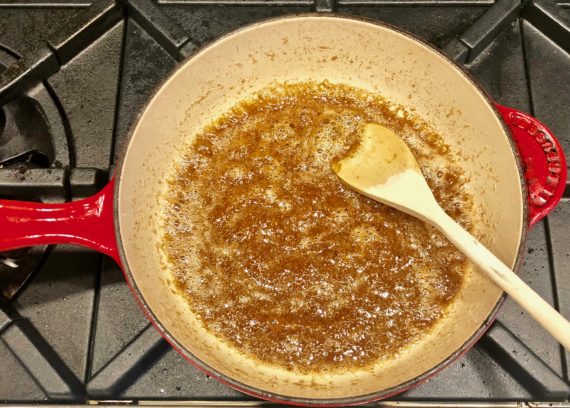
In a small cast-iron fry pan, combine the butter, brown sugar, five-spice powder, salt, and pepper.

Place over medium heat and stir until the butter is completely melted.
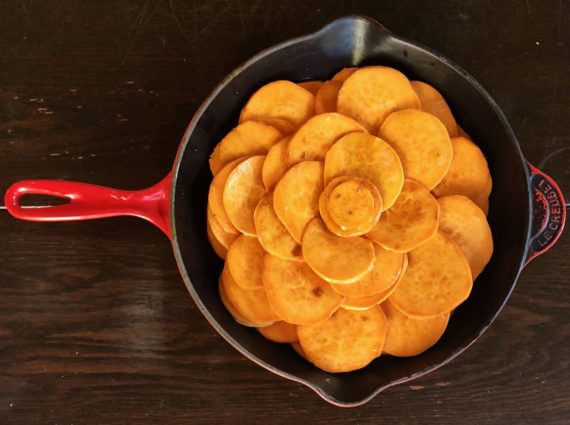
Toss the butter mixture with the sweet potatoes, making sure the sweet potatoes are evenly coated.

Arrange the sweet potatoes in a single layer in a medium oval cast-iron roasting pan or fry pan, overlapping the slices slightly.
Sprinkle with salt.

Bake for 40 to 45 minutes, until the potatoes are fork tender and the edges are golden brown.

Serve warm.

It’s that simple!
My Mom’s china
signature

[recaptcha]


Sometimes the simplest of foods cooked with the simplest of ingredients are simply the best. Roasting any vegetable with a little olive oil, lemon, salt, and pepper will yield the most amazing results. When I am short on time in the kitchen, that is my go-to way of preparing them. Of course, you can add anything else you would like, but if you ask me, simple is always best.

There is one exception, however: when cheese is involved. And lots of it. Some say “anything fried is good”, and I say “anything with melted cheese is good” too. Because let’s face it, it just is. Take your plain roasted broccoli, asparagus, potatoes or carrots, place them back in the oven with the cheese on it until it just melts and it is doubly delicious. You can also sprinkle any cooked dish with some Parmesan cheese which will always make it even better.

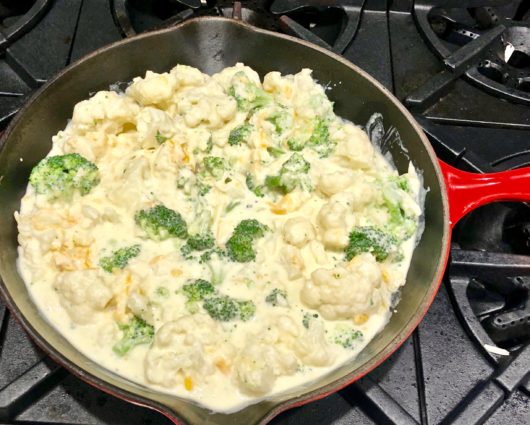
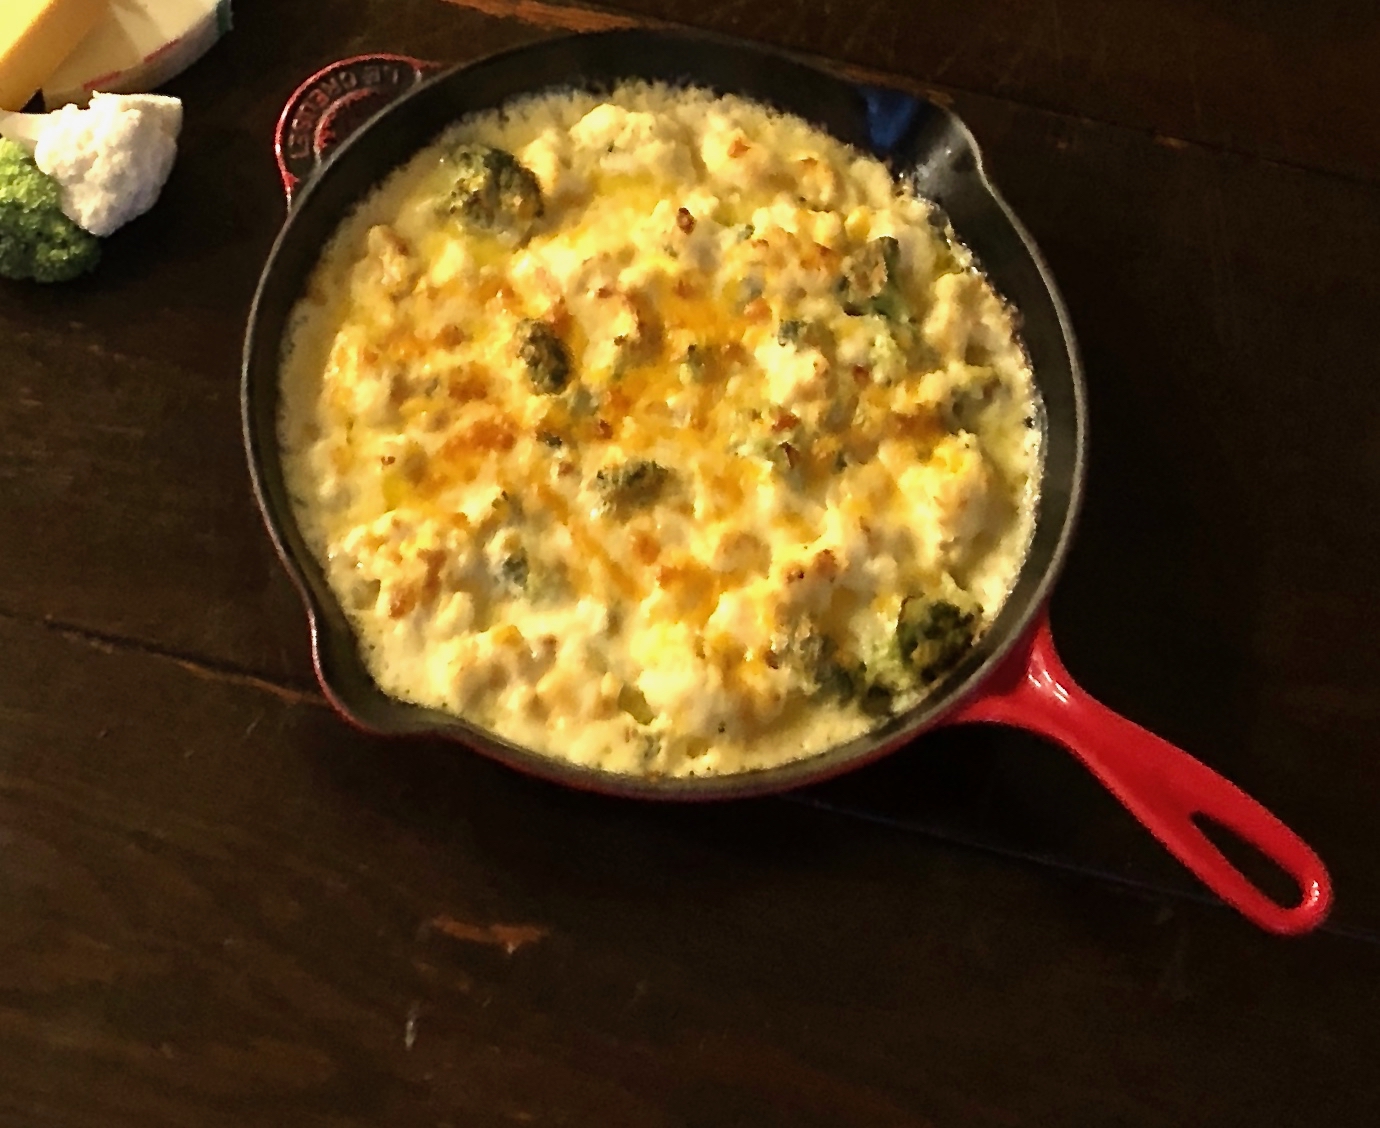
This Three-Cheese Cauliflower is absolutely amazing! The author prepares a “roux” which is a mixture of butter and flour and adds some Dijon mustard to it which makes it lip-smacking good. I do not get to use bay leaves often, and each time I do they provide a savory aroma. The mixed cheeses really make this cauliflower recipe a comfort dish. Who would have thought cauliflower could be comfort food? I added some broccoli to the recipe. Try this now and thank me later.

This recipe is courtesy of the book Cherry Bombe and will serve 6 people who will get lost in this cheesy and creamy concoction.

Ingredients for Three Cheese Cauliflower Gratin

Kosher Salt
4 bay leaves
1 1/2 tsp. whole black peppercorns
1 head cauliflower, cut into large fillets
1 bunch broccoli florets
4 tbsp. unsalted butter
1 tbsp. Dijon mustard
3 tbsp. all-purpose flour
1 cup whole milk
1 cup heavy cream
2 cups shredded mixed cheeses (provolone, smoked cheddar and/or medium cheddar)
Freshly ground black pepper
Smoked sea salt (for finishing-optional)

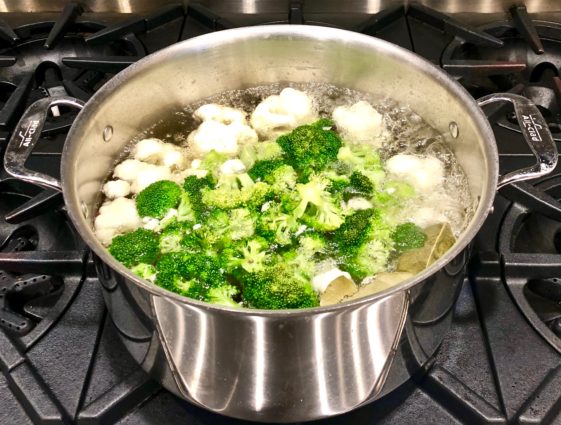
Bring some salted water to a boil in a large stockpot.

Add the bay leaves and peppercorns.

Blanch cauliflower and broccoli for 4 minutes, until tender and firm. 

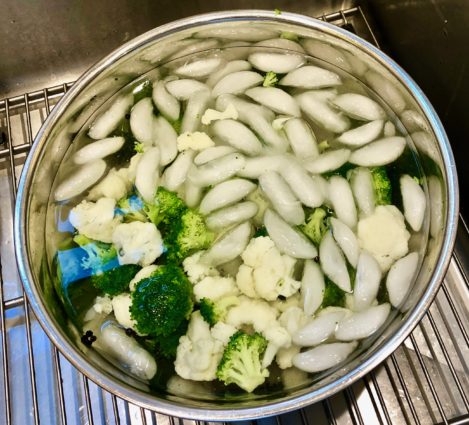
Drain and place in ice bath.

Remove from ice bath and set the florets in a large bowl.

Preheat oven to 400°F.

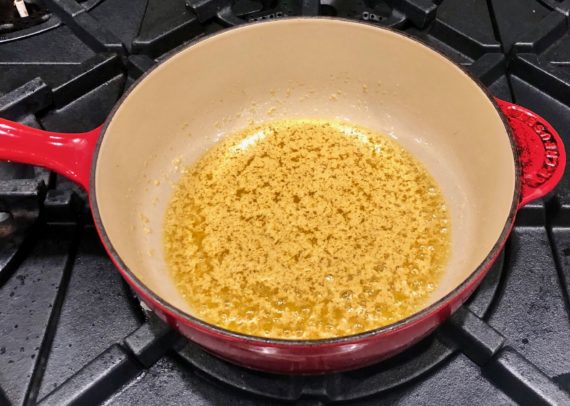
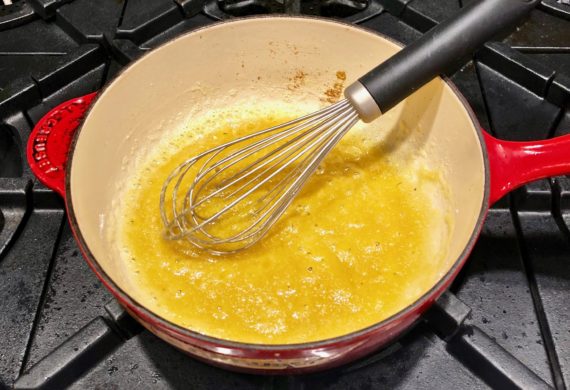
Melt the butter with the Dijon mustard in a medium saucepan over low heat. 

Cook for 1 to 2 minutes, allowing the mixture to brown slightly. 

Add the flour and cook, stirring continuously with a wooden spoon, for 2 minutes. 

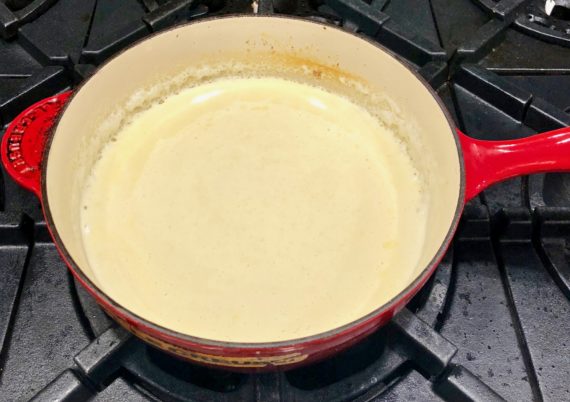
Working gradually, whisk in the milk and the cream.

Increase the heat to medium, bring to a boil, then remove from the heat and stir in the cheese.

Pour over cauliflower and broccoli and gently toss to combine.

Season with salt and pepper.

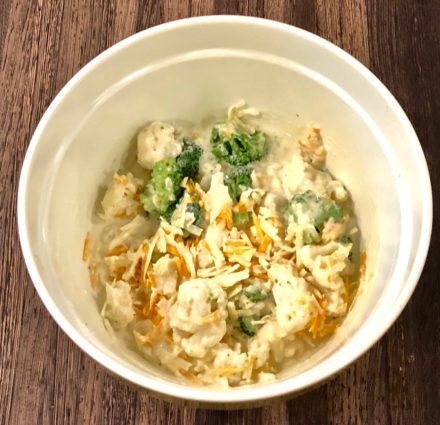
Fill a 10-inch cast iron skillet with the cauliflower mixture, top with additional cheese and bake for 20-25 minutes, until the top is browned.

Put a baking sheet on the rack underneath the skillet to catch any cheese that might bubble over.

Remove from the oven, finish with smoked salt and serve.

It’s that simple!

signature

[recaptcha]


I keep a journal of cooking tips for my nieces. In all the years I have been cooking, I certainly have learned a few things that I would love to share. Remember, no matter how long you do something, whether it be professionally, or at home, there is always something to be learned. Here are some tips from my journal to help you become a better cook.

Prepare all your ingredients first. This is called a “mis en place”. It makes the cooking time go by faster, allows you to be in the moment and enjoy the fun of cooking.

When following a recipe for cooking meat, never cook the meat for as long as the recipe says. Most cookbooks are required to give you a certain time or temperature for health reasons. Always cook your meat ten minutes less and ten degrees less than they tell you. If you feel it is too undercooked, keep it in longer and check it at 1 or 2-minute increments. And remember, the meat will continue to cook when you take it off the heat, so be sure to factor that in as well.

Don’t skimp on the mixing process. Take your time and mix ingredients well. This is a very important step.

When boiling water for pasta, add a hearty palmful of salt. This will be the only time you get to season it. Cook the pasta 2-4 minutes less than the package instructions if you are going to place it in the oven. Always save 1 cup of pasta water. This can be used to thicken the sauce you are preparing the pasta in. Never rinse pasta!

When preparing grains cooking times can vary. When in doubt, taste them. If the grain is not as tender as you would like, add some more broth or water and continue cooking. If they seem fine before the liquid is done, simply drain it. Also, cooking them in chicken or vegetable broth will add flavor to them. Most grains soak up these flavors beautifully.

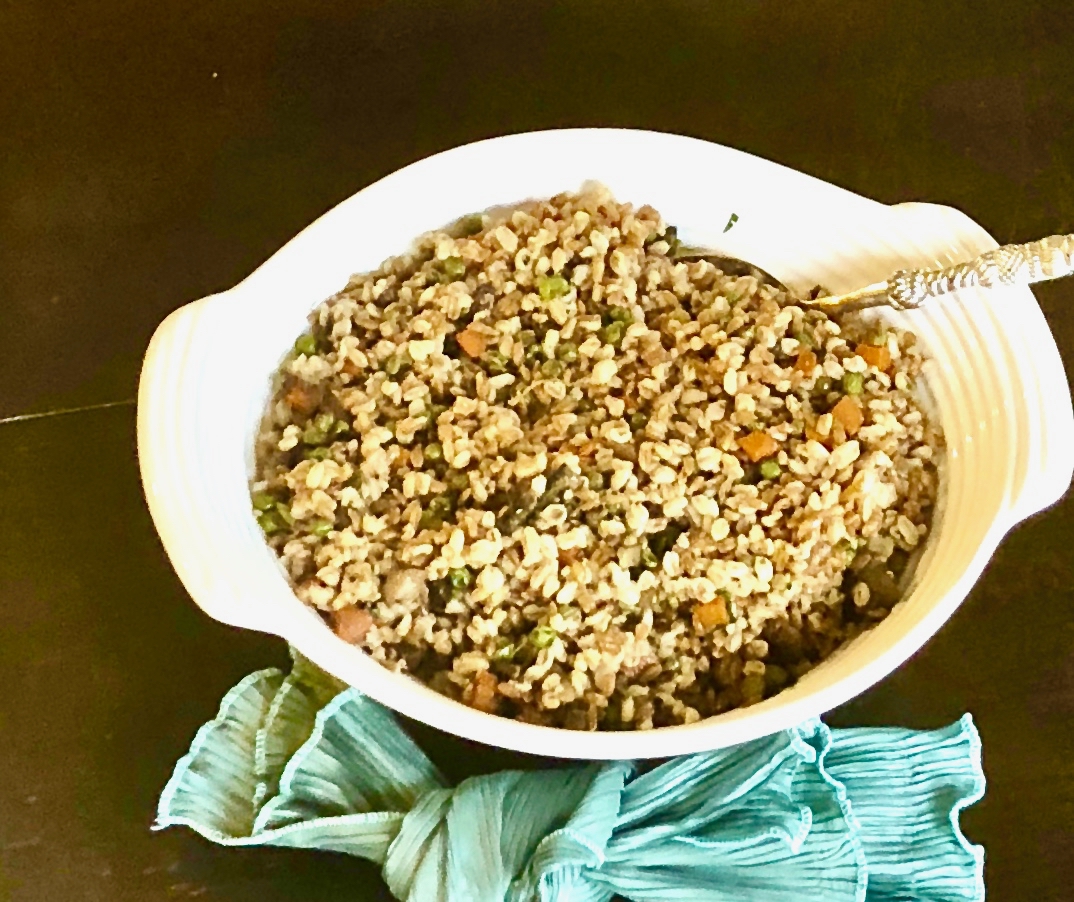
You do not have to follow a recipe exactly. Like this farro recipe for example, if you don’t like mushrooms, just leave them out. Add a little more garlic if you want. Don’t be afraid to make it your own!

When it comes to grains, this recipe is about as easy as it gets. The farro does not take a long time to prepare, and it adds a wonderful texture and flavor to this dish. The mushrooms and carrots are extremely well-paired. The peas provide beautiful color and tiny little bursts of sweetness. The dressing for this dish has a creamy, yet sharp zing to it.

This recipe will serve 4-6 people who will be delightfully surprised with the depth of flavor this simple dish provides.

Ingredients for Farro with Mushrooms and Peas

1 cup organic cooked farro
8 ounces baby bella mushrooms, cleaned trimmed and sliced
1 cup frozen peas
1 cup carrots, diced
2 garlic cloves, chopped
1/4 cup fresh basil leaves, julienned or chopped
2 1/4 cup of chicken broth
2 tbsp. olive oil
1/2 tsp kosher salt
1/4 tsp. freshly ground black pepper

Ingredients for the dressing

3 – 4 tbsp. cup good-quality red or white wine vinegar.
1 tbsp. Dijon mustard
1 1/2 tbsp. maple syrup
1/2 tsp. kosher salt
1/4 tsp. freshly ground black pepper
1/4 cup good extra-virgin olive oil

Cook farro according to package in instructions, but use the chicken broth instead of water.

Drain farro and set aside.

In a large, deep skillet, heat 2 tablespoons olive oil.

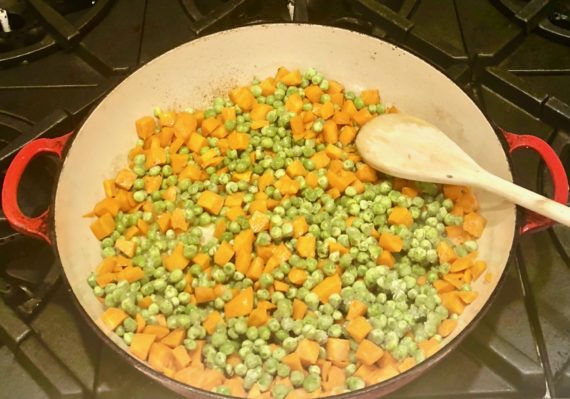
Add carrots and peas; sauté for 5 minutes, or until carrots are soft.

Add garlic, cook for 1 minute.

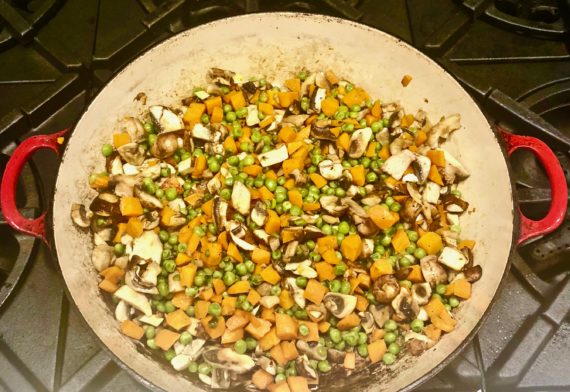
Toss in mushrooms, continue to sauté for 4-5 minutes.

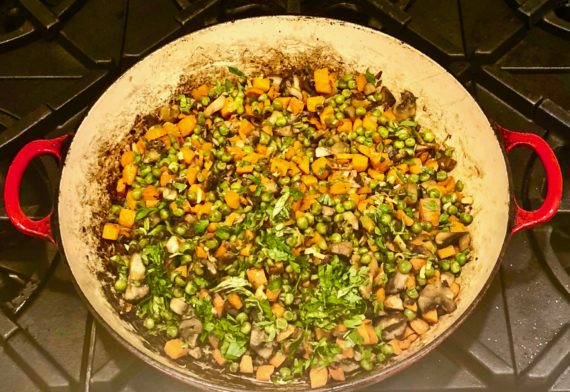
Now add the basil, salt, and pepper. Cook for 1 minute.

Remove from the heat, and toss in the farro.

Mix gently to combine.

Make the dressing:

Mix first 5 ingredients in a small bowl.

Slowly whisk in olive oil.

Pour over farro mixture and gently mix together.

It’s that simple!

signature

[recaptcha]


When I had my new countertops put in my kitchen, the installer told me to clean them with Barkeeper’s Friend. I then learned that it could also be used to clean pots. I had some outdated farberware pots that my mother gave me when I got married. They are old, and they surely looked it. They had many black burn stains on them, and some of them had bright copper bottoms that had turned completely black. I never really used them anymore, but I kept them for their sentimental value. One day, I thought to try to clean them with Barkeeper’s friend. 

What amazing results! All of the black burns came off, and the copper bottoms were completely clean. I didn’t even have to scrub that hard. I was elated! I used it to clean some of my older cast iron pots that had black burn marks, and those disappeared as well. All of my pots looked like new again. Now I use Barkeeper’s friend to clean all my pots. This cleaner is truly remarkable. If you have a cast iron skillet, and are confused how to clean it, now you know. This cleaner takes all the mystery out of spotless pots and pans, and especially how best to clean a cast iron skillet. 

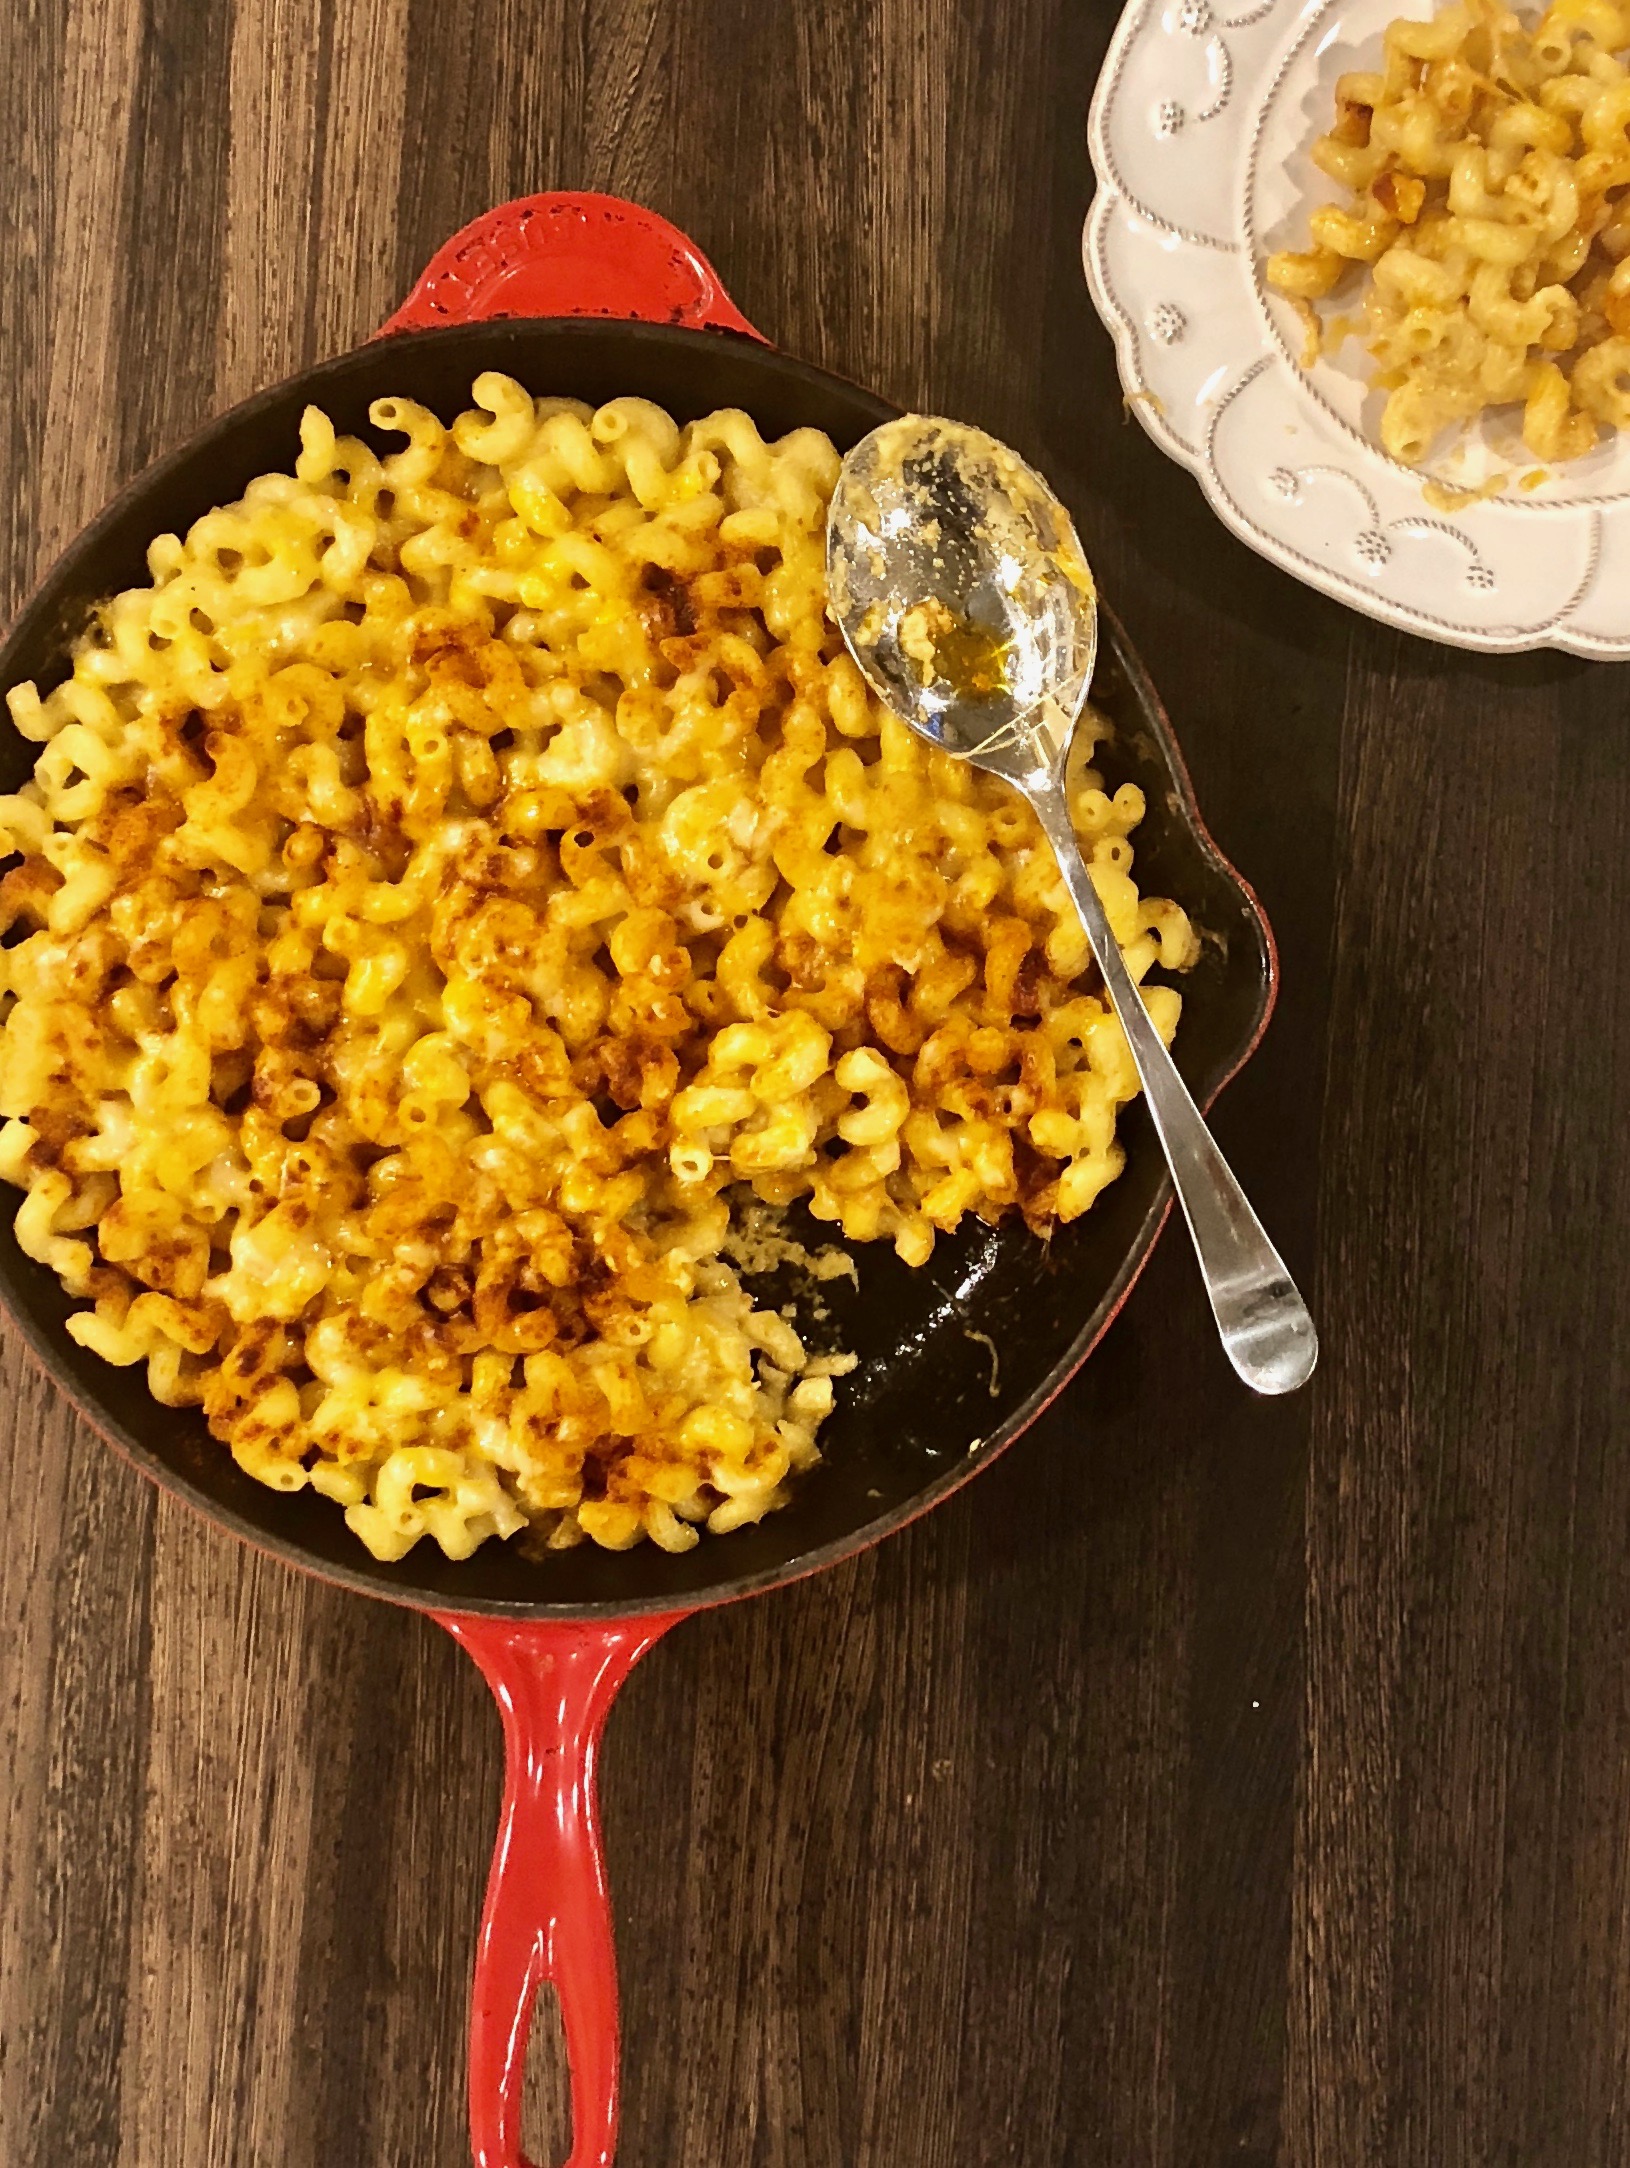
I love using my cast iron skillet to cook and bake. It distributes heat evenly and is now easy to clean. There are going to be a lot of future skillet recipes to come, and here is the first of many. 

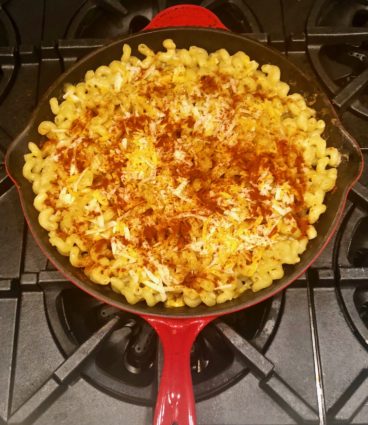
This mac and cheese is amazing. Just to note: I used 2 1/2 cups of sharp cheddar cheese and 2 1/2 cups of gruyere. I also heated the skillet before I used it, because that’s the way it should be done. Mac and cheese has always been everyone’s favorite comfort food, and this recipe will not disappoint. The sharpness of the cheddar cheese blends beautifully with the smoothness of the gruyere. The Worcestershire sauce adds a savory note, while the paprika gives it a beautiful color and a nice little kick. This recipe is a “must try”.

This recipe is loosely adapted from Tasteofhome.com and will serve 8 people whose tastebuds will be delightedly swimming in creamy, delectable cheese.

Ingredients for Homey Mac and Cheese:

2 1/2 cups uncooked elbow macaroni (I used small campanelle)
1/4 cup butter, cubed
1/4 cup all-purpose flour
1/2 tsp. kosher salt
1/4 tsp. freshly ground black pepper
3 cups 2% milk
5 cups shredded sharp cheddar cheese, divided (or 2 1/2 cups sharp cheddar and 2 1/2 cups gruyere)
2 tbsp. Worcestershire sauce
1/2 tsp. paprika
2 tbsp. olive oil

Preheat oven to 350°F.

Place 10-inch skillet in oven for 10 minutes to heat.

Cook macaroni 2 minutes less than package directions. 

Drain and set aside.

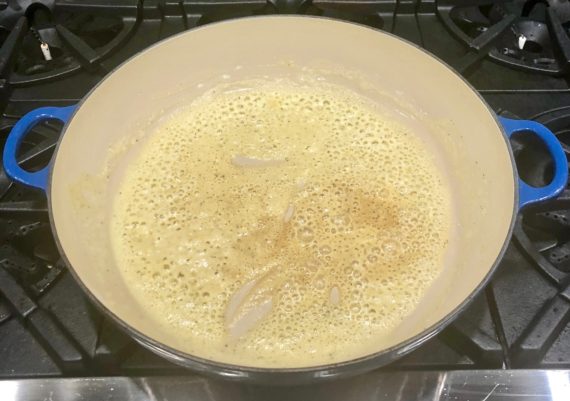
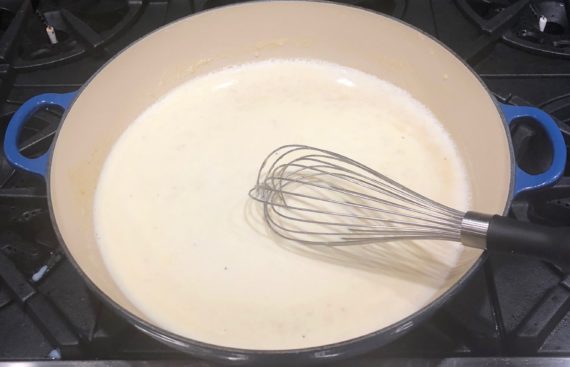
In a large saucepan, heat butter over medium heat. Stir in flour, salt and pepper until smooth.

Gradually whisk in milk.

Bring to a boil, stirring constantly.

Cook and stir until thickened, 2-3 minutes.

Reduce heat.

Stir in 3 cups cheese and Worcestershire sauce until cheese is melted.

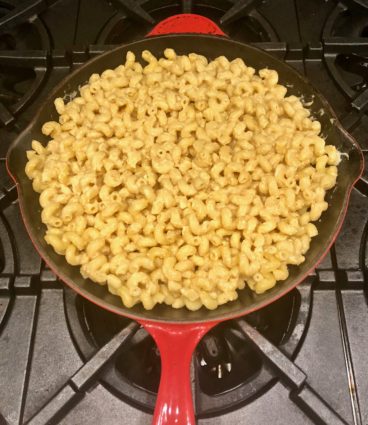
Add macaroni to cheese mixture.

Place 2 tbsp. olive oil into skillet.

Roll the oil around the sides and bottom of the pan.

Transfer mac and cheese to skillet.

Bake uncovered, 20 minutes.

Remove from the oven, top with remaining cheese.

Sprinkle with paprika. (Okay, so I used more than 1/2 teaspoon, use as much as you want!)

Bake until bubbly and cheese is melted, 5-10 minutes.

It’s that simple!

I wish they could bloom like this all year long!

signature

[recaptcha]


I am always looking for a good recipe to use my fresh, locally grown produce. This one met all of my requirements and exceeded all of my expectations.

Corn pudding, for those of you who do not know, is a traditional Southern side dish. I personally love southern cooking and have a whole bunch of cookbooks that I use regularly. I had so much corn I decided to try this recipe immediately, but in the South corn pudding is usually served at Thanksgiving.

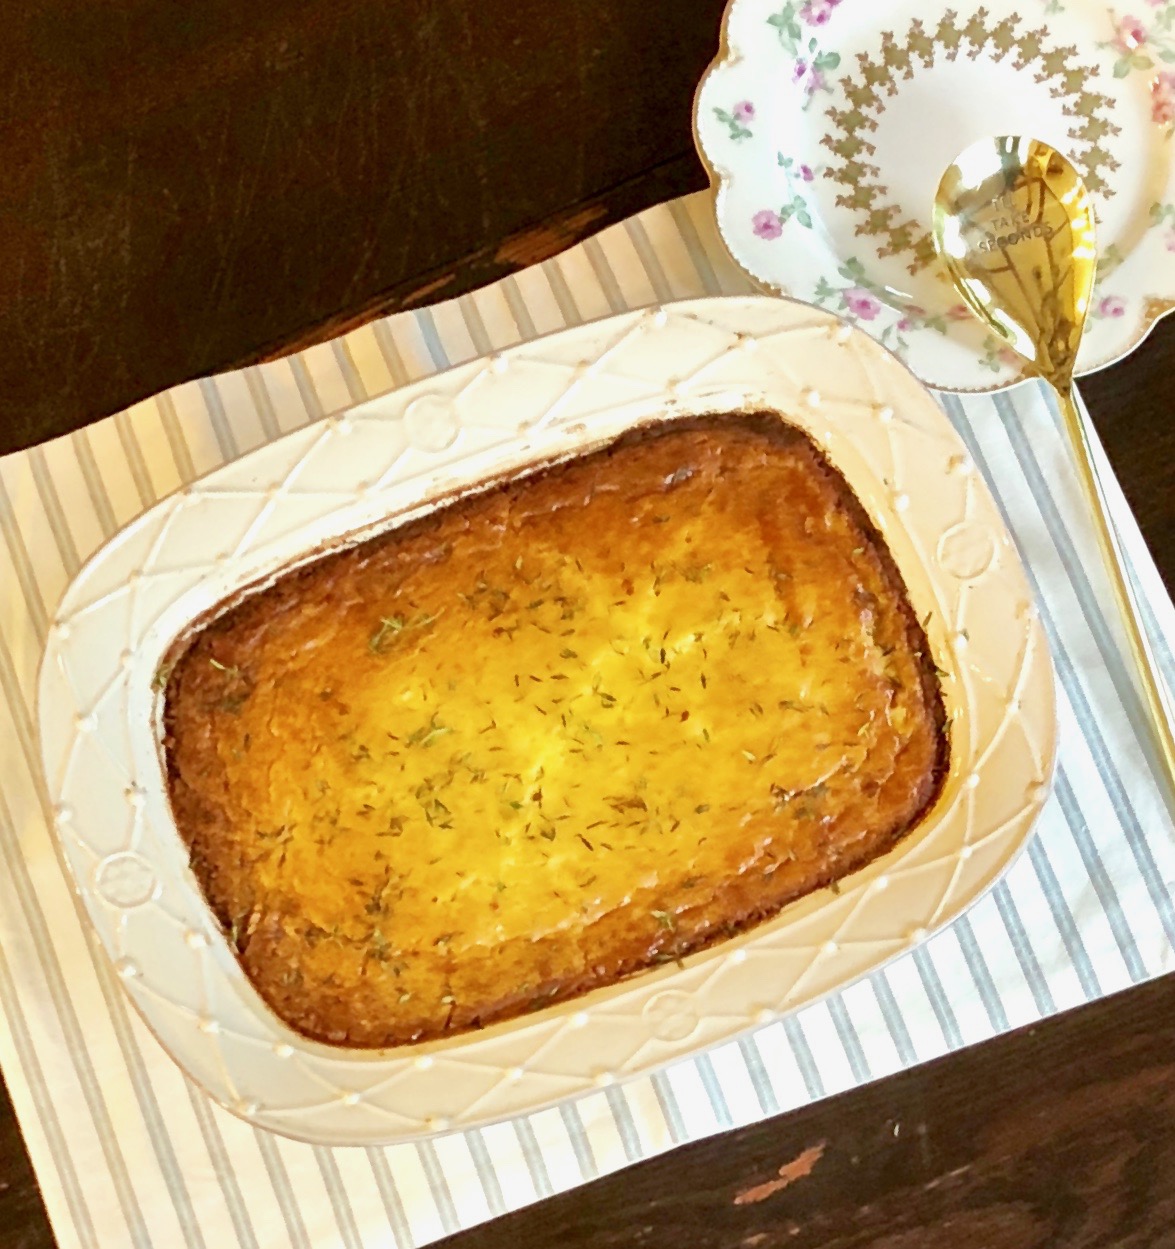
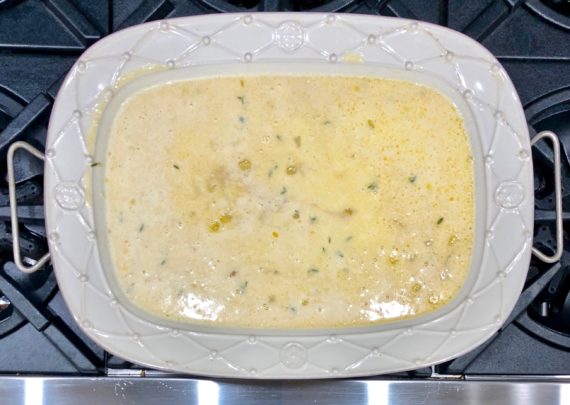
The author of this recipe notes, “although corn pudding is considered to be a casserole, this one has a rich, soft texture that is almost dessert-like”. Truer words have never been written. I was licking the spoon to save calories, but I really wanted another piece! The author also instructs you to make sure the top is golden brown around the edges and jiggly in the center. That is exactly how mine came out. This corn pudding has a creamy, soft texture that makes it taste like a soufflé without all the work!

The reason why I loved this recipe is that it didn’t call for the usual cast of characters, such as cornmeal, nutmeg, creamed corn, or cheese. It is made with all fresh ingredients, including onions and thyme which make it wonderfully aromatic and savory in taste. You can even make it 2 days ahead and keep it chilled. To reheat, just cover with foil.

You may not be ready to start planning out your holiday meals yet, but I would make sure to keep this one in the back of your mind, I know I will. This delightful corn pudding was very light yet creamy, making it the perfect comfort food. Each bite will leave you wanting more. Why not give it a try now, just to see if you will want it to be included on your holiday menu?

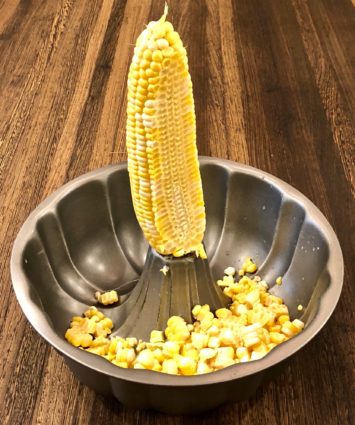
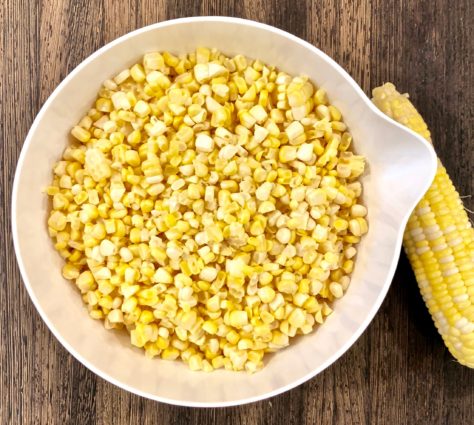
Today’s Hint: To cut the kernels off of the cob, stand the corn on the middle part of a bundt pan. The hole in the middle will allow you to support the corn cob securely. Using a sharp knife, cut the kernels off from the top down. Cut all the way around the cob. The kernels will fall right into the pan. Easy cleanup!

This recipe is courtesy of SouthernLiving and will serve 12 people who will be licking their plates clean just as I did!

Ingredients for Savory Corn Pudding:

3 tbsp. all-purpose flour
2 tbsp. granulated sugar
2 tsp. baking powder
2 tsp. salt
6 large eggs
2 cups heavy cream
1/2 cup salted butter, melted and cooled
2 tbsp. canola oil
6 cups fresh corn kernels (about 8 ears)
1/2 cup chopped sweet onion (about 1 onion)
2 tbsp. fresh thyme, divided and chopped

Preheat oven to 350°F.

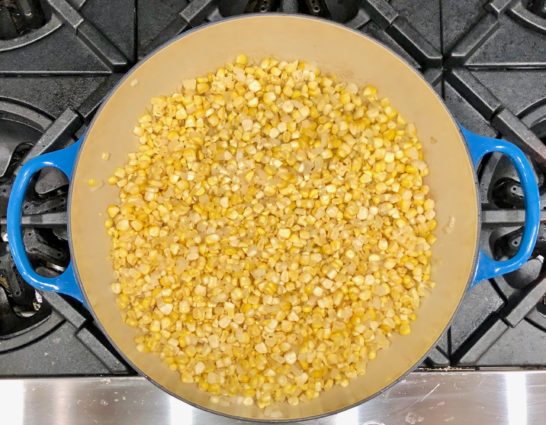
Cut kernels off of the corn. 

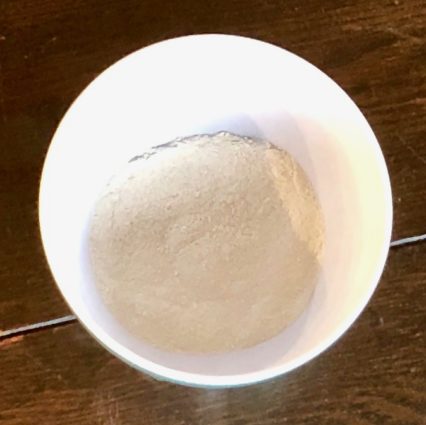
Stir together flour, sugar, baking powder, and salt in a small bowl until blended.

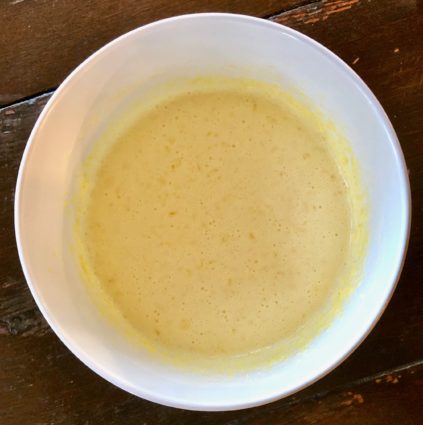
Whisk together eggs, cream, and melted butter in a medium bowl until blended.

Heat canola oil in a large skillet over medium-high heat.

Add the corn and onion, and cook, stirring often, until onion is softened, about 15 minutes.

Stir in 1 tablespoon thyme.

Remove from heat, and let cool slightly, about 5 minutes.

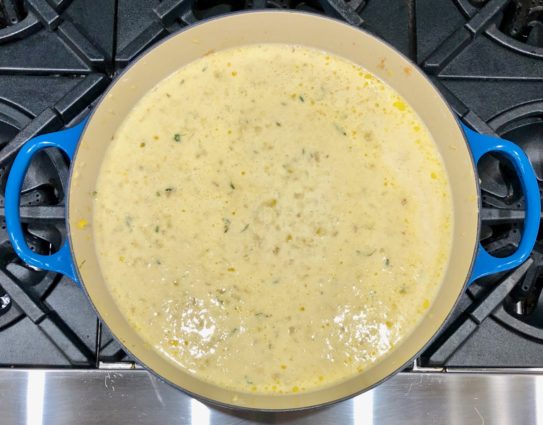
Stir flour mixture and egg mixture into corn mixture. 

Spoon into a 13-x 9-inch (3-quart) baking dish and bake in preheated oven until set and golden brown, about 40 minutes.

Let stand 5 minutes before serving.

Sprinkle with remaining 1 tablespoon thyme.

It’s that simple!

signature

[recaptcha]