Spring and summer are the perfect time to go to your local farmers market and snatch up all the wonderful produce. Visiting my local farmers market is one of my favorite pastimes in the summer. There is nothing better than knowing you are buying fresh, quality fruits and veggies at affordable prices while contributing to the local economy. (I will go into that more on my next post.)

Once you’ve acquired fresh produce, you can add it seamlessly to your summer grilling routine. While juicy burgers, steaks, and even vegetables are classic summer staples, did you know that you can also grill fruits like peaches, pears, pineapple, or watermelon? The grilling process caramelizes the natural sugars, making the fruits even more sweet and delightful.

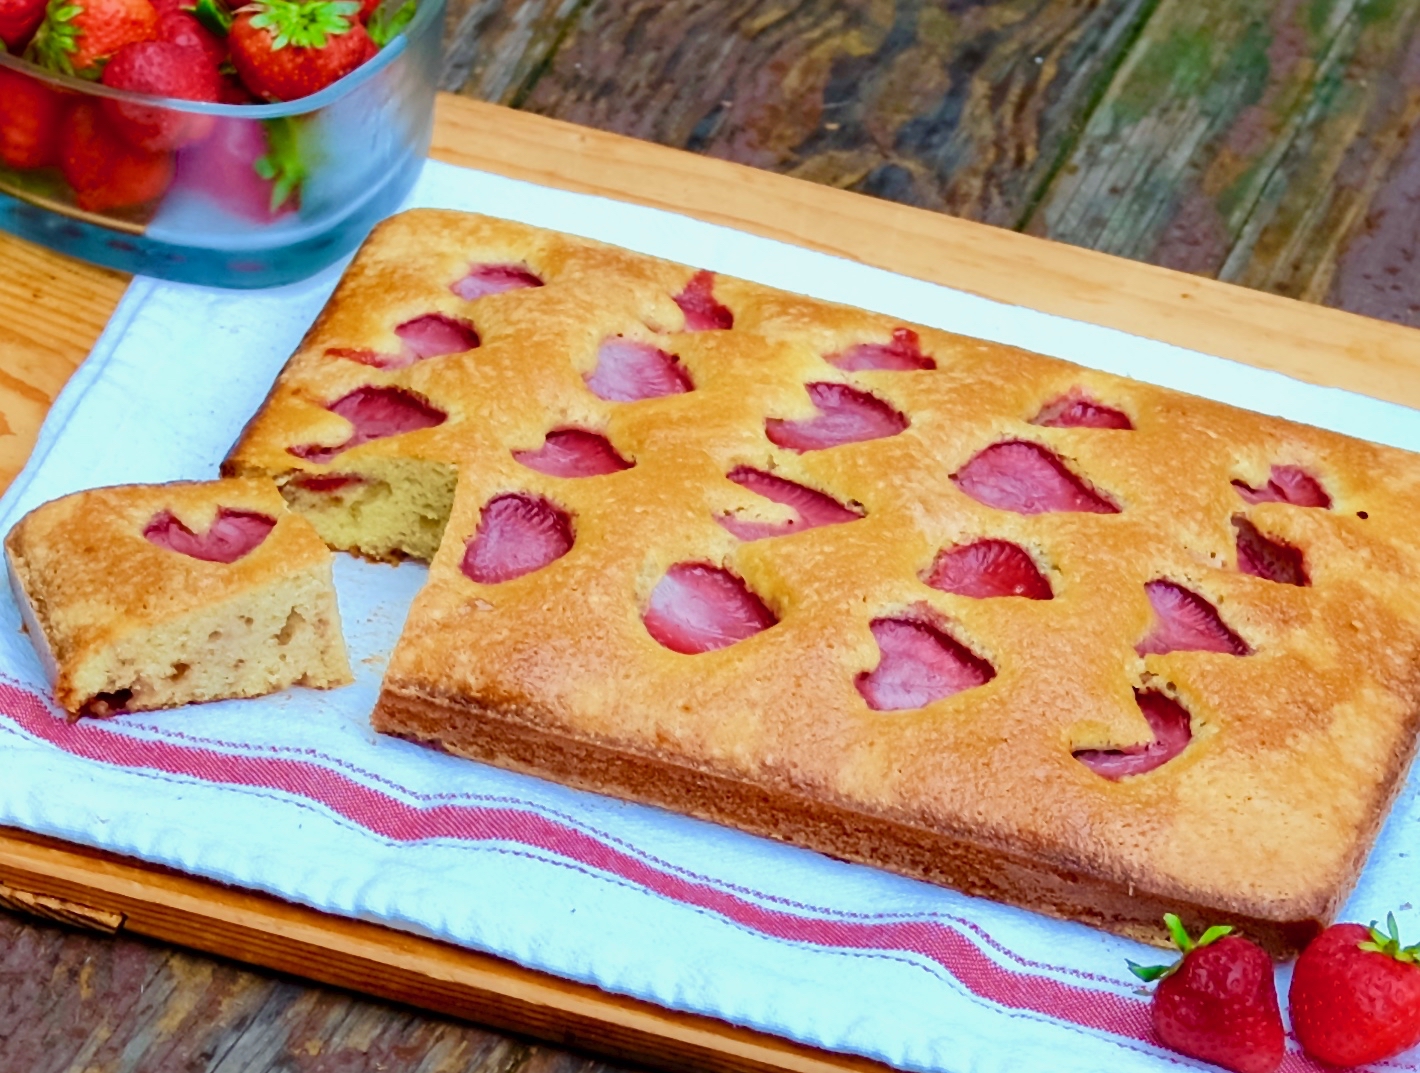
On a recent trip to my farmers market, the beautiful color and smell of the fresh strawberries (as well as a dozen other little prizes) caught my eye.  The jewel-like strawberries inspired me to make this recipe. I love the name “Strawberry Snacking Cake,” since that is exactly what it is. It looks beautiful and tastes incredible.

Strawberry jam is swirled into the middle of this cake, giving it additional sweetness and a lovely surprise when you cut into it. The lemon juice and zest add a citrusy zip, and the sour cream gives it creamy goodness. There is a good dose of vanilla which brings a savory essence. This is an extraordinary dessert to bring to any summer celebration. It is so easy to prepare, yet people will think you were baking all day. Put this on your “must try” list–you won’t be sorry!

This recipe is courtesy of Bonappetit and serves 6 to 8 people who will eat every last morsel of this summery treat.

Ingredients for Strawberry Snacking Cake:

8 ounces strawberries, hulled and thinly sliced lengthwise
1 cup plus 3 tablespoons sugar, divided, plus more for the pan
Kosher Salt
3/4 cup extra-virgin olive oil, plus more for pan
1 1/2 cups all-purpose flour
1/2 cup fine-grind cornmeal
1/2 teaspoon baking powder
1/2 teaspoon baking soda
3 large eggs
2 large egg yolks
1/2 cup plus 2 tablespoons sour cream
Finely grated zest of 2 lemons
3 tablespoons fresh lemon juice
2 teaspoon vanilla
1/2 cup strawberry jam 

Preheat oven to 350 degrees F.

Gently toss strawberries, 1 tablespoon sugar, and a pinch of salt in a medium bowl.

Let sit, stirring occasionally, until ready to use.

Grease a 13 x 9-inch pan with oil.

Line with parchment paper, leaving an overhang on the 2 long sides.

Grease parchment with oil. Generously sprinkle pan and parchment with sugar, tilting to coat pan in an even layer; tap out excess.

Whisk flour, cornmeal, baking powder, baking soda, 1 cup sugar, and 1 teaspoon salt in a medium bowl.

Whisk eggs, egg yolks, sour cream, lemon zest, lemon juice, and vanilla in a large bowl until well combined.
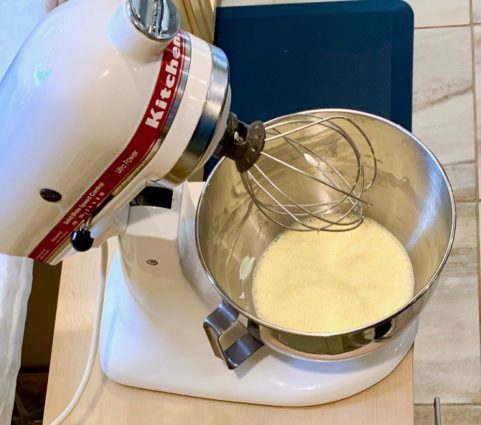
Add dry ingredients to sour cream mixture and whisk gently to combine.
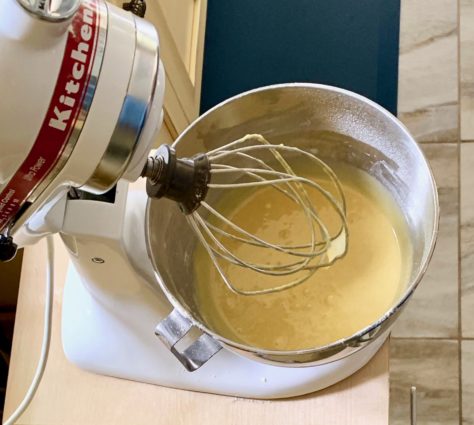
Using a spatula, gradually fold in 3/4 cup oil until batter is smooth and homogenous with all of the oil incorporated.
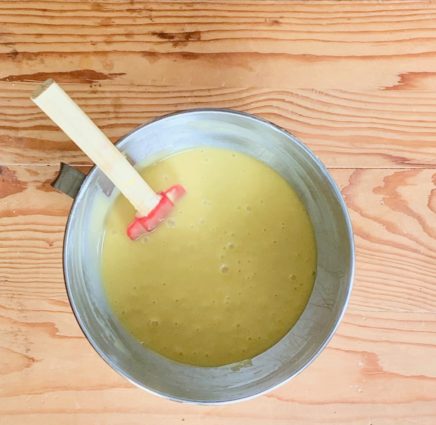
Scrape batter into prepared pan and spread evenly. 

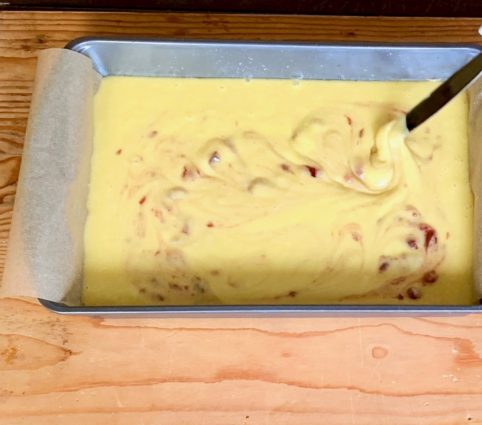
Using a small spoon, dollop jam onto surface.

Using a butter knife or small offset spatula, gently swirl jam into batter.
Arrange reserved strawberries on top of batter in even rows, touching at widest points.
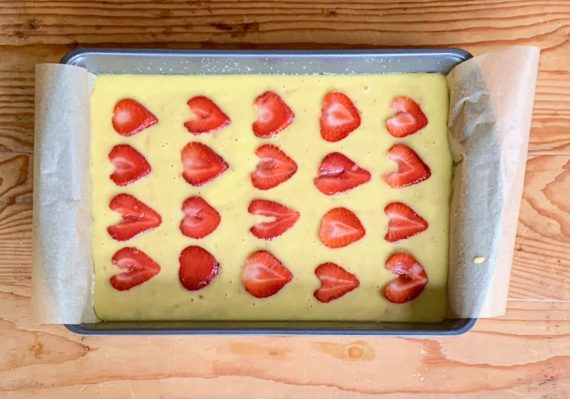
Sprinkle all over with remaining 2 tablespoons of sugar.

Bake, until risen and deeply bronzed with no damp spots in the middle and a tester inserted into the center of the cake comes out clean, 40 to 45 minutes.

Do ahead: Cake can be made 4 days ahead. Cover with foil and store at room temperature.

It’s that simple!

My garden is starting to grow beautifully after all that rain!
signature

[recaptcha]


Looking back at which of my posts received the most likes, I notice that my readers tend to approve the heartier recipes.  The “healthier” recipes do not do as well. Surprising no one, the pasta and dessert recipes are always favored more than vegetables and lighter fare. I know there are a lot of health-conscious bloggers out there, but it seems like folks read my blog to find meals that will leave guests feeling truly satiated.

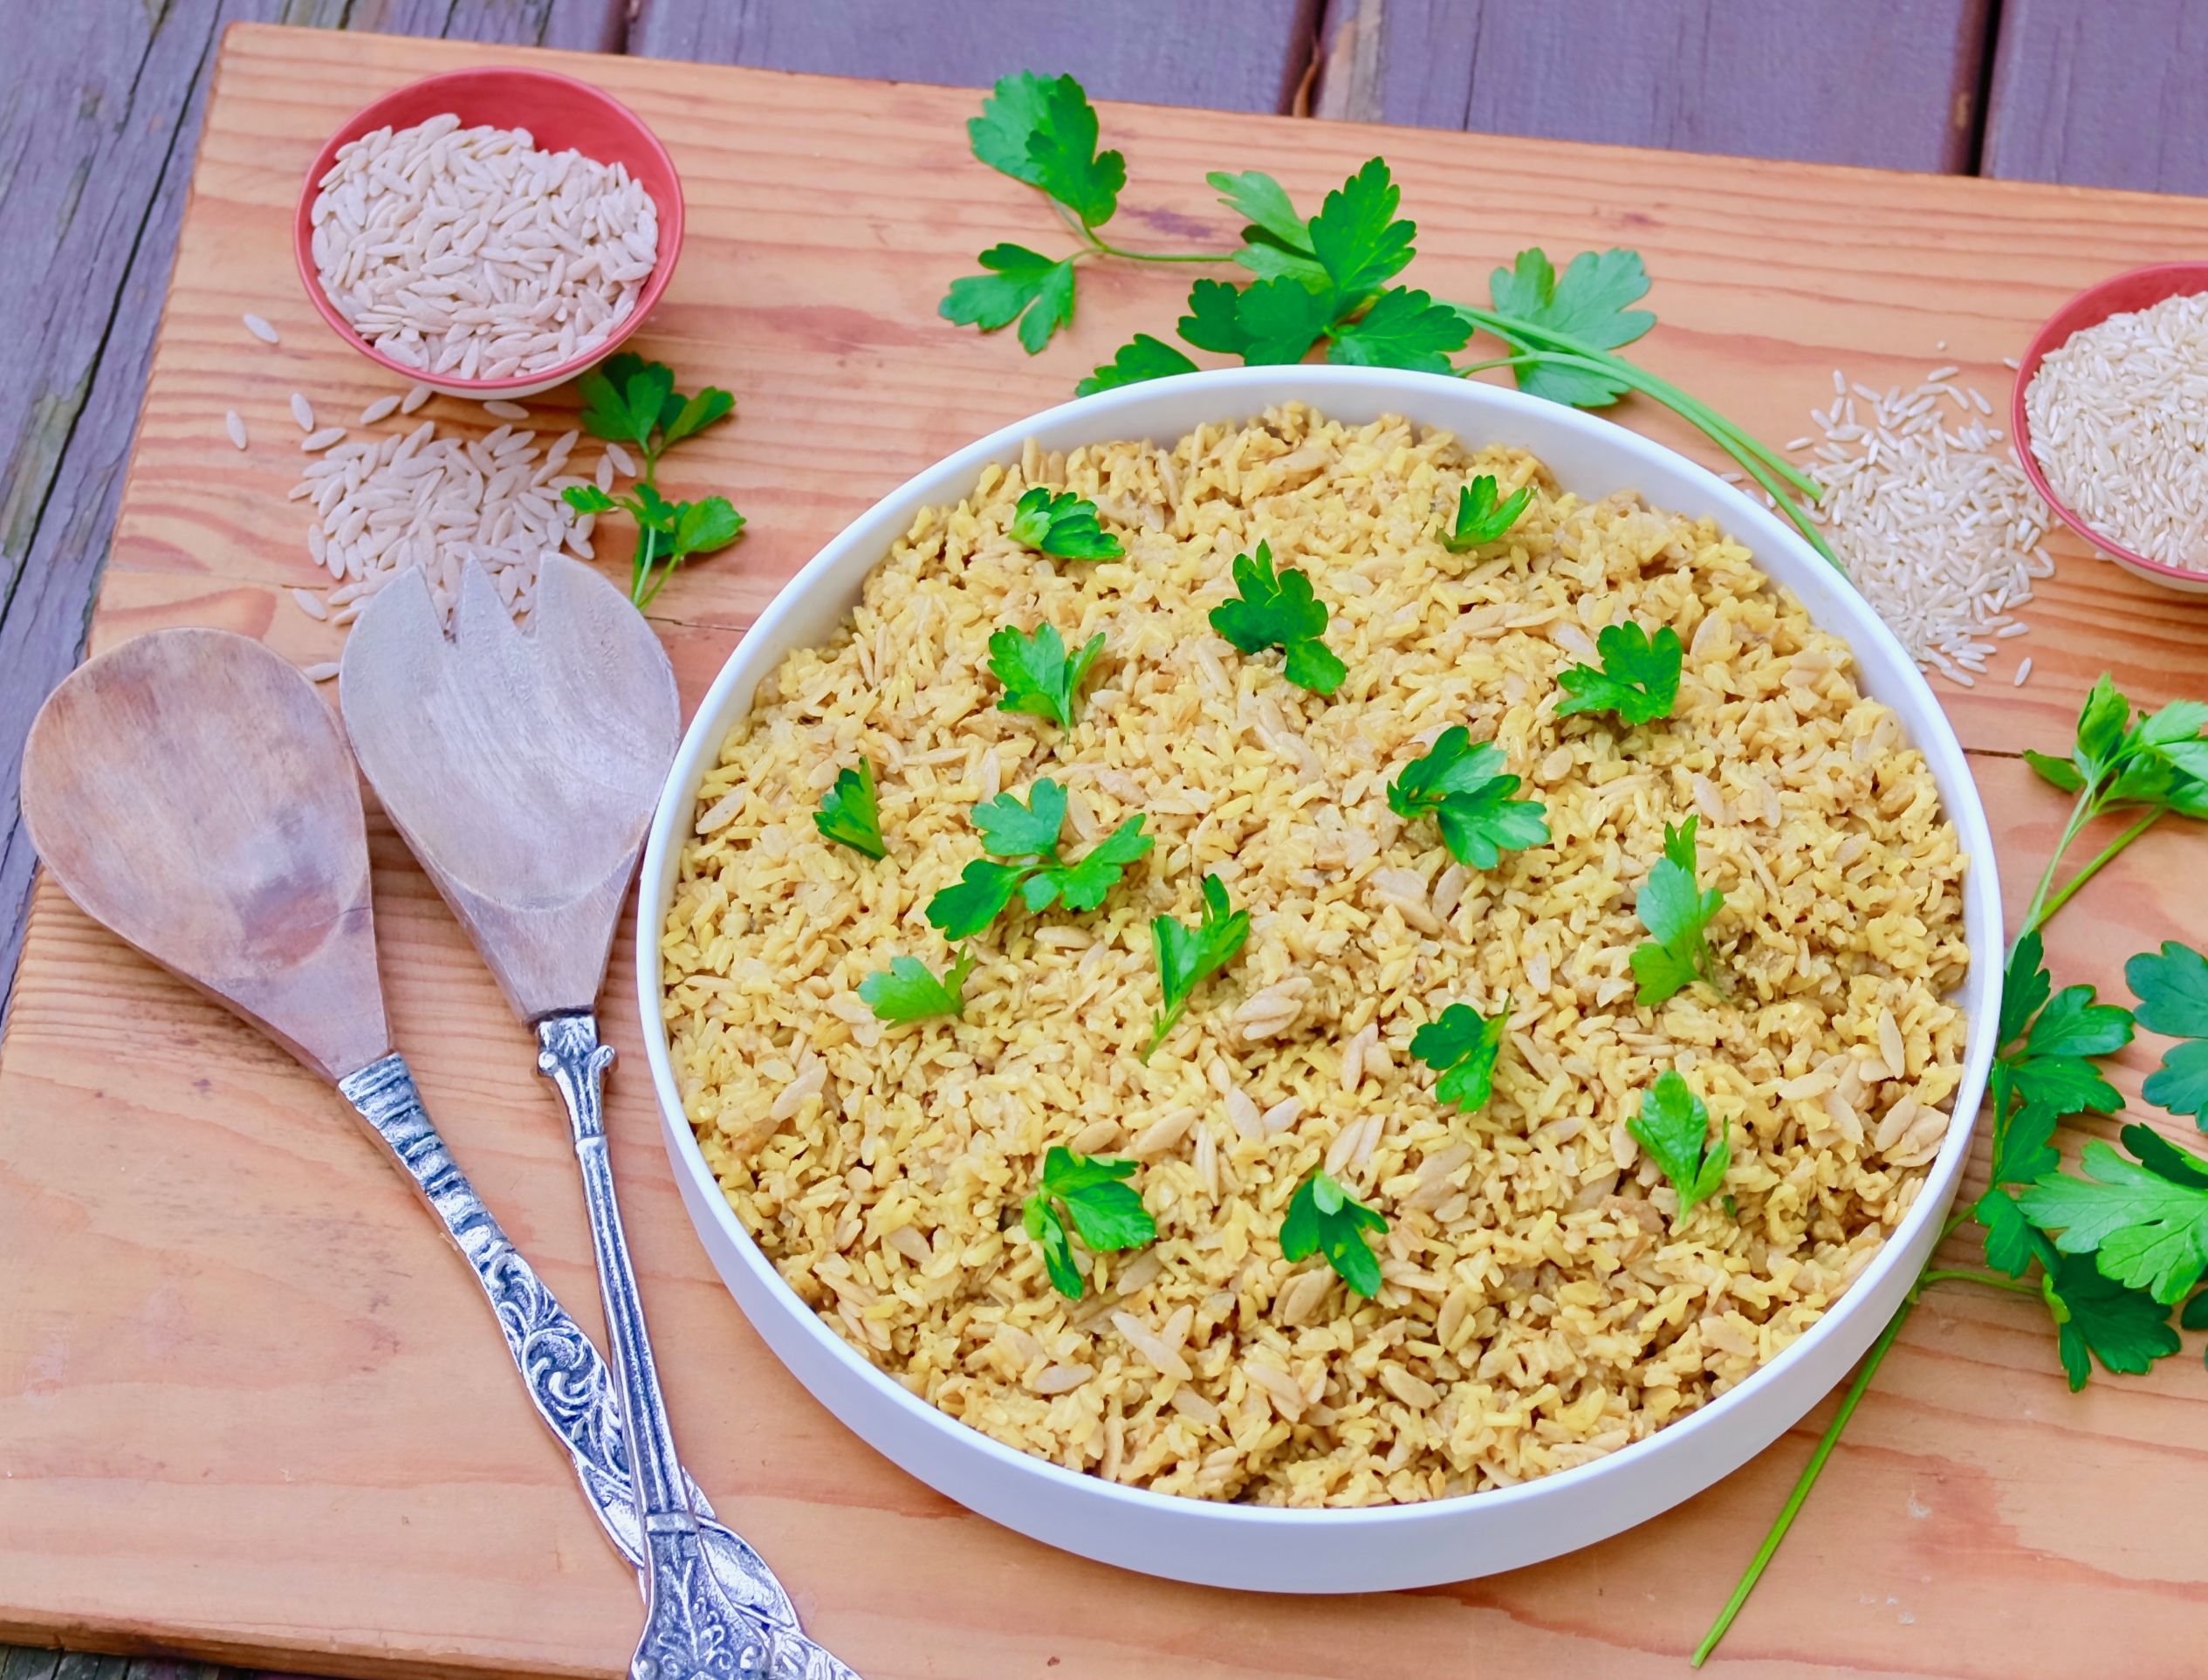
This is true in my own home as well. For example, when I prepared this pilaf dish, I made some corn on the cob “just in case.” Lo and behold, my family turned up their noses and went for the corn. Not many Moms would make two side dishes, but because of the blog, I have to make the recipe anyway. I usually end up sending the uneaten food to my husband’s office for lunch. They are happy to eat any leftovers, and I like to get their feedback. If they don’t approve, I don’t post the recipe.

If I get positive feedback there, I declare it a crowd pleaser and it belongs to a select group of recipes that I use when I’m entertaining.  Stick to the tried-and-true recipes for a party or gathering and I swear you’ll get rave reviews every time.

Last week, I hosted a friend visiting from Tennessee. When we went to the grocery store together, she was amazed at all the healthy choices available to us. In her hometown, there are very little healthy product choices and probably no one would buy them even if they were offered. I was absolutely gobsmacked, but given my readership, perhaps I shouldn’t have been so surprised that folks don’t go for what’s best for them. 

This recipe splits the difference.  If you’re going to have pasta, whole wheat makes it healthier and heartier too. The garlic, onion and parsley give a nice savory touch, but the turmeric is the wow factor in this dish. It adds a punch that makes you want a second helping.  I think this is a crowd pleaser and I would definitely prepare it for company– hope you do too!

This dish is courtesy of Taste of Home and will serve 10 people who will definitely add this to their list of “party worthy” dishes!

Please don’t forget to sign up for my weekly newsletter and “like” my page on Facebook!

Ingredients for Seasoned Brown Rice Pilaf:

1 tablespoon olive oil
2 cups uncooked brown rice
1 small onion, finely chopped
5 cups reduced-sodium beef broth
1 tablespoon dried parsley flakes
1 teaspoon garlic powder
1 teaspoon seasoned salt
1/2 teaspoon onion powder
1/2 teaspoon ground turmeric
1/2 teaspoon pepper
1/2 cup uncooked whole wheat orzo pasta

In a Dutch oven, heat the olive oil over medium heat.

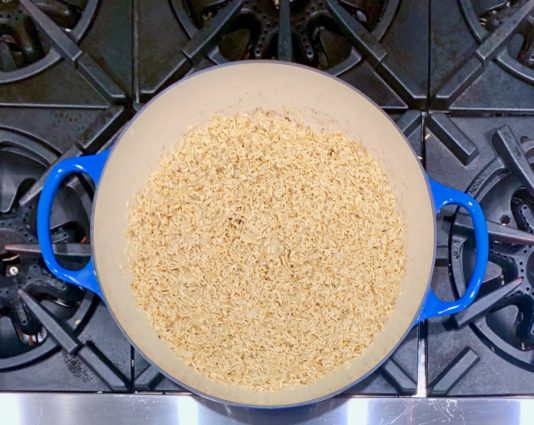
Add the rice and onion; saute until rice is lightly browned, 8 to 10 minutes.

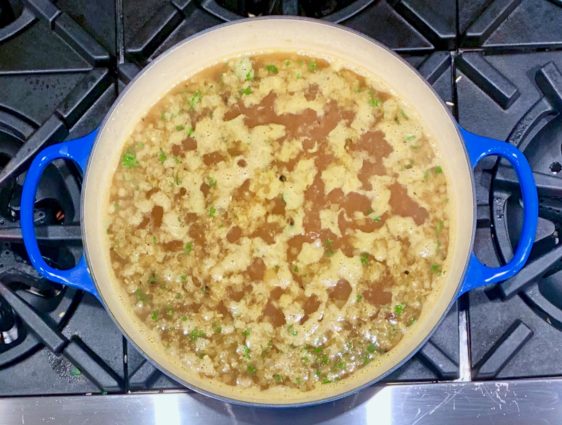
Add the broth; stir in the next six ingredients.

Bring to a boil.

Reduce heat; simmer, covered for 35 minutes.

Add the orzo.

Cook, covered, until orzo is tender, 10 to 15 minutes longer.

It’s that simple!

signature

[recaptcha]


This is my favorite time of the year; the cold, lonely days of winter have gone for good and summer is upon us. The trees have blossomed, the grass is once again a beautiful shade of green.  The flowers are blooming brightly, filling the yard with every color you can imagine. Repeated in every garden, the streets are lined with kaleidoscopes of color.

I take much joy in watching my flowers bloom and my yard come alive with color. I have a big garden in my backyard and I enjoy watching the bees searching the flowers for pollen. Some of my flowers attract butterflies, each more beautiful than the last.

Besides the flora, there is so much to love about spring and summer. People are outside, sitting at cafes, coffee shops, walking, biking, and running. Everybody is celebrating the return of life in their own way.

I try to be outside as much as I can, where the air is clear and crisp. I appreciate the sound of the birds and crickets chirping. I love everything about this time of year. With plants producing so much, our diets freshen, and salads, fruits, and fresh vegetables become our staples. But let’s be real here, we have to sneak in a snack (or dessert) sometimes, and this is a perfect treat if you want to cheat just a little bit. I am not a fan of hot oatmeal, but put oats in a dessert and I am all in– some might call me obsessed. I am also a huge peanut butter fan, so when I saw this recipe, I knew I had to try it.

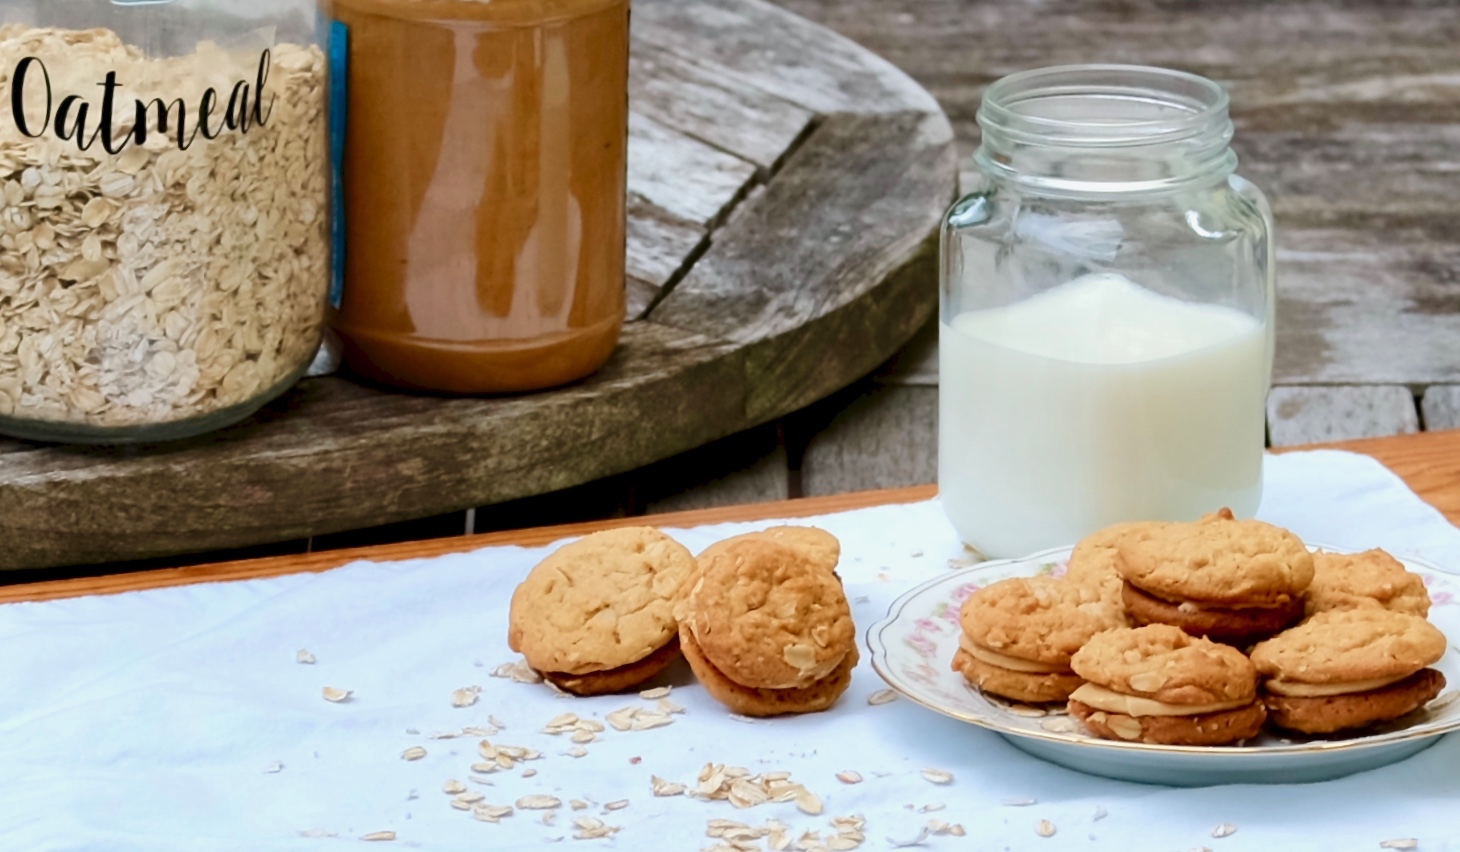
The key here is to keep the cookies small so that each is individually satisfying and packed with flavor, but you won’t overindulge,  The tops and bottoms of the cookie are made with oats and peanut butter which blend together to give the cookie a delightful texture. The center of the cookie is made with a velvety filling of creamy peanut butter and sugar. One bite and you are immediately hooked. This must go on your “must try” list.

This recipe is courtesy of Let’s Stay In and will make about 2 dozen cookies that your family and friends will appreciate as a rich treat on a summer day.

Ingredients for Oatmeal Peanut Butter Sandwich Cookies:

For the Cookies:

1/2 cup unsalted butter, at room temperature
1/2 cup creamy peanut butter
1/2 cup granulated sugar
1/2 cup dark brown sugar
1 teaspoon vanilla extract
1 large egg
3/4 cup all-purpose flour
1/2 teaspoon baking soda
1/4 teaspoon baking powder
1/2 teaspoon sea salt
1 cup quick-cooking oats

For the Filling;

6 tablespoons unsalted butter, at room temperature
3/4 cup creamy peanut butter
1/3 cup confectioners’ sugar
1/2 teaspoon flake salt

Make the Cookies:

Preheat oven to 350 degrees F.

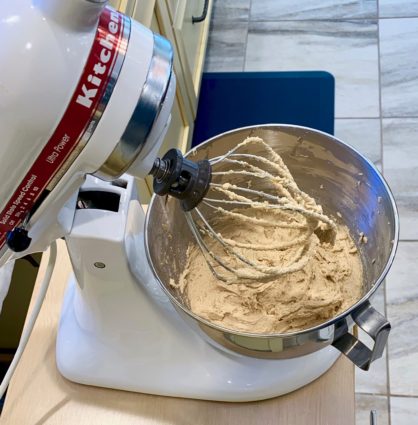
In a large bowl, cream together the butter, sugars and vanilla.

Add the egg and beat well.

In another bowl, combine the flour, baking soda, baking powder, and salt.

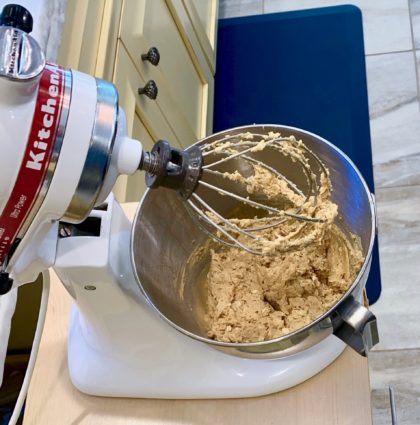
Add the dry ingredients to the creamed mixture.

Stir well to combine, then stir in the oats.

Drop by teaspoons onto a parchment-lined sheet pan.

Bake for 12 to 15 minutes, or until the cookies are golden brown at the edges.


Make the filling:

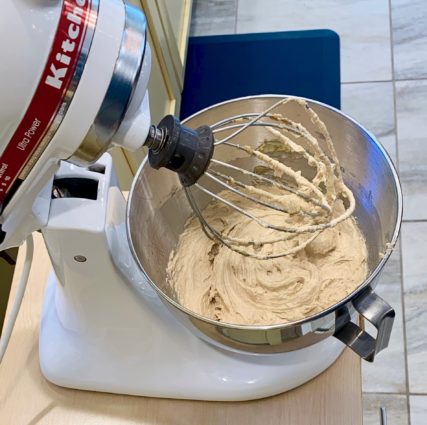
In a medium bowl, cream together the butter, peanut butter, and confectioners’ sugar with an electric mixer.

Add the flake salt, then stir to combine well.

If the filling is too soft, refrigerate for about 30 minutes, then stir well.

Remove the cookies from the oven and let cool on the pan before adding 1 teaspoon of peanut butter filling to the bottom half of the cookies, then sandwiching with another cookie.

It’s that simple.

signature

[recaptcha]


Onions are certainly a two-faced vegetable.  Raw onions have a “sting” when you bite into them, while sautéed onions are sweet and tender. Onions always make me cry when I am cutting them, however, this recipe makes me smile. When you allow raw, biting onions to cook over low heat for a while, they will do an about face and become savory, soft, and totally irresistible.

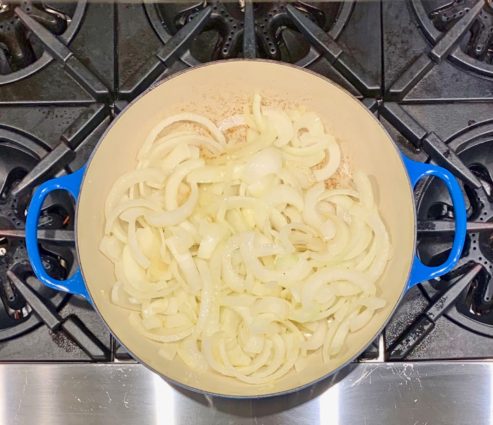
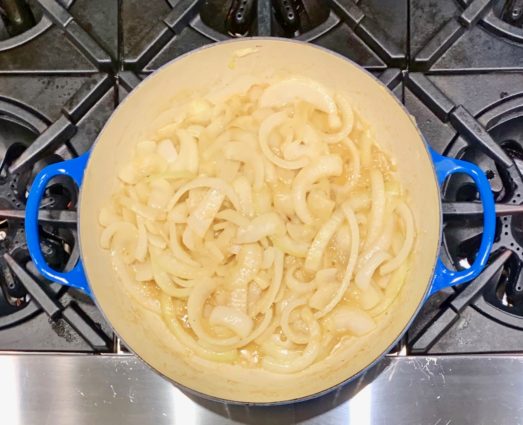
This recipe calls for sauteeing the onions that make them so delightfully sweet. They are cooked over medium heat until they are softened to a beautiful golden hue. Be patient here, as this may take some time, but once you have softened the onions, the rest of the dish comes together in no time at all. While it mimics French onion soup, this recipe is somewhat different. Though one may think of casseroles as heavy dishes, this casserole is much lighter than its soup counterpart, and fares as well on the hottest summer day as it does on the most frigid winter night.  It is much faster to prepare as well and can be a nice accompaniment to any meat or chicken entree. I don’t know about you, but I will certainly be making this dish for the upcoming holidays. 

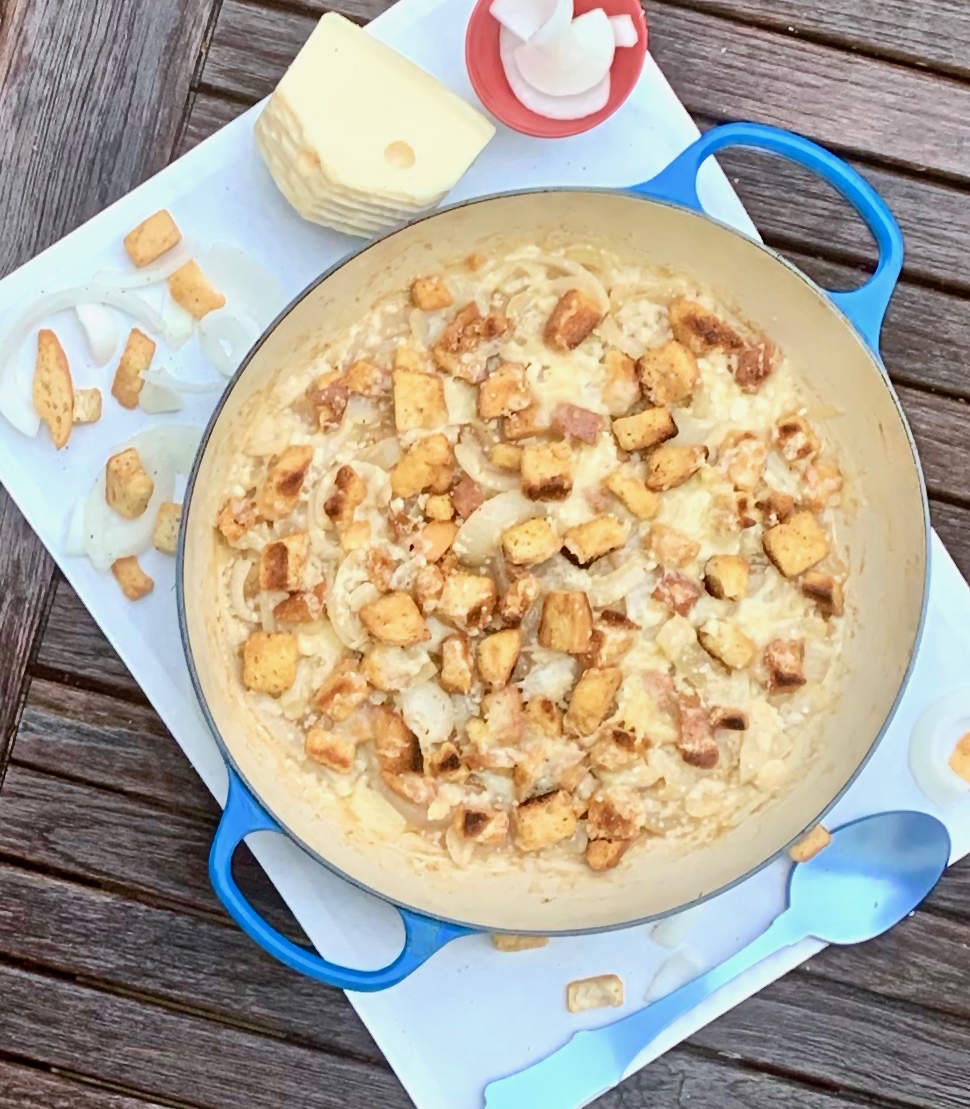
The onions in this dish are sautéed to an enticing golden hue, ensuring a rich, sweet flavor. The butter and flour make a sweet gravy. Two kinds of cheese add just a bit of sophistication and delicious flavor, and the croutons bring a delightful crunch to an otherwise soft dish. The result is pure, awesome, homemade comfort food.

This recipe is courtesy of Tasteofhome and will serve 8 people who will appreciate a savory (yet light) summer dish.

Ingredients for French Onion Casserole:

8 medium onions, sliced
5 tablespoons butter, divided
2 tablespoons all-purpose flour
Dash pepper
3/4 cup beef broth
1/4 cup sherry or additional beef broth
1 1/2 cups salad croutons
1/2 cup Swiss cheese
 3 tablespoons grated Parmesan cheese

In a large cast-iron skillet or another ovenproof skillet, saute the onions in 3 tablespoons butter until tender.

Stir in flour and pepper until blended; gradually add the beef broth and sherry.

Bring to a boil; cook and stir until mixture is thickened, about 2 minutes.

In a microwave, melt the remaining butter.

Add the croutons; toss to coat.

Spoon over the onion mixture. Sprinkle with the cheeses.

Broil 3-4 inches from the heat until the cheese is melted, 1-2 minutes.

It’s that simple.

signature

[recaptcha]


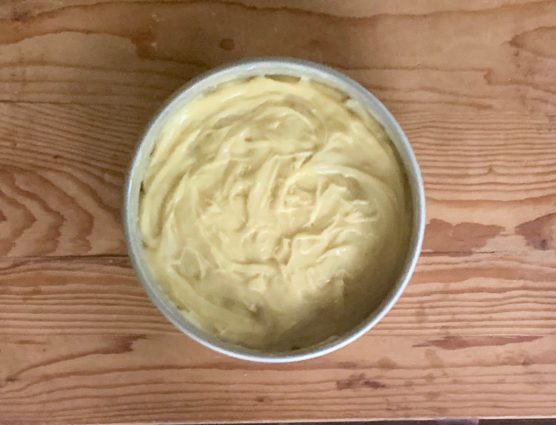
A fancy schmancy name for a cake, right? The remnants of my French lessons led me to think it had apples in it, and lo and behold, it is indeed “Breton Cake with Apples.”

A Breton cake is a bread-like round cake made with layers of butter and sugar folded into the dough.  The cake is then formed around apples. The unique texture is the hallmark of this cake. Some recipes go so far as to use pizza dough. However, this recipe has a fluffy cake batter that is not consistent with any Breton cake I’ve seen. I am a huge fan of any cake with apples, so I decided to try it as written. Given how unusual the cake is, I am pretty sure this is meant to be an easier version. If this is not too difficult, I promise I’ll try the original someday. Maybe. Making pastry dough scares me a little, but I may just give it a shot.

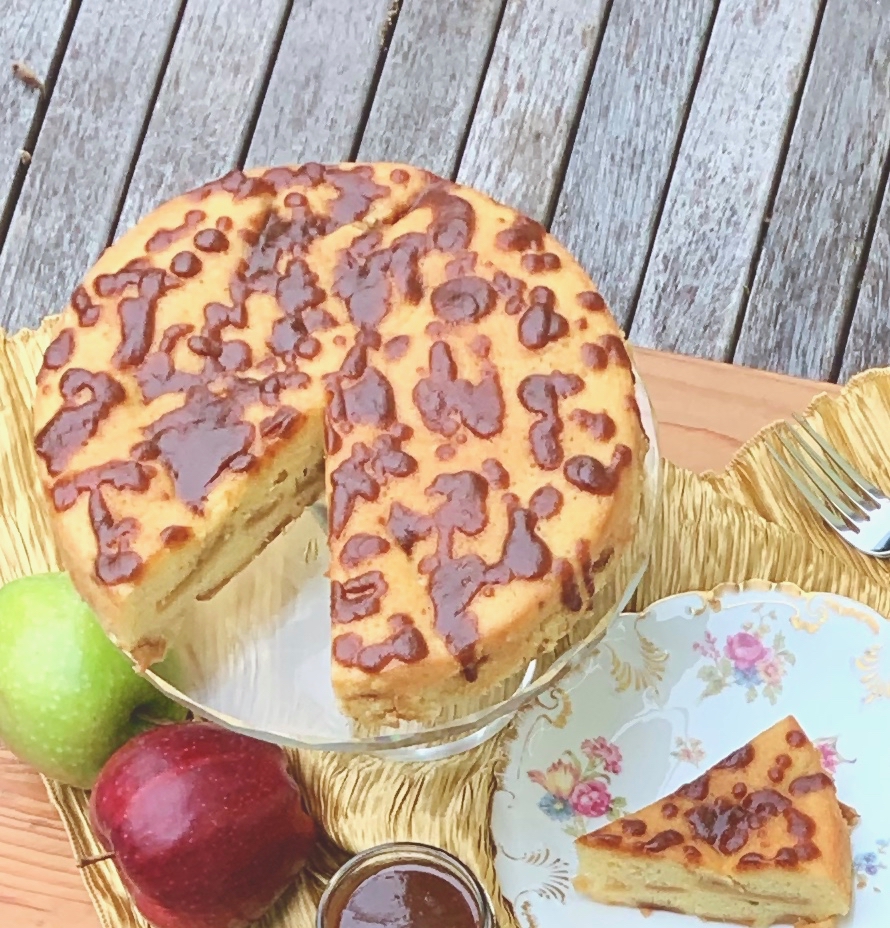
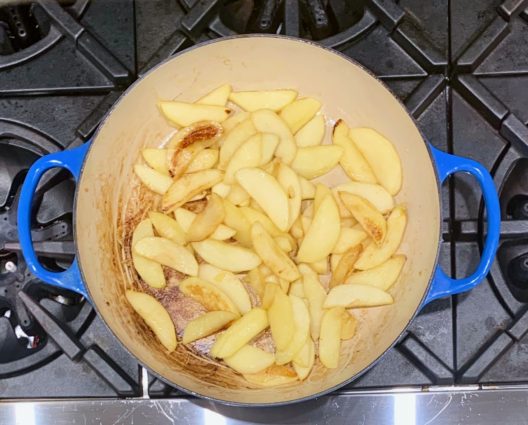
I can honestly say that this apple cake did not disappoint. In fact, it is mouth-watering delicious. I used Granny Smith apples because I just love the tartness they bring to the table. Cooked in the sugar, these flavors blended nicely together. The addition of the lemon zest brings a freshness, and the caramel absolutely completes the dish.  Each bite is even better than the last. This cake needs to be placed on your “must try” list. 

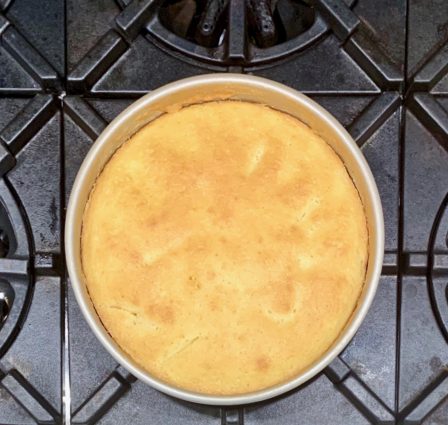
By the way, the caramel on the cake was a beautiful golden brown Not sure why it looked so dark in the pictures! 

This recipe is courtesy of Bonappetit and will serve 8 people who will come back to this different take on a Gâteau Breton Aux Pommes.

Ingredients for Gâteau Breton Aux Pommes:

For the Salted Caramel Sauce;

1/2 cup sugar
1/2 cup heavy cream
3 tablespoons unsalted butter
1/2 teaspoon kosher salt

For the cake:

12 tablespoons (1 1/2 sticks) unsalted butter, melted, slightly cooled, divided, into 10 tablespoons and 2, plus more, room temperature, for pan
1 1/4 cups all-purpose flour plus more for pan
4 firm, tart apples (such as Pink lady or Braeburn; about 2 pounds), peeled cored, sliced 1/2-inch thick (I used Granny-Smith)
2 tablespoons plus 1 cup sugar, divided
1 teaspoon baking powder
3/4 teaspoon kosher salt
1 teaspoon finely grated lemon zest
3 large eggs

Make the Caramel Sauce:

Bring sugar and 1/4 cup water to boil in a small saucepan over medium-high heat, stirring to dissolve sugar.

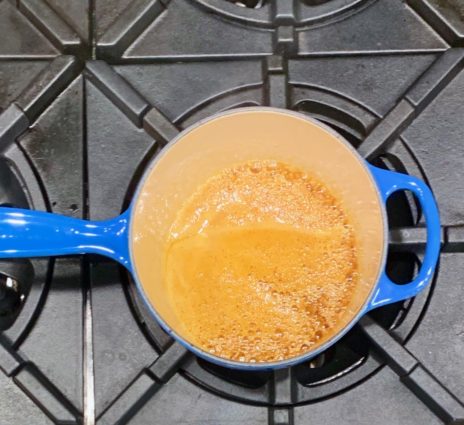
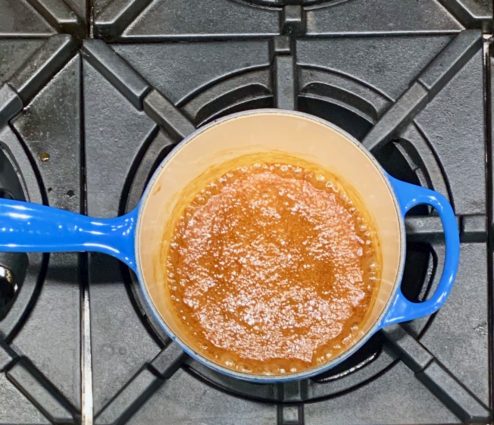
Boil, swirling pan occasionally and brushing down sides with a wet pastry brush, until the mixture turns a deep amber color, about 8 to 10 minutes.

Remove from heat and slowly add the cream (mixture will bubble vigorously).

Return to medium heat and cook, stirring occasionally, until smooth, about 2 minutes.

Remove from heat and mix in butter and salt.

Pour caramel sauce into a small heatproof jar or bowl; let cool.

Caramel sauce can be made 5 days ahead. Cover and chill.

Make the Cake:

Place rack in middle of oven and preheat to 350 degrees F.

Butter and flour cake pan; set aside.

Heat 2 tablespoons melted butter in a large skillet over medium heat.

Add apples, sprinkle with 2 tablespoons sugar and cook, tossing occasionally until the apples are golden brown, 10 to 12 minutes.

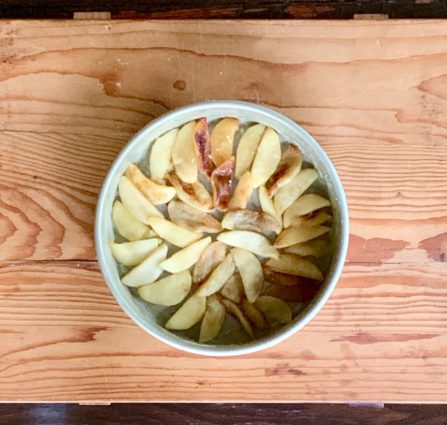
Arrange half of the apples in the bottom of prepared pan so most of it is covered (a few gaps is okay).

Whisk baking powder, salt, lemon zest, 1 1/4 cups flour, and remaining 1 cup sugar in a large bowl.

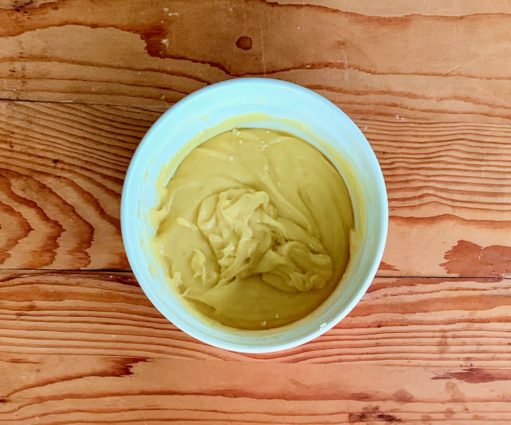
Whisk in eggs and remaining 10 tablespoons melted butter until smooth.

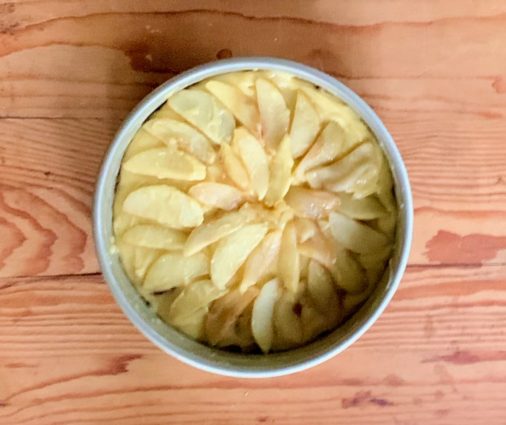
Pour half of batter over apples in cake pan, top with remaining apples. 

Pour remaining batter over.

Bake cake until top is golden and a tester inserted into the center comes out clean, 40 to 50 minutes.

Transfer to a wire rack and let cool.

Serve cake with caramel sauce.

It’s that simple!


signature

[recaptcha]