Twice a year, my OCD gets the best of me: Spring and Fall. Fall brings out the necessity to clean and organize, since I know I will be hosting 50 (or more!) people in my home for Thanksgiving dinner, as well as assorted family members who stay with me for a few days. This year is especially stressful because I have some weekend weddings, rehearsal dinners, and brunches. And to top it off, I am hosting a bridal shower too. With all this going on, it will certainly be a challenge to prepare my house.

In addition to tidying up the more public rooms, I need to make sure that all the bedrooms and bathrooms have everything they need for my full-time guests: clean linens, towels, blankets, and pillows. I will freshen up the bathrooms with clean towels, soap, shampoo, toothpaste, and hand soap.

I am particularly excited that my great-nephew and niece will be staying over. They love my three dogs, and while the dogs provide them with much-needed entertainment, I also make sure there are games, crayons, markers, and toys to occupy them. I love having everyone stay over, but those two little ones are my greatest joy. It is so nice to have children in the house, with their shrieks of laughter and tiny footsteps echoing down the halls.

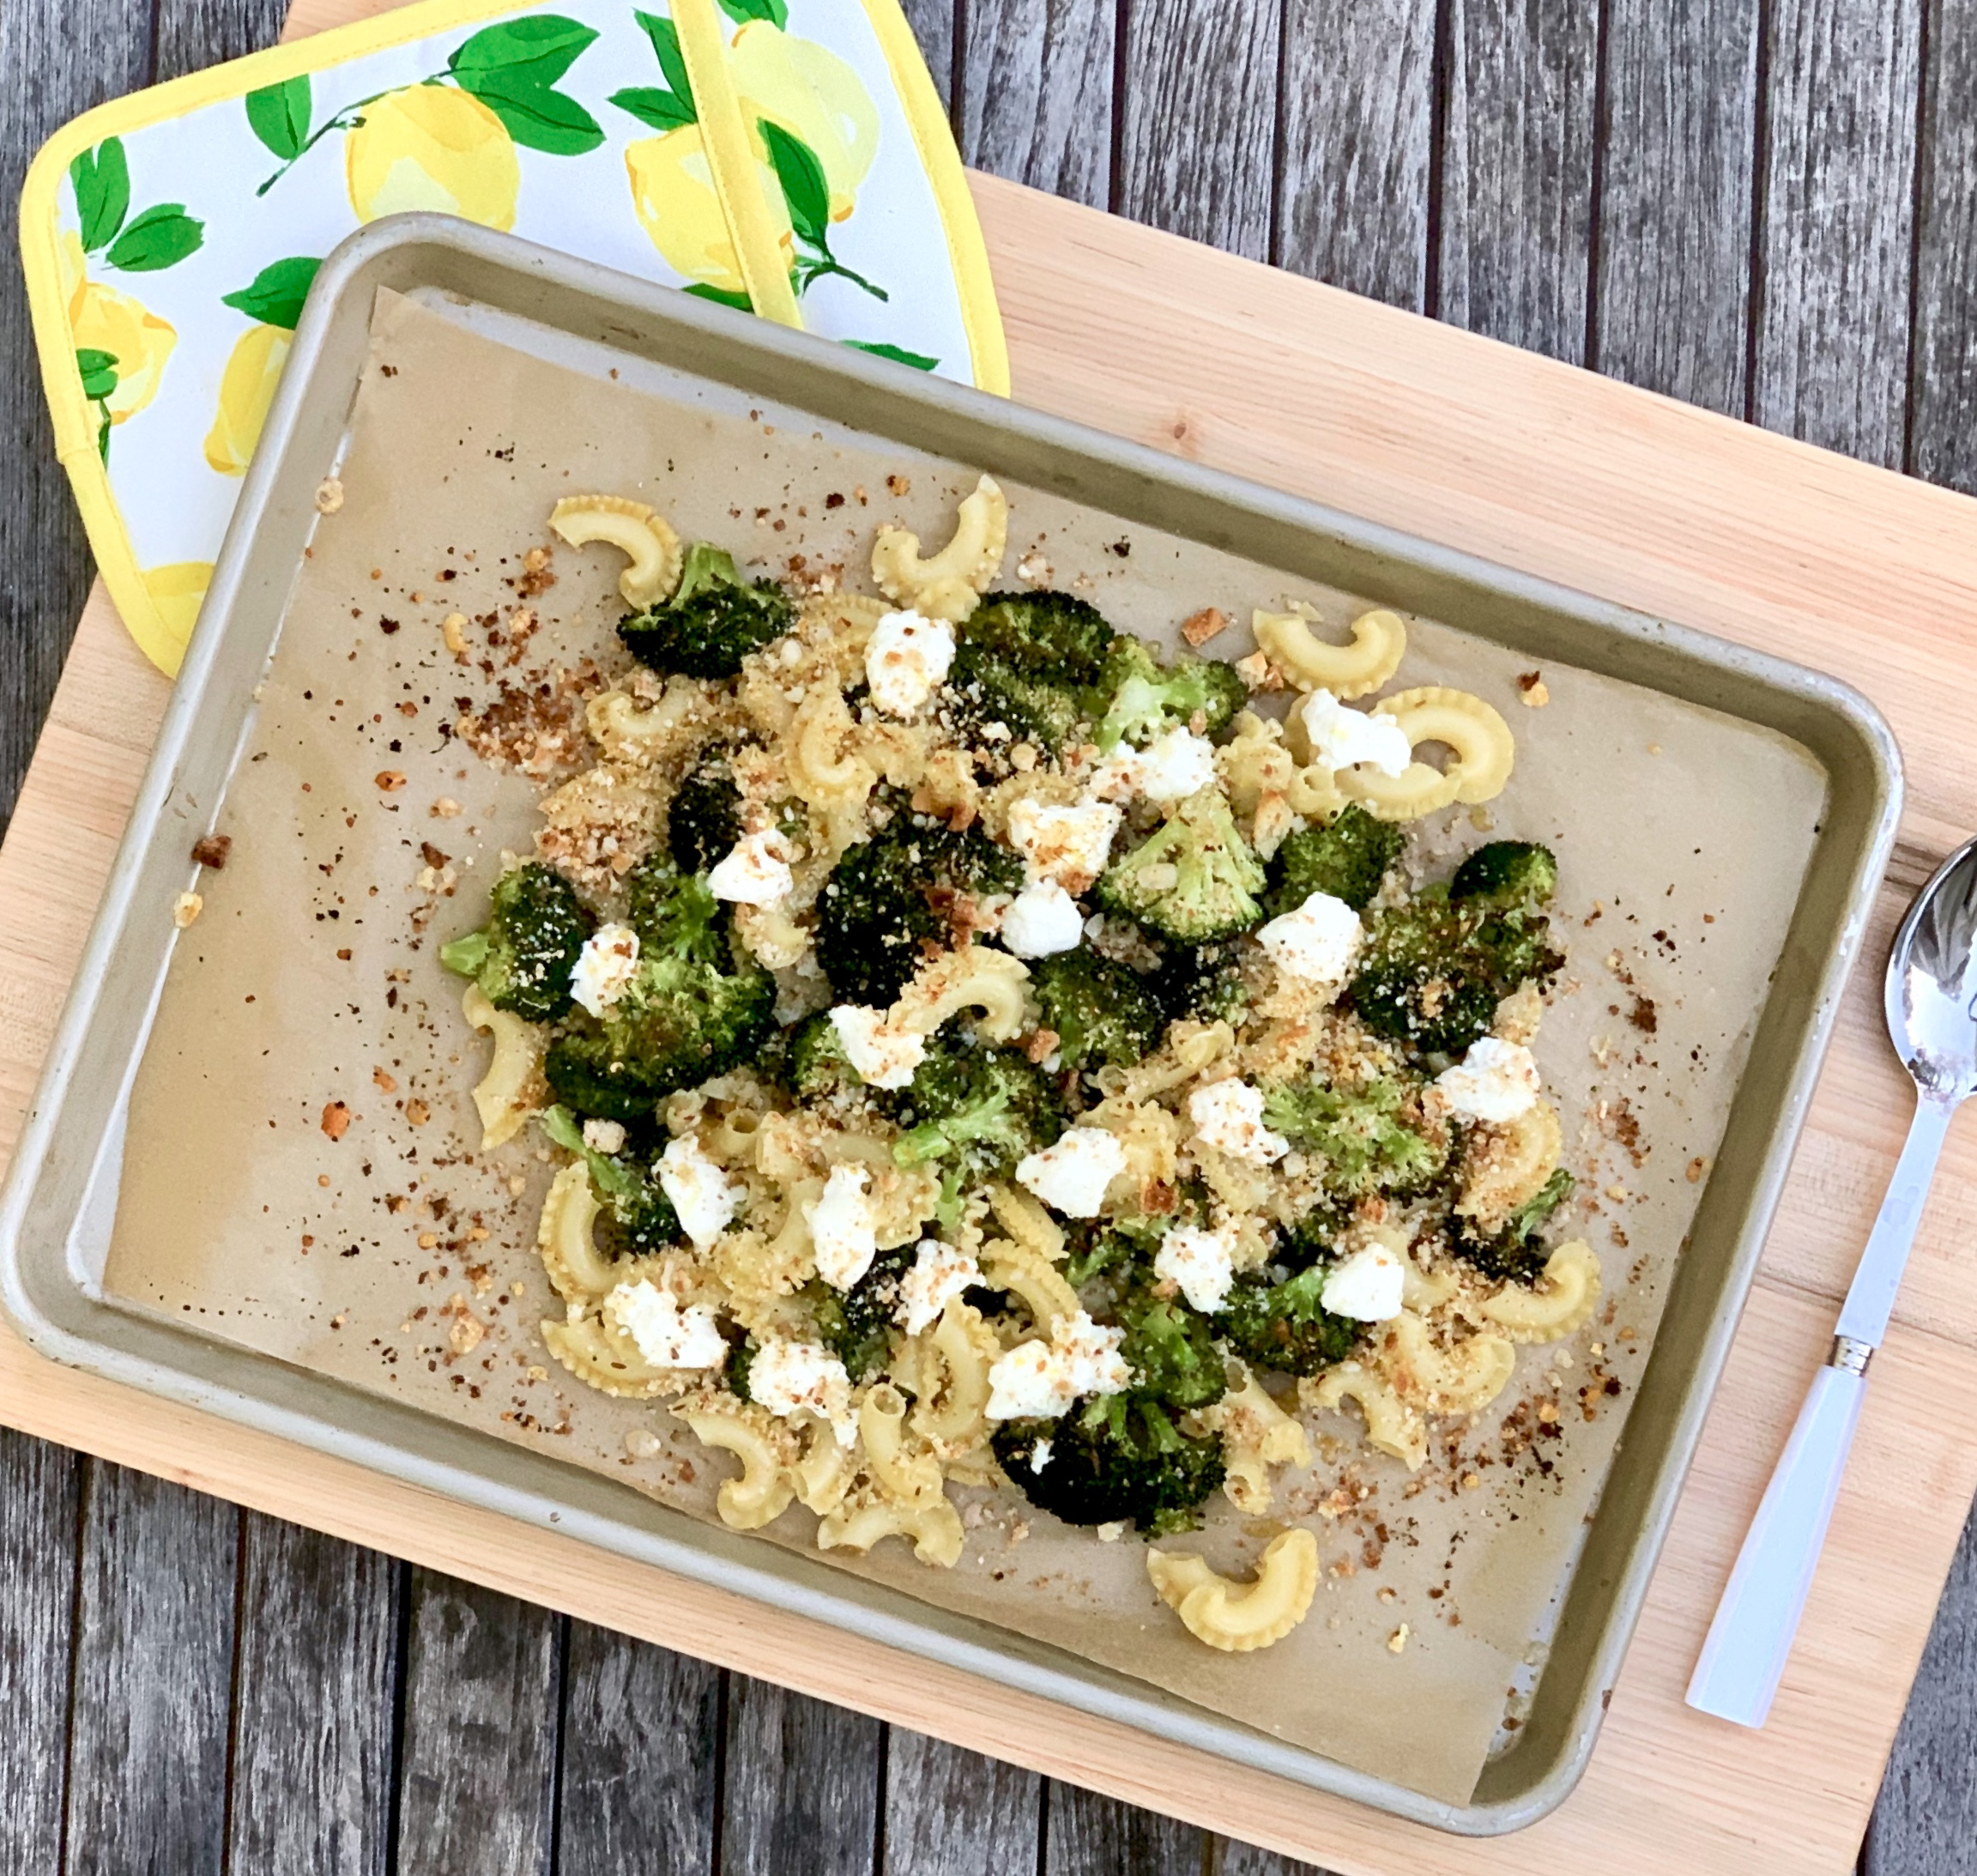
While I would love to prepare this recipe for Thanksgiving, I would have to make way too much pasta for all 50 people. I don’t think I even own enough pots to make that much! If you are expecting a reasonable amount of guests, I would definitely add this to your menu.

The pasta is combined with the lemon zest which adds a little tang. The parmesan and ricotta are creamy and oh so cheesy gooey delish. The cumin is savory perfection and the panko and broccoli add a yummy, crunchy texture. The red pepper flakes bring the perfect amount of heat, so that even those who don’t like spicy foods can have a taste.

This recipe is courtesy of The New York Times and will serve 4-6 people, gathered around your Thanksgiving table.

Ingredients for Sheet-Pan Roasted Broccoli Pasta:

2 ½ pounds broccoli, cut into bite-sized florets
2 tablespoons extra-virgin olive oil, more as needed
1 teaspoon cumin seeds (optional)
¾ teaspoon kosher salt, more as needed
½ teaspoon red pepper flakes, or to taste
12 ounces chiocciole or other tube-shaped pasta
⅓ cup grated Parmesan cheese
⅓ cup panko bread crumbs
1 tablespoon finely grated lemon zest
½ teaspoon freshly ground black pepper
12 ounces best-quality, whole milk ricotta
Fresh lemon juice, for serving (optional)

Heat oven to 425 degrees.

On a rimmed baking sheet, toss together broccoli, oil, cumin (if using), 3/4 teaspoon salt, and the red pepper flakes.
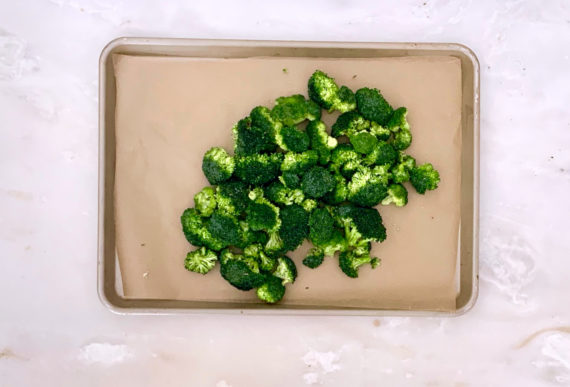
Roast until tender and browned at the edges, 18 to 25 minutes, tossing halfway through.

Remove from oven and set oven to broil.

Meanwhile, bring a large pot of salted water to boil.

Cook pasta according to package directions; drain.

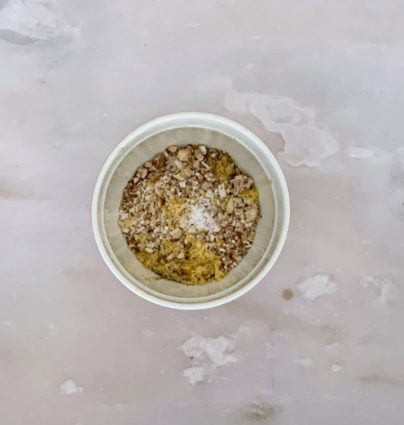
In a small bowl, stir together Parmesan, panko, lemon zest, a pinch of salt and the black pepper.
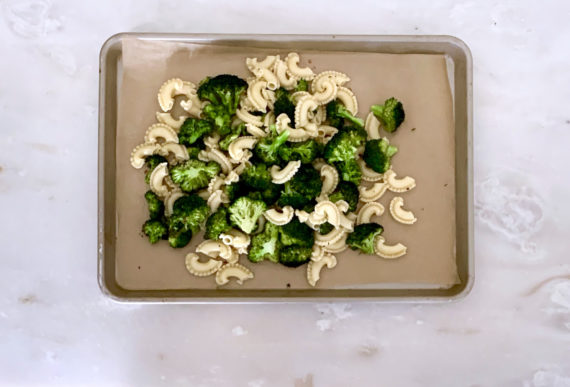
Toss cooked pasta with broccoli on baking sheet.
Season with salt and pepper to taste, then dollop with ricotta. Sprinkle with Parmesan mix, drizzle generously with oil, and broil until topping is crisped and golden, 2 to 3 minutes.

Sprinkle with lemon juice to taste, and serve.

It’s that simple!

Happy Puppy!
signature

[recaptcha]


Not everyone can cook like Julia Child, but (sigh) how we wish we could. She had instincts about flavor that most of us will never possess. Ever wonder to yourself, “what is in this sauce that makes it taste so good?”  I know I do. Figuring out the magic isn’t as hard as you think. Many of our favorite comfort foods have a small amount of very basic ingredients– flavor boosters, if you will. You should have these in your pantry to transform your food go from so-so to magnificent. It really is so easy and you will be surprised by the flavor-punch they make.

Citrus Juices and Zest: Just a few teaspoons of lemon, lime, or orange juice will instantly brighten the flavor of your food. Use it in dressings, marinades, sauces, butters, or on vegetables. Try adding both the juice and the zest to layer the flavor even more.

Anchovy Paste: Controversial, I know, but hear me out. Anchovy paste has a deep savory flavor that, once incorporated into the dish, will not have a fishy flavor, I promise.  So even if you don’t like anchovies, you just might like the paste. Use it in sauces (especially red), stews, braises, marinades, or stews. 

Vinegar: It also will brighten the flavor of a dish. Red wine vinegar is tart and tangy, balsamic vinegar is sweet and rich, and apple cider vinegar has an apple flavor that pairs well with sauces, dressings, pork, or chicken.

Fresh Herbs: Throw in a bit of your favorite herb to make most dishes more vibrant. Fresh parsley is perfect for sauce. Mix it with a little bit of garlic, lemon juice, and zest to make any salad, meat or fish dish shine. Always remember to roughly chop your fresh herbs.  Resist the temptation to mince it to dust. 

Crushed Red Pepper Flakes: A truly perfect source of heat to spice up pasta sauces, vegetables such as broccoli or cauliflower, and ceviche. Adding them at the beginning of a dish will give the entire dish some heat, adding them at the end will give your dish a more subtle, fruity, spicy edge. Either preparation is perfect for marinades and stir-fries.

High-quality Extra Virgin Olive Oil: Keyword, “high quality.”  A really good olive oil highlights the flavor of any meal. Drizzle it on vegetables, cooked meats, over just made pasta and it will make a big difference in the taste. 

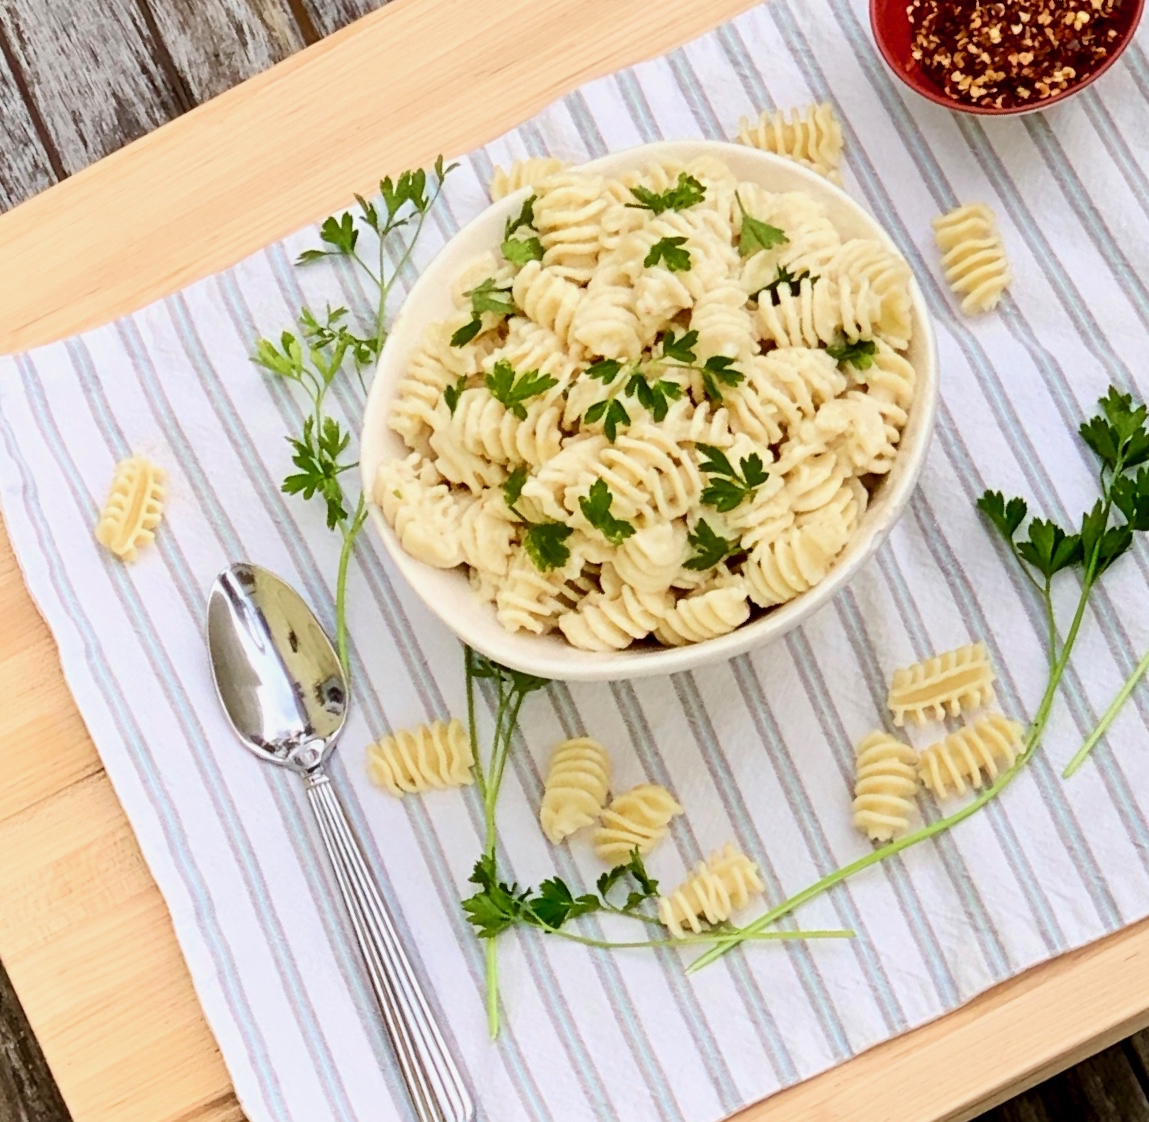
Now that you know some flavor boosters, this dish is a wonderful canvas for using some of them. This delicious pasta dish is the perfect comfort food. The butter, olive oil, and garlic add a pleasant, savory flavor. The cheese and sour cream offer a deliciously creamy texture. With that perfect amount of heat from the red pepper flakes, you have yourself one luxurious bowl of perfection.

Please remember to like my page on Facebook and Instagram. Thank you!

This recipe will serve 4 people who will want to know your flavoring secrets too!

Ingredients for Creamy, Radiatori Pasta:

3 cups uncooked radiator pasta (or any pasta that has curled edges)
3 tablespoons butter
3 tablespoons good olive oil
2 tablespoons all-purpose flour
2 garlic cloves, chopped
Pinch salt
2 tablespoons parsley
Dash crushed red pepper flakes
1/4 cup milk
1/4 cup reserved pasta water
2 tablespoons shredded Parmesan cheese
3 tablespoons sour cream

Cook pasta according to package directions.

Reserve 1/4 cup of pasta water.

Meanwhile, in a medium pan (big enough to hold the pasta), melt butter.

Stir in the oil, flour, garlic, salt, and red pepper flakes until blended, stirring continuously. 

Gradually add the milk and 2 tablespoons of reserved pasta water.

Cook and stir until slightly thickened, about 2 minutes.

Remove from the heat; stir in cheese and sour cream.

Reserve 1/2 cup of pasta water. I know I said it twice, but I don’t want you to forget!

Drain pasta; toss with sauce.

Add some remaining pasta water to thicken the sauce as much you would like.

It’s that simple!

signature

[recaptcha]


I would rather cook than go to a restaurant or order takeout. It is so frustrating for me to figure out what everyone wants to eat, and then pick a place that satisfies everybody’s needs and wants. I would rather throw a chicken in the oven, grill some steaks, or roast some veggies. Nice and easy.

Nowadays, it seems like the opposite is true– folks want to have people cook for them. Though it can be scary at first, there are ways in which you can become a more confident, competent cook. First, you have to prioritize. Maybe you can skip some reading, or watching television to find the time. Then try putting cooking on your list of this week’s to-dos for just one day of the week.

Learning proper technique will also be helpful. Having good knife skills will help through all your dishes. Some “taste tips” you will pick up along the way: use fresh lemon to brighten up any vegetable, always reserve some pasta water from the pot.  The water carries starch from the pasta, and that starch will make any sauce thicker and tastier. 

If you think you can’t cook because you never learned, buy some simple cookbooks and try a relatively easy recipe, like the one I have for you today. Don’t worry about making mistakes– you must slip up in order to move forward. This is how you become more proficient. One trick here is to watch the garlic carefully so it does not burn.

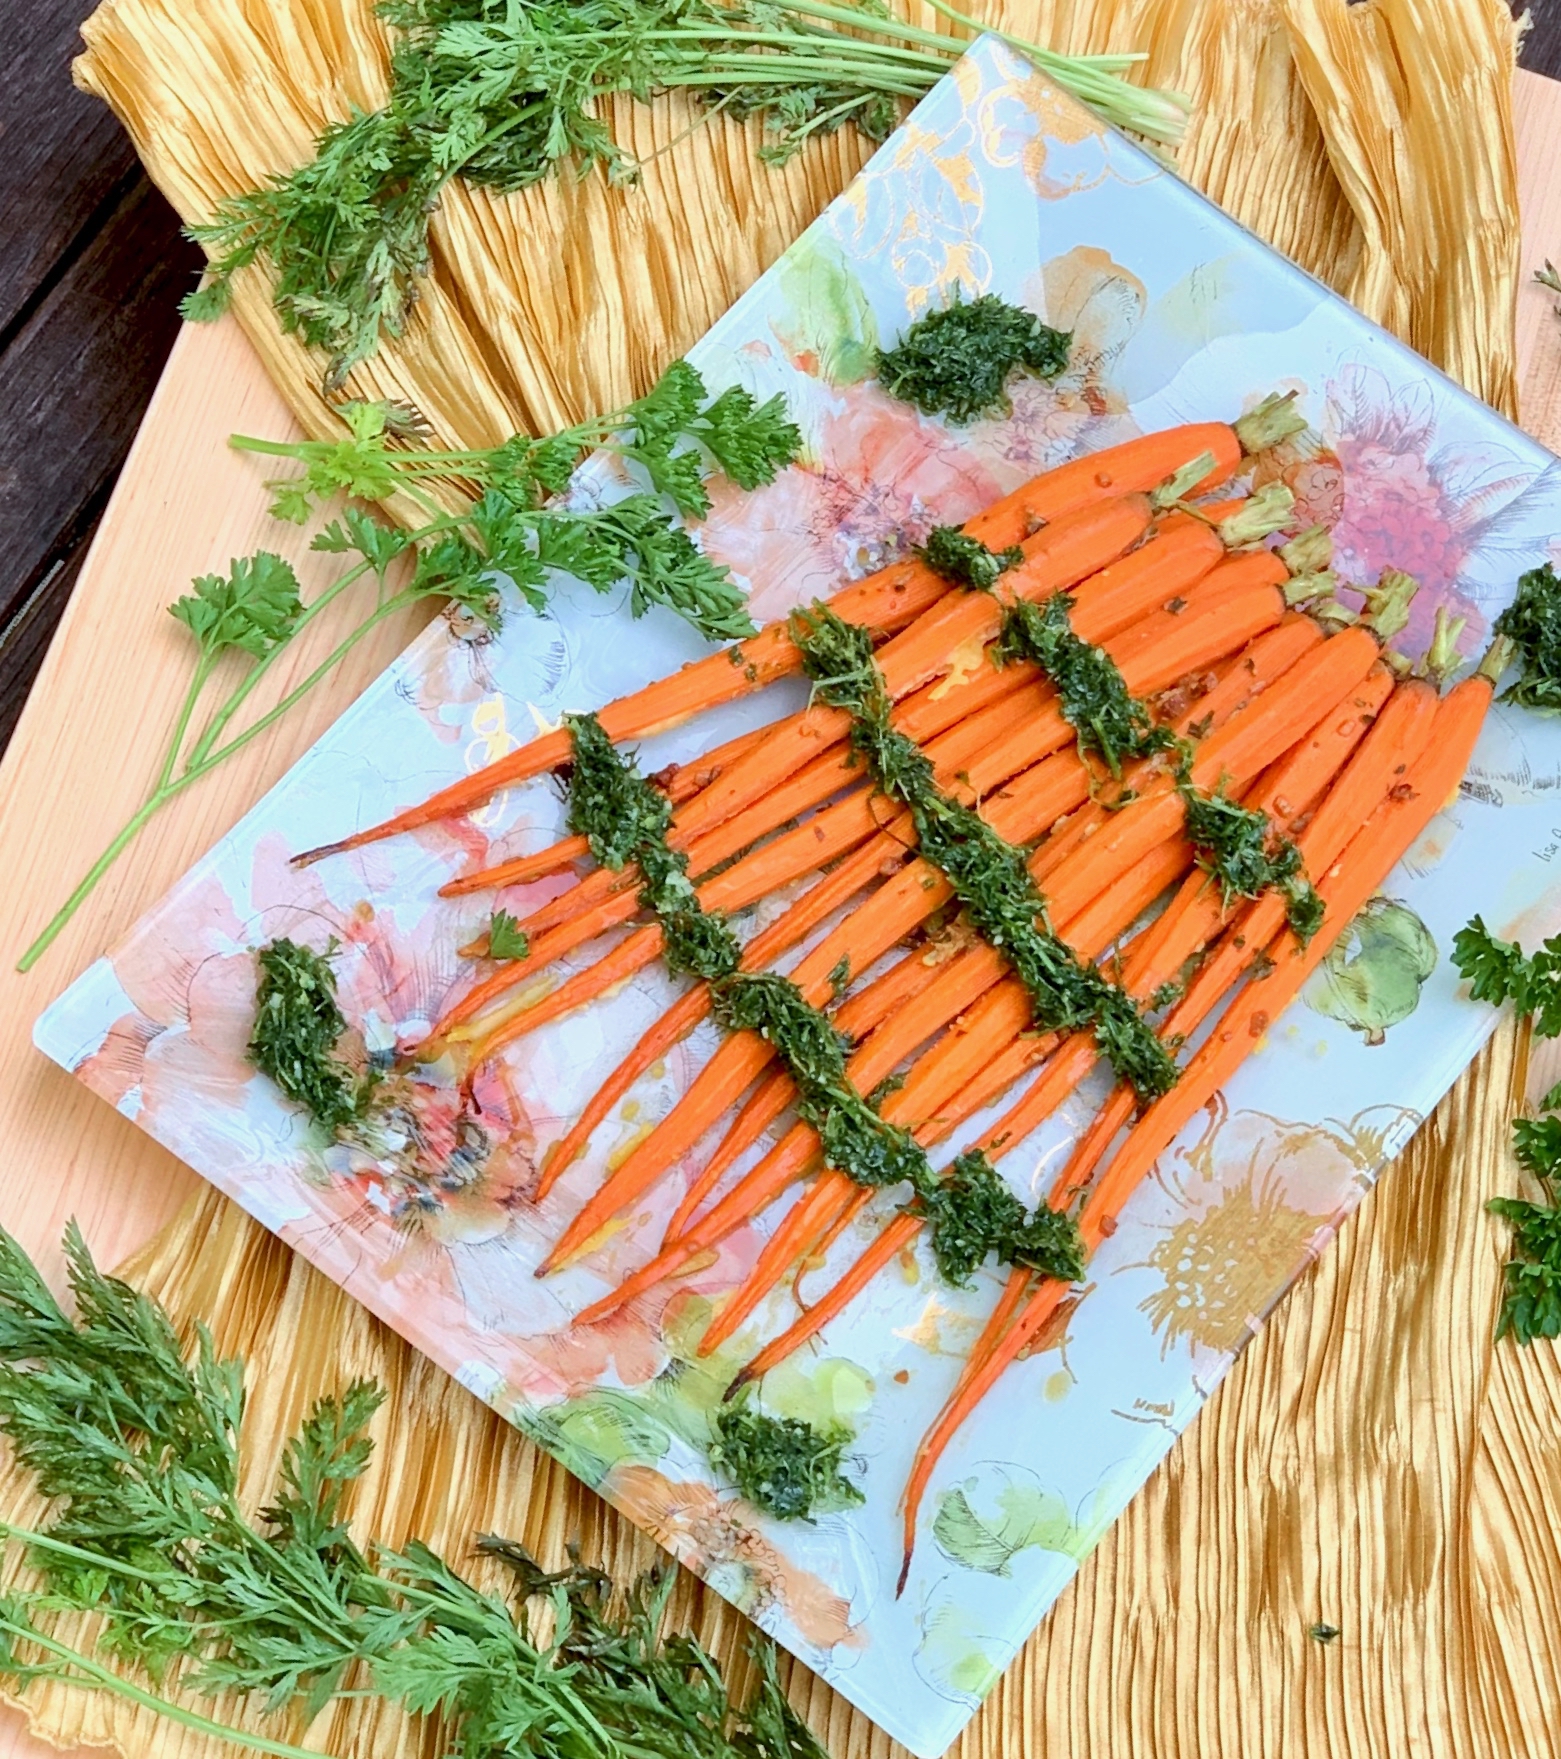
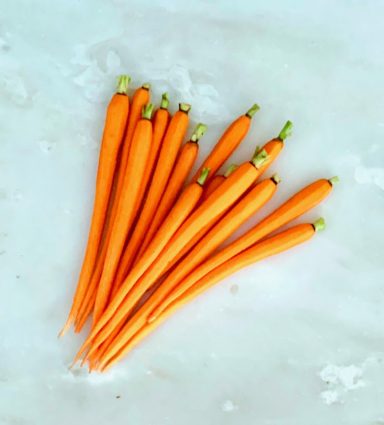
The carrots turn out beautifully roasted. The yummy ingredients of browned butter, honey, and soy complement the carrots, creating a wonderful sauce that is in perfect harmony with the carrots. Each delicate bite is a delightful mix of tangy and sweet. The gremolata adds savory goodness. Even if you think you can’t cook, I promise this will be a winner.  You can do it!

This recipe will serve 4 to 6 people who will be grateful you stepped outside your comfort zone for this elegant preparation.

Ingredients for Honey-Garlic Butter Roasted Carrots:

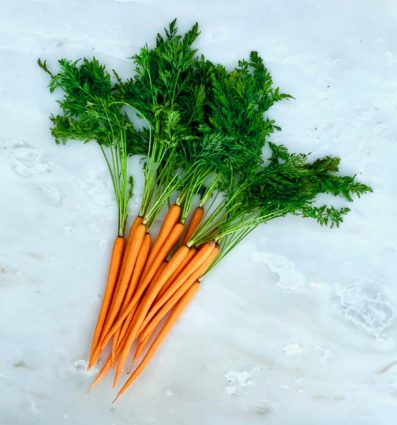
2 3/4-5 pounds small carrots with tops ( about 2 bunches), trimmed, peeled, tops reserved
4 tablespoons unsalted butter, (half a stick), melted
3 cloves garlic, minced
1/4 cup honey
1 1/2 tablespoons soy sauce
1 teaspoon kosher salt
1/4 teaspoon freshly ground black pepper
2 tablespoons coarsely chopped fresh oregano
Flaky sea salt like Malden (optional)

For the Gremolata:

1 bunch parsley
4/5  strands of carrot tops
2 cloves garlic
2 teaspoons fresh lemon juice
Zest of 1/2 lemon
1/2 teaspoon kosher salt
1/4 cup good olive oil

Make the carrots:

Arrange a rack in the middle of the oven and heat to 425°F.

Line a baking sheet with parchment paper.

Set aside.

Peel and cut off the top of the carrots, leaving a little green stem on top.

Set aside.

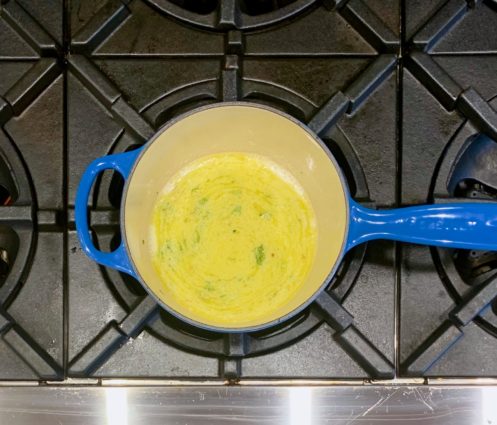
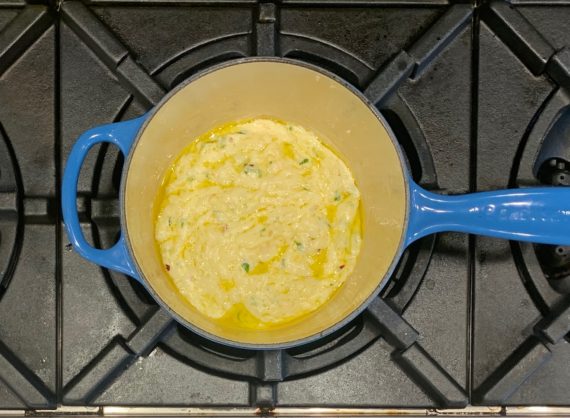
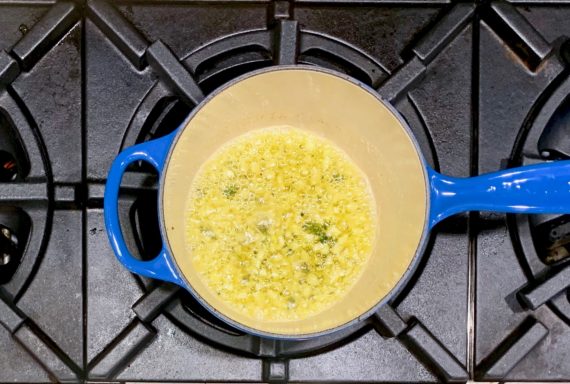
Melt the butter in a small saucepan over medium heat.

Continue cooking, swirling the pan occasionally, until the butter is a light golden color and has a nutty aroma, about 3 minutes.

Watch it closely, don’t let it get too brown here, because after you add the garlic, it will brown quickly.

Add the garlic and oregano and continue to cook, stirring it occasionally, until the butter is toasty-brown, about 30 seconds more.

Watch carefully, so garlic and butter do not burn.

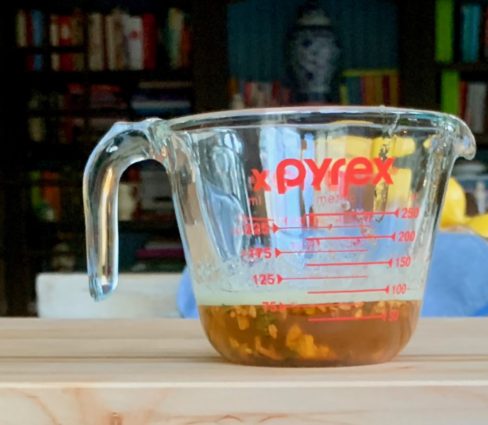
Remove from the heat, add the honey and soy, then whisk to combine.

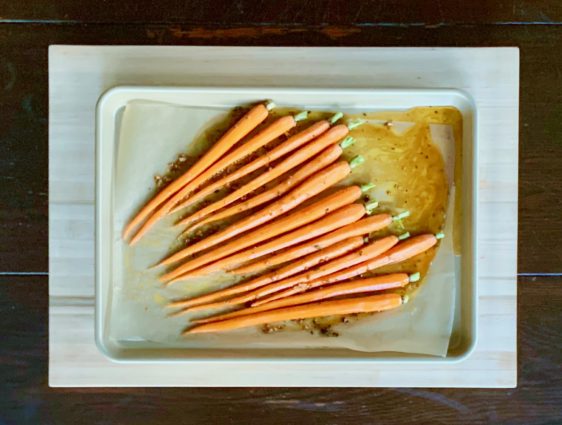
Drizzle half the brown butter sauce over the carrots and toss to coat.

Sprinkle with salt and pepper and toss to coat again.

Spread the carrots into an even layer on the parchment-lined baking sheet.

Roast 10 to 15 minutes.

Meanwhile, make the gremolata:

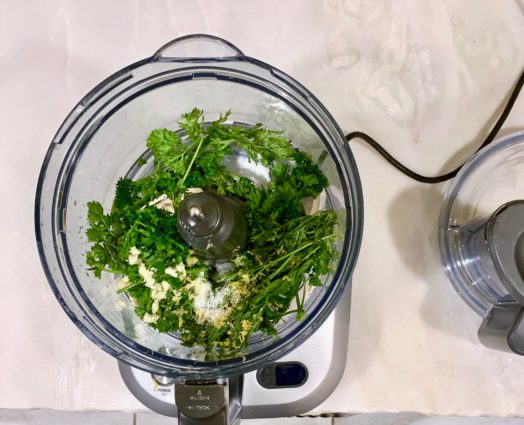
Place all ingredients, except for the olive oil, in a food processor.

Turn on the processor and slowly drizzle in olive oil till combined.

Set aside. 

Turn over the carrots, then roast again until the carrots are tender and the edges are charred and crispy, about 15 minutes more.

Transfer to a serving bowl.

Drizzle the remaining half of the brown butter sauce over the carrots, add the oregano, and toss to combine.

Add the gremolata to the carrots.

Serve immediately.

It’s that simple!

Can I come in now?

signature

[recaptcha]


During the next two months, I have three destination weddings to attend and one bridal shower to organize. All of my weekends are taken with rehearsal dinners, receptions, and brunches. You might think it’s a lot, but I am looking forward to all the socializing–I am one lucky lady.

While I am excited to celebrate these wonderful occasions with my closest friends and family, I still have to arrange my own Thanksgiving dinner. As you might imagine, having 50 people at your home for a sit-down dinner takes a lot of time. How will I ever begin to plan? With all the weddings, I am nervous that I will forget something, so I consult a list I’ve kept of the things I need to do for Thanksgiving specifically, starting with the furthest tasks that can be done furthest away from the day.  With all the traveling, I need to be on my game, so I spent my September gathering the things I would normally get in October.

It may seem like a lot, but such careful planning is the only way I can see myself pulling off Thanksgiving dinner without just giving in and calling a caterer. In the midst of this, I also have been gathering the things I will need for my niece’s bridal shower. Even though I’ve had experience planning both of these events before, my head is spinning right now. I thrive under pressure, so I’m sure all will be well. 

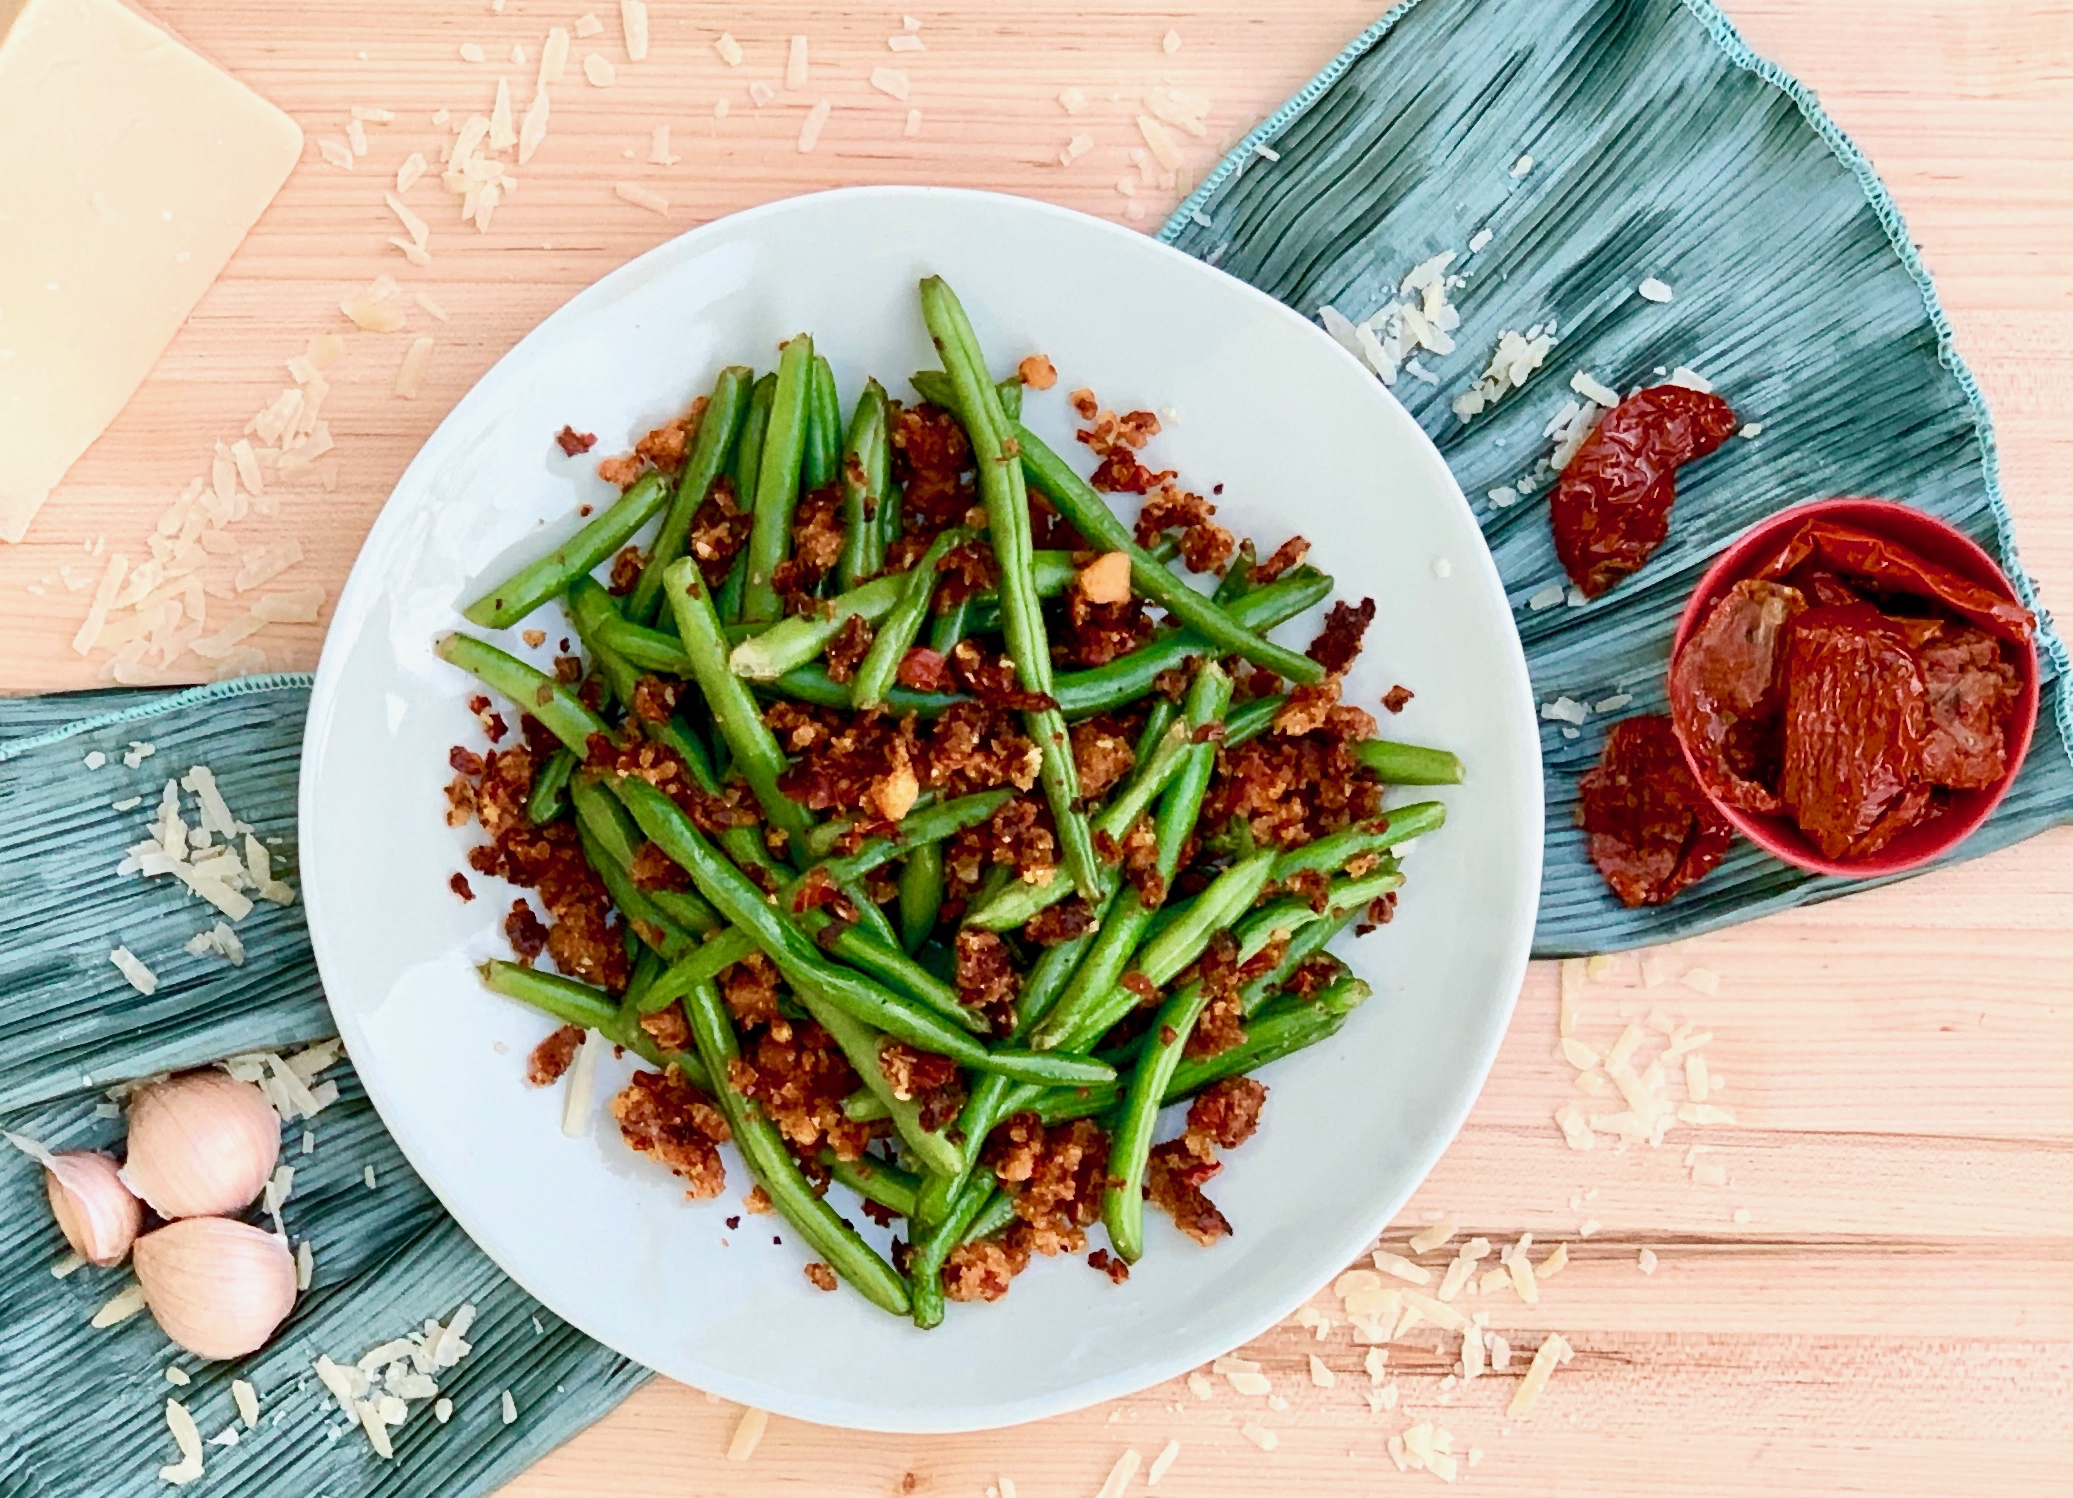
So now that you know how crazy my life is, you understand why I have to keep my recipes really simple right now. Many of you will be happy about that, I’m sure. I am too, but I will miss challenging myself every now and then. This wonderful side dish caught my eye because of its simplicity, but also because I had never heard of sun-dried pesto breadcrumbs. I knew I had to try it. And it also had one of my favorite ingredients: anchovies.

I was pleasantly surprised at how such a simple dish could pack in so much flavor. The sun-dried tomatoes add a nice tomatoey tang to the breadcrumbs. The delicately salted anchovy paste nicely compliments the sun-dried tomatoes. The parmesan gives it cheesy, gooey, goodness. This pesto brightens up plain old green beans into a thoroughly delightful side dish. I think you are going to love this as much as I did.

This recipe is courtesy of Keepers and serves 4 people who will love the simplicity of this dish.

Ingredients for Green Beans with Sun-Dried Tomato Pesto Breadcrumbs:

1/2 cup dried breadcrumbs or panko
2 oil-packed sun-dried tomatoes, drained and minced
2 tablespoons freshly grated pecorino or Parmesan cheese
1 small garlic clove, minced
1/4 teaspoon anchovy paste
Salt and pepper
1 pound green beans
2 tablespoons olive oil

Bring a large pot of water to boil over high heat.

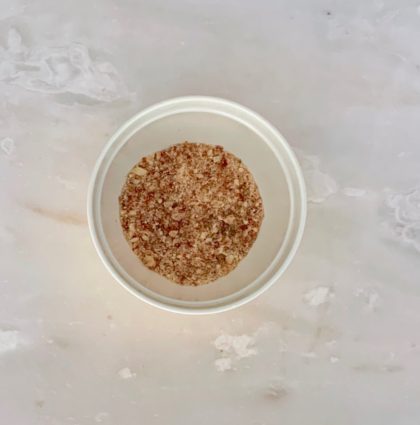
Meanwhile, in a small bowl, using a rubber spatula, or your hands, mash and rub together the breadcrumbs, sun-dried tomatoes, cheese, garlic, and anchovy paste.

Season with salt and pepper, then set the flavored breadcrumbs aside.

When the water boils, season it generously with salt; it should taste like seawater.

When it returns to a boil, add the green beans and gently boil, stirring once or twice, until crisp-tender, about 2 minutes.

Drain, pat dry, then set aside.

In a large skillet, heat the oil over medium heat.

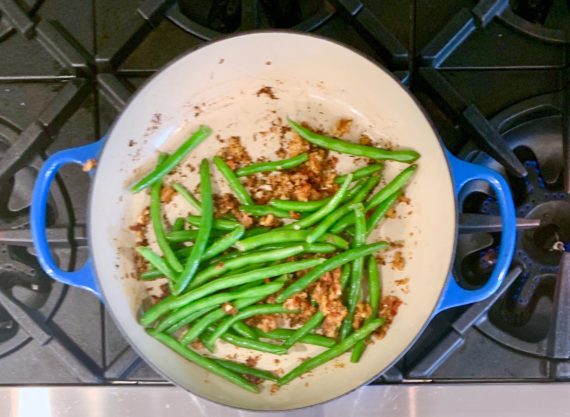
Add the flavored breadcrumbs and toast, stirring often, until golden brown, about 2 minutes.

Add the blanched green beans and cook, stirring often, until coated with the breadcrumbs and heated through, about 2 minutes.

Check the seasonings. 

Serve.

It’s that simple!


Mazel

signature

[recaptcha]


As you know, this blog started as a way to keep recipes that I liked.  As it grew, I also started chronicling my personal life in between the recipes.  Through the blog, you’ve come to know my home, my garden, my farmer’s market, my vacation spots, and my family.  Sometimes my life and the recipes line up well– for example, if I will be hosting a dinner party, the recipe might be a shareable main course.  I wish I could say that this is one of those days, but my task for this week has no relation to the recipe. I was just so excited to tell you of the good news that I couldn’t help myself. My niece, Tala is getting married!

In my family, the Aunts are in charge of the bridal shower. I created one this past March for my other niece, Lara. I really love to plan and decorate for them, but it is a lot of work for me. But practice makes perfect, so let my practice lead to your perfect.

First, you need to figure out how many guests you will have. Once you have compiled the list, you need to find a venue, maybe a restaurant or even your home. Some people don’t use a theme, but if you have one in mind (make sure the bride is okay with it!), you can build the shower around that.

My niece is a wonderful baker and has her own business, so picking the theme was an easy one. I am going to do a baking theme using “love is sweet” as our logo. I will pick out a few containers for the flowers that have to do with cooking. I will use a colander, a wooden spoon holder, a kitchen aid mixer, and a blender for the flower vases. I will use small glass jars filled with candy for personalized seat assignments and favors. There will be a cupcake carousel and jars filled with candy with her favorite colors, blue and yellow. Votive candles will round out the table setting.

The menu will be carefully selected hors d’oeuvres, since it is a cocktail bridal shower. I will make sure there is something everyone can eat according to many dietary conditions, so I will have kosher, gluten-free, and vegan choices. 

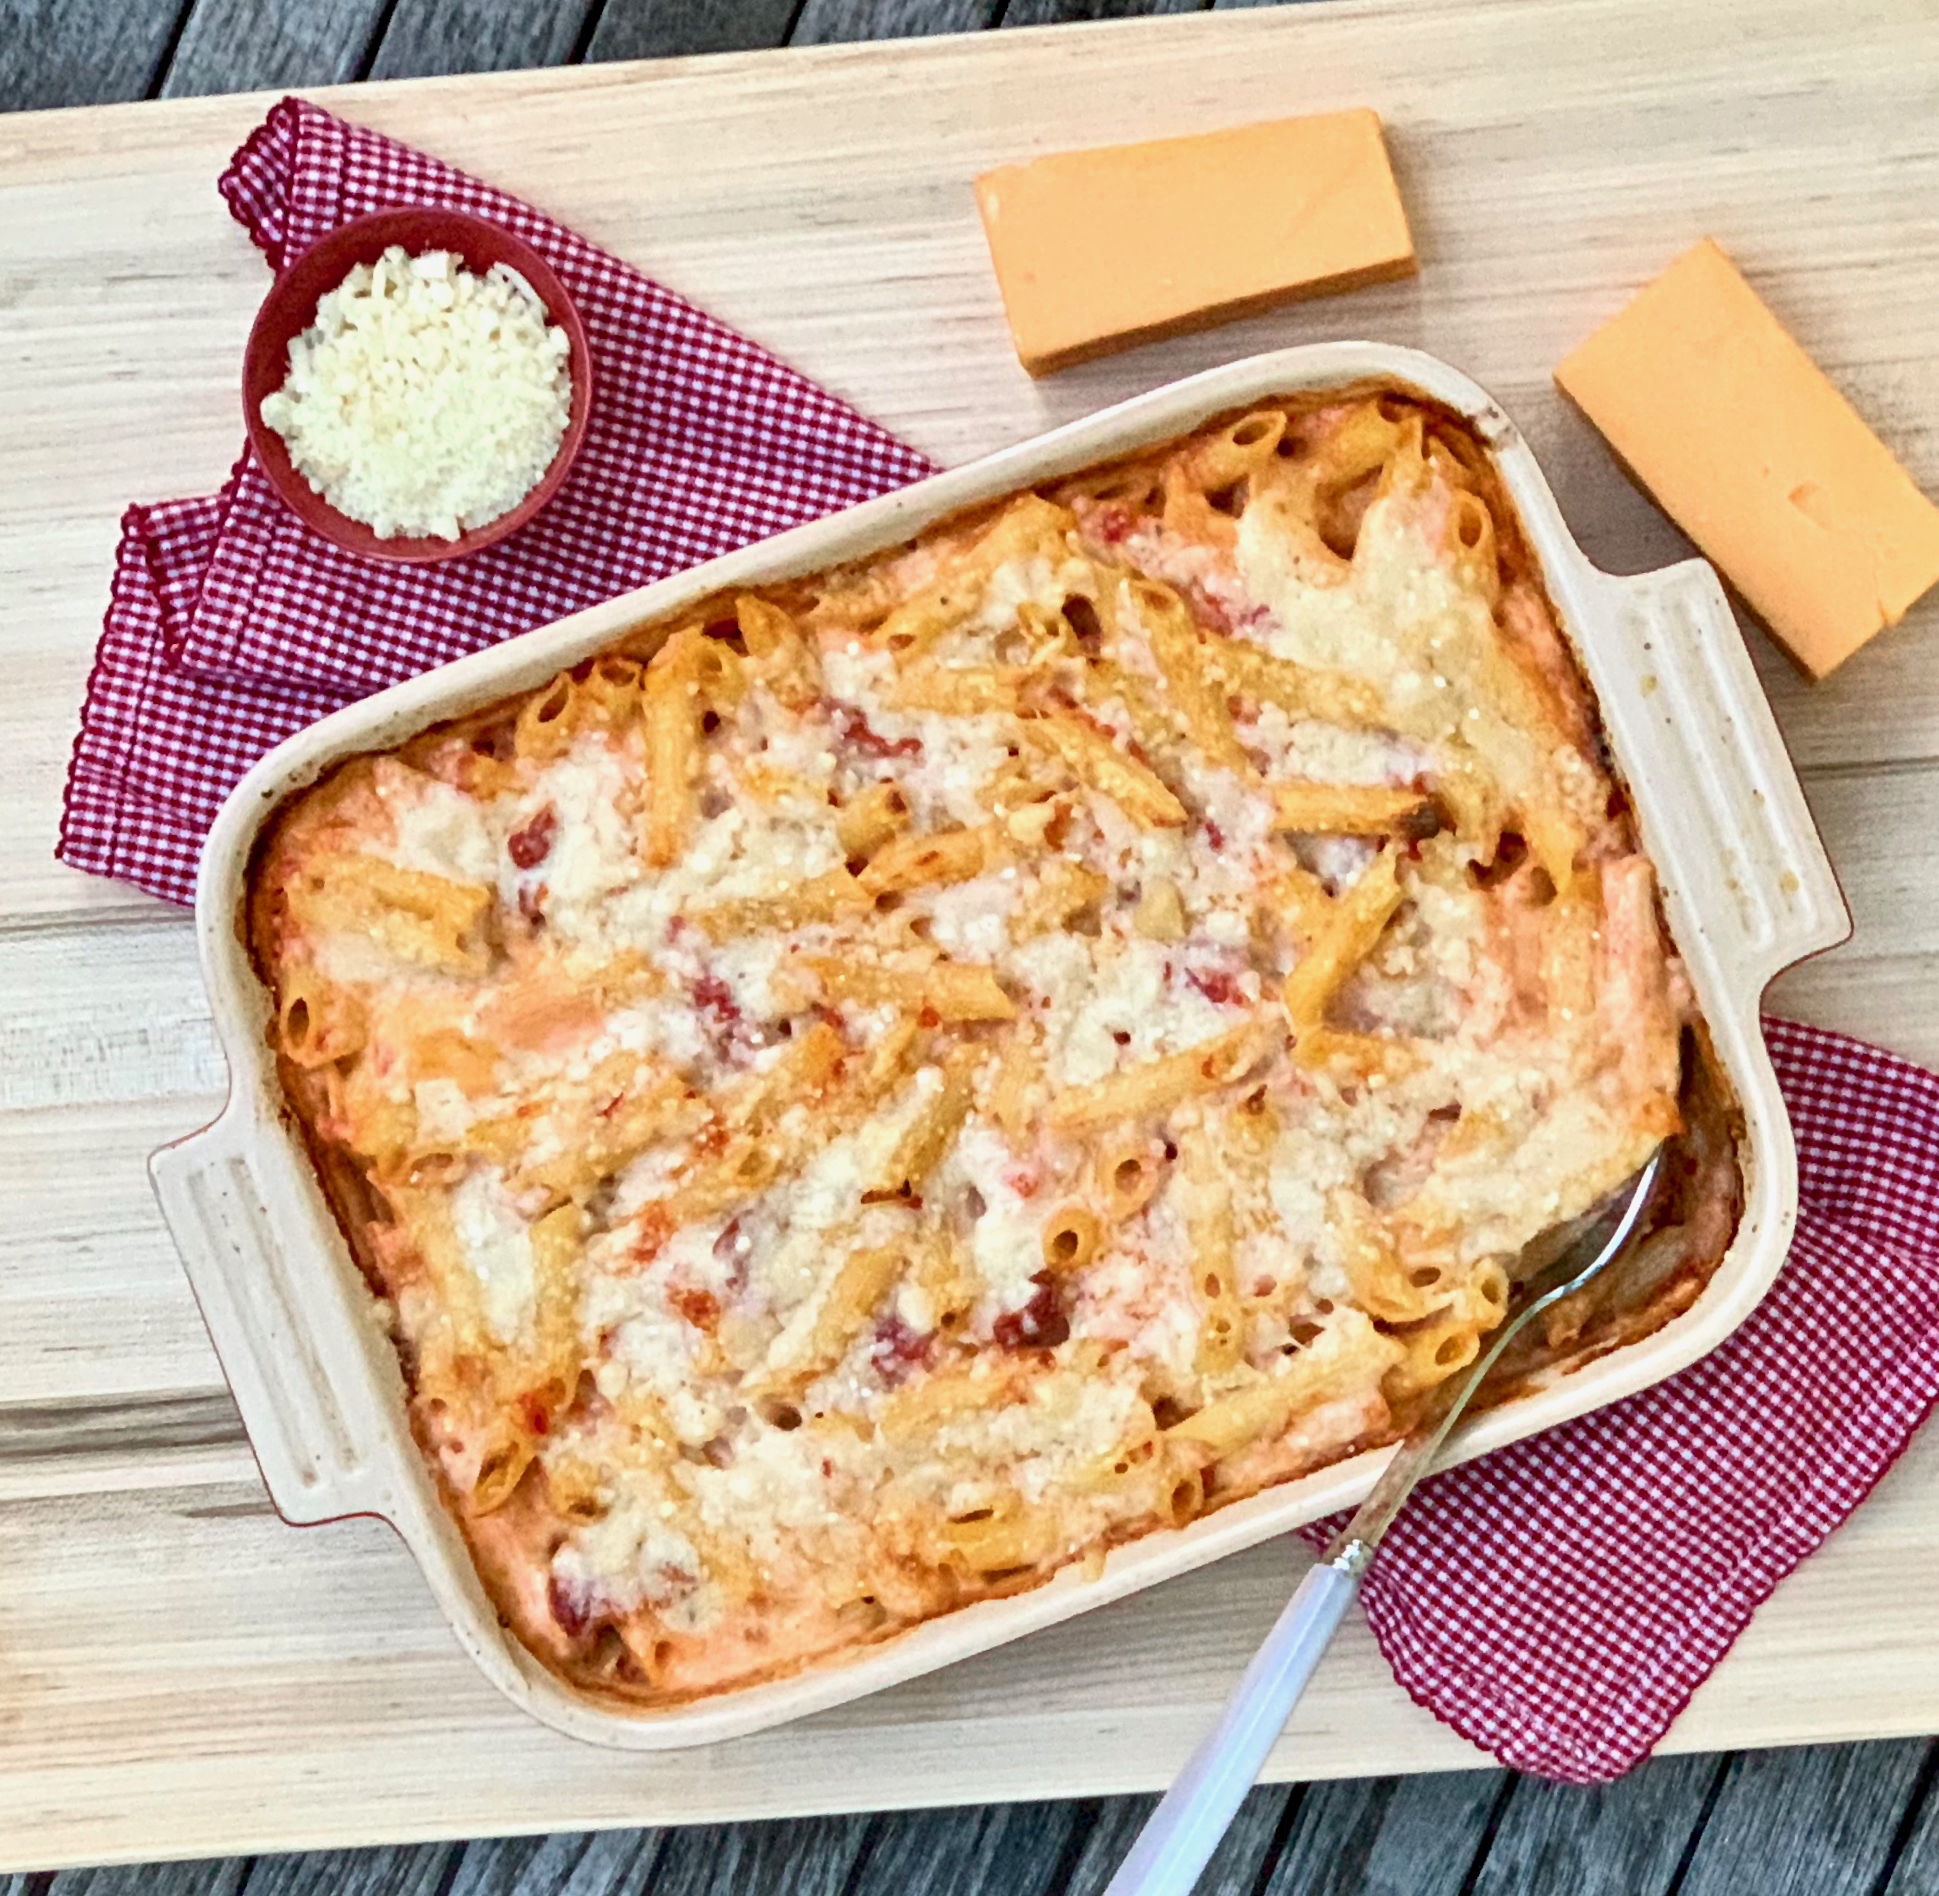
On to the recipe. As I mentioned, this has no place in a bridal shower, but it doesn’t stop it from being a lovely preparation. The combination of milk, heavy cream, and cheese give this dish a creamy, luscious texture. The Dijon mustard and green chilies bring just the right amount of heat and zest, and the Parmesan is the perfect topping. Oh boy, this is a good one. Put it on your “must try” list right now.

This recipe is courtesy of Epicurious and will serve 6 to 8 people who will be sure to enjoy this dish at your next party.

Ingredients for Baked Penne with Green Chiles:

2 cups (480 ml) whole milk
1 cup (240 ml) heavy cream
One 15-ounce (425-g) can crushed tomatoes
One 4-ounce (115-g) can diced green chiles, drained
2 cups (230 g) shredded sharp Cheddar or Mexican blend cheese
1 heaping tablespoon Dijon mustard
Salt and pepper
1 pound (455 g) penne or ziti
1 cup (100 g) freshly grated Pecorino or Parmesan cheese

Preheat the oven to 500°F (260°C), with a rack in the middle position.

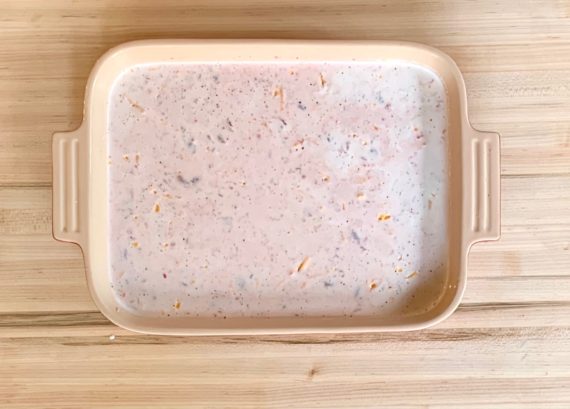
Bring a large pot of water to a boil over high heat. Meanwhile, in a 13 by 9-inch (33 by 23-cm) baking dish, stir together the milk, cream, tomatoes, chiles, Cheddar, and mustard.

Season with 1 teaspoon salt and some pepper, then set the tomato mixture aside.

When the water boils, season it generously with salt; it should taste like seawater.

When it returns to a boil, add the pasta, quickly stir to separate the noodles, then cover the pot.

When the water returns to a boil again, uncover and boil the pasta until very al dente, stirring occasionally.

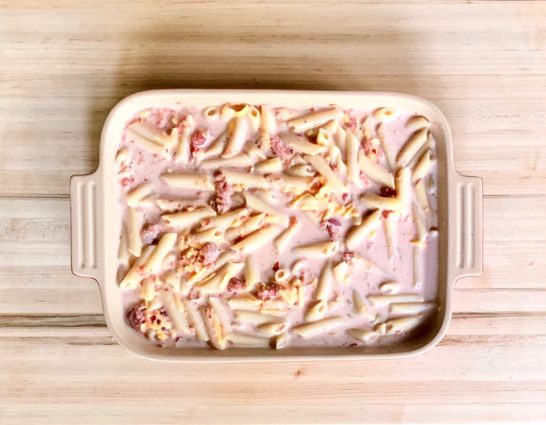
Drain the pasta thoroughly, then pour the noodles on top of the tomato mixture and toss to combine.

Gently “shake” the dish to distribute the ingredients, then top evenly with the Pecorino.*

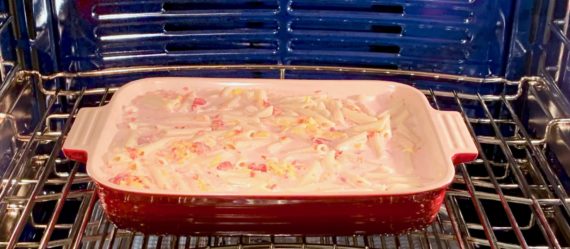
Bake until bubbling and lightly browned, about 12 minutes.

Let rest for 5 to 10 minutes before serving.

Make Ahead

Prepare to * without preheating the oven, then keep, covered, in the refrigerator for up to 3 days or in the freezer for up to 1 month.

Bake, covered, at 350°F (175°C) until hot, about 30 to 60 minutes (if frozen), uncovering for the last 10 minutes or so.

Serve hot or warm.

It will keep, loosely covered, in a 200°F (90°C) oven for up to 2 hours.

It’s that simple!

signature

[recaptcha]